
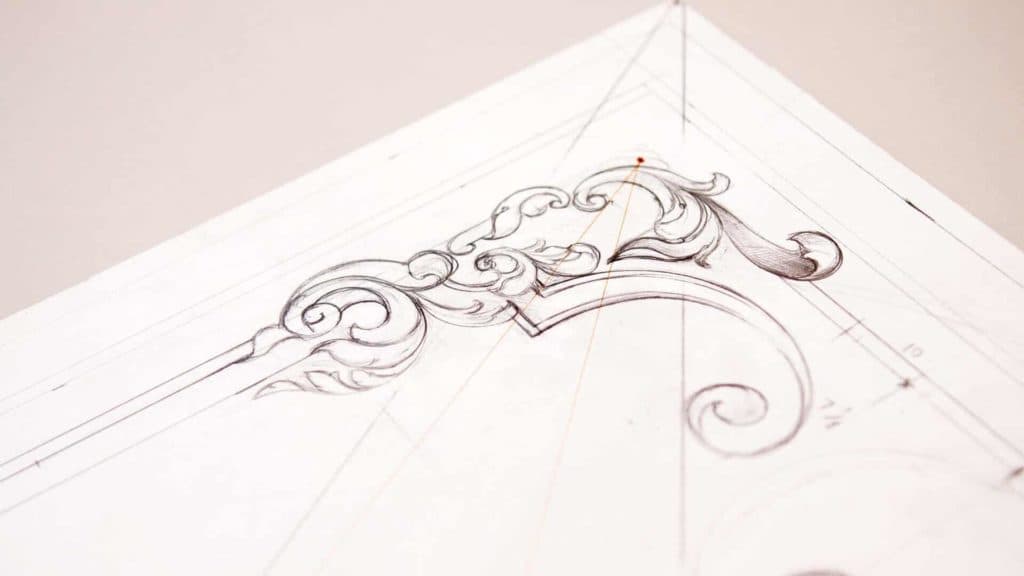
Alexander Grabovetskiy, woodcarver, School of Woodcarving · Published 2018
How do you turn layout lines into a carved ornament?
Quick answer: Ornament drawn from layout lines is a design where each curl and leaf stays inside lines already on the board. Here I take two points, split the space in ten and find six. An acanthus starts as a boat outline before I subdivide it, its eyes sit on one line, and a corner movement gets repeated in another corner.
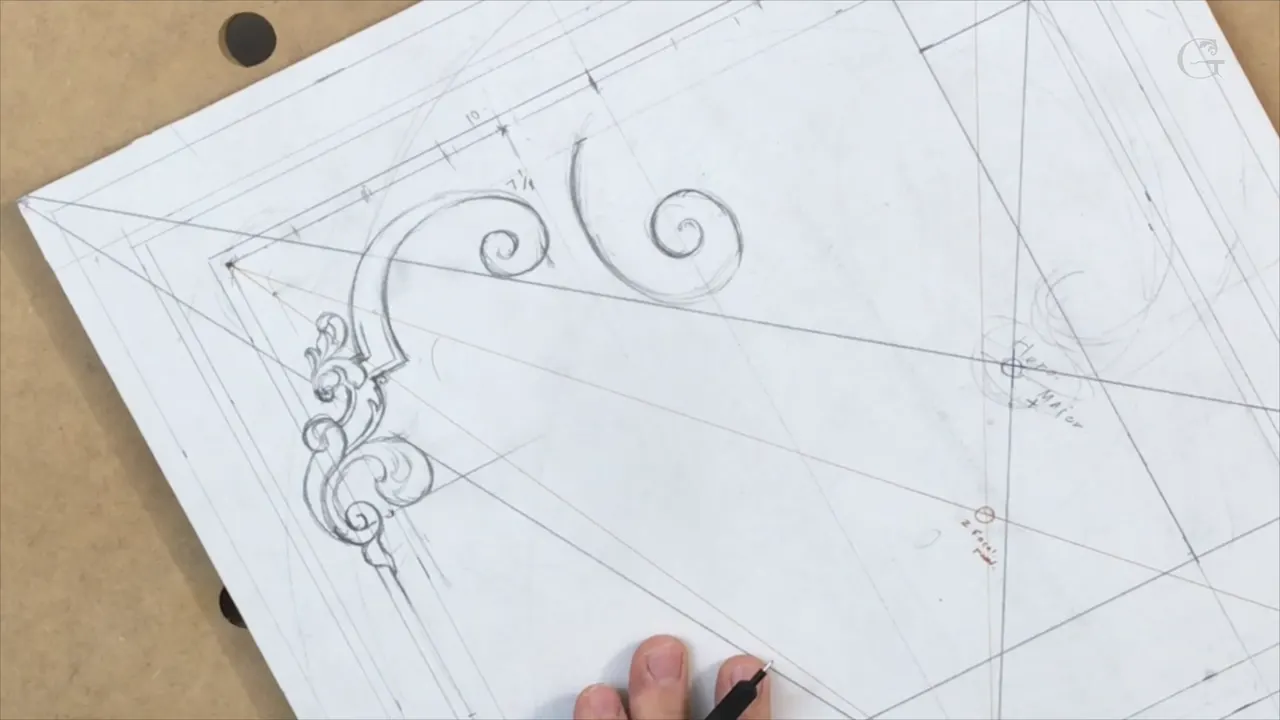
Turning layout lines into a carved ornament is drawing the curls and leaves inside lines that are already on the board. In this lesson I work one corner of my walnut furniture panel. I take a point here and a point there, split the space between them in ten, and find six. From there I stay in those lines.
Have you ever drawn a scroll that looked fine on its own and wrong next to the one beside it? Did you rub it out and try again? Then you know this lesson from the inside. I draw a movement, I tell you I'm not happy with it, the eraser comes out, and I try another one, and that goes on through the whole lesson. Below are the choices I make on that one corner, in the words I used while I made them.
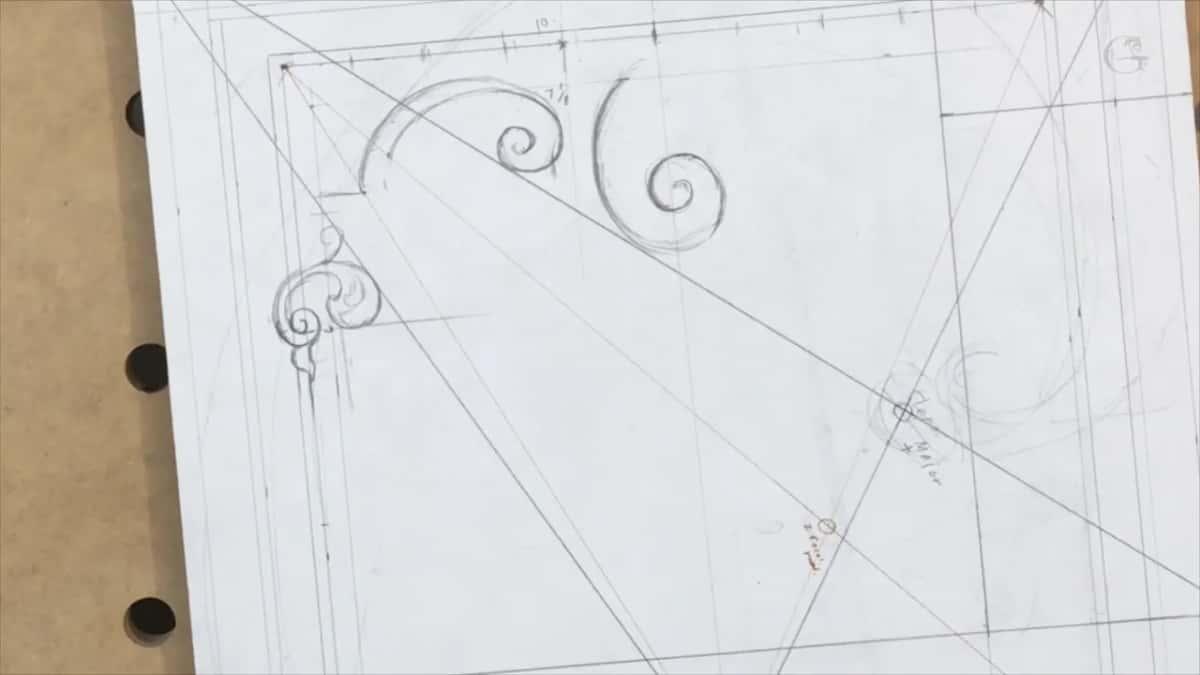
What this one corner of the panel teaches
- Stay inside the layout lines. On camera I call that a big help.
- Every part must interweave and be organically connected, or out it comes.
- An acanthus starts as a boat that holds the whole leaf, and gets split up after that.
- The eyes of the leaf sit right on one line.
- The acanthus repeats the thickness of the moldings, 3/16 in (5 mm), judged by eye.
- Two swirls side by side get two sizes.
- A second border runs inside the first, about 1/8 in (3 mm) in from it.
Why stay inside the layout lines?
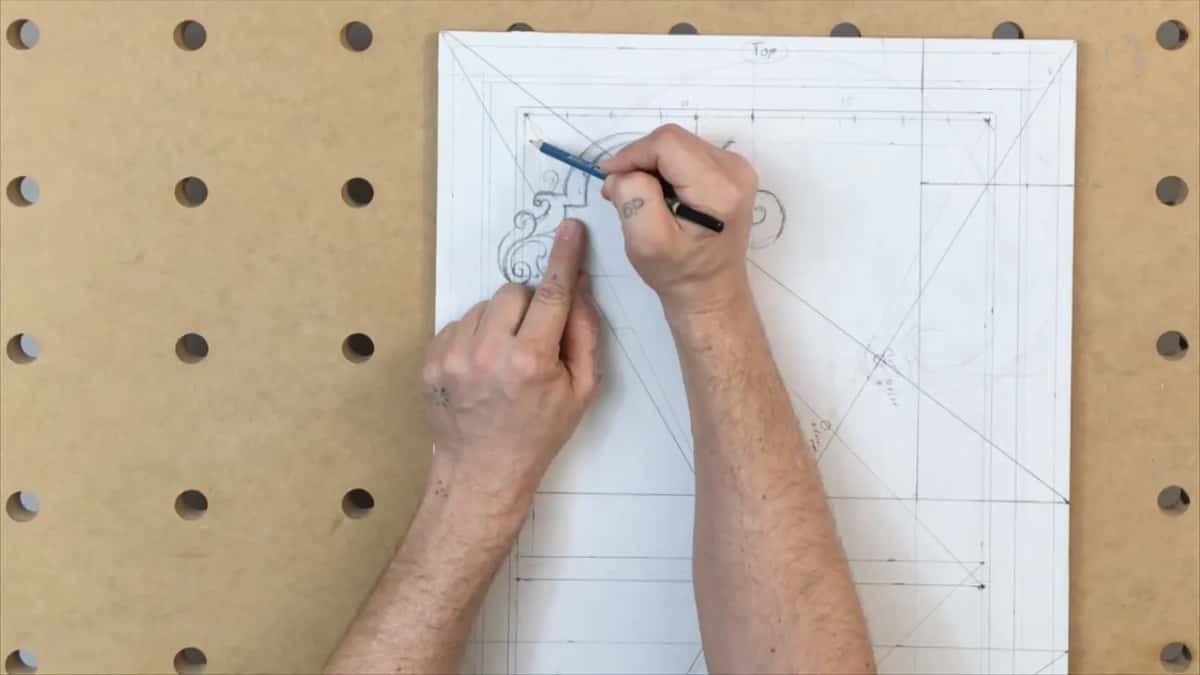
The lines give every new movement a place to go. I open the lesson by refining what I drew before, to make the major idea the main idea. Next I take this point and that point, divide the space in ten, and look for six of the ten. Where the middle falls, I just eyeball it.
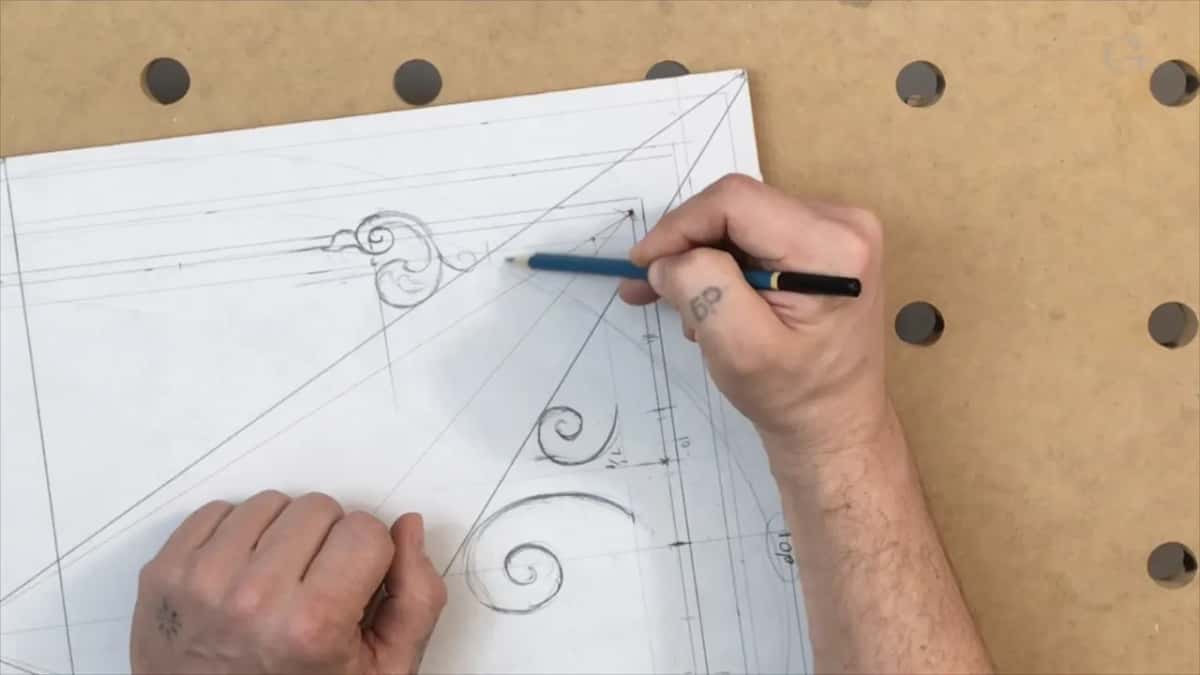
Now I have my line right here and my line right there, and the next movement runs between them. You can see it is really important to stay in those lines. It just helps me a lot.
None of those lines came from nowhere. Lesson 1 found the two focal points on this board with six parts out of ten and put the hero on top, and in lesson 3 I admit that, proportionally, this board is not perfect, like a golden ratio. So every curl in these frames sits on a page that already carries a plan, the diagonals and squares of the earlier lessons.
What does it mean for ornament to interweave?
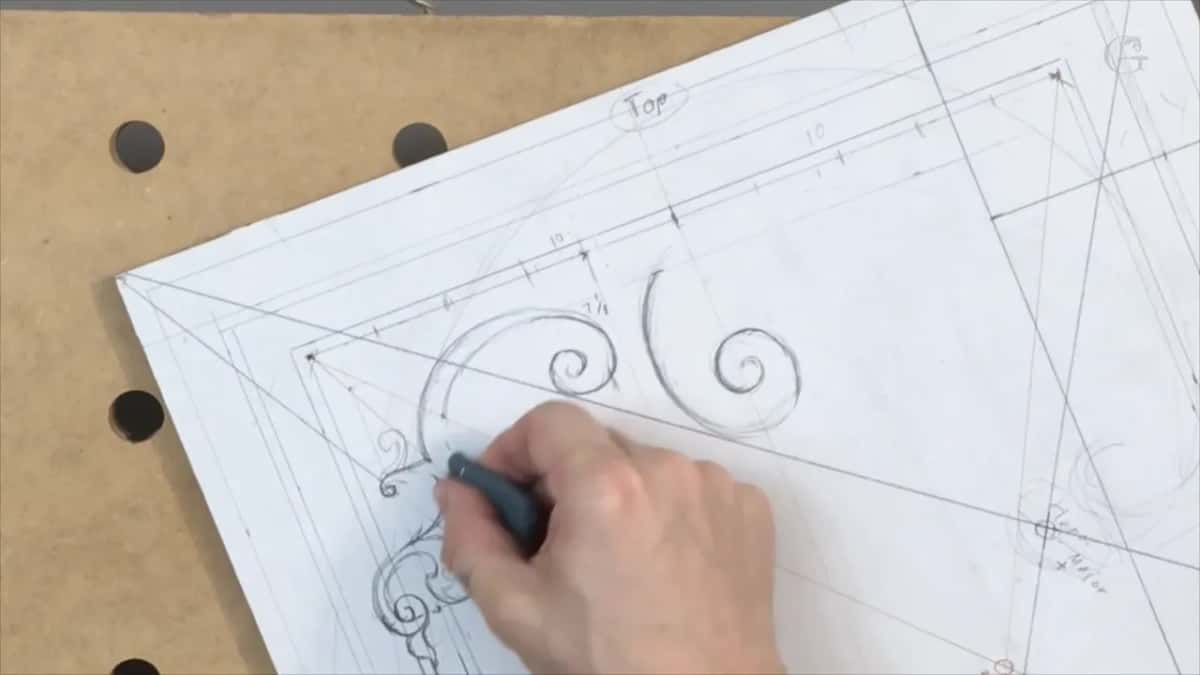
One movement must run into the next, so the corner reads as one connected thing. Early in part one I plan a small acanthus for one area, and in the same breath I say I'm not really happy with this. Out it goes a few seconds later, since it just doesn't flow good.
The idea is that everything has to interweave. It has to be organically connected, and as of that moment it is not. A few minutes later I stop again, and if you ask me why, it is what I said before: everything has to interweave, and this side has to flow with that side.
Let me tell you a story. My Corinthian acanthus course has an old one about this leaf in its first lesson, and I say there that I don't know if it's a tale or true history. An architect saw a basket on the grave of a young girl, with an acanthus plant right underneath it. The plant didn't grow through. Instead it tried to interweave around the basket and made beautiful movements around it, and the architect, Callimachus, was amazed. That is where I say the Corinthian order was born, and it is the same word I use on this panel.
The hunt goes on past this lesson. Over in lesson 5 I ask you to forgive me while I try to develop the idea of what I want to see and make it look like it's organically moving the right directions.
How do you draw an acanthus leaf from the outside in?
You draw the shape around it first and split it up after. The leaf I start in that spot is not too good, and I say so. Then I explain what I am doing: I'm establishing my outside boundary for the acanthus movement, and then I'm going to subdivide.
I have a name for that outside shape. I call it a boat. A boat-looking one is all you draw, and you can move it in any direction, and I even say on camera that I'm not sure if it makes sense or not. Still, it is just my outside boundary, and afterward I erase it on the inside.
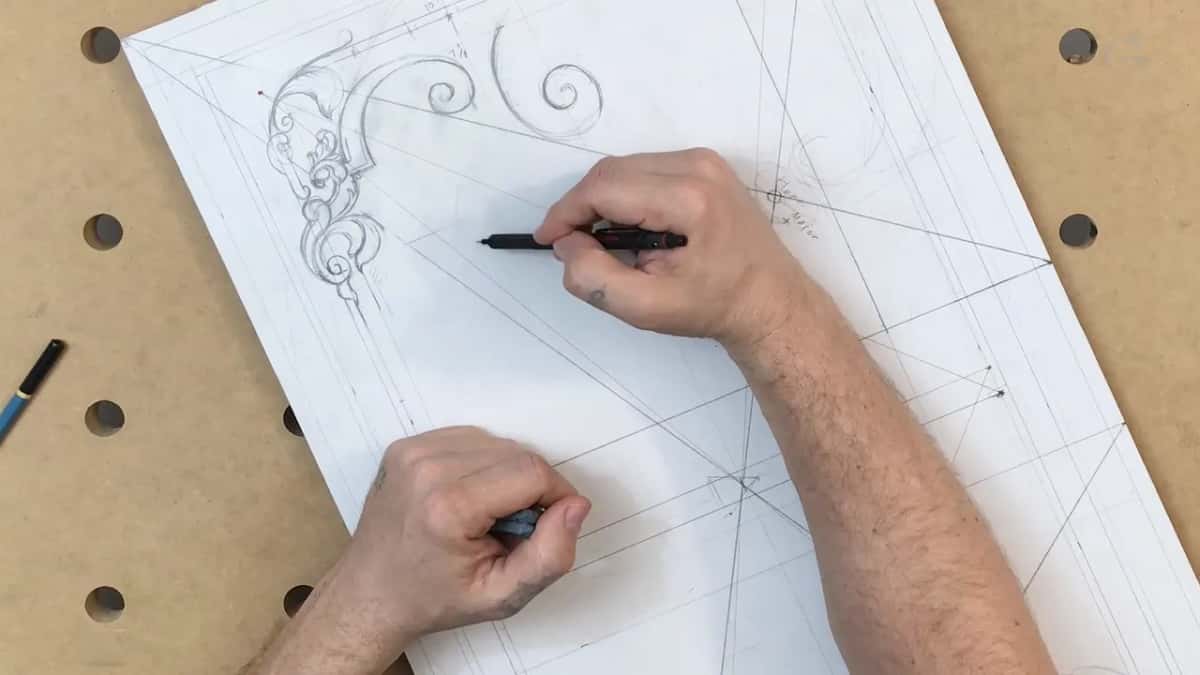
Part four goes inside the boat. Now I need to find my center line, how it's supposed to be, and I think it can curl just like that.
My Greek acanthus course draws the leaf the same way. Before I make my main divisions, I draw the outside borders, just to see visually how it will look all together. It looks like a boat somewhat, or a big leaf. Once that is down I subdivide it, and I don't want to go farther than the boundary line I just drew. Every flow line or center line goes to the center flow, I say there.
Where do the eyes of an acanthus leaf go?
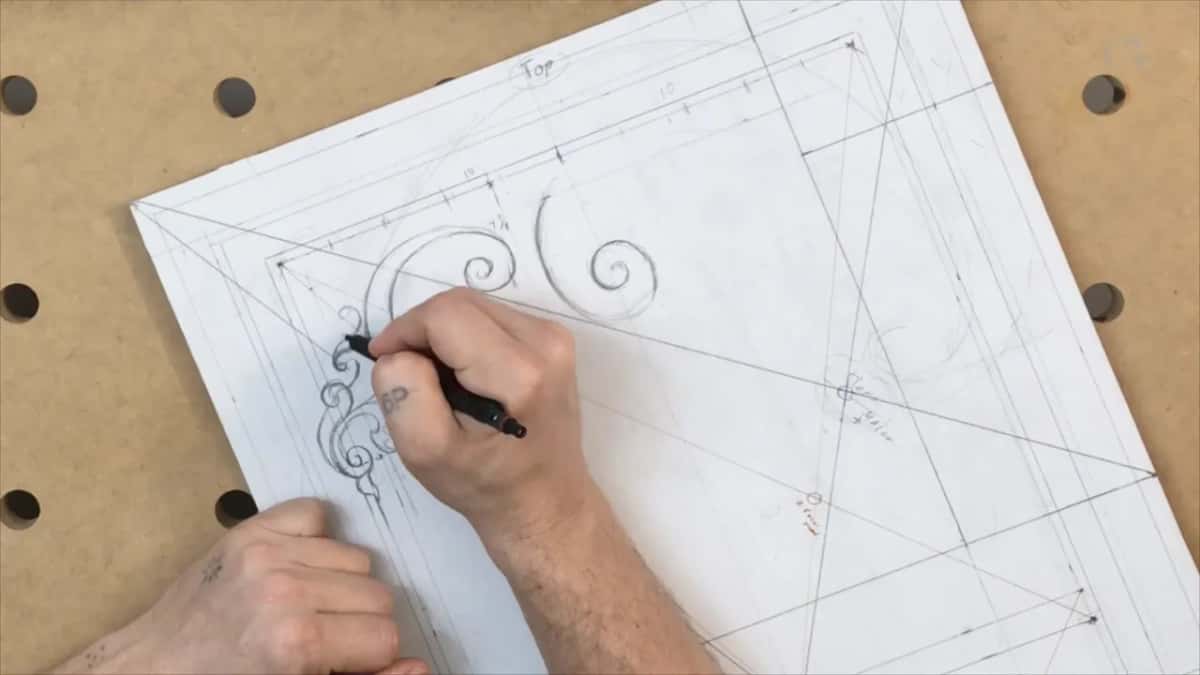
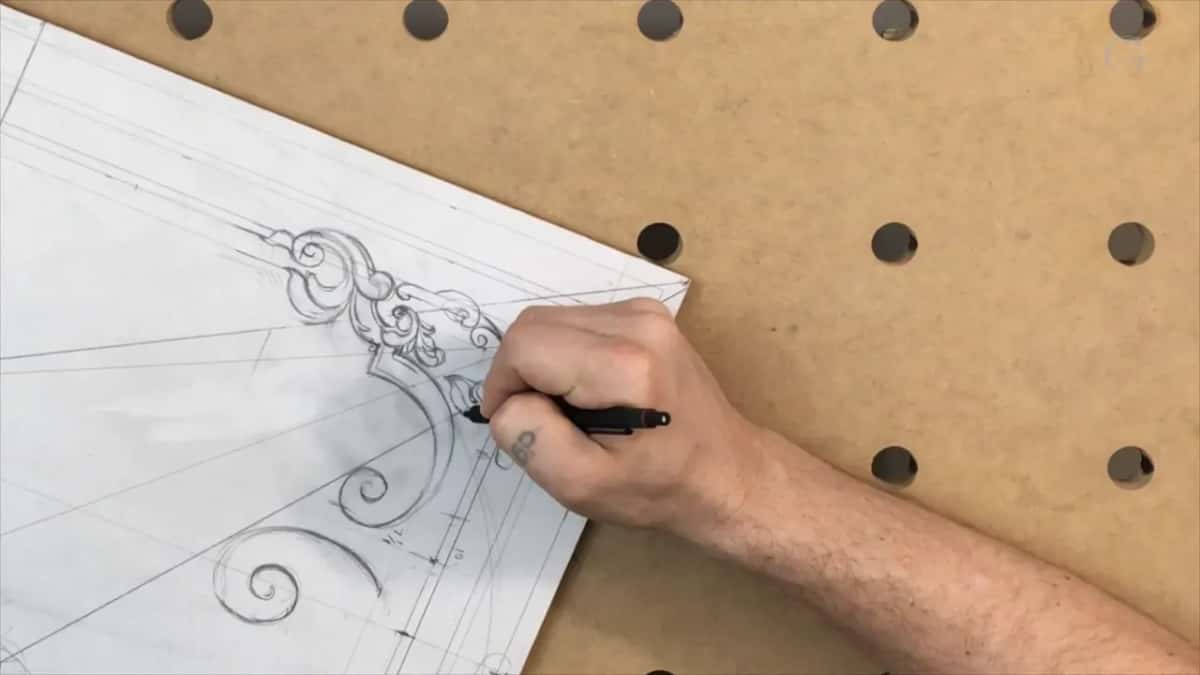
On this panel they go on one line. Early in part four I mark my eye, then another eye, and then I stop and show you this line. So I place my eyes on that line, and I think it's a good place for them.
I change my mind more than once in the next minute. I don't think it's a good idea to do it that way, it's better to move all the way, no, it's not, and in the end it's good. When the side is done I count three eyes for you, and those eyes are positioned right on this line.
Eyes can come first, too. With the Roman acanthus I start by setting my eyes and the main points, trying to work out how many eyes I'll have based on the original Roman design. Sometimes I start with the flow line, sometimes I start with drawing eyes.
Over on the vase with grape leaves the eyes come from a measure. I go from the center point of a circle out to the outside boundary, and that point becomes an eye, the same as acanthus eyes and pipes. The Greek lesson puts it plainly: with acanthus, it's all about pipes and eyes.
How thick should an acanthus be beside a molding?
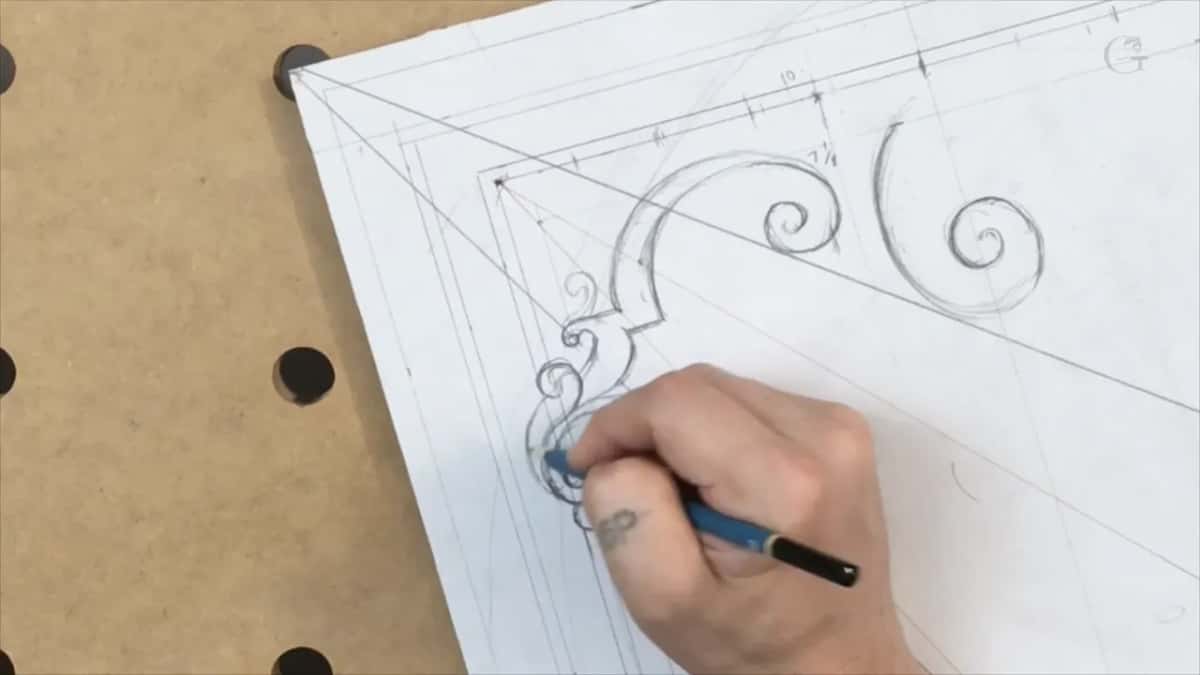
About as thick as the molding. We have 3/16 of an inch, five millimeters, on those moldings, so the acanthus movement right here has to kind of repeat that thickness. And I'm not measuring. I'm just eyeballing.
Earlier, in part three, I start the molding itself. This molding can start just like that, I say, and the corner comes next.
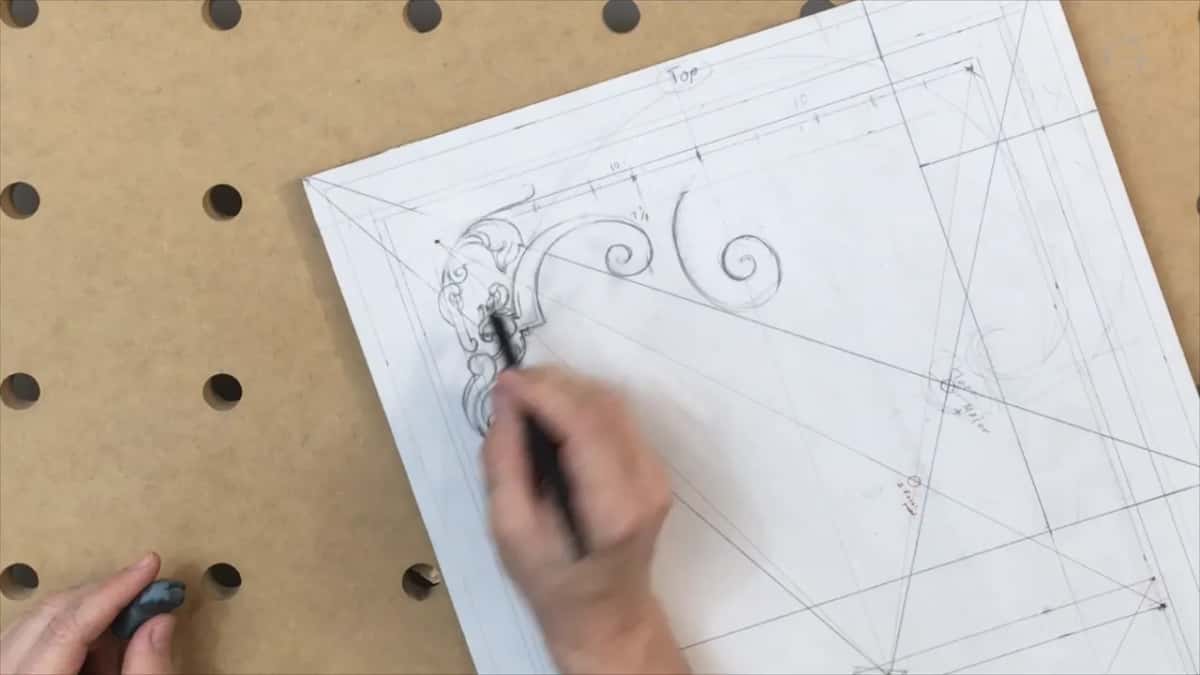
Each choice on this corner and my words for it
| Choice | What I do on the board in this lesson | My words on camera |
|---|---|---|
| Where movements run | I keep each new movement inside earlier lines | It just helps me a lot |
| How acanthus starts | I draw a boat around the whole leaf | Then I am going to subdivide |
| Where eyes sit | I place all three eyes on one line | Eyes positioned right on this line |
| Acanthus thickness here | I let it repeat the 3/16 in molding | I'm not measuring, I'm just eyeballing |
| Crowded volutes here | I wipe one out and draw an acanthus | Too many in the same area |
Why repeat one corner's movement in the next corner?
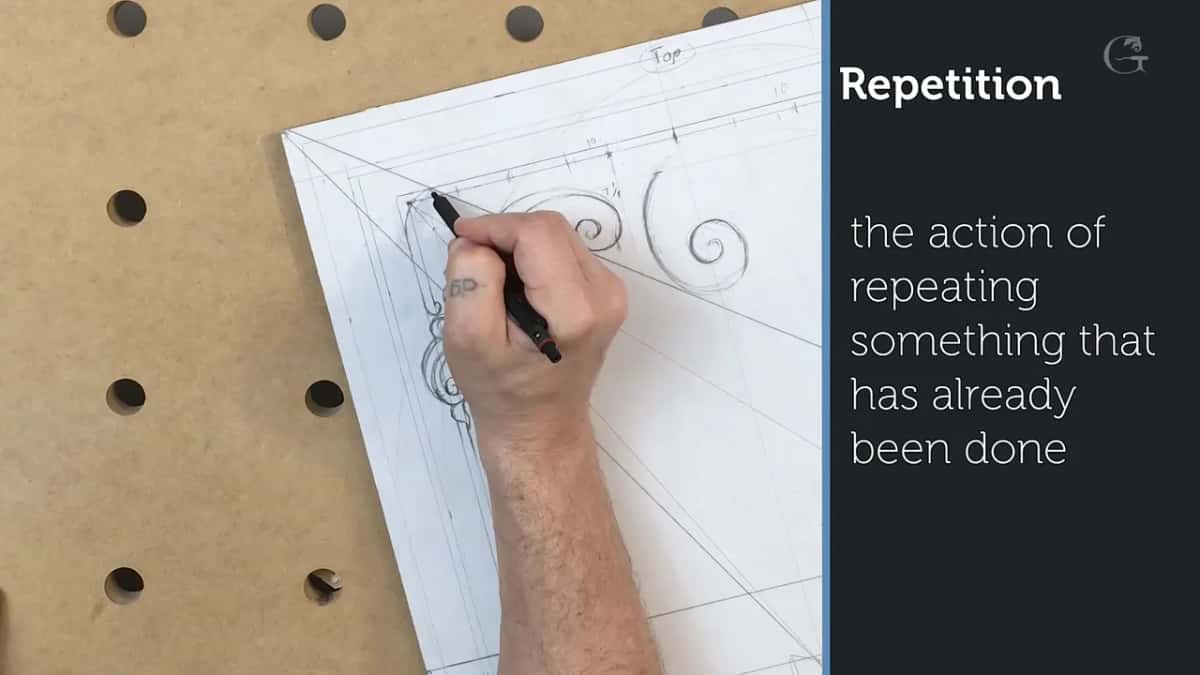
The rule of repetition asks for it, and I say so in part three. As I think about how I can make my corner, the first thing out of my mouth is the rule of repetition again. If I have a movement like this right here, I have to repeat it in this corner, and that's a good place to repeat that movement. I erase the previous ones after that.
Part one has the same idea with a right angle in it. The new movement has to flow with this side and still create kind of a 90 degree angle to repeat this corner. This has to repeat that one, or that one, or that one. But I am going to break that corner, and I'll just create something else.
Lesson 7 brings the same law back with a ruler. I've got my perfect 90 degrees, and I kind of repeat, and there is a law of repetition, as I said before. Next I mark my five millimeters, or 3/16 of an inch, again.
Should two swirls ever match in size?
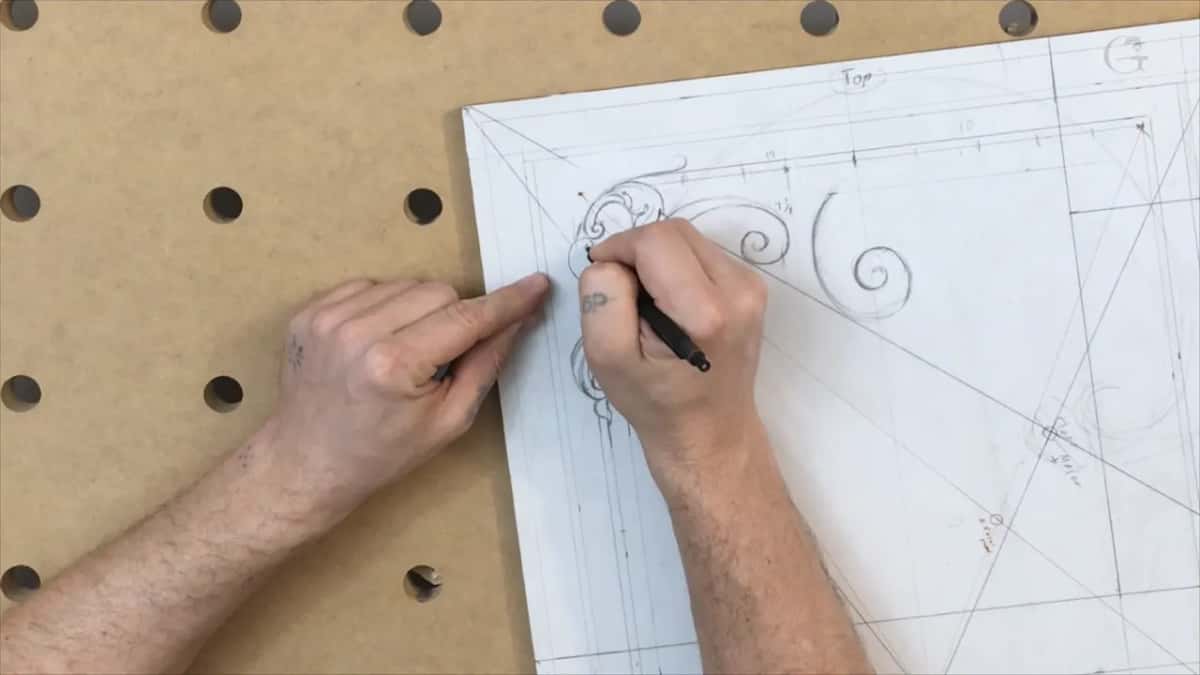
Here they don't. In part four I kind of like the movement, but I'm not too happy with this swirl, and I'm not too happy with that one either. Like I said before, we're going to erase it and rework it, and this one should be bigger, and this one should be a smaller swirl.
Something close comes up in the Gibbons class in Maine, about the leaves. They don't have to be perfect, symmetrical movements, I tell the class, and as a matter of fact it's better to make them not symmetrical.
What do you do when volutes crowd one spot?
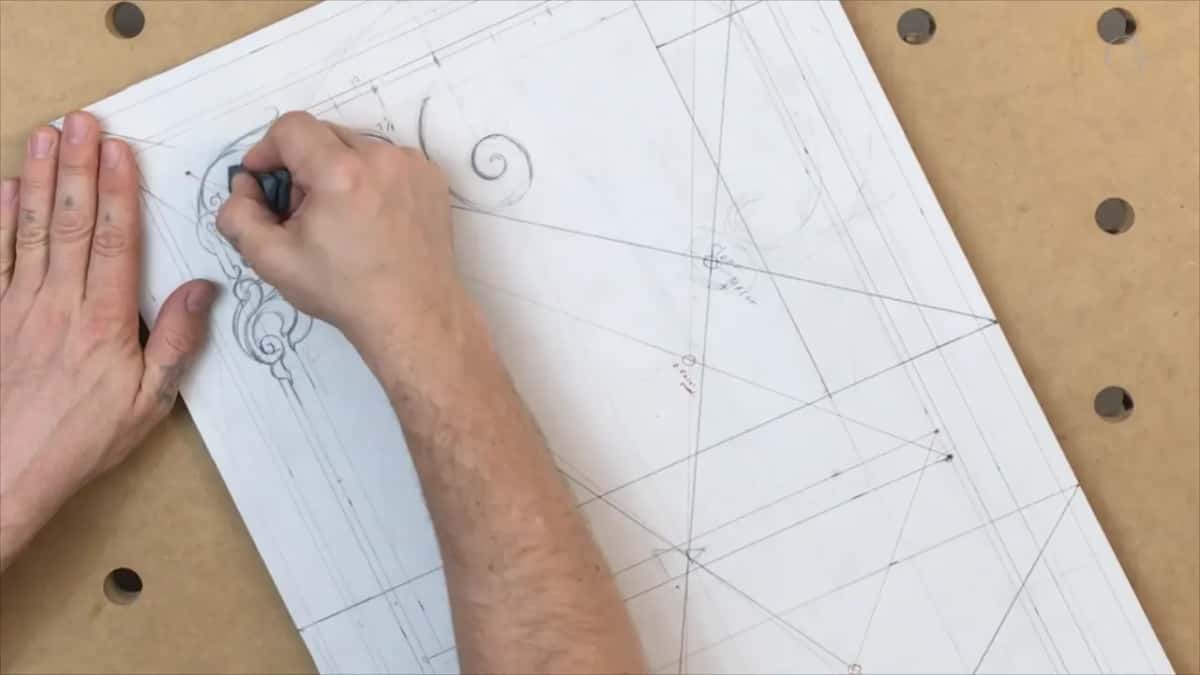
You wipe some out and change what is there. Part three has me thinking it's a really good idea to develop another leaf, and I add another volute, or a microvolute, with a movement inside it. Now I'm getting somewhere, I say.
A few seconds later I say I think it's too many volutes in the same area. Let me wipe that out, and I do this one as an acanthus leaf instead.
Back in part two, a tiny, small acanthus leaf goes in, and that's going to return this way. Another acanthus follows, and I say all right, I will overlay. Overlays turn up again at the carving bench. At lesson 30, on a flower, I say this one is an overlay right on top, which means I can't mess up.
Why draw a border inside the border?
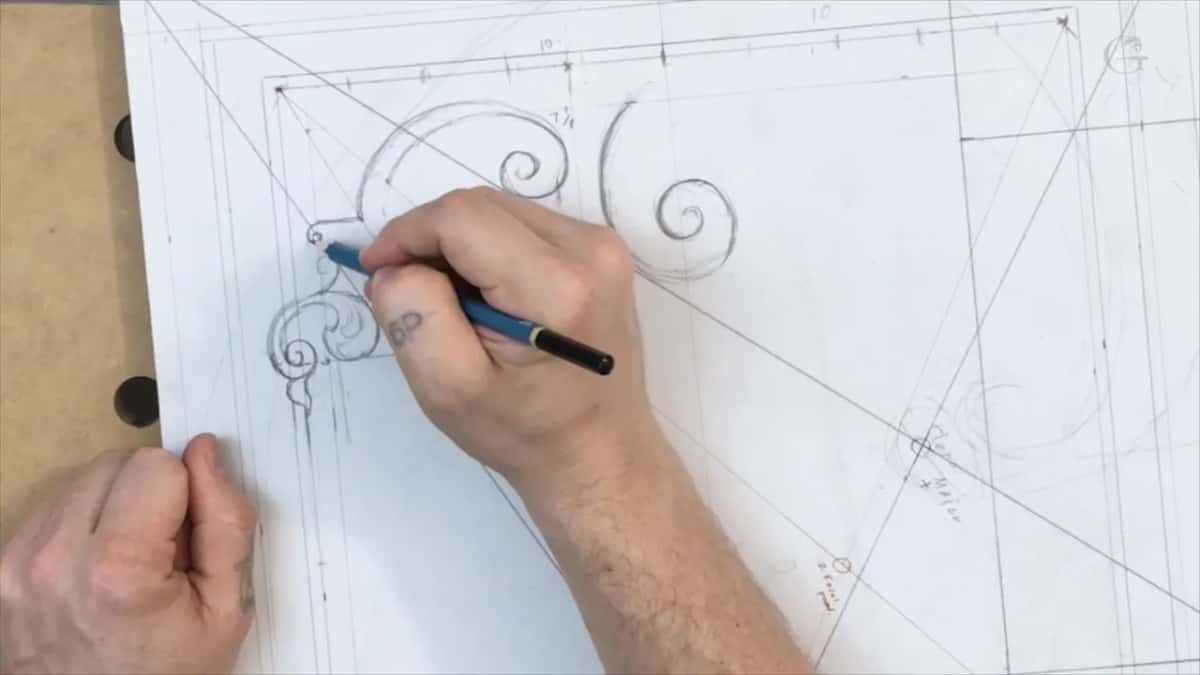
Furniture carving of this style has it. You would ask me why I do borders right here, and it's just because it's a furniture style carving. It would be common, actually, to get the border inside of the border. It's extra detail, but it adds beauty to the design, and I'm leaving about an eighth of an inch (3 mm) between the two.
Several border lines run side by side around the edge of the panel in the frames.
How small do the details get on a shallow panel?
Small enough for micro tools. That's all about the details, I say in part two. On that type of carving I would love to get as many details as possible, and that's going to be almost micro carving. We have to carve it not as deep, but I still would like the tiniest details, and we're going to use probably some micro tools to get that.
Part three takes one area a little deeper than the one beside it. So it's going to be multi-level, I would say. And in this type of design we will still use lots of acanthus details, which, as I say in part two, was really, really common in the whole history of wood carving.
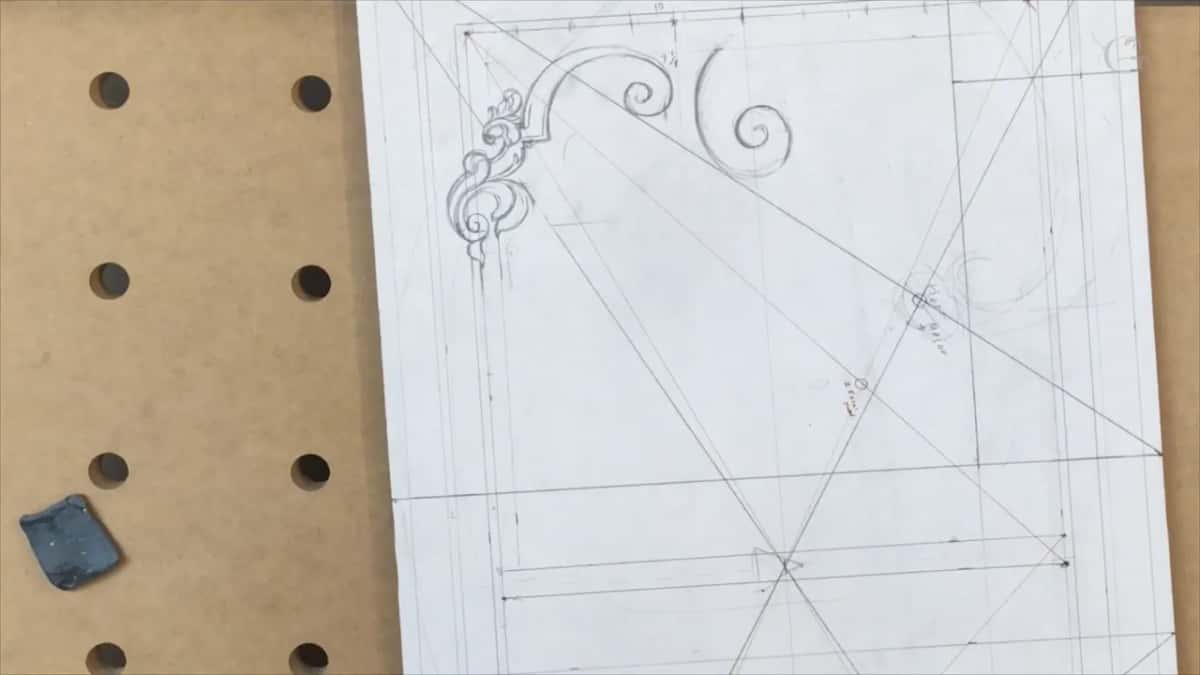
The carving stage keeps both promises. When I reach lesson 18, I tell you I really like the idea of multi-level carving, even if it's a relief furniture style carving. Really cool. Lesson 21, on the acanthus movements of the upper part, has me saying this type of carving gives you the ability to work with tiny carvings, micro carvings, which is also one of the arts. Some carvers do only the tiny, small things. This panel gives you normal size and micro carving, and it trains your hand for better control.
Is it normal to stay unhappy with a drawing this long?
For me it is, and you hear it all through this lesson. I am semi-happy, but not quite yet. A minute later I am still not happy, and in part three, at last, now I'm getting somewhere.
I do understand it takes time, and I ask you to be patient with me. Like I said, I would like to create a piece of art and still be authentic to the original designs of the 18th century, or should I say the end of the 18th century. Right now I'm just doing the main movements, and I will add more details to them later.
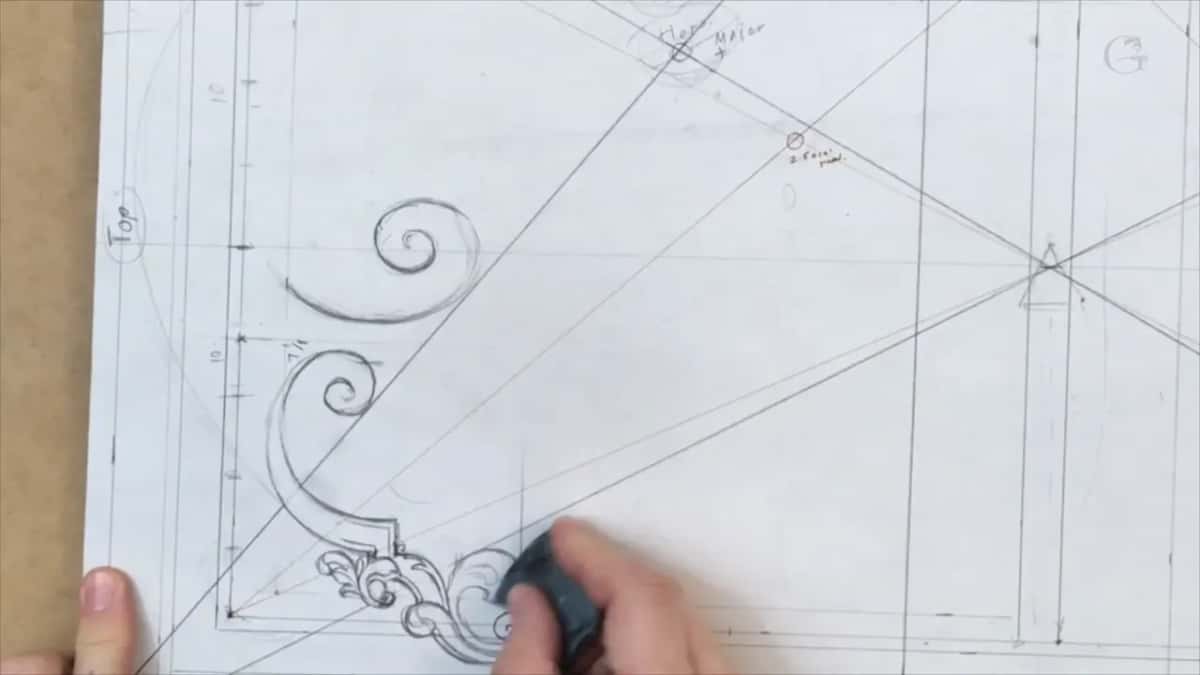
It takes some time to develop the really good idea. I'm working right now on just a corner, and we will work on the overall design later, but I want to make sure this corner will look really good and authentic to the late 18th century. Near the very end of the last part I think I am somewhat happy.
Want to draw that corner with me, one line at a time, and then carve it? The whole design course is open with Access to the school, and so is the carving stage after it. The eraser on my bench in these frames is a blue one.
How it's done
- Find six parts of ten. Take two points on the layout, divide the space between them in ten, and count six. Eyeball the middle.
- Draw the main movements inside the lines. Keep each new movement inside the lines you drew before, and leave the details for later.
- Outline the boat. For an acanthus, draw a boat-looking shape around the leaf first, turned the way the movement goes.
- Find the center line and subdivide. Inside the boat, find the center line, let it curl, then subdivide the leaf.
- Set the eyes on one line. Place every eye of the leaf along a single line.
- Repeat a corner, then break one. Repeat a movement from one corner in the next corner. Then break one corner on purpose and put something else there.
- Erase what does not flow. When a part does not flow, or one spot holds too many volutes, wipe it out and redraw it, maybe as an acanthus leaf.
Frequently asked questions
What is the boat in acanthus drawing?
The boat is my name for the outside boundary of one acanthus movement. You draw a boat-looking shape and turn it whichever way the movement travels. I erase it on the inside right after, in part three, and part four finds the center line.
Should the eyes of a carved leaf line up?
Mine do on this furniture panel: three eyes sit right on one line, and I think that is a good place for them. A Roman acanthus is different, and there I sometimes place the eyes first, before any flow line, working out how many there will be.
Do you measure the ornament thickness with a ruler?
I eyeball it. The moldings here run 5 mm (3/16 inch), and the acanthus movement repeats that thickness without a measure. In lesson 7 a ruler does come out, to mark the 5 mm lines again and to repeat a 90 degree corner.
What to carve next
- Carving Furniture Panel, Design, Part 1, the whole course
- Designing Furniture Panel 3, the lesson before this one
- Designing Furniture Panel 5, the lesson after this one
- Designing Furniture Panel 1, where the focal points are found
- Carving Greek Acanthus Leaf 1, the boat outline
- Carving Furniture Panel, Part 2, the carving stage