
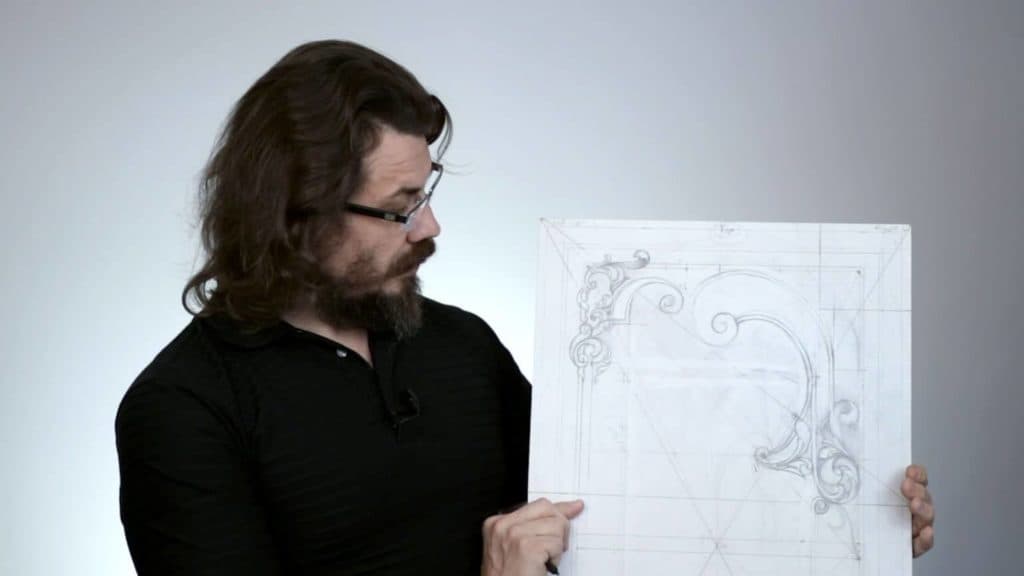
Alexander Grabovetskiy, woodcarver, School of Woodcarving · Published 2018
What is a root rectangle in ornament design?
Quick answer: A root rectangle is a rectangle built on a square root, root two, three, four or five. The golden rectangle, one to about 1.62, is a separate family. I swing both off a square with a compass. My walnut panel is close to root four, two equal squares, and I still set its focal point at six parts of ten.
A root rectangle is a rectangle built on a square root ratio, such as root two or root five, and it is not the golden rectangle. That was my first point in this lesson, with my walnut furniture panel in front of me. Rectangles are different. They're not all in a golden ratio, and mine sits near root four, but I still wanted the central point to feel like it sits somewhat in the golden section.
Got a board that is simply the size it is? Want the main idea of the carving to land in a good spot on it anyway? Then find out which rectangle you are holding before you place anything. In this lesson I first draw the rectangles by hand, with a marker. After that I go back to the panel, name its two diagonals, show where its real golden point would be, and leave that point alone. I change my mind more than once on camera.
What the rectangles mean for this panel
- Not every rectangle is golden, and root two, three, four and five are their own family.
- Half a square, swung down, gives the golden one.
- This panel comes near root four, which is about two squares.
- When the panel stands upright, the line to the upper right corner is the baroque diagonal. The other one is the sinister.
- A square and a line at 90 degrees give the golden spot for the whole panel. I stayed with six of ten.
- Most of these lines will be gone before the carving.
What is a root rectangle, and how is it different from the golden one?
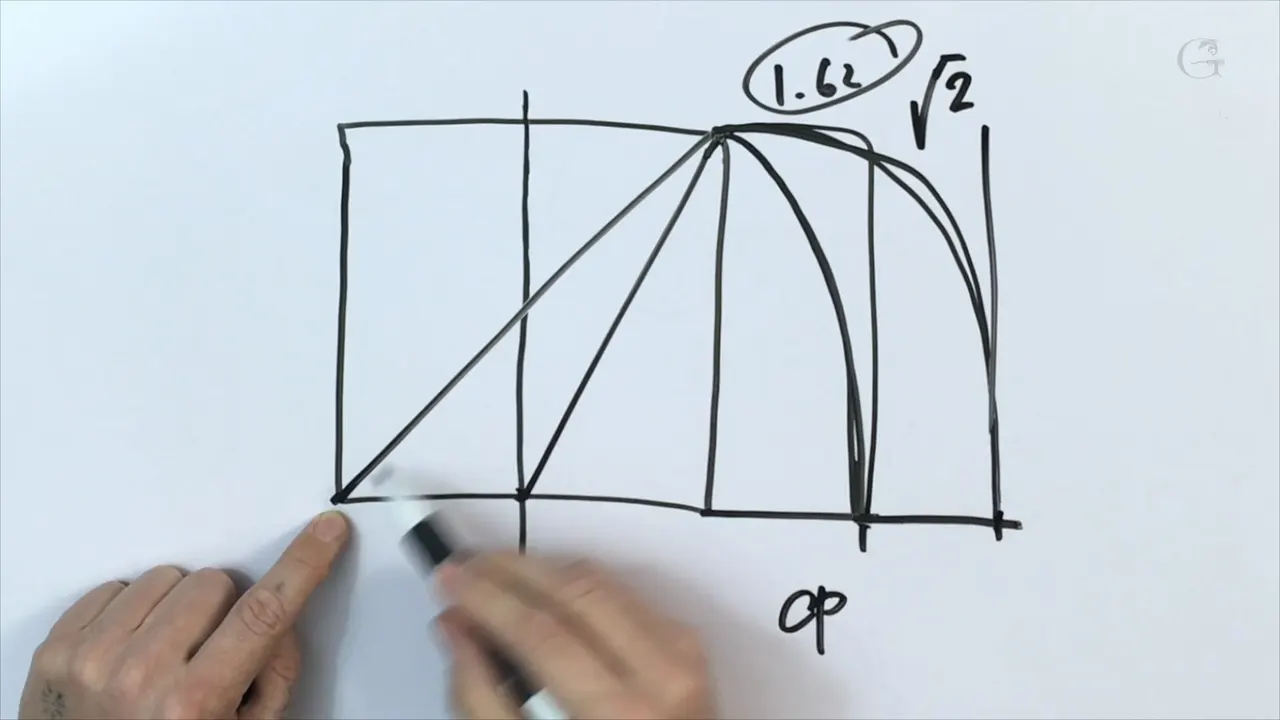
A golden rectangle has one proportion. I put it on camera as one to the 1.62, roughly. Root rectangles are a whole family, and I named four of them, root two, root three, root four and root five. On my sketch they all grow out of one square, and when you move the point of the compass to a different spot on that square, you get a different rectangle.
None of it is new. Wikipedia's page on the American artist Jay Hambidge says the system set out in his books of 1920 and 1926 used root rectangles based on ratios such as the square roots of two, three and five, next to the golden ratio. I'm not sure everyone watching knew those rectangles, so I gave an example.
How do you build a golden rectangle from a square?
First you need the perfect square. Mine was just drawn by hand, and I said so out loud: this is not a perfect square. But let's say it is.
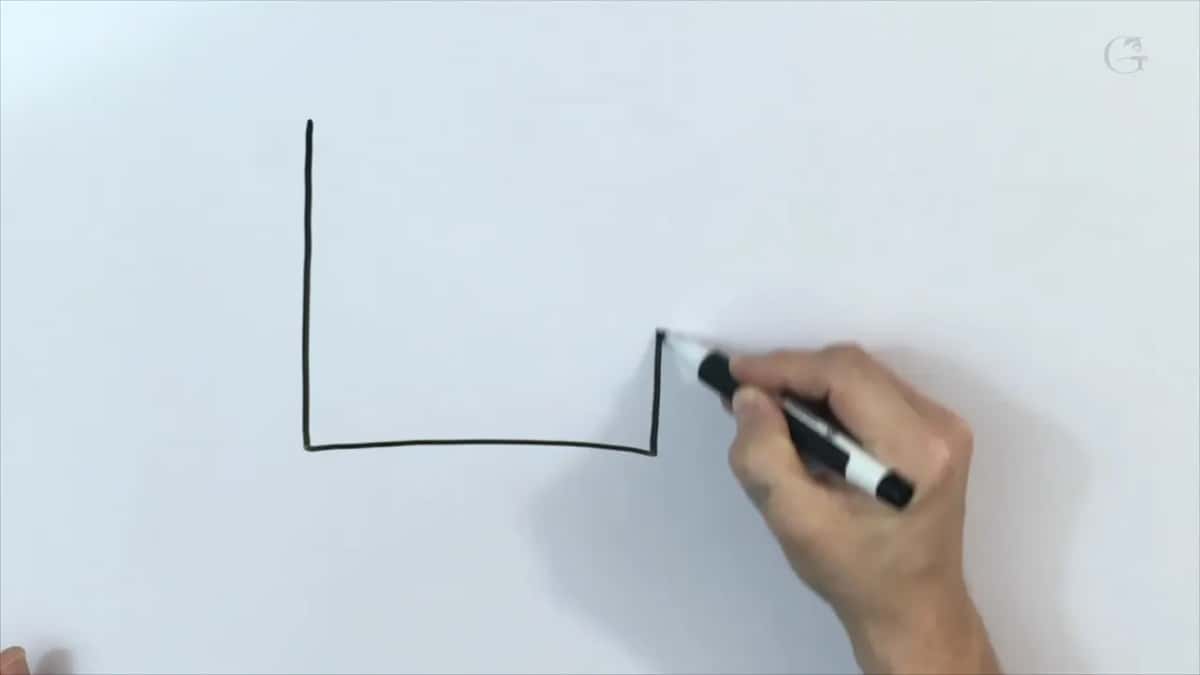
Divide that square right in the middle. Take the point at the middle of the base and the far top corner, and that becomes your radius. Put the compass there and swing it down to the line, and that would become the real, true phi rectangle, the golden ratio, 1.62.
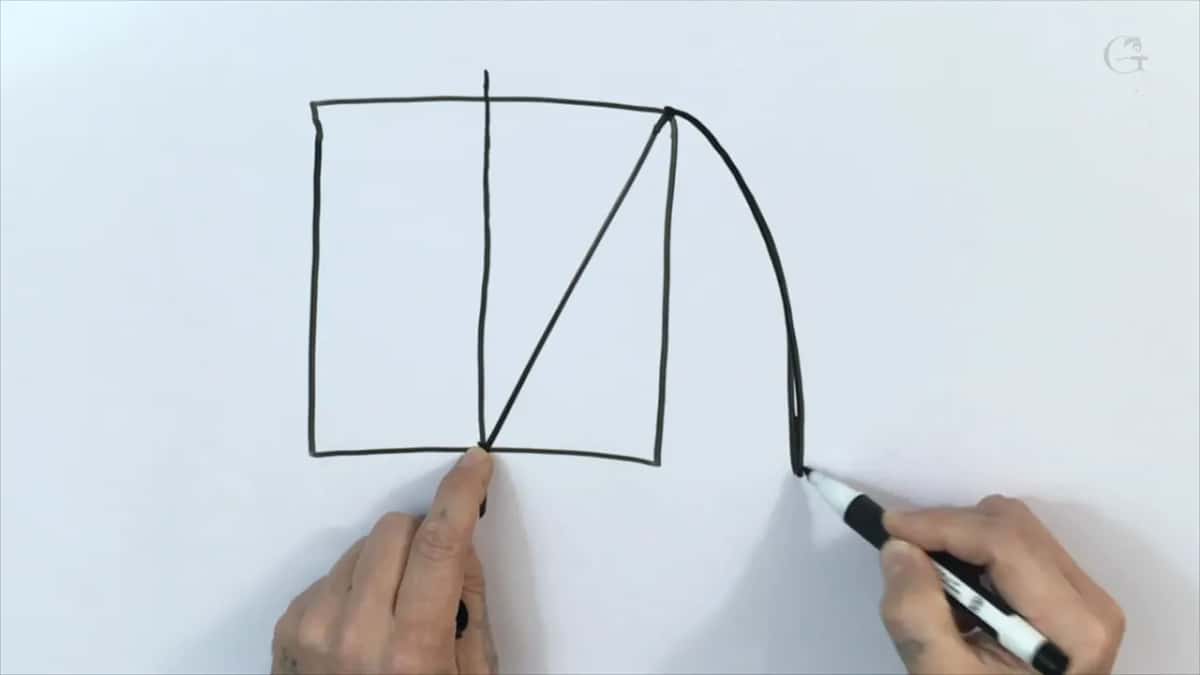
Wikipedia's golden rectangle page lists the same moves for a straightedge and compass. Draw a square, run a line from the middle of one side to an opposite corner, and use that line as the radius of an arc.
For root two I took another point. On my sketch that line starts at the bottom corner and runs right across the square to the opposite top corner, and the arc it swings lands past the golden one. Wikipedia's page on the square root of 2 explains why. Root two is the length of the diagonal across a square whose sides are one unit long. Take the compass from one more point, move it this direction, and it will become root three.
But that is just the concept. Usually people go up to root five. Of course, you can go as long as you wish.
| The rectangle | What I said about it on camera in this lesson | Where it shows in lesson 7 |
|---|---|---|
| Golden, or phi | One to the 1.62, roughly, the true golden ratio rectangle | First arc on my sketch |
| Root two | Swung from another point of that same square, so the radius is longer | The outer arc on that sketch |
| Root three | One more point and one more swing of the compass, this direction | Talked through on the sketch |
| Root four, my panel | Close to two squares, two equal spaces, and close to what I have | The walnut itself |
| Root five | Usually the last one, though you can go as long as you wish | Named in the lesson |
Which rectangle is this walnut board?
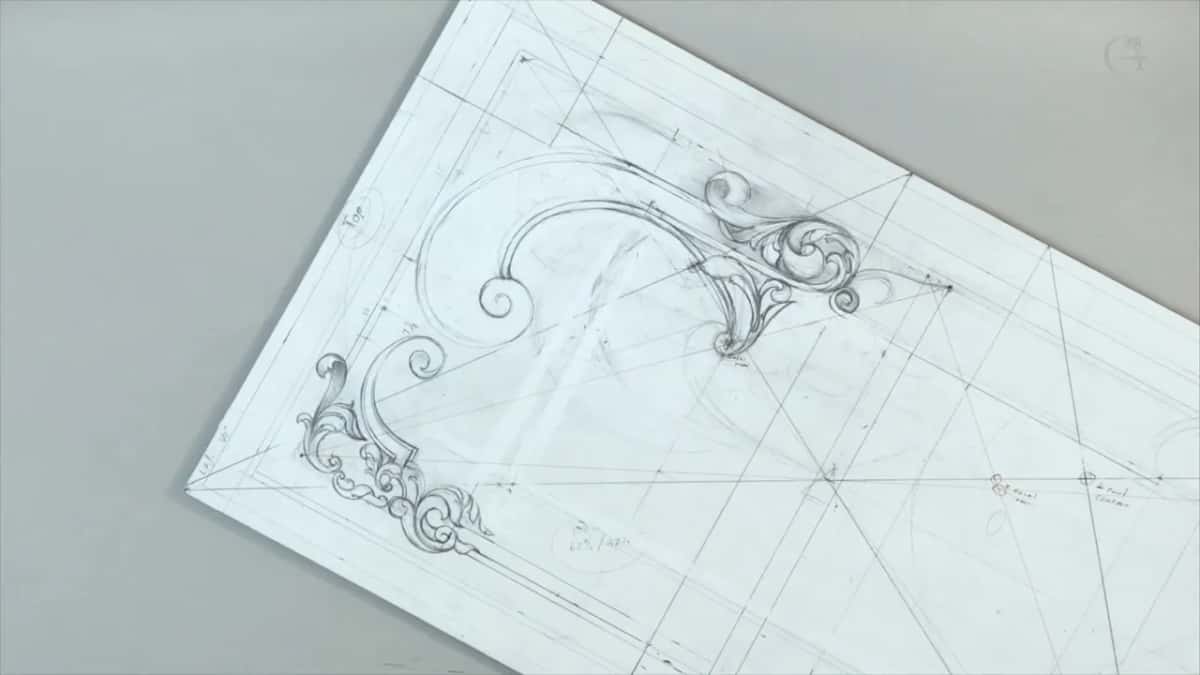
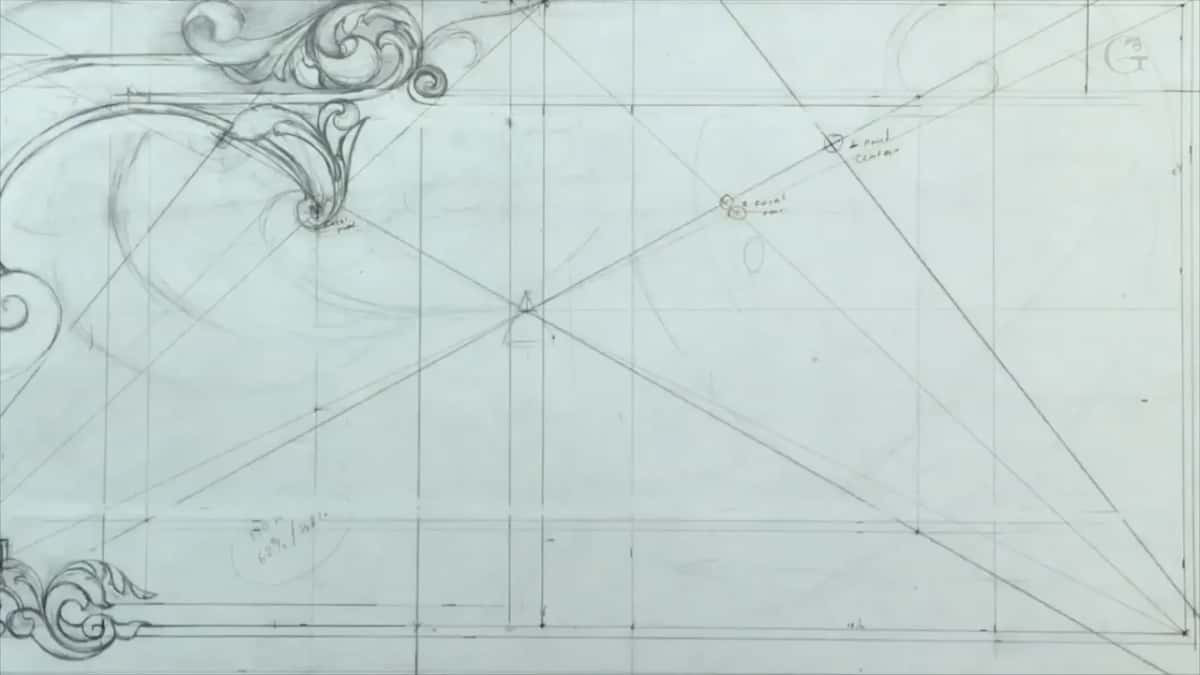
Mine is close to root four now, and root four is close to two squares, two equal spaces. But I still wanted to get the feel that my central point sits somewhat in the golden section. The true focal point still hits six parts out of 10 on this board.
The board itself was measured in the first design lesson, and its borders came out of lesson 2. In lesson 3 I found its golden centers corner to corner, on a board that proportionally is not perfect. Lesson 7 goes on from those marks.
What are the baroque and the sinister diagonals?
On a vertical panel, the line that points to the right upper corner is called the baroque diagonal. The other one is called the sinister. Baroque here does not mean the style of baroque. On camera I said it is actually translated as strange, so this would be the strange line, and the sinister is a left. So you have the right line and the left line.
The dictionaries tell a longer story. Wikipedia's Baroque page traces the word to the Portuguese barroco, a flawed pearl, and quotes a 1762 French dictionary using it for something irregular, bizarre or unequal. Wiktionary gives sinister from the Latin sinister, the left hand.
I've said the same in other classes. In Principles of Design in Wood Carving 2 I said baroque means right, and that sinister means evil. On the April 2020 livestream I said sinister is translated as evil or left, and that in medicine they use the term too.
On that same livestream a viewer did not know the two names. I didn't know them either for a long time, until I was an apprentice myself. My teacher was really big on design, all the mathematics, all the golden ratio, Fibonacci numbers, all the movements, all the armature, the law of space and the law of rhythm.
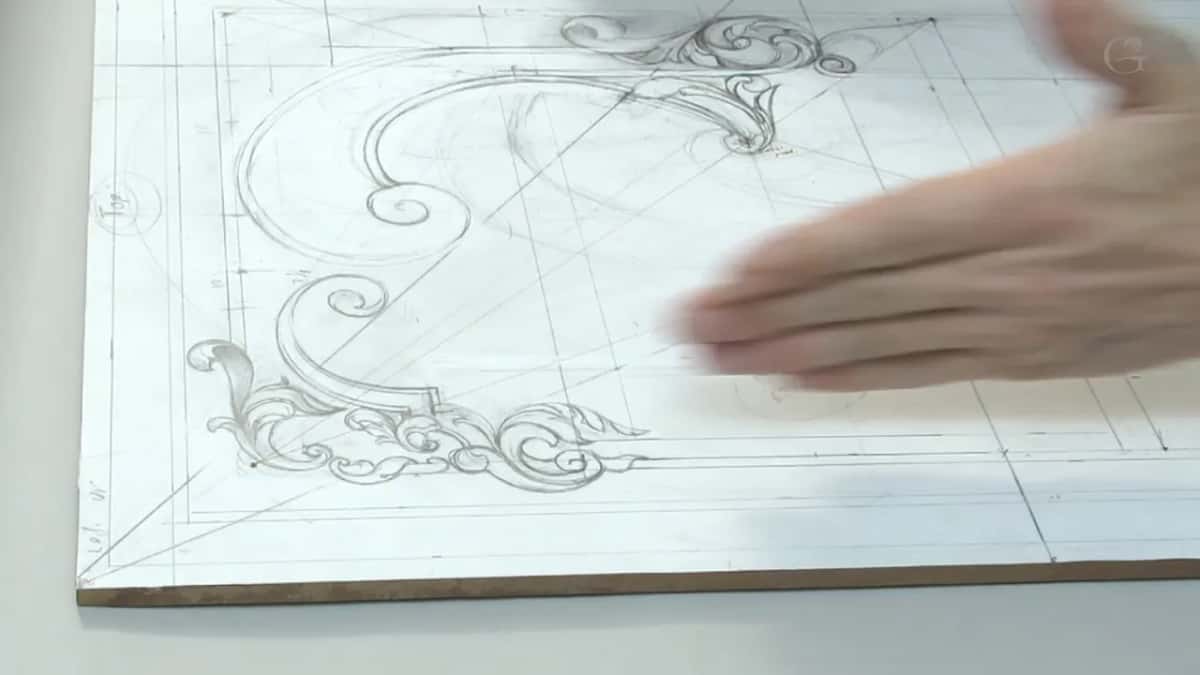
The names come back once the movements start. In the third lesson of that course I showed a design where the main movement grows uphill on the baroque diagonal and the second movement falls on the sinister. They don't always have to go opposite, I said there. They can move in one direction and still fight each other.
Later on this same walnut, in lesson 14, I repeat the sinister diagonal and let it decide where one movement ends.
Where is the true golden section, and why leave it?
You take the square and find this point of the canvas, and you place it against the diagonal. In my case that is the baroque diagonal, because my panel is vertical. Then you draw the line 90 degrees, exactly. That would be the true golden section of this whole composition.
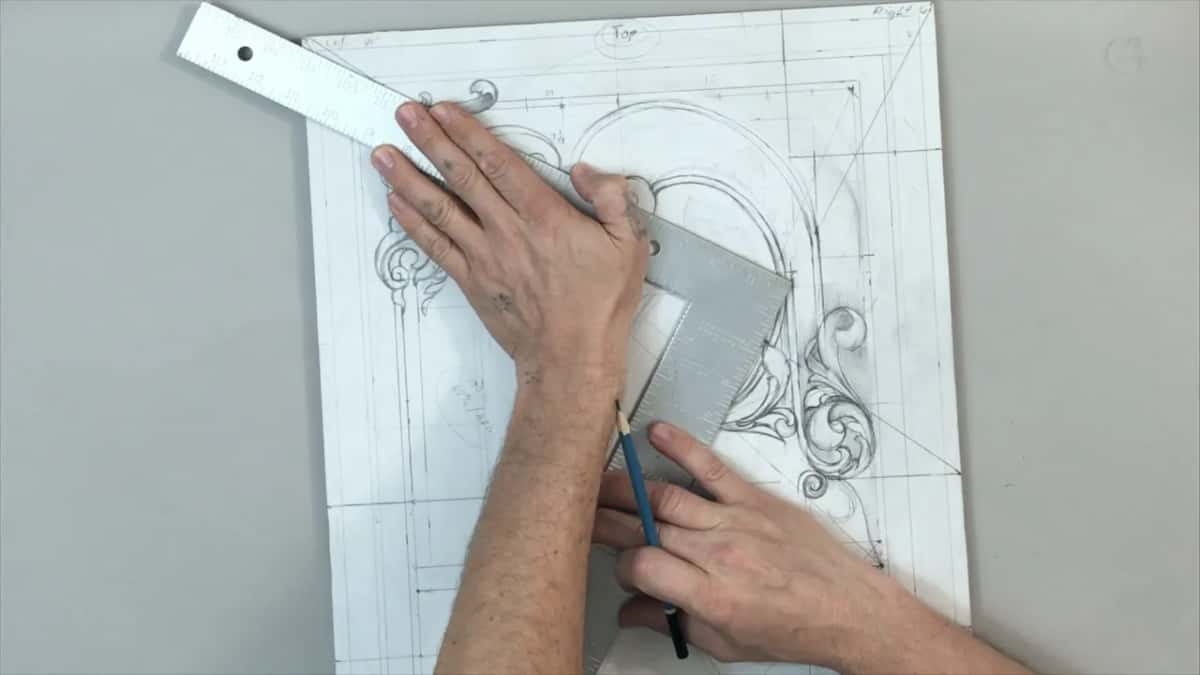
But I didn't like how it was going to look. So I did just the six parts out of 10, twice, once from the main outline or border and once for the inner part.
The first lesson of my Principles of Design course puts it a different way. You really don't need to draw all those lines and circles. Not everything on a piece of furniture is based on a golden rectangle, and if the piece is long, like an apron on a table, you think of 100 percent, then 40 and 60. Somewhere right there is your spot.
How did the inner panel find its lines?
Off camera I had already tried to find what is going to be pleasing to the eye. One line I carry all the way down. It is going to become another molding, and I reflect it right on the opposite side, then place one more line with a space between. But the inner panel still had to be relative to the overall composition, the overall dimensions.
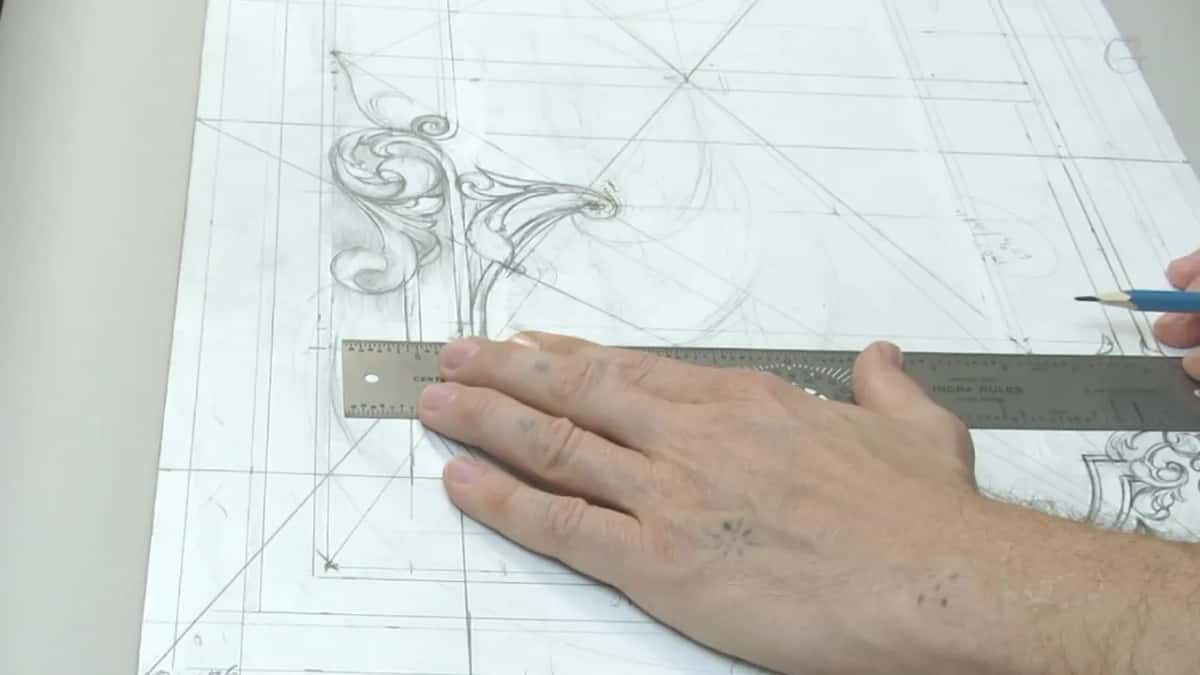
The easiest way, in my case, was the diagonals, because I have them across the whole board. Wherever that outside line hits a diagonal, I place my lines. That becomes my inner panel.
And I tell you the same thing I told you before. Most of those lines are going to be gone. They are preliminary, there so I can see what I want, so the design comes out more organic-looking.
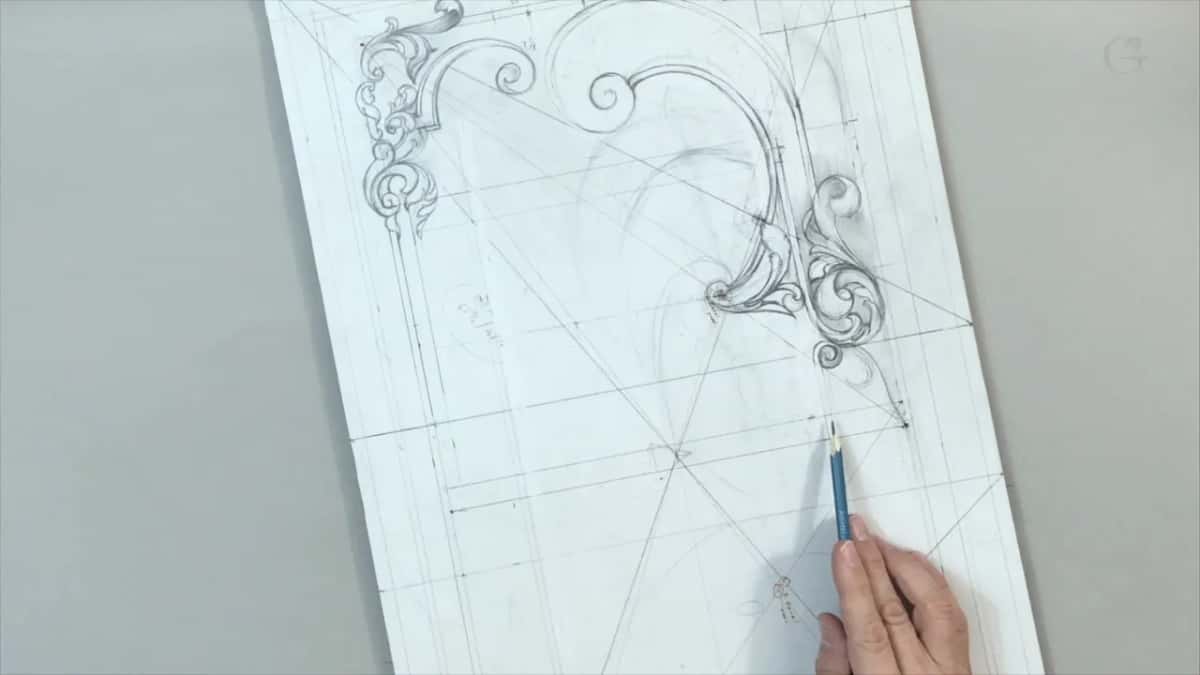
How wide is each molding line on this panel?
About 3/16 of an inch, five millimeters, exactly the same width each time. I eyeball it first. You could measure that, and that would be absolutely fine. Then I place my ruler, and it's exactly five millimeters, though I'm not sure the camera catches it.
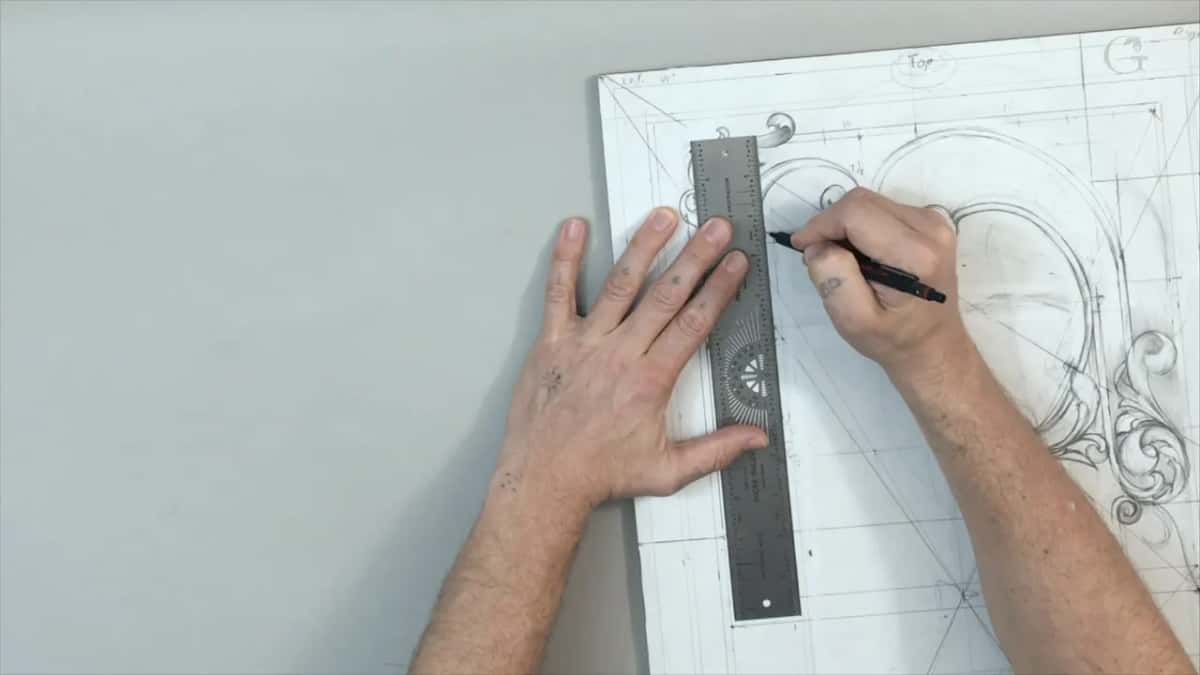
The width has a job. I want to create the illusion that this molding is continuous, even where I develop more movements next to it later. We have 5 millimeters of space for it, so I carry the line up the whole board, and I do the same in the other direction. In my opinion, it's going to look much better.
That band was born in the border lesson, half of the 10 millimeter strip. Near the end of lesson 7 I mark it once more and call it my law of repetition.
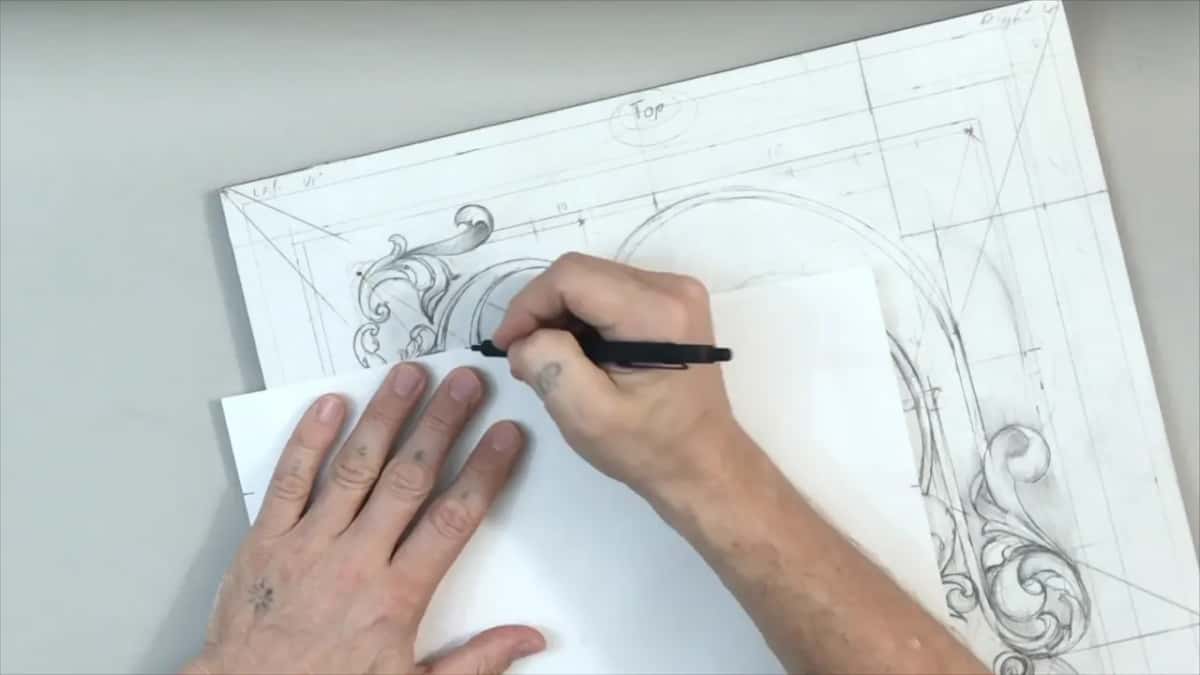
One corner did not please me. I thought it should be about the same as how wide it is inside. So I got my piece of paper again, my measuring device, took exactly the same space onto its edge, about 5/8 of an inch (16 mm), and marked it on the board.
Why plant a compass in the focal point?
I call it a somewhat antique method, Middle Ages, 16th, 17th, 18th century. The artist would place a compass right in the focal point and draw some circles. For the first circle I put the point in the very middle, then in the main focal point for the second.
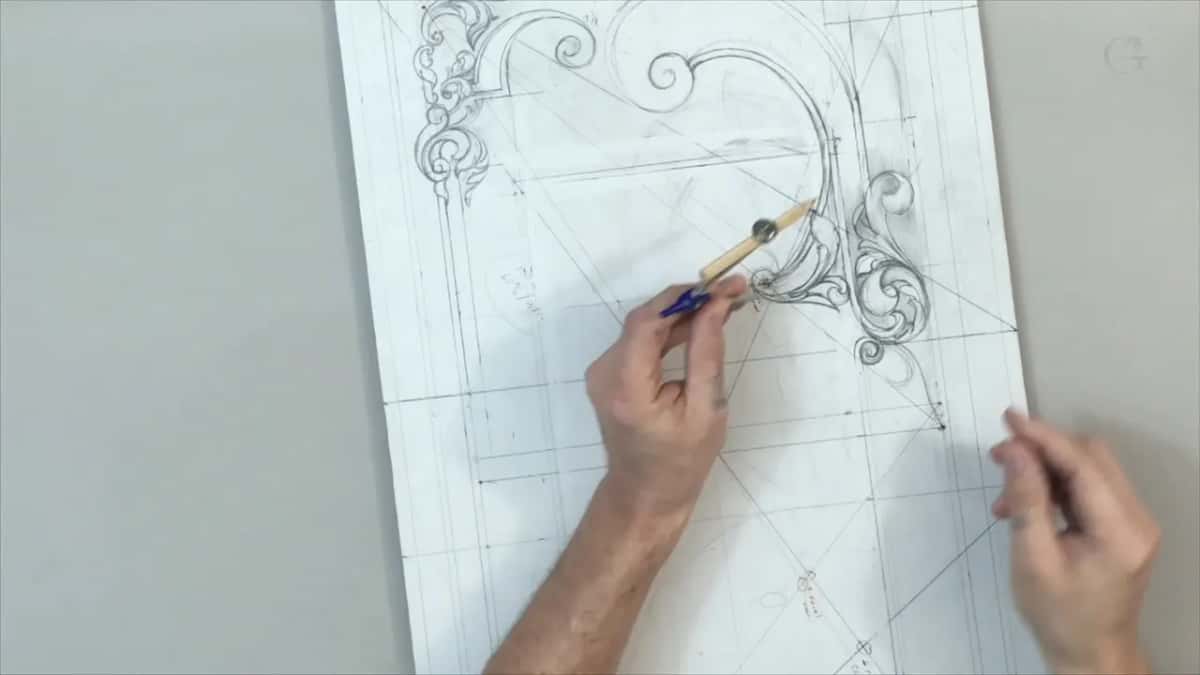
Then I took a point on my inner diagonal, which in my case is a sinister, and swung another circle, or a semicircle, and did the same again. One more came from the swirl. It came really close to a line, so I decided it should hit that line.
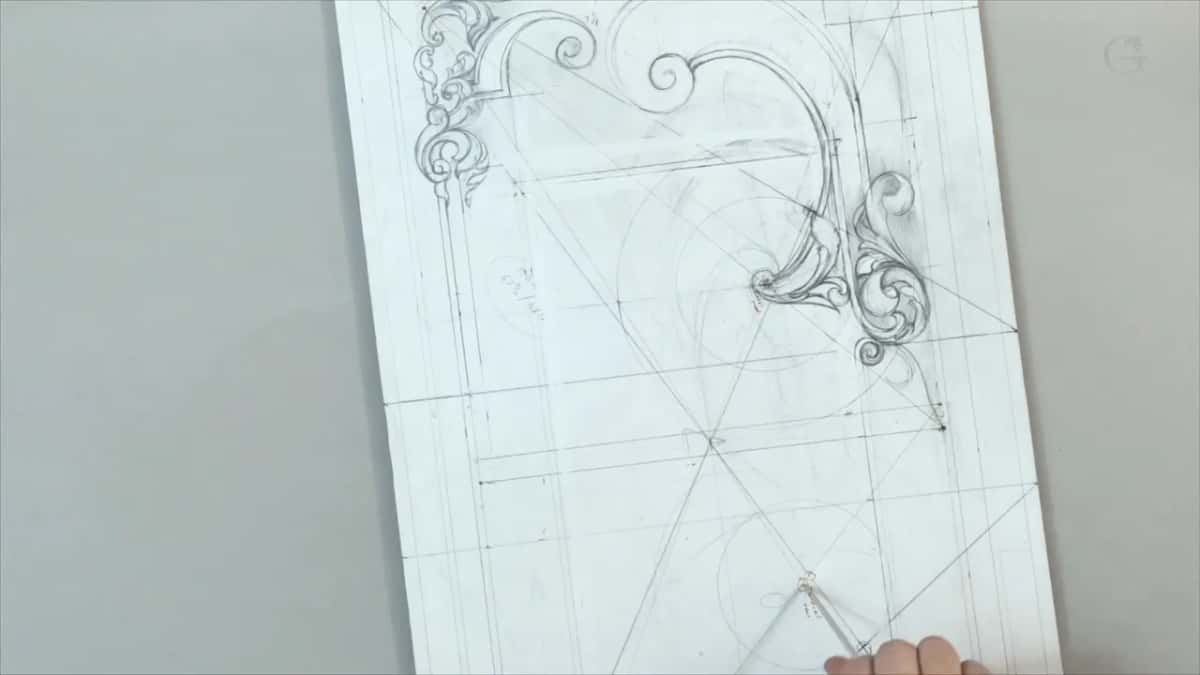
One movement I liked a lot, a really nice movement, I said. I wanted to reflect that detail in another spot, and the best way was to hit one point and bring it down.
Funny thing. On the dining table apron I said I almost never use any compasses to draw my circles. When you do it by hand and the round is not a really perfect circle, it has a human touch in it, and it feels more authentic.
Can a furniture maker's ruler help a carver?
On this panel it did. I showed the tool I use in furniture making, and I know they didn't have those tools in the 18th century. I have multiple of them, and the tool has lots of different holes. I place my 0.5 pencil in a hole and just follow along the line.
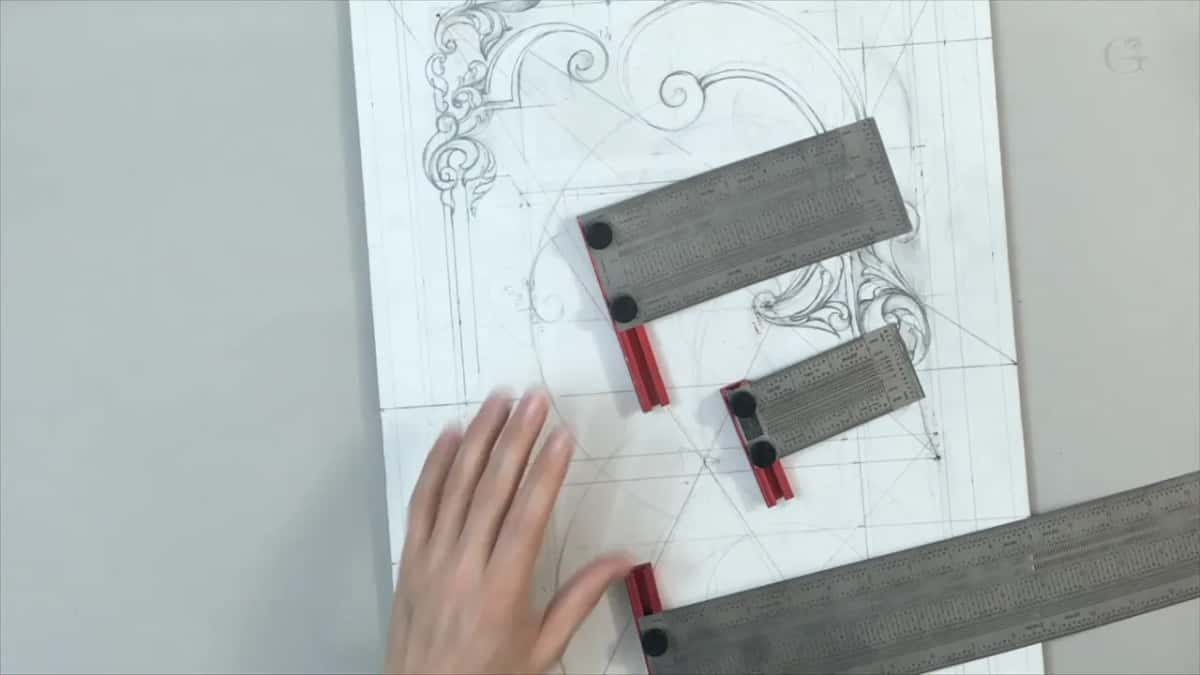
To hit a point without measuring, I find the closest hole, which in my case was the 5 3/16 mark, and run the pencil along, and that's really accurate. I know I need about five millimeters, so I carry the second line too.
For a long edge there is the big one, which goes all the way to 18 inches (about 46 cm). Pencil in the hole, carry the five millimeters, and I've got a perfect 90 degrees movement. Of course, you don't have to use it. I don't have to use it. I just thought it's a really cool tool, it helps me a lot to speed up the process, and I am using that in furniture.
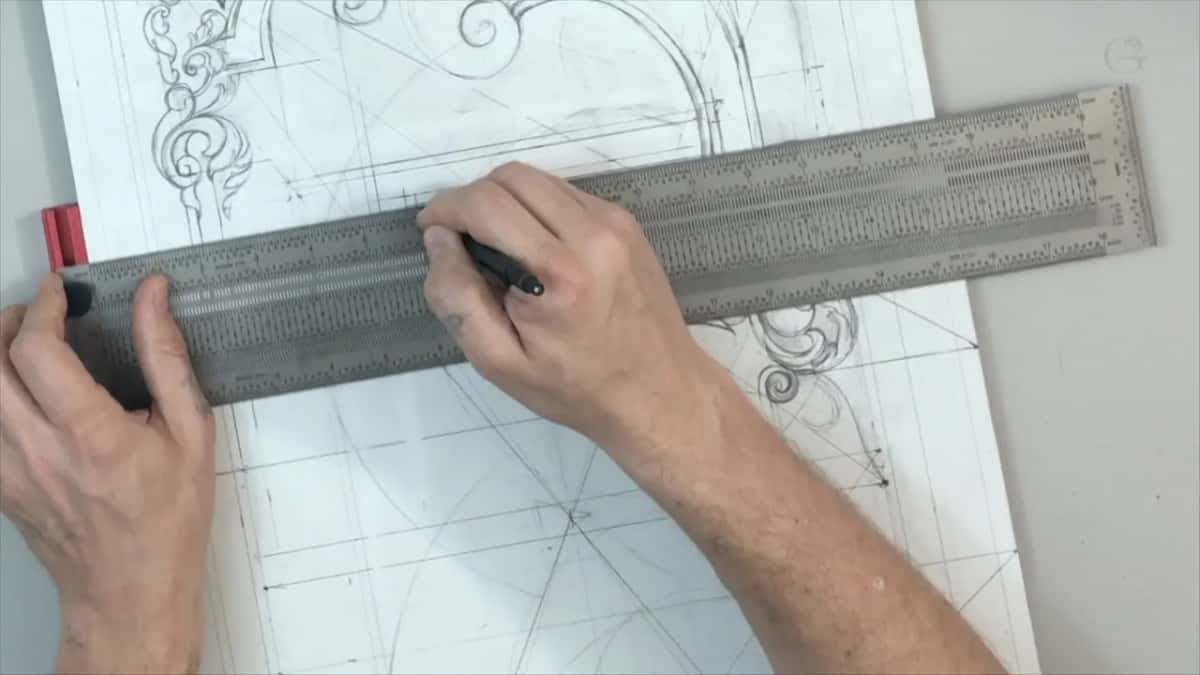
Curves get the same help. If you have a hard time making those movements, you can always get a circle tool, a combo circle tool, and just make it look better.
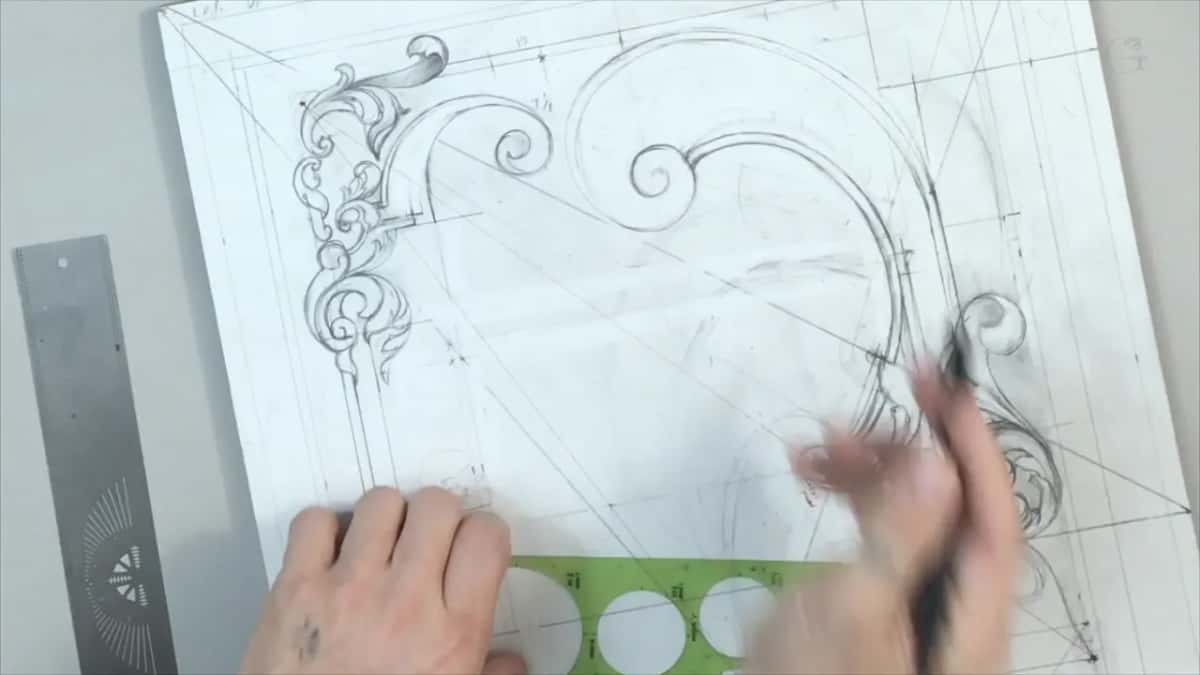
Why does my volute stop short of the center?
In the second part of this lesson I changed a movement I didn't like. I carried my line up and started the volute on it, just like that for now. I could fix it later, but I kind of liked that idea.
Later I drew the same kind of volute in another place. That volute is going to hit that golden line, which is in line with my minor focal point. I keep it off the center on purpose. I want to develop my acanthus movement in this direction, and the whole acanthus movement is going to create that feel. The design keeps going in lesson 8.
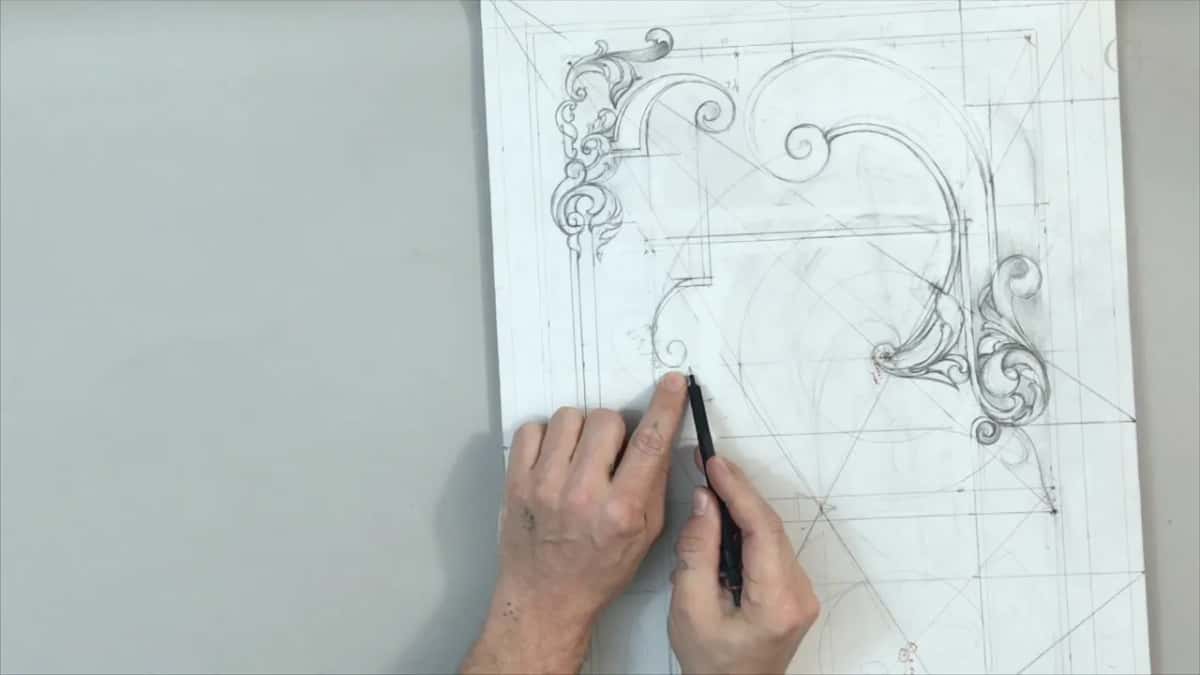
When should you put the pencil down and just look?
Take it away from yourself sometimes and look at how it looks. Stare for a few minutes. If it feels fine, continue to work. Sometimes it is a good idea to leave it for a few days and not touch anything, and then come back and see what you would change.
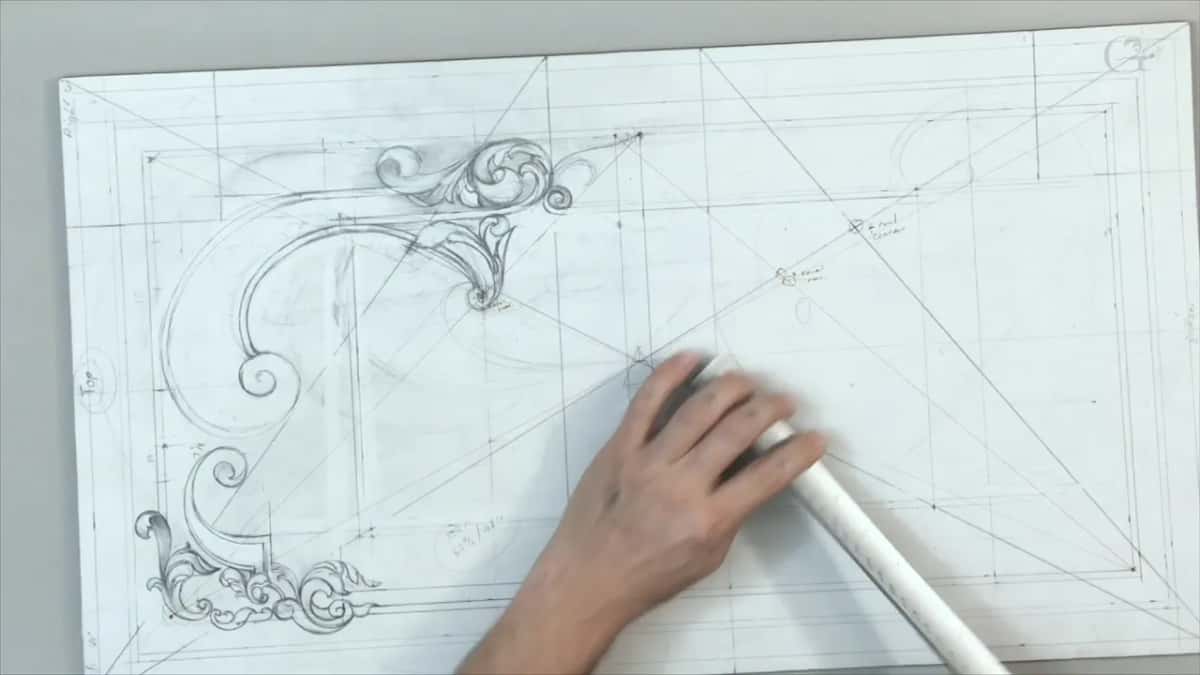
We have a saying for this in Russian. In Venice Room 45 I called it soaping the eye, like applying a soap to your eyes. After a while working on one detail, your eye gets used to it, and you don't really see if you're making something wrong. That's one of the reasons I keep moving to another area.
The carving stage of this same panel has it too. In lesson 19 I said sometimes it's a good practice just to walk away from the area which bugs you.
Near the end of lesson 7 I still wasn't quite happy with what I saw, and I said I needed a nicer transition from one point down. A little later it was not looking too pleasing, I said. At the very end it looked much better.
Why show the design instead of handing you the file?
I could have created all of it beforehand and just given you the download, and I said I would provide my download. I think it's a better idea, though, to show the way I design, the way I develop my idea.
I know this panel, with its dimensions, will be a somewhat complicated panel. That should not stop you from creating your own in different dimensions.
A viewer on that livestream asked whether I change a design for the type of wood. Yes, absolutely I do. I have to understand the wood I'm using, and working with lime wood or basswood is not the same as working with harder woods like oak, walnut and mahogany. This panel is walnut.
The four parts of lesson 7 show all of it, and Access to the school opens them, along with every design lesson for this panel and the carving stage. Have a pencil and a compass? Then make a square and swing the arc yourself.
How it's done
- Name the rectangle you have. Check whether the board is golden or closer to a root rectangle. Mine reads as root four, more or less two squares.
- Swing the arcs on paper. Sketch a square freehand, then halve it. Open the compass between the half mark and the far top corner, then swing that down for the golden one. Set it in the corner for root two.
- Rule both diagonals. Go corner to corner both ways. With the board standing, the one rising to the upper right is baroque, the other sinister.
- Pick the focal point. Test the exact golden point with a square and a 90 degree line if you want it, then judge by eye. I kept six tenths, from the border and from the inner part.
- Carry the molding lines. Run each band at 3/16 inch, 5 mm, up the panel and mirror it on the opposite side. Where the lines hit the diagonals, there is your inner panel.
- Hang circles on the focal points. Plant the compass in the middle and in the main focal point, draw circles, then add a semicircle off the inner diagonal.
- Step away. Stare for a few minutes. If an area bugs you, let it sit a few days.
Frequently asked questions
Is the golden rectangle one of the root rectangles?
On camera I keep them apart. A golden rectangle is one to about 1.62, and the root family is root two through root five. Wikipedia's article on Jay Hambidge lists both kinds side by side among the rectangles his proportion system used.
What does the baroque diagonal mean in carving design?
With the panel standing upright, the baroque diagonal is the line pointing to the upper right corner, and the sinister is the other one. I translate baroque as strange and sinister as left. Neither name has anything to do with the baroque style of carving.
Must the focal point sit on the exact golden section?
Not on this walnut. I showed how to get the exact point with a square set against the baroque line and a line at 90 degrees. I did not like the look of it, so I went with six parts in ten, from the border and again from the inner part.
What to carve next
- Carving Furniture Panel, Design, Part 1, the whole course
- Designing Furniture Panel 6, the lesson before this one
- Designing Furniture Panel 8, the lesson after this one
- Designing Furniture Panel 3, the golden centers
- Principles of Design in Wood Carving, lesson 2
- Carving Furniture Panel, Part 2, the carving stage