
Alexander Grabovetskiy, woodcarver, School of Woodcarving · Published 2018
How much detail is too much in a carved panel?
Quick answer: Too much detail in a carved panel is, on my lesson 10 drawing, a shape too thick for the main movement or one I called too small. One detail there just distracted. A curl sat too close in size to its neighbors. More details, I said later, can still make it more beautiful.
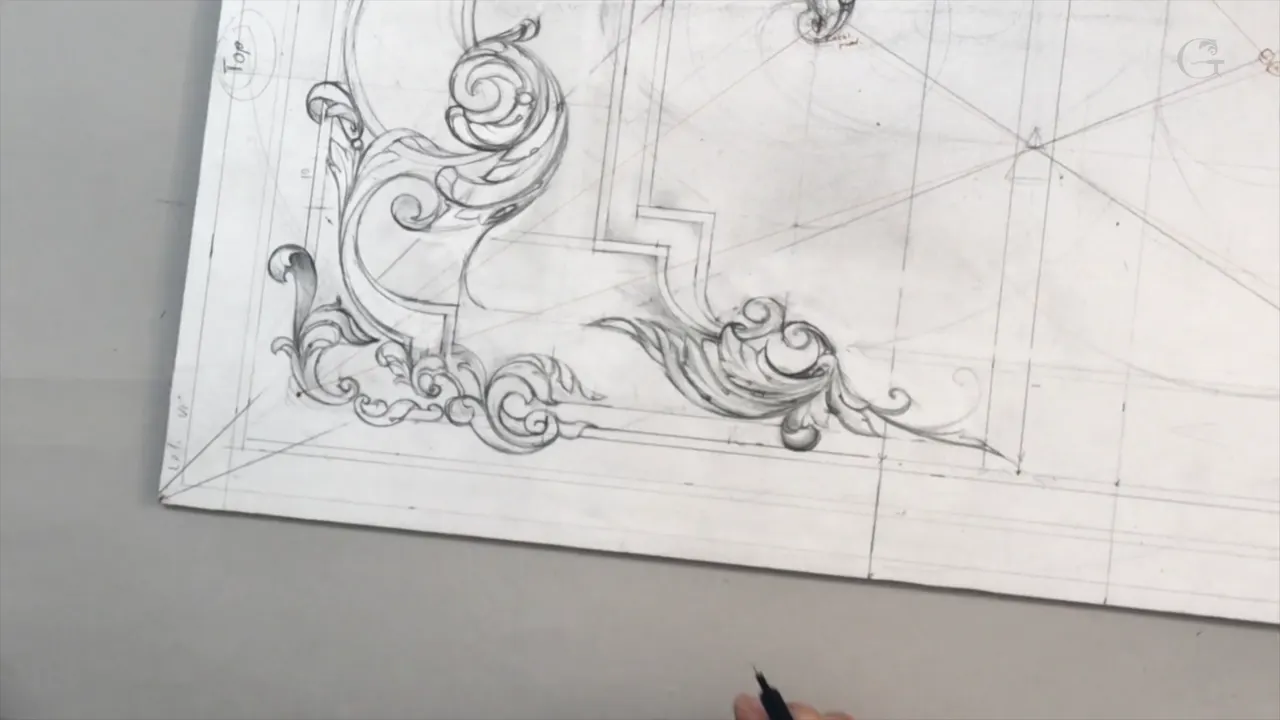
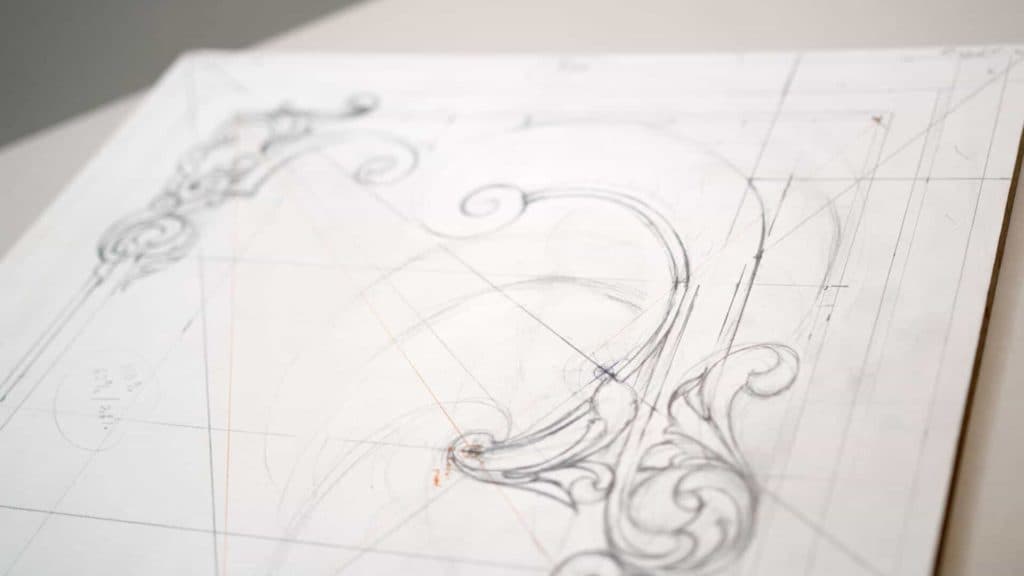
Too much detail in a carved panel is, on my drawing, a shape that distracts from the main movement, or one that comes out too small for the carving that comes later. In lesson 10 of my furniture panel design course I ran into both, and into a third thing as well, a curl too close in size to the ones beside it. Lesson 10 is all drawing, on the paper I glued to a walnut board back in lesson 1.
Does a drawing look different after you walk away for a minute? Does one heavy shape grab your eye before anything else? Then you already know the test I ran in this lesson, again and again. Below are the spots where I said too much, too thick and too small, what I did about each one, and my own words on the same trouble from other courses.
Four calls I made on this drawing
- A detail came out too thick for the main movement.
- Another shape in part three came out too small, and my next words were refine this.
- The curl I liked, I said, could be a little smaller.
- The panel gets a curly side and a straight side, split on the inner panel's golden ratio, and I called that excellent.
- When a section still bothered me at the end, I said let me sleep on it.
When does a detail become too thick?
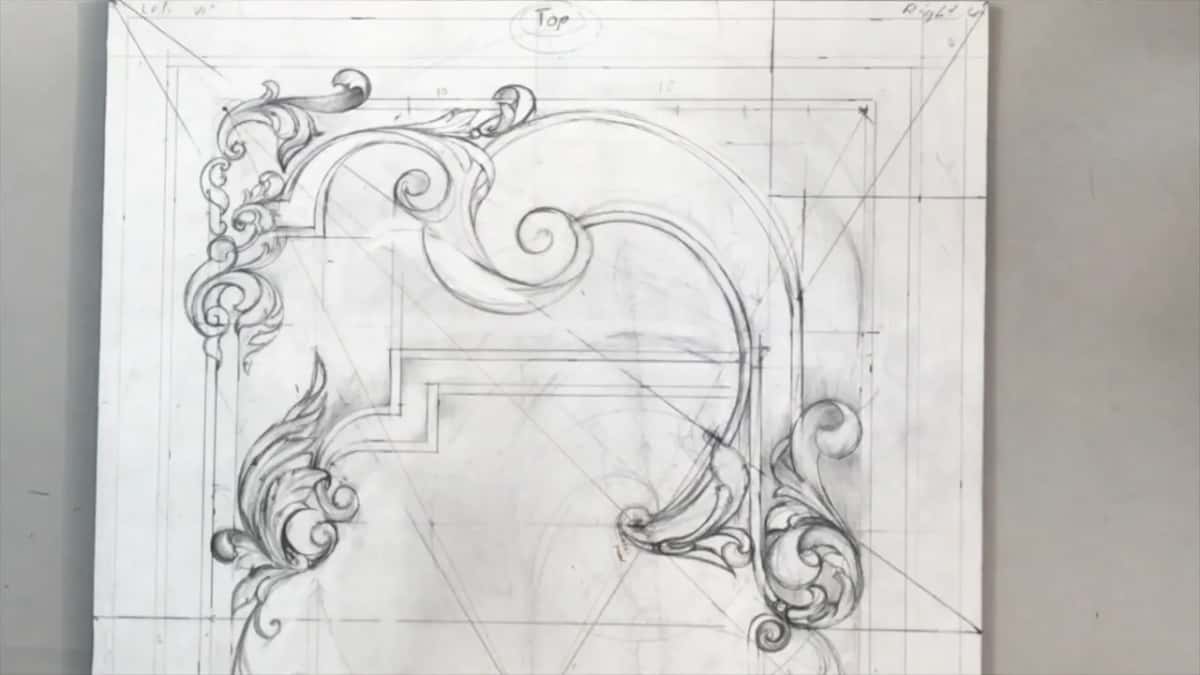
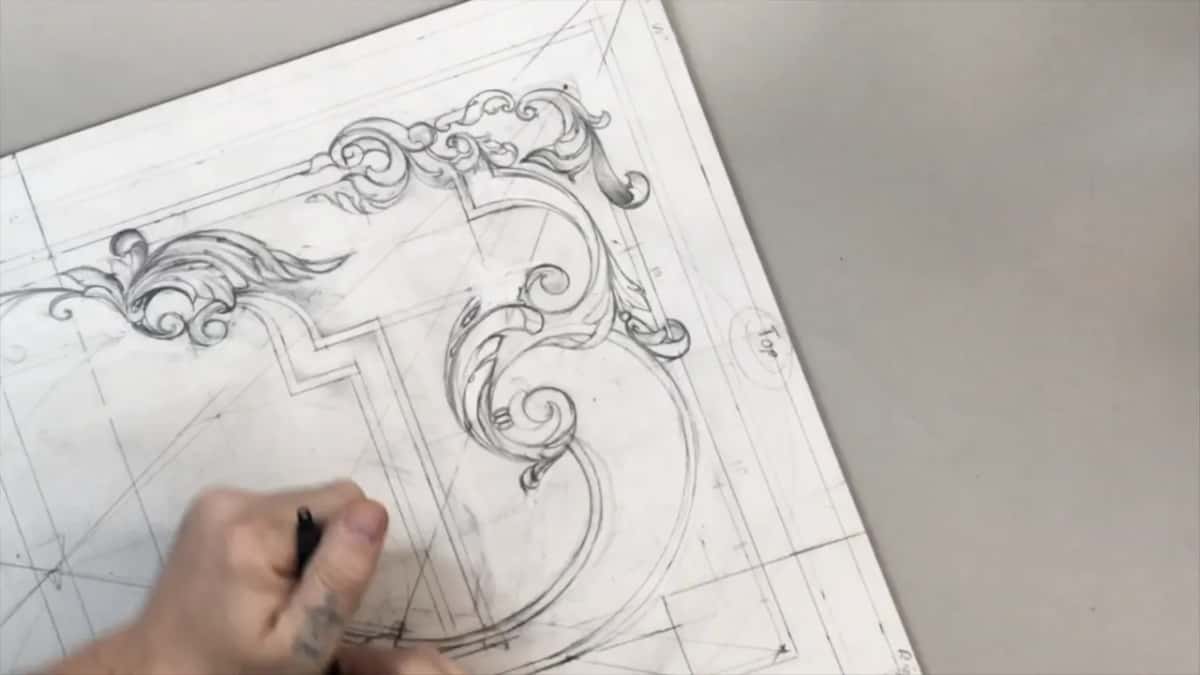
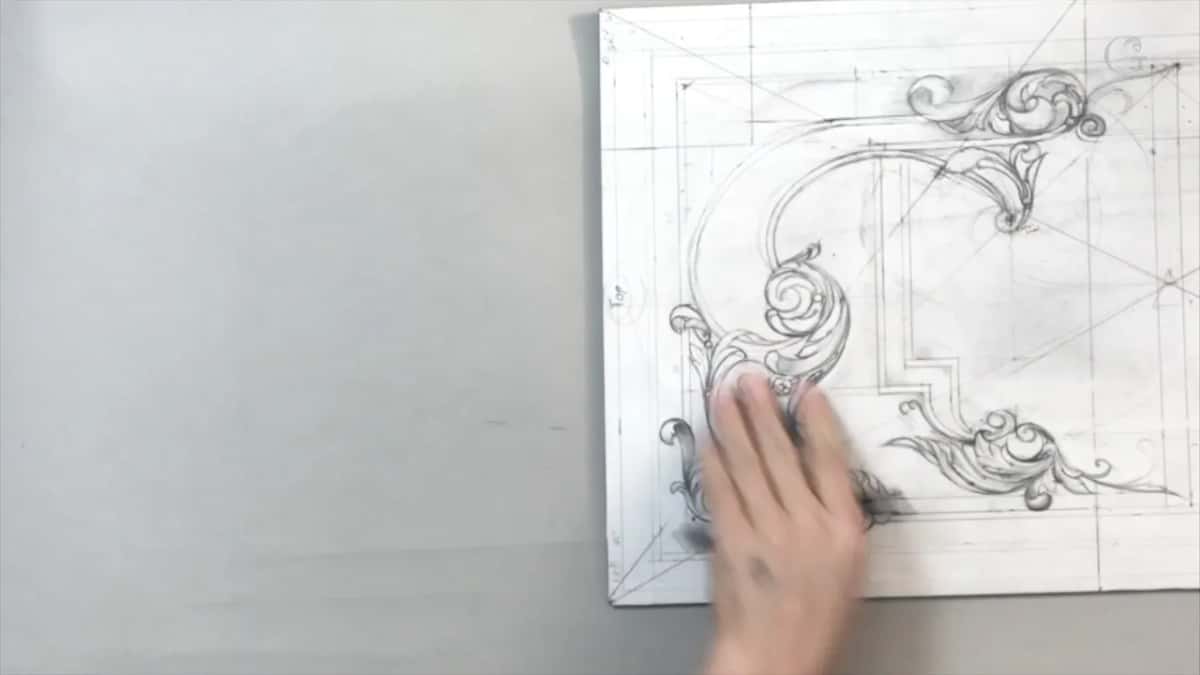
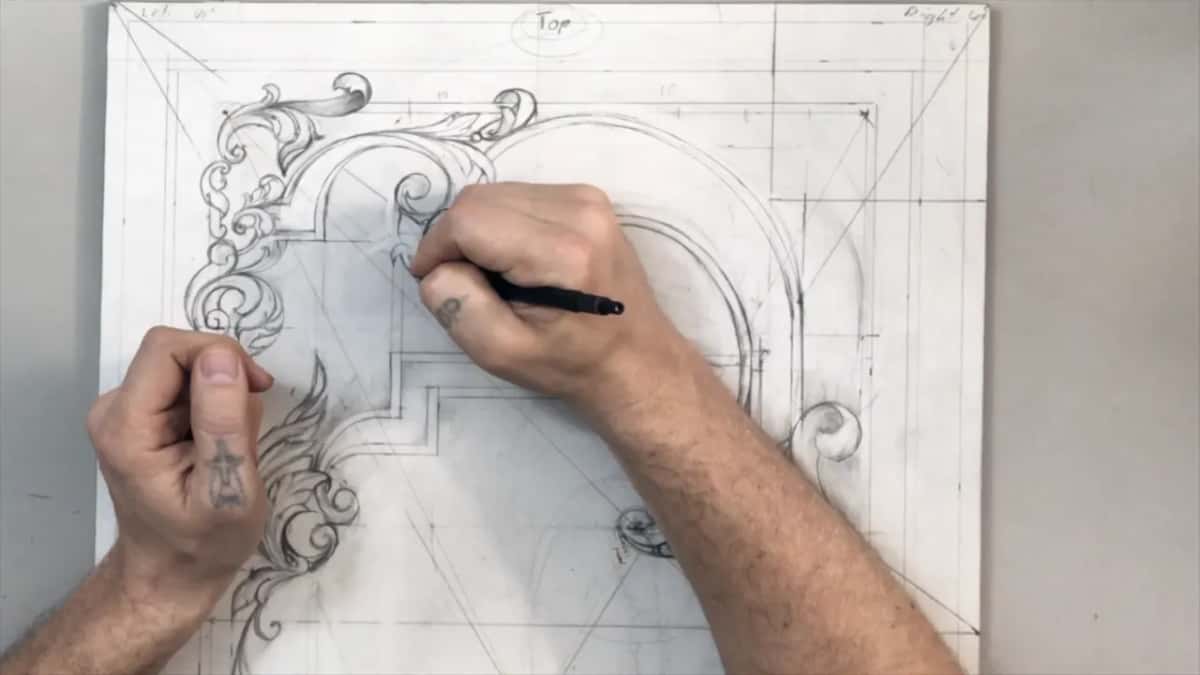
When it pulls your eye off the main movement. In part two I wanted to repeat a movement from one side on the other side, and I drew a detail there, not the volute, just a detail like this. I thought it would look better, then maybe yes, maybe no. No, it does not look good. Too thick, and it just distracts from the main movement.
You know what, I said next, I think I know what I could do. I could do a small acanthus flower.
Part one opened on a good note. I like that movement, I said, I think it's a really good movement, and I wondered what I could develop there. After another acanthus return and a move in a new direction, I said oh, no, too much, that is too much. Right after, I said get this, and connect it to the main. Part two opened the same way, with I don't like what I see right here, just too much.
On my Acanthus over Moldings panel, in lesson 8, I said it about carved leaves. I'm not going to give too many details to those leaves, because they are not the main idea of the overall movement. Some shaping and some detailing, but not as much, just the surrounding idea.
In the Venice Room I put it in design words. If you know a little bit about design and art, you know you really have to concentrate on the main idea. There the main idea was the flowers, which fall exactly on the golden ratio, so the parts around them were secondary. They still get details, I said, just bigger ones, with a flip where one part goes underneath.
Can a detail get too small?
One shape in part three did exactly that. Earlier in that part I thought about tiny little things on the inside of a shape, and said maybe not. Done from one side, though, I thought it would look good. I still wanted it to look unified, and right after, I said oh, no, I don't think I like it. No. Too small. It's going to be hard to carve. The next thing I said was refine this.
Part two had gone the other way, with even smaller detail on the inside and then another eye.
On a Venice Room leaf I said the same about the ridges inside each leaf. Take that point and that point, get six parts out of 10, and that is the middle line. Then the ridges, but not too many, because too many will look too busy. Too many and too small, and it won't look nice at all. It'll just look awful.
And when a small detail gets too hard for you, you have a way out. On the lily box I was carving a tiny thorn, almost impossible to see, and I said if it feels like too many details for you, feel free, just remove it. It's okay to simplify the form. But don't simplify too much, or it won't look as nice.
Why make a curl smaller when you like it?
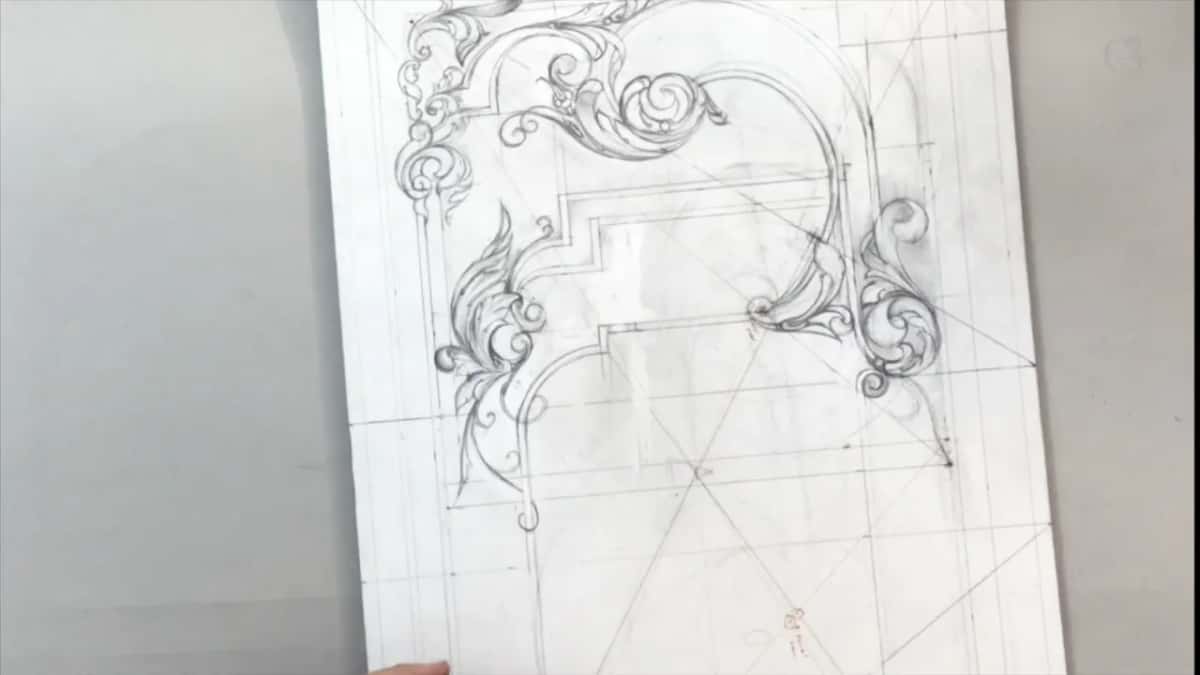
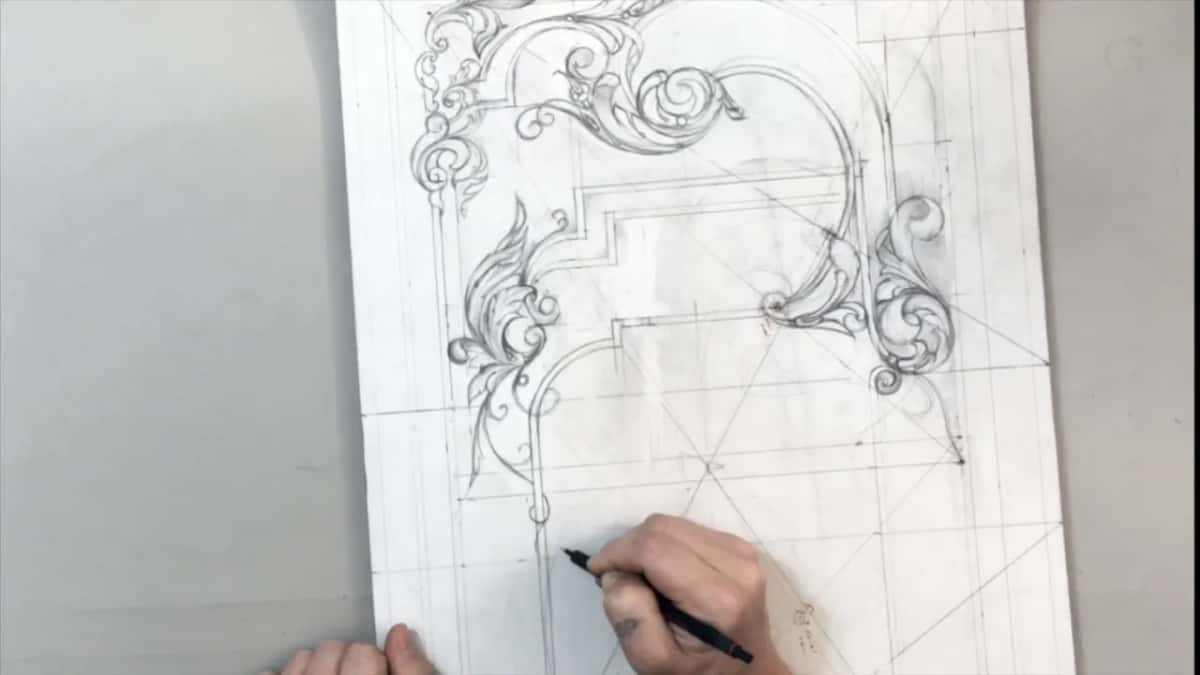
Size next to its neighbors. Part four has the curl. Yeah, I think I like it, I said, but maybe make that curl a little smaller, because it's just too close to the size of those. That just doesn't feel good.
Adding that curl had a price, and I said so right after. If I added that curl, I have to add this movement somewhere else, so I make my design more complicated just for myself. I'm okay with that. I have absolutely no problem, as long as this is not drawing too much attention to that point.
Lesson 12 calls it a really important rule. If I have, for example, three flowers close to each other, I don't want to repeat the same size. The biggest one, then a little smaller, then even smaller. The same thing came up in lesson 14. This one looks almost the same size as that one, and I don't like that, so it had to be a little smaller.
These six moments from lesson 10 are in my own words, with what came next.
| The shape drawn | What I said about it on camera | Next step |
|---|---|---|
| A repeated movement | It does not look good, too thick. | Acanthus flower |
| One small shape | Too small, it'll be hard to carve. | Refine this |
| A curl I liked | It's just too close to the size of those. | A little smaller |
| The molding line | I don't want this molding to go all the way. | Golden line |
| One distance measured | Maybe about five millimeters, and it's actually too much. | Actually good |
| One quiet section | Right now it just looks too empty. | Movements later |
Do more details make a panel more beautiful?
They can. Near the end of part four I said the more details like that I add, the more beautiful it's going to look. Then the same part ends on the opposite worry. Later on I would like to probably add some movements right here, because right now it just looks too empty.
Lesson 14 also has both halves of it at once. I still want to feel this area, but not overwhelm it, because it's not the main focal point. On another hand, I don't want to underdo it, because I want the eye drawn to this section too.
Empty space gets the same question in the Venice Room. Do I really want to see that empty space or not? Or I could fill it somehow.
Can one side of a panel be curly and the other straight?
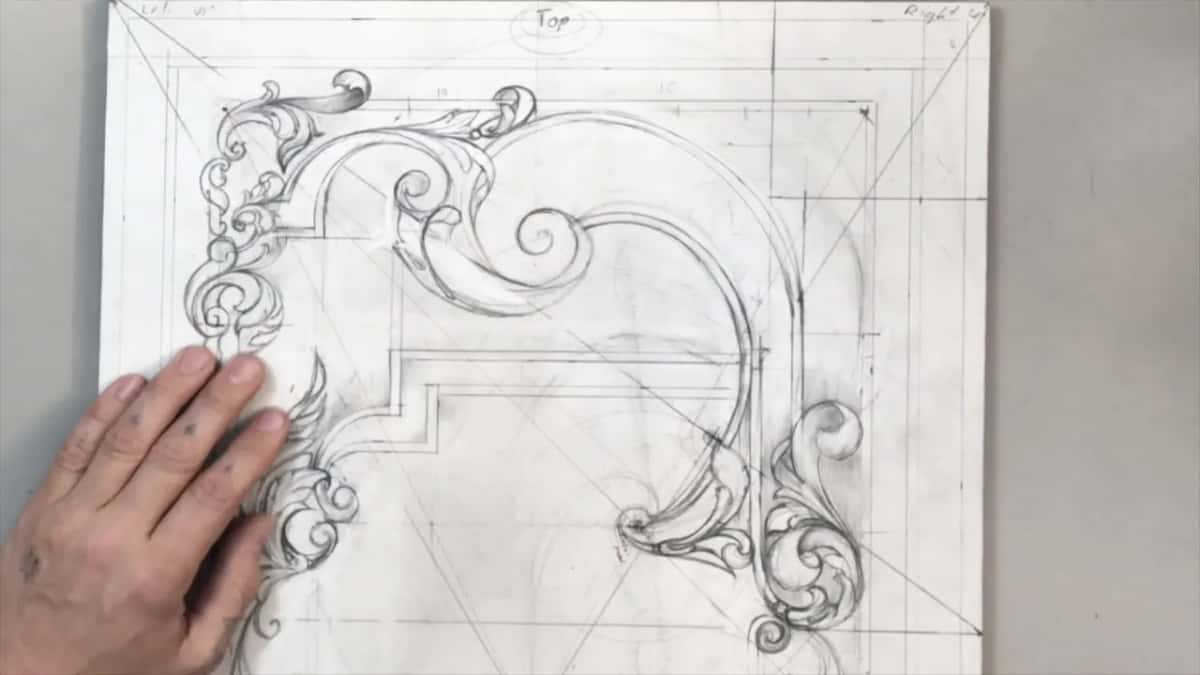
On this panel it will be. Near the end of the lesson I said this is going to be my curly side, with all the flowers and movements, and this my straight side. And this actually hits right at the golden ratio of the inner panel. I said it's actually excellent, and it's still on the line. You're going to detect that line later on. How I find a point like that, six parts out of 10, is in lesson 5.
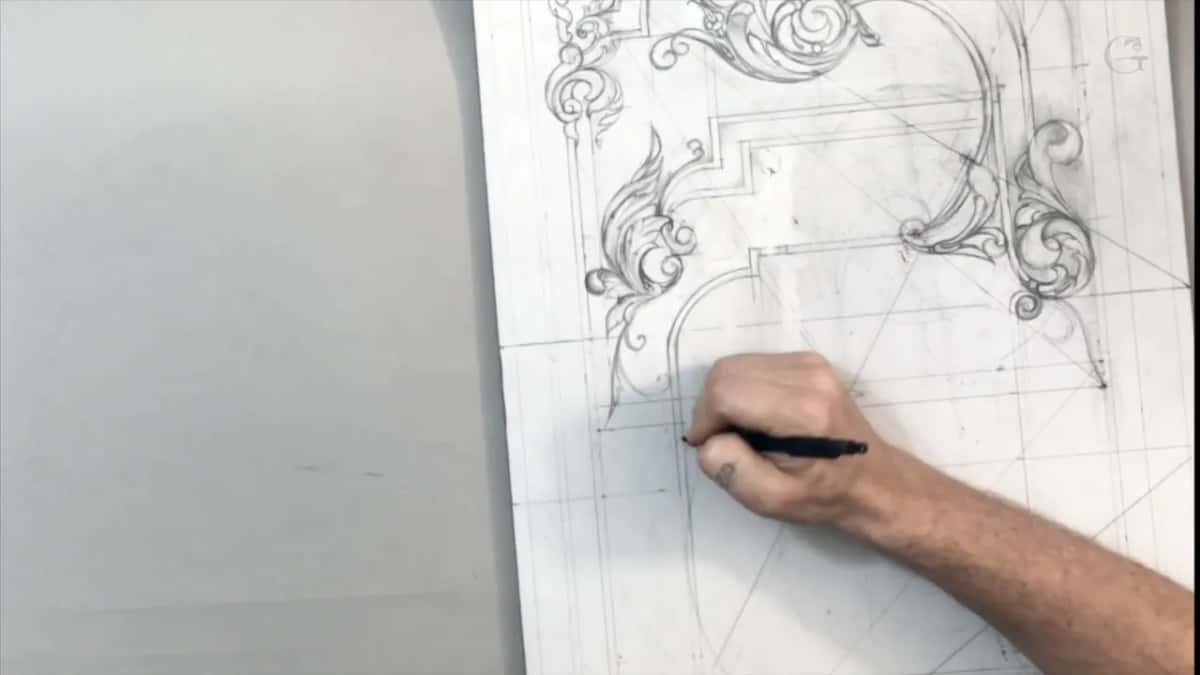
The molding got the same care in part three. I don't want this molding to go all the way, I said, and I still want to hit this line, which is a golden line, as a separate. Then I took one distance, maybe about five millimeters (3/16 in), and said it's actually too much, no, it's not, it was actually good.
What is an invisible line for in a carved design?
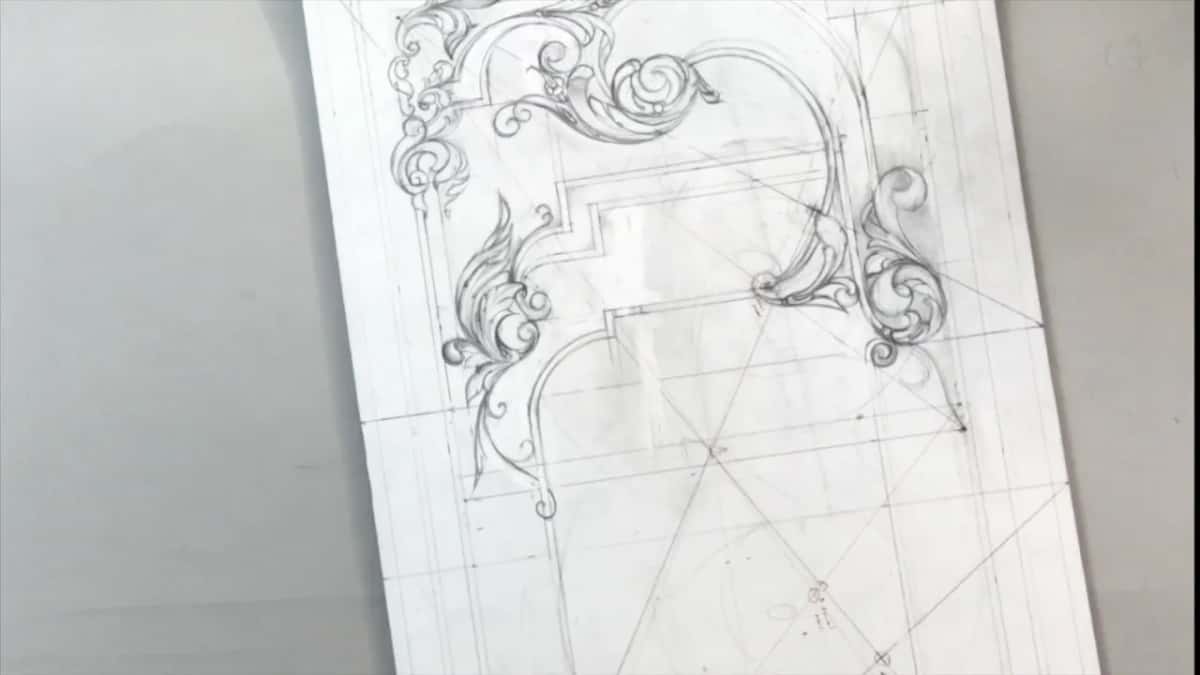
To be felt. Part one has it in my words. Just because we do have that invisible line, I still would like to make it feel like there is one. A few minutes later I started an acanthus and said I still have that invisible line right here, and I'm going to hit that line.
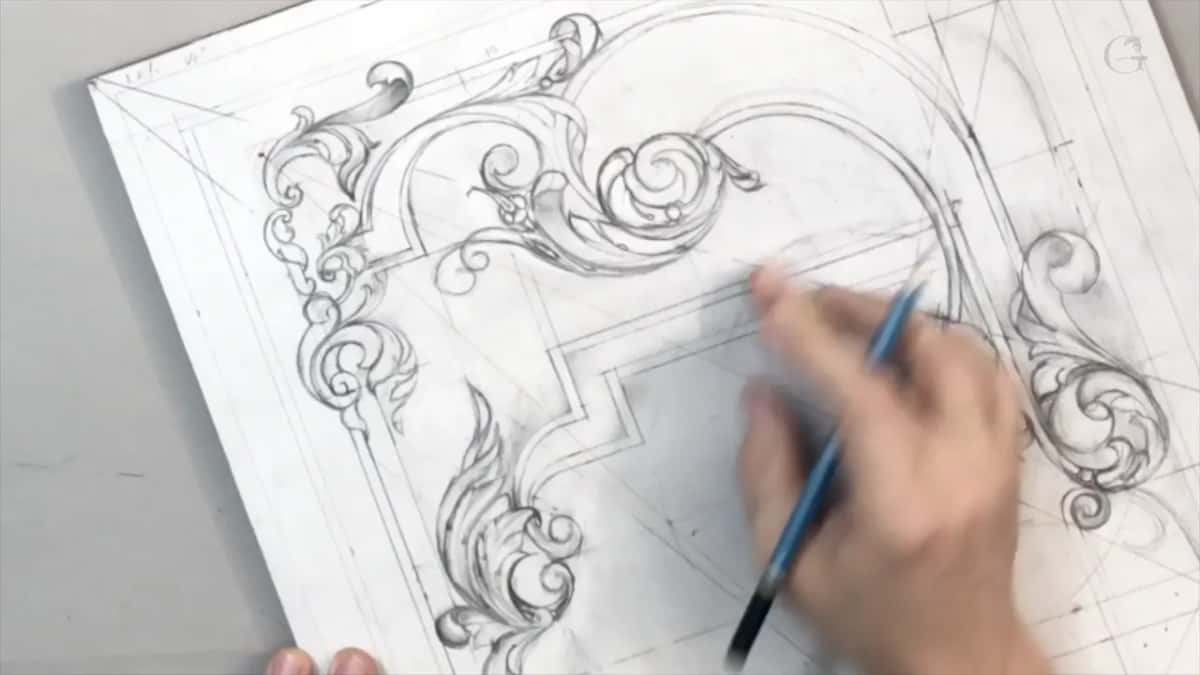
Then came my center line. I said I'd place my eye right on the center line, with my pipe there, the same way I placed eyes on a line in lesson 4. I didn't like it, and I made that detail preliminary, right on the center line. On a flower on my lily box I said most of the people probably don't know how the flower is structured. But even without knowing about the spiral and the golden ratio, it'll look natural and more appealing.
How does one shape weave under another?
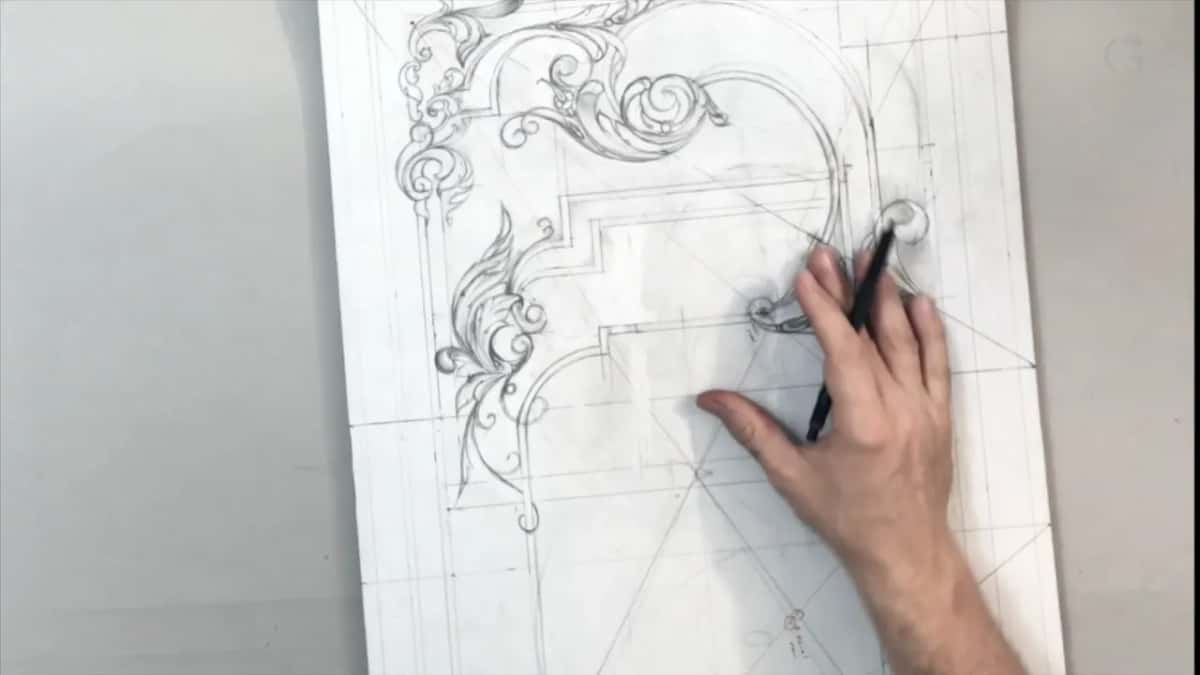
This one can actually weave around, right from behind, I said in part four. About a minute later I went further. Or even this one can go underneath, pick up above, and go back underneath again. Maybe I should add some elements like that, I said. That's going to look more curly.
Before any of that, at the start of part three, I put in some shadow to see how it would look. And the first lines of part four were about the whole. That's going to kind of unite the overall idea. I think I do like this, and I like it a lot, actually.
What do you do when you can't see what comes next?
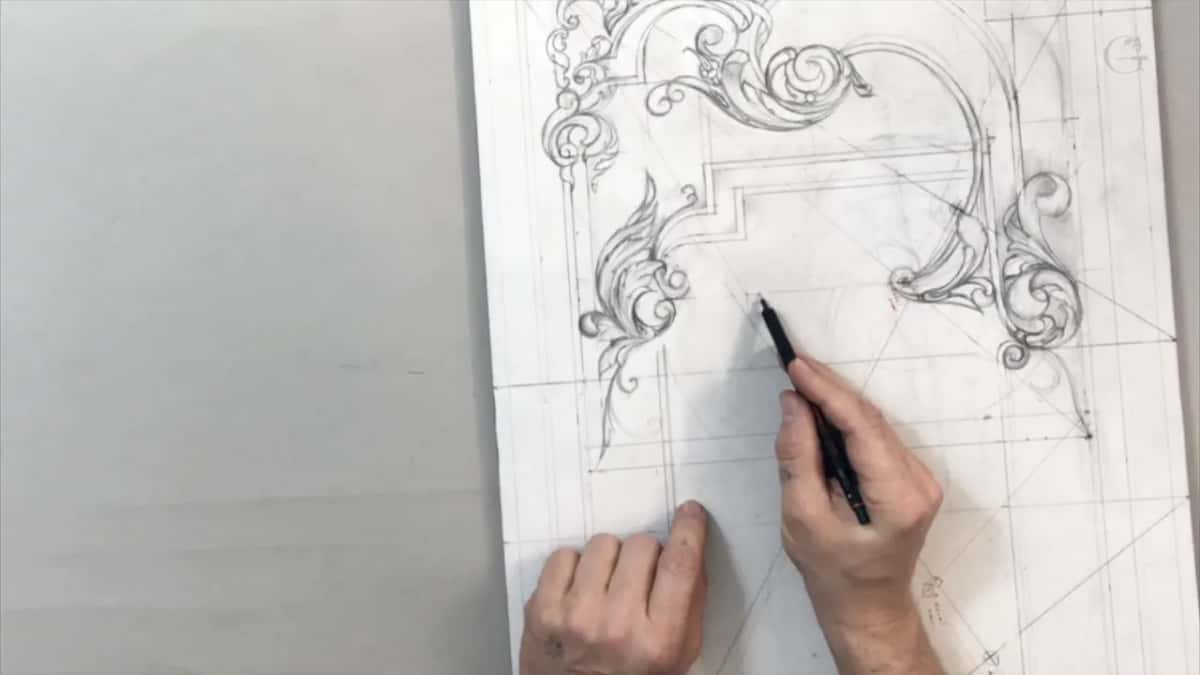
I come back to it. Back in part one I said I still kind of don't like what I see, but I'll come back, I'll fix it, and I'll develop. It's just a process. Part three even had a blank moment. After it, I said I'd just continue this line, get a corner established, and make my same movement in that direction. Late in part four I said that I still have to develop the bottom and make sure it just ties all together. Then came a doubt about one section. Let me sleep on it, I said, let me think about what I can develop.
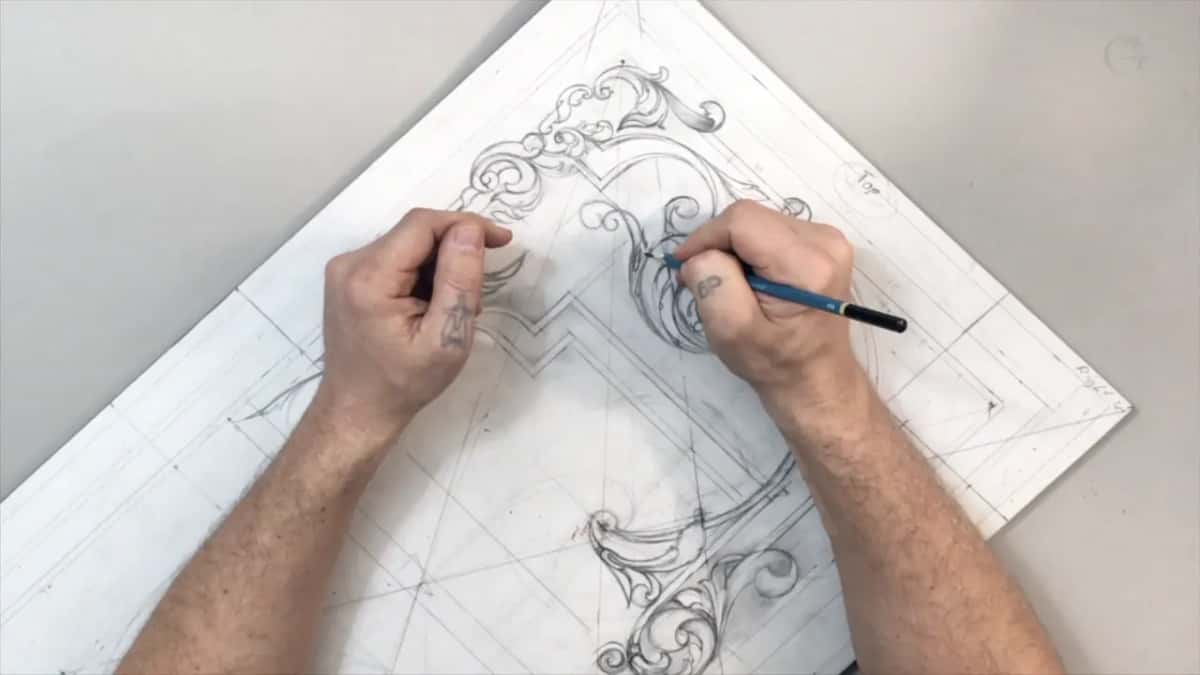
Like I said, I have to just stay away for a couple seconds and see how it all feels, the overall feel. Lesson 9 has it this way. It's a really good idea to step back and look at it, stare for a few moments, and check if you like it or you don't like it.
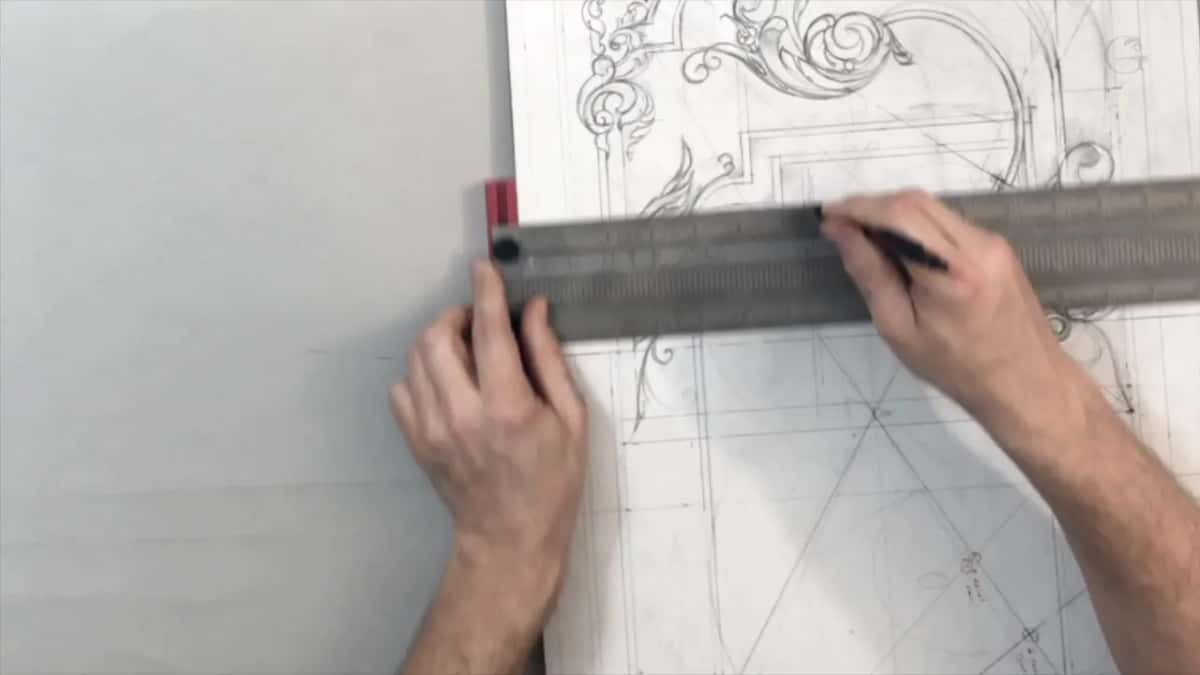
In the Venice Room I gave the longer version. Sometimes it's better to walk away from a certain area when you're not sure if it looks good or not, and nothing else you can think of. Come back in a day or so, and you usually have a solution or an idea.
I was kind of tired of one side at workshop 124 of the Venice Room, and I wanted to see the overall picture. Sometimes it's a good idea to walk away from one area and jump on another, I said, and take care of the overall movement.
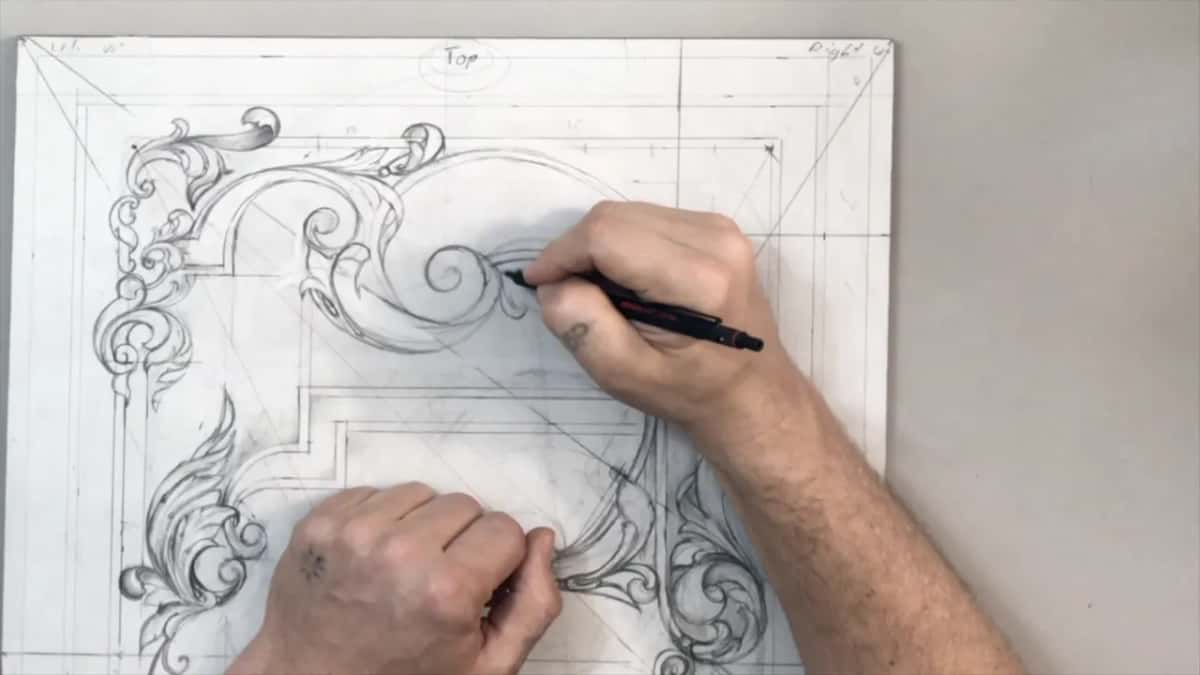
Why show a design that is not finished yet?
To show how I think. Please be patient with me, I asked in part one. I'm just trying to show the way I develop my complicated designs, and this one will get somewhat complicated later on, with lots of details. I didn't want to skip this step. I really wanted to show the process, how I think.
If you don't like my way of thinking, I will understand, but be patient and see what the end result will be. I promised I'm not going to cut my corners. So this is not a school so much as a virtual apprenticeship. I'm working, you're watching, you're picking up what you like, and you're developing your own style. In my opinion it's one of the best approaches. Otherwise it would be really hard to develop the true art.
That takes patience, I said in part two. It takes just lots of patience to develop something looking good. Later, digging the background of this same panel in lesson 17, I said if you don't have patience, woodcarving is not for you at all. Sometimes you spend one day on just one square inch (about 6.5 square centimeters).
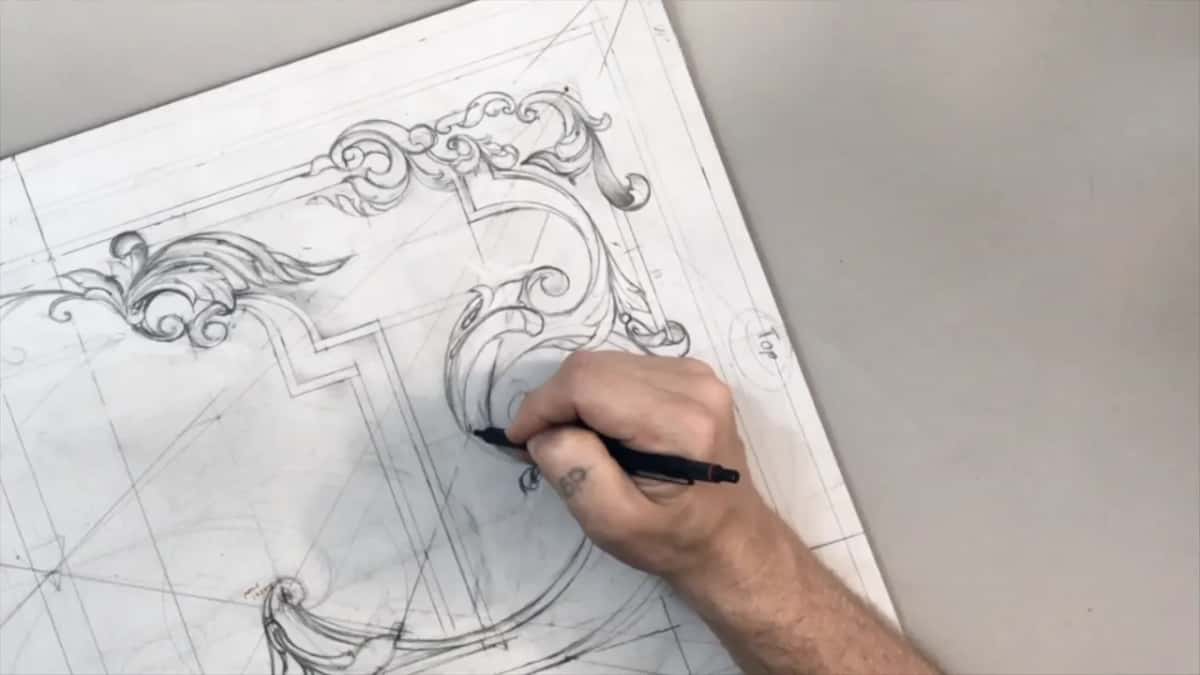
And deep in the flower bouquet of lesson 25, I told myself to be patient. I guess it's one of the benefits of wood carving. It builds you character. Or maybe you're becoming patient with me.
Lesson 11 is next, and after the 14 design lessons the panel moves to the carving stage. Every lesson, the doubts included, is open with Tuition, so you can watch each choice the way it happened. The last words of lesson 10 were we are getting close.
How it's done
- Step back for a few seconds. Stay away from the drawing for a couple of seconds and see how the whole thing feels.
- Hold each detail against the main movement. Mine was too thick. It just distracted from that movement, so I looked for another idea.
- Look at the smallest shapes. One shape of mine was too small. Refine this, I said.
- Change one size. When a curl is nearly the size of its neighbors, make it a little smaller.
- Hit the lines you set. Bring the movement to its line, even an invisible one, and put the eye on the center line with the pipe there too.
- Sleep on what still bothers you. Leave that section for now. A day or so later you usually have an idea.
Frequently asked questions
Is there a rule for how much detail a panel can hold?
My lessons give no number. In lesson 14 I said I didn't want to overwhelm an area that isn't my main focal point, or underdo it either. One detail in lesson 10 was too thick, so I turned it down.
What if a small detail is too hard for you?
Simplify the form, but not too much. Carving a tiny thorn on a lily box once, I told you that if it feels like too much for you, feel free to remove it. Simplify too much, though, and it won't look as nice.
Why do two curls of the same size look wrong?
My curl in lesson 10 was nearly the size of the shapes beside it, and that just doesn't feel good, and I said make it a little smaller. Two lessons later I gave the rule for three flowers close together, the biggest one, then smaller, then smaller again.
What to carve next
- Carving Furniture Panel, Design, Part 1, the whole course
- Designing Furniture Panel 9, the lesson before this one
- Designing Furniture Panel 11, the lesson after this one
- Designing Furniture Panel 14, the last design lesson
- Carving Furniture Panel, Part 2, the carving stage
- Advanced Carving, Venice Room 28