
Alexander Grabovetskiy, woodcarver, School of Woodcarving · Published 2018
How do you find the golden center on a board that is not in golden proportion?
Quick answer: The golden center is a single dot on the board, the point the main idea of a design grows from. When a board's proportions are not golden, I lay a ruler across the board between opposite corners, then run a second line between the true square and the outside corner. Where those two lines cross, that's the center.
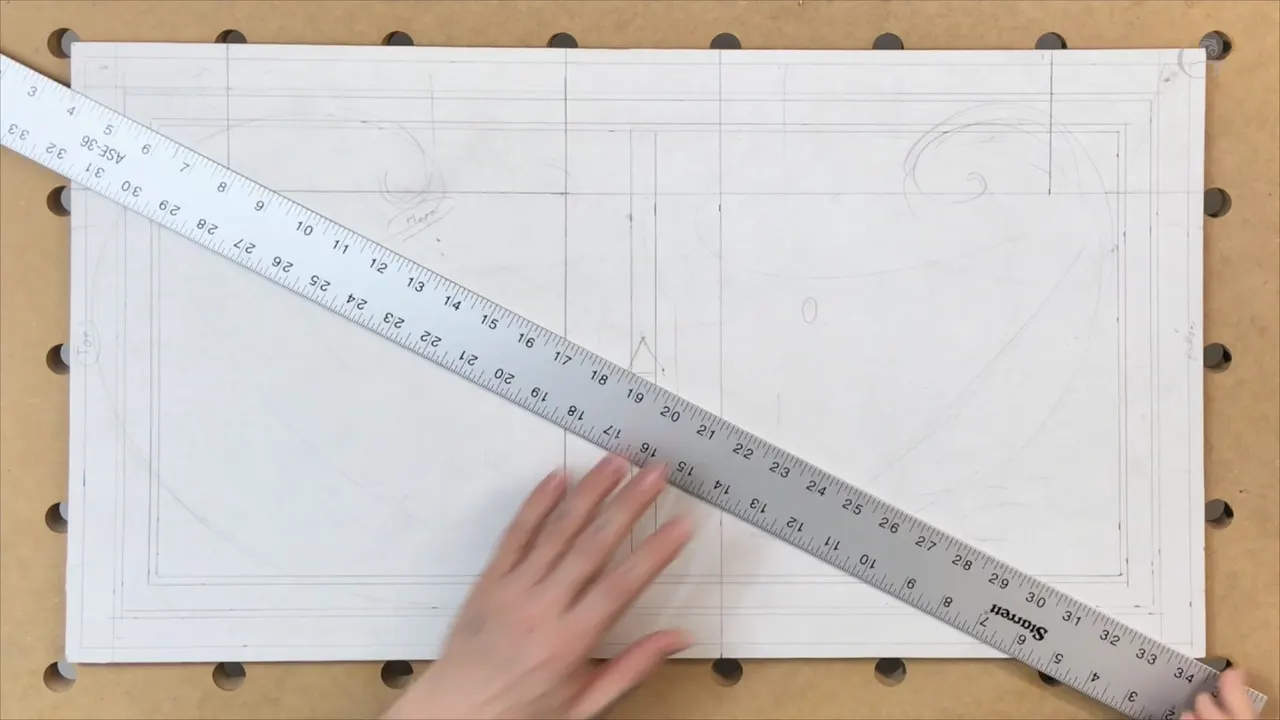
The golden center is one dot on the board, the point the main idea of the design will grow from. On this walnut panel I find it with a ruler laid corner to corner, because the proportions of this walnut are not golden. One more line links the true square with the outside corner. Where the two lines cross, that's it.
Got a board in your shop that is simply the size it is? Want the main flower or the main leaf to land in the right spot on it? Then the shape of the board can't stop you. It didn't stop me. In this lesson I put four golden centers on the walnut panel from lesson 1, two off the outside border and two off the inner part, and after that I draw the first volutes.
What the ruler finds on this walnut panel
- My walnut is not golden in proportion, and that doesn't stop me.
- Both major centers come off the outer edge.
- The minor pair sits on the inside perimeter, off the smaller square I had already drawn inside.
- Each point is where a corner-to-corner line meets a line drawn off a square.
- A plus goes on the hero, a minus on the anti-hero, and at the end every point gets a cross.
- Six of ten parts, found by eye, not measured to 1/64 in.
Why did I draw the big square before the moldings?
Proportionally, this board is not perfect, like a golden ratio, and that is the simple answer. Some of you had a question about the order: the big square first, then my moldings, and then the second square on the inside. The moldings will look applied, though they'll be carved.
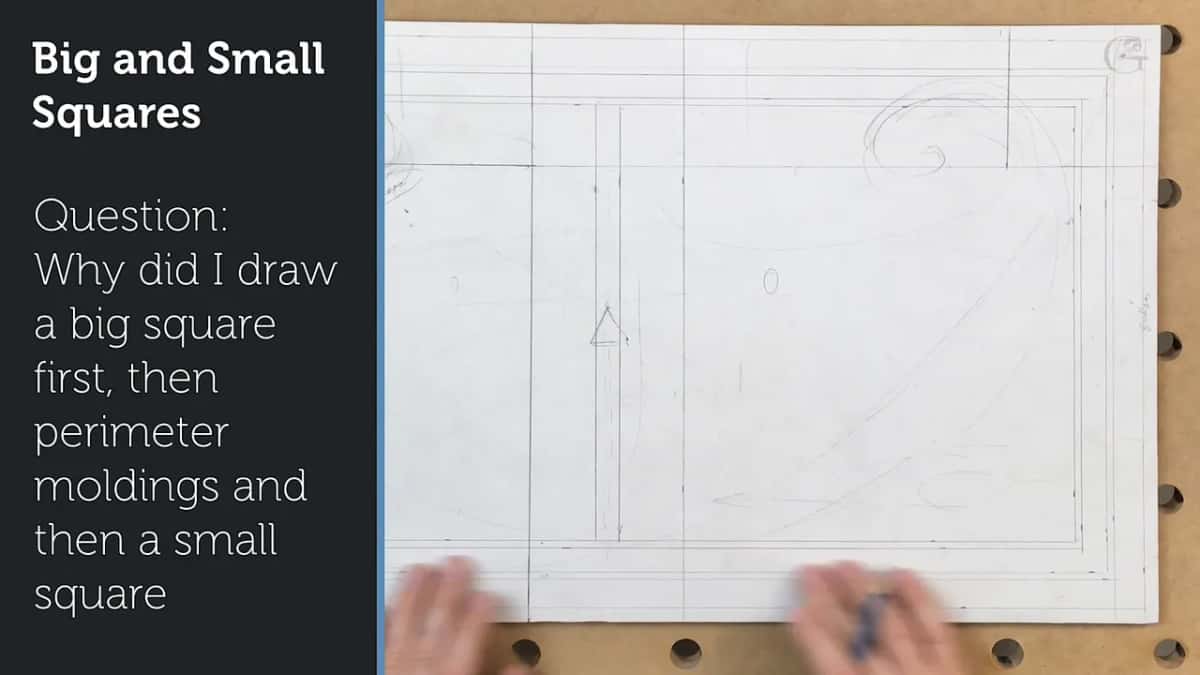
If you know the logic of the golden ratio, it goes like this. Say I've got 10 inches (254 mm) and I call that number one. On a real golden ratio canvas, the next part should come to around six inches (152 mm), a little over six inches. But we don't have that.
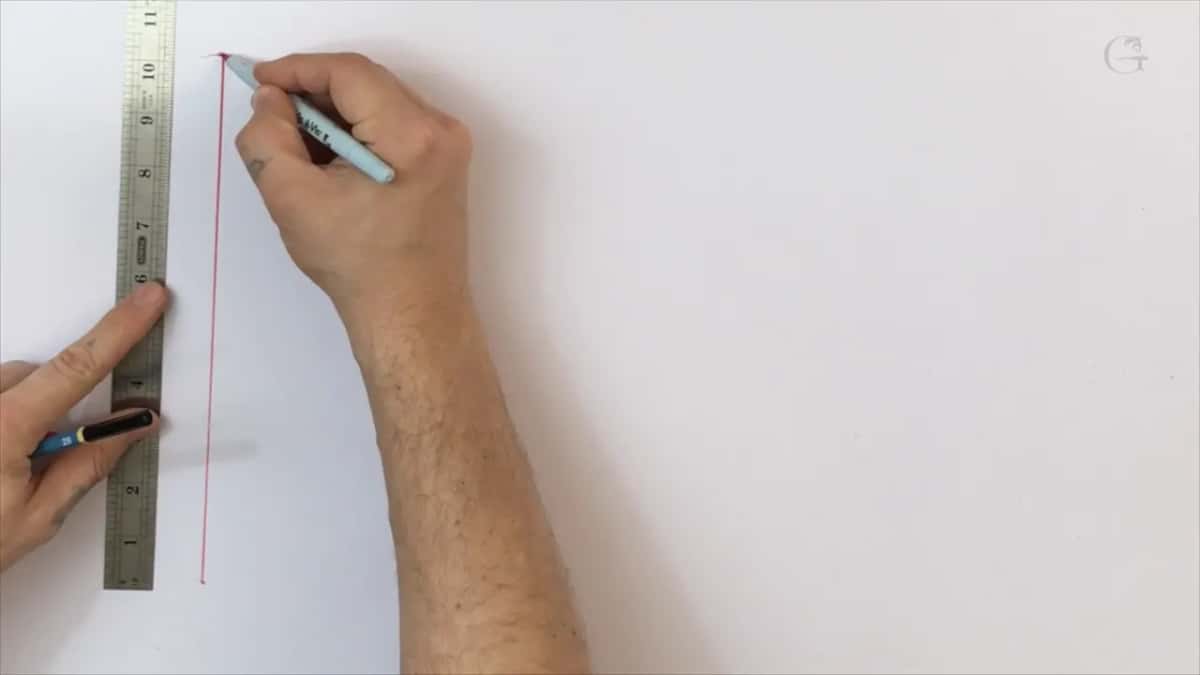
What we have is absolutely unproportional. If I measure my perfect square and count six parts from it, the point lands somewhere right there, and I don't know if that makes sense. But it's not going to stop me. In reality, you can find the golden ratio in any proportions.
Wikipedia's golden rectangle article shows how a true one behaves. Take a square off a golden rectangle and what is left is golden again, so the squares keep stepping inside each other. Mine won't. In the first design lesson I said it plainly: because of the proportion of my board, I'm not able to draw another square and another square until I find the exact one.
How does a long diagonal give you the golden center?
The long diagonal gives one line, and a second line, drawn off the true square to the outside corner, crosses it right on the golden center. There is such a thing as a major and a minor. The major composition is based on my outside border, the full dimension. I have to find the major golden point, or golden center, and it's just a dot.
Then, on the inside perimeter, I find the minor. It's still a golden point. The two are just located a little differently.
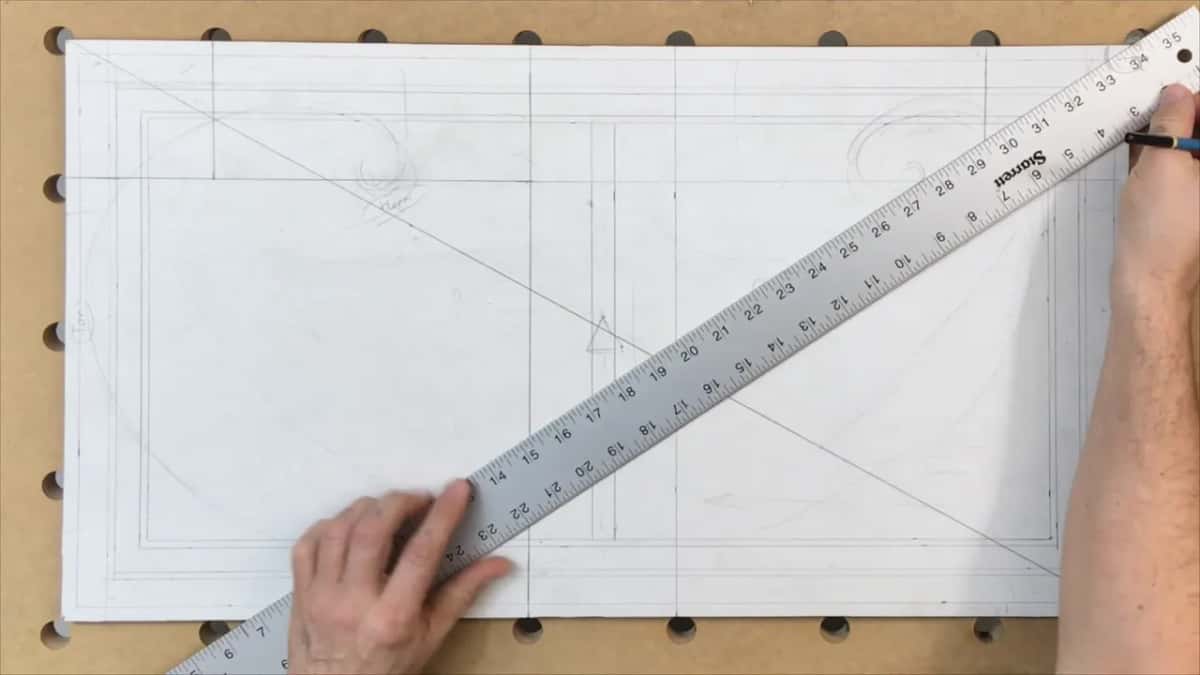
The easiest way, if the board is not proportional, is to take the ruler, go corner to corner and draw a long line. My hero, my main cluster, goes in this area, and my anti-hero, the antagonist composition, goes on the other side. So I do exactly the same thing again between the other two corners, another line.
The Wikipedia article on the diagonal says the word goes back to an ancient Greek word for a line that connects corners. That's all the ruler is doing.
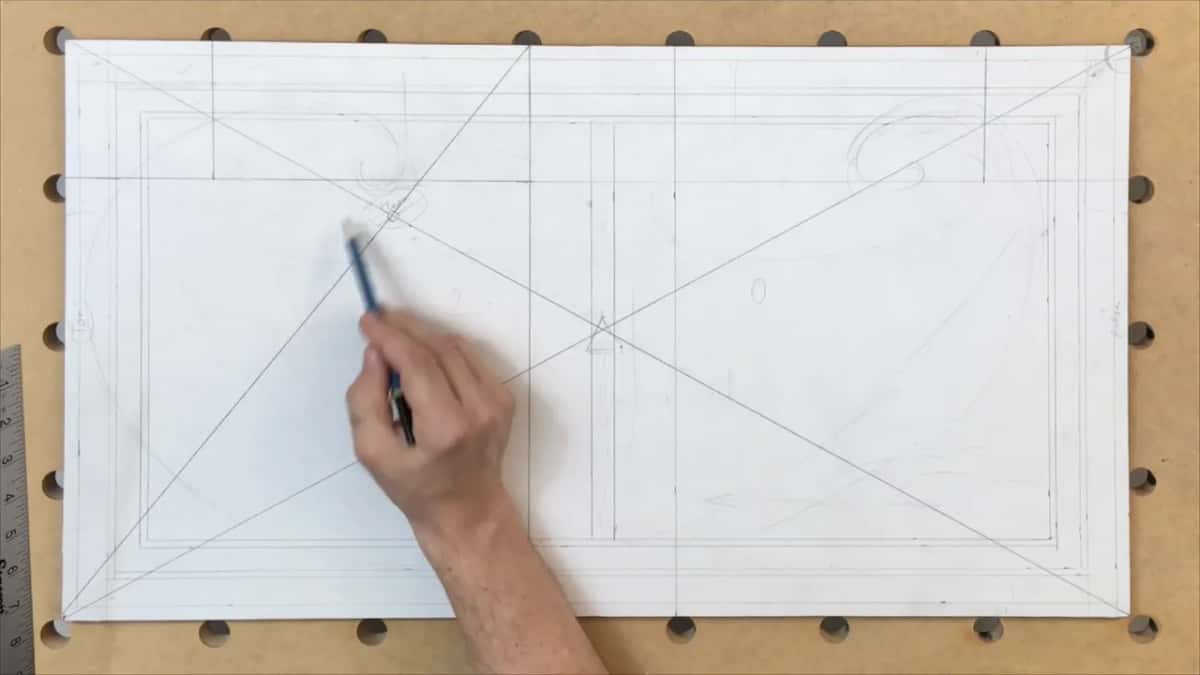
Now the main square. I take its point and the board's corner, and I place another line. Right where I had written hero, that's the major center, my hero center, and it gets a plus.
The other side gets the same treatment. That's my true square too, so I take its point and the outside corner and draw the line. The crossing there gets a minus. It's my antagonist, or anti-hero, point, the second center on the outside.
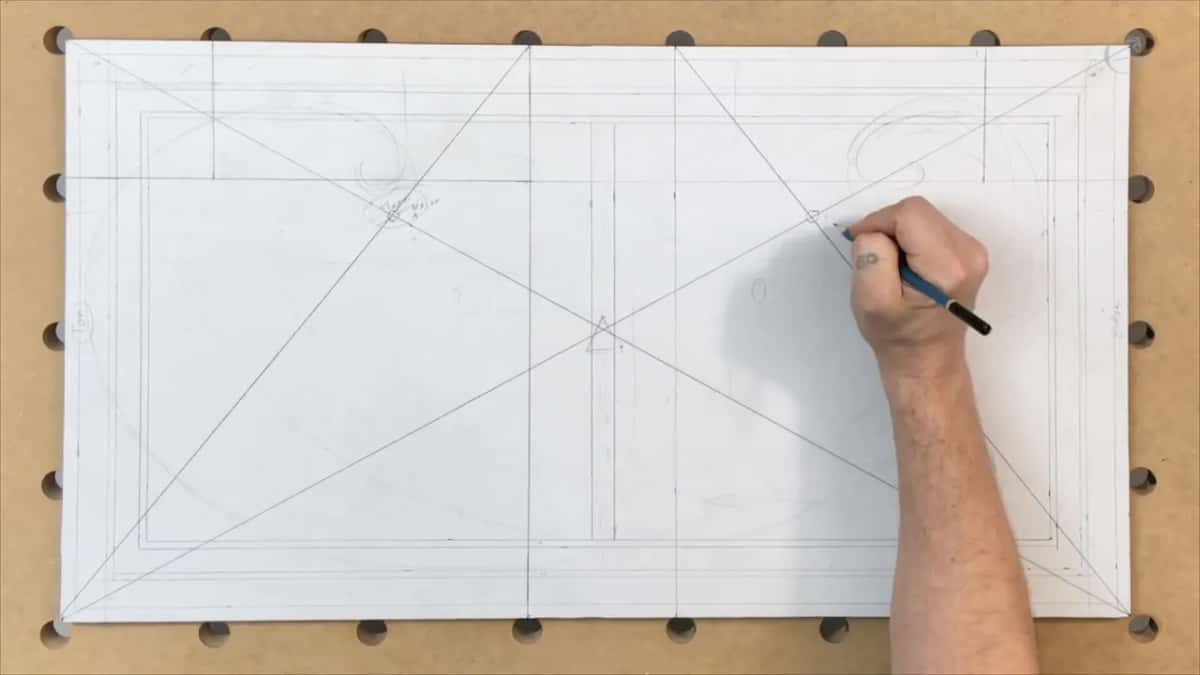
Those lines are really important. The centers are focal points for the whole board, including the outside boundaries.
In the Principles of Design course, I count four golden ratio points on a board, and then you have to figure out which one will be the most important. And I say about the two diagonals, "Those golden points, they all hit those diagonals."
Where do the two minor centers come from?
Same steps, only on the inside. I hope it does make sense, because I know there are a lot of lines, but those lines are really important.
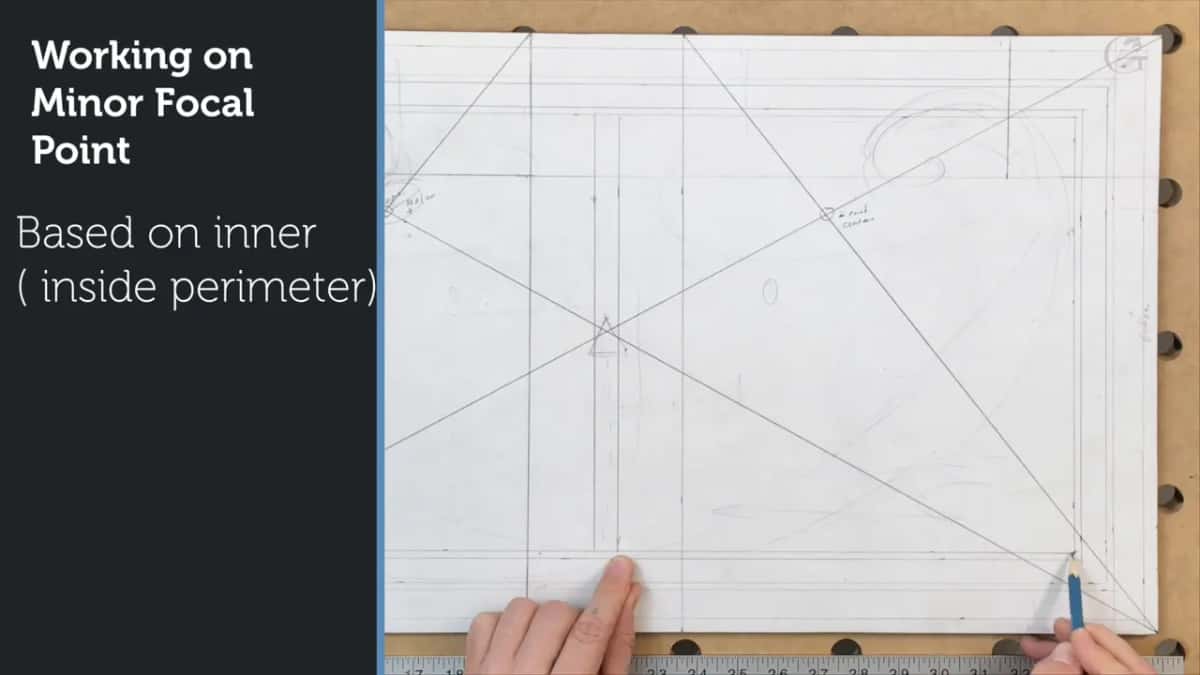
Inside there is a smaller square, the minor square. I double-checked it, 11 and a quarter inches (286 mm). Outside I drew the long lines across the board, and now I do the same on the inside, point to corner, and then the right side too.
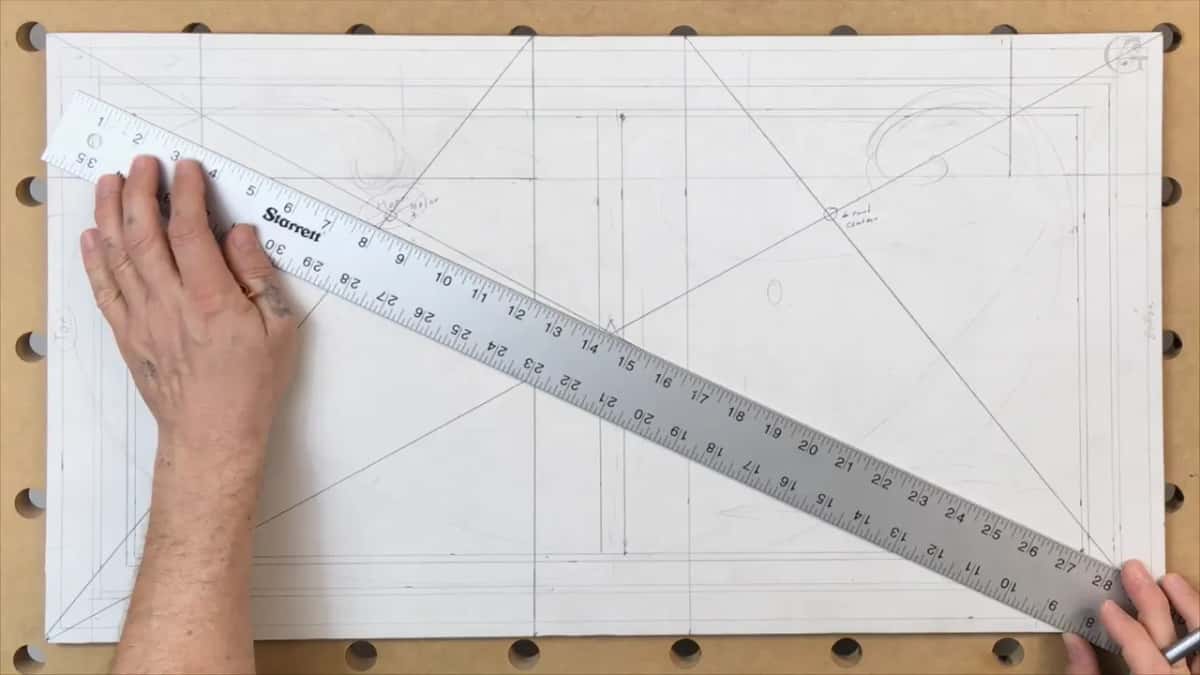
I use the lighter marker for these, so I can see the difference myself. Otherwise I can be lost in those lines too, and my goal is not to be lost.
I draw another line between the point of the inner square and the corner, and there's my minor center on the hero side. The opposite side gets the same, and that gives the anti-hero one. I don't think it's that complicated. Still, it's a lot of lines, and maybe I should get a different color.
| The center | Which boundary it is measured from on the board | My words for it |
|---|---|---|
| Hero major, a plus | The outside border, the full dimension of the board | My hero center |
| Anti-hero major, a minus | Same outside border, worked off the true square at the other end | The antagonist, or anti-hero, point |
| Minor on the hero side | Inside perimeter of the moldings, off the 11 1/4 in inner square | Second focal point |
| Second minor, far side | Inside again, worked off the opposite side of the board | Anti-hero second focal point |
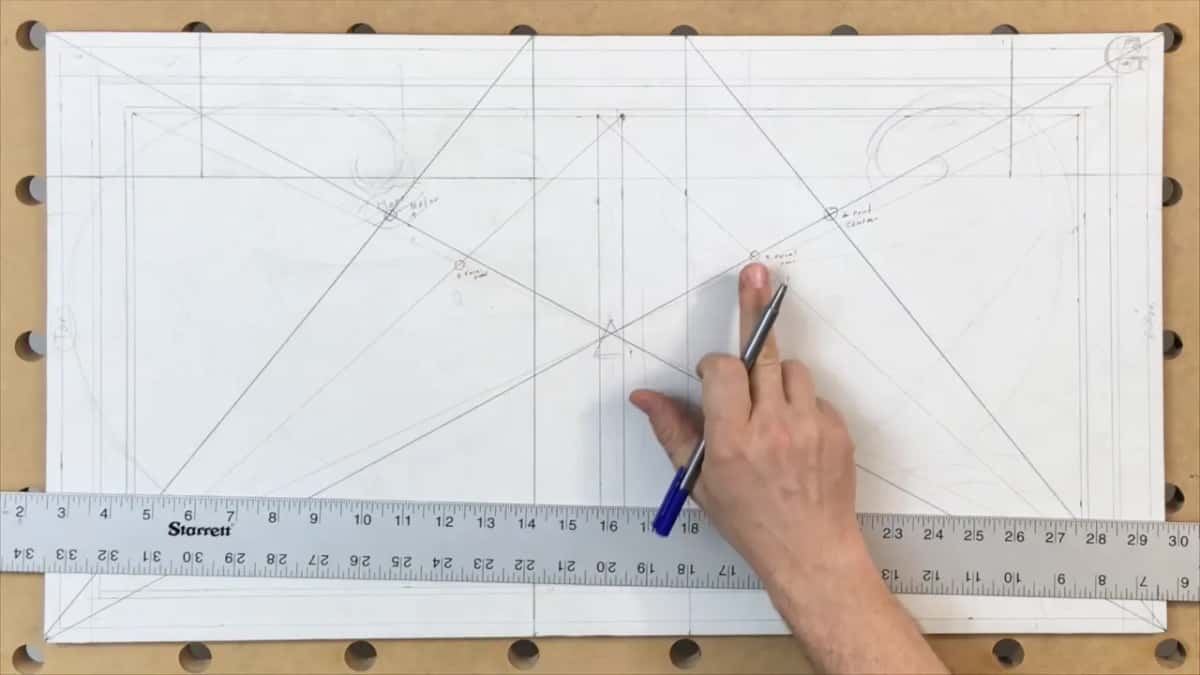
After that, a cross goes on each one. Major, major, minor, minor. Now I'm ready to start developing some movements, and the top is right here, with the panel standing vertical, like a panel for a door as I said in lesson 1.
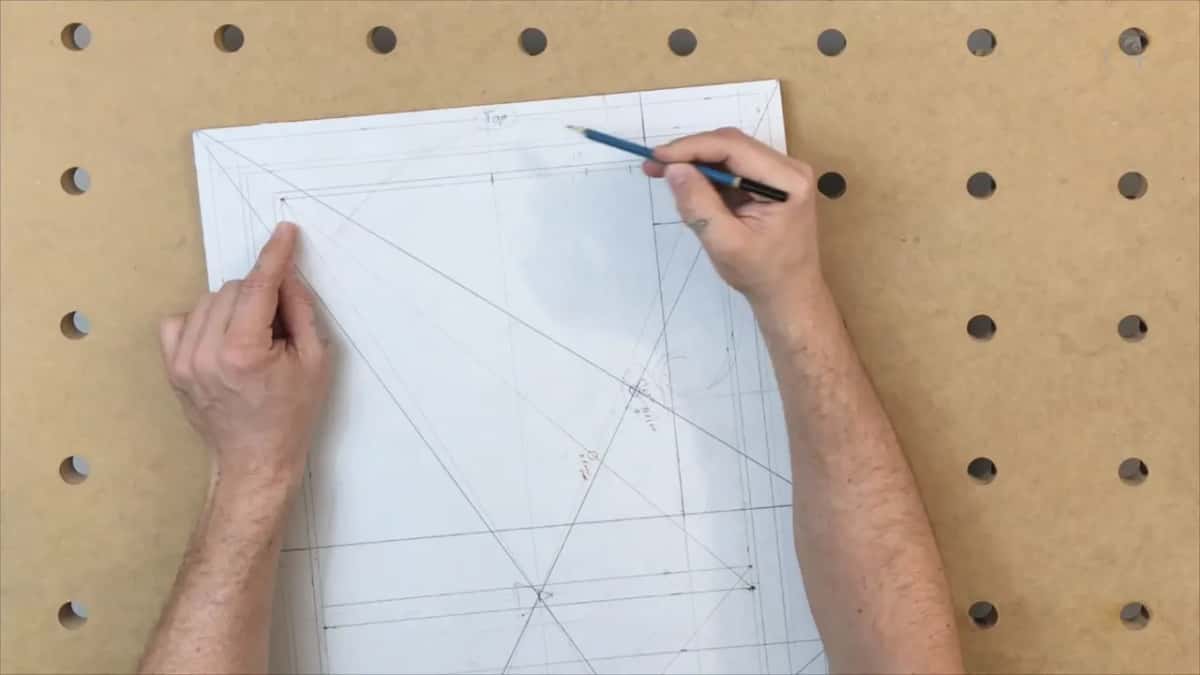
How close is close enough when you divide by eye?
Close enough for me, because I don't want to measure the 1/32 (0.8 mm) or the 1/64 (0.4 mm). I put the two lines and then just the middle.
Probably I'm going to find another golden ratio in this line. The easiest way would be 0.62 of it, if we divide it in 100 parts. Easier still is to know it's approximately six parts out of ten, the same count I use in lesson 1.
I say approximately because I still have about 1/16 of an inch (1.6 mm). The space has to be divided in ten, so I divide it just by eyeballing. That is not really accurate. Still, I got pretty close, about 1 1/8 in (29 mm) a part, plus, minus.
If my main composition, my main movement, is going to be in this area, then the minor center of this part sits on the other side. Six of the ten. One, two, three, four, five, and right there is my six. I carry the mark over to the opposite side and draw another line.
Why mark the same 5/8 inch twice?
Repetition is a design rule I already told you about, and the 5/8 in (16 mm) was sitting right there on the board. Back in lesson 2, I took about 5/8 of an inch from the piece of molding and marked it all around. Here I mark about 5/8 again and run a line there.
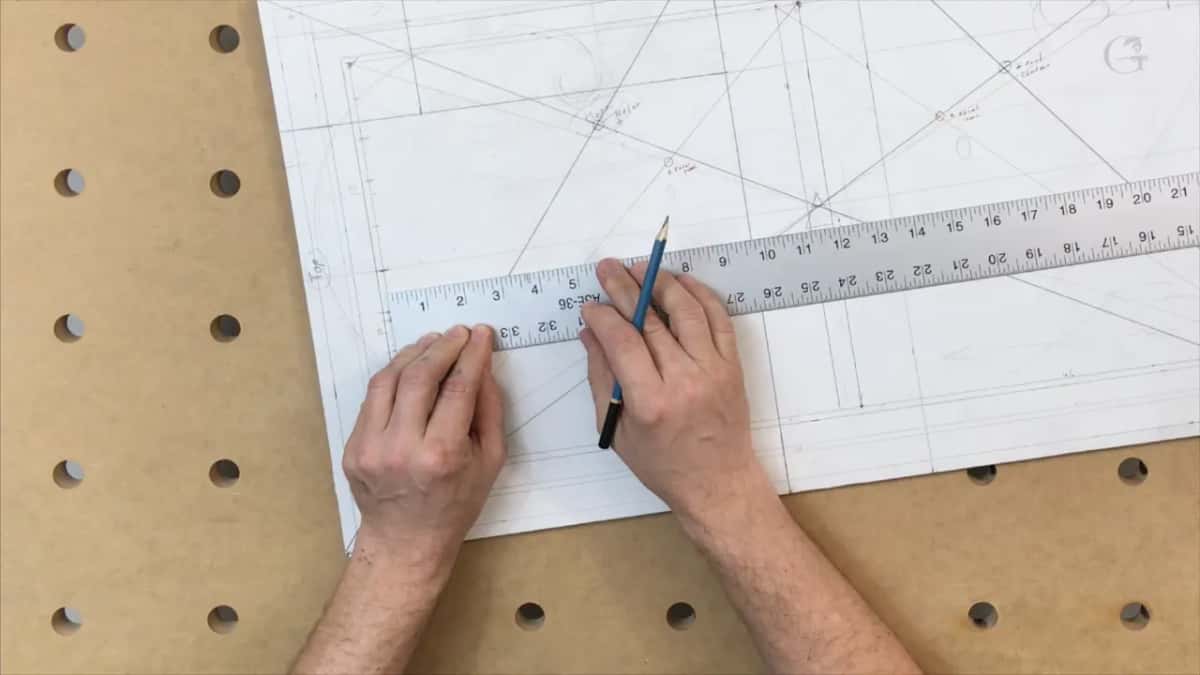
On the Venice Room project I pointed back to the furniture panel, where I was talking about design laws. One of the design rules is the rule of repetition, "when you repeat one detail and it has to reflect somewhere else."
And in the next lesson it's the first thing I say about the corner. If I have a movement like this right here, I have to repeat it in that corner.
Why is the second volute smaller than the first?
Straight repetition goes pum, pum, pum, pum, and a carving should have some music in it. First I leave a space, then I find a good spot. One curl, then maybe another one right there, and I carry it all the way to the center. Those are my curls, number one.
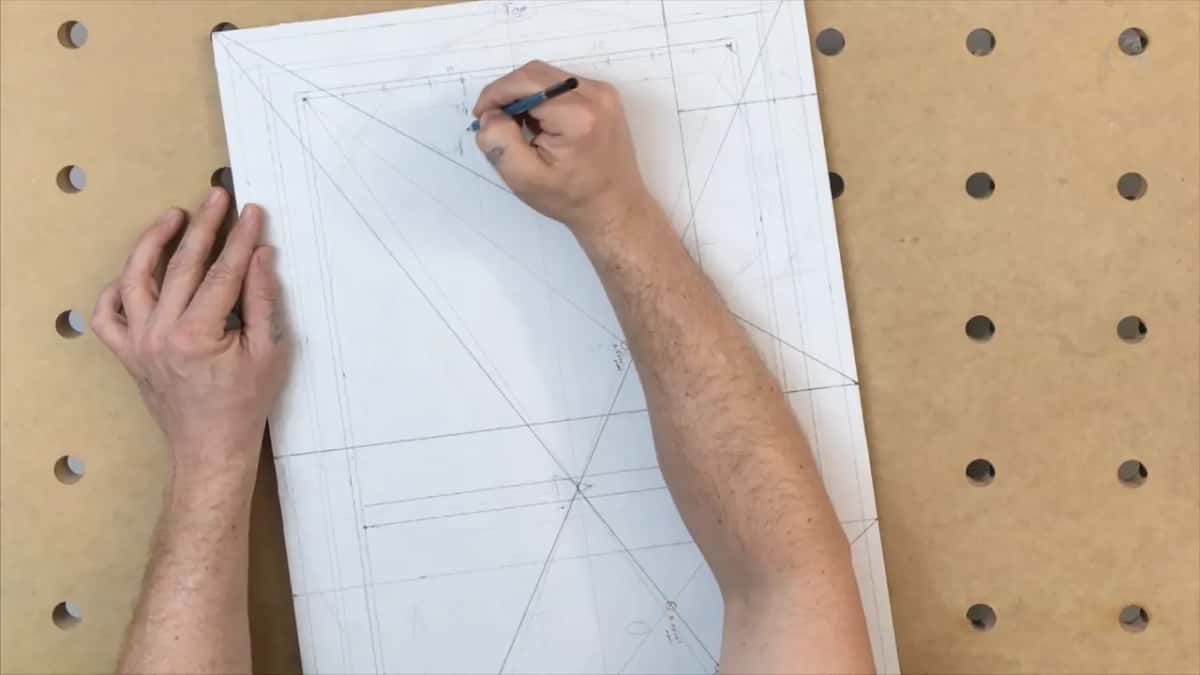
For me, and for the furniture makers in the 18th century, it was really important to make those volutes. I started to say for centuries. Then I stopped myself, because I think it was the biggest thing for thousands of years. The ancient Greeks and the Romans, the way I put it on camera, did volutes everywhere they could, on the columns too.
Wikipedia describes the volute as a spiral, scroll-like ornament and ties it to the capital of the column in the Ionic order.
So that's what we bring in. If you remember, there's a rule of rhythm in music, where you repeat yourself, but you can't just do straight repetition. This one is a bigger one, and this one can be much smaller. It still repeats. It's still a volute, just a smaller volute. I'm happy with that side.
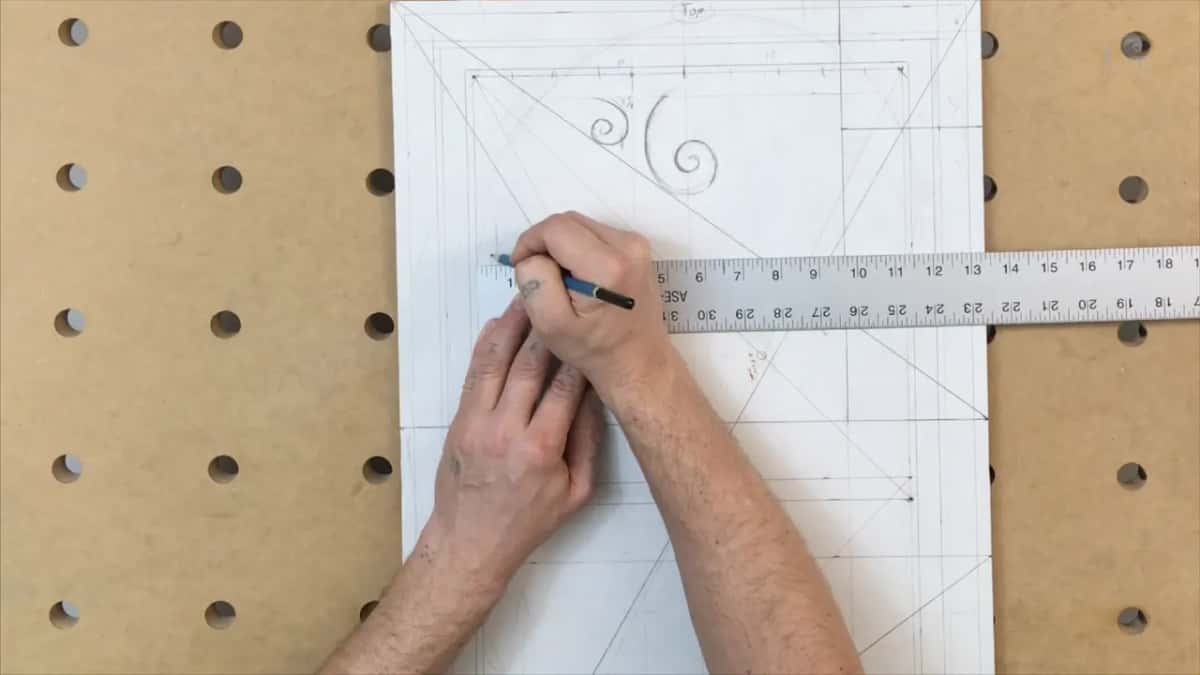
The fourth lesson of the Principles of Design course is where I explain it. Musicians repeat the same part over and over, but they play with the volume, which is what Wikipedia calls dynamics in music. For a louder note they press harder, and to bring the volume down they barely hit. In art we repeat the same idea and change the size instead. Law of repetition, but we play with the size.
That's the rhythm.
Which lines steer the drawing once the centers are in?
Those lines make a lot of sense to me, because they show where my design will be located. While I work I stop and think. Where's my flow, what's logically going to look good, what idea can I develop right here?
I know it's already complicated for some of you. But believe me, it will make sense. Even those lines will make sense, and those movements are going to be really organic.
As far as the spiral in the golden ratio, the point of my spiral is somewhere right here, and it goes all the way, just like that. The inner one is a little different. It belongs to the minor focal point inside those moldings, which aren't applied moldings, though they're going to look applied.
Then another idea came, another border on the inside. I had this one at 5/8, so I did 3/8, or 10 millimeters. A preliminary line.
On the minor square I wanted six parts this way too. It came to about 4 1/8 in (105 mm) counting from this side, and counting from the other side it lands over there. Divide the line in ten, and I'm looking for 0.62.
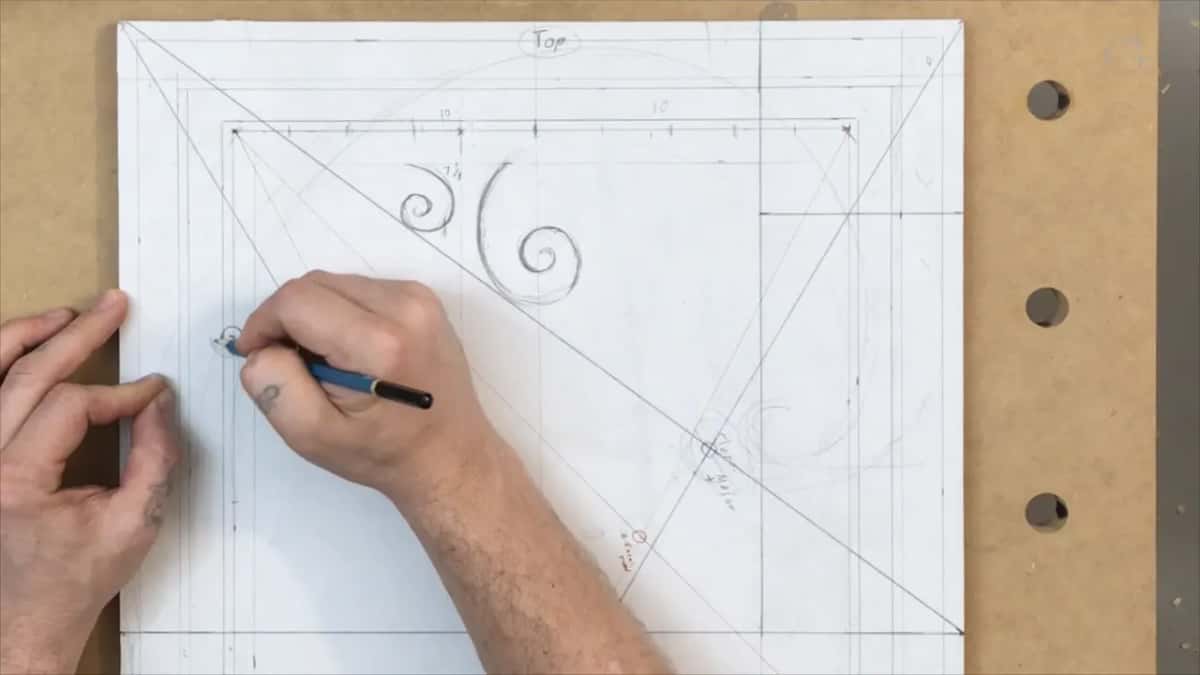
I think I can break my molding and put an even smaller volute right there, then a small detail. That's the point where my molding is going to start. And that line matters to me as well, and I use it as a boundary for my movement in this direction.
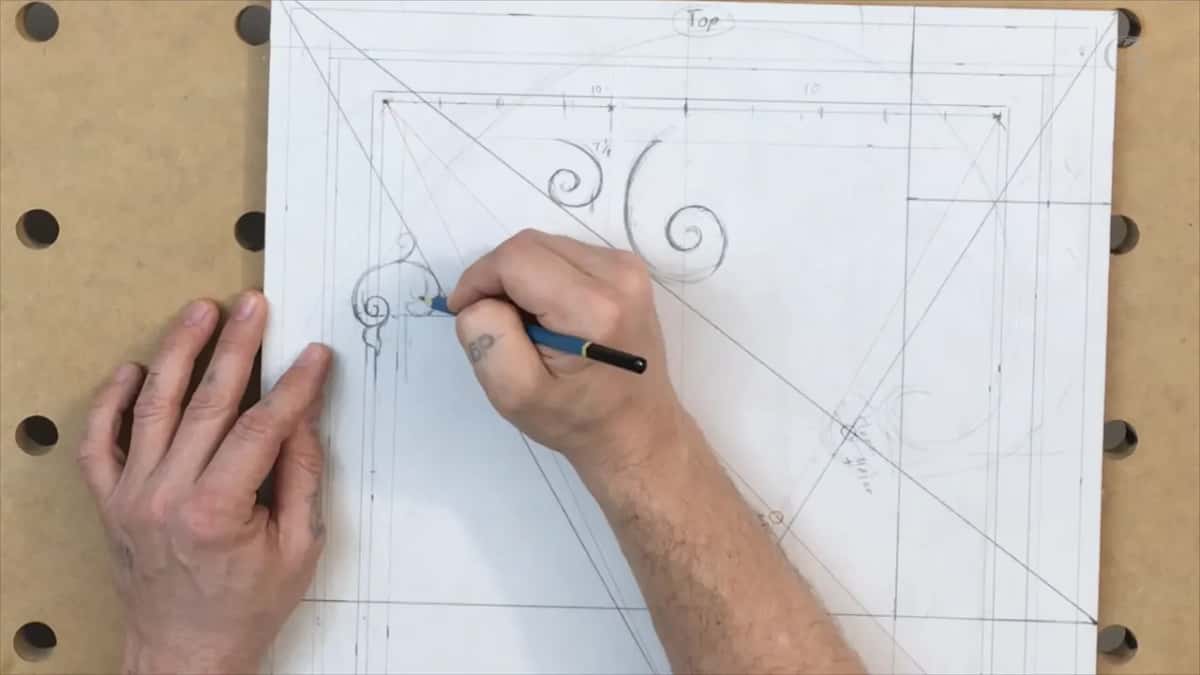
I think that's a good place for a small acanthus move. The leaf itself gets a whole course of its own, Carving Roman Acanthus Leaf.
Can a new design still sit in an old style?
My goal is to create something that wasn't carved and wasn't designed before, but still in the style of the late 18th century and the beginning of the 19th. Some other furniture makers did that at the beginning of the 20th century too. Of course, some are doing it still now.
What happens when a line lands in the wrong place?
I get rid of it. In this lesson I made a mistake right on camera. My line should have been right there, so I got rid of the wrong one and then started the movement.
Over in lesson 1 I tell you to get a few different pencils and, of course, the eraser, because we're going to draw and redraw until we are satisfied with the final design. And the lesson after this one has the same moment in four words: erase the previous ones.
By the end of this lesson the paper carries lines outside and inside, four crosses, one big volute with a smaller one, an even smaller volute where the molding breaks, and a good place for an acanthus move. Access to the whole course opens all four parts of this lesson and the design lessons that come after it. When the drawing is done, the panel moves on to the carving stage.
How it's done
- Draw the true squares. Mark the true square from each end of the board, the way lesson 1 does. Here the big square comes first. The moldings follow, and the smaller square goes in last.
- Lay the ruler across both pairs of corners. Draw one long line between opposite corners, then the same between the other two.
- Add a line from the square. Start at the point of the true square and run a line to the outside corner of the board. Where it crosses the long line is the major center, the hero. Mark it with a plus.
- Repeat it from the other square. Repeat it at the far end and mark the new crossing with a minus, for the anti-hero.
- Go inside with a lighter marker. Repeat both lines inside the moldings, off the 11 1/4 inch inner square, so you get the minor pair without getting lost.
- Put a cross on all four. Mark each crossing with a small cross, two of them major and two minor.
- Count six of ten by eye. Divide the space in ten by eyeballing, count six parts, and carry that line to the opposite side.
Frequently asked questions
Does this work on a board of any shape?
Any proportions will do, and my own walnut panel shows it. Nothing about that board is golden, yet two ruled lines found both of its major centers on the outside, and the same pair of lines on the inner part found the two minor ones.
What do the plus and minus marks mean?
Plus marks the hero, the major center where my main cluster goes. Minus marks the anti-hero point at the other end of the board. Two more points go on the inside perimeter, and at the end each one gets a cross: major, major, minor, minor.
How exact does the layout need to be?
Approximately is fine for me. I still had about 1/16 of an inch, but I don't want to measure the 1/32 or 1/64, so I put two lines and then the middle. I divided that space in ten by eyeballing and got pretty close.
What to carve next
- Carving Furniture Panel, Design, Part 1, the whole course
- Designing Furniture Panel 1, where the squares are measured
- Designing Furniture Panel 2, the moldings
- Designing Furniture Panel 4, the lesson after this one
- Principles of Design in Wood Carving, lesson 2
- Carving Furniture Panel, Part 2, the carving stage