
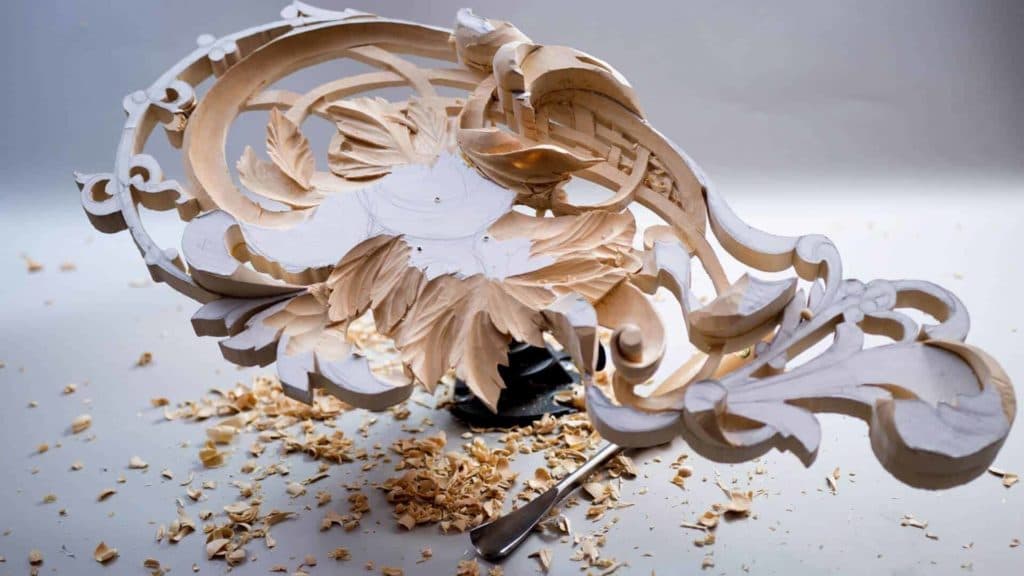
Alexander Grabovetskiy, woodcarver, School of Woodcarving · Published 2018
Should you use a rubber or a brass mallet for wood carving?
Quick answer: A carving mallet is rubber most of the time, because rubber spares the tool handles that a metal head would split. Brass comes out for oak and other hard timbers, where a heavier, smaller head delivers the same force in a shorter swing and leaves a cleaner cut on tiny moves.
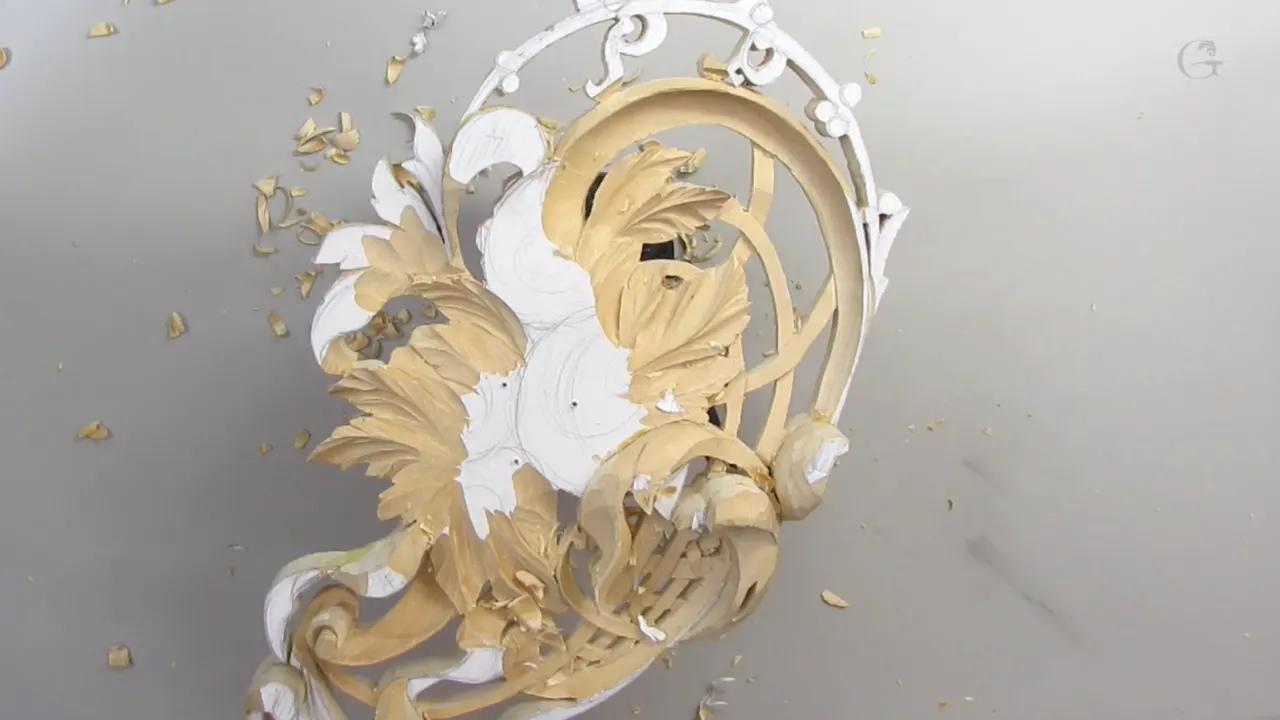
My rubber mallet does most of the work, because a metal head splits the handles it lands on. Brass comes out for oak and the other hard timbers, where a heavier and smaller head moves a tool further on a shorter swing. On tiny taps the brass also leaves a better cut for no extra force.
Have you ever looked at the top of an old carving handle? Is it mushroomed, cracked, bound with tape? Mine used to be, and the mallet was to blame.
Carvers argue about mallet weight and mallet shape and almost never about the head material, which is the choice that decides whether your handles survive the decade. Workshop 8 of Carving Hashemi Flowers happens at the stage where a panel has gone fragile, some places down to three thirty seconds of an inch, and every tap has to be judged. I want to show you which head I pick, why, and how little force is actually going into the tool by then.
What each head is actually for
- Rubber protects handles.
- Brass delivers more mass in a smaller head, which suits oak and other dense timbers.
- Brass on a barely felt tap still cuts better than rubber at the same effort.
- Neither one belongs anywhere near a leaf that has gone paper thin without you first thinking about it.
- A handle with a metal ferrule survives brass; a bare handle does not.
Why does rubber live on the bench?
Handles are the reason. A carving handle is a piece of turned hardwood taking thousands of blows across its life, and a metal face crushes the fibres at the crown until the top mushrooms out and eventually splits. Rubber spreads the same blow over more time and the handle lasts.
Think about what a set of handles is worth. Good tools from Ashley Iles or Henry Taylor arrive with beech or ash handles shaped to sit in a hand, and replacing one is an afternoon you did not plan on. Protecting them costs nothing once you own the right mallet.
Rubber also forgives a bad angle. A slightly off blow with brass jars the tool sideways in the cut; the same blow with rubber gets absorbed and the edge stays where you put it. On a panel where a leaf is sitting at a sixteenth of an inch, that forgiveness matters more than efficiency.
When does brass become the better head?
| The mallet head | Where each one belongs on your bench | Handle cost | What you get from it |
|---|---|---|---|
| A rubber mallet head | Basswood, lime, butternut and the other soft timbers | Nothing at all | Forgiveness, and handles that last years |
| The brass head, on hardwood | Oak, walnut | Real, unless the handle carries a ferrule | Mass per swing |
| Brass again, on the tiniest taps | Any edge that has gone fragile | Low here | A cleaner cut for exactly the same effort |
| Rubber once more | Long roughing sessions that run all day | Nothing, and your arm agrees | Less fatigue |
Hard wood turns the answer around. Oak, and the other dense timbers people bring me, take more energy to sever than basswood does, and a rubber head starts feeling like you are pushing rather than driving. Brass is heavier and smaller at once, so the mass arrives in a shorter, more controlled swing.
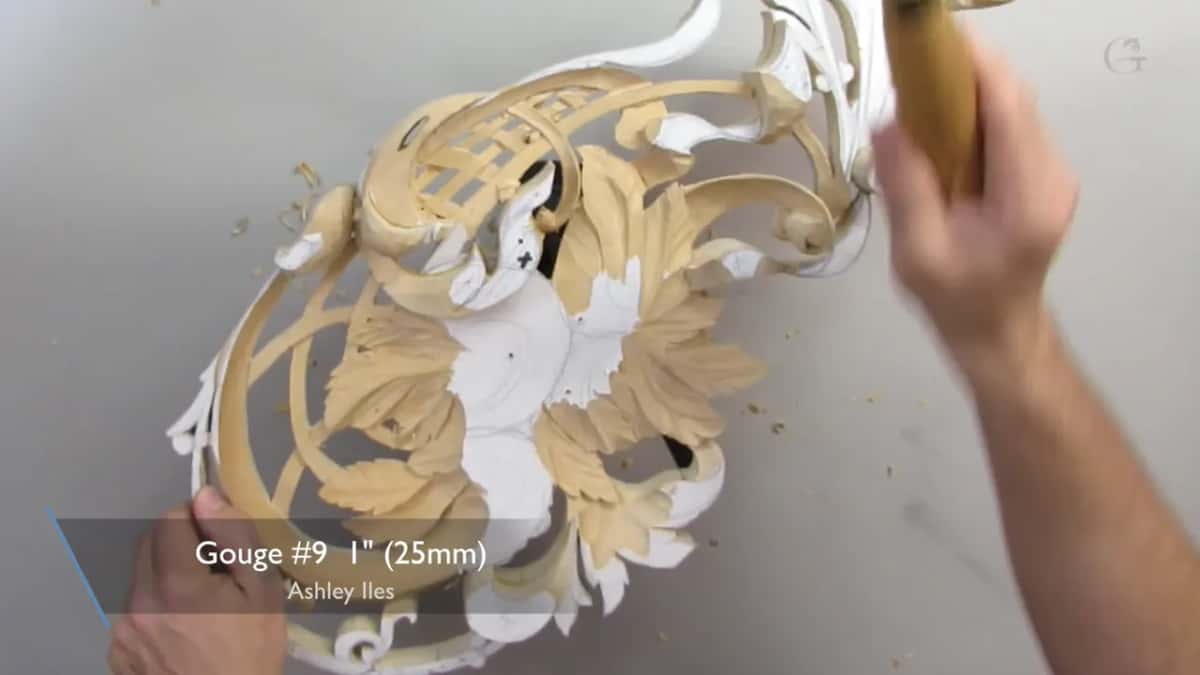
There is a second case, and it surprises people. When I need a micro move and I am barely touching the tool at all, brass still cuts better than rubber does at the same tiny effort. Mass in the head is doing work that my arm is not, which is exactly what you want when your arm is the thing you would rather keep away from the cut.
Use brass with some protection, though. A properly ferruled handle takes it; a plain turned one will not, and the difference shows up in a season. Old antique English gouges often come without ferrules at all, and those never meet my brass.
How hard should you actually hit?
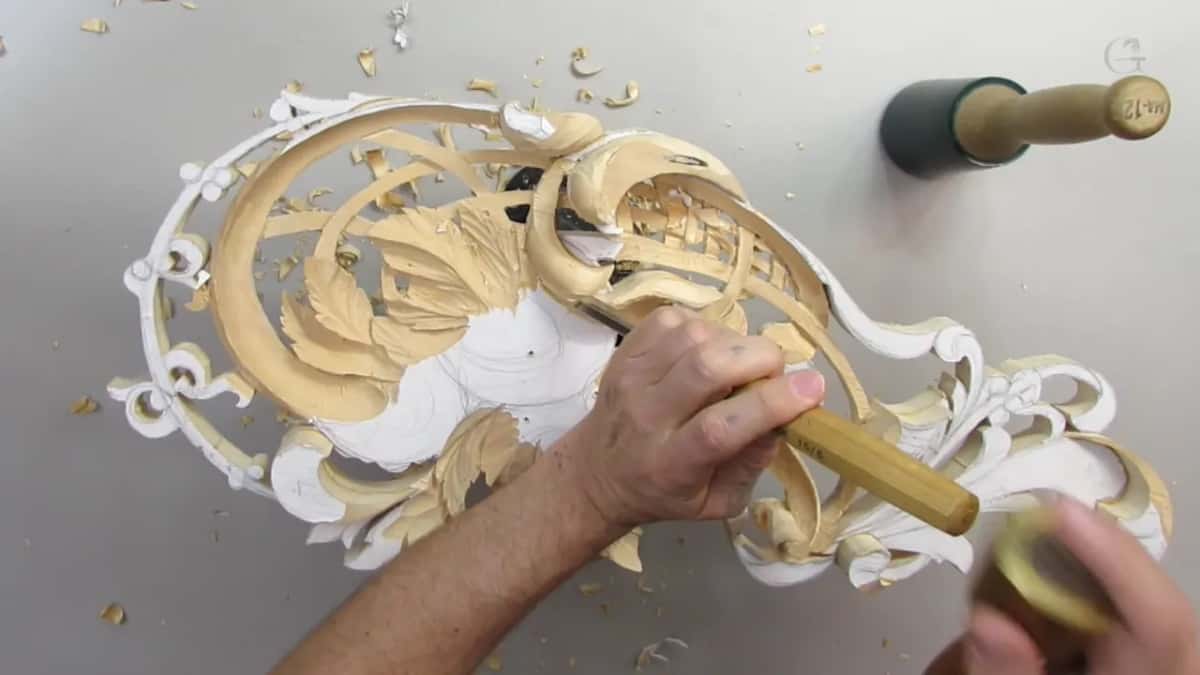
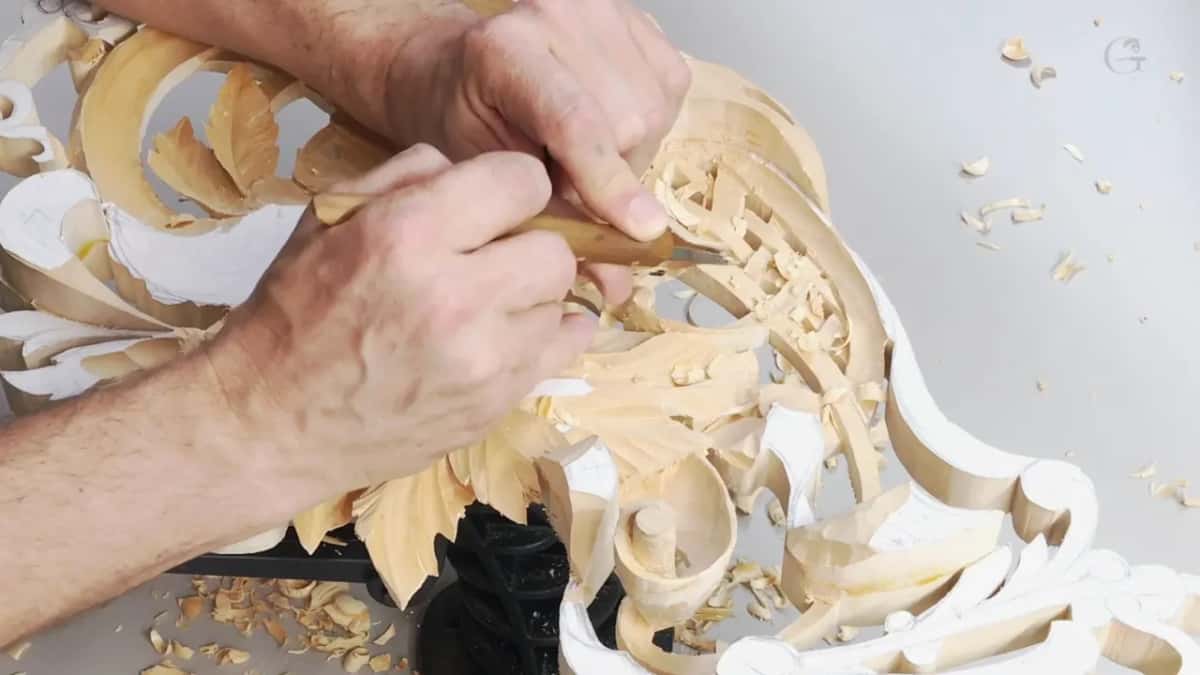
Barely at all by this stage. On workshop 8 the panel has places sitting at three thirty seconds of an inch, roughly 2 mm, and one enthusiastic blow ends a leaf that took an hour. My mallet is tapping, not striking, and the cut advances a shaving at a time.
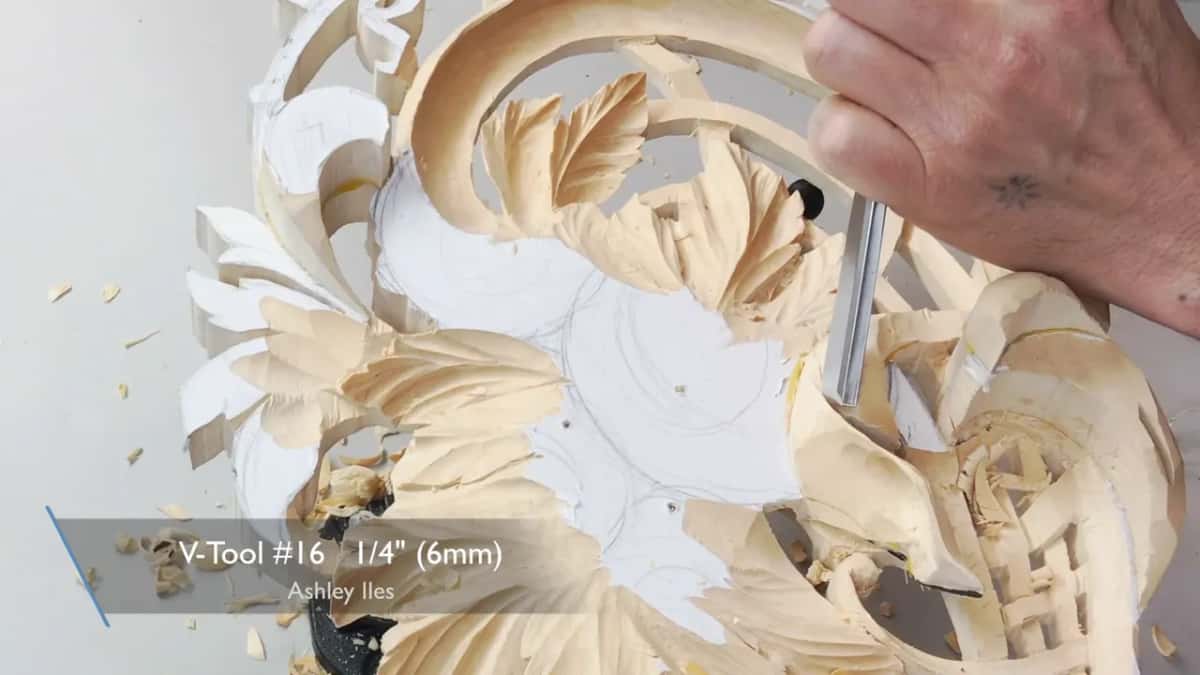
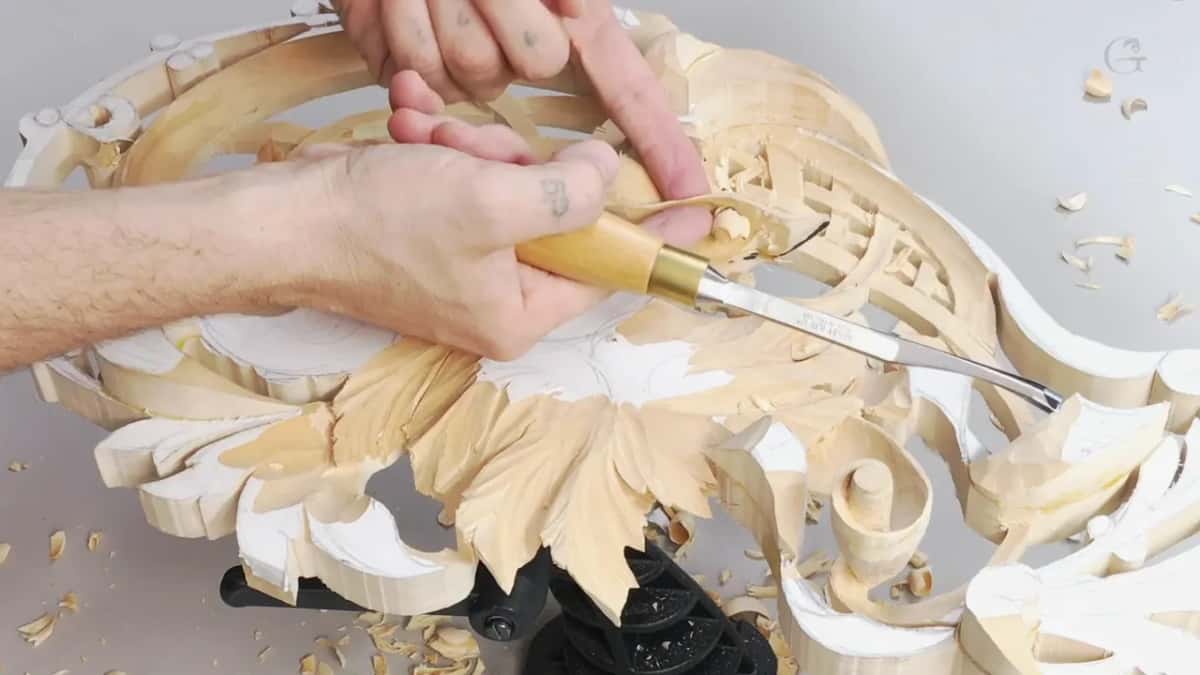
My V tool tips onto its side for the undercut, and the mallet just keeps it moving. Laying the tool over means the wall of the V is already at the angle I want beneath the leaf, so no force is needed to steer it, only enough to keep the edge travelling forward through the fibres.
Whether to use a mallet at all is a separate question, and the answer is nearly always yes. A mallet takes your body out of the cut, which on a pierced panel matters because the only thing your hand could brace against is a carved edge. I set that argument out in full in why a mallet gives you more control.
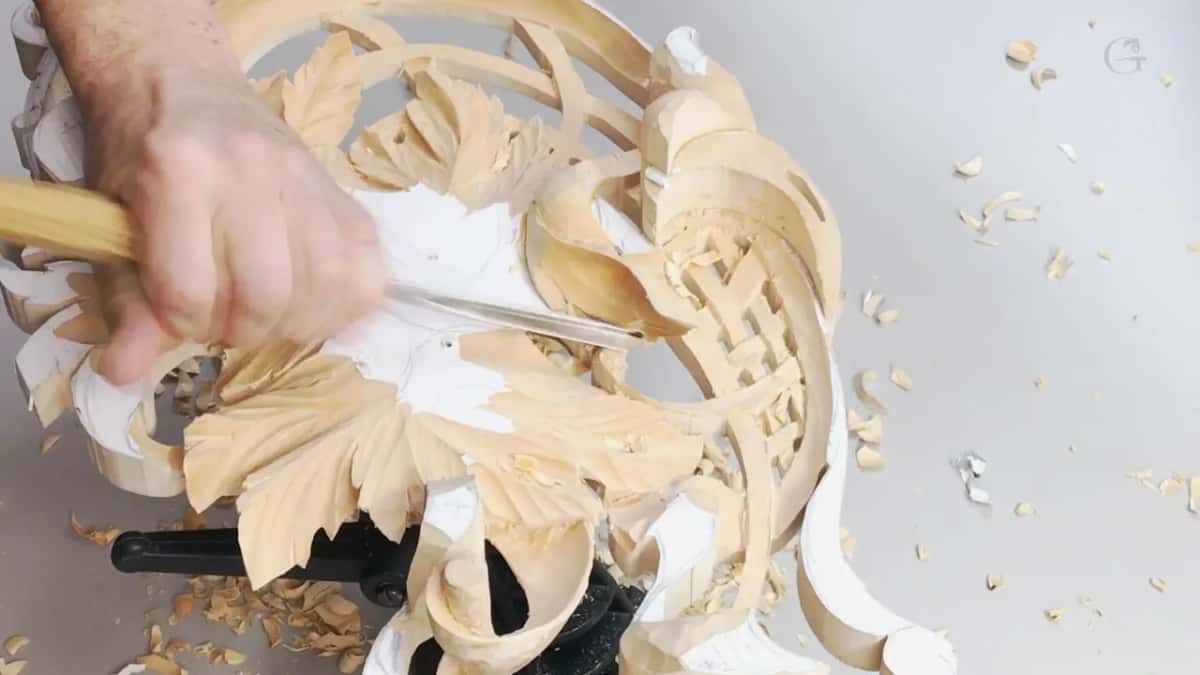
What else changes when a panel gets this thin?
Everything slows, and the tools get bigger rather than smaller. That sounds backwards. A one inch number 7 makes a long shape in one pass and leaves almost no ridges behind it, while a small gouge doing the identical job needs eight passes and every junction between them is a mark you then have to remove.
Ridges you leave are work you owe yourself later. My section on whether a bigger gouge is faster runs the numbers on that properly, and the answer changed how a lot of my students work.
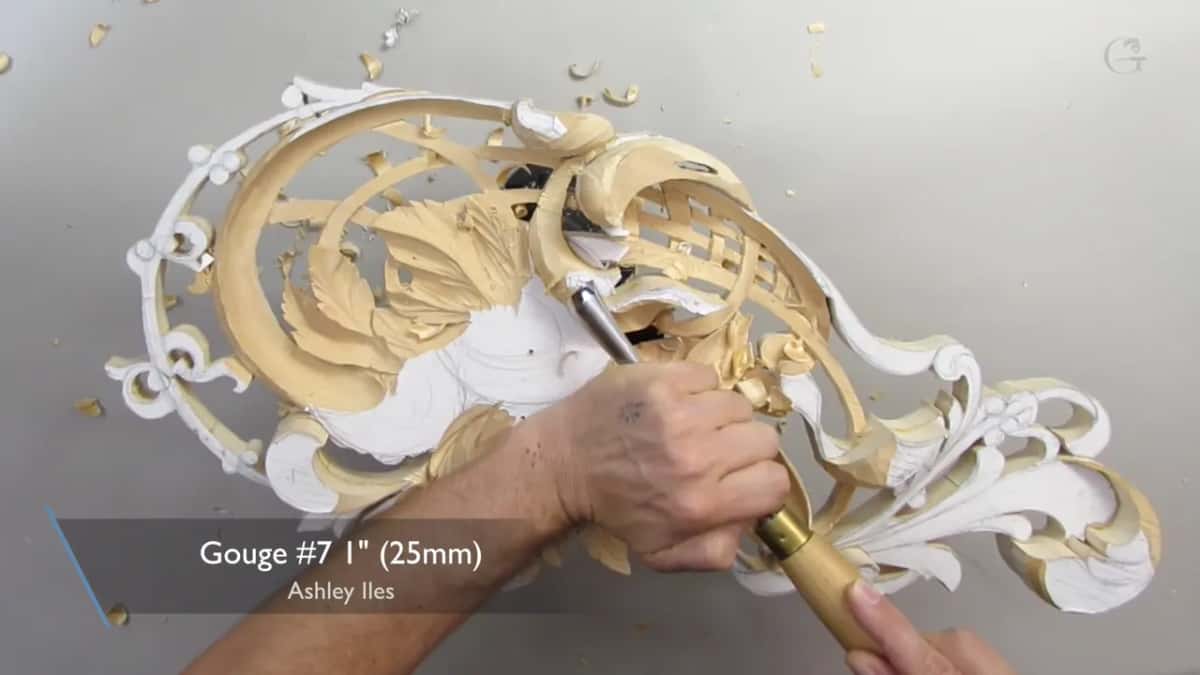
Grain direction rules the rest. A shape like this one has a high point where the fibres reverse, so I come at it from one side, walk round the bench, and come at it from the other. Carving against the grain covers the marriage line where those two halves meet.
You also stop trusting your eyes and start trusting your hands. I have to feel what the grain is doing, since by now the surfaces are too broken up to read visually, and the tool tells me before the wood shows me.
How do you curl the rim of a leaf?
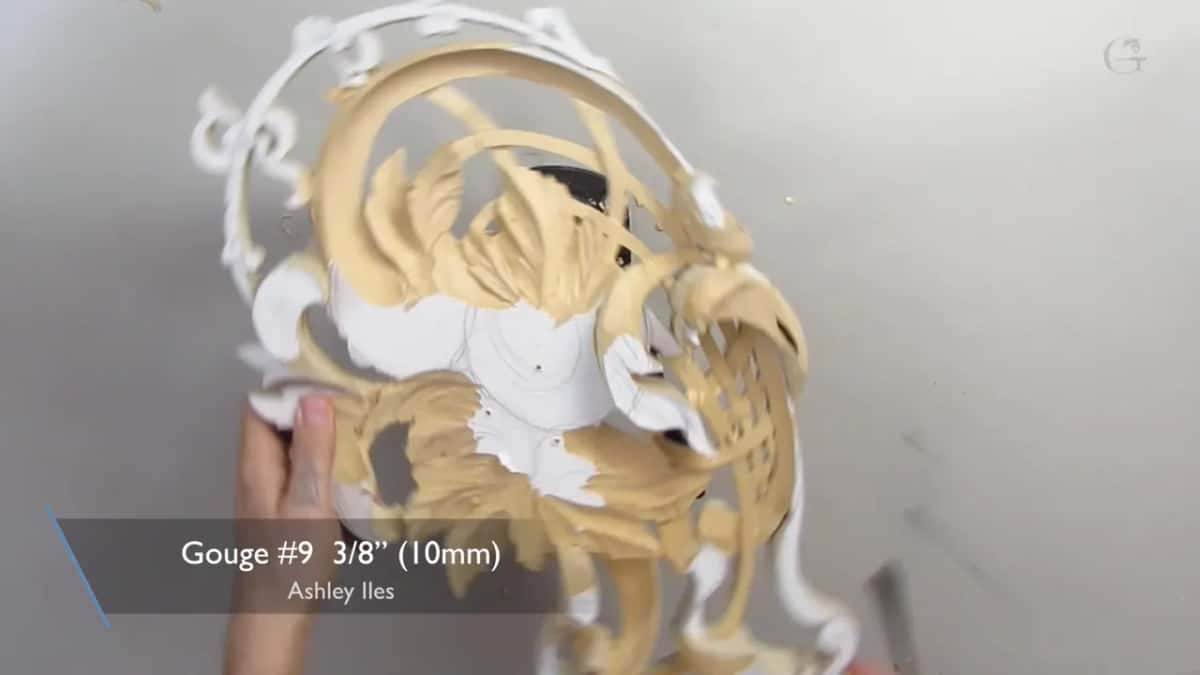
A gouge with a back bend does it, and nothing else does it well. Where a leaf wants to turn inward on itself, I take a back bent number 5 at 10 mm, three eighths of an inch, and roll the rim over so the edge appears to fold toward the viewer rather than sitting flat.
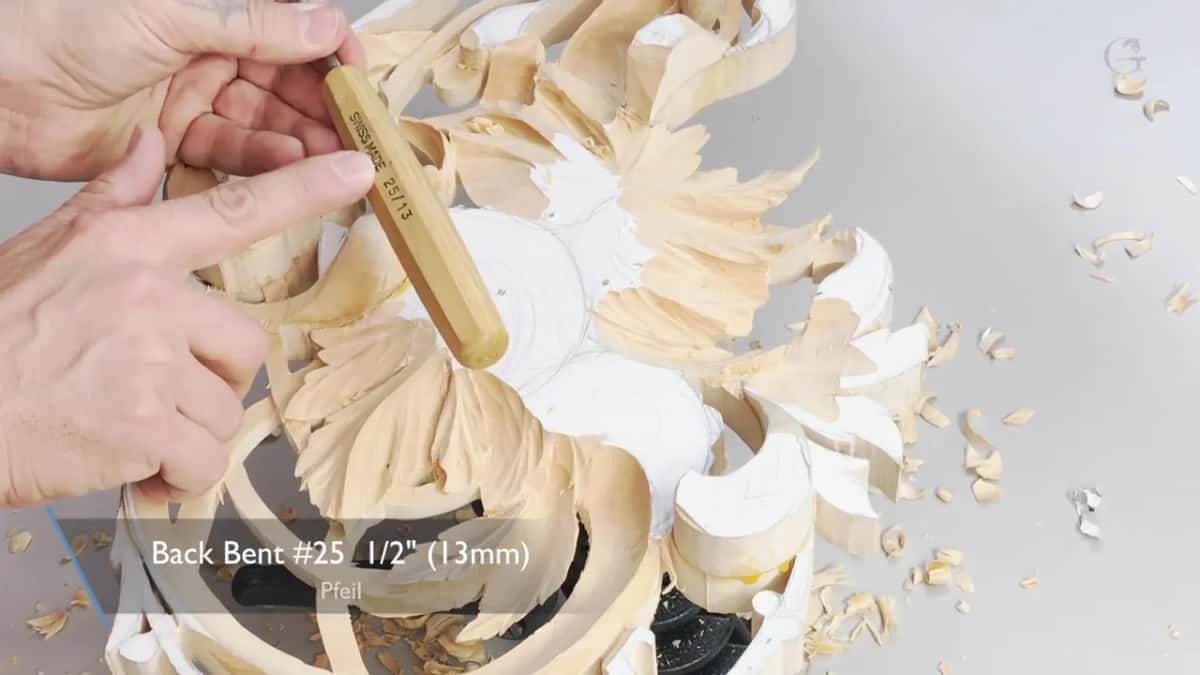
Reading the marking on that tool is worth a minute of your life. Mine is stamped 25 and 10. The 25 says back bent, the 5 inside it is the sweep, and the 10 is the width in millimetres, so the same system tells you everything about a tool you have never held. Swiss gouge markings follow the same grammar.
For undercutting under a thin leaf I know no better tool than a back bend in sweep 5 at 13 mm, half an inch. Other tools reach the same place eventually; this one arrives at the right angle without fighting. Tools with a back bend deserve their own workshop and they have one.

Why is a V tool also called a parting tool?
Dividing is what it does. Run the V along a line between two shapes and you have parted them, one from the other, which is where the older name comes from and why some catalogues still list it that way. Carvers use both words for the same tool.
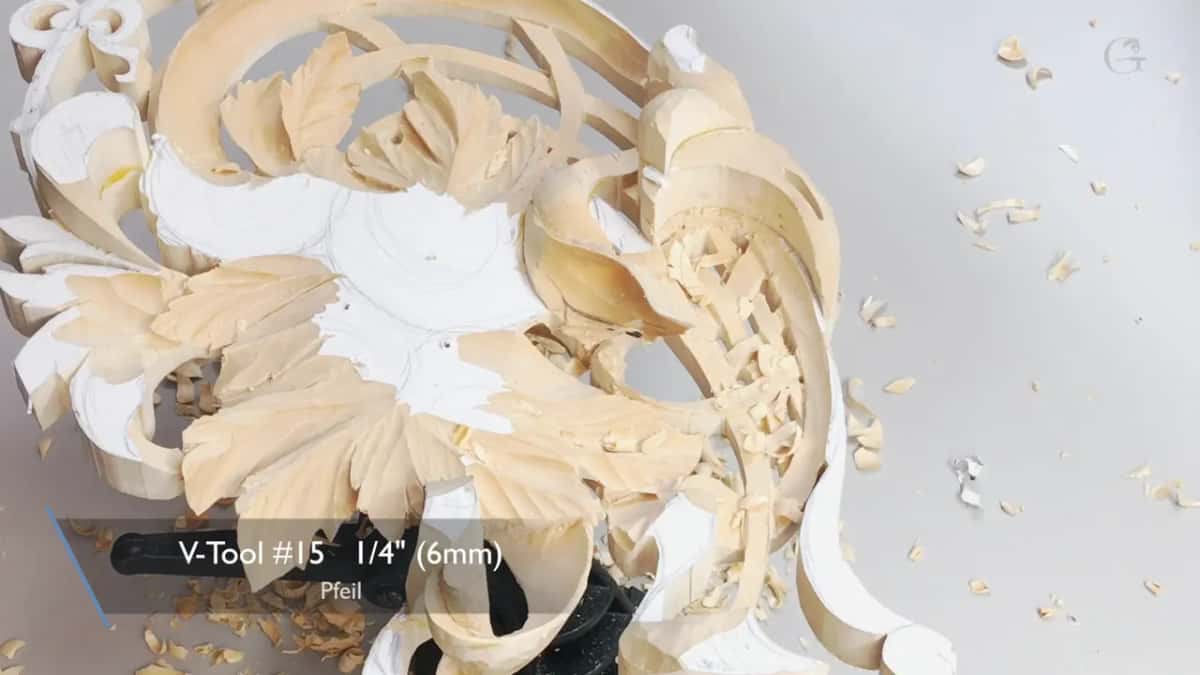
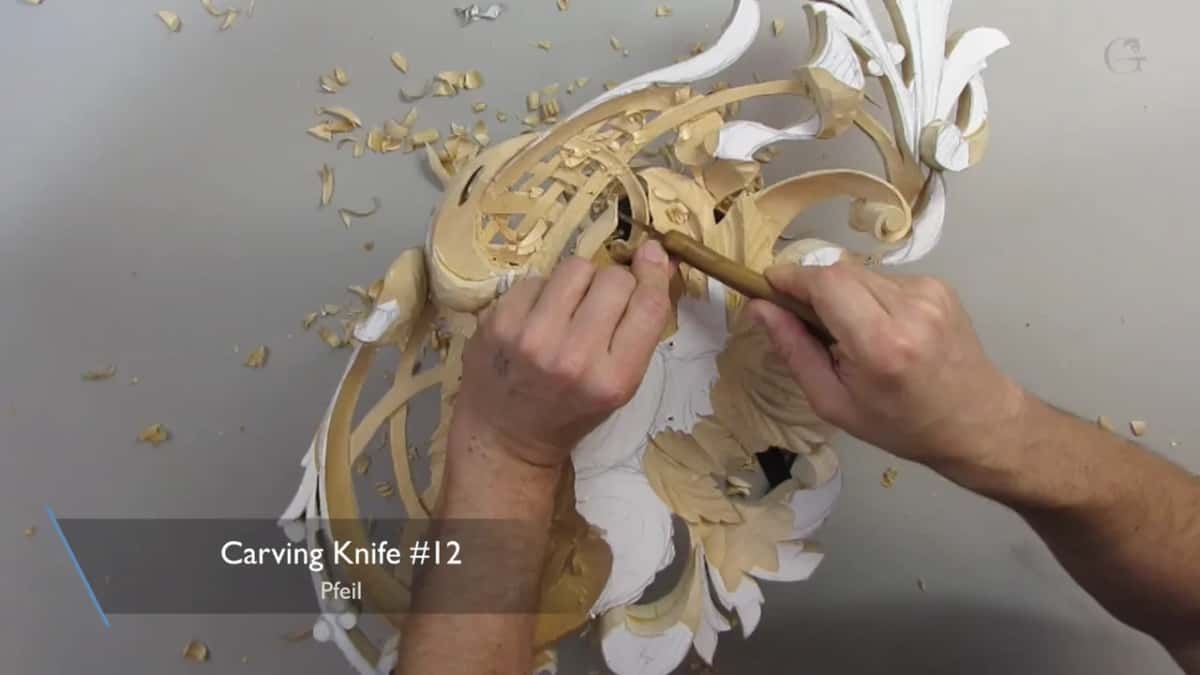
On this panel the V tool makes nearly every boundary. A separation between two leaves, the first pass of an undercut, the line that hides a glue joint, the notch that breaks up a rim. Mine is a number 15 or a number 16 at 6 mm, depending on how sharp a corner the design wants at the bottom of the groove.
Angle matters more than width. A 45 degree V tool leaves a wall already tilted the way I want it beneath a leaf, so the first undercutting pass costs nothing extra, and a narrower angle gives a crisper line but reaches less far under an edge. Sharpening a V tool is its own difficulty, since the point where the two walls meet wants to wear into a notch.
A V tool cutting badly tears instead of severing, and that tear costs you a leaf. Any edge tool forgives some dullness; this one forgives none of it, and the groove's floor is where you find out.
How do you hide a glue line in a carved panel?
Put a separation cut straight along it. This panel is built up from glued layers, so a joint runs through the middle of one acanthus leaf, and rather than fight the line I made it into the division between two leaves. A 6 mm number 15 V tool, a quarter inch, does the whole job.
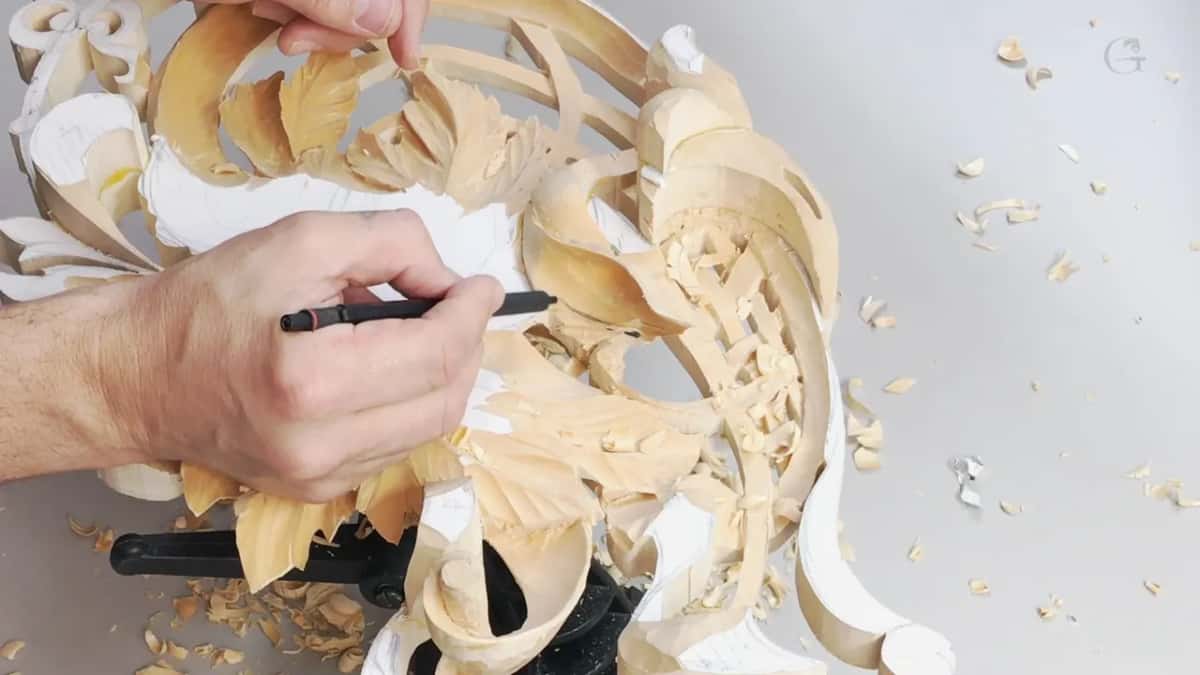
Acanthus foliage is generous that way. Leaves divide all over a real acanthus ornament, so an extra division placed exactly where you need one never looks arbitrary. The glue line disappears into a shadow and no one who sees the finished panel will find it.
Undercut the new division afterwards and the illusion locks in. What was a flat seam across one leaf becomes two leaves at different depths, one growing out from beneath the other, and the joint has turned into an asset. Building up height with glued stock is where workshop 1 of this course started.
Why does sharpening matter more than the mallet?
A sharp tool needs less force, and less force is the whole game at this stage. No mallet on earth rescues a dull gouge on a leaf sitting at a sixteenth of an inch. I stropped my V tool on leather in the middle of this workshop, mid sentence, because I could feel it dragging.
A man phoned me a while back. He had found my commission work online, not the school, and he was pleased to meet another carver. Then he asked how I sharpen my tools, and when I said I teach sharpening and carving both, he told me he did not need anyone to teach him carving. Sharpening was the only thing he wanted.
I had no answer for him. Poking a chisel into a piece of wood is not carving. Carving is the ability to think in three dimensions, to design for the chisel, to carve, and above all to sharpen and reshape your own tools so they do what the design needs. My whole sharpening course exists for that reason.
What does designing for the chisel mean?
Drawing a shape that the tools in your rack can actually reach. Anybody learns to push a gouge through basswood in a fortnight. Nobody becomes a master until the drawing itself is made by somebody who knows which sweep will carve each curve, because paper and wood are different mediums and a beautiful drawing can be uncarvable.
Look at how a curve is built before you draw one. A number 9 gives you a tight hollow, a number 3 gives you a lazy one, and the gouge you own decides which of those your ornament can contain. The principles of design course is built entirely on that idea.
You also have to learn what was done before you. There are two thousand years of carved ornament to read, and every problem you meet has been solved by somebody whose panel is now in a museum. Spend an hour in the furniture collection at the V and A or the Getty and you will steal more than a year of guessing gives you.
What should you change on your own bench?
Pick up whatever mallet you own and look at the handles it has been landing on. If the crowns are mushroomed, get a rubber head for everyday work and keep the metal one for oak. Then halve how hard you are hitting and see whether the cut suffers.
My guess is it will not. Most carvers hit far harder than the wood requires, and the extra force goes into wandering edges and broken points rather than into progress. All 49 workshops of this course sit inside the school, and workshop 8 is where the tapping gets very quiet indeed.
One more thing about the tools. Brass is chosen for a mallet head over steel because it is dense without being brutally hard, and rubber was adopted for the opposite property. Neither was picked by accident, and both have been on carvers benches for well over a century.

Feel free to ignore every movement I make in this workshop, by the way. Copy the method and not the shapes. The point is to end up designing your own foliage, and a student who reproduces my panel exactly has learned the smaller half of the lesson.
The rubber mallet in my hand is nothing special. It cost very little, it has been on this bench for years, and it has saved me more handles than I can count. Sometimes the cheapest thing you own is the one doing the most work.
How it's done
- Inspect your handles. Look at the crowns. Mushrooming or splitting means a metal face has been landing on bare turned wood.
- Keep rubber for daily work. Basswood, lime and butternut ask for a rubber head, which spares handles and absorbs a crooked blow.
- Bring brass to dense timber. Oak and walnut reward a smaller heavier head, moving the tool further on a shorter swing.
- Use brass for micro taps. Mass in the head does work your arm would otherwise supply, so very light taps sever better.
- Check for a ferrule. Metal belongs only where the handle carries a proper band. A plain turned handle will not last a season.
- Halve the force when fragile. Turn the V tool onto one flank and let the head keep the edge travelling, one thin slice per tap.
- Strop at the first drag. No mallet head on earth compensates for a dull gouge. Leather and a minute solve it.
Frequently asked questions
Is a rubber or brass mallet better for carving?
Rubber wins for daily work since a metal face crushes handle crowns until they split. Brass earns its place on dense timber and on very light taps, where extra mass does work your arm would otherwise have to supply.
Why do carving handles mushroom?
Repeated blows from a hard face compress end grain at the crown until the fibres spread and open. A rubber head stretches the same impact over a longer moment, and the handle survives thousands more strikes.
What is a parting tool?
Another name for a V tool, earned because running it along a line divides one shape from its neighbour. Catalogues list both terms. Width and included angle matter far more than which word a seller happens to print.
What to carve next