
Alexander Grabovetskiy, woodcarver, School of Woodcarving · Published 2018
What are background leaves in a wood carving?
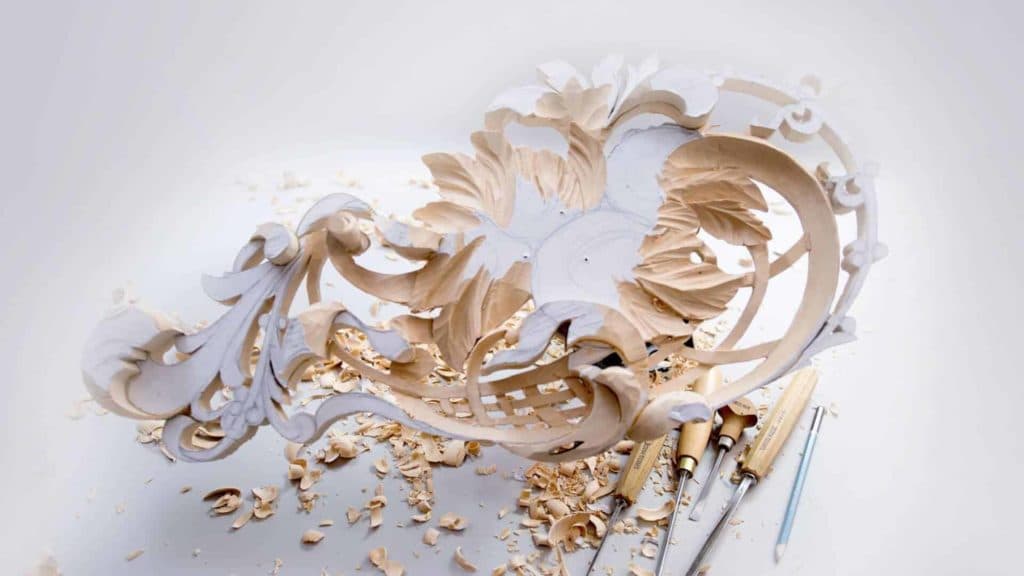
Quick answer: Background leaves are the leaves carved below the main flowers of a panel. Their main purpose is movement, and they will be visible, but not as much. In lesson 6 of my Hashemi panel they got a ridge set off center, veins from a number nine and a preliminary undercut, since you can still see them from the side.
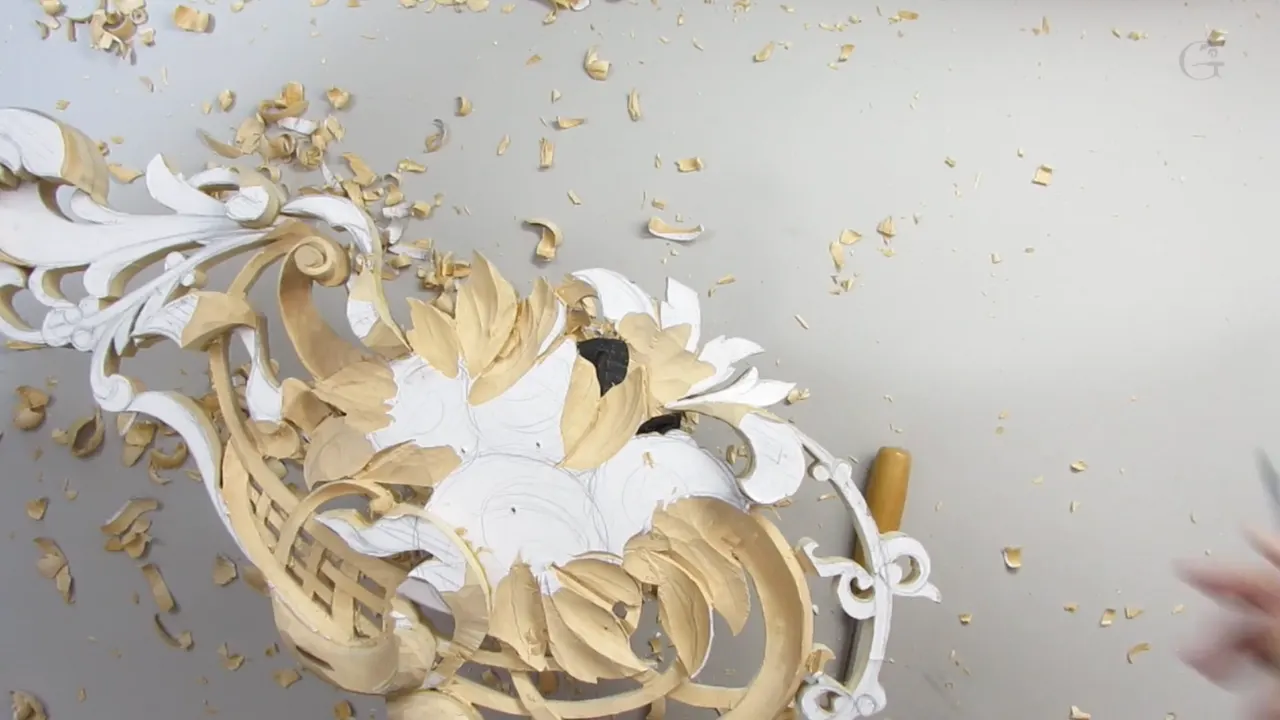
Background leaves are the leaves you carve below the main flowers of a panel, and their main purpose is to serve as a background, the background movement, as I put it on camera. That was lesson 6 of my Hashemi flowers panel, a pierced openwork piece.
Can you see the side of a panel as you walk past it? And a little way under its flowers, from there? Then the leaves under those flowers get carved too, veins and all.
A leaf that hides is still a leaf. Below is what the background leaves on this panel got in the six parts of lesson 6, which tool did each job, and where I said it was enough.
What the background leaves got in lesson 6
Separation cuts from the V tool.
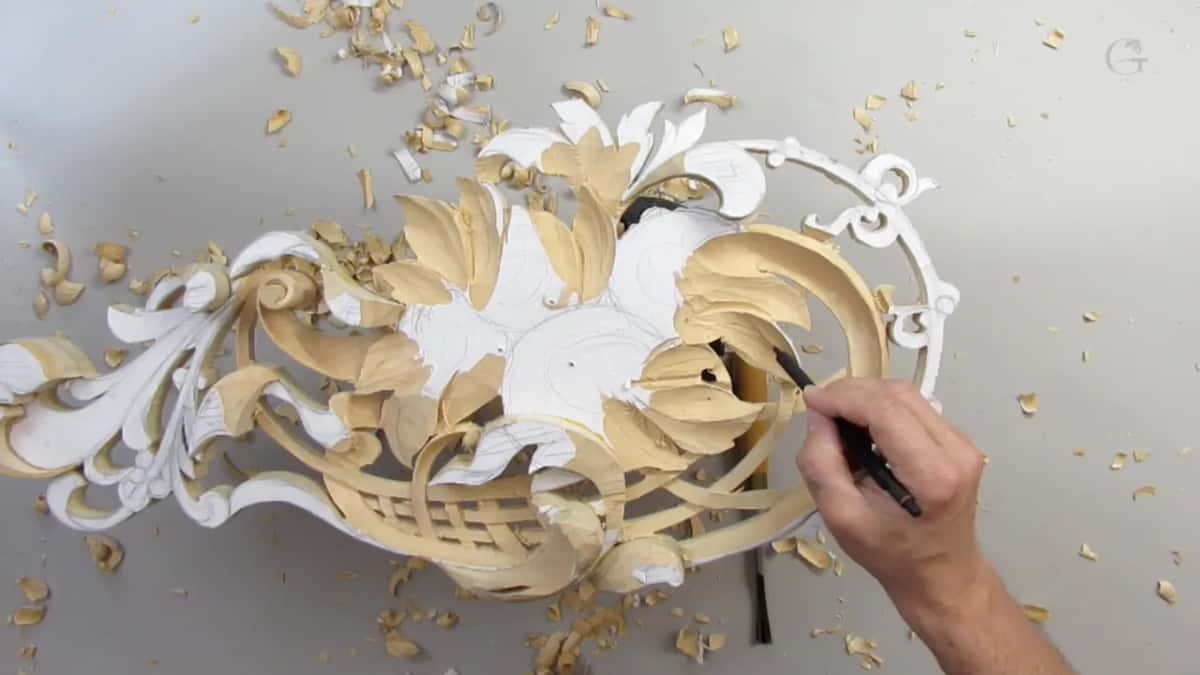
A ridge set by eye, toward the higher side of each leaf and never down the middle.
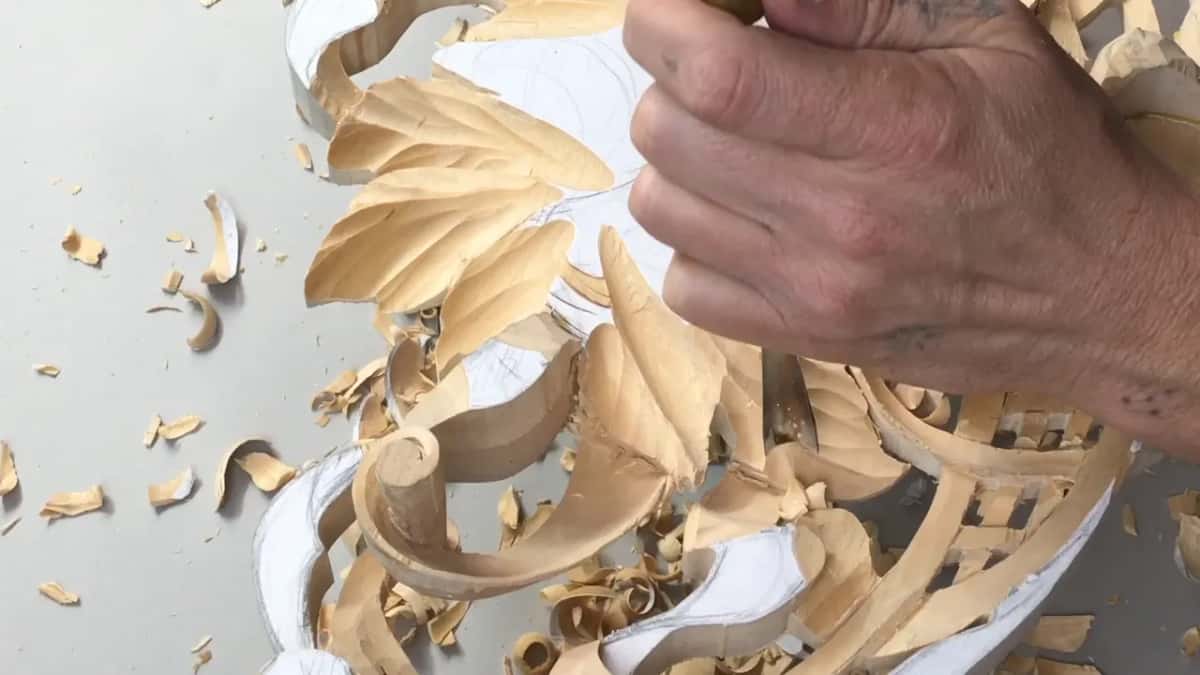
Veins from a number nine.
Spoon gouges where a straight gouge would not work.
Exaggeration cuts in a few spots.
A first undercut that stays preliminary, with the final one waiting until later on.
Flat spots, kept for gluing.
What are background leaves for?
Movement, mostly. Partway through part two I asked you to please understand that the leaves I was doing right then are just the background leaves, so they will be visible, but not as much.
The reason to have them at all goes back to lesson 1. Below my flowers, I said there, I have to develop some leafage, because it will look much better with wood carving right below them. You'll still detect it when you look from the sides.
Part four came back to it. Most of them will be not too much visible, but still, the more detailed you make them, the more beautiful the overall design will be.
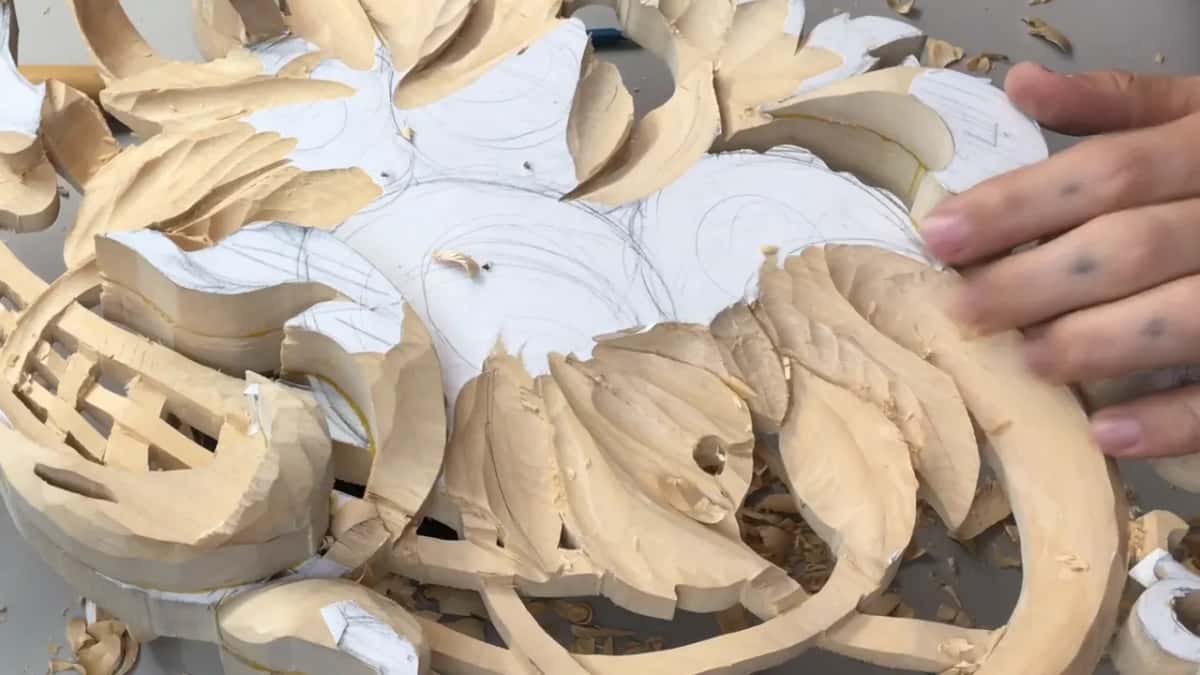
Why carve a leaf the flower will hide?
The side view settles it. Outlining one detail with a V tool in part three, I said this part will be completely hidden underneath the flower, but still. About a minute later, on a couple more, it was the same. Hidden completely, because of the flower position right there, but when you look from the side, you can see that. And that's better if there is something than nothing.
The next lesson says it again. That will be mostly hidden, I said in lesson 7, but you'll be able to distinguish it. Later in that part one leaf's overall shape did not make me happy. It looked like it had to go another way, and although it will be hidden, it's just something that bugs me.
Shadow is part of it too. With a number nine in lesson 1, I said it creates the illusion of some kind of development underneath, even if you can't see it, because it will catch the shadow.

Where does the ridge sit on a carved leaf?
Off center, closer to the higher side. I never put my line in the middle of the leaf. If this side is higher, my middle line will be closer to the higher side, with a wider spot on the other one, and that creates even more of a 3D look.
For finding it I took a smaller number eight, maybe half an inch (13 mm). I need to find the middle line of the leaves, how I want to see it, where my ridge will be. And I'm doing just the eyeballing, really. We are doing flowers, and if there are some inconsistencies, it should not be a problem.
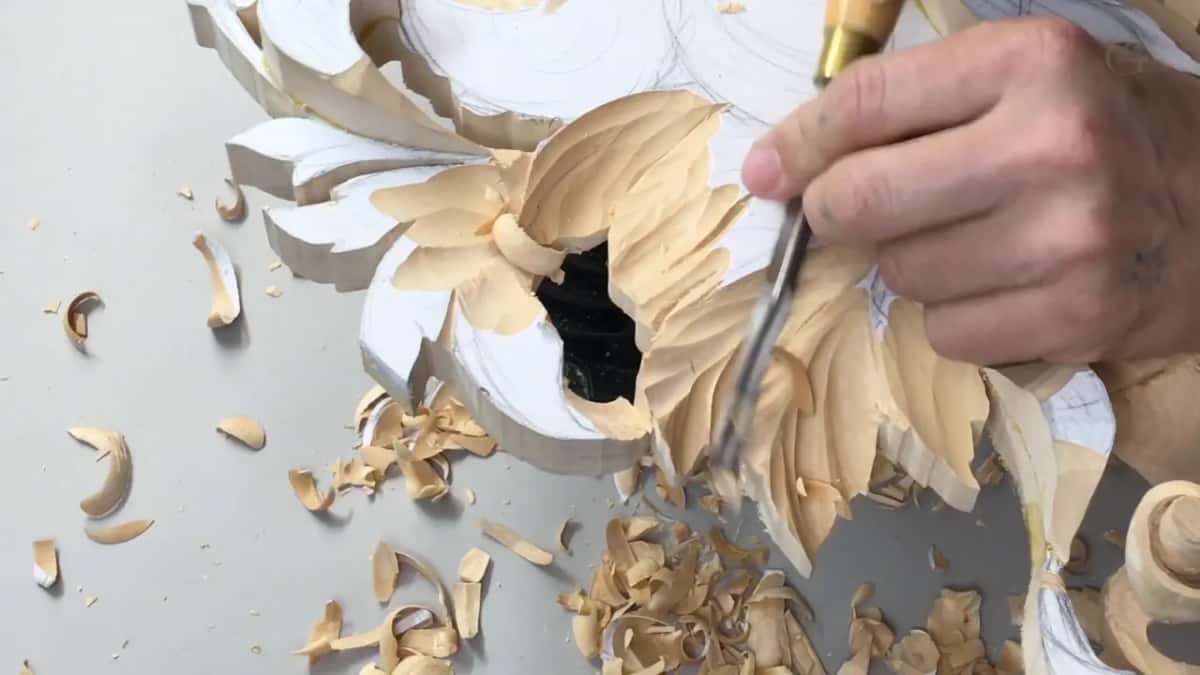
Back in lesson 7 a smaller number eight, about a half inch again, gave me my middle line ridge. I marked it with a pencil, and said I don't want to leave any pencil marks on this piece, because otherwise you have to clean it, and it just won't look nice.
Which gouge makes the veins on a leaf?
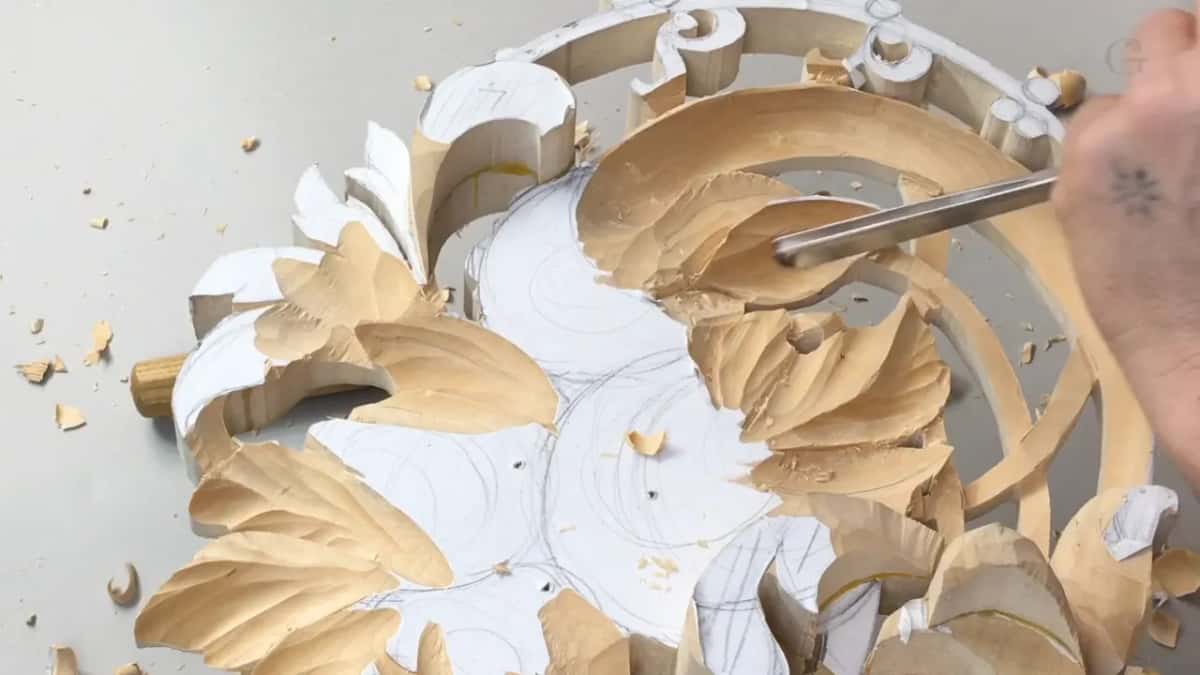
A number nine did most of it. Soon after the number eight came out, I said, maybe I can actually use a number nine, I think it will look better. I make freehand cuts, but still, I have to follow the law of flow. From the middle I made my cuts out, and those ridges between, the tool marks, they actually look like the veins of the leaf.

Direction changed on the next leaf, where I went outside in, toward the middle line. Again, just number nine, and I'm actually just doing an illusion of the veins. Every leaf has veins. This one is half an inch, I said later in part two, and that's number nine.
Right after that I said I should do it with the grain, and it looked like I had done it wrong. That rule, and when it bends, has its own page, carving with the grain.
Other leaves on this panel took other sweeps. Lesson 38 used a number five, going from the middle outward, creating veins, if I can call them veins, and I said number seven will work. Over in lesson 34, every leaf is supposed to have veins, all running to the center line, and I did not want them too deep. A small number seven, a few spots, not everywhere.
When does a straight gouge stop working?
In some areas it just won't, and then I switch to a spoon gouge. Late in part two that meant about a 5/8 inch (16 mm) number nine spoon gouge, worked in while my movements stayed over the main middle line.

Early in part three I needed to fix my movement, and the best tool for that was my number three skew, about a half inch, or 13 millimeters. That's a beautiful thing to have, because it has a skew and I can always attack from the right position.

Then a different sweep. I took a 10 millimeter number seven, three-eighths of an inch, and the cuts still looked kind of rough, which I really didn't like. So I got the number seven at 10 millimeters again, but the spoon gouge this time, and came from the right position, along the grain. Even if I won't see too much of the ridges, I still think it will look better, and the cut cleaner.


What is an exaggeration cut?
A cut inside of the cut, in some spots. That's how I call them, exaggeration cuts. For it I took a smaller number nine, just about a quarter inch (6 mm), starting at the middle again, some spots, not everywhere. For some reason, those exaggeration cuts make leaves more realistic, and the veins inside those leaves more distinguishable.
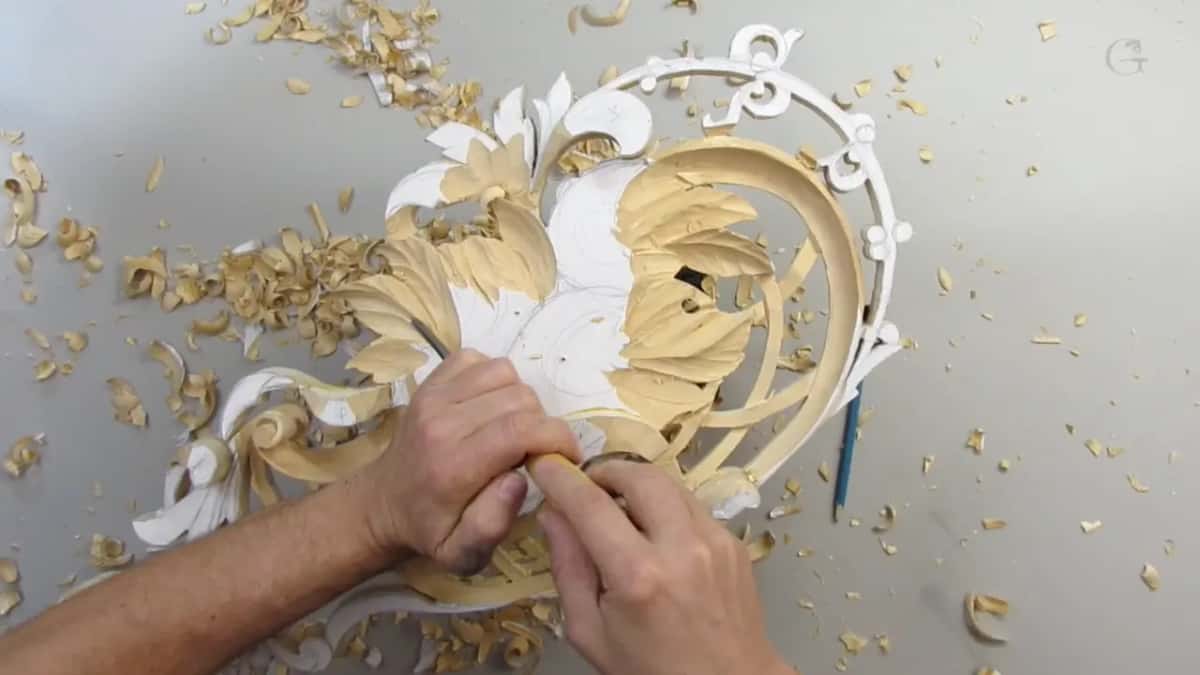
You probably already see those are simple cuts. Anybody can do that. But how beautiful the structure they create, or the movements. I know those cuts were deep, I said a little later, but they're making those leaves alive.
Part two had already given the reason. Don't be afraid to exaggerate, because in wood carving, even if you're trying to replicate nature, you have to exaggerate some movements, some shadow lines, and so on, to make it more of a 3D look. Then it will look beautiful.
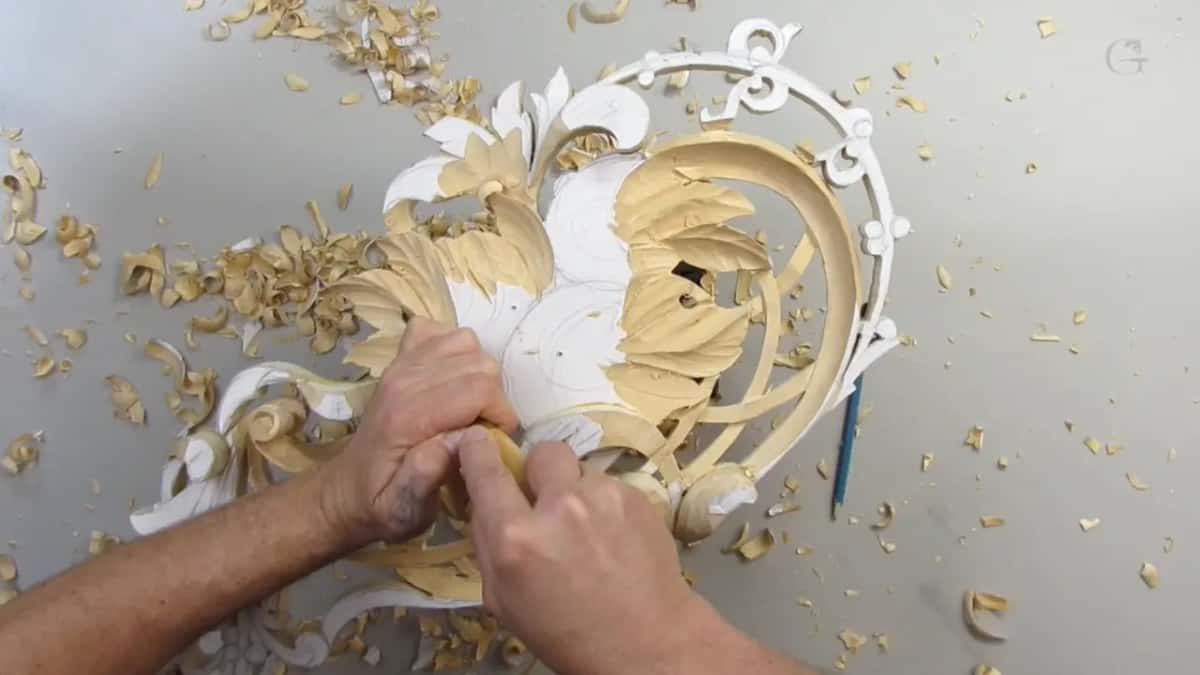
Smaller still works. A few strokes could take an even smaller 1/8 inch (3 mm) number nine for deeper grooves, I said. It won't hurt anything. It will actually make it look even more beautiful.
As I put it in lesson 36, every little shadow helps. It creates a beautiful three-dimensional look, which honestly, it is three-dimensional anyway, but it just exaggerates that.
How much detail is too much?
Small strokes everywhere are too much. Just don't overdo it, because if you start putting those small cuts everywhere, they will distract. It's just too much.

Through part four I kept saying some spots only, and that it still makes a big difference to how detailed the overall structure of the leaf will look. I'm not doing it everywhere, I said later, some spots, but they create beautiful things. Somewhere between those two lines came, okay, I think it's enough here.
How deep does the first undercut go?
Partway, for now. Late in part one, at this stage, I probably need to undercut a little more, I said, and now I can actually go as deep as I wish with undercutting. A mallet came out for it. This was a preliminary undercutting, not the final yet, I said, but you should get an idea of the way I do it.
My V tool does this job. Any V tool will work, I said earlier in part one. I really like this one, because this one is 45 degrees and I can do my undercutting with that.

Angles go with the numbers. In lesson 12 I took a number 16 and said it's actually less than 45 degrees. The higher the number is, the less the angle, so it goes 90 degrees, 60 degrees, 45 degrees, 35, I believe.
Part three brought the V tool back to make my undercut deeper. As for the edge of a background leaf, don't worry about the edge yet, I said in part two, it's not the final form yet. Even if it's a background, I still have to establish my edge.
The reason for undercutting at all is in lesson 7, where I called it an easy answer. It's all about lights and the shadows. Believe me, even if a small amount of light travels behind, it will create a shadow. Shadow came up again in lesson 26. Once the piece is applied to the wall or a background, it's raised above it, so it will cast a shadow underneath.
Undercutting the basket when it gets fragile
The basket grid runs underneath the leaves, and in part five I went back to undercut it. I laid a V tool on one side, or close to one side, and started my digging. It becomes more fragile, so I can't overdo it. Better to be patient and take your time, and work both ways.
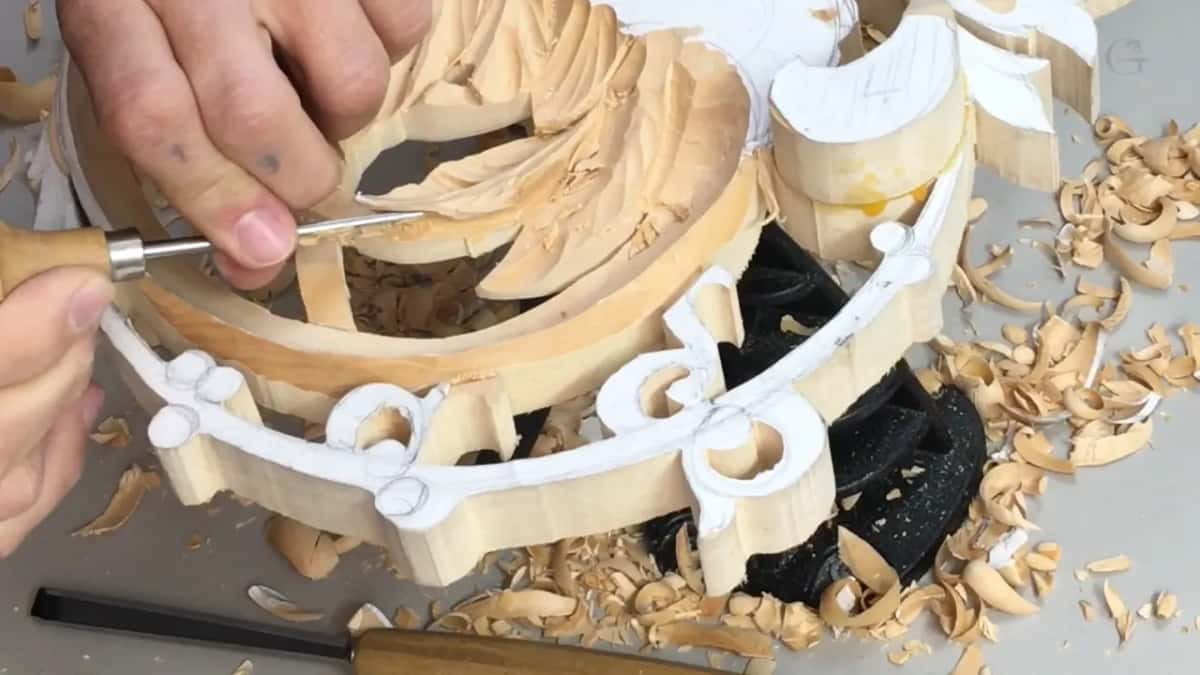
Keep an eye on depth as well. This part will be part of a basket, I said, and I want to make sure I'm not going deeper than I should. It looked like I already had, right there. Now it's all about patience, and how patient am I? I can't rush it. I can make a big mistake if I do. I was using just number one, and I know sometimes my hand is in the way, but it's the only way I can get to it.
Right now it becomes weak, and it's up to you how extreme you want to go. I will go extreme, because I really like to make those flowers and leaves look realistic. So the number one again, double bevel, which means a bevel on both sides, the way I explained it in lesson 47. Slice by slice, little by little. I'm working against the grain, and it's really important to have your tool really sharp. I barely create any pressure.

Part six went smaller. Maybe a smaller V tool, I said, and I could probably use even just the 1 millimeter number 16, just to clean. Where I could see the natural movement going one way, I said a small number five, maybe a quarter inch, could follow that natural movement instead of the number one. That became really fragile, really thin. And that's how I work my edge.
Back on the number one chisel, I said, that's what I just did, I made a mistake. It's okay. Really little by little. Like I said, you can't force it at all. In a case like this, it would be much easier for me to reach from the opposite side and make my other cut.
How do you know you kept the high point?
My paper told me. In part six I said my paper is still there, and that means I still kept my high point.

Lesson 18 has the same check. You can see I left my paper, I said there. That is my high point, I would say, which might be a more proper name for it.
Flat spots get the same care. I just want to repeat myself, I said early on. I'm still keeping my flat spot right here, because I still have to glue my layers on the top, and it's really important to keep the flat spots. Lesson 1 had set that up. Some flat spots stay to glue on the next levels, next layers, I said there, but around those flat spots, I would like to develop some kind of leaves.

Then there is the drawing. I almost lost my original design in part one, although I'm not that worried. I can always reestablish it. First I made sure my grid, or my basket, was visible and detectable, and then I separated those two leaves.
Tools for the leaves in lesson 6
| Tool and size | What it did on these leaves | When |
|---|---|---|
| Number eight, 13 mm (1/2 in) | Taken up to find the middle line, by eye alone | Part one |
| Number nine, also 13 mm | Veins out of the middle, and outside in on another leaf | Parts one and two |
| Spoon gouge, number nine, about 5/8 inch (16 mm) | Worked the areas a straight gouge would not | End of part two |
| Number three skew | Fixed the movement from a better angle | Early in part three |
| Quarter inch number nine (6 mm) | Exaggeration cuts in a few spots only, never all over the leaf | Part four |
| Double bevel number one | Undercut the basket slice by slice, barely pressing | Parts five and six |
What went wrong in lesson 6?
Four small things went wrong, and all of them stayed in the video. In part two I needed to divide, to make my separation cut right there, which I didn't do, and that came not long after the grain slip I told you about above. The basket in part five got deeper than it was supposed to. And in part six, working the number one, I made a mistake and said it's okay.
All six parts of lesson 6, and the rest of this limewood panel, come with tuition at the school, and the last thing I said in part six was, hopefully, you learned something today.
How it's done
- Separate the leaves. Check the basket grid is still easy to see, then run a V tool between two leaves.
- Set the ridge. Take the number eight, and keep the middle line nearer the higher side.
- Carve the veins. Stroke outward with a number nine. Tool marks left between strokes look like veins.
- Switch to a spoon gouge. Wherever the straight gouge will not work, keeping the movement over the middle line.
- Add a few exaggeration cuts. Take a smaller number nine inside some of the grooves, in a few spots only.
- Undercut a little. Give it a preliminary undercut, V tool and mallet, and leave the final one for later.
- Free the basket slowly. Lay the V tool on one side, then take a sharp double bevel number one, one slice at a time, barely pressing.
Frequently asked questions
Do background leaves need veins?
Every leaf has veins, I said in this lesson, so the background ones got them as well. Most came off a number nine, its tool marks standing up between strokes like veins, and deeper exaggeration cuts went into a few places only.
Why is the ridge on a carved leaf off center?
Putting the middle line nearer the higher side leaves a wider spot opposite, and I said that looks even more 3D. I judge the place by eye, and in this lesson I took a number eight to find it. Small differences between one leaf and another are no problem on flowers.
Is the first undercut the final one?
On this panel the first pass was preliminary. With a V tool and a mallet I went as deep as I wished, and later on the V tool came back to take the undercut deeper. Leaf edges wait for their final form too.
What to carve next