
Alexander Grabovetskiy, woodcarver, School of Woodcarving · Published 2018
Why do carvers cut with a V tool first?
Quick answer: Making a V cut first is giving the fibers relief before any gouge goes in. Push a gouge straight down and they smash. They hold for a while, then go back by the next day, and the surface turns rough. On a limewood panel I used the number 16, in 6 mm and in 3 mm.
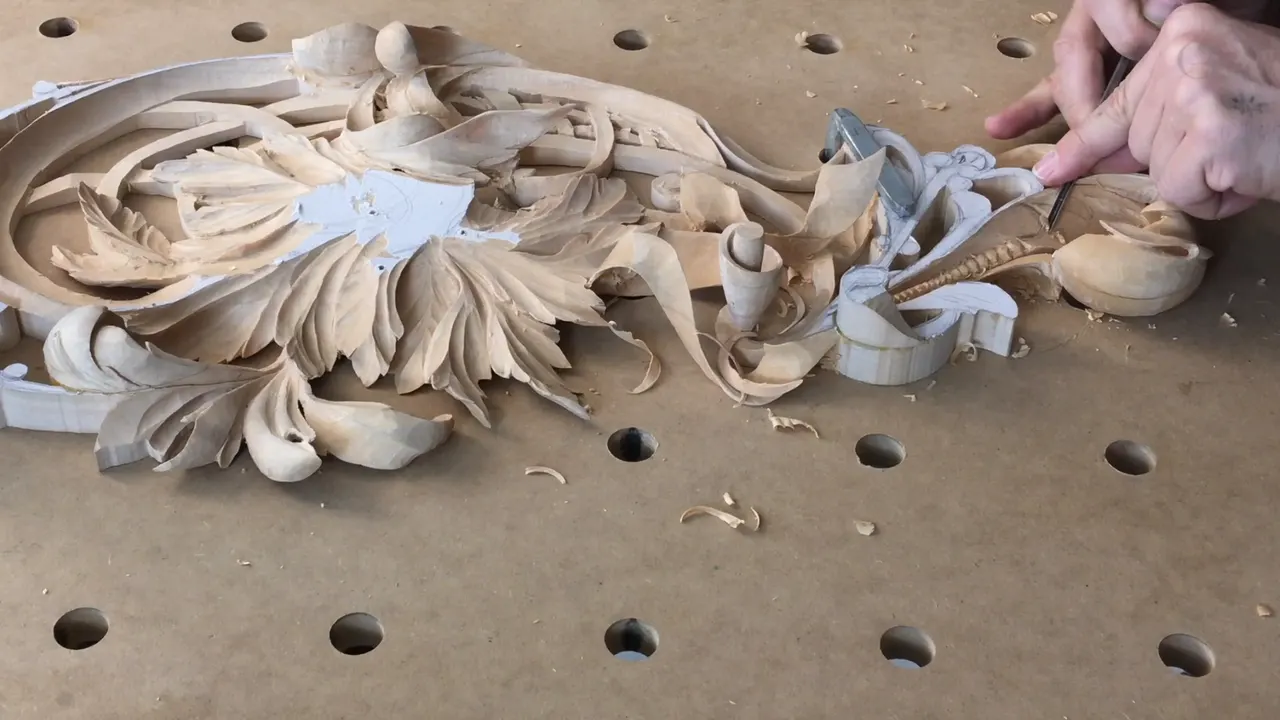
A V tool first is the preliminary cut I made along a line, again and again in this lesson, before any gouge went in. The fibers get relief that way. On my limewood Hashemi panel I said why, and I was honest about the other way too.
Here is the line, word for word, from part four: "The fibers would smash, and it's going to stay for a little bit. But later on, next day, for example, you can see those fibers go back, and the cut is going to be more rough."
Have you seen a carved leaf whose edges look crisp and clean? Would you want yours to look that way the next morning, too? Then take the V tool before the gouge. Below is where it went on this panel and how deep I took it.
The V tool on this panel, in six lines
A number 16 V tool at 6 mm (1/4 in) made my first groove.
For the squares I dropped to 3 mm (1/8 in).
That first groove went about 5 mm (3/16 in) deep, and I said I should go deeper.
Deeper V cuts, I said, give me less resistance.
My V cut makes relief for the fibers, so the rest of the material comes out easier.
Final cleaning waits until the form is pre-established.
What makes me take the V tool before the gouge?
My reason is the fibers. In part four the first cut came from the small V tool, three millimeters. I use the V tool a lot, I said, because I want the fibers to get a preliminary cut first.
You could actually use just a straight down gouge, I said, and then came the line you read at the top.
So I make that V cut to make relief for those fibers. That's going to be easier for me, actually, when I remove the rest of the material. Then a number 7 at about 5/16 inch (8 mm) went right up to it.
What does a gouge pressed straight in do to the fibers?
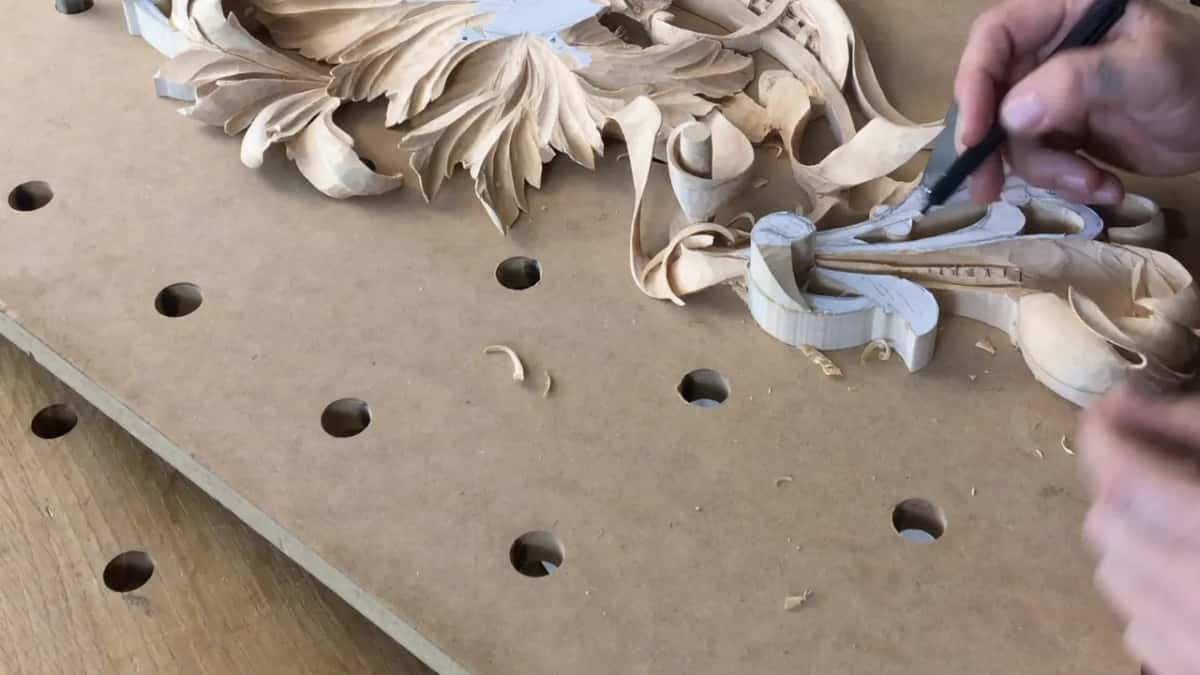
It pushes them both ways. I explained it on the furniture panel, in lesson 21, with a different tool. When you just press a tool into the wood without a preliminary relief, you are trying to dig in, but the metal is really thick, and you're pushing the fibers of the wood in both directions.
And yes, the line looks clean at the beginning. Next morning, when you come back, that side will be somewhat rugged. So it's not really good.
Lots of carvers, I said there, just grab a gouge close enough to the profile and start digging. That's still possible, and it makes a really nice and smooth line. I think it's doable. It's just not my preference, because I really don't want to see my fibers go back.
The Venice Room heard the same warning. In lesson 6 there, one way was to take a V tool and make preliminary cuts, attacking from the sides. That time my number one worked just fine. I didn't want to really overstress my fibers, I said, because when you're pushing fibers, next day, they're going to go back. They will go back.
A line that looks rough a day after you carve it has its own page, in a beginner lesson on a curly cutting board.
Which V tool did I use on the Hashemi panel?
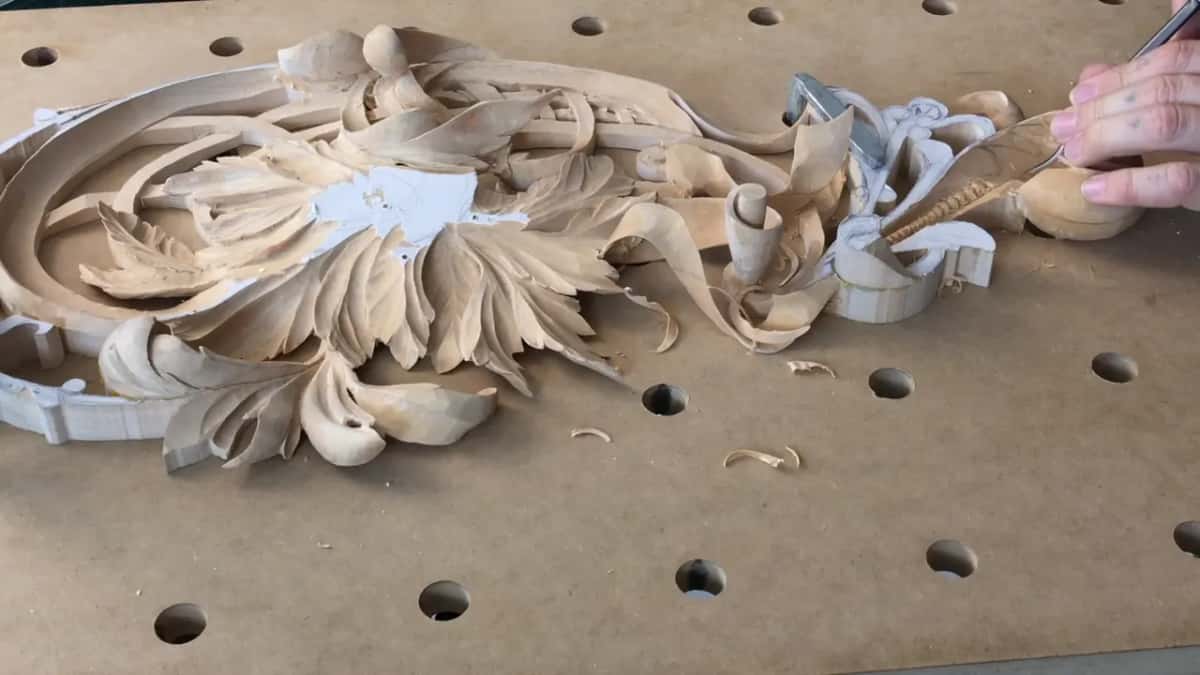
A number 16, in two sizes. For the first groove in part one I took it at six millimeters, a quarter inch, made my preliminary cut, and did exactly the same on the other side. The squares got the same number at 3 mm, one-eighth of an inch, and a 3 mm V tool came back in parts three and four.
Part five brought a different one. I first said I could use a spoon gouge, then corrected myself: a short bent V tool, a number 12 at three millimeters. With it I carefully started my undercut. Not a complete undercut, I said, but I'm going to start my undercut.
Keep them all sharp, and sharpening a V tool is a lesson of its own.
| Tool | Job | Where |
|---|---|---|
| Quarter-inch V tool | Opened the first groove beside the detail | Video one |
| Eighth-inch V tool | Ran between the squares, to be safe | Video one |
| Quarter-inch number 5 | Took out just corners first, both sides | Video two |
| Half-inch back bend | Goose neck let me work around it | Video two |
| Five-eighths spoon gouge | Hooked the waste up, then cleaned it | Video three |
| Two-millimeter spoon gouge | Worked in underneath so the leaf flips | Video five |
| Bent V tool | Started the undercut, not a complete one | Video five |
How deep should the first V cut go?
Deeper than my first try. Part one went down approximately maybe 3/16 of an inch, about five millimeters, I would say. But I should go a little deeper, I said, maybe all the way to a quarter of an inch (about 6 mm).
I had said it earlier, too. I can make it deeper, since I do have plenty of the material. To get there I lowered that side a little with a number 5, a quarter inch for now, so the detail would pop higher and look nicer.
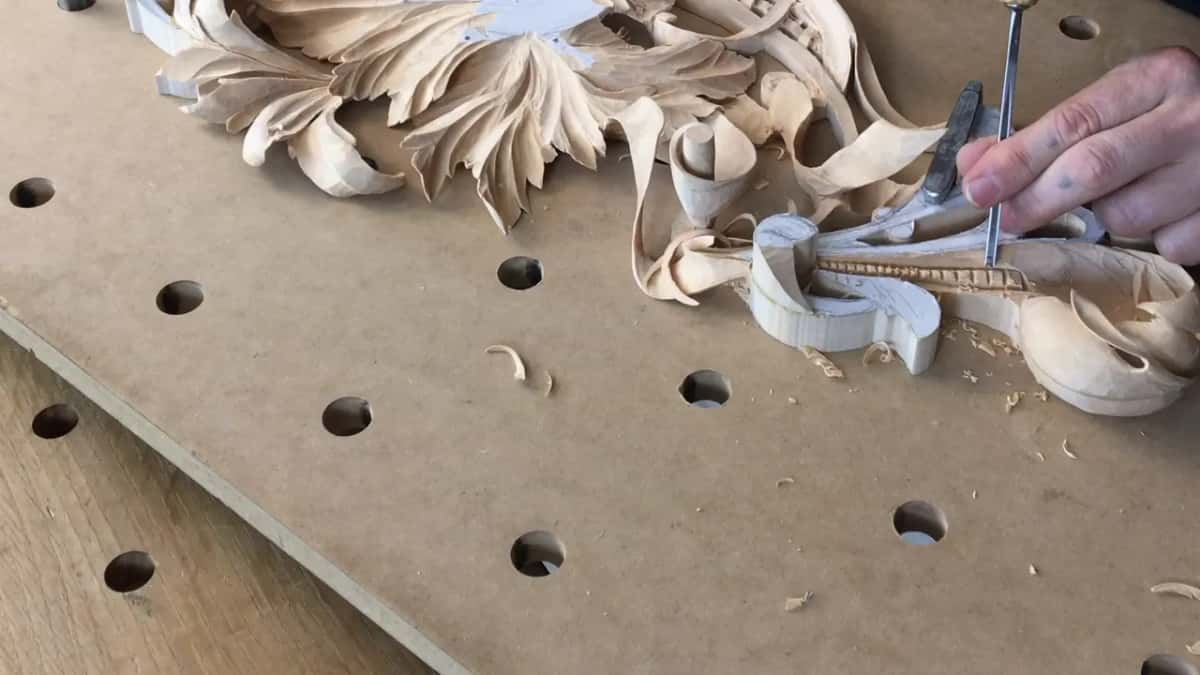
The small grooves were no different. After the small V tool ran between the squares, I said I could go a little deeper there, and that gives me less resistance.
Deep has a limit on a pierced panel. On one spot in part three I wanted a deeper V cut, but not too deep, because I had an undercut right on that side, going underneath. If I dig too much, I can get actually through, and I didn't want that. Part four had me watching how thick the material was against my back wall, so I can't go too extreme. It looked like I still had plenty.
How do you carve small squares on a tapered band?
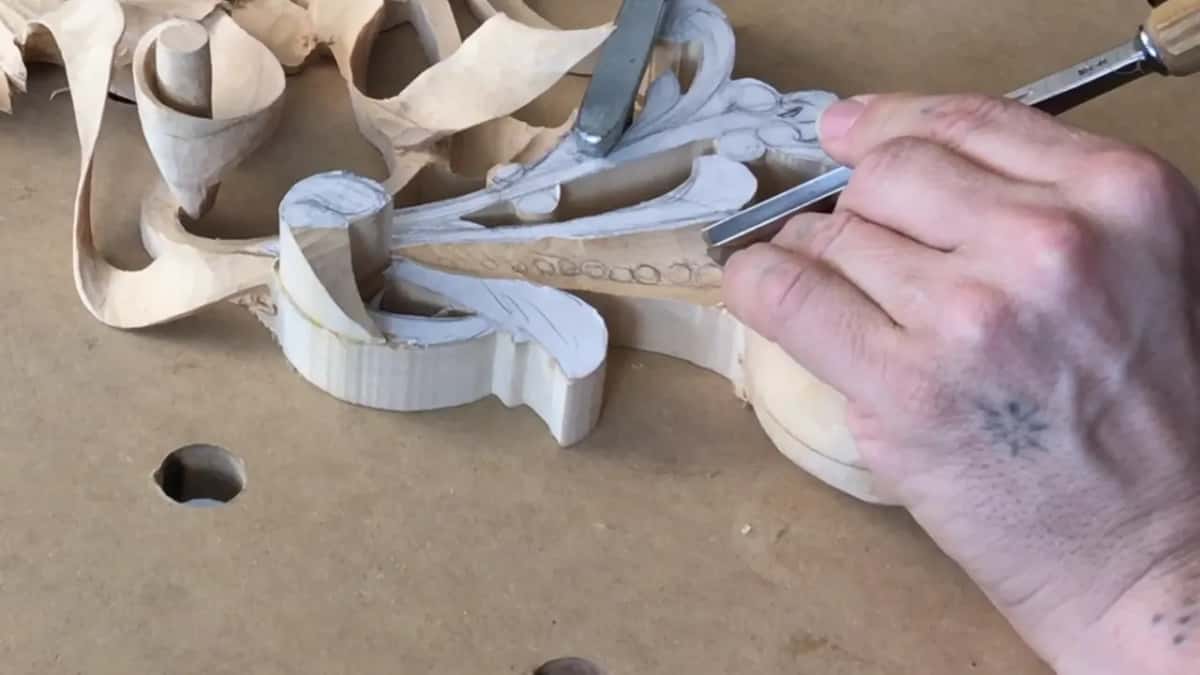
I matched each square to the width of the band. Those little small details, I said, make absolutely the biggest difference in wood carving, and they make it look more beautiful. It's actually not that complicated.
I divided it into about quarter inch squares and made them gradually smaller. The band is tapered. Its widest part is a quarter inch, and I have to match each square to look like a square. Right here, for example, it's only an eighth, so those squares are an eighth as well. Even the small, tiny ones.
The V tool came ahead of anything else. There are a couple of ways we could do it, I said, but to be on the safe side, it's better to make a V cut first. The 3 mm number 16 went between them. And I didn't worry about hitting this part, because that's not the final, not the clean cut, how I call it.
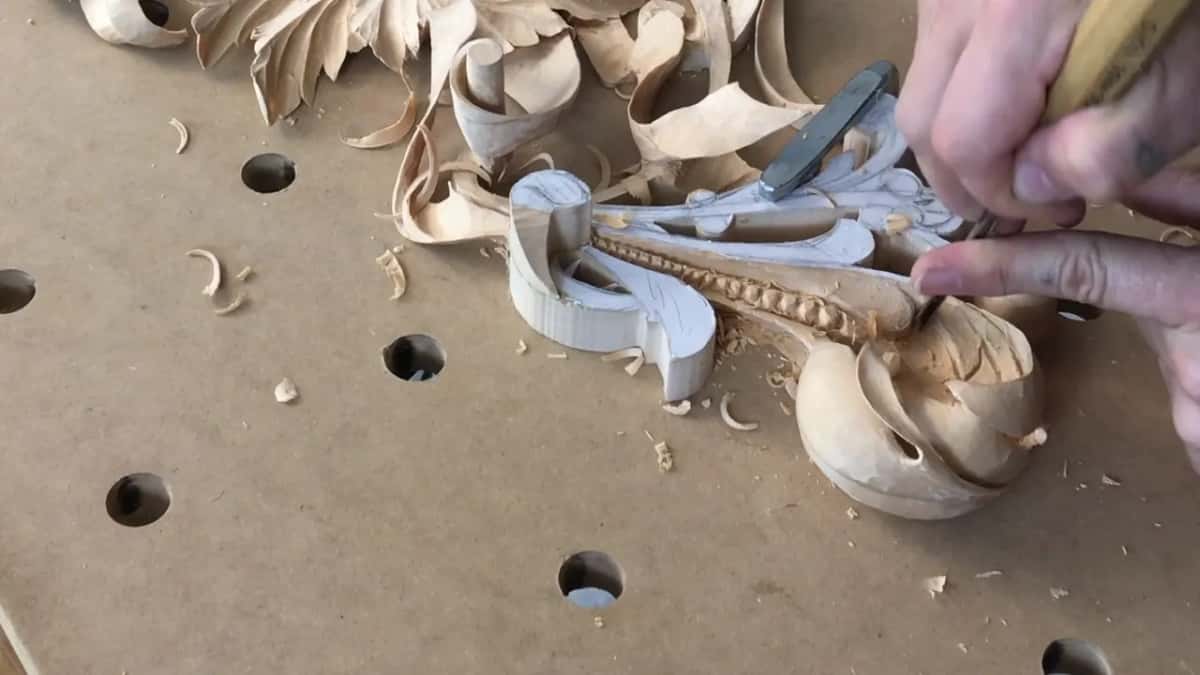
Part two took out just the corners first, both sides, with the same quarter inch number 5. The smaller it gets, the smaller tools I should get. Next came a number 8 at a quarter inch, and the smaller details I left for a little later. After it, a number 9 at five millimeters got into an area like that. That's all it takes, I said. Just work around.
Why leave the cleaning for later?
My form was not done. I will need to clean those squares, I said, to make them look clean and nice. But the final cleaning would wait until I establish this piece right here, with another leaf on the inside, curling out, and then I'll clean everything. For now I just pre-establish my form.
A wall in part two needed to be gone. With a number 5 or a number 7 at about 5/16 inch I made a preliminary undercut, and I said that is just the preliminary. Later on I can attack that from the backside and make it a clean cut, although I could actually make it pretty clean even from this side.
Part two ended on the same note. Now it all takes just the cleaning, I said, and I don't want to hit the MDF if I don't have to.

What comes after the V cut?
A gouge, brought all the way to that first cut. In part four that was the number 7. For me it was more convenient to attack from one side, and then it looked really clean, but the number 7 was not enough concave. I needed a number 8. The first one I picked up was too big, and a number 8 at about 10 millimeters (3/8 in) worked fine to start making my concave deeper. A smaller one followed, a quarter inch number 9.
Part three ran the same order on another spot. First went the V tool, 3 millimeters or 1/8 of an inch, for my preliminary cut, and I said I want to go deep. While I had that tool in my hands, I developed another leaf on the inside. Then my 5/8 inch (16 mm) spoon gouge, a number 8, removed the waste.
Why does a relief cut save fragile parts?
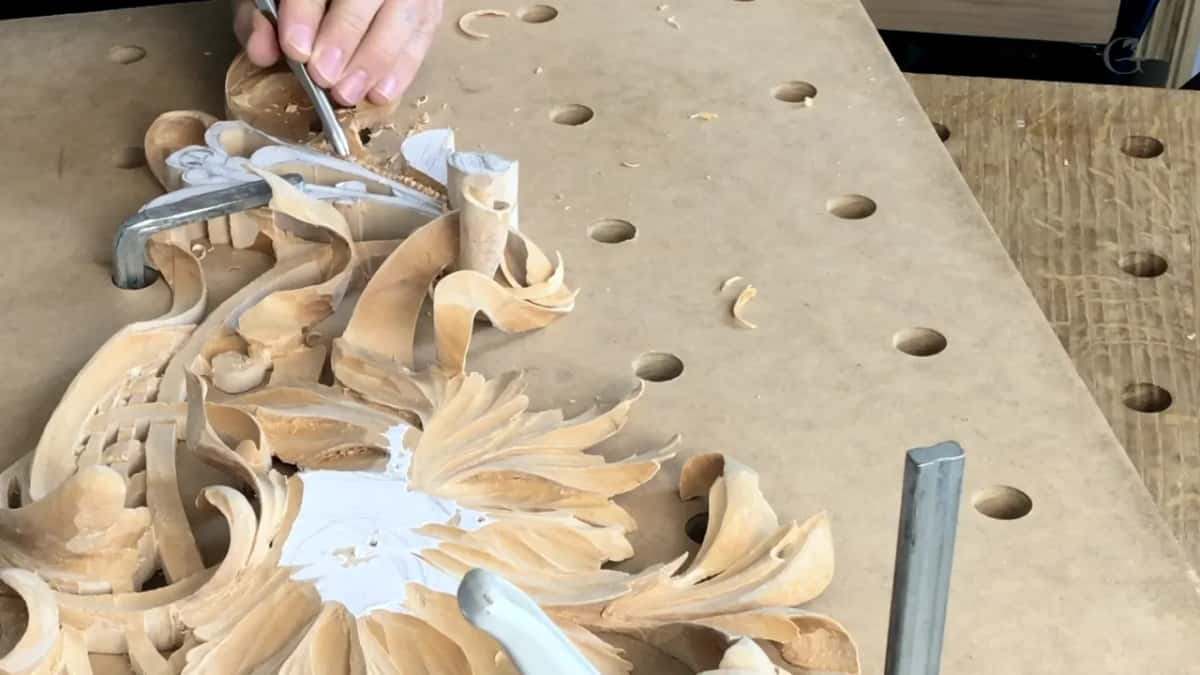
On a fragile part I can't press anymore. Lesson 12 brought the V tool back, the number 16 at 6 millimeters, and I said why I call that pass a relief cut. In reality, I can't press it anymore. I can't just use my gouge, otherwise I'm going to break it. So I constantly have to go back to the V tool, make my relief cuts, and then bring my movement to the cut.
Lesson 23 had a small volute. Normally you could just put your tool in and make the rotation movement. But I can't create too much pressure, so it's a good idea to use a V tool and make a relief cut first. Even a small and tiny one is still going to help me relieve some stress from the grain.
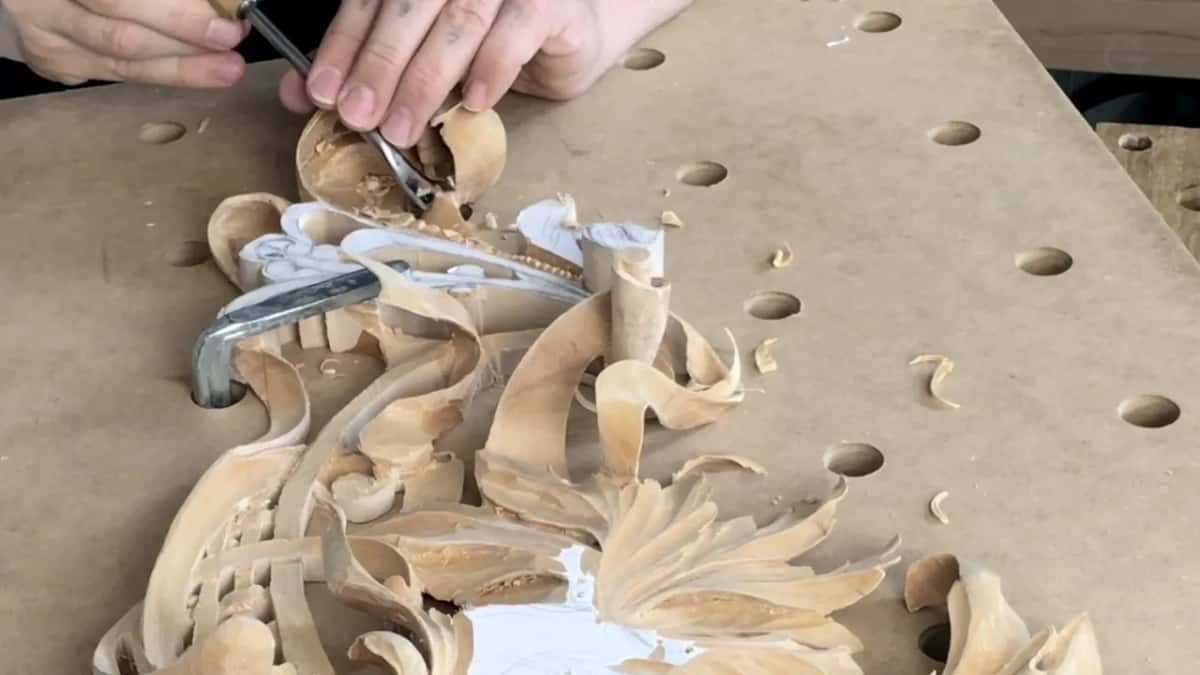
Other panels got their relief cuts from a veiner. On the furniture panel, lesson 16, I took a number 11 veiner. If you would ask me why you need that relief cut, I said, well, try to do it without, and you will see. Sometimes you're just chopping some fibers and breaking stuff, and your grain can split. Where two elements meet, it's better to relieve it.
The small tool in the Venice Room, lesson 77 was a number 11 at 3 millimeters or so. Every time I see a triangle like that, a small detail, you really have to relieve it, otherwise you're going to break it.
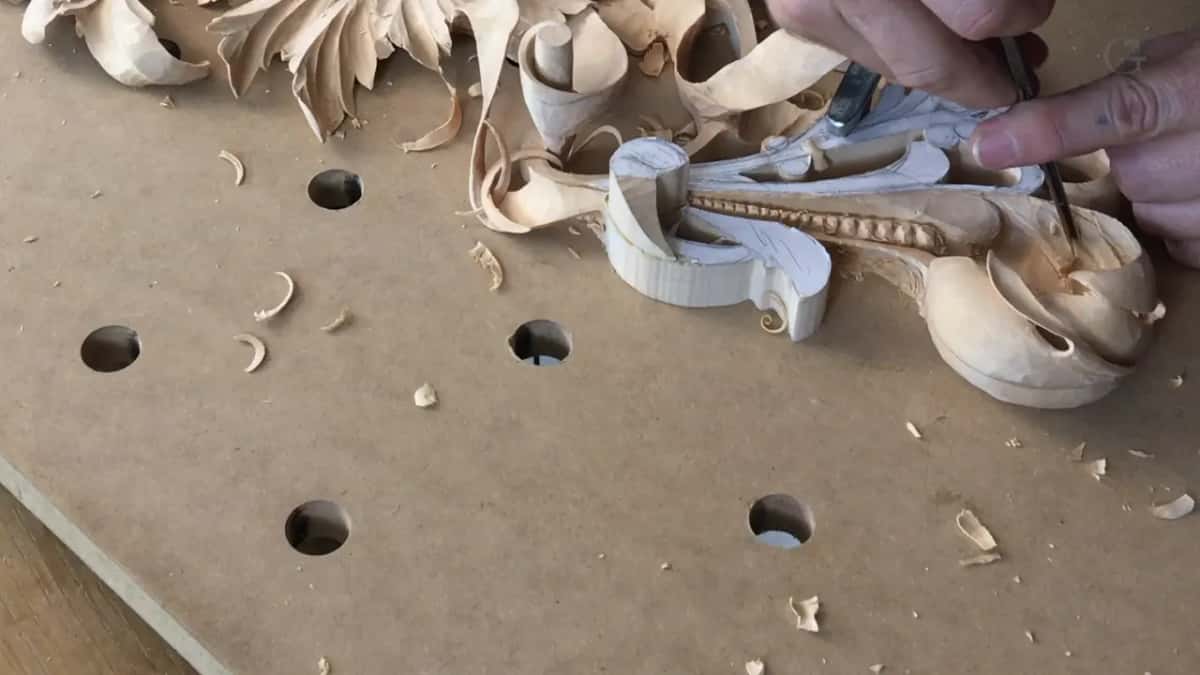
Should the leaf seem to flip, or really flip?
Really flip. Part five started with a two millimeter spoon gouge, a number 9, working my way in on the flip. Then I corrected myself. Well, it's actually not just to make it look like it does flip. It's going to flip.
To get there I went underneath, undercutting almost. That's truly undercutting, I said. I tried to excavate as much material as possible underneath, for a shadow line, and that shadow is exactly what I need for the flip.

Later, for me, it does look like it flips. Then the short bent one started the undercut, and now it's more pronounced.

How much pressure does it take?
Almost none. I barely create any pressure, almost no pressure at all, I said in part five. So sharp tools, it's just a must. I was barely removing any material at that point, little by little, so I don't have to force it.
Part three had the warning. Don't press too hard, because you can actually take out the detail we just worked on.
In the Venice Room I said every pass there was slicing, and the tools must be super sharp. That's just a must, and there is no other way around.
Can you pry against the wood?
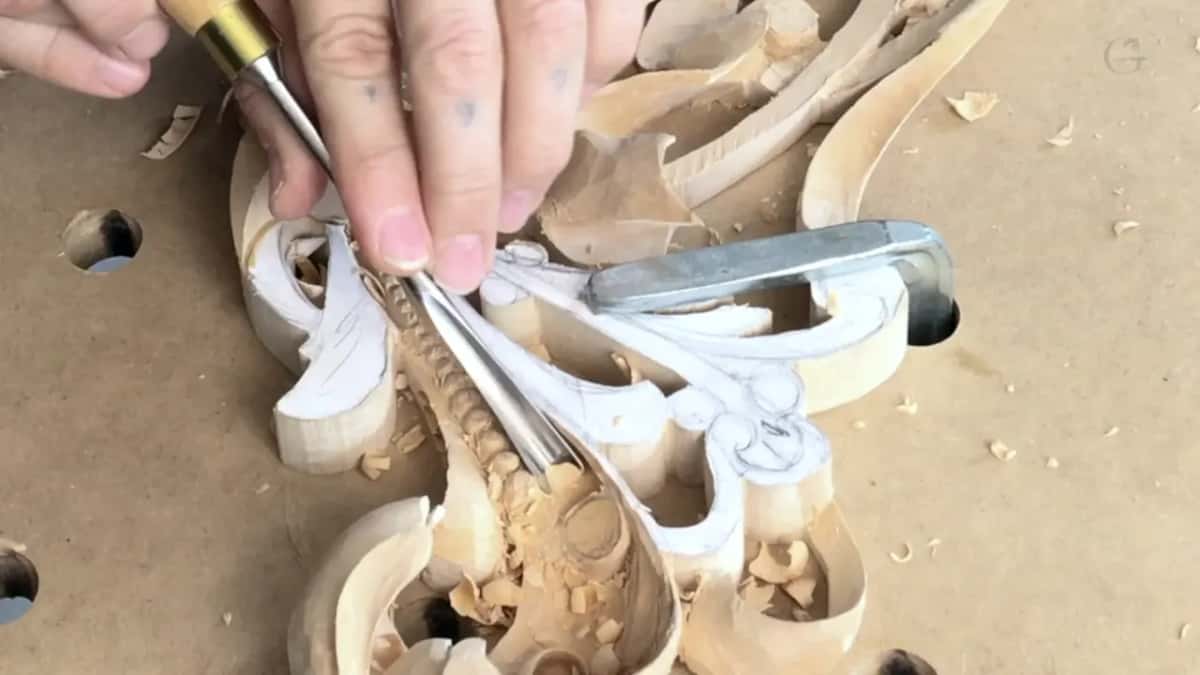
Not on fragile parts, I said in part five. Keep an eye where you're placing your hand, because you've got fragile parts right now, and you have to be really careful how you make every pass. Especially don't crank against it. Don't pry. You can pry against the finger, but not against the wood. That would be not really smart.
In lesson 16 I was using my finger as a leverage, so I can just place my tool against it and pry. Back in part three I was hooking with the 5/8 spoon gouge, just trying to hook it up. Hooking gets its own page in lesson 10.
Why did a back bend help here?
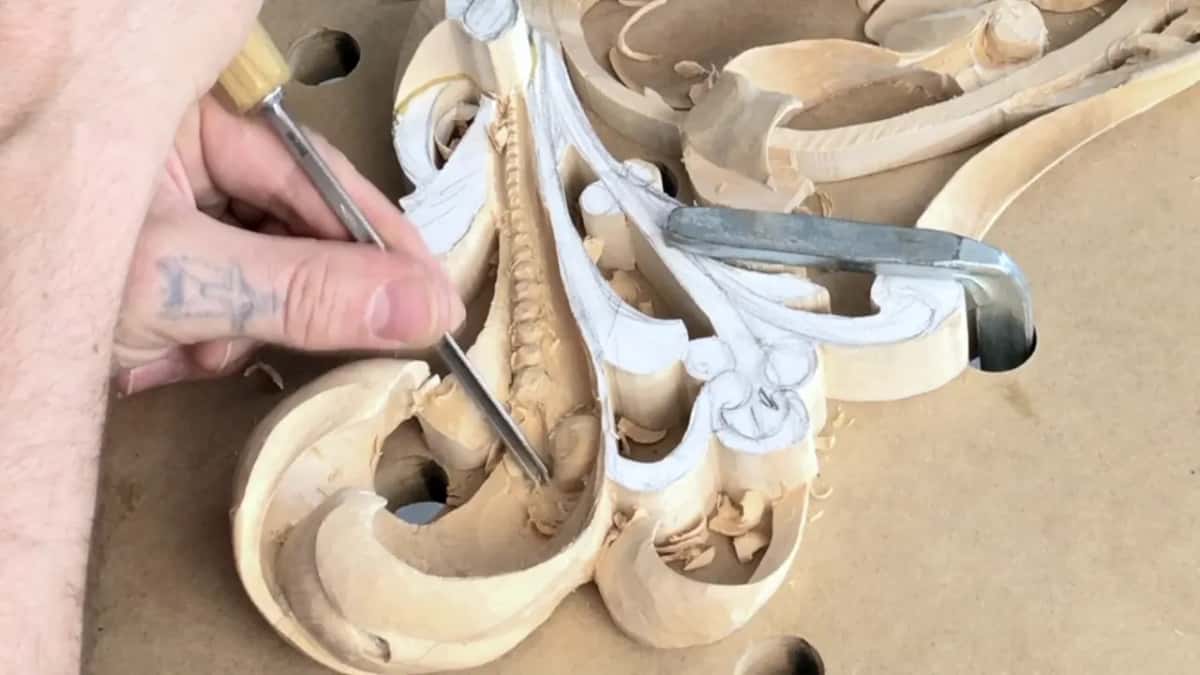
The goose neck reached past a piece that was in my way. The second video had me take a back bend, a sweep number 5, half an inch or 13 millimeters to be exact, to establish a form and make it a little nicer. A 20 millimeter number 7, three-quarter of an inch, then made it more round, and I cleaned that spot again with the back bend.
This is in my way, I said, but because I have a goose neck right here, I'm still able to work around. The fourth video brought the back bend out again, number 5, half an inch, to shape the flip.
Which way did the grain run?
My grain ran one direction in part five, so I went with it. That's why I'm trying to remove my material with the grain, I said. It's less fight for me right now.
Smaller tools fight less too. I'm using a smaller tool when I undercut because I can control it much better, so I can remove smaller chunks of wood and not worry about fighting the wood.
Why move the clamp before you start?
It was in my way. Before any V cut in part one, I needed to take the clamp and reposition it, because I have to work on this part, and I have to work on this flip. I kind of have to be careful not to hit while I'm working there.
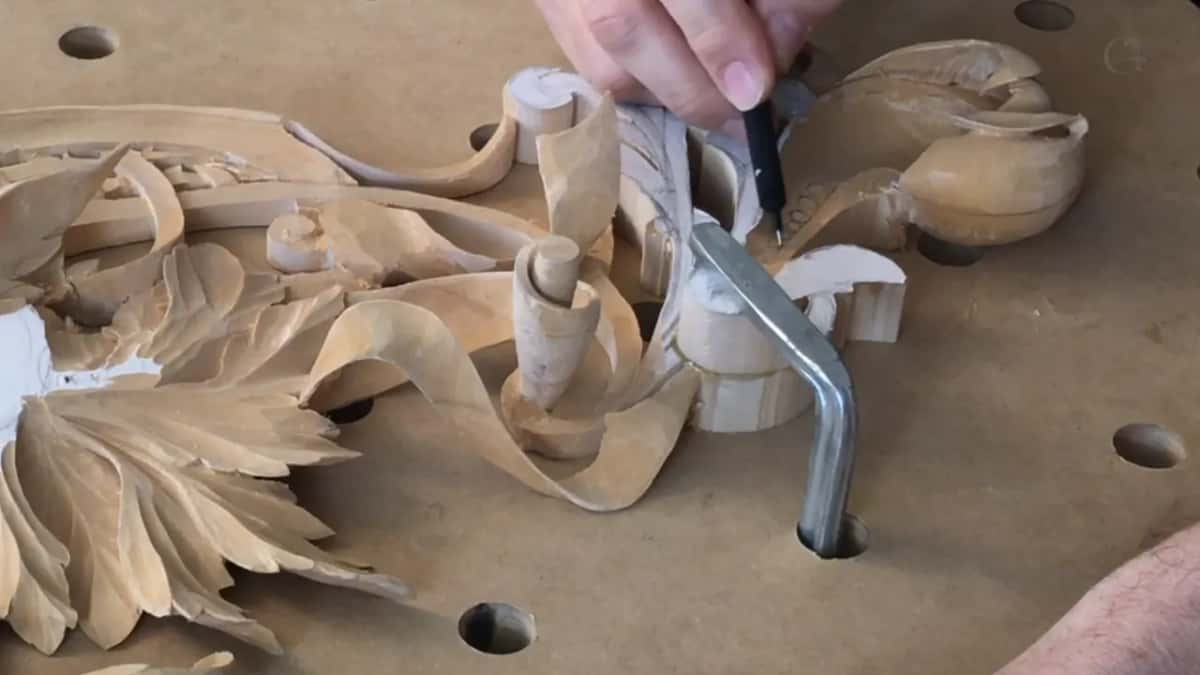
How far can you subdivide an acanthus?
As far as you wish. You can subdivide and subdivide and just get really complicated designs inside of the acanthus movement, I said at the end of part three. And you can make it as beautiful as you wish.
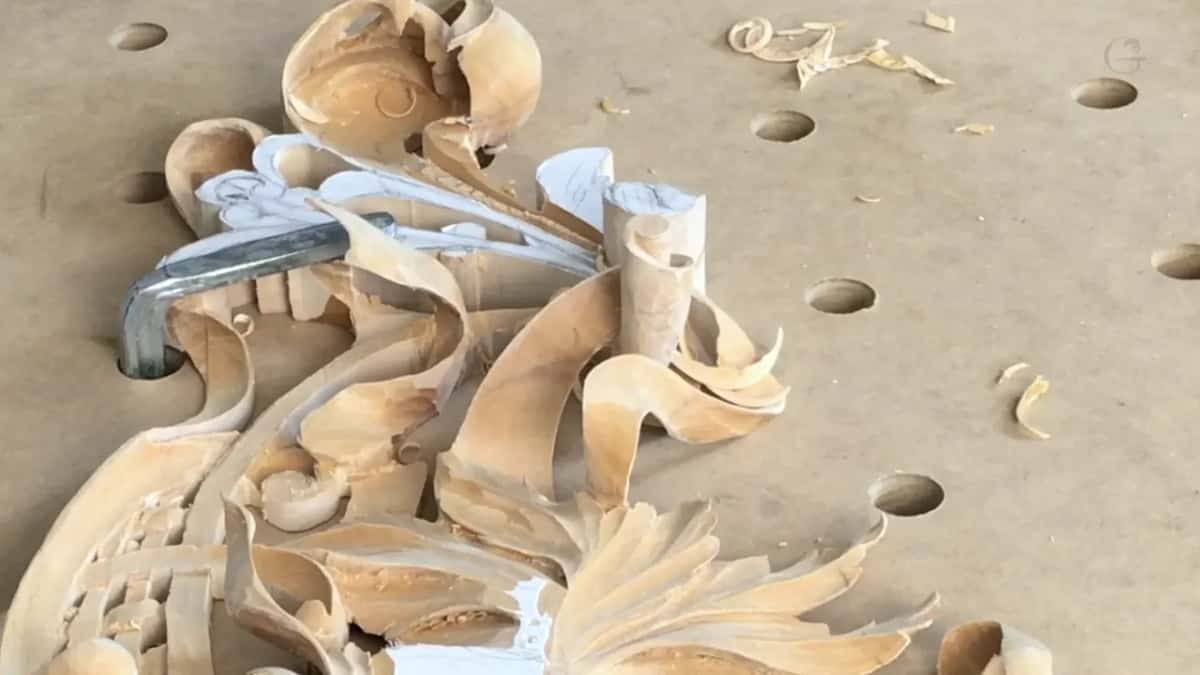
The panel is limewood. I said in lesson 1 that it's a beautiful piece of limewood. All of this lesson, five videos, is inside the school, with the rest of Carving Hashemi Flowers, and after it comes lesson 18.
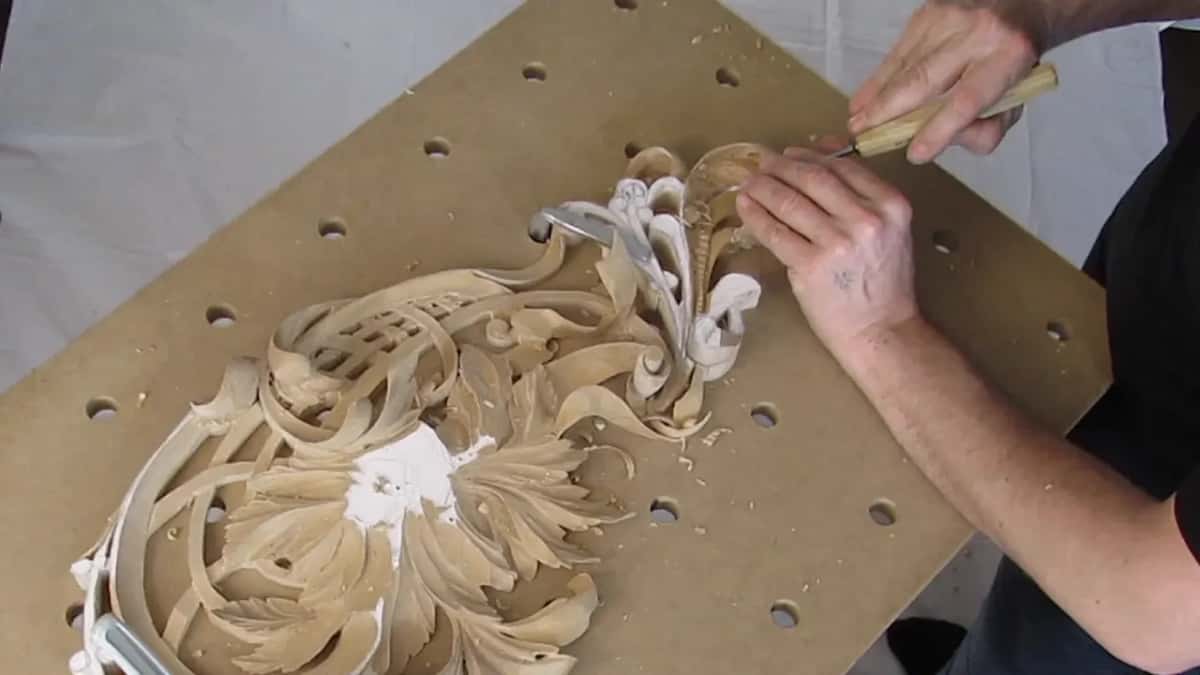
The last tool of part five was a number 9, about 5 millimeters (3/16 in), and I blended that in.
How it's done
- Run the V tool along the line. Take a number 16 V tool at 6 mm (1/4 in) and make a preliminary cut along one side of the detail, then exactly the same on the other side.
- Go deeper. My first pass went about five millimeters, 3/16 of an inch. Take it deeper, toward a quarter inch, when you have plenty of material.
- Lower the side. Lower the side using a number 5, a quarter inch, so the detail pops higher.
- Divide the band. Mark squares that match the band, a quarter inch at the wide end and an eighth where it narrows. Then make a V cut between them with the 3 mm tool.
- Take the corners first. With the same number 5, take out just the corners, both sides, and pick up smaller tools as the squares get smaller.
- Bring the gouge to the first cut. After the small V cut, bring a gouge up to it, here the number 7.
- Clean last. Leave the final cleaning until the form around it is pre-established.
Frequently asked questions
Can you skip the V cut and go straight in with a gouge?
You could, and I said so on camera: you could actually use just a straight down gouge. The trouble comes the next day, when the fibers you smashed go back and the surface looks rough. I called the gouge-only way doable on the furniture panel, just not my preference.
Which V tool sizes appear in this Hashemi lesson?
Two sizes of a number 16 show up. Six millimeters, a quarter inch, made the first groove, and three millimeters, an eighth, did the squares and later spots. At the end a number 12 at three millimeters, short and bent, began the undercut under the flip.
Is a relief cut always made with a V tool?
On other panels I made it with a veiner. On the furniture panel a number 11 at 3 mm (1/8 in) went around the shape, and I could go really deep there, I said, pretty much the same depth as my background.
What to carve next