
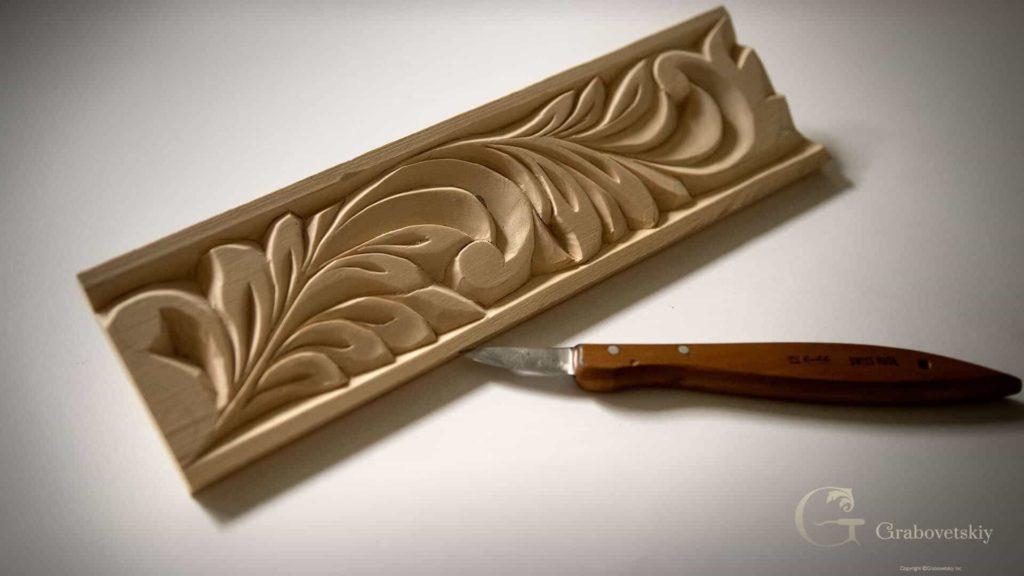
Alexander Grabovetskiy, woodcarver, School of Woodcarving · Published 2017
What is a boundary line in wood carving?
Quick answer: A boundary line is the pencil line a carving design must not cross. On my practice board it runs about a quarter inch in along each long edge, with a second line drawn after it. The leafage stays inside, and at the start of the next video my knife follows that outer line.
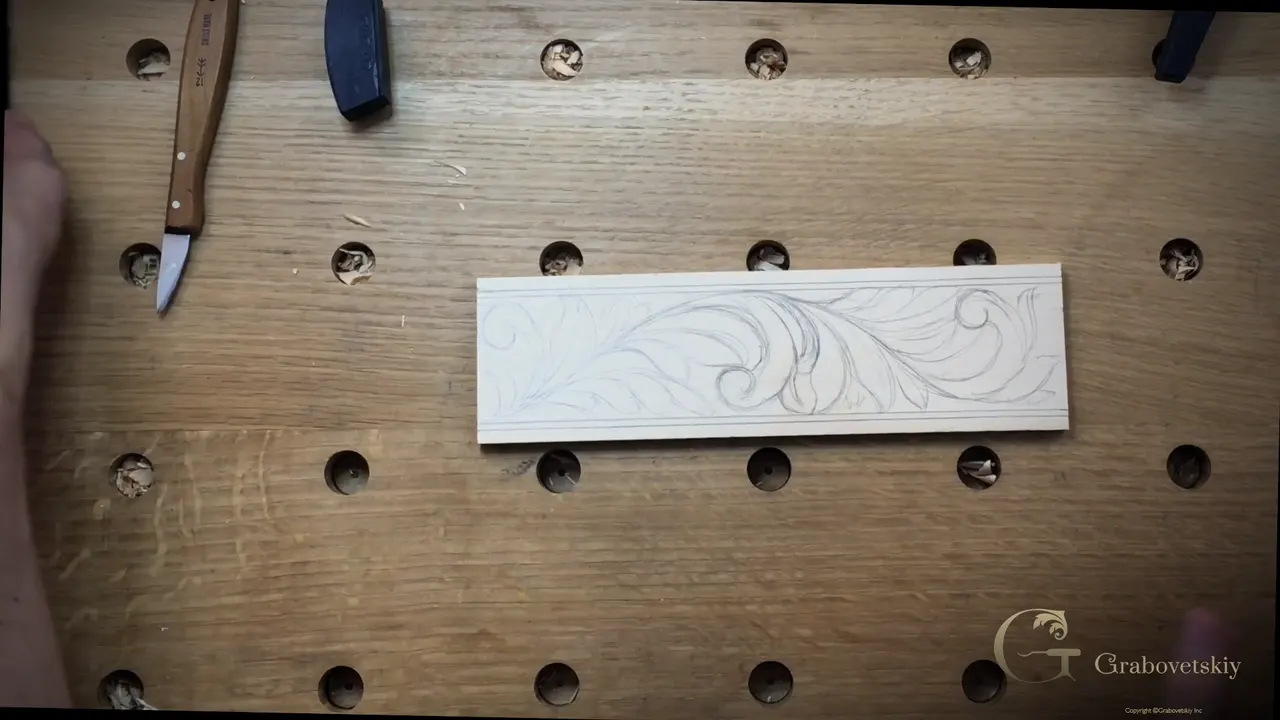
A boundary line is the pencil line your carving design is not allowed to cross. I draw it on the second face of my First Cuts practice board, approximately a quarter inch (about 6 mm) from the edge, and the same on the other side. Then comes a second line, about an eighth of an inch. The leafage goes in after that, and its lines stay inside. If you came here looking at wood carving border designs, this is the line I put down before the design.
You flip a board you have already practiced on and study its bare face. First thing to settle is where the design stops. Below is what that line does on this little board, and what the same idea does in my bigger courses.
Do you have a pencil? Can you hold it a little way in from the board's edge and pull it along? Then you can draw the one line every leaf on that board has to respect.

The boundary line in six short lines
- One pencil line that the design does not cross.
- Mine runs along the two long sides of the board, with a second line beside it.
- In the next video the knife goes onto that first line, held really low, and follows it.
- Circles and boat shapes work as boundaries too.
- Approximately is fine, and a line you carve away can be drawn back.
- Venice Room 82 had a boundary for depth.
Where do you draw the boundary line on a beginner board?
A quarter inch in, more or less, straight onto the wood. In the second video of Workshop 2 I start by asking the question you would probably ask. What can you do with that type of carving? We flip the piece, and I show you a little more complicated design. One of the ancient designs, I said, really common in old European countries, and not the acanthus leaf, which is more Greek and Roman.
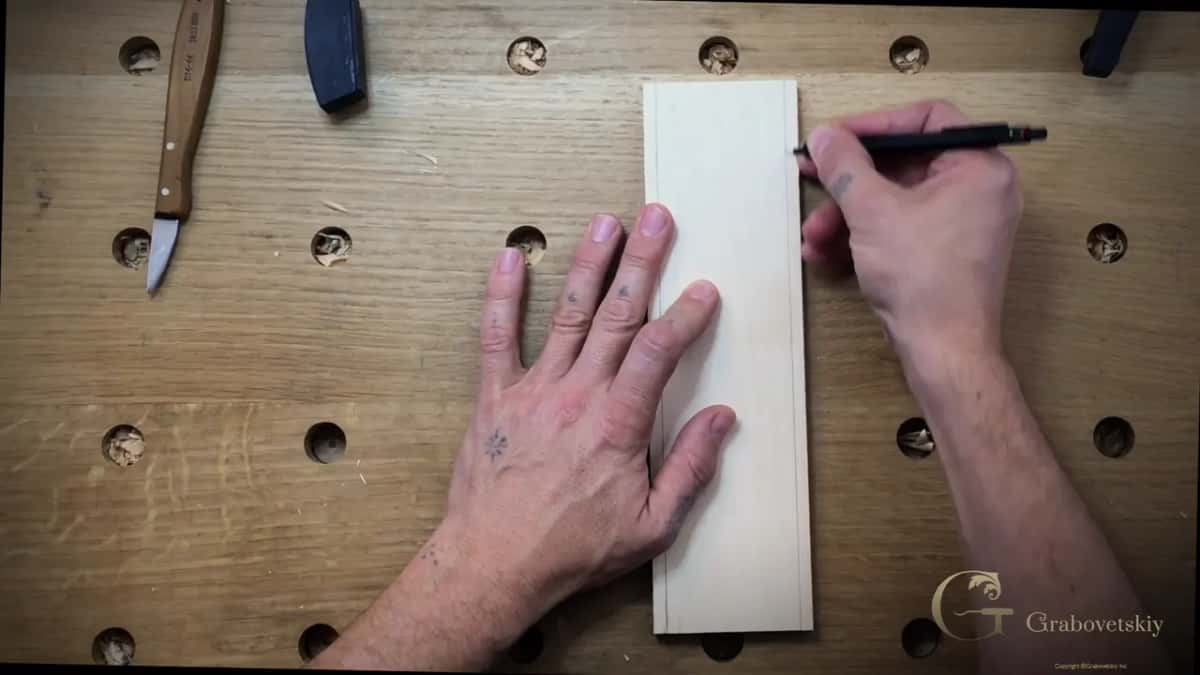
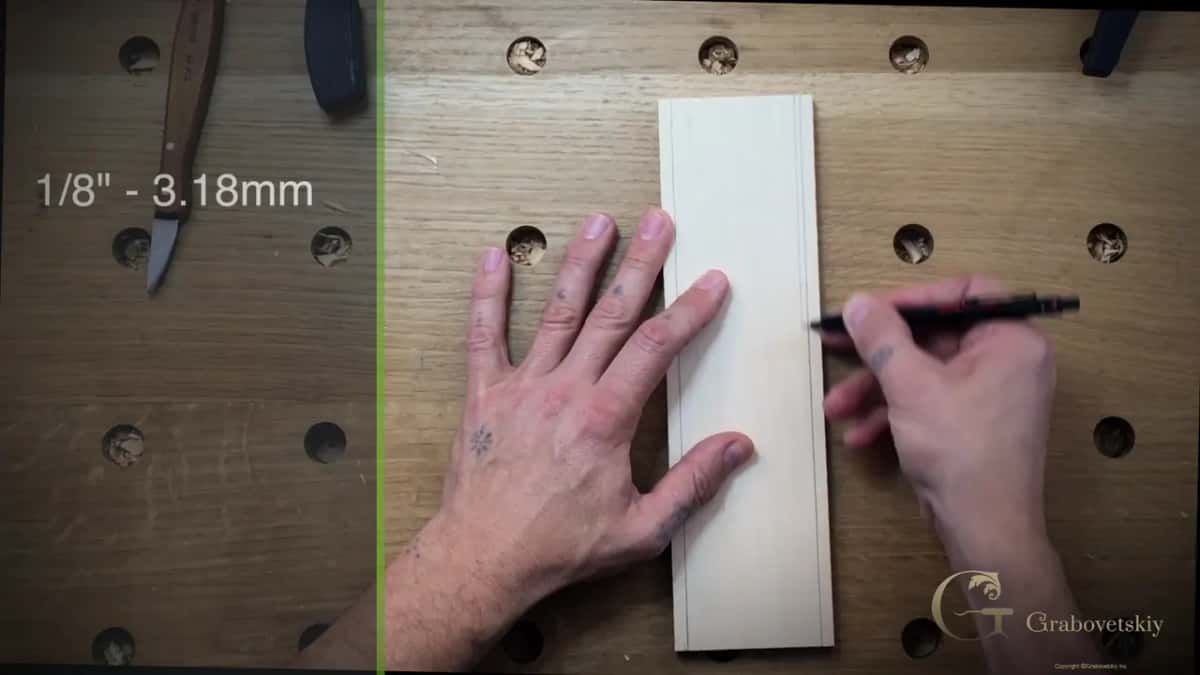
I draw right on the piece of wood. Approximately a quarter inch line from the edge, then exactly the same on this side. Then maybe about an eighth of an inch, the second line. Same again along the far edge.
A card comes up on the screen while I draw that second line. It reads 1/8" with 3.18mm beside it, so if you think in millimeters, there is your number. And listen to the words I used for the measuring. Approximately, about, maybe. That is the whole layout of this face before the first swirl goes on.
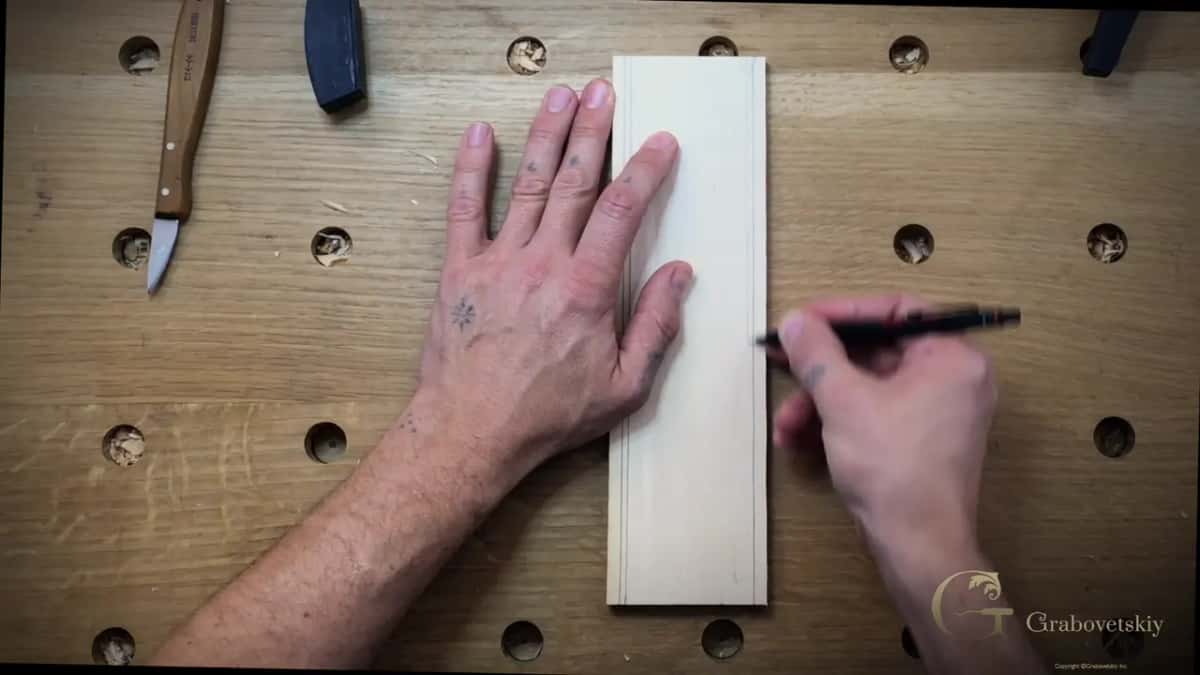
Study the finished drawing and you will see it plainly. Two pencil lines run along each long edge of the board, and the leafage lives between them. You get the same picture to the scale with the course, so you can copy my lines if you would rather not draw your own yet.
Why does the design have to stay inside the line?
My rule. The lines of the leafage design are not going to cross this line, and this is my boundary line, if you wish to call it that. I give it as a rule with no reason attached, and then I draw the whole design inside it.
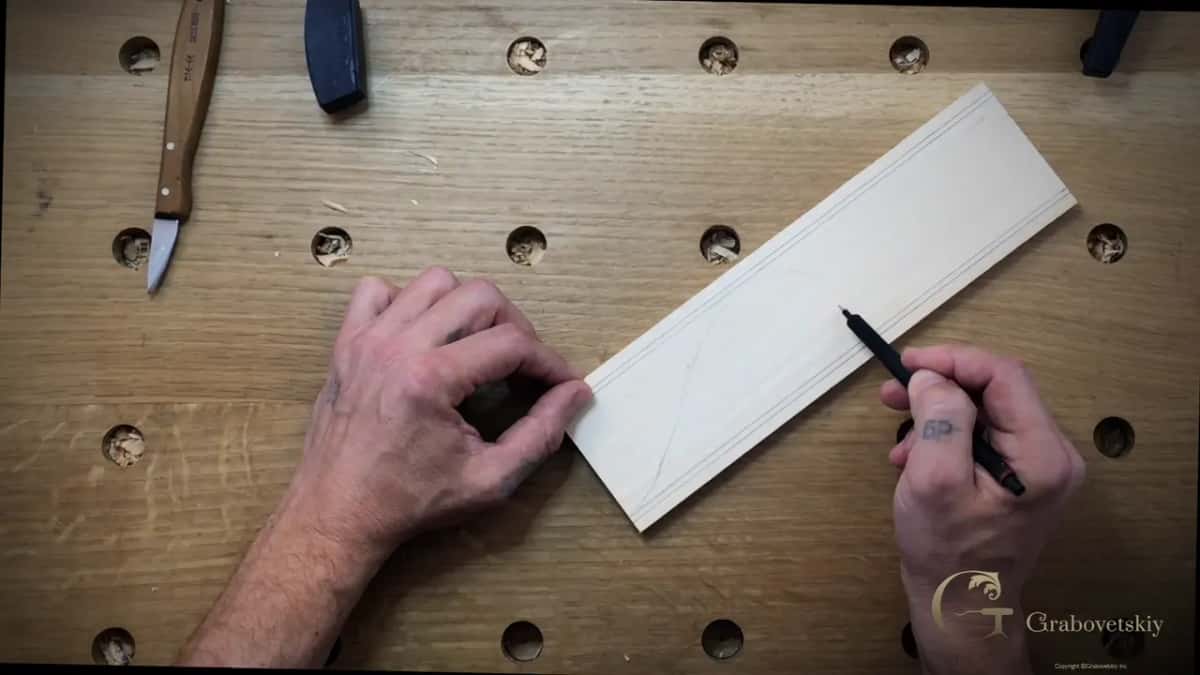
Then comes the design. A swirl, repeated on the other side. Fill the space. Or put a leaf right here, and then exactly the same, or approximately the same, on this side. I turn the board. I am just designing on the go, together with you, a free flowing design with nothing complicated in it, and I tell you it will look nice once it is done. It's going to look awesome, I said.

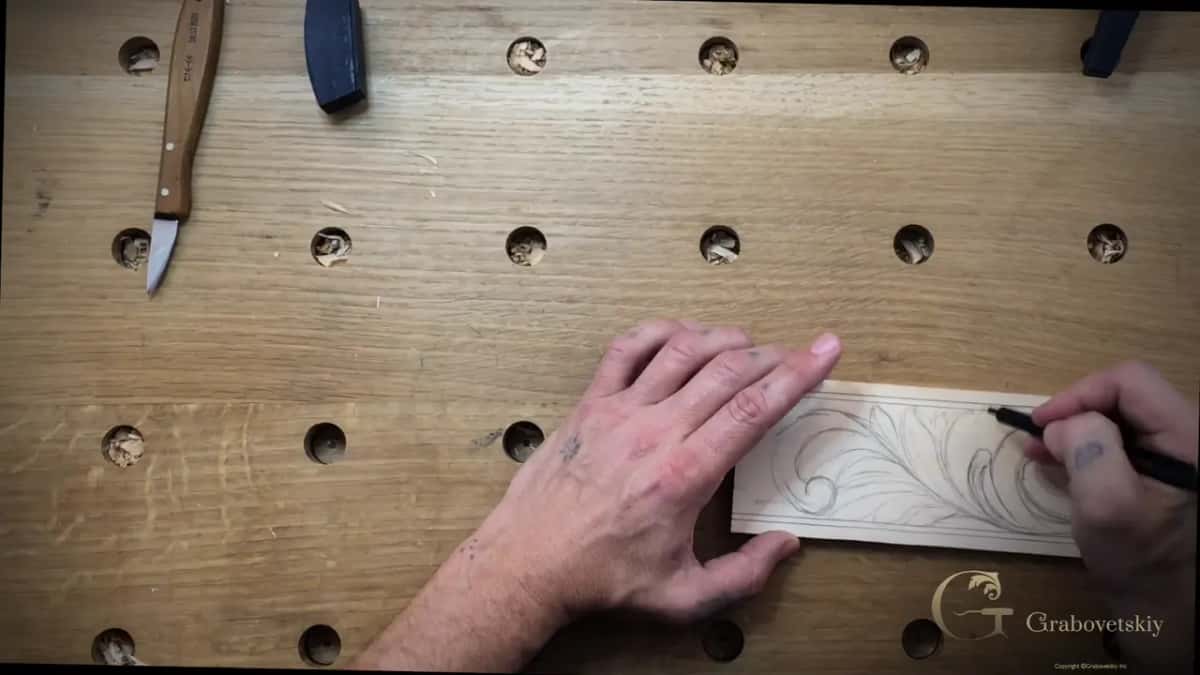
A leaf goes in with small details on the inside. I check the board and see an empty spot, so we fill it, and another spot also. Maybe we turn those leaves this way, and every one of those choices happens inside the lines.
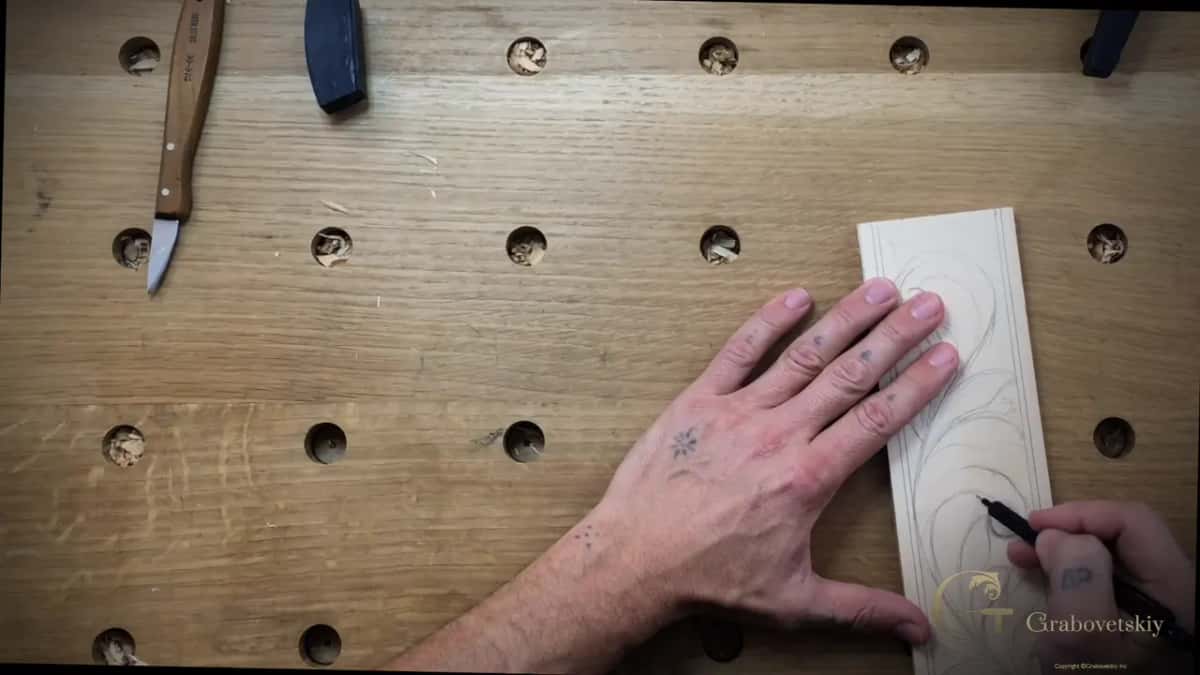
What you leave between the leaves matters later. Two videos on, carving this same design with the knife, I tell you some spots are a little deeper and some not as deep, and that is just because of the space I left in the design between those leaves. So your pencil is already deciding part of the carving, long before the knife comes in.
What does the knife do with the boundary line?
It goes there first, as soon as the next video begins. I hold the board freehand and place my knife right on the first line, the outer one, then angle it. Low angle, really low angle, and follow the line. Just follow this line all the way.
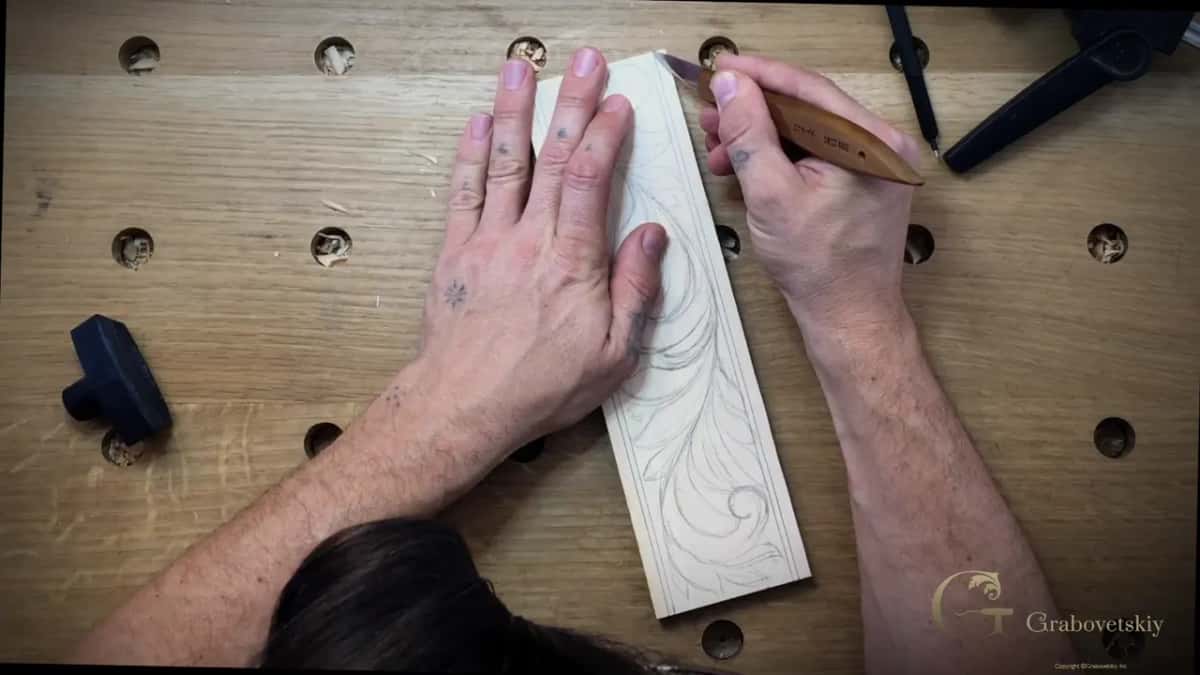
Before that, at the very end of this video, I tell you that first of all we need to fasten the board. You can use just the simple clamps, which I probably should, and just a simple clamp will do. So the pencil line turns into a carved line.

Inside the boundary the knife follows the drawing too. Once the outside is done, in the fourth video, I start the inside with my swirls. My knife goes on the outside of the swirl, and I kind of move it along the line.
The Venetian flowers rosette got its boundary from a gouge instead of a knife. I needed a straight down cut so I would not lose a boundary. My number nine went on the line, and I started chopping, very close to it, just to establish the boundary for those flowers.
Right before that, I said I wanted some kind of clean canvas for myself. Then came the same straight down chopping on the opposite side, and in one spot I was leaving about half an inch between the high spot and the background.
Earlier in that rosette course, I drew my boundary with the pencil, some kind of molding going on with a cutout. I used just tracing carbon paper for the printout, and I said carbon paper or graphite paper, it does not really matter. Any method will do.

Do wood carving border designs always need a straight boundary?
No. On a grape leaf vase, the boundaries were three circles. Those circles are going to be just boundaries for my future design, I said. Again, I don't need to be too accurate there, just approximate. I kept that design simple on purpose, so you could repeat it if you want to do it, and I told you the same rules of design work just on a flat piece, as well as on the vase.
In Venice Room 96 I talked about a Venetian leaf that people consider an oak leaf. If you did it from scratch, you would establish the first circle. Just a circle. That would be your boundary, and when I drew the three circles for the main divisions inside it, none of them went beyond that line.
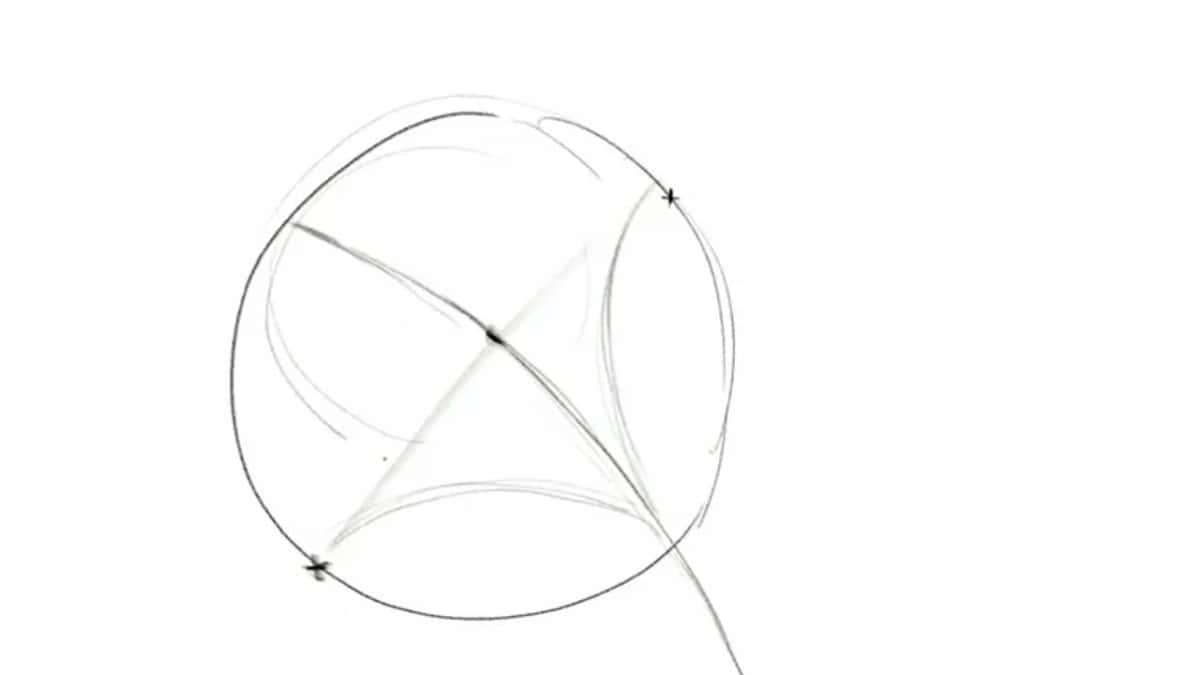
For an acanthus on the furniture panel design, I drew a boat looking shape and called it the outside movement. Just my outside boundary, I said. I planned to subdivide inside it, and then I erased it on the inside. Teaching the Byzantine acanthus, I reminded the class that everything is supposed to have a boundary, like the shape of the boat or the shape of the leaf. So I put the first boundary down, even where that section later has to be gone. Everything should flow to the same line too, I said.
Does the boundary line have to be exact?
Not on a board like this, and not on most of my work either. Before the beads on the Roman acanthus, I made a line about 1/8 inch off the edge. Approximately three millimeters. No need to be exact there, about three millimeters will work for me, and then I left about a quarter inch, roughly six millimeters, for maybe three round beads.
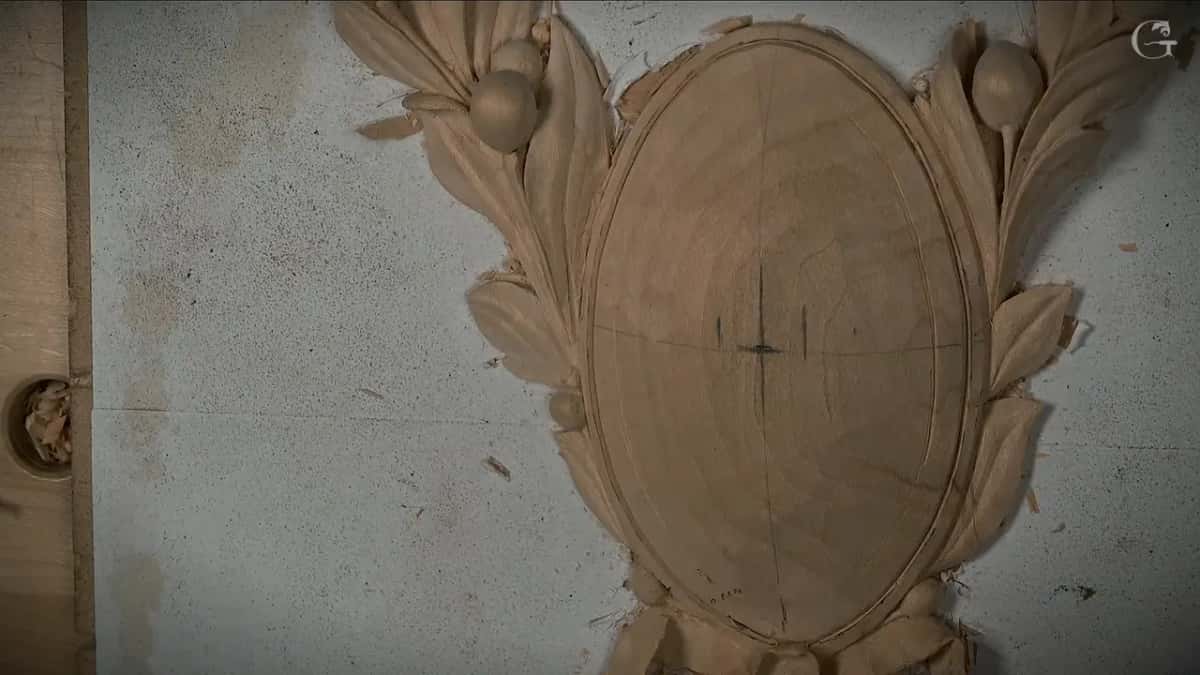
With a number three, 20 millimeters, three-quarters of an inch, I came down straight on the Venetian rosette to get even close to its boundary line. It doesn't have to be perfect at this stage, I said. That piece still had to be developed in 3D, so maybe I would still have to make some changes.
For the chamomile and bow rosette I measured about six millimeters, transferred it to my new piece, and with the calipers put a preliminary line. I checked it with my tool after that, and the tool was slightly smaller. So that is my boundary, and I hoped you could see it on the camera.

I wasn't really happy with one spot of the furniture panel drawing. I still have to probably get my boundary line fixed, I said, so it became a bigger one. Then I looked again and said I think it's better. Well, in my opinion, it's better. So even the boundary moved, while it was still pencil.
| Piece | Boundary | Accuracy |
|---|---|---|
| The beginner practice board | One pencil line a quarter inch from the long edges, then a second one | Approximately, about, maybe |
| A vase with grape leaves, from the vase course | Three circles for the leaves | Not too perfect, and on a flat piece the same rules apply |
| A Venetian leaf, Venice Room 96 | One circle, with three division circles that stay inside it | Nothing goes past it |
| Roman acanthus | One eighth inch, or 3 mm, off the edge | Approximate, and three millimeters works for me there, I said |
| A Venice Room piece, workshop 82 | The lowest point I can go, about 10 millimeters (3/8 in) | Below what I can't go, in my words |
What happens if you carve the boundary line away?
You draw it again. Venice Room 59 is where I said I don't really worry that I'm losing a boundary line. I can always reestablish it with no problem. All I needed right then was the main movement, and that is what I worried about.
That spot needed a deep excavation, to give the feel that the shape is flipping. And I had lots of limitations. This is on my way and that is on my way, I said, and everything is on my way.
Back on the Venetian rosette I did the opposite and chopped down along the line first, to keep the boundary for those flowers. Both are true, each at its own moment, and I said both out loud.
In Hazelnuts 4 I made sure I would know exactly where a stem was supposed to be on a hazelnut panel, a stem I plan to make completely airborne. If I ever need to drop it later, I can. At least I know where the boundary is, I said.

Can a boundary line mark depth?
It can, and on a Venice Room piece I said exactly that. Let me also establish the boundary below what I can't go. Between that point and the lowest point I could go, there was only about 10 millimeters or so. That boundary was about depth.
I also rolled it a little bit, just because of it. It gave a really nice movement, and you will see it from the bottom, so I called it an excellent touch.
I could go really deep in Venice Room 40, I said. I really don't have to, but let me get overall boundary first. First the boundary, then the depth. The beginner board puts the boundary first too, before a single swirl.
Do you have to fill everything inside the boundary?
I filled the empty spots on the beginner board, one and then another. The furniture panel was different. There I said the drawing would fill the space, and then that I was not sure if I have to fill the whole thing. Two boards, two answers, both mine.
Later in that same furniture panel design, which is a relief, I drew a line and told you that is just a boundary. That is what I'm doing. Just a boundary, because I really want to make sure I hit this line.
Last thing on the beginner board. Near the end of the workshop I said there is no limit with this design, and then I corrected myself to almost no limit. You can make some mistakes on design also.

What do you need to draw your first boundary line?
A board you have practiced on? A pencil? Turn it over and run your first line in from each long side, a quarter inch or so. Put the second line in after it, and let the leafage grow between them.
Tuition opens First Cuts for Beginners, both workshops, and every course on this page, including the Roman acanthus and the Venice Room. Workshop 1 is where the knife work begins if you have not carved your first chips yet. When your board is done, upload a photo of it on the assessment page, and I will review it.
How it's done
- Turn the practice board over. Work on the second face of the same piece you practiced on, and draw on the wood itself.
- Pencil the outer line. Run a line a quarter inch (6 mm) in along one long edge, then repeat it along the other.
- Add the second line. Draw the second line along both sides. The screen card gives it as 1/8 inch, 3.18 mm.
- Keep the leafage inside. Draw a swirl, repeat it, and fill the empty spots with leaves. No line of the design crosses the boundary.
- Fasten the board. Use a simple clamp, which I said I probably should.
- Follow the line with the knife. Set the blade on the outer line, keep it really low, and follow that line along the board.
Frequently asked questions
How far in should a carved border line go?
A quarter inch, roughly, on the beginner board, and the second line follows it. My Roman acanthus line sat closer, approximately three millimeters in, and I said three millimeters would work for me there. Neither one was measured to the hair.
Can you redraw a boundary line once carving has started?
Yes. On a Venice Room panel I said I don't really worry about losing a boundary line, because I can always reestablish it with no problem. Right then the main movement mattered more to me than a pencil mark.
Does every carving need a boundary?
While carving the Byzantine acanthus I told the class everything is supposed to have a boundary, like the shape of a boat or the shape of a leaf. I put one down even for a section that later had to be gone, so I could see the shape going to the edge.
What to carve next