
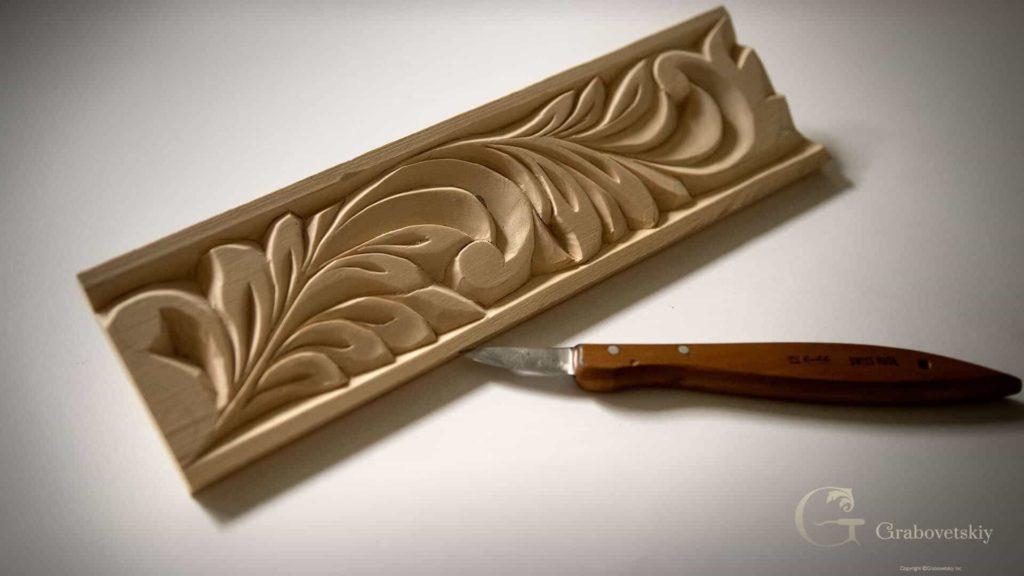
Alexander Grabovetskiy, woodcarver, School of Woodcarving · Published 2017
Why keep the same knife angle on every cut when you carve a leaf?
Quick answer: Keeping one knife angle is setting your hand once and carving every line on one side of a leaf at that lean before you move it. In Workshop 2 I finish all the right-hand lines first, then the left, and a cleaning pass goes back in at the lean of the first.
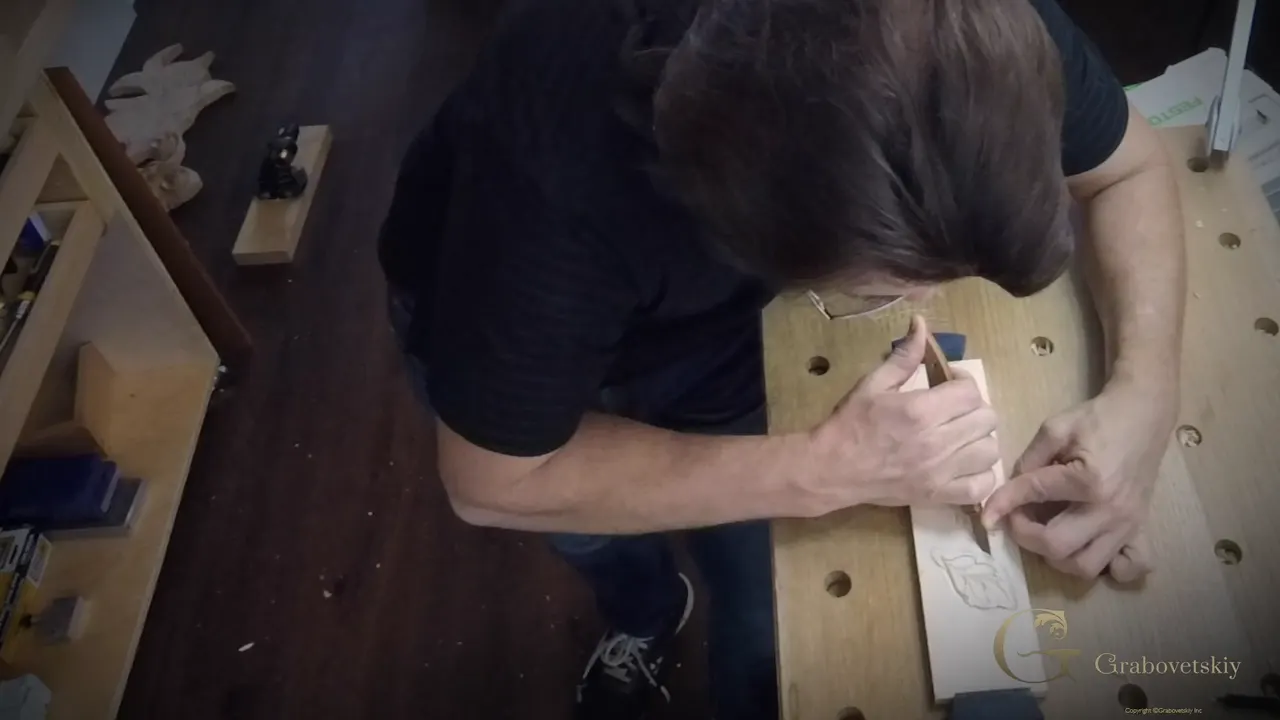
The knife angle on a carved leaf is the lean of the blade going into the wood, and I keep that lean the same on every pass. This is the wood carving knife angle of the carving itself, not the bevel ground on the edge. In this video of Workshop 2 my hand gets set once for the right side of a leaf. And it stays put. That whole side gets done first.
You already know a knife has to lean before a chip will lift. Here you get where my hand stays, how a cleaning pass finds its way back to the first one, and what the wall should look like when the lean held along its whole length.
Got the knife from Workshop 1? A practice board with room left on it? Then you can carve one leaf tonight with a single lean on every line.
The whole habit in six lines
- Set your hand for the right-hand lean and carve every line there before it moves.
- Change sides only then.
- A cleaning pass copies the first one's lean.
- I give you a hand position to remember, and no number in degrees for the lean.
- When a chip holds, find the spot that holds and go again without changing the angle.
- If the angle really has to change, I bring it around slowly, slowly, until it meets the old lean again.
Which wood carving knife angle is this?
The one in the wood, between the blade and the face of the board. Your knife also has a bevel on its edge, and how steep you grind that bevel is a separate question. Sharpening has a course of its own here.
My cutting board lessons use the word bevel for the lean of a carved line too. That course has it in Workshop 8, which is where I told you to set the knife on the line, with the same bevel we used on the outside. A breath later I said it plainer. Make the same angle on every line, the same bevel, I probably should say.
A number for it never comes up in this video. What I hand you instead is a place to put your hand, and a reason to leave it there.

What does one angle look like on a leaf?
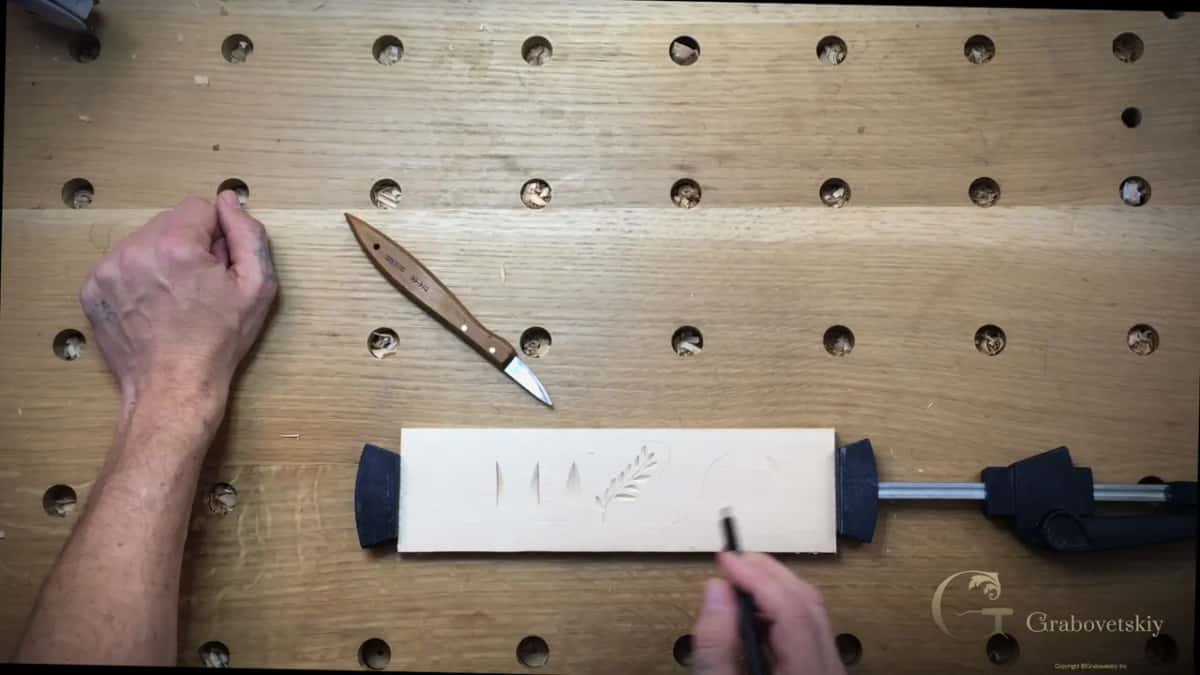
A row of passes, all leaning the same way down a single side of every leaf. This is the second workshop on the same practice board. Last time the leaves went in, like a boat looking. Today the opposite happens, and the leaves stay the flat point while I carve around them. We use both sides of that board, and right now I am still on the same side.
Like I mentioned before, you would be amazed how much you can do with one knife, the most ancient tool there is, available thousands of years ago. Before anything complicated, I practice on something simple. A line like an S, but not a really sharp S, and then some leaves along it, a little bigger this time.
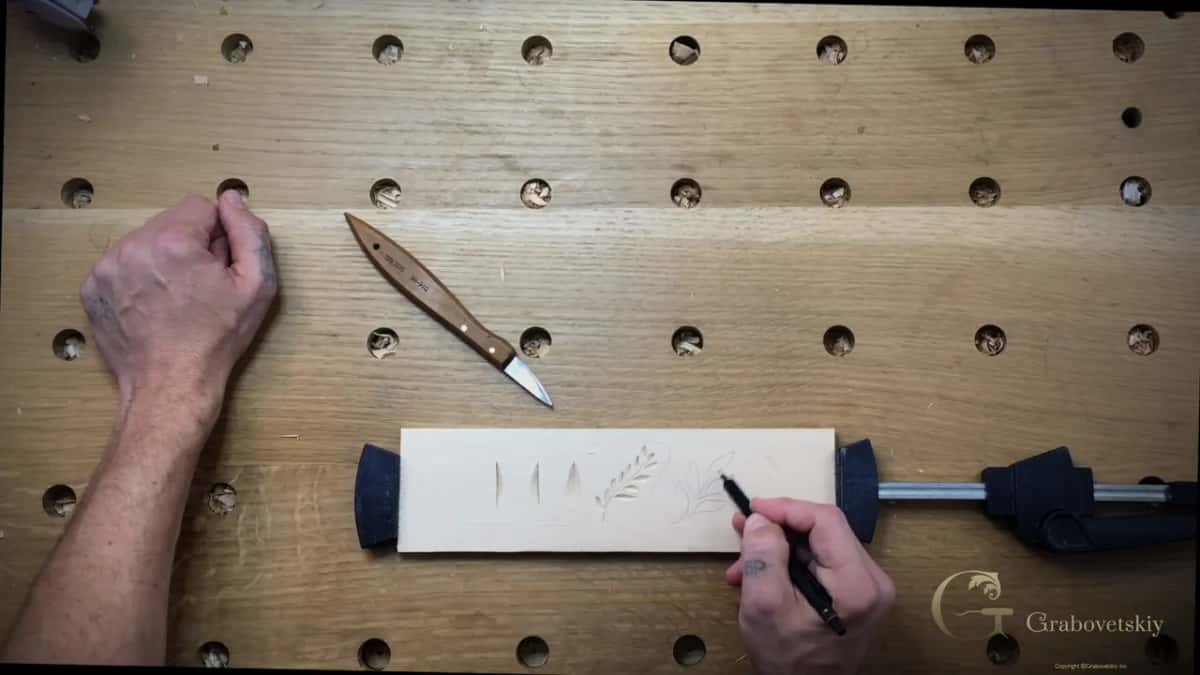
Almost every pass on those leaves is angled. It is either a right-hand angle or a left angle, and which one you need depends on the side of the leaf you are working on.
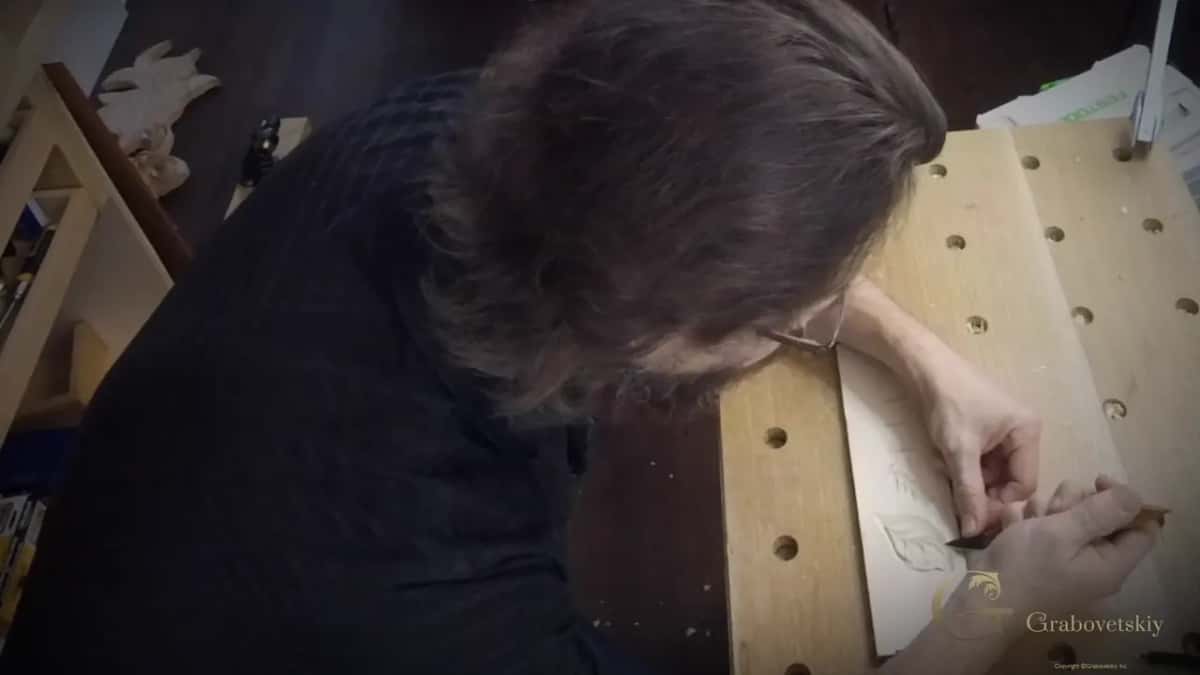
I start from the upper leaf. Angle the knife and carve right on the line. Then every line on that side takes the same right-hand angle, and I just continue. Hold the knife in your hand like before, or like a pencil, which is also okay.
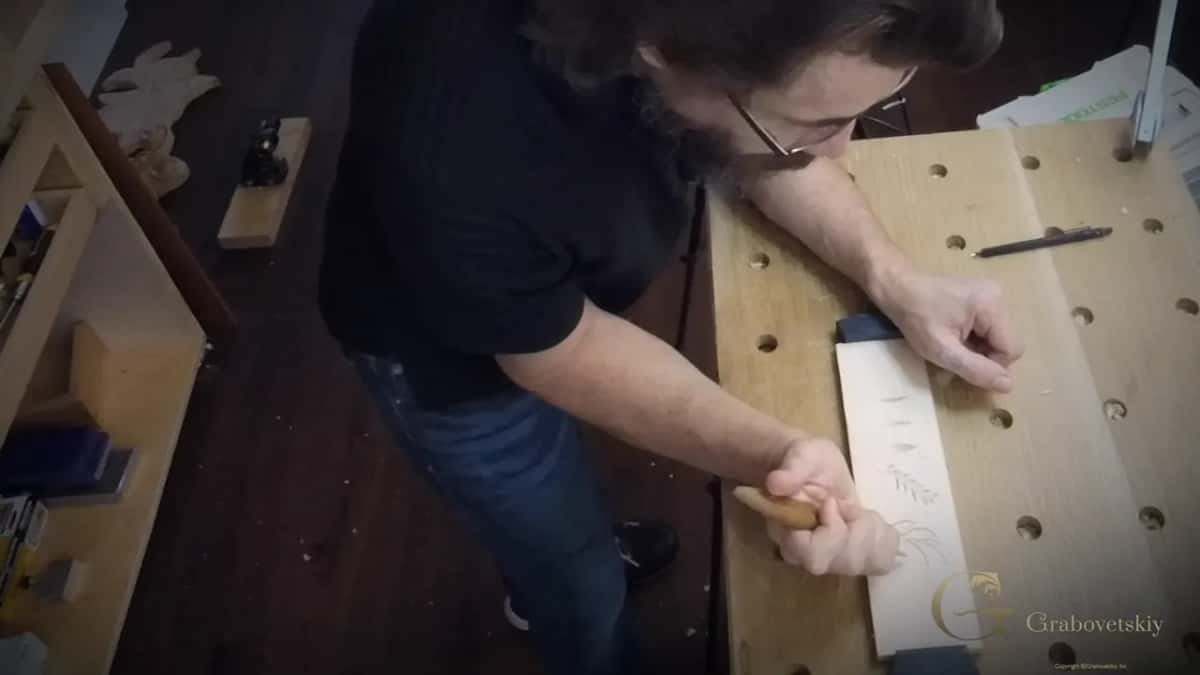
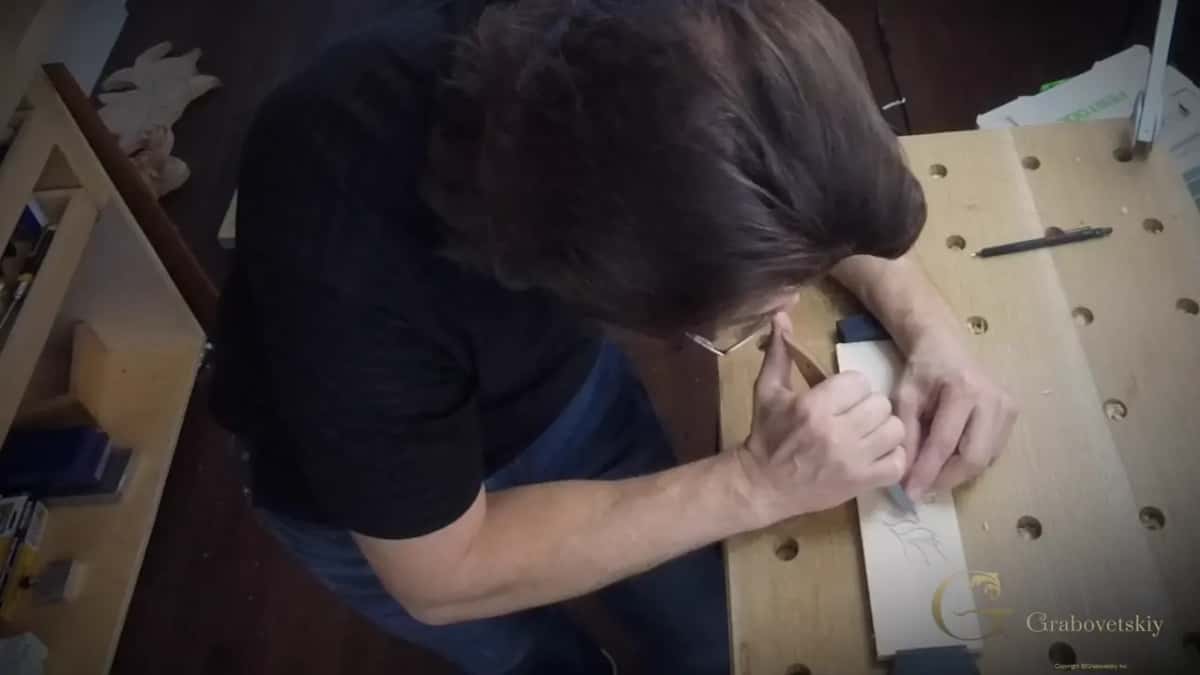
Why keep your hand still between lines?
The lean has to go around the whole shape, and the position of your hand is what holds it. Here on the leaf I say it in one line. We are not going to change the position of the hand yet, I tell you, and it is still just the right-hand side.
Only after that do I change sides and take the left angle. The two passes fill in where their points meet. You should have a really clean line right there.

I gave the reason on a kitchen cutting board, in Workshop 4 of the beginner course. There were three lines, one, two and three, and the most inner one was the line to carve. Tilt the knife, I said, and remember approximately the position of your hand, because the same angle goes all around the perimeter. I started at the highest point. And I carried the pass all the way to the low point.
The butterfly plate shows the same order on a fine grid. Lesson 9 had me take every line in one direction first, no more than a millimeter (about 1/32 inch) deep. After that I flipped the plate and came from the opposite direction, same angle.
Does the outline around the leaf change anything?
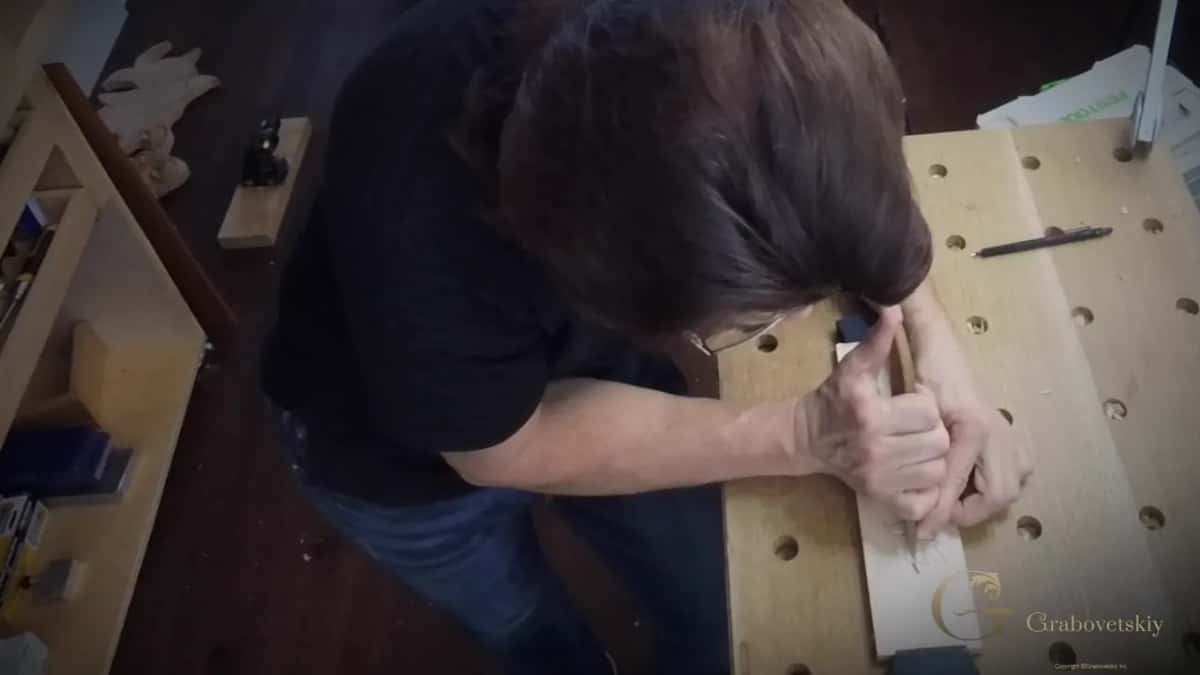
Only the place where the knife goes. After the leaves I draw an outline about five millimeters out, approximately 3/16 of an inch, close to the real shape. Nothing too complicated.
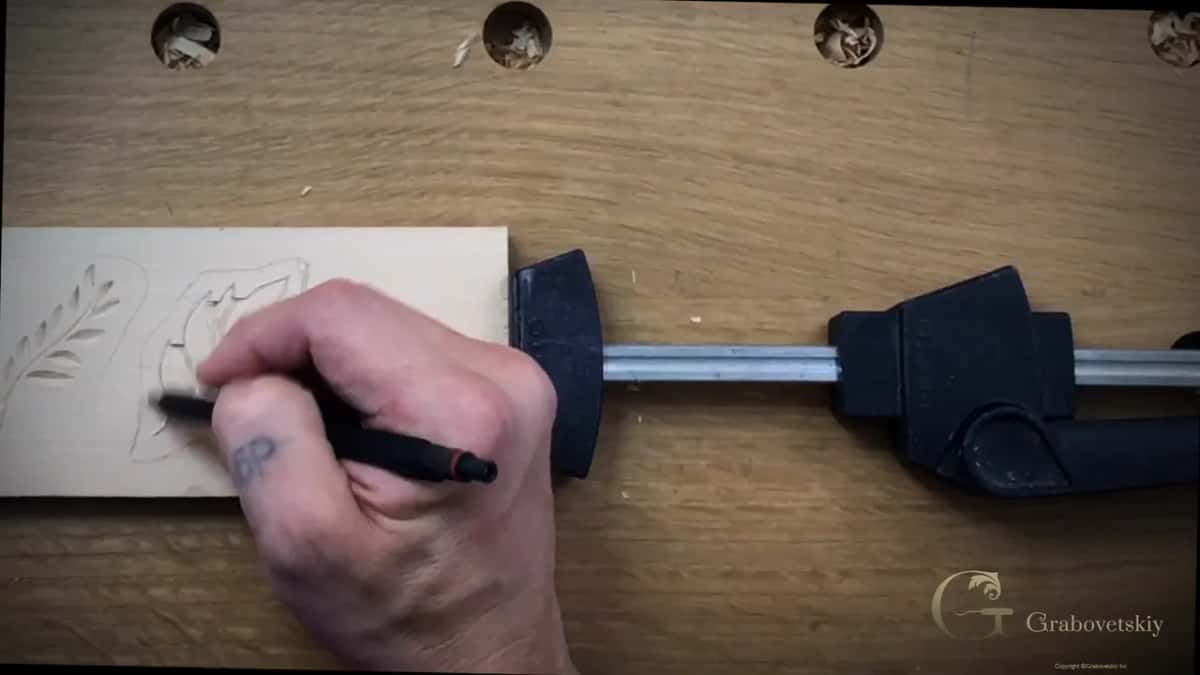
Exactly the same thing, I say. Angle your knife and go toward the center. I even forgot one side on camera and went back to carve it. The leaf stays flat at the top while the wood around it goes.
Which angle does the cleaning pass take?
Whatever lean the first pass had. If you need to clean it, just clean, I say in this video, but the angle should be the same.
The cutting board course shows it slower, in Workshop 5. I left one line shallow at first, only a preliminary pass. When I came back to it, I set my knife back at the angle of my initial pass and carried the cleaning pass all the way to the marriage line.
Marriage line, if you can call it that. That is where the two sides meet together and marry together.
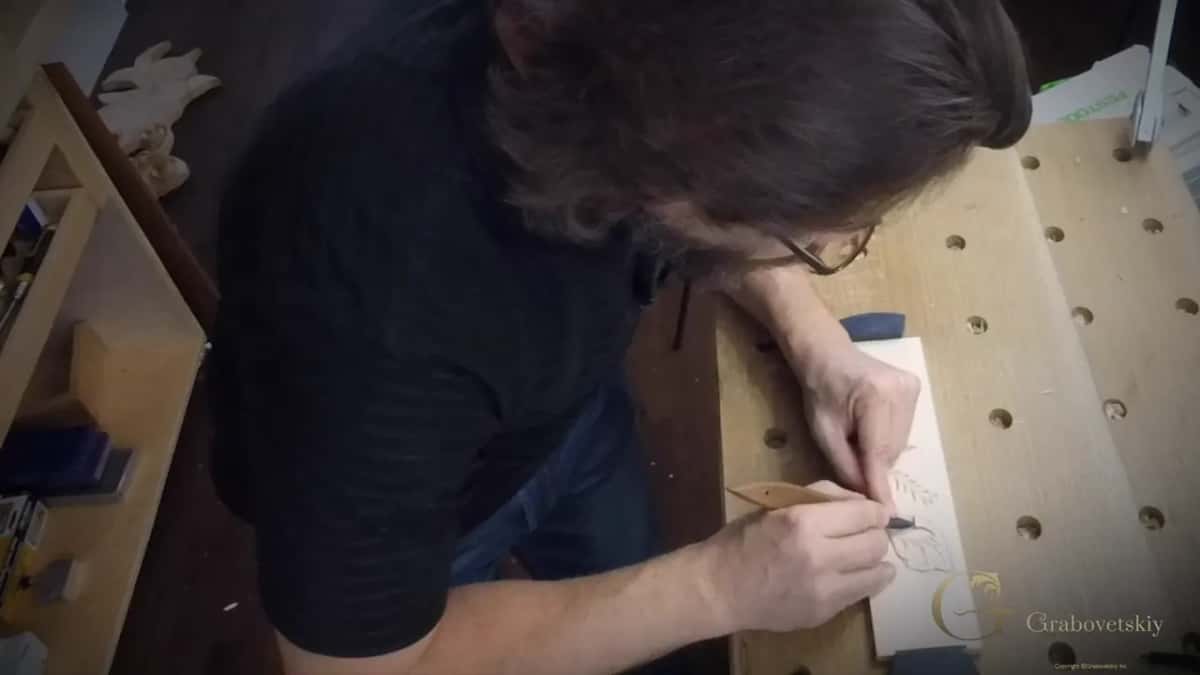
The same rule comes up in Workshop 4, said while I turned the board around. Real important to hold the same angle, so make sure you are not moving your knife away from it. You just set the knife the way it sat on the pass before. In that same video I added that if you need to clean, clean it right away.
How can you tell the second pass found the first?
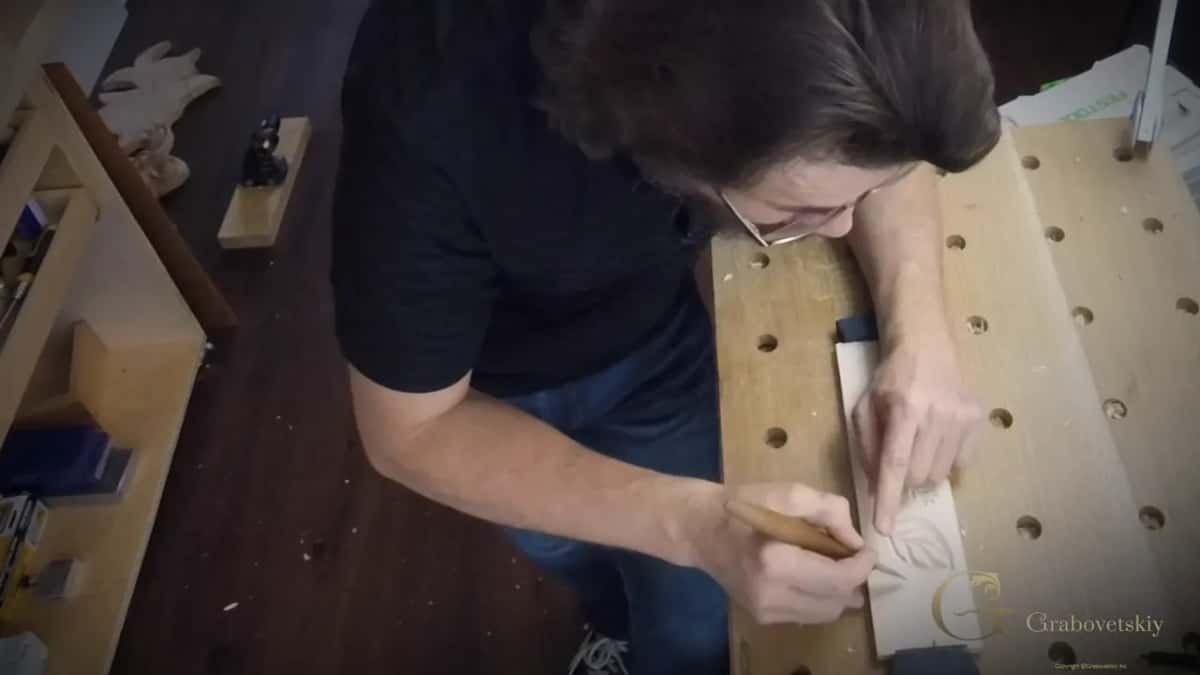
By the sound. And by a chip that comes out clean. Some chip was already coming out on the cutting board. I left it alone. Pull it, and I can damage the wood. And I need that line clean.
So I placed the knife again and went deeper until I could hear it separate easily. It has to separate everywhere, I said, and I corrected myself. Not redo the pass, just make it deeper. Next I heard it was still connected somewhere, and that side got carved again. I know it is tempting to just pull it out and go faster, and you cannot do that, I said. When it works, the chip just jumps out. Then the next area gets the same treatment, until it looks like the first one.
My butterfly plate says it another way. Where two lines meet and the chip does not come, don't really worry about it. You can always go back, find the spot which is holding, and carve it out. Stay on the line, I said there. And try to maintain the same angle, which is the whole idea of this page.
Can the same angle fix a damaged spot?
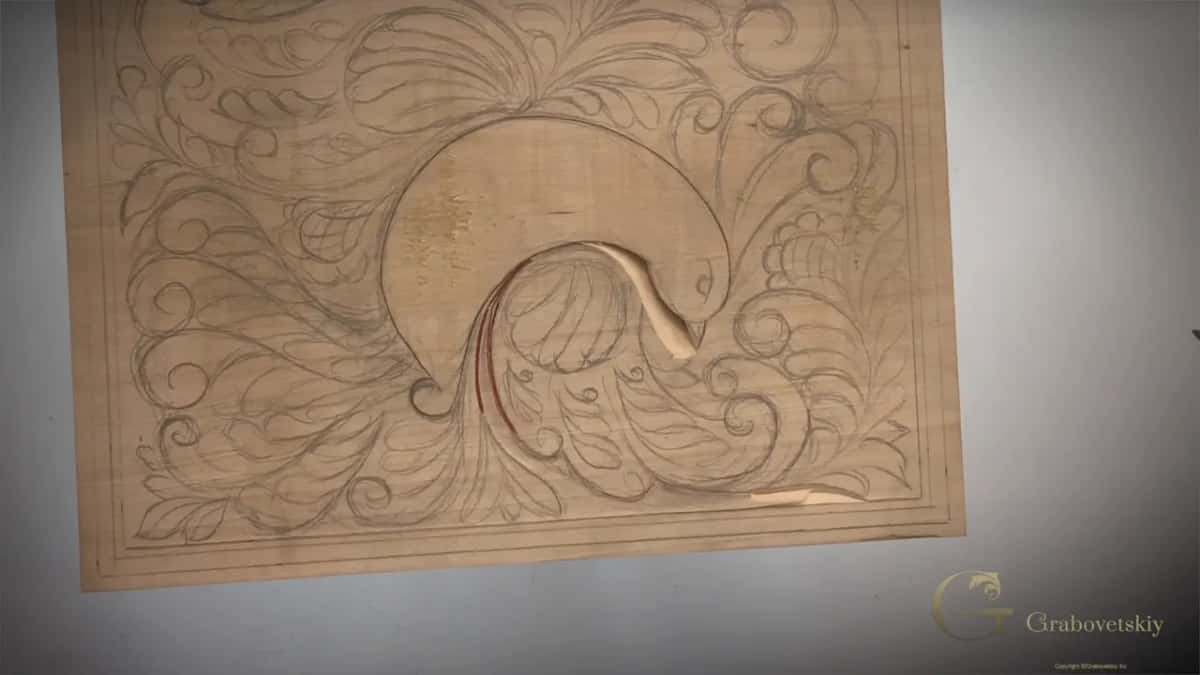
It did on the butterfly plate. In lesson 11 you could see some damage in one area, and I said I could fix it using the same idea. Put the knife inside that concave, slightly, not too much, holding the angle from before. Then go around. Not as deep this time, about a millimeter or a millimeter and a half (about 1/16 inch). That way, I said, I could fix problems like that one.
What else stays the same along the line?
The pressure, and where the tool sits. Lesson 2 of the butterfly plate has it all at once. Use approximately the same pressure, keep the tool in the same position, and keep the same angle, and the clean pass comes out really, really consistent.
I went along the line really slowly. I kept an eye on my line, because I really wanted to stay on it. Not pushing. Still slicing, a sweeping motion you can see if I do it in slow motion. My line there came from calipers, not the pencil, which made it a lot easier, and I said a pencil line is all right too.
What should the wall look like afterward?
Clean enough that you would not reach for sandpaper. The chip has to come out clean, I said in that cutting board lesson. All you do is keep that same angle and clean the line.
Then look at the inside. Well, it is not exactly the walls, I said, but whatever you call it, it is really clean, and you don't need any sandpaper on it.
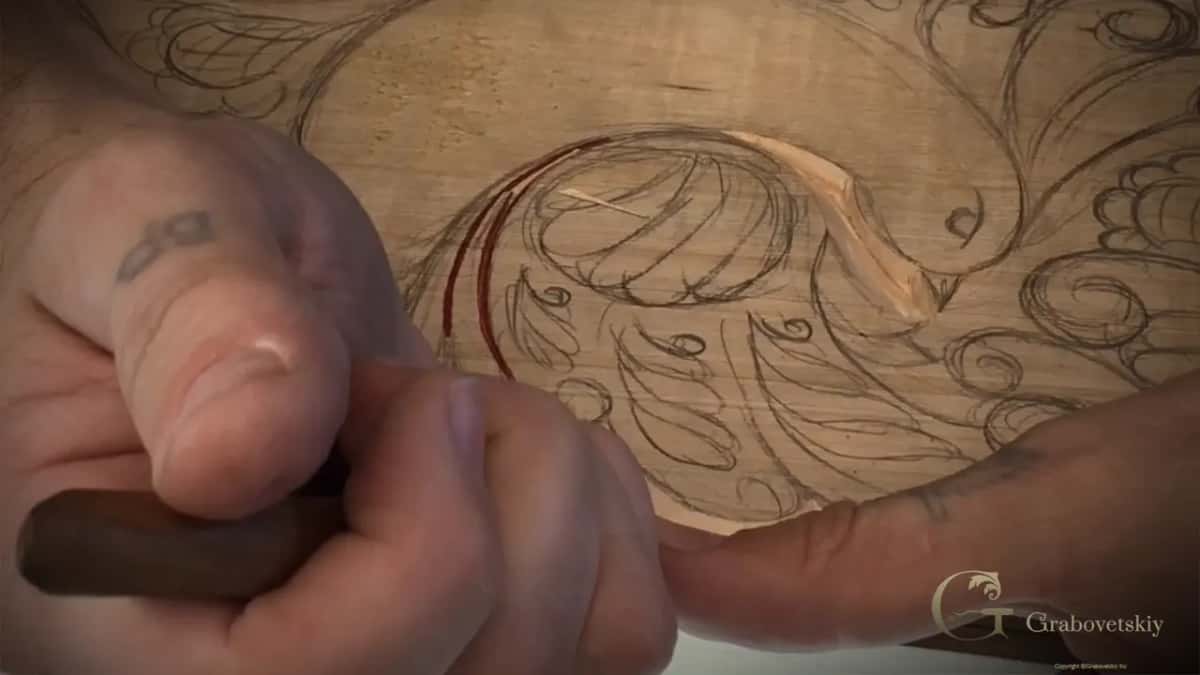
Keep going and you get angle, angle, angle, and it comes to a V groove. Almost the true V groove, I said. Sharp and crisp is what you are trying to get.
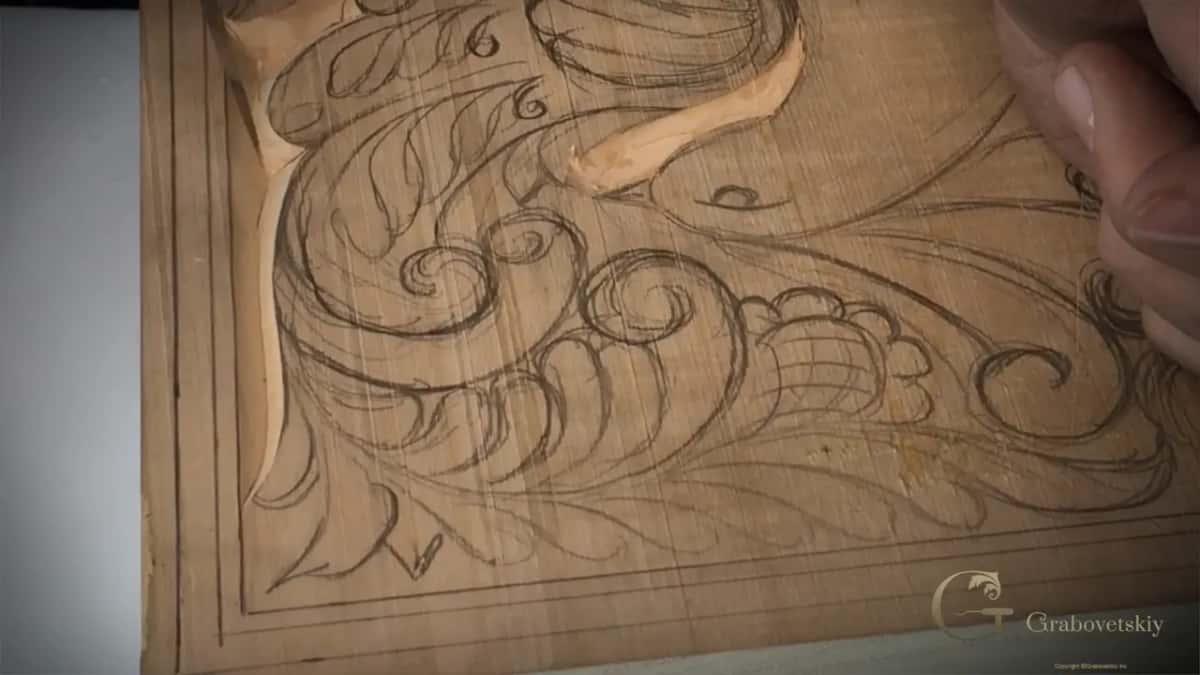
Is it ever right to change the angle?
On purpose, and slowly. On the cutting board one stretch looked better to me straight down, about 90 degrees, so I carved it that way. I think it will look nicer, I said.
That left one part angled and one part straight, and I had to manipulate between them. You come from straight and slowly, slowly build the bevel until it meets the angle on the other side.
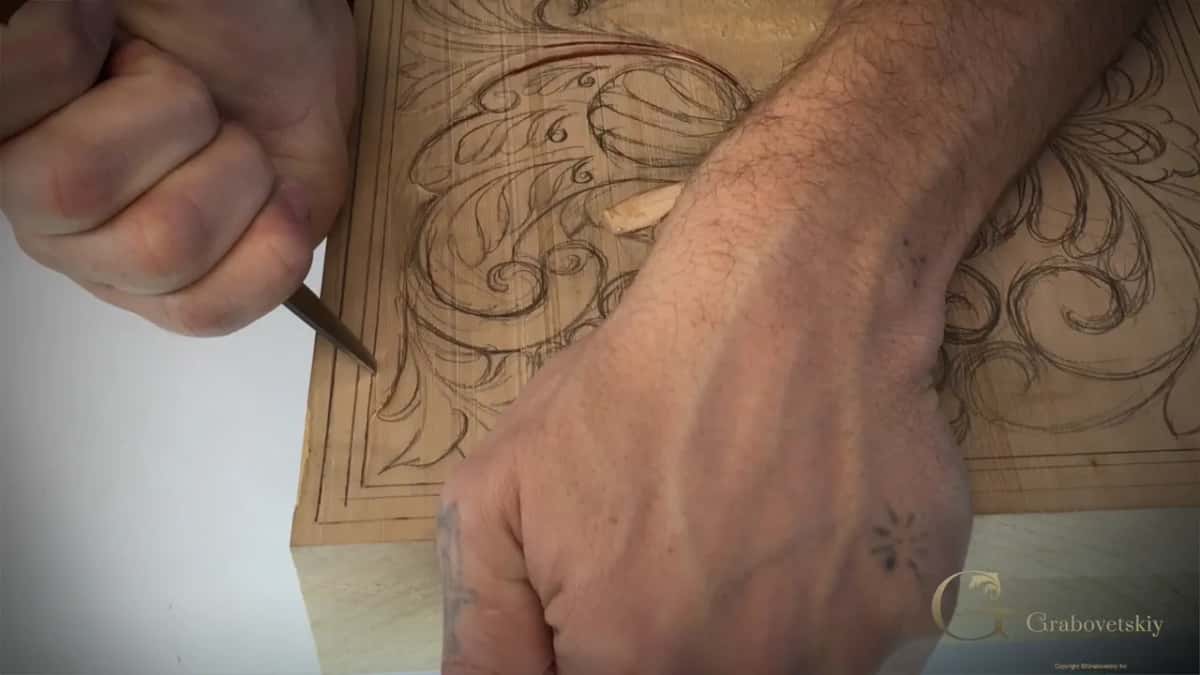
The direction can change while the lean stays. On one swirl, or volute if you like, I was carving toward myself, and I followed the outline at the same angle. A little later I said it would be easier to go away from myself, right after telling you to find your angle, the one you carved with.
The Greek acroterion had a different problem. Really important to hold the same angle, I said, and then I saw I was carving against the grain, which is not the best idea. I have to rotate the piece, I said, and come at the acroterion from the other side.
Does a gouge follow the same rule?
It did on the Tray of Blessing. I changed position and took a number 11, three millimeters (about 1/8 inch), to start undercutting on the inside.
I told you there to make sure you keep the right angle, keeping the side of the tool at exactly the same angle as the previous pass. It is not as critical there, I added. But start carving the wrong way, and then you have to change everything else.
A flat background showed it with a gouge. Smoothing the background of the lily box with a number four, 10 millimeters (about 3/8 inch), I held the same angle above the surface and only made rotation movements. I made sure I was not moving the tool around, still holding it in one position. It hit the high spots, and the surface came out like it was planed.
How straight should the first pass be?
As straight as you can make it. My Workshop 5 board had a most inner line, and I asked you to make it as straight as possible, because you can easily detect any waviness. Then do the second pass.
Long helps too. Your line will be much cleaner, I said in Workshop 4, if you can make it as long as possible. Don't rush. Go the whole length, and that is going to be one long chip.
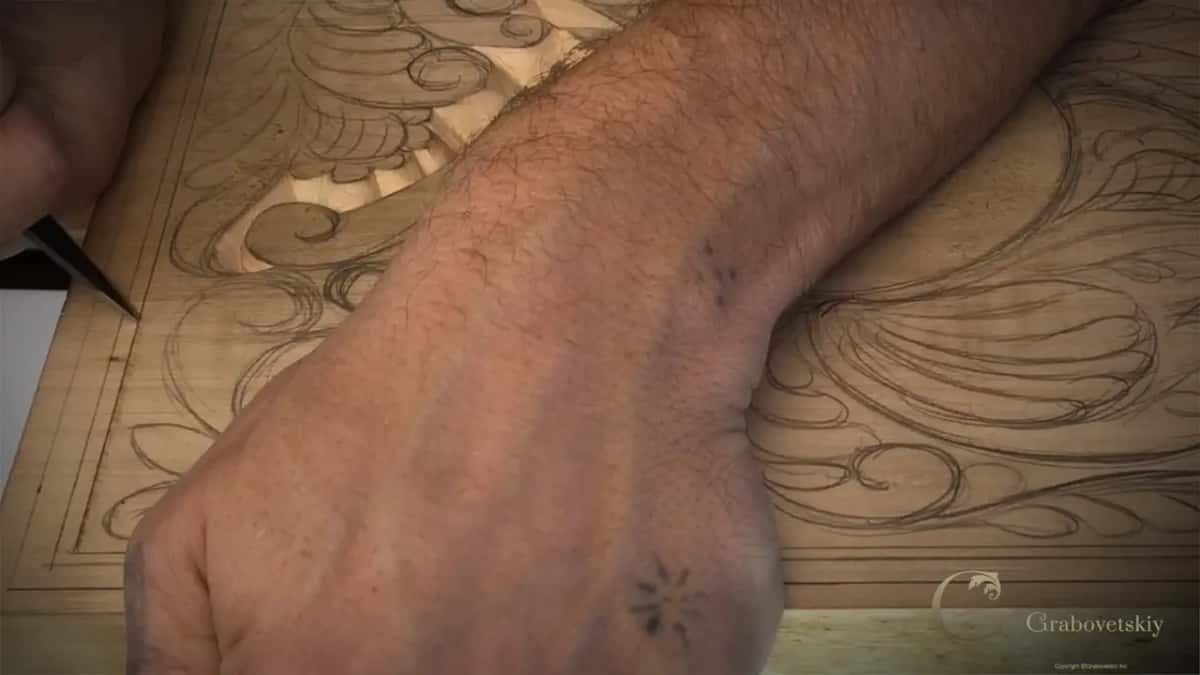
Where else does the rule show up?
Here is each place I quoted, side by side.
Where on camera | What I said about the knife angle | Which tool |
|---|---|---|
First Cuts leaf | Hand stays put for the right side | One knife |
Cleaning the leaf | Clean it, but keep the angle unchanged | Same knife |
Cutting board perimeter | Remember the hand, same angle all around | Carving knife |
Workshop 5 board | Place the knife at the initial angle | Same knife |
Butterfly plate lines | Stay on the line, maintain the angle | The knife |
Tray of Blessing | Tool side matches the angle before it | Number 11 |
What can you practice tonight?
Still have the practice board from last time? Room left on the same side? Then set your hand for the right side of one leaf and leave it there until that side is done.
Tuition opens First Cuts for Beginners and every course I quoted here, cutting board and butterfly plate included. In this video the result should look like what you see on my board, a few leaves standing flat with the wood carved away around them.
How it's done
- Draw a soft S. Pencil a line shaped like an S, not too sharp, and add a few leaves along it, a little bigger than before.
- Lean in from the right. Start at the upper leaf. Tip the knife and slice along the drawn line.
- Hold that hand. Each line there gets the identical right-hand lean before your hand shifts at all.
- Switch to the left. Take the left angle and fill in where the two points meet, for a really clean meeting.
- Ring each leaf. About 5 mm away, approximately 3/16 of an inch, draw a loose outline close to the real shape. Tip the knife and travel toward the center.
- Clean at the old lean. Tidy any line that needs it, with the knife leaning exactly as it did the first time.
Frequently asked questions
Should the left side lean as much as the right?
On the Greek acroterion I said it is really important to do the same angle, a consistent angle on both sides. The cutting board got one lean on every line, and then I did it again from the opposite side.
What if I lose the angle halfway along a line?
Study the pass you already made, before the tool returns to the wood. Carefully, on the tray, I could see approximately the angle. Then I carefully set the tool back at that angle and started undercutting.
How deep should the first pass go?
Shallow. You can always come back and make a deeper pass, I said in Workshop 4 of the cutting board. Where there is not much material, don't dig too deep, and hold the angle anyway.
What to carve next