
Alexander Grabovetskiy, woodcarver, School of Woodcarving · Published 2017
Which wood carving projects are too hard for a beginner?
Quick answer: The hard projects, for a beginner, are in my courses the ones that need grapes, deep excavation, spoon undercutting or a really small size. I called my Venetian rosette no beginner's project and my small flower rosette really challenging. The First Cuts board is where I start you.
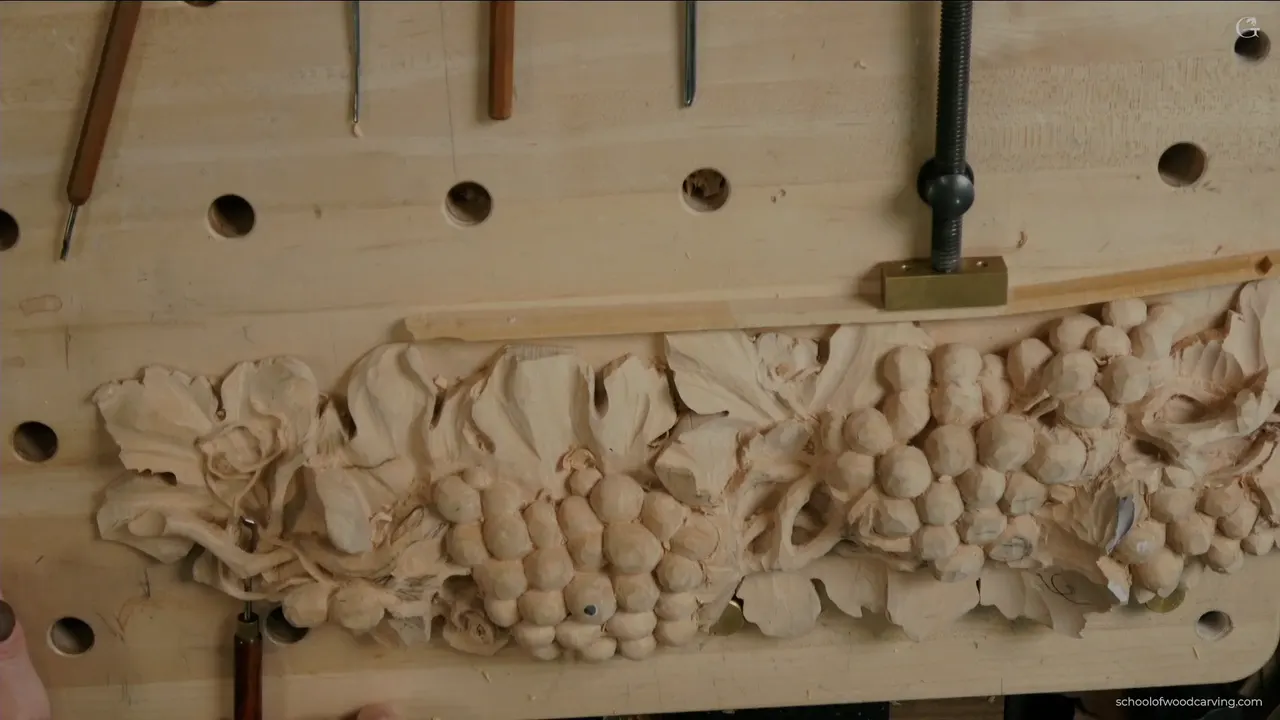
A project too hard for a beginner is, in my own courses, one that needs grapes, deep excavation, undercutting with spoons or a really small size. On camera I said that about a rosette of Venetian flowers and about the Hashemi flowers. My grape onlay I called somewhat advanced, and a little flower rosette got a warning for its size. The board from First Cuts for Beginners is the other kind. One knife does all of it.
Looking at wood carving projects for beginners? Below are my own verdicts on my projects, and the reason whenever I gave one. This project assignment asks you to photograph the knife board.
Have you seen a carved bunch of grapes and wanted to try one? Would you like to carve something like that one day? Then begin with the knife, the way I suggest to everyone who is just starting carving.
Six verdicts from my own bench
Grapes are not easy, and the onlay full of them is somewhat advanced.
Undercutting with spoons came on a Venetian rosette of mine.
A flower rosette drawn to two and a half inches can be really challenging, just for its size.
A butterfly plate sits on the way to more advanced, as I put it.
The knife molding in First Cuts is the one I start a beginner on.
Anyone who wants a challenge can still try grapes. Why not?
Why are grapes so hard to carve in wood?
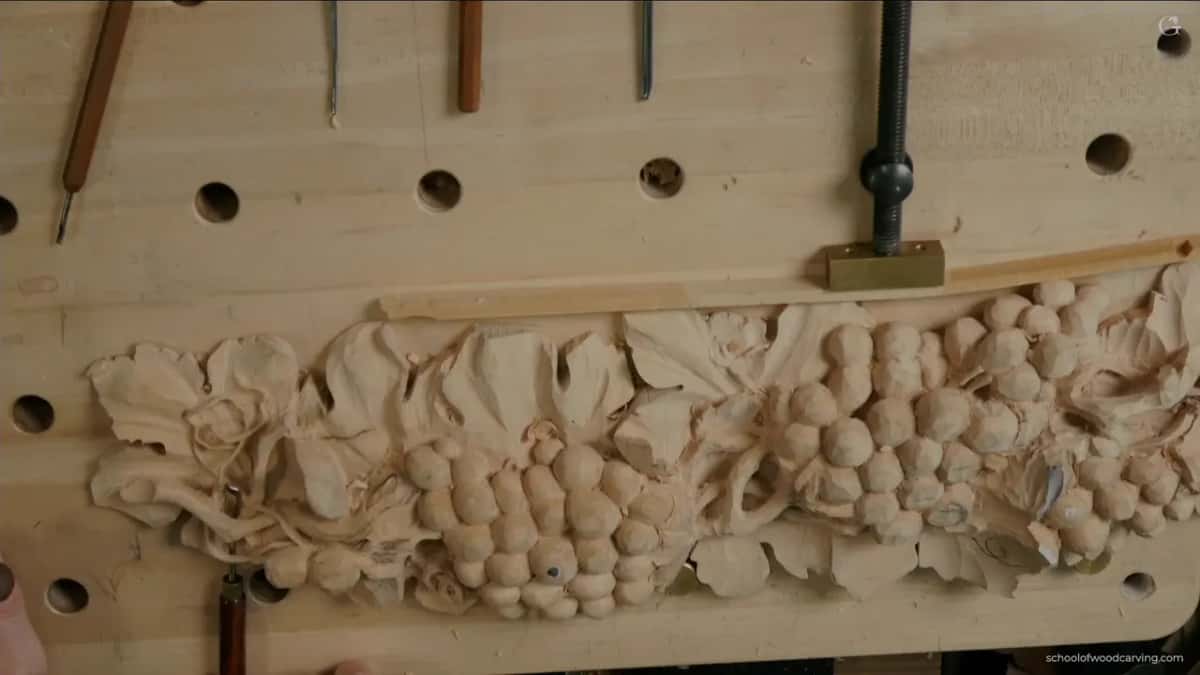
Grapes are not easy. At the start of the Carving Grape Onlay course I said so, and in the same breath I said the onlay is not necessarily for the beginner. If you want to challenge yourself, why not?
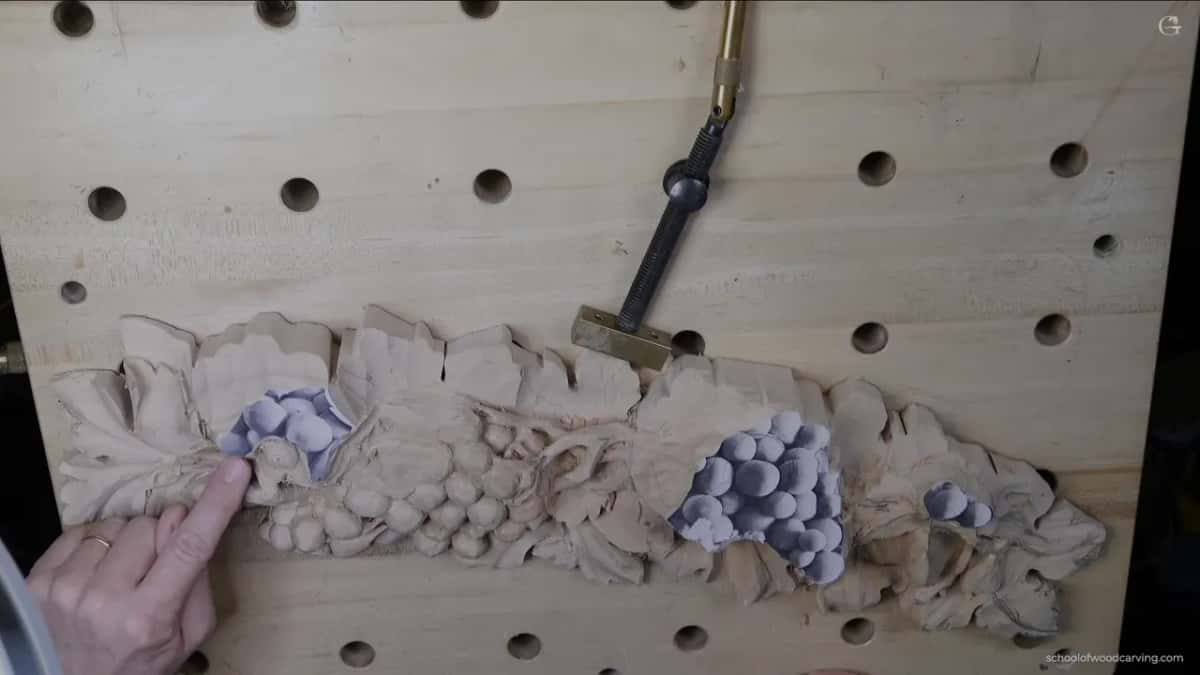
What makes it hard is the movement under the grapes. On that onlay a vine goes right underneath, carries the movement on, then rises up again, and part of it runs into the grapes while part of it goes under them. All of that is excavated, and I called it a lot of movement and excavation, somewhat advanced.
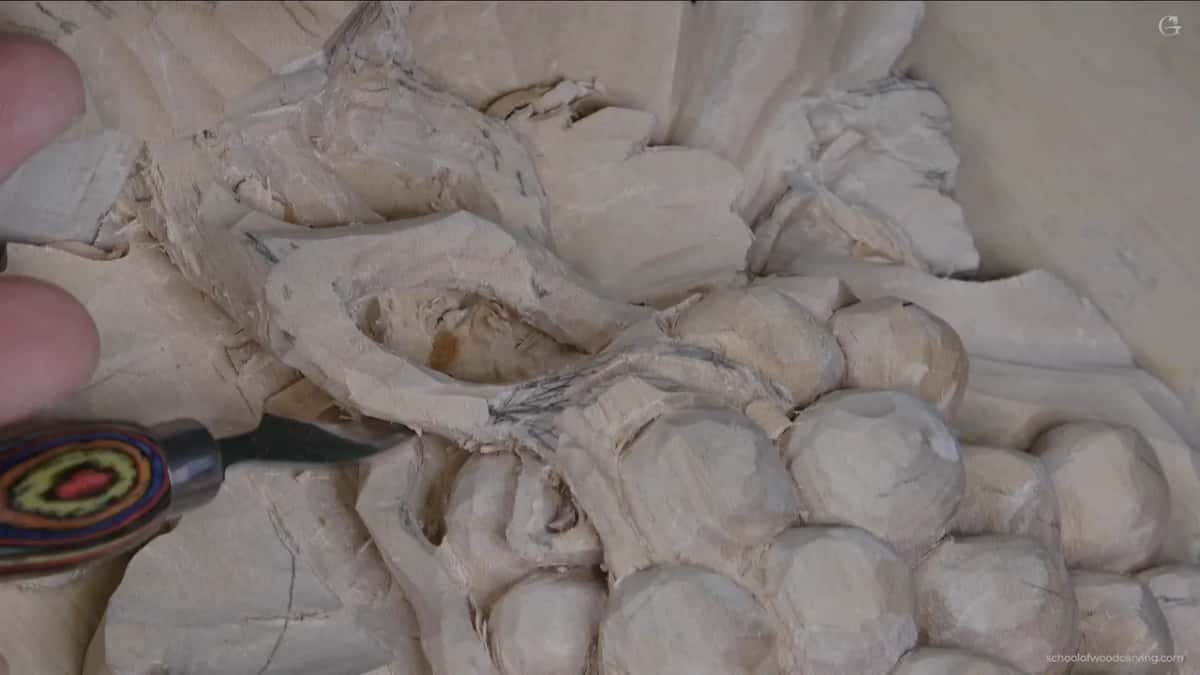
Later in lesson 6 I made parts of it airborne, with the wood dug out under them. You don't have to do it, I said, if you don't feel comfortable. This is not the beginner stuff, but challenge yourself. I went in underneath with a number 11, 2 mm (5/64 in), and I made sure to leave plenty of wall.

In lesson 13 I called back bends must-have tools if you are really serious about carving. Not in the beginning, of course. And I said this one is definitely not for a beginner.
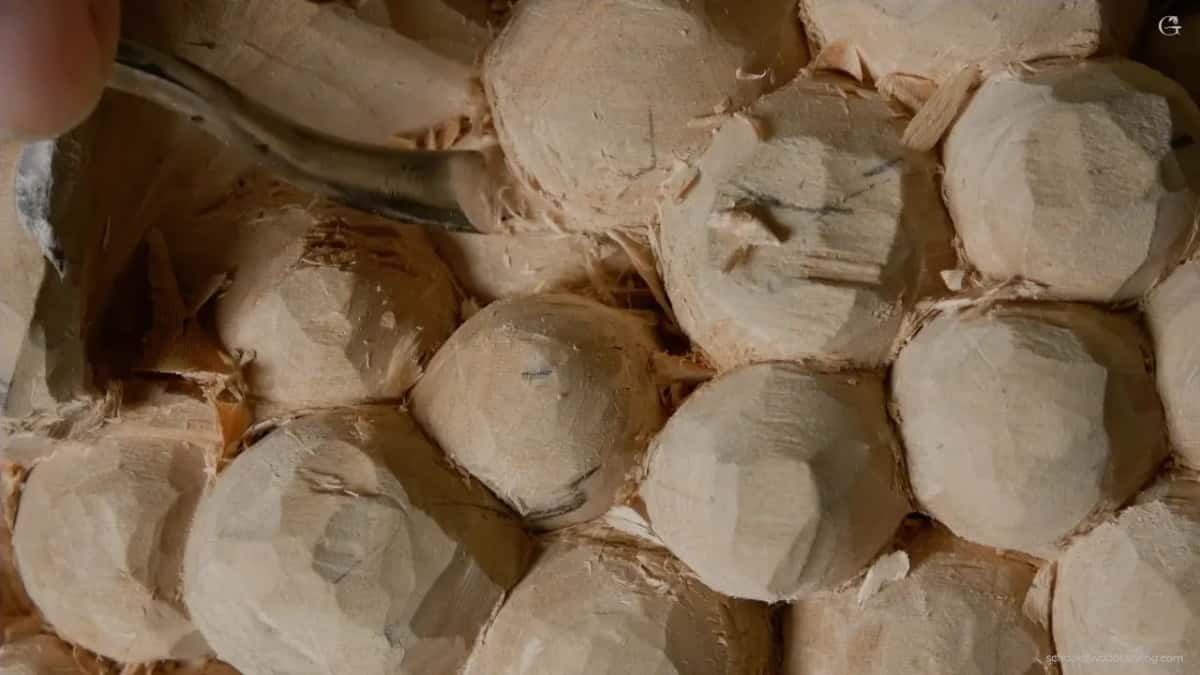
Grapes came up on my Tray of Blessing too. One spot there was narrow enough for a tendril to wrap around it, and I said it would look nice but be much harder to clean in that area. Much harder. You can challenge yourself at home, I said.
What is undercutting, and why is it not for beginners?
Undercutting is getting your tool under the side of a form in a relief. I took a number 17, 3 mm (1/8 in), on my Venetian flowers rosette and started a preliminary undercut. Right there I said that is not a beginner's project. Most of you who follow that course already know the basic techniques, I said. You use the tool on the side and get underneath.
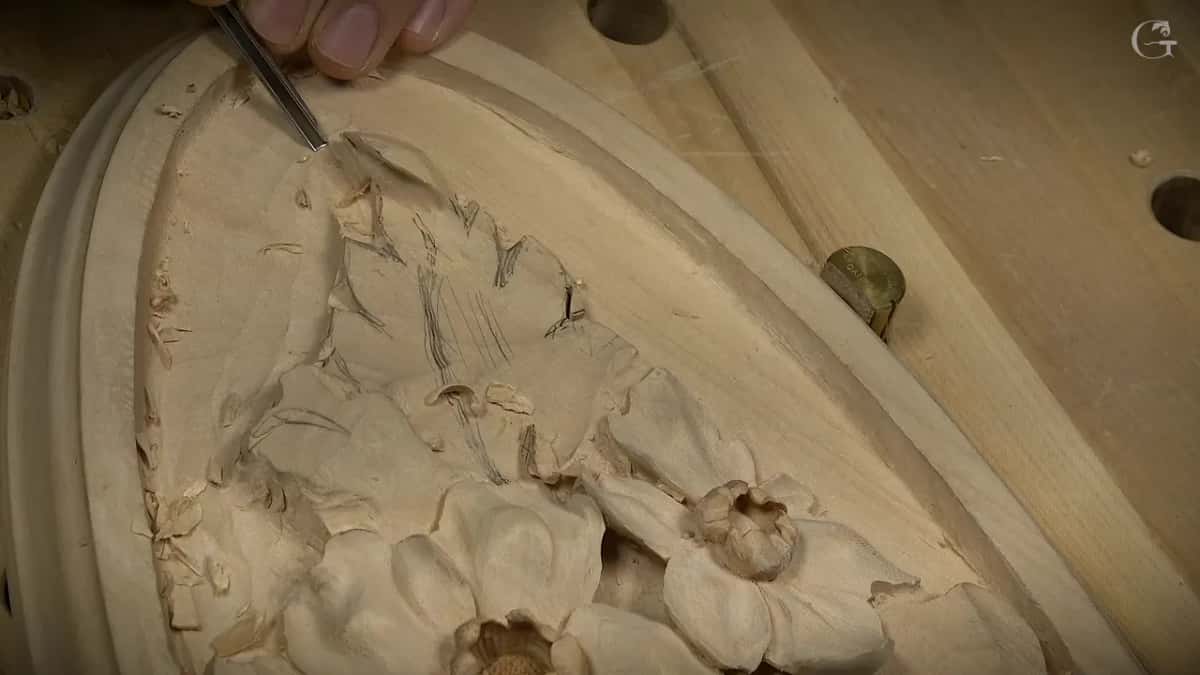
Where you have to excavate deep, you just use spoons and get underneath as much as you can. A spoon works pretty much anywhere. My final undercutting I did not do on camera, since there was no reason to show it.
The Hashemi flowers got the same words. I picked up a number 1 back bent, 10 mm, three eighths of an inch, and I said I understand that's not the beginner's project. Most of you who challenge yourselves with that type of project already understand what you do. Please forgive me, I said, if I forget to name a tool.
Is a small carving easier for a beginner?
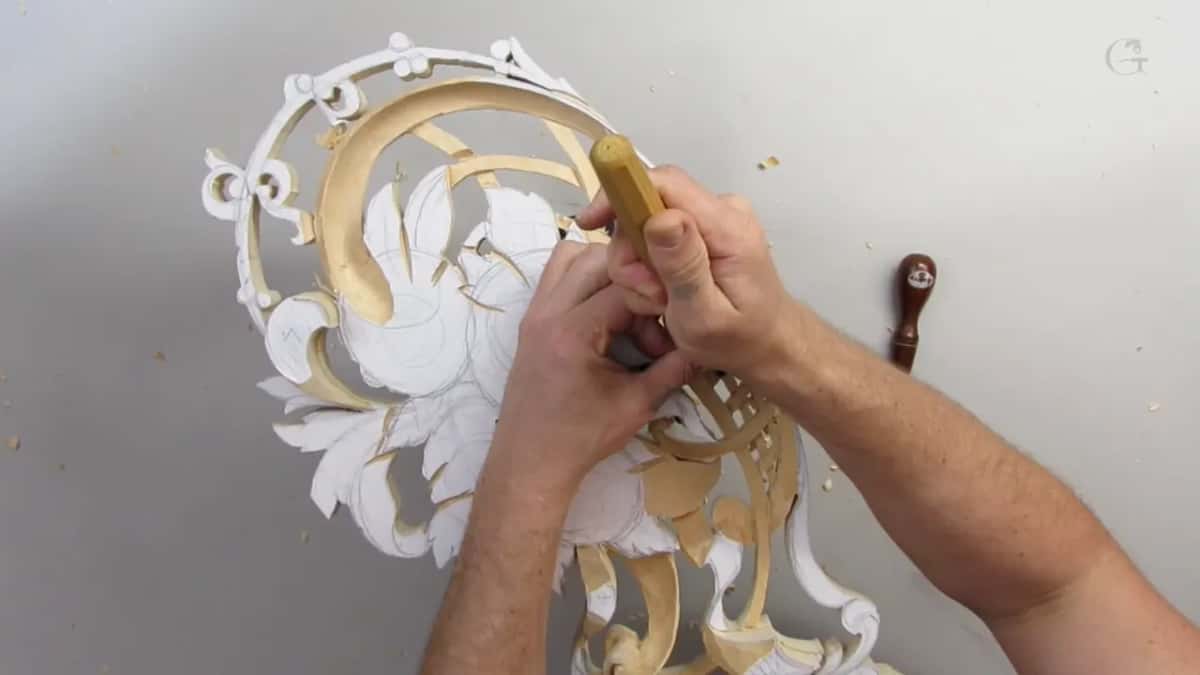
My flower rosette is drawn to two and a half inches, about 64 mm. If you think that rosette is really for the beginner, I said in lesson 6, I'm not 100% sure I agree with you. It can be really challenging, actually, because of the size of it.
Then I did the small bubbles of that rosette, whatever you call them, with a knife. I sanded just the upper parts in lesson 7, to make them more smooth, with paper that says 80 grit but feels like 220, and called that rosette 100% done.
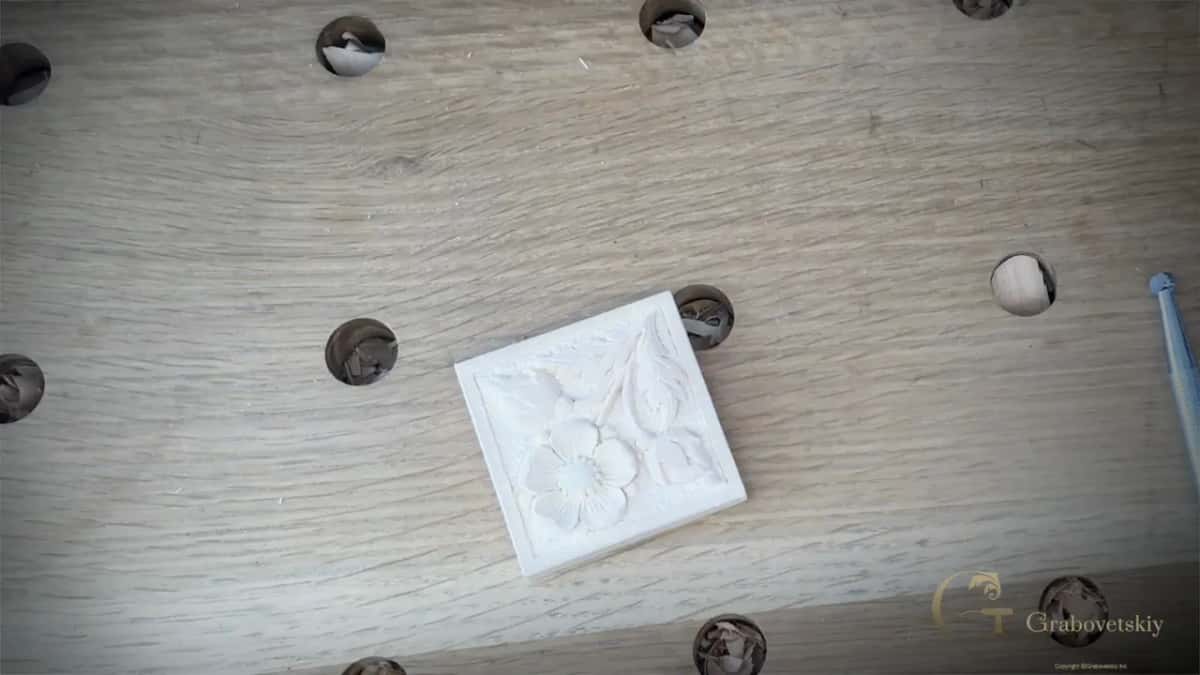
Practice cuts are a different matter. On the knife molding in Workshop 1 I said to practice on different sizes, even really small, tiny places.
My projects and what I said about them
Each row names the lesson where I said it, so you can hear it in my own words.
| Project I carved | What I said about it on camera | Main reason | Where I said it, by lesson |
|---|---|---|---|
| My grape onlay | Not necessarily for the beginner, somewhat advanced | Vine excavation | Grape Onlay, lessons 1 and 6 |
| The Venetian rosette | Not a beginner's project, I said there | Spoon undercutting | Venetian Flowers Rosette course, lesson 5 |
| My flower rosette | Really challenging, actually, because of the size | Small size | Carving Flower Rosette course, lesson 6 |
| The butterfly plate | More advanced beginner, with more difficult techniques | Harder techniques | Carving Plate with Butterflies, lesson 7 |
| Venice Room carvings | I'm not expecting anybody to follow along | Huge course | Advanced Carving, Venice Room workshop 6 |
| First Cuts board | Simple enough to do, so please practice | One knife | Wood Carving, First Cuts for Beginners |
What are good carving projects for beginners, then?
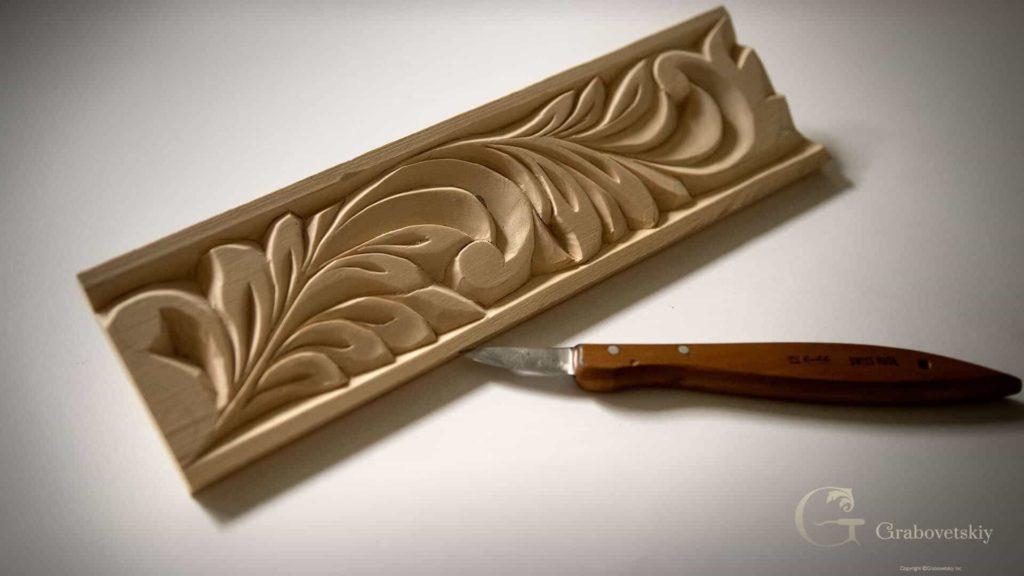
The first one I give you is a board, a clamp and one knife. In First Cuts you learn three cuts, straight down, a right angle and a left angle, then carve a little ancient molding on a strip about 20 mm (3/4 in) wide. That molding I called simple enough to do, so please practice it.
Even there, one move is hard. For the diagonal you skew down to about 2 mm with the point turned away. I said I know that is not the easiest.
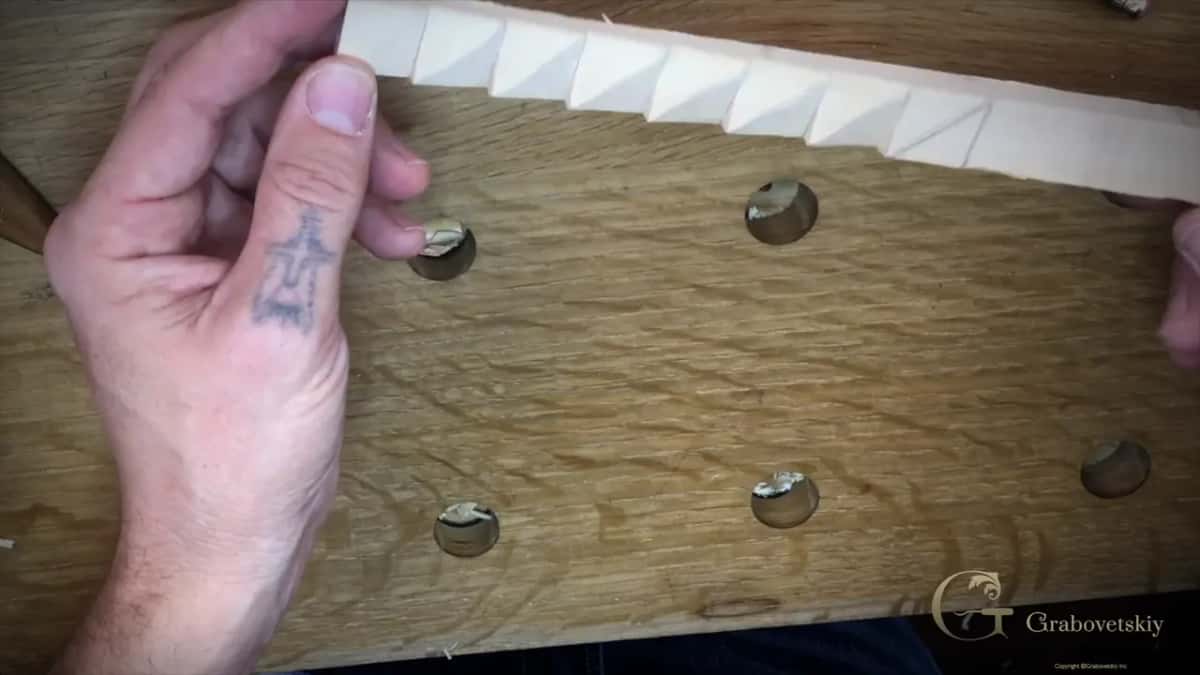
Then comes the leafy border in Workshop 2, with the same knife, on the other side of the practice board. When it was done I looked it over and said I think it's really good, especially for the beginner, if you can manage that. And that kind of carving doesn't take long. You can do miles and miles of it in a really short time.
I learned the same way. My teacher in Russia gave me one knife, and it took a long time before I got my first gouge from him. He would say, if you can master knife, gouge is going to be a piece of cake. I told that story in Venice Room workshop 50.
Don't take the knife board for too simple, though. Some of you maybe think it's too simple, I said on my cutting board course. But practice, not just watch, and you will see it's not that easy to use just one knife.

On a live stream in April 2020 I showed the beginner's project from my school. It was done only by knife, except the border on the outside, which was done with a gouge. The biggest part of the acroterion at the school was knife work too. My point was plain. A knife can be used for complicated stuff, and for less complicated stuff.

My butterfly plate sits in between. When that course started, I said it may or may not be for the beginners, and it could be really good for any carver who has a knife and maybe a couple gouges. By lesson 4 I said it's not 100% knife only. I kind of like the simplicity of it, but it will still be somewhat complex.
By lesson 7 it was more advanced beginner, I said. I was showing a little more difficult techniques. Every tool, I said, you have to use for a little bit before you really feel it.

What does the knife board teach you for harder work?
More than it looks like. On the leafy border I said that type of carving trains your hand to feel a three-dimensional world. It trains how you hold your angle. You have to guess where the V cut is going to meet. Once you train your hand, other types of carving would be much easier for you, and quicker too.
Relief came up the same way. That border is not true relief, because in true relief you have an absolutely different feel. But train your hand to do this, and relief carving would be really easy for you to do. Carve that clean the first time. Then you won't have limits on what you can do later on.
Can a beginner try a harder project anyway?
Twice on the grape onlay I said why not, for anyone after a challenge.
In lesson 7 of that course I drew one more motion going right underneath. You really don't have to do it, I said. It's going to look really good without it, and even better with it.
The Venice Room is a different story. I started that project saying I'm not expecting anybody to follow, and you can't really follow me on that one. It's more so you get the overall idea, with so many details you can use on smaller carvings or big ones. Maybe a few of you will do something like it, for yourself or for a client.
At the end of my class in Maine, carving in the style of Grinling Gibbons, I said I do realize that is a little more advanced course. It's not for everyone.
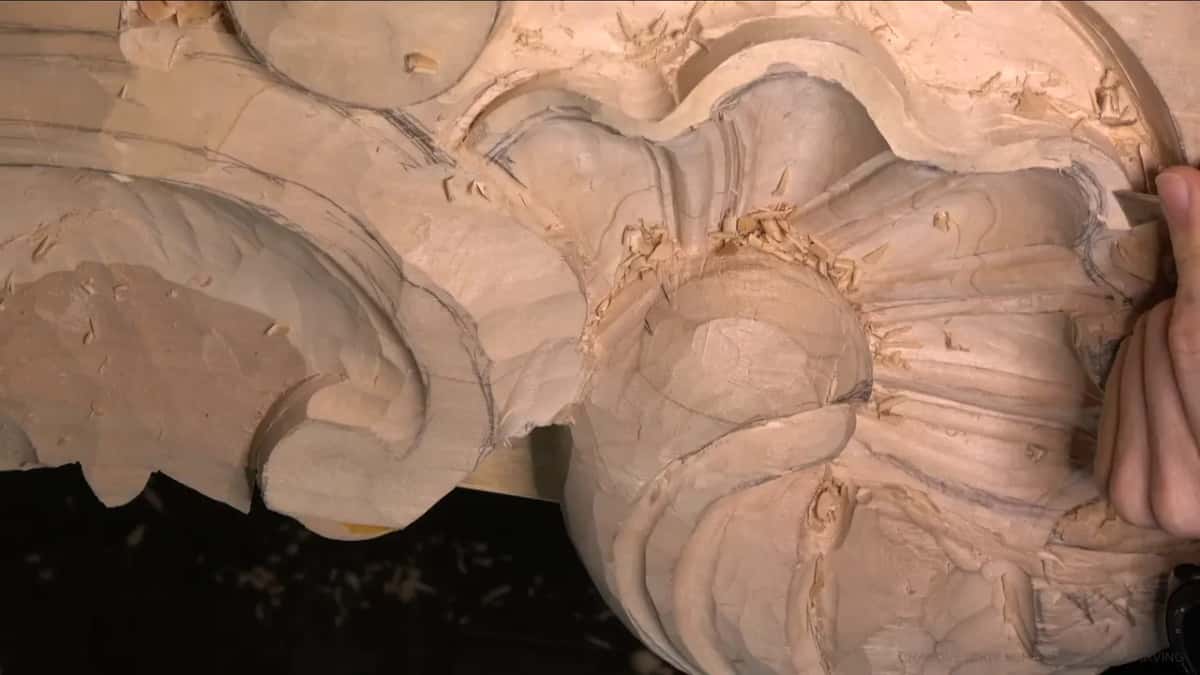
Some of you sent me pictures of your work on my furniture panel, and it made me feel really good. When I look at those pictures, it means a lot to me. That means I'm not doing it in vain. Others found out it is not as simple as it looks. It takes a lot of time and a lot of control, and it trains you to control micro cuts.
One warning for anyone who tries. Forcing it, trying to rush it, I called probably the biggest mistake some people make, on a Greek acanthus leaf. When you rush something in carving you make a lot more mistakes, it takes a lot longer to fix them, and some of those mistakes can become unfixable.
What does this project assignment ask you to send?
One photo of your work. The assignment page in First Cuts takes a jpg or a png, never a zip, and it asks you to run a size reduction on the file before you upload it. You get one chance while you are on that page, so make sure the picture is ready for upload. After you upload and leave, the button goes away. The page says I review it, and based on your progress I grant points toward your certification for completion of this beginner course.
The video says email. The molding lesson ends with me saying you can email me the results, and I'm going to assess you on the way.
On one Venice Room lesson I said even better, don't email me, because sometimes my emails get lost. I'm getting so many emails a day, I said, and that was about questions.
A photo also hides things. The camera doesn't show it, I told you on the furniture panel, but your eye can detect it, and especially your finger. Your finger is one of the best gauging systems. I could feel a hump on a Venice Room piece that the camera did not show, just by moving it.
So before the photo, do what I do on camera. Blow on the board. If all the chips fly away, even the smallest ones, the progress is really good and the cut is clean. Then look at it in different lighting, the way I showed my molding, and see how the shadow and the light play.
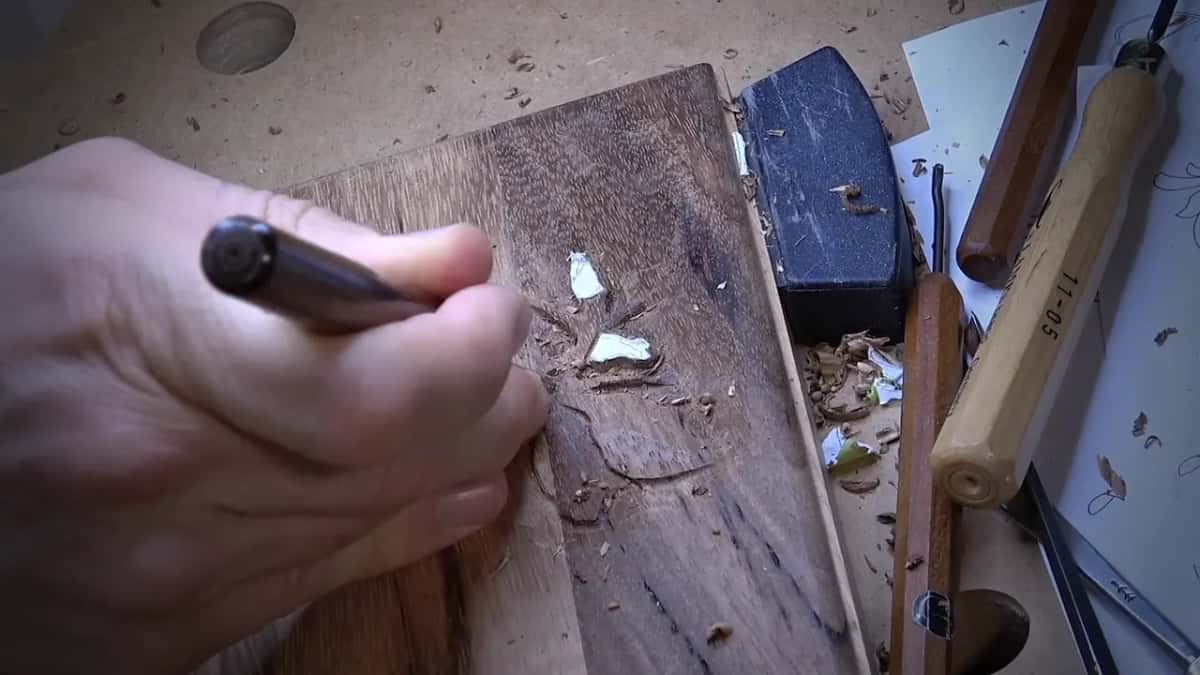
And don't get frustrated if your board doesn't look like mine on the first try. Keep trying. The worst thing that can happen, you buy a new piece of wood.
First Cuts is what I called the really beginner course, and its goal is to take you all the way to the top. It's up to you. Stick long enough, and you can get there.
Every lesson named on this page sits inside the school, and the grapes will still be there when your knife carves clean.
Is your knife sharp? Is a piece of basswood waiting on the table?
How it's done
- Begin with one knife. My first tool was one knife. For those of you just starting, I suggest you try to get good with that knife, and not just watch.
- Practice the three cuts. Straight down, right angle, left angle. I asked you to practice them on a stem with a few tiny leaves.
- Repeat a pass instead of forcing it. When a chip will not snap out, I come back and make the same cut again.
- Keep trying on new wood. Your first try may not come out like mine. Don't get frustrated; the worst that happens is buying another piece of wood.
- Send me your result. Upload one jpg or png on the assignment page, where the points get counted. During the lessons you can also email me the results, and I will assess you on the way.
Frequently asked questions
What is the easiest wood carving project for a beginner?
In my school the first one is a board and one knife. You hold the knife straight down first, then at a right and a left angle, and then carve a small ancient molding with that same knife. A leafy border follows on the practice board.
Can a beginner carve grapes in wood?
Carving grapes is not easy, and that onlay of mine is somewhat advanced. Its board is 24 inches long, about 61 cm, and about six inches wide, near 15 cm, with vines that go right underneath and come back up. Challenge yourself, if you want to. Why not?
What if one detail is too hard to carve?
My lily box had a tiny thorn, almost impossible to see. If it feels like too much for you, feel free to remove it, I said. Simplify the form. Just don't simplify too much, or it won't look as nice.
What to carve next