
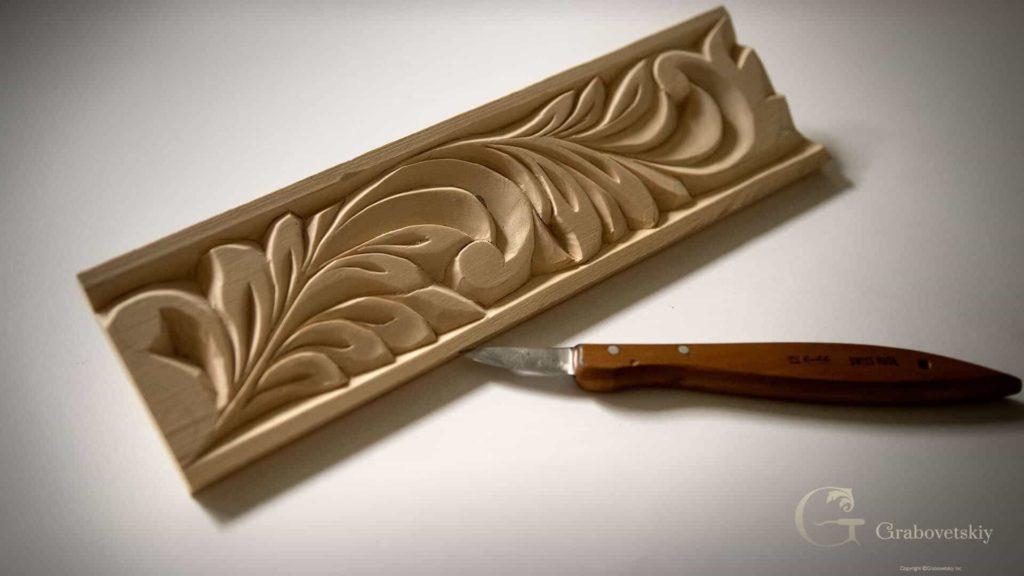
Alexander Grabovetskiy, woodcarver, School of Woodcarving · Published 2017
How do you carve a swirl on a flat board with just a knife?
Quick answer: Carving a swirl with only a knife, in flat ornament, is a pair of really low passes, one from each side of the line, that meet under the curve. In Workshop 2 of my First Cuts course I got the outside done first, then put the knife on the outside of each swirl and moved it along.
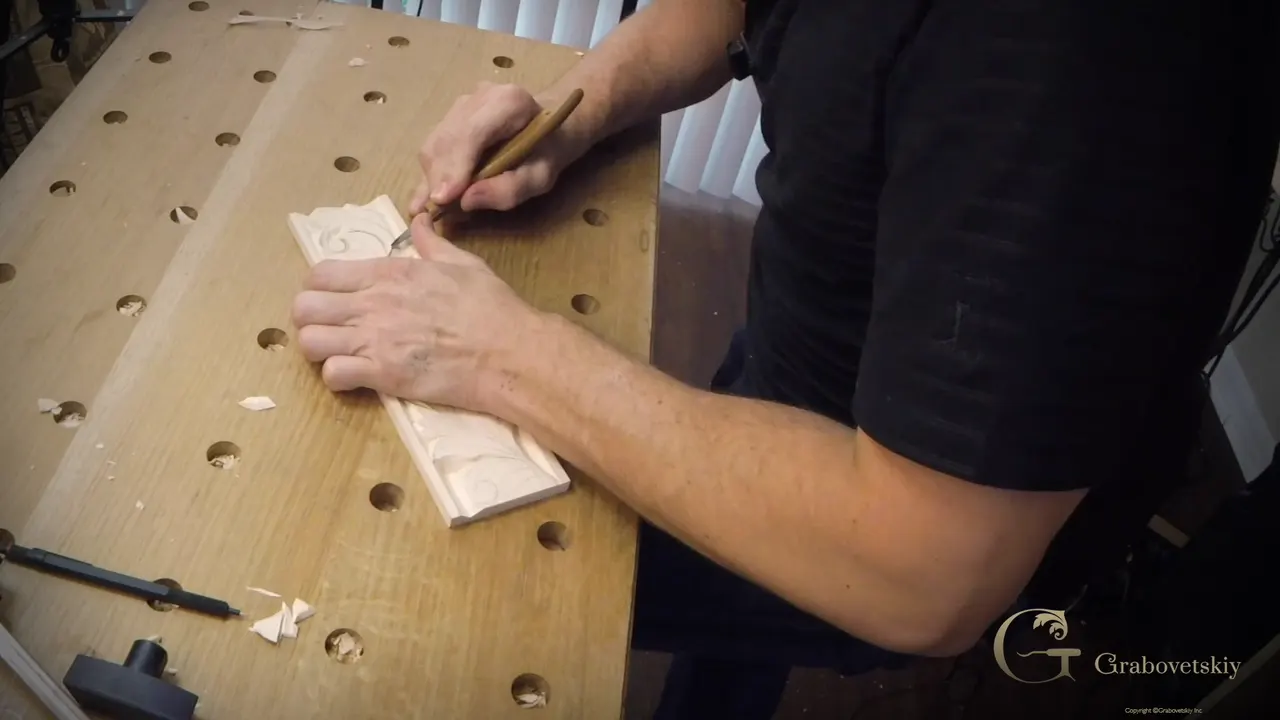
A knife swirl on a flat board is two low passes, one from each side of the line, meeting down under the curve. In part 4 of Workshop 2, with the outside of my design done, I started the inside with the swirls. My knife went right on the swirl line's outer side. From there it traveled along.
I mean wood carving swirls in flat ornament, the curls in a leafy border, and not a spiral wound round a stick. If you searched how to carve a volute, this is the shape I mean too. Here I said you can call it a volute if you wish, although it is not a true one, and on a cutting board course I put it plainly: I like to call it swirl.
Is a swirl drawn on your board? Is the knife already in your hand? Then set the point against that line, keep it low, and follow it. What follows is what my hands did on this board in First Cuts for Beginners and on a few other pieces, each one named where it comes up.

A knife swirl in six lines
- Outside lines got done first, and the inside began with swirls.
- My blade sat against the outer side of each swirl line and moved along.
- Passes came in really low from either side until they met.
- One cutting board swirl had grain running both ways, so I worked it in two directions.
- A middle part that will not snap out is still held somewhere inside.
- Lines drawn too far apart give a groove that goes too deep.
Where does the knife go first on a swirl?
Against the outside of the line. That was my very first move once the inside of this board began, and I said it out loud: I've done an outside, now let's work on inside. I gave no reason for that order on camera.
I put my knife right on the swirl's outside line and kind of moved it along the line. Next came another line, and one spot there I left not clean, said so, and carried on anyway.

After that I went round the swirl at a really low angle and made a couple of passes from two sides, until I met those two points. Once they met, I turned the board back and made a clean pass right there. Near that spot I said you should have a pass like that, and if you need to come back and clean it a little bit, just do that.

Why do wood carving swirls need passes from both sides?
Grain. Over on the Curly kitchen cutting board, workshop 12, the grain went both directions round one swirl, so I had to work it from two sides. I took multiple passes there.
Around the swirl itself I made a deeper pass, to meet those two grains. Marriage line is what I call it, where those two grains meet together. One side alone, I said, it's not going to look clean, and it's not going to look nice.

Back on my First Cuts strip, I put the grain this way: you can feel the grain, how the grain goes, and clean it. Then back to work. A little later on that cutting board came my line again: I have to approach from the other side.

How deep do you go around a swirl?
About 3/16 of an inch (near 5 mm), on the next spot of that cutting board. I took the corner out first and made it deeper, about the same.
Keep an eye on the edge of the knife, so it's not digging too deep underneath. Otherwise it creates an undercut, which in this case you don't want. A little undercut is okay too, I said, not a big deal, though it's a different type of carving, with undercutting.

The swirl's own edge stays alone. Be really careful not to touch it, I said on the cutting board, because it has to stay as a high point, or a high line, I would say. At one point I needed to refine a line and make it a little longer, and I worked my way along it.
How far apart should the lines of a swirl be?
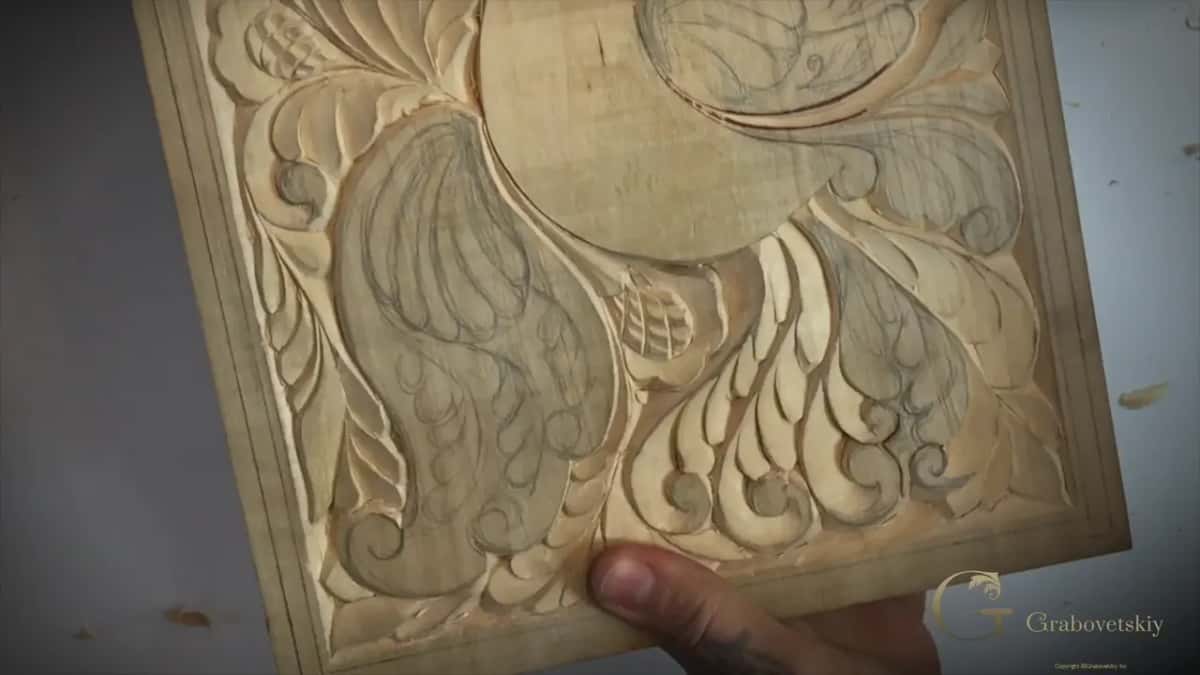
About a quarter inch, on my cutting board. That board also had a mini volute, and I was not too happy with how it looked. I wanted to see the two lines a little closer to each other, because otherwise it makes too deep a groove there, and that won't look as nice.
It can be really deep if they are a little too far away from each other. In one spot I had a quarter inch here and a quarter inch there, and I called that absolutely fine.

My own strip shows the same thing. Some spots there went a little deeper and some not as deep, just because of the space I left in the design between those leaves. In part 5, on the next swirl, I said I would just keep a little space right there.

What does it mean when the middle will not snap out?
A piece still holds on inside. With the mini volute I said it plainly: if it's not snapping out, on the inside I still have some connection point. So I went at it from both sides, this side and then that side, and then I could see much better what I should do.
Then I just repeated my pass, from this side all the way to the point. Another swirl of that board, in workshop 5, had a chip that was not flying out, and that meant I needed to refine the pass. Nothing wrong with coming back for a double pass or a triple one, and what I got was a really nice-looking curve.

For the second swirl on that strip, in the next part, I said it would take me multiple passes at that really low angle, and I was okay with that. Near the end of part 4 I said it this way: if it is not coming out really easily, come back, repeat it and clean it. But the pass should be really clean.

What came before and after the swirls in part 4?
Cleaning, early on. Early in part 4 I'm still cleaning: just clean that, just clean it, and then let's finish this side. The swirls came after the outside was done.
Once they were in, I said let's do this space, we're going to remove this space, and the video stays on my hands for a while. That is one knife technique, I said, and you can do amazing things with it. I found the other spots next, cleaned, and repeated the pass until I met those two points again.

Toward the end I said you can probably already see the overall picture, how it will turn out, and it should look nice once it's done. Earlier I'd said it. It looks really good, actually, once it's done.
How do you draw a swirl before you carve it?
On the lily box, a small flower has a swirl in its middle, and I drew that one by the golden ratio, without being really particular. The golden swirl is like half of a heart. Its second line comes a little smaller, like 60 percent, so if the first is a 100 percent line, the next one is a 60 percent line. It looks like a heart, but it's not really a heart.
Here's my center, I said there, and drew out from it. Drawing it on the computer for that lesson, I stopped and called it a scroll instead. That one is the major scroll, and then you have to find a minor scroll going the opposite direction. Keep going round like that and it makes a really nice grid, I said, though I was not accurate there, because I was just drawing.

For a furniture panel design, when I'm doing swirls, I make an energy move that gets bigger, then bigger again, and bigger still. Those small movements are really important for me. In my design course I asked if you could find any straight line on my flowers, and said there is none. Every movement there has a swirl, and everything connects to everything. It's arabesque, I said, and one movement there I call a letter S, which still supports the overall idea.
Is a knife enough for a swirl, or do you need a gouge?
On most of my pieces here, yes. At the Greek acroterion I separated a swirl from the center with just a knife, since it is the quickest way to do that, and simply followed the line. A fishtail gouge came in after it, to lower down from there on the acroterion.
In workshop 4 of the Curly board, a swirl on the wing went in at an angle toward the right side, following the outline right round, and came out as one long chip. Most of the passes there were angled, I said, angled toward the center. Later on that board, my words were that it's just done with the knife, and especially in small areas like that, it creates a really beautiful look. On one wing in workshop 6 I did triple curls, or triple volutes, all in that one knife technique.

Outlining round a furniture panel swirl, I picked up a smaller knife, pulled it toward myself, and did not go really deep. Before that I said I didn't want to lose the overall feel of how I wanted that swirl to go, and that I'd take about 1/16 of an inch (1.5 mm) of that area, going deeper if it felt like not enough. Being fluid mattered more to me there, making a beautiful line, a curvature. I slipped away from the line again, and said so.
One curl in workshop 11 I just followed with the knife. I could have taken my triangles out first and then cleaned it, which would sometimes be a better approach, though it takes a little longer. Whatever's best for you, I said, and you can try that.
The lily box went the other way. For that flower swirl I said I would probably need a number 11 gouge, that maybe it would not work, and that then I would have to turn to something else.
| Piece | Swirl | Words |
|---|---|---|
| First Cuts board, part 4 | Knife set to the swirl's outer side, then low passes both ways | outside done first |
| Curly cutting board, workshop 12 | Grain ran both ways round it, so a deeper pass met them | about 3/16 down |
| Same board, a mini volute | Middle held on inside, freed by working this side, then that one | quarter inch, fine |
| Curly board again, workshop 5 | The chip stayed put, so I came back and refined the pass | double, even triple |
| Greek acroterion, the fourth lesson | Knife separated the swirl from the center, simply following the drawn line | the quickest way |
| Lily box, flower lesson 12 | Drawn as half of a heart, and then a second, smaller line | 100, then 60 |
Every row comes from a lesson linked above, and the ornament on each one is mine.
What happens when two curls meet?
On my cutting board, they sat on the same plane. Two curls met together there, and I didn't like how it looked because of that. So I kept one a little above the other, took one a little deeper, and blended it in on the inside.
Just before that I made one curl a little more curly. I said I wasn't sure I could say that, and then said it anyway: curlier.

At a volute in workshop 7 the pass changed partway along. I really like that detail, I said of it, and there were a couple of those volutes in that section. I started with the bevel, and as I moved toward myself I turned it into a straight down pass, like 90 degrees, because those details had to match what we had on the other side. After rotating the board I went really carefully, low, removing it little by little. I could probably have tried it in one pass, but I didn't want to make a mistake there.
Where should your first swirl go?
Inside lines you have already carved, the way I started part 4. Is the outside of your design done? And is there a swirl drawn in the middle of it, waiting for the knife? Then start there, against that line, low, working both sides of it.
Tuition opens Workshop 2, Workshop 1 before it, and every wood carving course I named here, the cutting board, the lily box and the acroterion too. An Ionic capital has its volutes in stone, and mine on that practice board went in with one knife.
How it's done
- Finish the outside first. Get the outer lines of the design done before touching the inside, as I did on part 4.
- Begin inside, at the swirls. Place the blade right at the swirl's outer line and kind of move it along.
- Go in low from either side. Hold the angle really low and make a couple of passes until the two points meet.
- Follow the grain round the curve. Where it runs both directions, work it from each direction and meet at the marriage line, or it won't look clean.
- Leave the edge of the swirl alone. Keep the blade off it, because that edge has to stay as a high point, a high line.
- Repeat what will not come out. A connection is still holding somewhere inside, so work both sides, repeat the pass, and then clean it.
Frequently asked questions
Can a beginner carve a volute with only a knife?
Yes. Workshop 2 of First Cuts does it with one blade, the same block of wood and the same technique as the first side. Those curves on the Curly cutting board are done with one knife alone, I said, and in small areas the effect is really beautiful.
Which way does the grain run on a carved swirl?
Both ways, on the cutting board swirl in workshop 12. I worked it from two directions and made a deeper pass close to the swirl, so the two grains met at one line. One side alone would not look clean.
Why does the middle of a small swirl stay stuck?
A connection point still holds it somewhere inside. I said that on a mini volute, then worked each side in turn, and then I could see what to do much better. My pass got repeated right up to the point.
What to carve next