
Alexander Grabovetskiy, woodcarver, School of Woodcarving · Published 2017
What is a stop cut in wood carving?
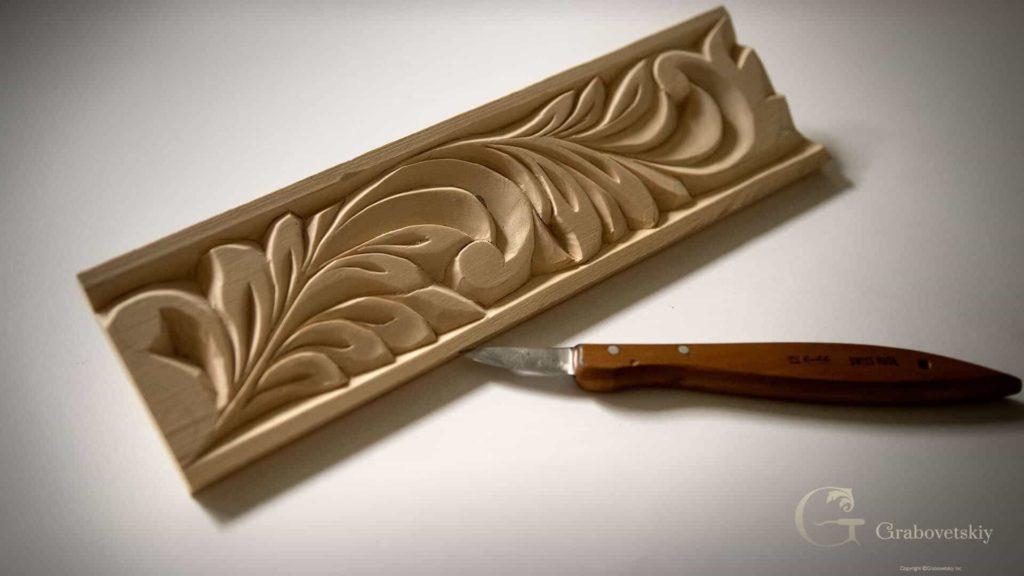
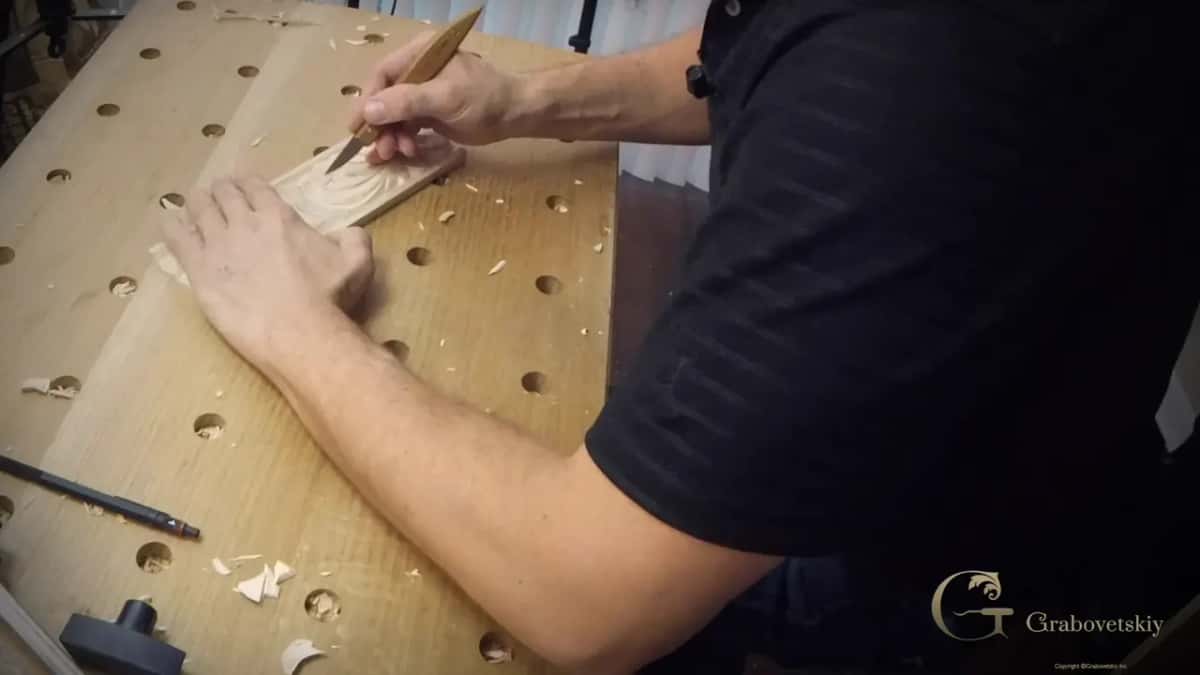
Quick answer: A stop cut is a straight down knife pass on the drawn line, made first so that a low angle pass can travel toward it and lift the chip out right there. In Workshop 2 of First Cuts I made one on a leaf border, and on camera I call it simply a straight down cut.
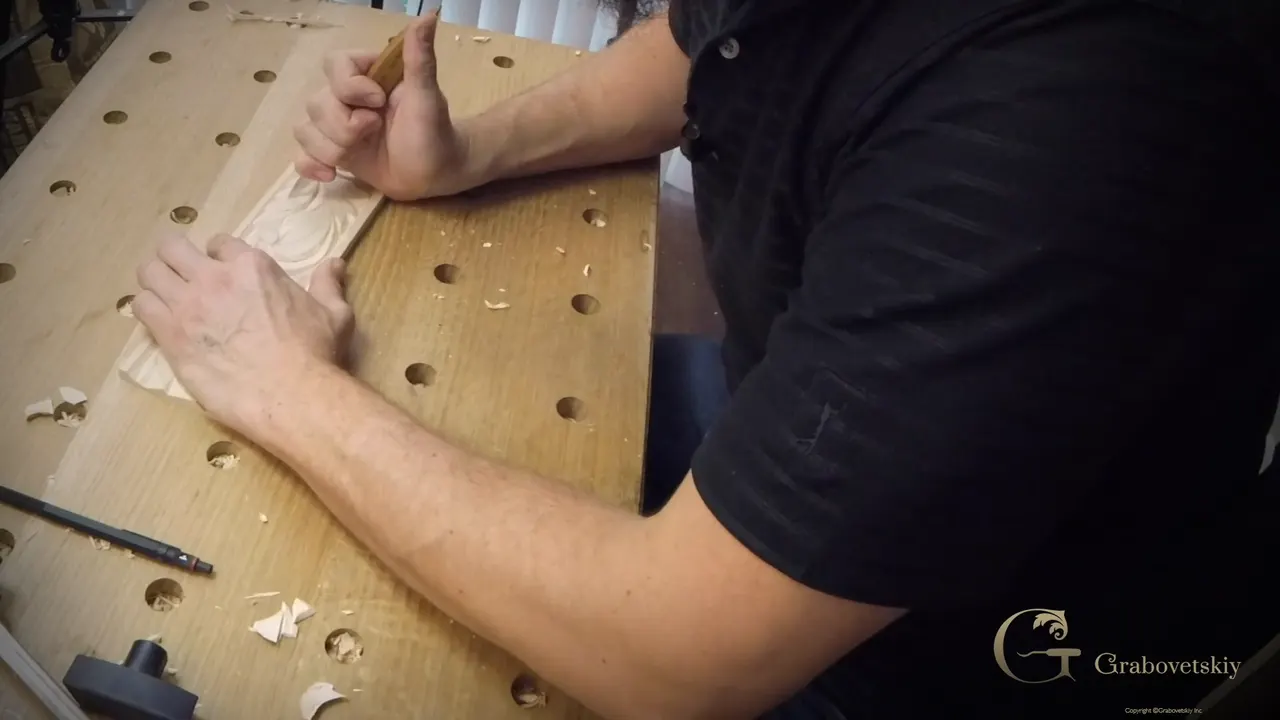
A stop cut is a knife pass straight down on a drawn line, made first, so a second pass at a low angle can travel toward it and lift the wood out at that line. In part 5 of Workshop 2 I made one in the gap between two leaves on my practice board, and it gave a really beautiful look.
You will not hear me say stop cut in any of these lessons. My name for that first pass is a straight down cut. From here on, my words.
Is there a pencil line between your leaves? Is the knife already in your hand? Then stand the blade up on that line before anything else.
Below is the pair as my hands made it on that board in First Cuts for Beginners, and what I said about the same pair in other courses. Each piece gets its name where it comes in.

The pair in six lines
- Upright goes first, on the line between those leaves.
- Then the knife lies really low and travels toward that line until the chip lifts out.
- On my cutting board the wall came out approximately 3/32nds down.
- A slight bevel is fine.
- Close to a second line, don't force it, or it can just break.
- Every line gets the same pair, and later on you refine them so the whole design looks more appealing.
How is stop cut wood carving done with one knife?
Before the new pair, I checked my progress out loud. Did I do almost all of them, I asked, and it looked like I almost did them all. On this border it went in a set order. My outline passes were almost all done, and then I told you the next thing was also a really interesting technique.
I held the knife straight down first. Between those leaves, right on the line, just like that. The second pass came after it, a low angle one, and it went toward that straight line until I could lift the chip away.
That creates a beautiful effect, I said, and then I asked if you could see it.
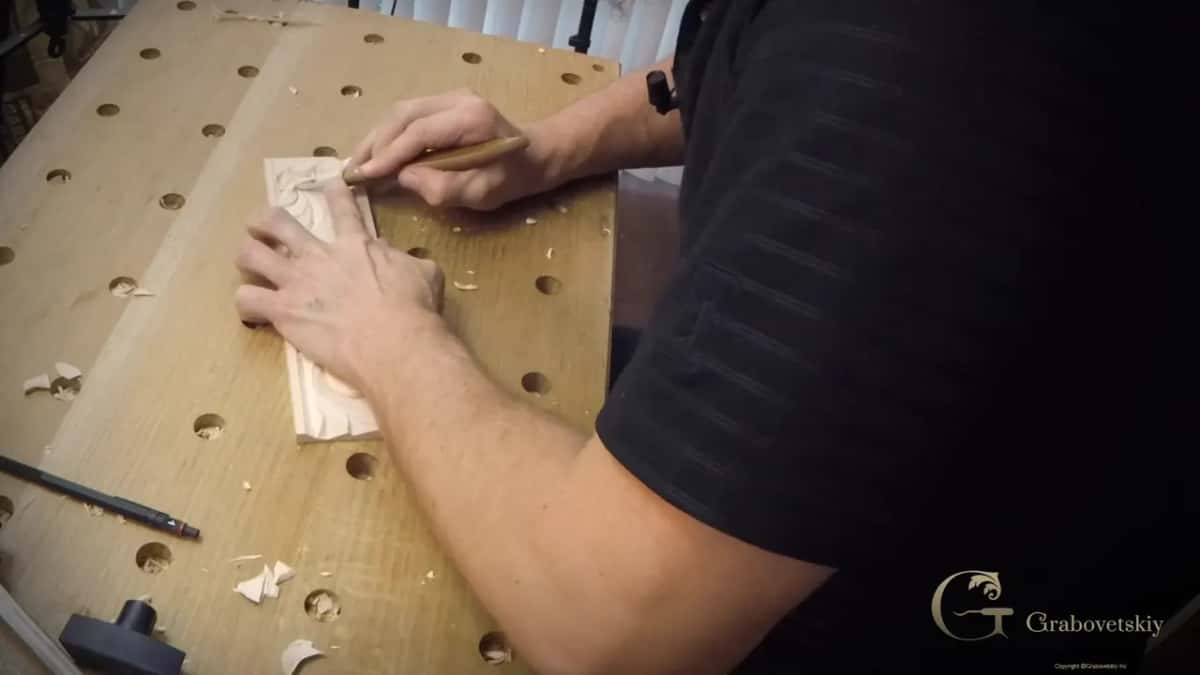
One more I took all the way, and showed you what you should see. Let's divide those two, I said next. A few more passes after that, and our design would be absolutely done.
So just do exactly the same on all those lines. With the low angle, go all the way to the line.

What do you need before the first pass?
A line you trust. Before the pair on my kitchen cutting board, in workshop 7, I told you you'd need the pencil again, because we had to redraw, and some of the details would probably get lost. I made sure my line was nice and free-flowing after that.
On a rosette in the flower rosette course I stropped the knife first, on a green paste, and only then put it straight down.
Why does the upright pass go in first?
For the look, on this border. Straight down first, the low angle second, and it would create a really beautiful look, I said before I started. No other reason came with it in part 5.
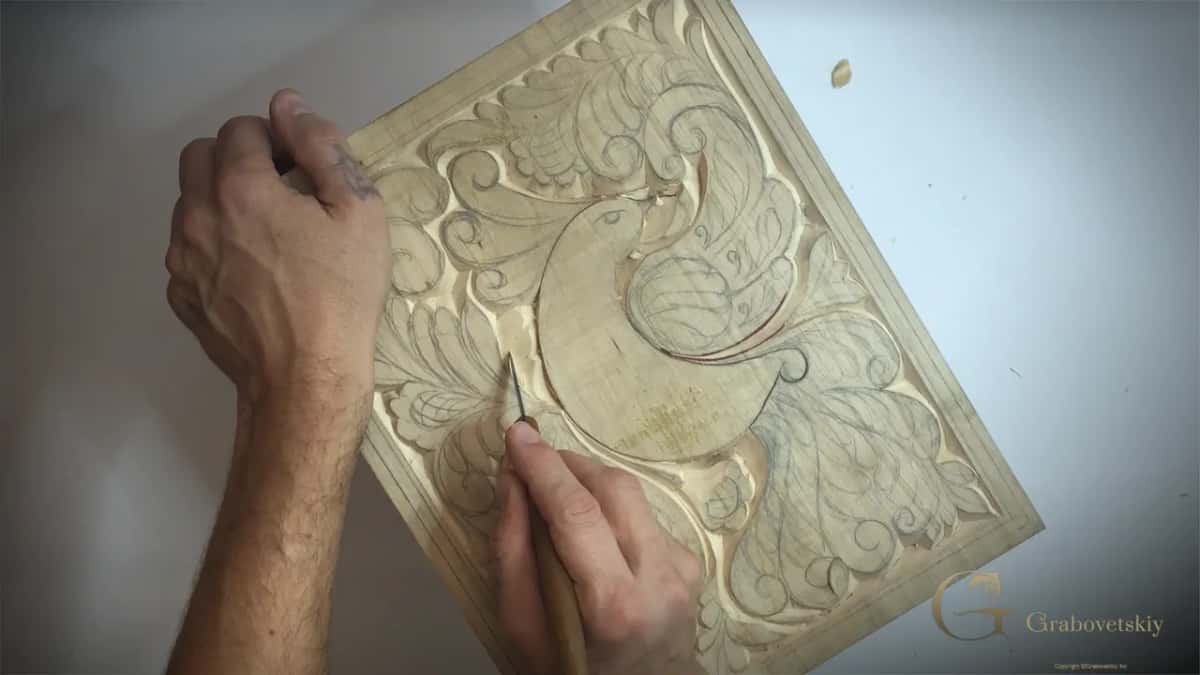
My cutting board followed the same order. I put the knife between one leaf and those three and made an almost straight down pass, almost 90 degrees, right on the line. Only after that did we lower those down.
I said it in one breath in workshop 13. Straight down here, I said, and I'll lower this one also, just slightly, and I think it's going to look better. I'm happy with this side, came a little later.
At workshop 9 it began the same way, between two parts. Let me think what's going to be the best look, I said, and this one probably goes underneath that one. Later in that lesson three upright passes went in, one, two and the last one, and I said a loop would go underneath the part next to it.
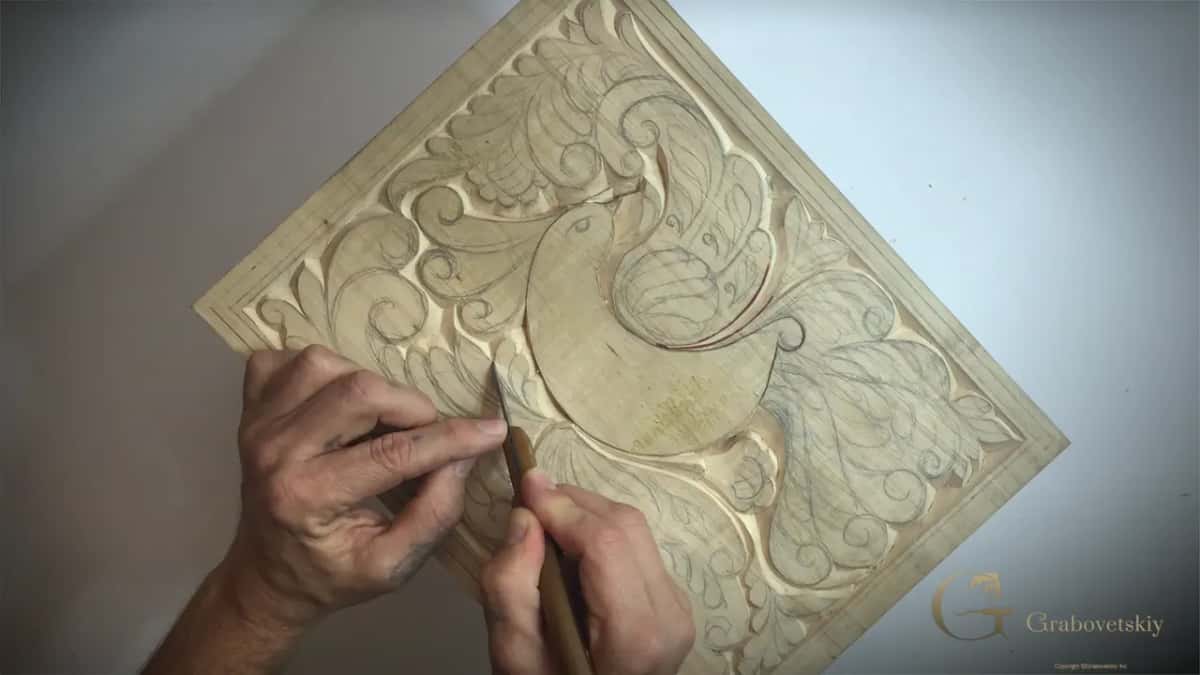
A butterfly plate split one shape in two. Part of the body got a 90 degree pass, and the wing line beside it was to be undercut. Really important to understand that, I said, about the body and the wing.

What does the low second pass need?
Almost no room under the blade. Back on the cutting board I told you to lay the knife really low, with a really low bevel, so low that you barely fit your finger underneath. That finger is how you support it.
Then remove the wood really carefully. Watch your grain, and you can sometimes feel it when you have to change direction.
The rule I gave there was to always start with the up-down. I showed you which way the grain ran, found my upper point, and said I could carve clean if I started right there and moved in that direction. One pass, two, and a really low number three, just like that. If it isn't coming away quickly, clean it.

Where the grain ran kind of straight, I said I could probably go at it from both sides. Marks showed up in the wood after that. The grain is kind of chipping, I said, then not chipping, then that I didn't know the name for it, and then, it is chipping.
How deep does the upright pass go?
That same workshop gave you a number for the wall. First I made it a little deeper. Then came this side, this wall, I would call it, approximately 3/32nds down, about 2.4 mm. Approximately, I said twice.
Part 5 itself comes with no number at all.
Depth came up again in workshop 12. Keep an eye on the edge, don't dig too deep, I said, and later I was still watching how deep the edge of my knife went in. Everything has to go to the center line, I said at the start of that lesson, and then little by little we started shaping it.
Does it have to be exactly 90 degrees?
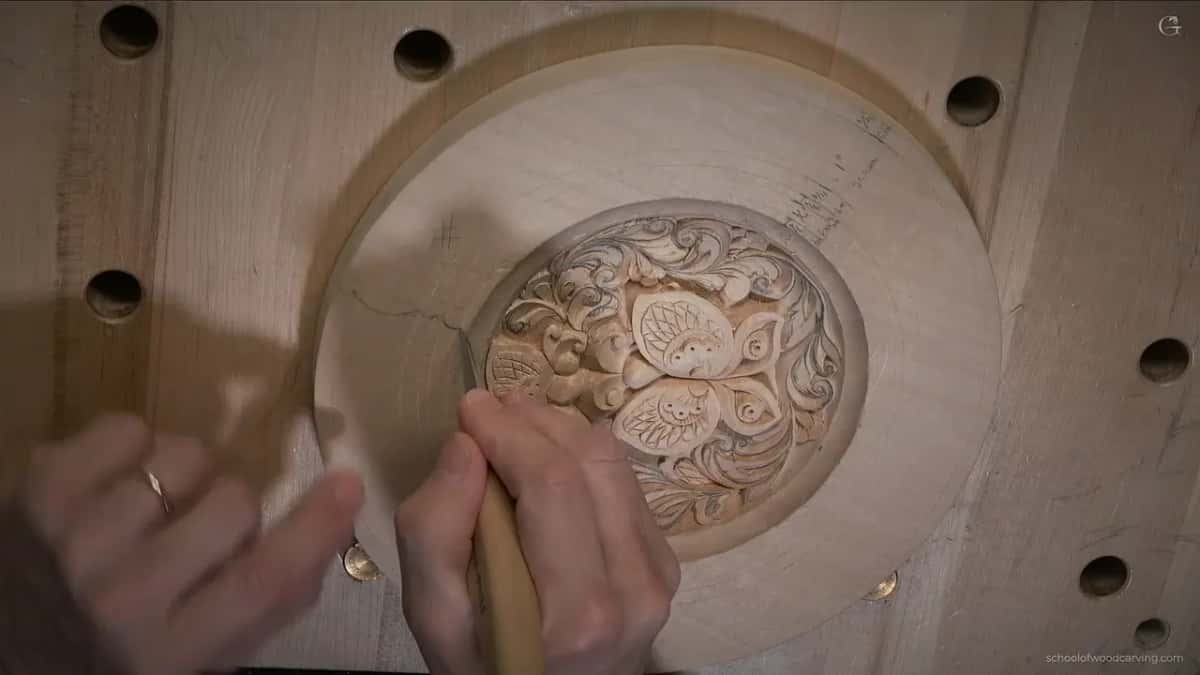
Close to it is fine. For the butterfly plate, in lesson 11, I called the 90 degree pass one approach. I could go 90 degrees right on that line, or I could make a slightly angled pass, and the angled one would make the convex part easier to set up later.
The camera doesn't show the angle exactly, I said there. I bent slightly toward the inner part, leaned the knife toward myself a little, and that made it a lot easier. That pass came on the pull. I don't have to rush it, I said, because I would like to make it really accurate and follow that line.
At one point I said it does not help, and that I just have to find the right angle. I looked at the line and started from a spot where it looked a lot easier.
If you have a lathe, I said in that lesson, you could do some of those shapes right on it. We don't have one. So we did it the authentic old time way.
What happens if you press hard near a second line?
It can break. I went straight down on a middle line in workshop 7 and followed that line to the wing.
Then the warning came. Don't press too much when you're really close to the second line. Really important not to force it, otherwise you can just break, but if you don't break it, that's going to create a beautiful detail.

Same idea after that, just a line straight down, 90 degrees down, and connect them all together.
The butterfly plate carried the same mood. It's going to be just a really slow process, I said, I don't want to mess up. A minute later I said it again, that it's a slow process, but I'm okay with that.
Where the same pair went on other pieces
Six places, one move. Every row comes from a lesson linked on this page, and the last column holds my own words from that video.
| Piece | What the knife did, pass by pass | My words |
|---|---|---|
| First Cuts, part 5 | Knife upright in the gap, then low toward that line | a really interesting technique |
| Cutting board, workshop 7 | Almost 90 degrees by a leaf, then laid really low | barely fit your finger |
| Same board, workshop 12 | Upright or slightly beveled, then a low bevel shapes it | fine also, I said |
| That board, workshop 13 | One straight down pass, then this part lowered just slightly | going to look better |
| Butterfly plate, lesson 3 | Body upright at about 90 degrees, the wing line undercut | for now, I said |
| Butterfly plate, lesson 11 | Nearly 90 degrees, leaned toward me, carved on the pull | slow, but I'm okay |

Why is this harder than it looks?
Your hand has to feel the depth. I had carved since childhood, but when I started carving as a skill, as a trade, my master would ask me to do this type of carving many, many times.
It trains your hands, and it trains your brain, with just the one tool. You still have to feel how deep your knife is supposed to go, especially on the upright pass.
And when you start straight down and finish with the bevel, you have to build that feel inside of you, for the moment the movement toward the bevel begins. That is not as easy as it looks.
On a Greek acroterion, in lesson 4, I took sections out with the knife at a really low angle and told you to feel in your hand where your one-eighth of an inch is, about 3 mm. You have to feel in a three-dimensional world what angle to hold it at, I said, to reach that depth.

Without any other tools, with a knife, we still made a beautiful thing on that board. In my opinion it does look beautiful.
Could a chisel do the same work?
Most of it. Workshop 12 is where I said most of what we do with this pointed knife you could do with just a straight carpenter's chisel, and that used to be a big practice in ancient times. You have more flexibility with the knife, though.
And the knife goes further than a border. True three-dimensional carving is possible with it, I said in workshop 13, and I still use a knife a lot even when I carve flowers and fruits.
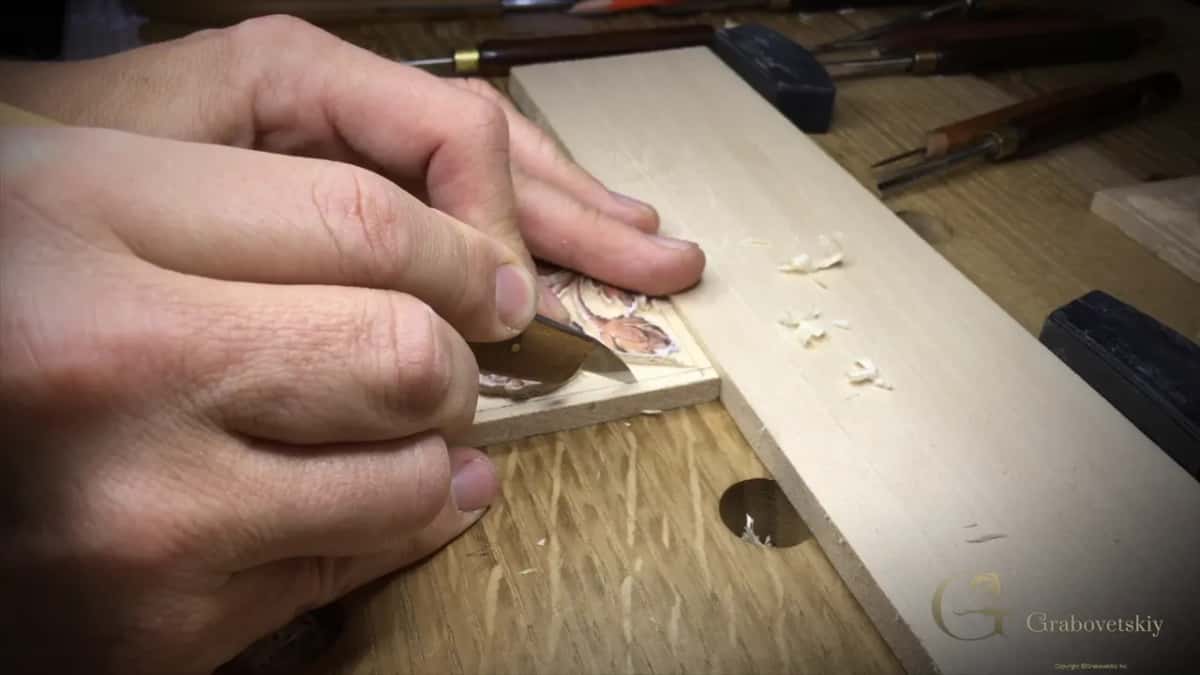
Back on that rosette, my knife went straight down, followed the line, and had to stay right on it. I rotated the board and did the other side to the end. It's really good practice to use a lot of just a knife, I said, because you never know what life has ahead of you.
I didn't realize it myself. When I ended up in jail I had to use whatever I could, and at the beginning that was pretty much just the knife. The small gouge came later.
How do you hold the knife for these two passes?
Like a pencil, in workshop 12. Just three fingers, with my thumb helping to guide it, the grip I would use when I'm writing.
My hand on the butterfly plate, in lesson 6, was almost lying right on top of the part I was carving. The first pass went in there, then a second one toward that section, and another, following my line. If I need to change the line slightly, I will, I said. I just look for a really, really nice smooth pass. That type of carving is only like three kinds of passes, I said there, straight down at 90 degrees, to the right or to the left, and most of them come on the pull.
Woodworking on the pull is not necessarily a Japanese technique alone, I said in lesson 11.

What comes after every line has its pair?
Cleaning. Now we're going to just clean it, I said on the border, and remove it.
You can see how quickly you can do beautiful things. That was my next line, and then I called this an ancient form of carving, just a single knife carving, I would say.
I refined one line after that, to bring it more toward the center. Some areas on the cutting board needed a refined pass too, which is okay, I said there.
Again, it's just right, left, and straight down. Right angle, left angle, straight down, and you follow those design lines. Later on you refine it, so your ornament looks more appealing.

Where should your first pair go?
Between two leaves on a practice board, the way I did it in part 5. Is your outline done? Is there a gap left between two shapes? Then stand the blade up in it, and come in low after.
Tuition opens Workshop 2, Workshop 1 before it, the kitchen board course, and every lesson linked above. In workshop 8 of that board I took a really low pass to my center line, aiming for no ridges, long and clean, and then said I was not really happy with the result I saw.
How it's done
- Finish your outlines. Get almost every outline done before this pair begins, the way my border was.
- Blade upright on the line. Between leaves, close to 90 degrees, upright on the pencil mark.
- Lay it down low. So low that a finger barely fits beneath, then travel toward that upright mark.
- Remove it and look. Then check whether you can see the effect.
- Ease off near the next line. Go lightly when you are really close to the second line, or it may break, I warned in workshop 7.
- Repeat, then refine. The same pair goes on every line. Clean up, then refine a line toward the center where it needs it.
Frequently asked questions
Can the upright pass lean a little?
Yes, a slight bevel is fine. Workshop 12 of the cutting board course is where I said straight down means without any bevel, or maybe a slight one, a 90 degree down pass. I leaned mine toward myself slightly on the butterfly plate, because it was a lot easier that way.
What should you watch close to a second line?
Pressure. Near the second line on the kitchen board, in workshop 7, my words were don't press too much when you're really close, and don't force it, or it can break. If it doesn't break, that's going to create a beautiful detail, I said.
Which way does the low pass travel on the grain?
Down from the high point. My rule on the cutting board was to start with the up-down, so I found my upper point and moved toward the way the grain ran. Where it ran kind of straight, I could probably work it from both sides, I said.
What to carve next