
Alexander Grabovetskiy, woodcarver, School of Woodcarving · Published 2017
What makes a good wood carving pattern for a beginner?
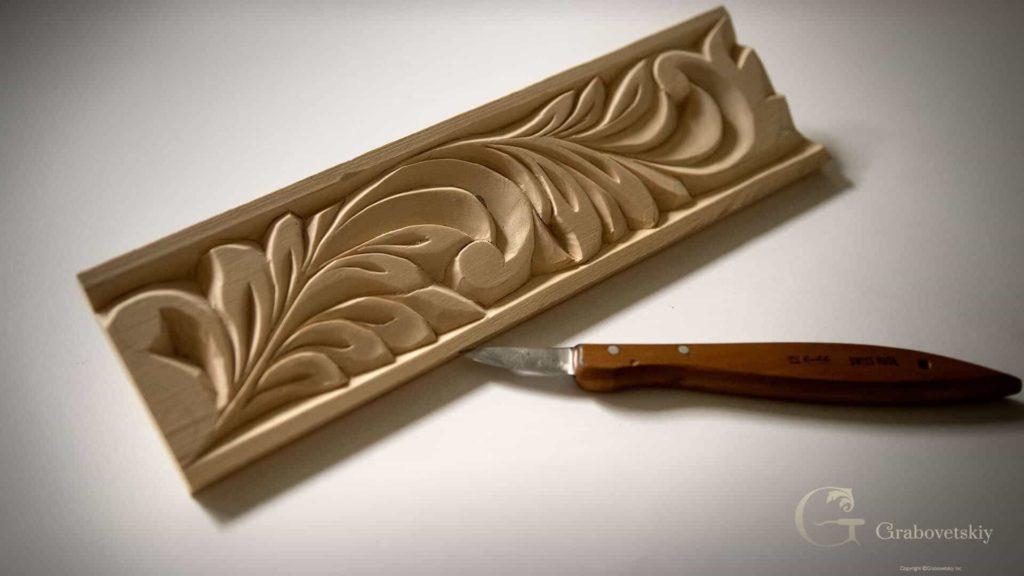
Quick answer: A good beginner pattern is a drawing one knife can carve at a right or left angle on every line, with room around the leaves and lines scaled to your board. My Workshop 2 border is like that. It is an old European design, quick to draw again on a fresh board if a try goes wrong.
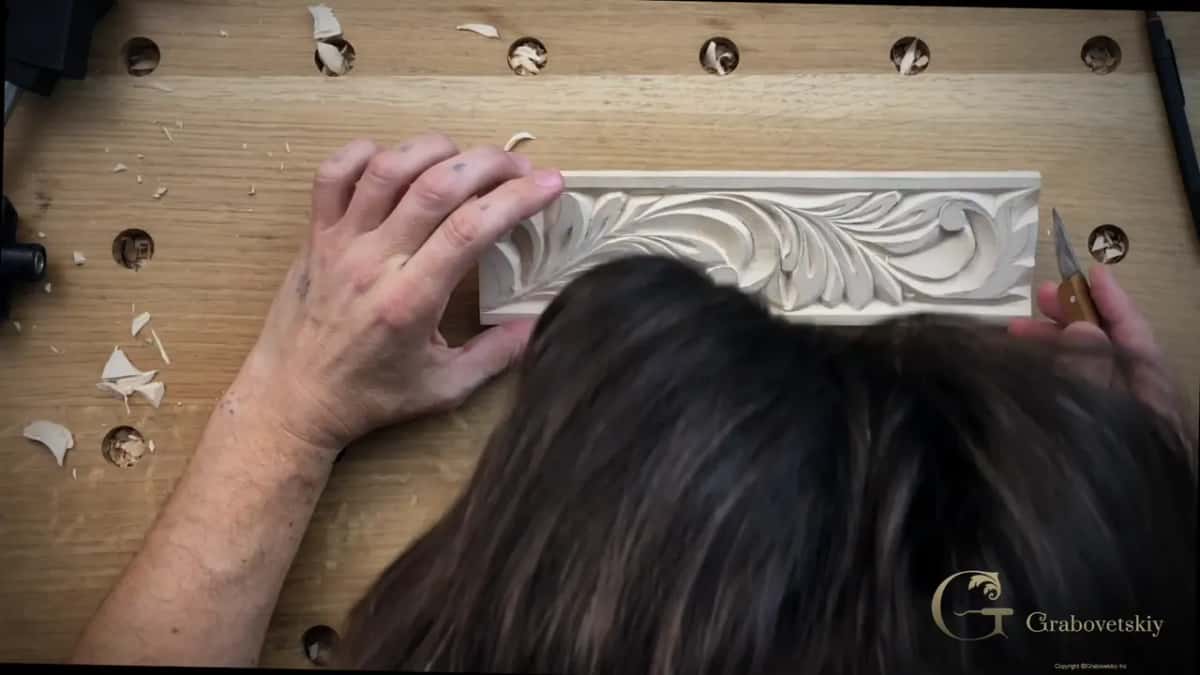
A good wood carving pattern for a beginner is one your knife can carve line by line, each line at a right angle or a left angle, with room left between the shapes, drawn to the size of your board. The leafy border in Workshop 2 of my First Cuts course is built like that, and this part of the course is its download. What I say below about wood carving patterns for beginners comes from that border, and from other projects where I said out loud who they suit.
Do you have one knife and a piece of basswood? Can you hold a pencil? Then you can download this border and try it on your own board, which is what I asked of you on camera.
I'll go through the drawing the way I carved it, and set it next to a few of my other pieces where the drawing asked for more.
Six things that make this border a good first pattern
Every line takes one knife leaning right, leaning left, or standing straight down.
Gaps in the drawing decide how deep each spot goes.
The design is an old European one, from before the acanthus reached Europe, made of nothing but leaves and swirls.
Each half mirrors the other, exactly or approximately.
A fast drawing, and a try that goes wrong costs you one more board.
The download comes scaled to the size of the board.
What is in the beginner pattern I drew for you?
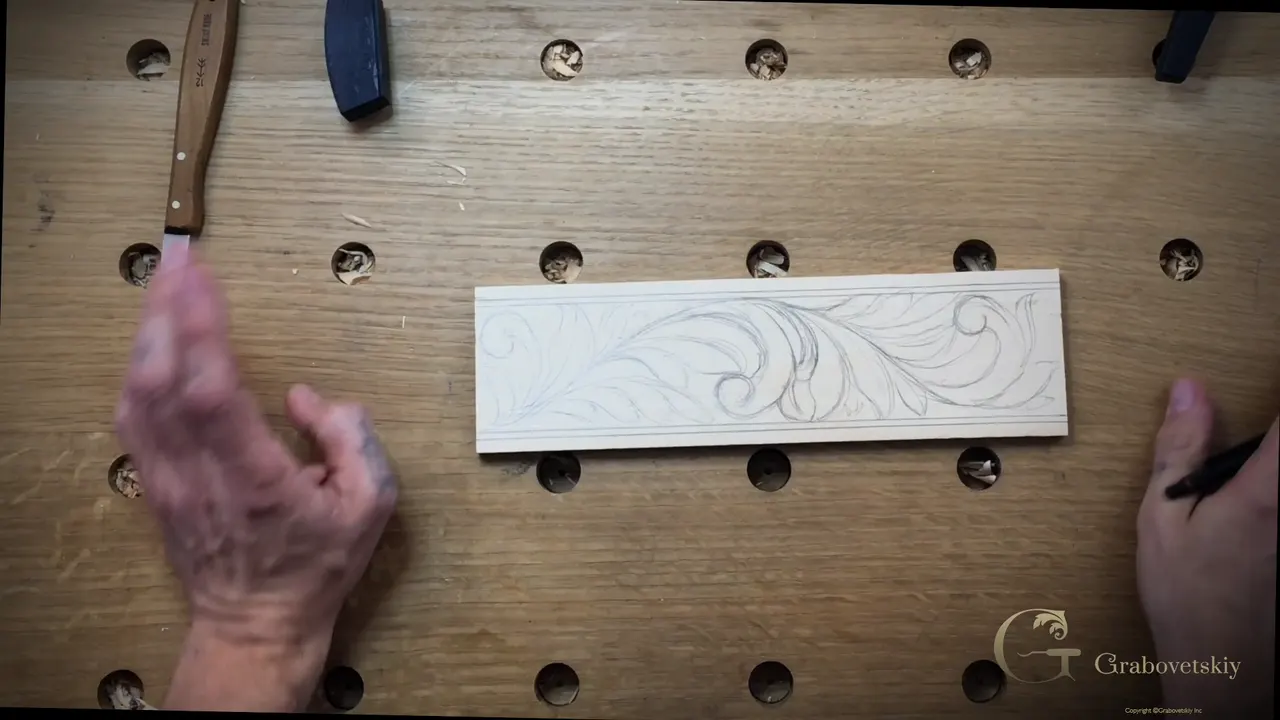
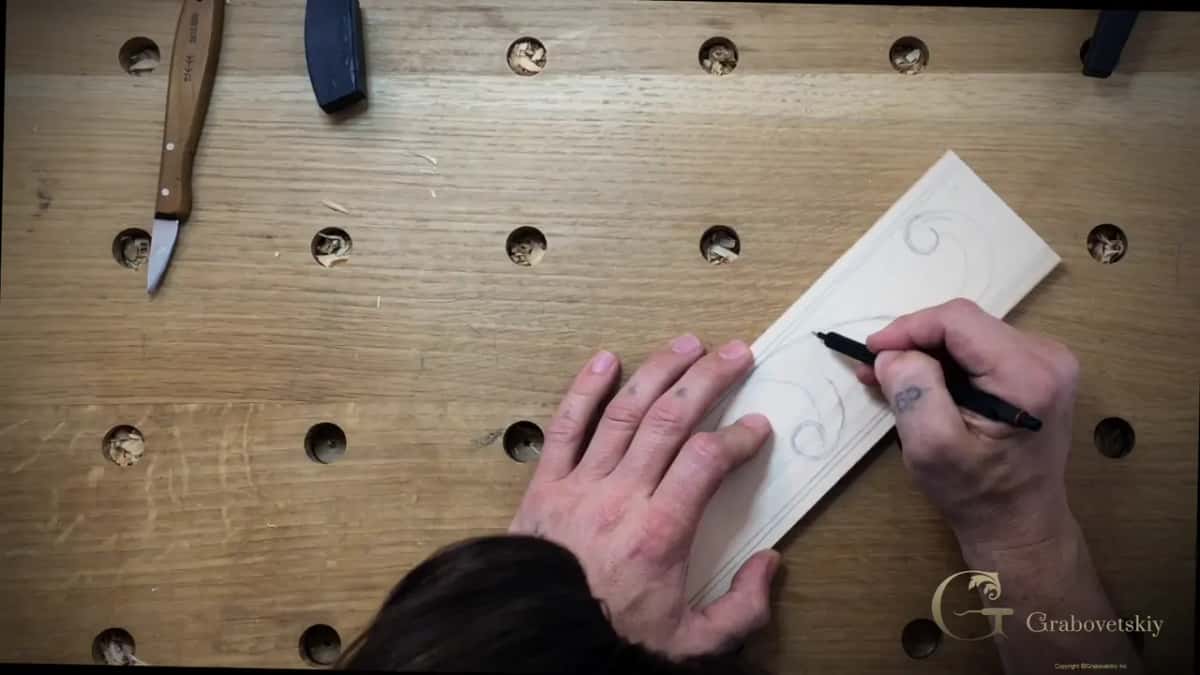
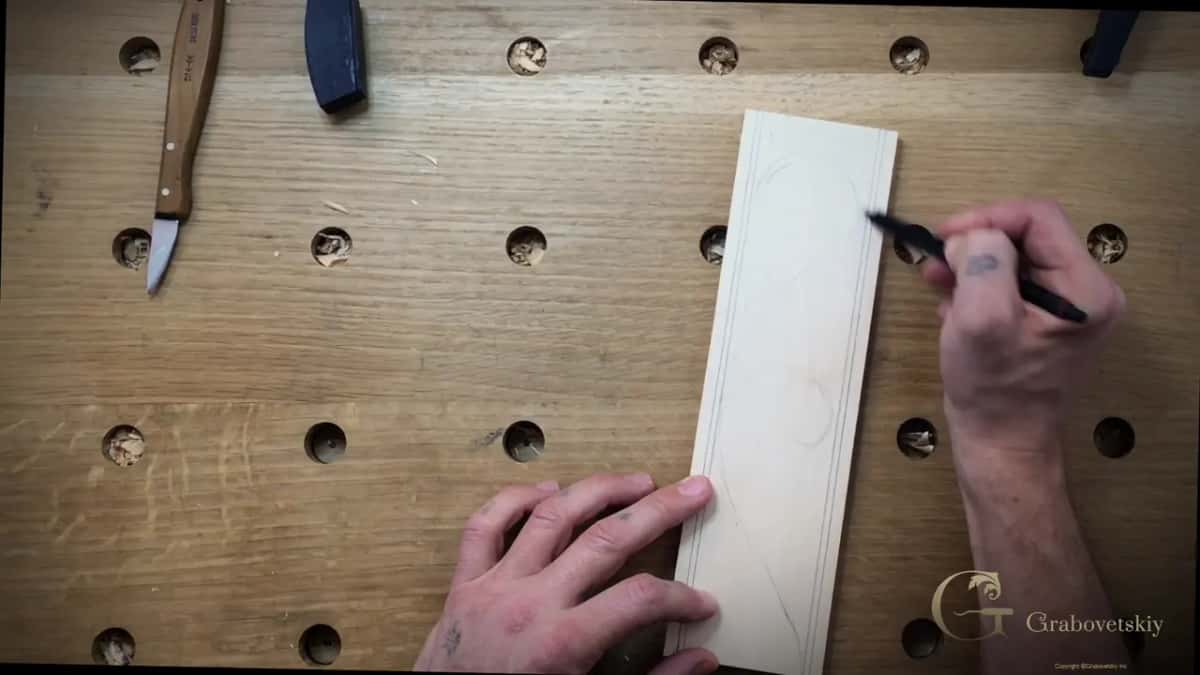
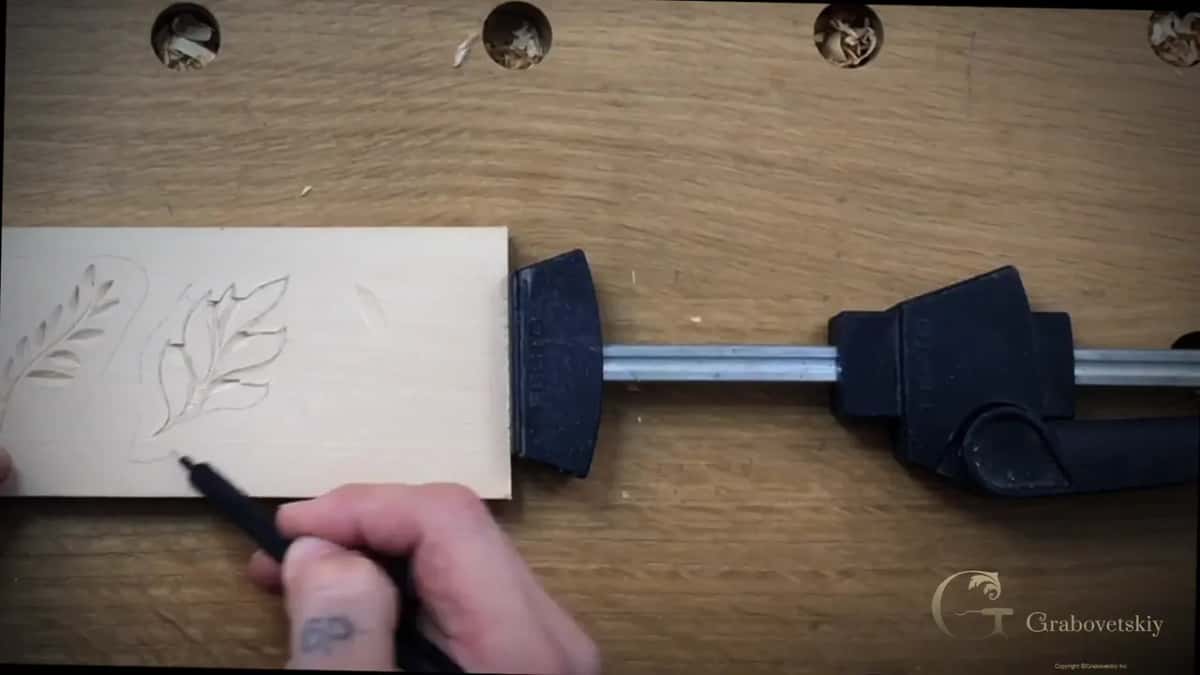
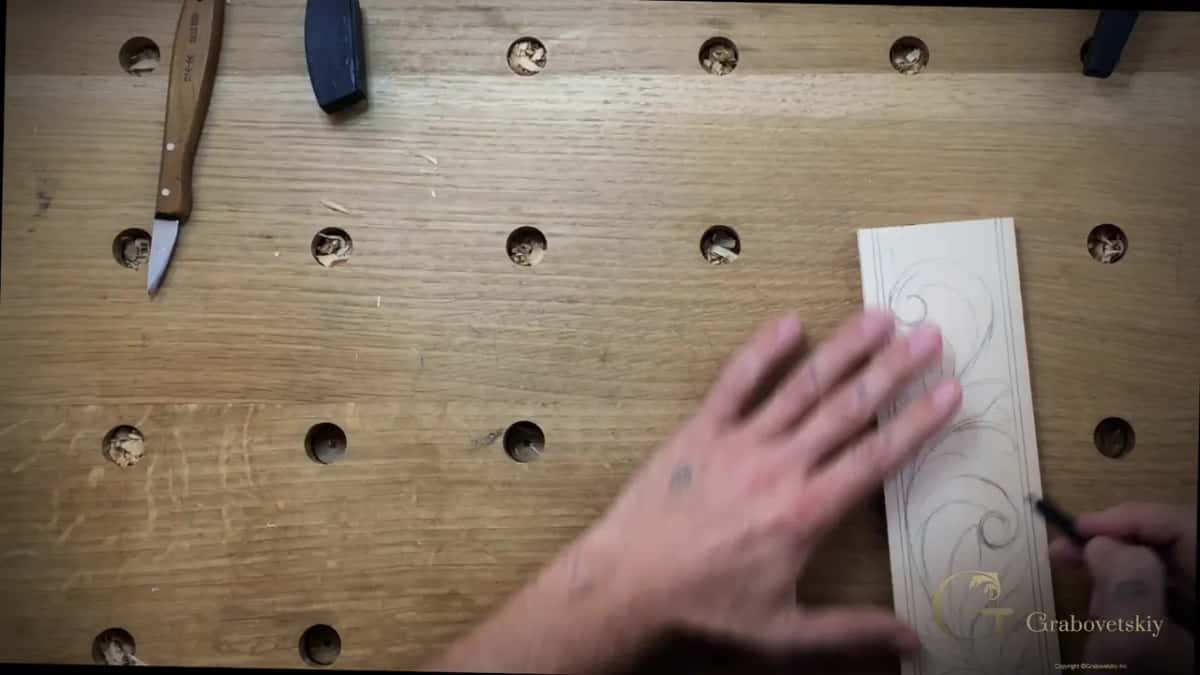
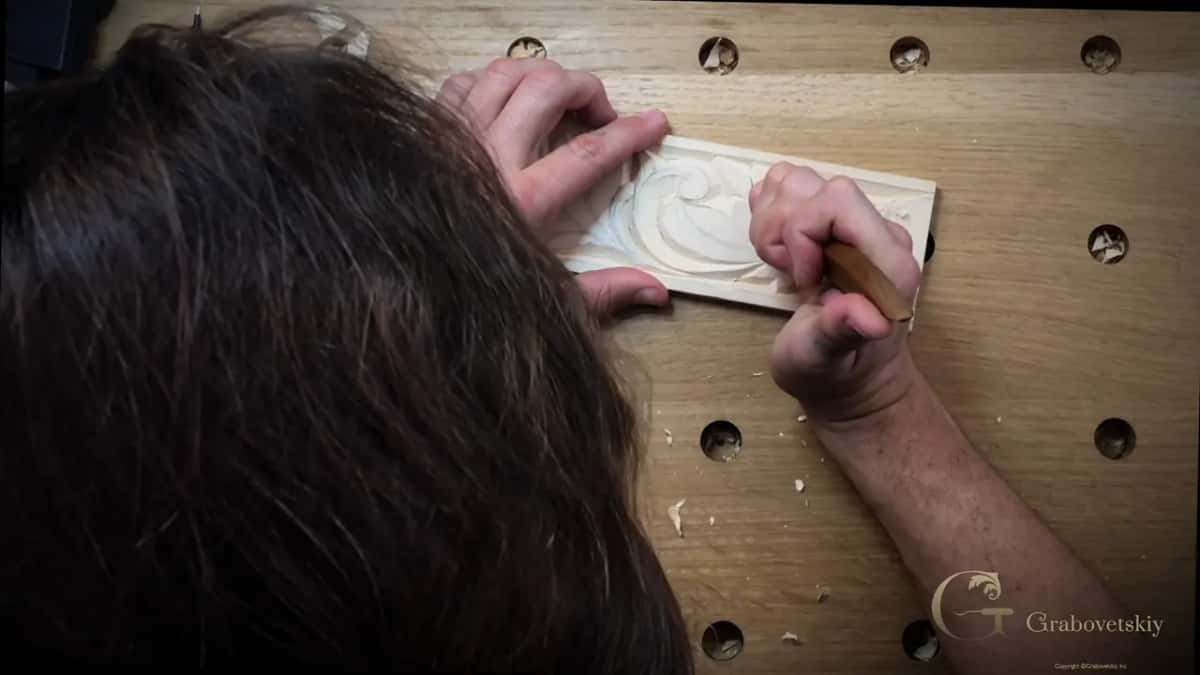
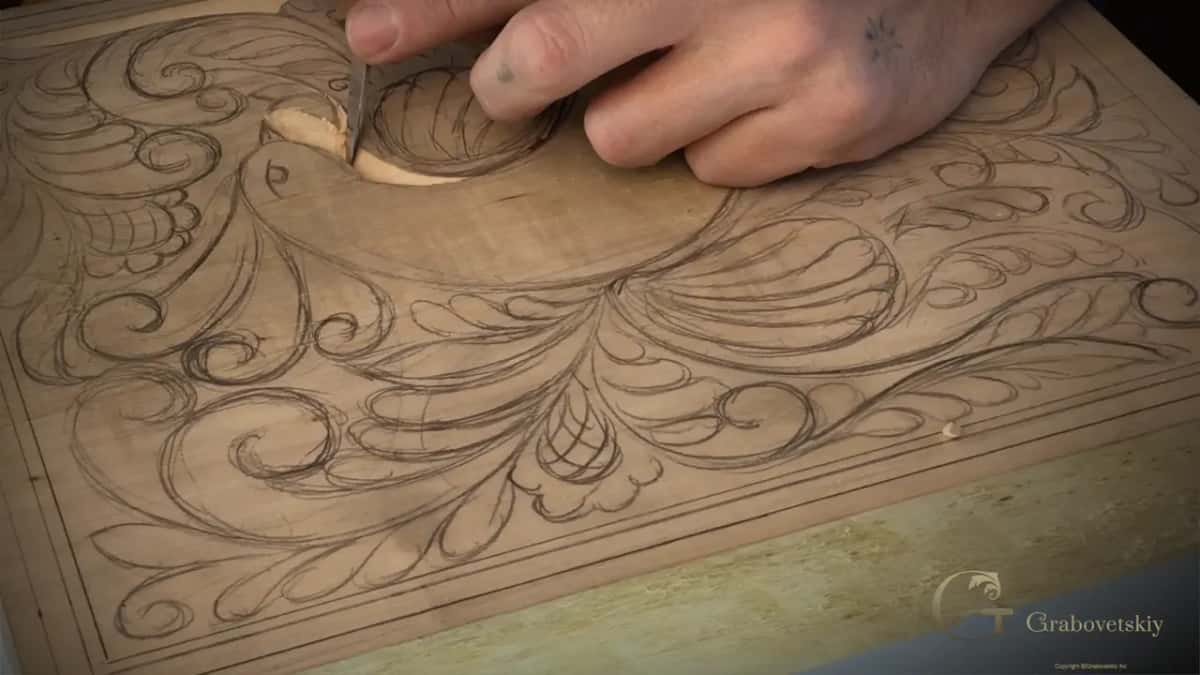
A swirl on each side, leaves to fill the space around them, and two lines along each long edge that the design never crosses. I drew it right on the piece of wood, on camera, designing on the go together with you. One leaf got small details inside. Nothing complicated, I said, but it would look nice once it was done.
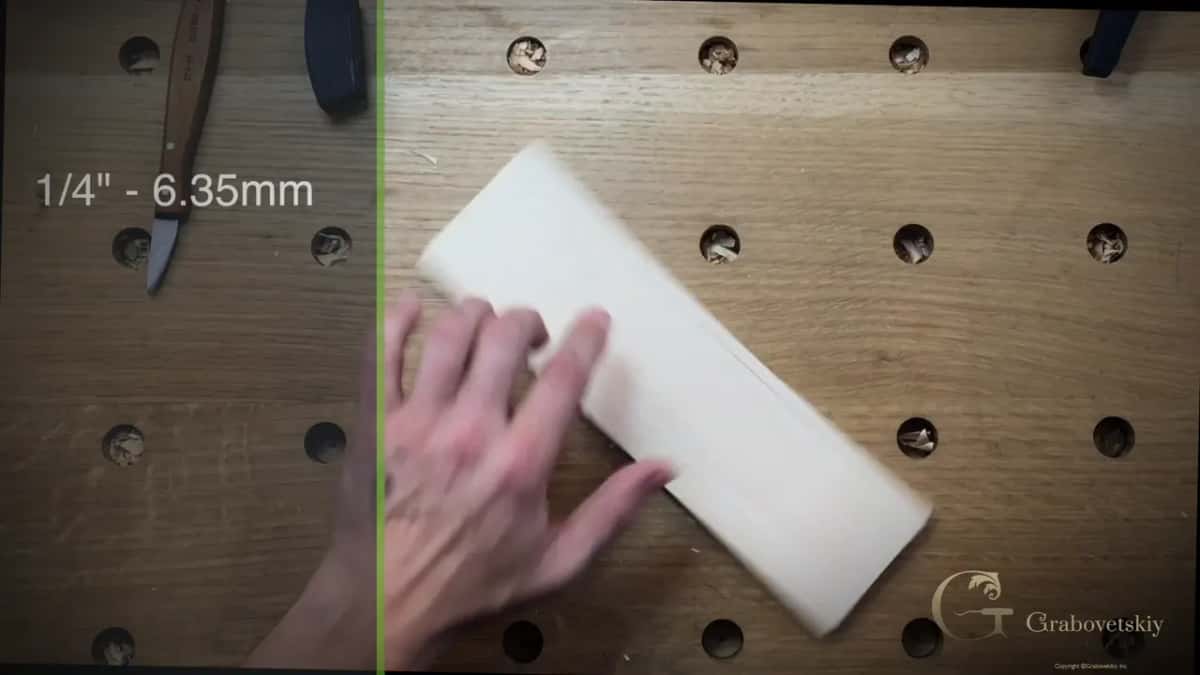
The first line sits about a quarter inch (6 mm) from the edge, and the second about an eighth of an inch (3 mm) inside it.
This download is that same drawing. I promised you a picture and a scaled picture, so the lines are to the scale of the board, to the size, and you can always download it and carve it yourself. Try that yourself, I said. You get the drawing with access to the course, next to the videos where I carve it.
And the board was not new. We used both sides of one practice piece, the flat leaves on one face first, and then I flipped it over for this border.
Why does every line take a right or left knife angle?
Every line on that border gets carved by one knife leaning one way or the other. Almost every line takes just an angled pass, a right-hand angle or a left angle, and which one depends on the side of the leaf you work on. Where two passes lean toward each other they meet underneath, on an invisible line inside the wood, and that makes a V groove.
Later on the same board I stood the knife straight down between two leaves and brought a low pass toward it. At the end of that video I said the whole thing in one breath. Right angle, left angle, straight down cut.
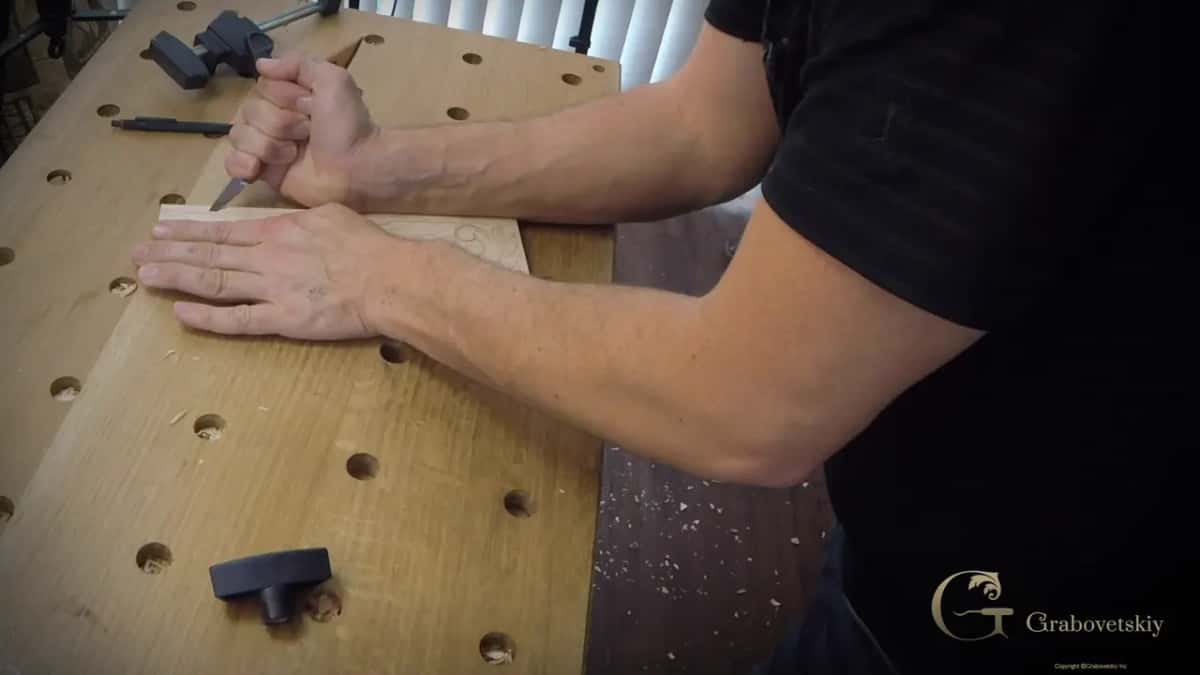
On a livestream in April 2020 I showed a beginner's project from my school. Done only by knife, I told the people watching, with no other tools except a gouge on the border around the outside. The knife could be used for complicated stuff, I said, and it can be used for less complicated stuff.
How does the space between the leaves set the depth?
Everything on that border is carved at almost the same angle, the way you hold your hand. Still, some spots came out a little deeper and some not as deep. I told you why while I carved. Just because of the space I left in the design between those leaves.
The drawing set the depth, then, and my hand kept about the same angle.
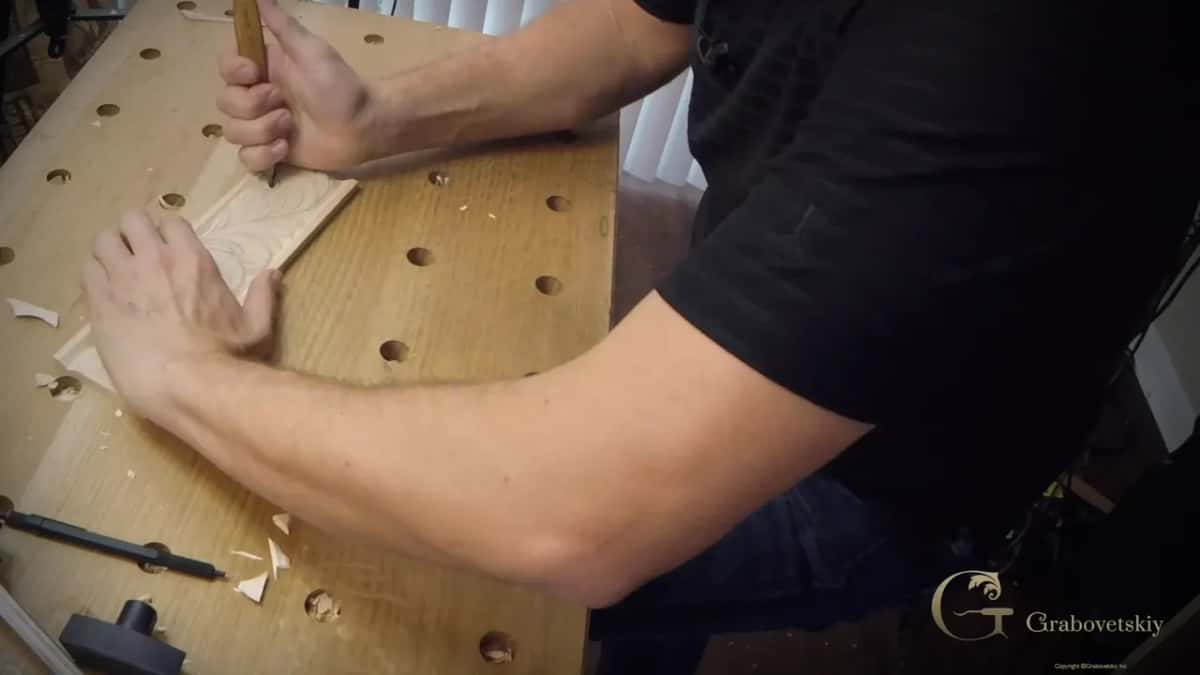
For the second swirl I kept a little space on purpose, and I took it at a really low angle, in multiple passes. I was okay with that. Earlier, in part 4, there was a space to remove, and I removed it with the same knife. That is actually one knife technique, I said.
I drew the leaves a little bigger on the board's flat leaf face, and this time the wood around them was carved away instead of the leaves. The outline went about five millimeters out from each leaf, approximately 3/16 of an inch. It doesn't have to be too complicated, just close to the real shape.
Why an old European design and not an acanthus leaf?
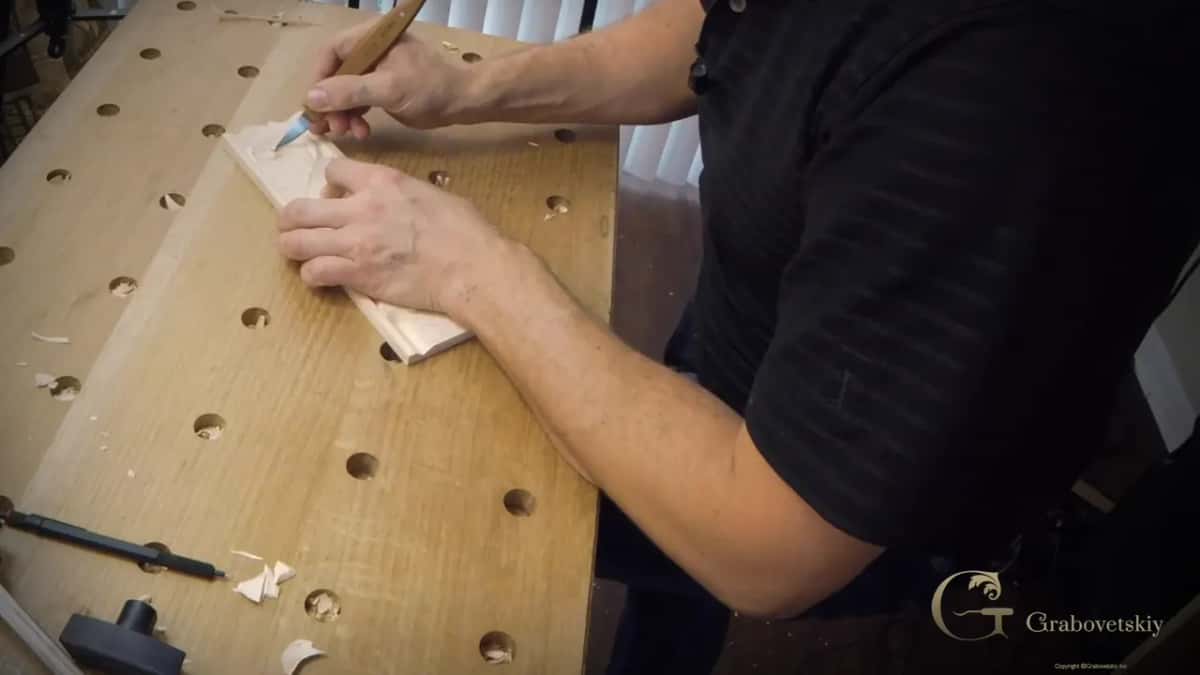
The acanthus leaf is more Greek and Roman style, and only later did it become European. Before then there were more simple designs, more simple ornaments, and this border is one of those ancient designs, really common in old European countries.
We're talking about the seventh and eighth century, way before the more complicated carvings appeared in Europe. I called it European multicultural on camera. The swirls would later be called a volute style, though they are not true volutes.
Acanthus has its own course. It is not chip carving either, which is more geometric and came later in history.
Is a smaller pattern easier for a beginner?
Smaller is not always easier. My little flower rosette is a really simple design, and I called it a nice practice piece. The blocks were two and a half by two and a half inches (about 64 mm square) and three eighths of an inch (about 10 mm) thick.
Then, in lesson 6 of that course, I said I'm not 100% sure it's for the beginner, because the size of it can make it really challenging.
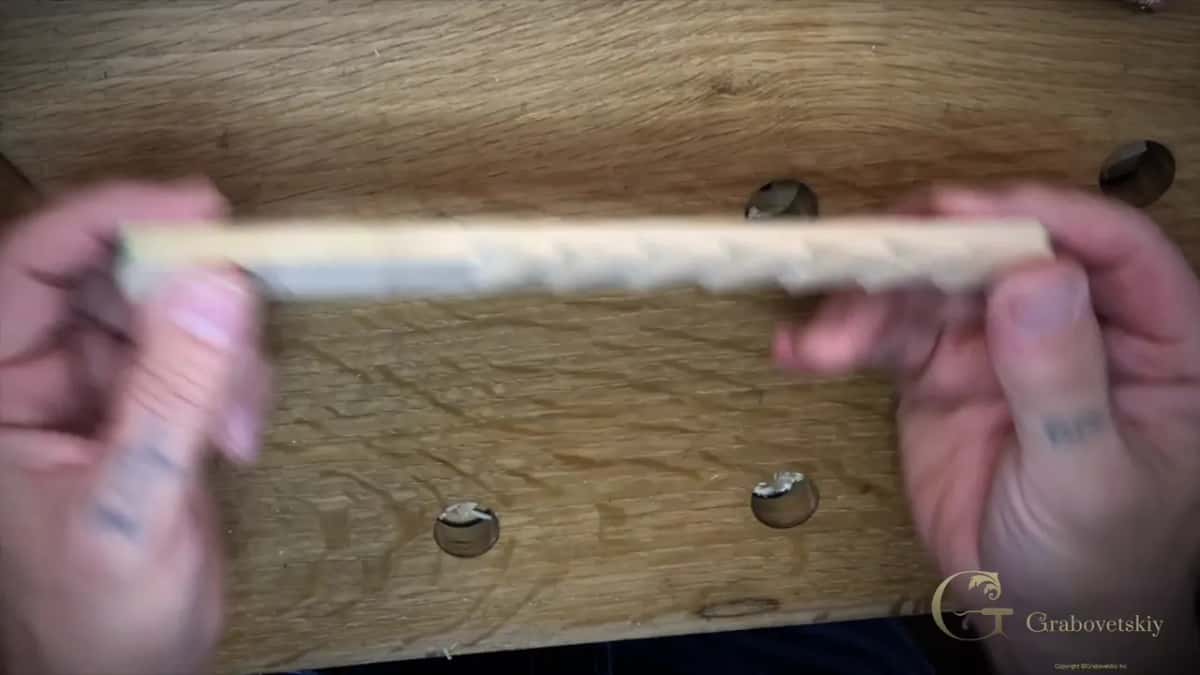
My first practice strip in Workshop 1 is about 20 millimeters, three quarters of an inch, wide, and about 10 millimeters, three eighths, thick. Just approximate, I said. At the end of that video I told you to practice on different sizes, down to really small, tiny places, and then showed it in different lighting so you could see the shadow and the light play on it.
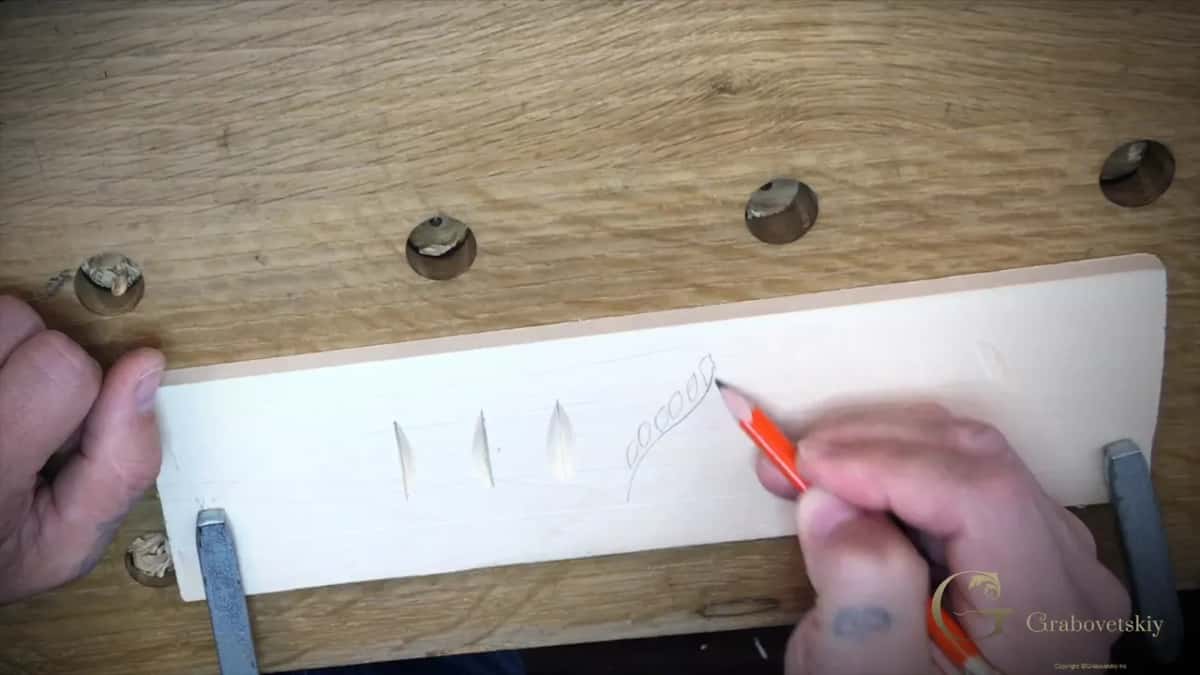
The pattern before that strip was simpler still. A stem and a few leaves, a really simple design, drawn freehand, and on the small leaves you can do just a right angle and a left angle.
When I tried a set of Schaaf tools, I drew grapes straight on the wood with a marker so you could see the lines, though I usually use just pencils. The piece was kind of small. I did not want complicated carving on it, and I wanted to do it quickly and still make it look nice. I wanted a simple carving that pretty much any beginner can do, though my real goal there was to see if the tools were any good. The Schaaf set I tried had 12 tools, and I used 11 of them.
How many tools does a first pattern ask for?
One, on the leafy border. My plate with butterflies is different. I made it for anyone limited with the tools they have, a knife and maybe just a couple gouges, and I said you don't need half a thousand chisels and gouges and veiners for it.
Still, it is not 100% knife only, and I said so in its fourth lesson. I kind of like the simplicity of it, I said there, but it was still going to be somewhat complex.
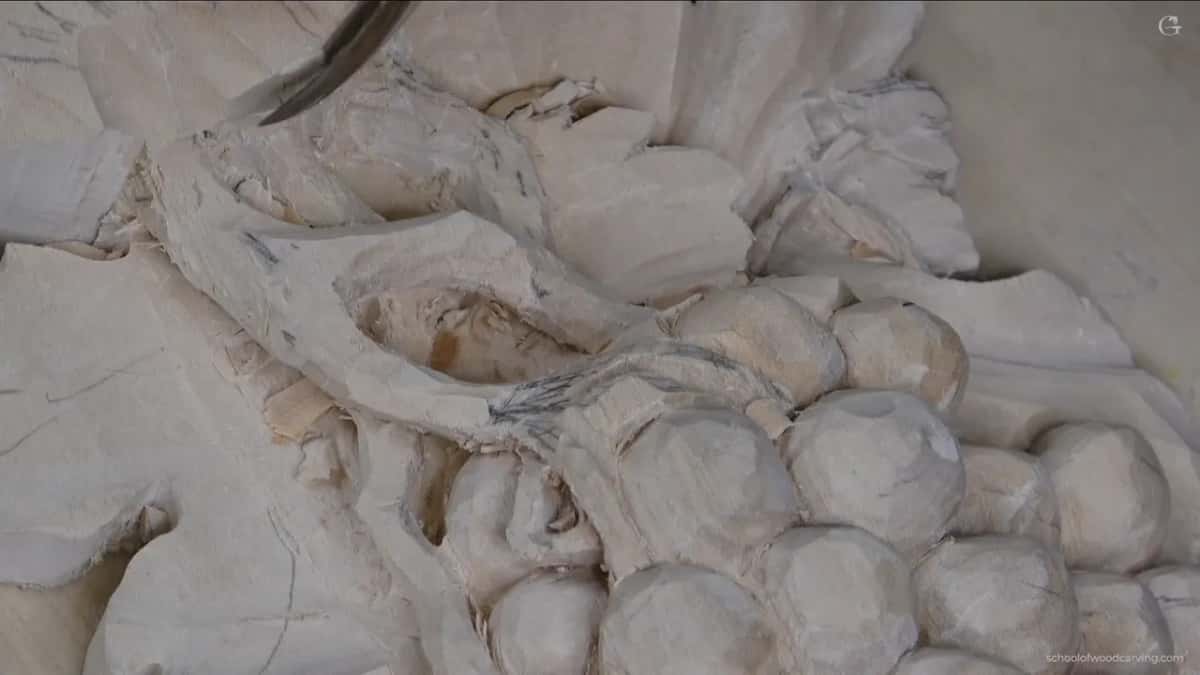
Depth is the other thing a drawing can ask for, and on my grape onlay I said the project is not necessarily for the beginner, since there's a lot of movement and excavation in its grapes and vines.
My leafy border has no background to dig out. One knife, the same block of wood, and the same technique I showed you on the other face of the piece, as I said right after the drawing was done.
What do wood carving patterns for beginners ask of your hands?
On this border, one knife and a steady angle. The table shows each thing the drawing asks, and when it came up in the videos.
| What it asks | What the Workshop 2 border asks of your hands | When it came up on camera |
|---|---|---|
| Tools in hand | One knife carves every single line, start to finish | Right after the drawing was finished |
| Space between shapes | The gaps I left set how deep spots went | While I carved around the swirls |
| Size of parts | Leaves drawn a bit bigger to carve around them | On the other face, flat leaves |
| Depth of digging | Two knife passes meeting on an invisible line inside | After the second swirl was done |
| Time to redo | Quick design, and a bad try costs one board | Near the end, board almost finished |
Does a knife-only pattern teach you enough?
Plenty, if you carve it and don't only watch it. Over the bird on my curly kitchen cutting board I said some of you may think it's too simple, with the course called for the beginners. Practice it, though, and you will see it's not that easy to use just one knife.
I said it another way in Workshop 2. If you train your hand to carve clean on this type of carving from the first time, you're not going to have any limitations on what you can do later on. In other projects we do some relief carving, and if you can train your hand on this border, relief carving would be really easy for you, as I put it on that board.
I also showed a weekend class project on that April livestream, and it was a one-knife project too. We did not finish it. Stuff like that could be done with just one knife, I said.
Do you need to understand a pattern before you carve it?
Understanding its logic is what I asked for on my vase with grape leaves. I think it's a really, really nice project for even a beginner, I said, because it's not that complicated, and I was pretty sure you could make it if you understand the logic.
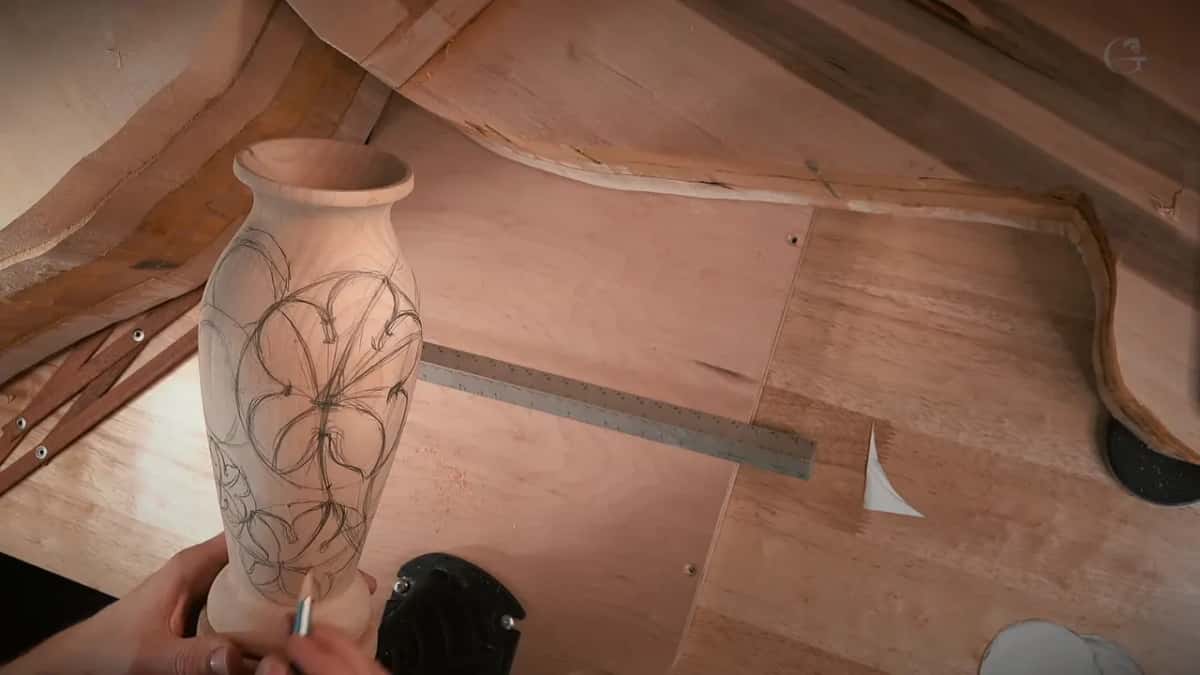
Then I worked out the movements on camera. One line I fixed, so that if you continued it, it would die in pretty much the same direction as that movement. I wasn't checking. I was pretty sure I was right on the money, or maybe just a little off the golden ratio.
Partway through carving the leafy border I said you could already probably see the overall picture of how it's going to look. While I drew it, I said one side was exactly the same as the other. Or approximately the same.
What if your drawing does not come out right?
Keep trying. You can make some mistakes on design too, I said while I finished that border, and I still thought it looked not bad at all. Don't get frustrated if it's not the same result at the first try. The worst thing that can happen is you buy a new piece of wood and keep trying.
Near the end I went around the board and refined a few elements with the low angle, to make them a little more appealing, and checked which ones I could still do.
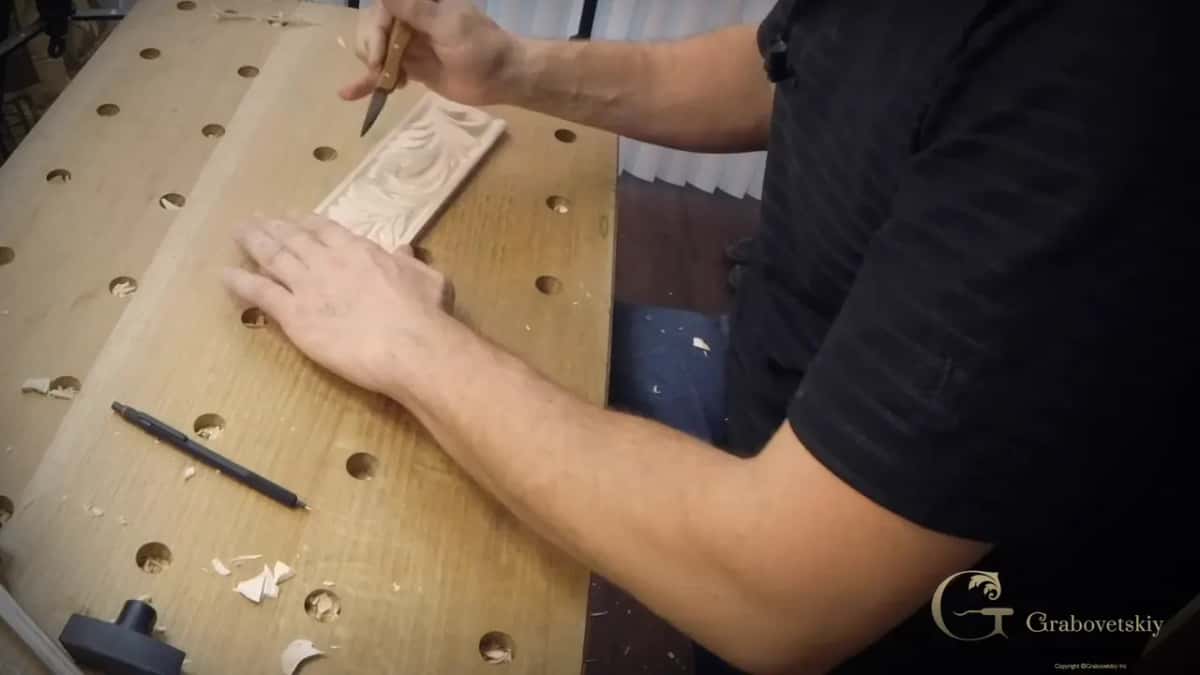
A border like this goes fast. It doesn't take too long at all, I said, and you can carve miles and miles of molding like it. You look at how much carved area those ancient people covered, and you think it took them a long time. But it didn't take them that long.
Mine was just a quick design, drawn on the go, and I said so when it was done.
What comes after the first pattern?
Gouges, once the knife is yours. Once you master it, I said over that cutting board bird, we're going to move on to gouges, and nothing is going to be impossible for you. I told you to say it to yourself. I'll be unstoppable.
On my furniture panel course I said I could create the drawing beforehand and just give you the download. I provide my download there too, but I think it's probably a better idea to show the way I design, the way I develop my idea. Workshop 2 gives you both, the drawing as a download and the video of me making it.
Fitting a drawing of your own to a different board is a separate job, and SketchUp for Wood Carving shows how I set a full size 1:1 scale. The First Cuts course has the rest, the three angles of carving with one knife first and then this border.
Download the border, clamp the board with a simple clamp, and follow your pattern with the knife held low.
How it's done
- Get the drawing. I give you a picture and a scaled picture of the border, to the size of the board. Download it and carve it yourself.
- Fasten the board. Clamp the piece down to your table first. A simple clamp will do for this.
- Lay the knife low. Place the blade on the first line, a quarter inch in from the edge, and keep the blade really low as you follow it all the way.
- Go with the grain. Start at the top of a line and carve down it, with the grain. Against it is possible, but much harder.
- Repeat, never pry. When a chip will not snap out, come back and make the same pass again until the point where the two passes meet is really clean.
- Try again on new wood. Do not get frustrated if your first board looks different from mine. Get another board and keep trying.
Frequently asked questions
Should my first carving pattern look perfect?
Over the drawing on my butterfly plate I said it does not look perfect yet, and it does not have to look perfect, but it is going to look really good. The leafy border was the same, and I said it is really good, especially for the beginner, if you can manage that.
What should I carve before the full border?
A soft S line with a few bigger leaves, on the other face of the same board. Before we start doing something complicated, I said, let us practice on something simple. On that side the leaves stay flat and the wood around them gets carved away.
Can I add more detail to a simple pattern later?
Yes. My border was just a quick design, I said, and we could spend more time and do a lot more details on it. You could add smaller details and still use the same knife, though even as it was, I thought it looked nice.
What to carve next