
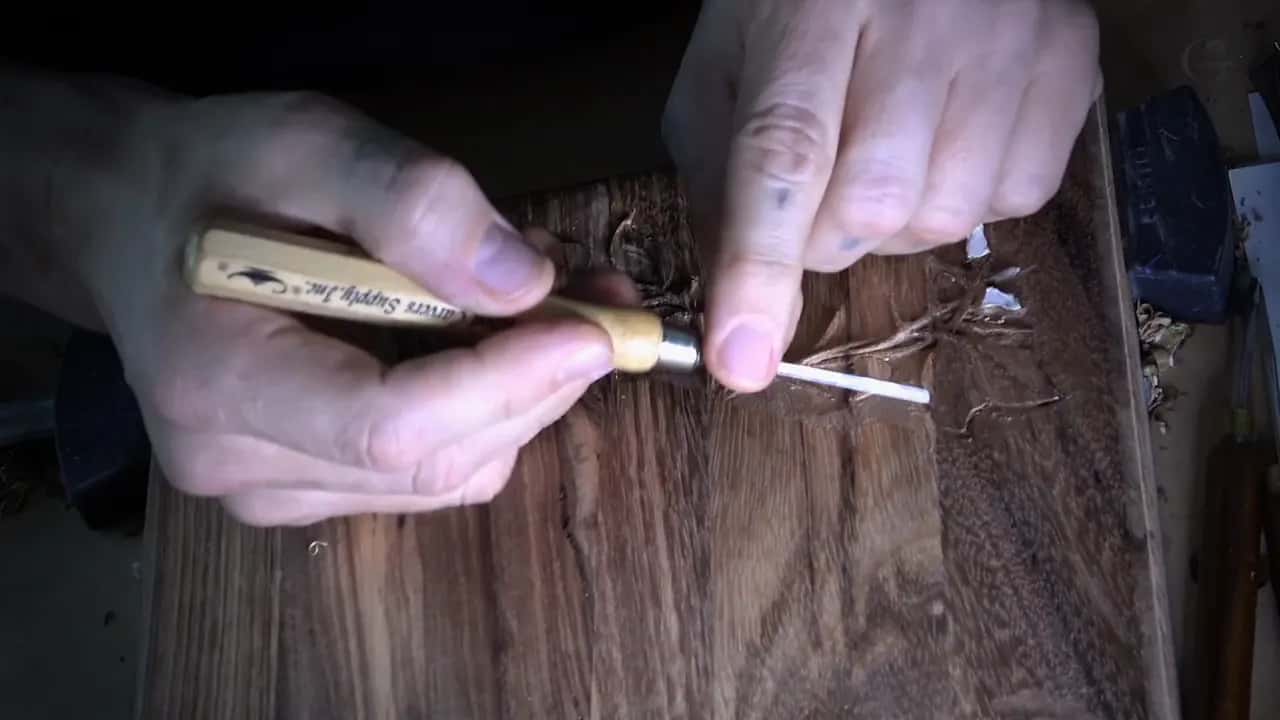
September 17, 2024 · Updated August 24, 2026
By Alexander Grabovetskiy — Master Woodcarver · Founder, School of Wood Carving · 20 min read
Why Is It Important to Carve in the Direction of the Grain?
The direction of the grain is the way the wood fibers run inside your blank, and following it is what leaves a clean surface instead of a split one, most of the time. I wait until day three of a class before I explain this. Nobody believes it until the wood fights them.
You did everything right. You looked at the piece, picked your spot, pushed the gouge, and a chunk lifted out of your leaf like a splinter off a fence post.
Some of you are already carvers and you know what the grain is and how to fight that. On day one nobody understands any of it until they experience it. Then comes the question. How do I approach the grain if it just fights me?
Let me answer the simple way, as I understand it, and not the way Google gives it to you, where all kinds of terminology shows up and it turns confusing. So, the fiber first. Then the torn surface, and how I read a blank. After that, the marriage line inside one leaf, then end grain, then the repair.
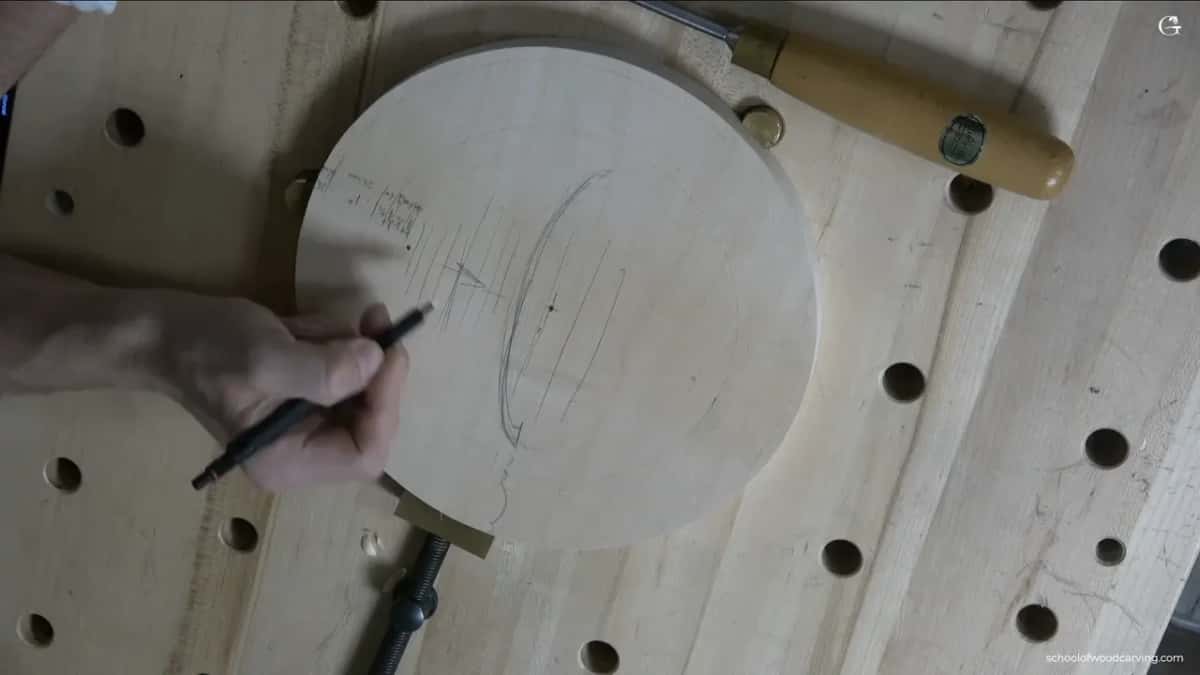
Nothing off this one yet, and the design still going on in pencil.
- Wood has grain. Stone does not, and that one difference is most of the job.
- A fiber with nothing left under it lifts and fights your edge.
- Every channel a gouge cuts runs the right way on one side and the wrong way on the other.
- Where two runs of fiber meet I call it a marriage line, and I come at that line from two sides.
- When no direction is left to find, sharp tools answer the problem, not a clever angle.
What does carving along the grain actually mean?
Put your edge in so the fibers you lift still have wood underneath holding them down. Wood has grain. You can go on and on about grain, but that is the fact you start from.
Stone has no grain, so nothing fights you. Stone carving takes a lot less tools and a lot of sanding and polishing, so in some degree it is easier, but harder on your lungs. In wood carving we use a lot more tools, and I look at my tools as my army. Each tool is just like a soldier, and I think that is a good analogy.
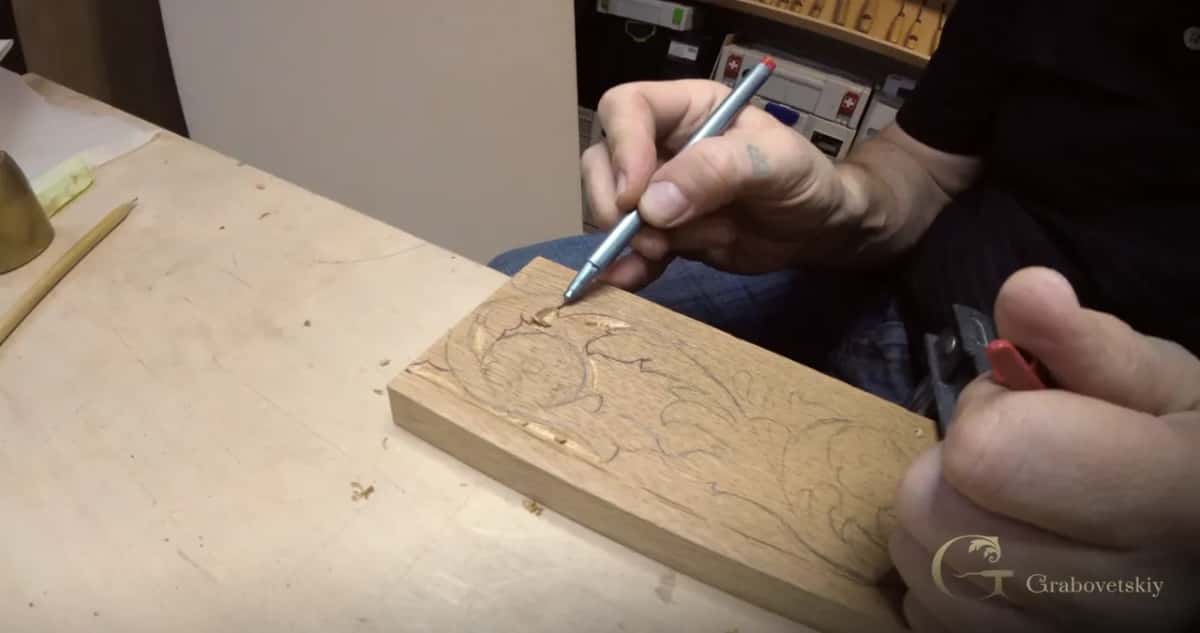
Oak with strong bands in it, and a scroll going on by hand right over the top of them.
Wood is a piece of wood. I like to say that it is like a bunch of drinking straws compacted together, and that is exactly what it is. You have to understand those straws. That's where the juice was going.
Now the half that most articles about grain direction leave out. Even if you look at the grain of the wood, let's say you got a straw, but that straw does not go all the way straight. And those are the grain you can see, which is what we like actually, the movements of the grain.
So a board holds no single direction. A general run exists, then all the small departures from it, and your edge meets every one. The USDA Forest Service Wood Handbook chapter on the structure of wood lays out those cells and how they line up along a tree. The University of Kentucky sheet on grain patterns and growth rings explains why one board looks striped and the next looks like water.
Straight off the bandsaw. Sawn faces show the fiber ends, and the marks are layout.
Magazines have their own word for the failure. They call it tear out, and Popular Woodworking runs a guide to tear out written that way, alongside their own piece on reading grain direction. Mine is different. I say you catch the grain, and when I catch it on camera I say no bueno.
Why does wood tear when you go the wrong way?
Under every fiber sits another fiber holding it, and once you carve that lower one away first, the top one has nothing to lean on. Wood is far weaker across the fiber than along it, and the Wood Handbook chapter on mechanical properties puts numbers on that.
There's a terminology, is that supported grain or not supported grain. Take a look. That is the upper part of the grain, and below is a supporting grain. It actually holds that upper part of the grain. If you start carving from this part, there's no supporting grain. They're going to just rise up. They're going to fight.
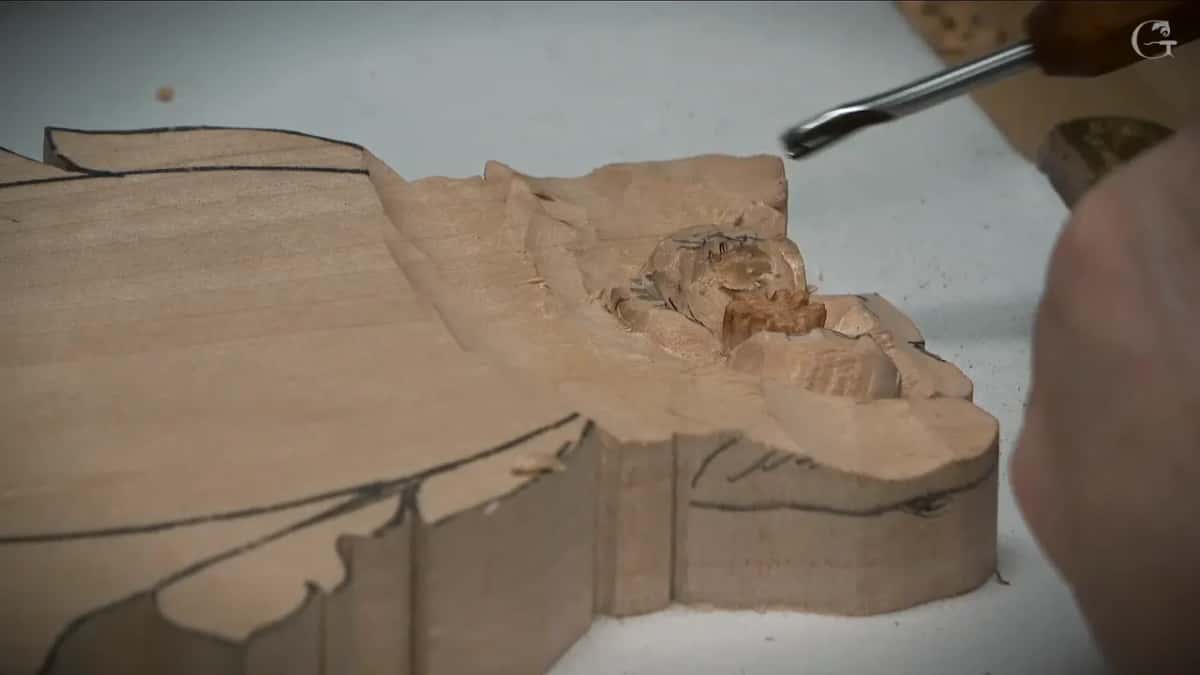
A step sawn into a pale blank, long fiber on the flat and short ends on the riser.
Two pictures land this faster than a diagram. Take a bunch of McDonald's straws, whatever, use it as a sample, try to create that shape, then rub the hand over it. Which side is easier from? Or if you have a dog, try to pet against the grain. Do you understand that?
Nobody needs a protractor for it. Your hand already knew the answer from the dog. Ohio State's forest products terminology sheet lists the trade words if you want them, and foresters even have a name for timber that grew crooked, filed under reaction wood.
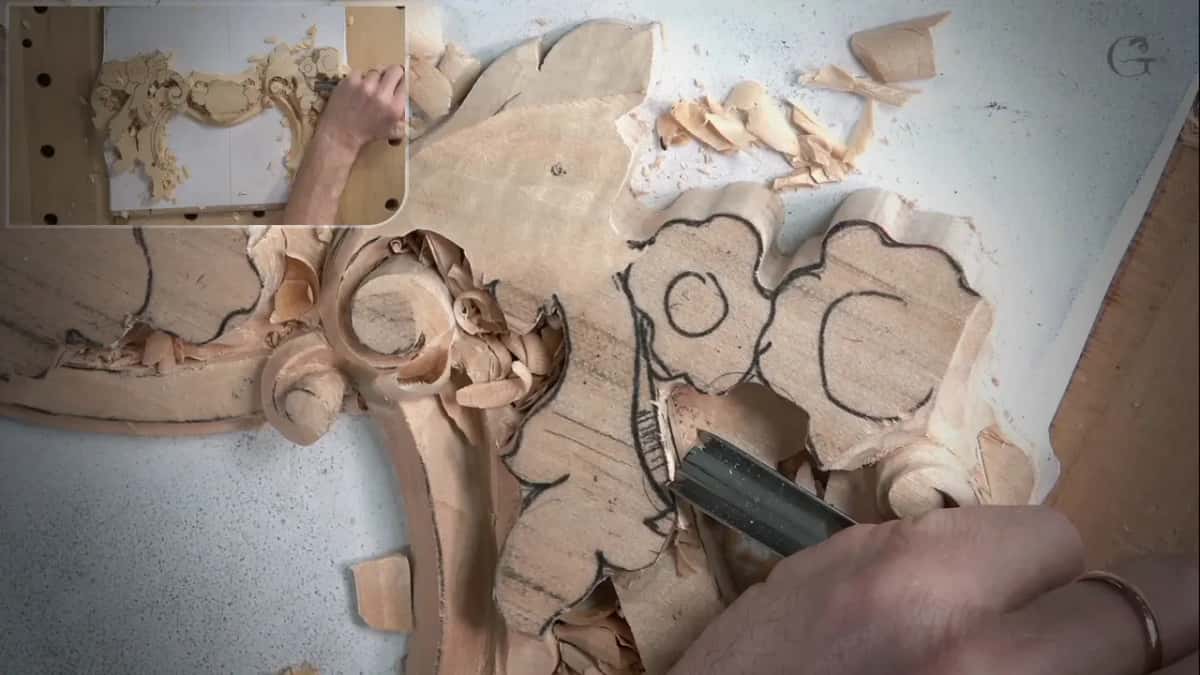
The blade sits under the surface and the shaving peels ahead of it.
Across the grain is a third thing, and it behaves better than people expect. I mix those two words up myself. On camera I have said one when I meant the other and caught it in the next breath, more than once and in more than one course. Cross grain works the same as using a straight gouge, and you can actually control much better.
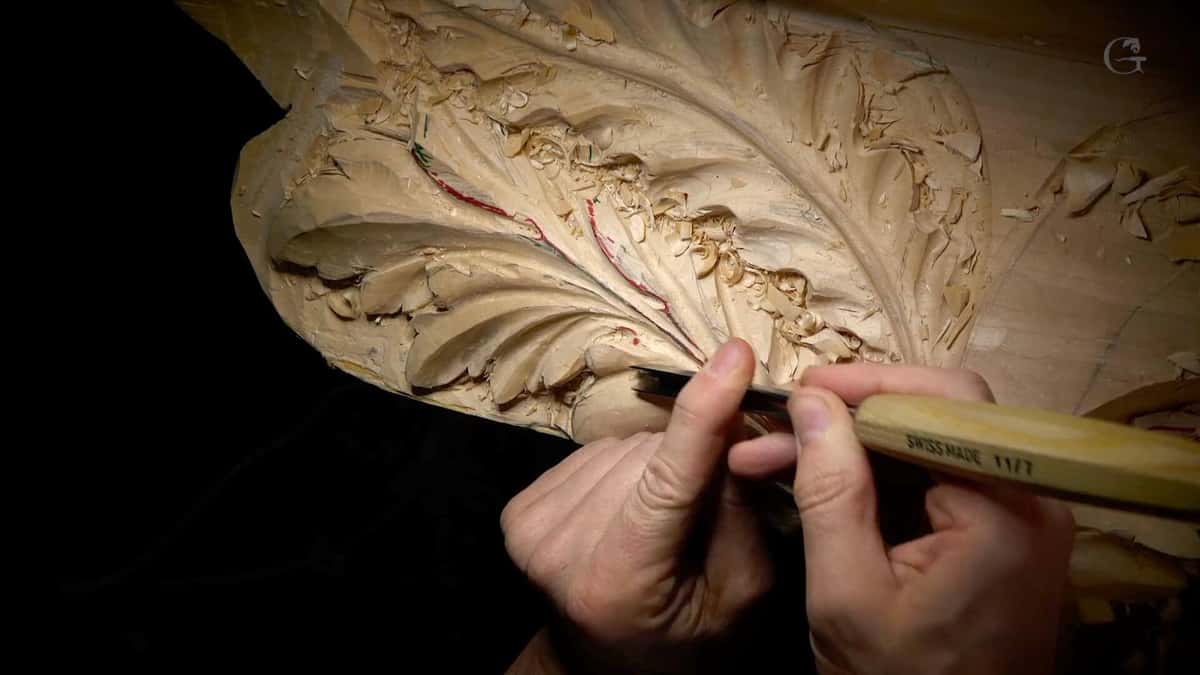
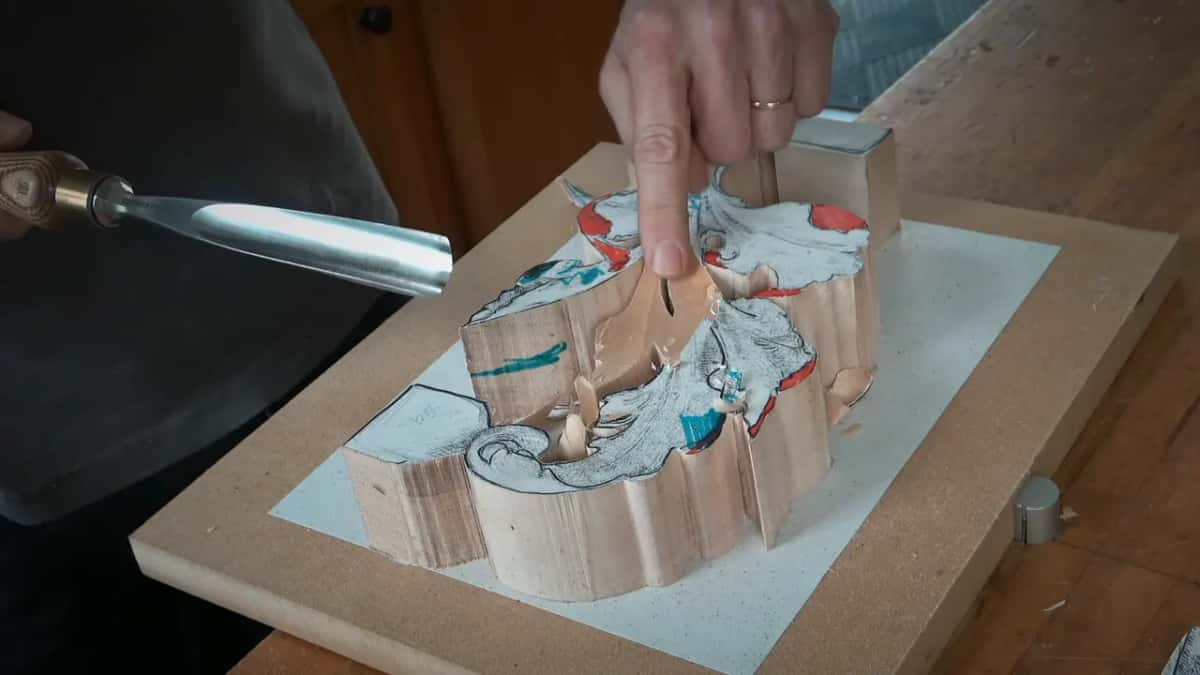
A low slicing angle inside a leaf, red and green pencil down in the grooves.
What does a torn surface look like on the wood?
One side of a gouge channel comes off as a clean cut and the other as a really rough cut, and on the rough side the wood splits out ahead of your edge.
Watch me teach this and you catch me fixing my own vocabulary mid sentence. I start out with the words you find online, long grain and short grain, and then I stop. I mean, with the grain and against the grain, I am sorry. Am I correct?
The correction matters more than the lesson does. Long grain and short grain reads fine on a straight board, then falls apart the moment you cannot tell which part is short, so I dropped that language in the same lesson where I taught it. One side gives me a clean cut. The other gives me a really rough cut, and it just splits, and that creates the problem sometimes.
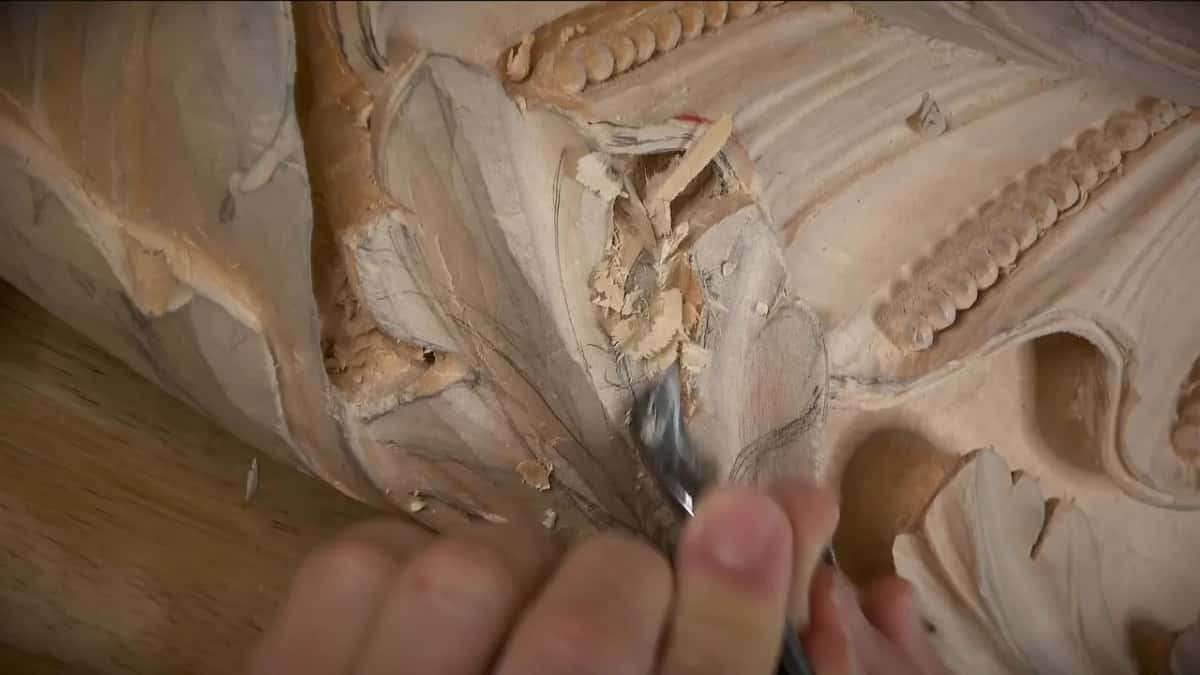
A ragged bundle of fiber standing out of a carved leaf.
And you can see it is just so crunchy. At some point I feel the limitation, and I stop, grab my number two, position the tool the right direction, and see, I am catching the grain, so that means I cannot force it.
| What you notice | The clean side | The side that catches |
|---|---|---|
| Surface | Even, and it stays even after finish | Broken, with fiber standing up |
| How it feels | The blade slices | Crunchy, and I stop |
| What comes off | One long curl | Big chips out, and sometimes it splits |
| Under raking light | Reads the same all across | Shows every place it caught |
| What it costs | Nothing, keep going | A second trip with a smaller tool, or a scraper |
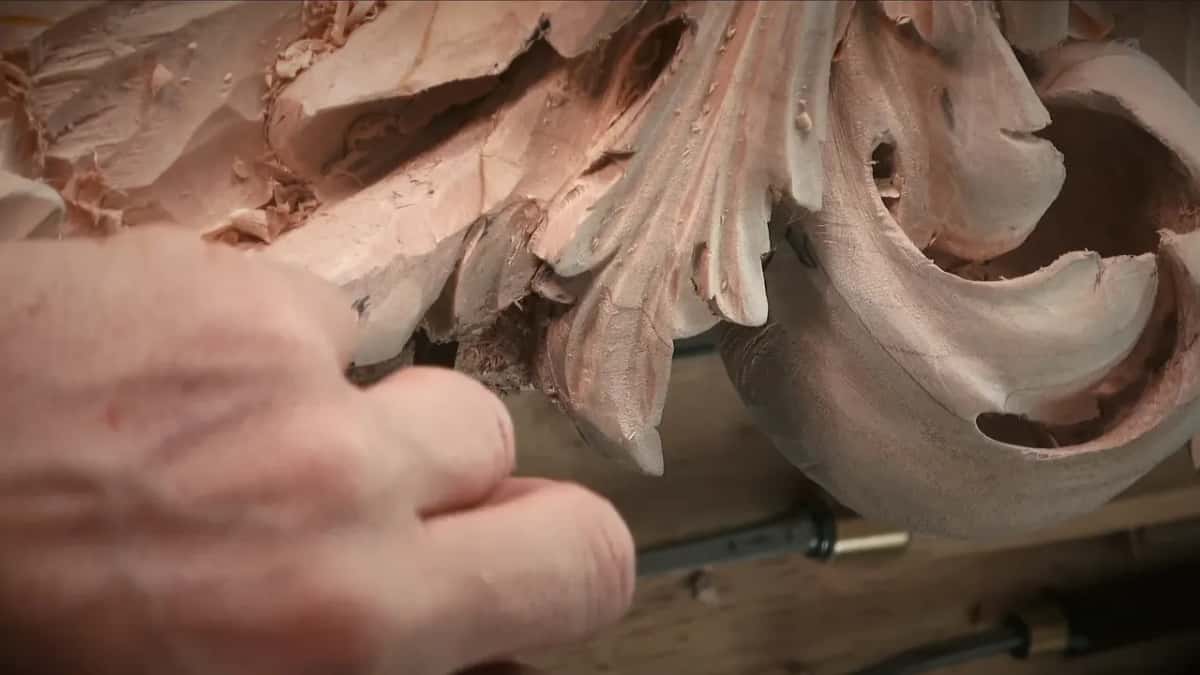
One uncut strand bridging the deepest hollow of an acanthus rosette.
I insist on that light row. I know it is not that noticeable when you are cutting. But believe me, when the light hits, it does make a big difference. A hollow you tore shows every catch. A sliced one reads as one surface.
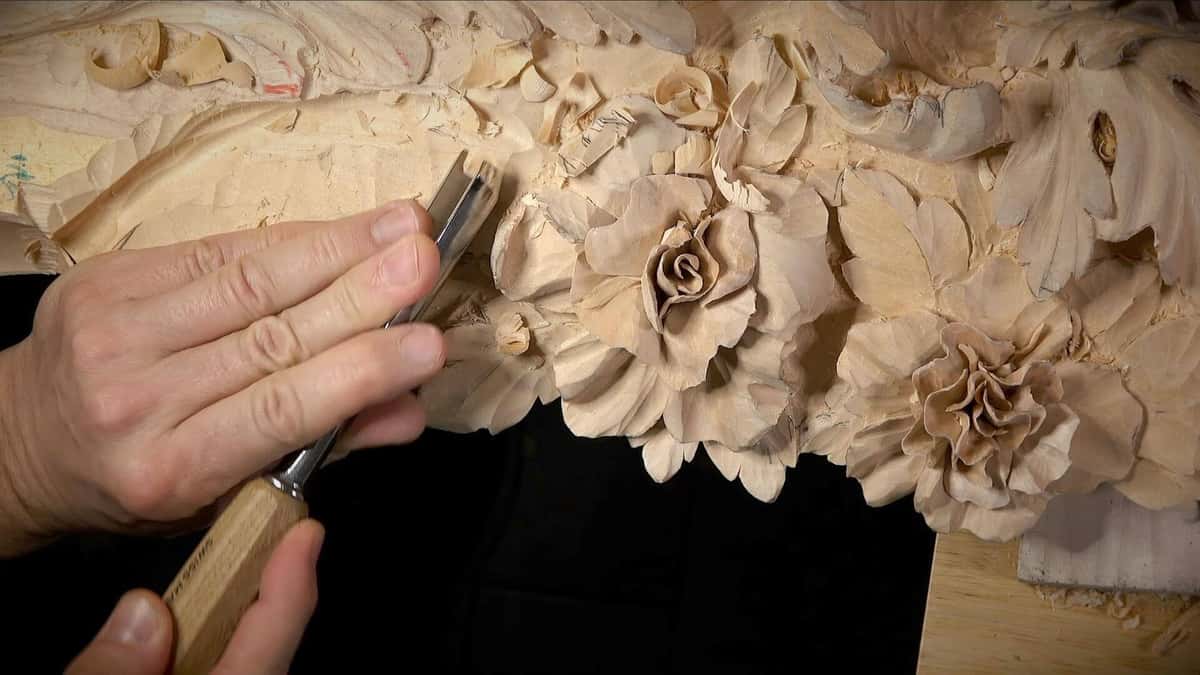
Finished roses to the right of the gouge, and to the left an edge that came out rough and split.
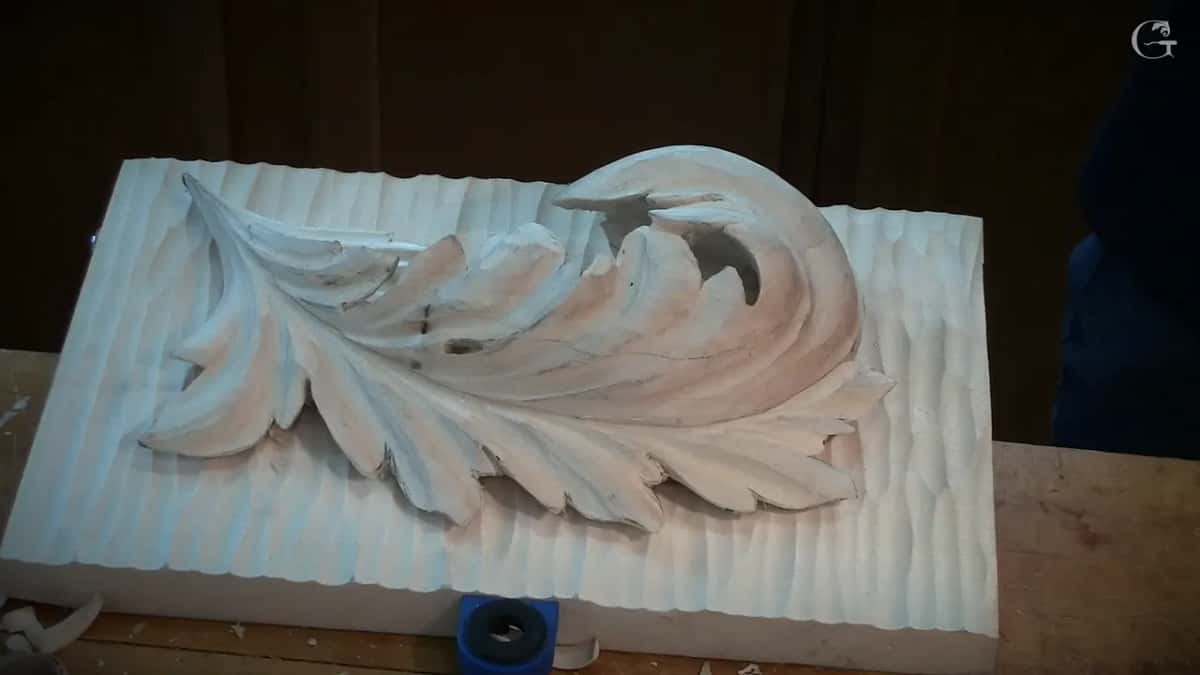
A finished leaf against a ground of deep flutes that still carries every stroke.
If one spot keeps failing however you come at it, the board may be your problem. Separate notes cover which woods are hard to carve and why the hardness chart does not say and how you know if a piece of wood is good for carving.
How do you read the grain on a blank before the first cut?
Read the shape first, ask what holds each fiber down, then pick the starting point that keeps wood under your edge for the whole stroke.
What I like to do, I like to show picture number one. A donut. Can you see a donut? And there is multiple points where we can start carving a donut. Several things go into it, and not one is a measurement. Kentucky's primer on identifying wood helps if you cannot tell one board from another yet.
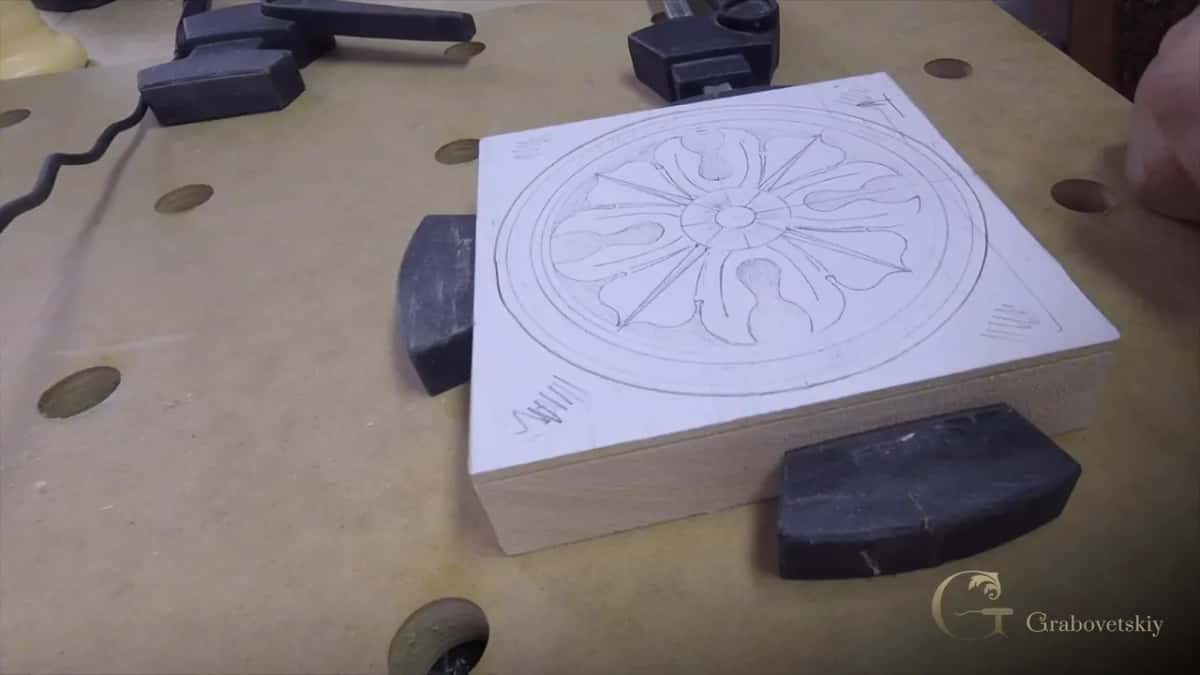
Drawing done, no wood off yet. The block edge is where the fiber shows itself.
Step 1, find the short part and the long part
Let's say the first terminology. Short grain, you always start with the short grain, and you follow to the long grain. Short is this part, short is that part, and a long part is right there. On a donut that works. Inside a solid shape you cannot tell which is which, so that terminology probably not going to work anymore, and the next five steps are what I use instead.
Step 2, ask what holds the fibers down
Look at the grain itself now, not the outline. Somewhere under your first cut a longer fiber carries the shorter one above it, so arrive from the side where that support still stands. Come the other way and the top fiber has nowhere to travel except up into your edge.
Step 3, start from the high spot of the grain
When I hollow a concave, I want this side to come out as my clean side, so I cut from my high spot of the grain. If the grain goes like this, my high spot sits right here, and I work from that point in that direction, on both sides. Nothing about the decision needs a number.
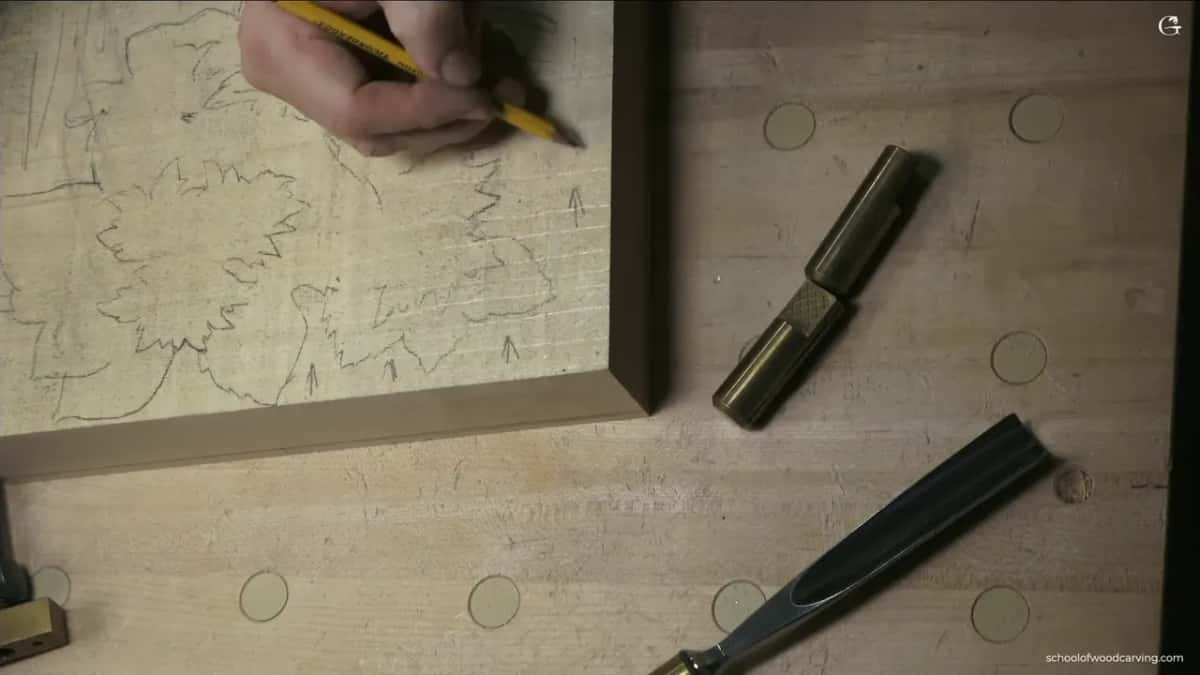
One moment out of one lesson: a hand drawing arrows in pencil before any wood comes off.
Step 4, count the wood on both sides of your line
So I am going to start cutting this line, but I have to be really careful, because the grain goes this direction, and that is close to the edge. And that means I have a lot less fibers on this side of the line than on that side of the line. So it is really important not to create a lot of pressure.
Fewer fibers on one side means less wood holding it together, so the piece breaks out toward the weak side.
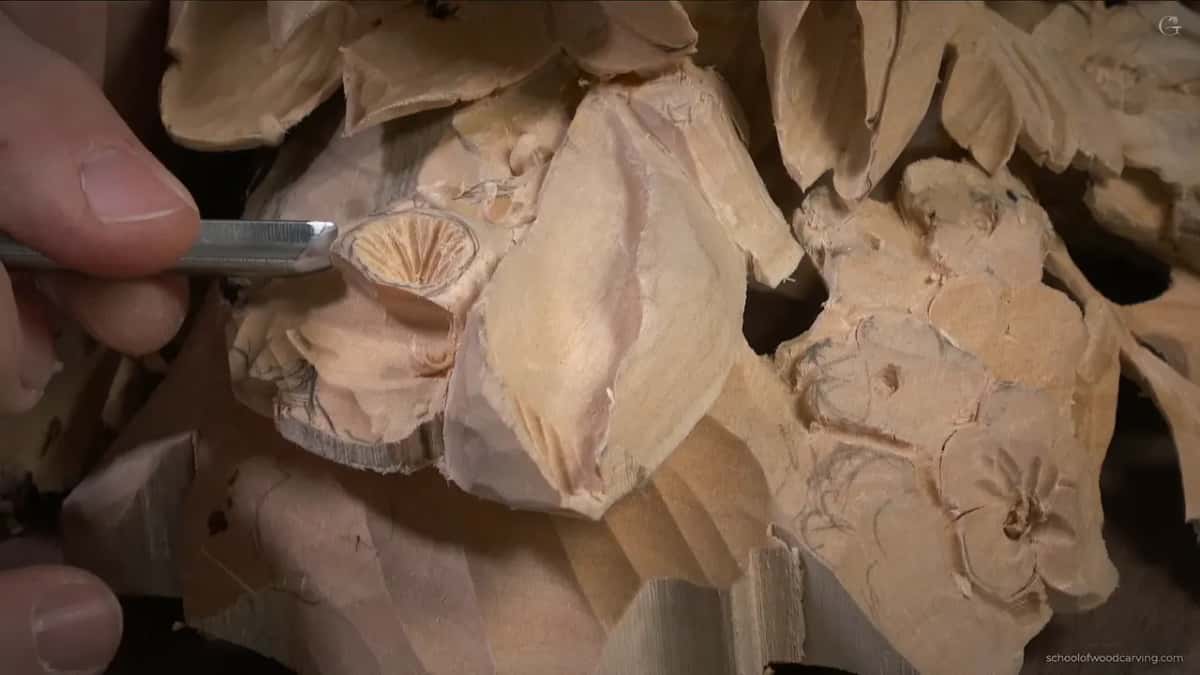
The tool lies nearly parallel to the surface, and the small disc shows fiber ends fanning out.
Step 5, find where the grain meets itself
There's a marriage line. We call it the marriage line. What I mean by that, let's say in a bowl. But when you start carving, the grain changes direction. Sometimes it is almost no sweep, but a marriage line still turns up. If you continue carving, you are going to split. So you have to attack from both sides.
Step 6, sharpen before you start, not after it goes wrong
Well, you could just carve one side, then come from this side. But if it is a really tiny spot, you also think about how you spend twice more if you cut once and cut twice. So what is the solution? Sharp tools, and break the rules.
If your tool is not sharp, you're going to catch the grain, and you're going to get frustrated. So make sure your tool is super sharp, almost like a surgeon's knife. I hand you off right here, because sharpening is a trade of its own, with a whole course on carving tool sharpening for the people who want it properly. Wikipedia on sharpening and its entry for the gouge cover the vocabulary.
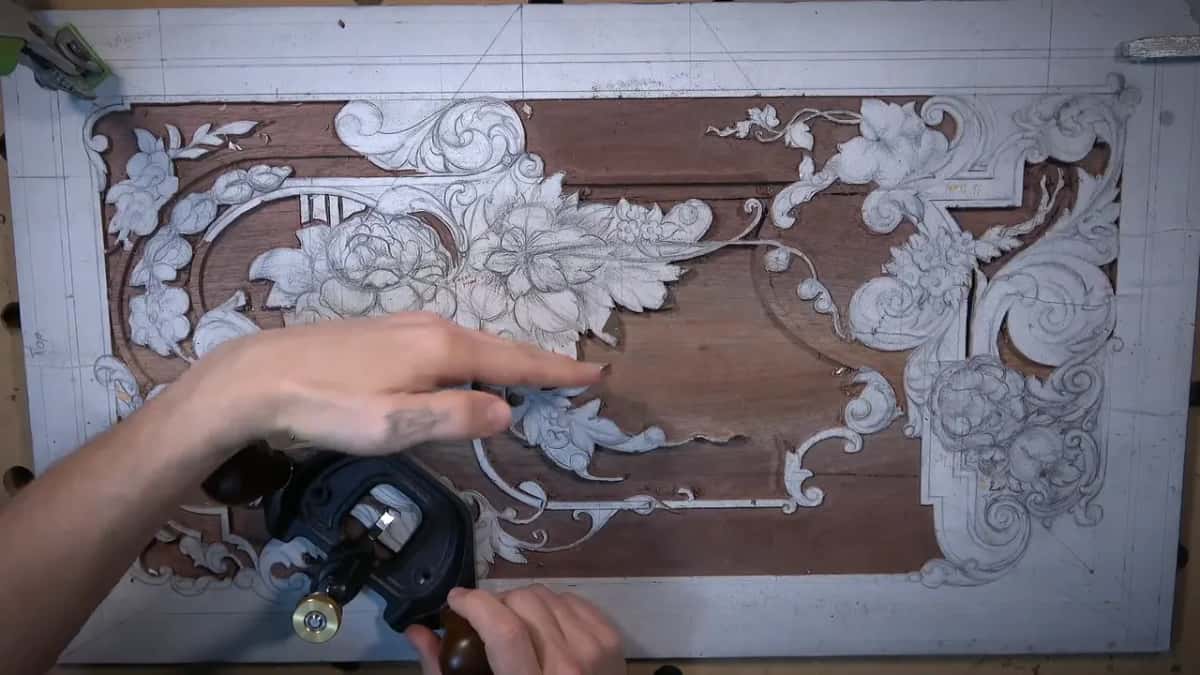
A furniture panel shaded out in chalk and pencil.
Drawing the design is not a separate hobby from reading the wood, and neither is getting the raw wood ready. I go through it in drawing the acanthus leaf before you touch the gouge, and the order of the first jobs in what the first step in wood carving really is.
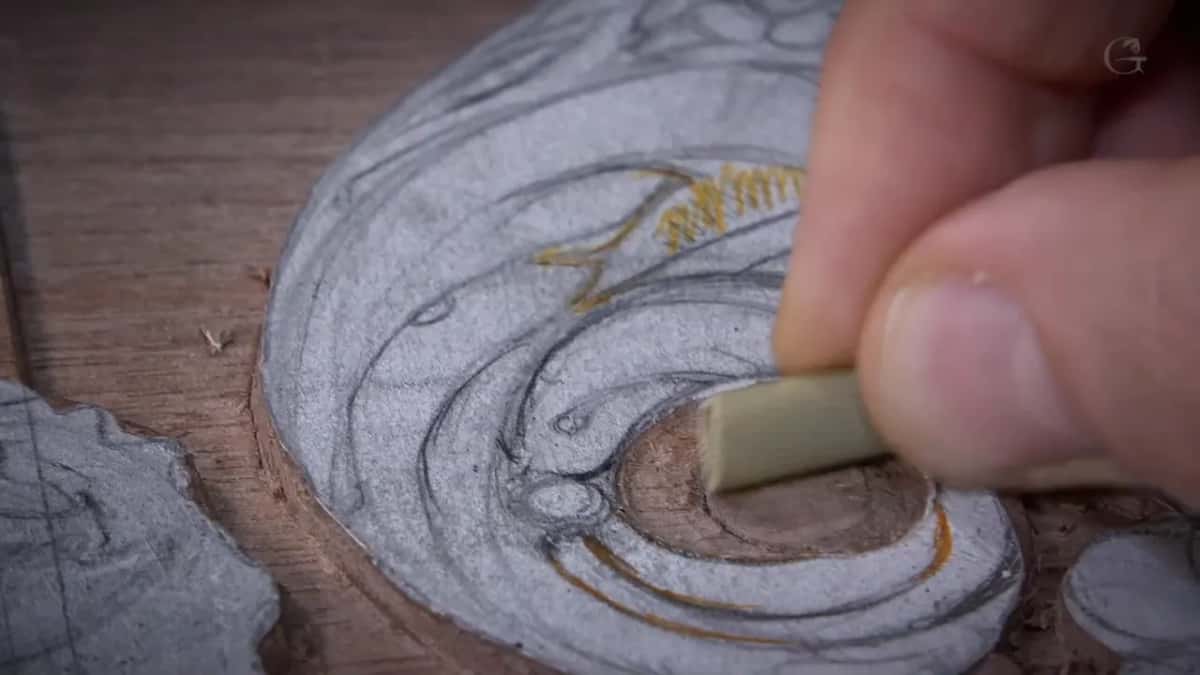
Graphite rubbed over a scroll makes every high spot and low spot visible.
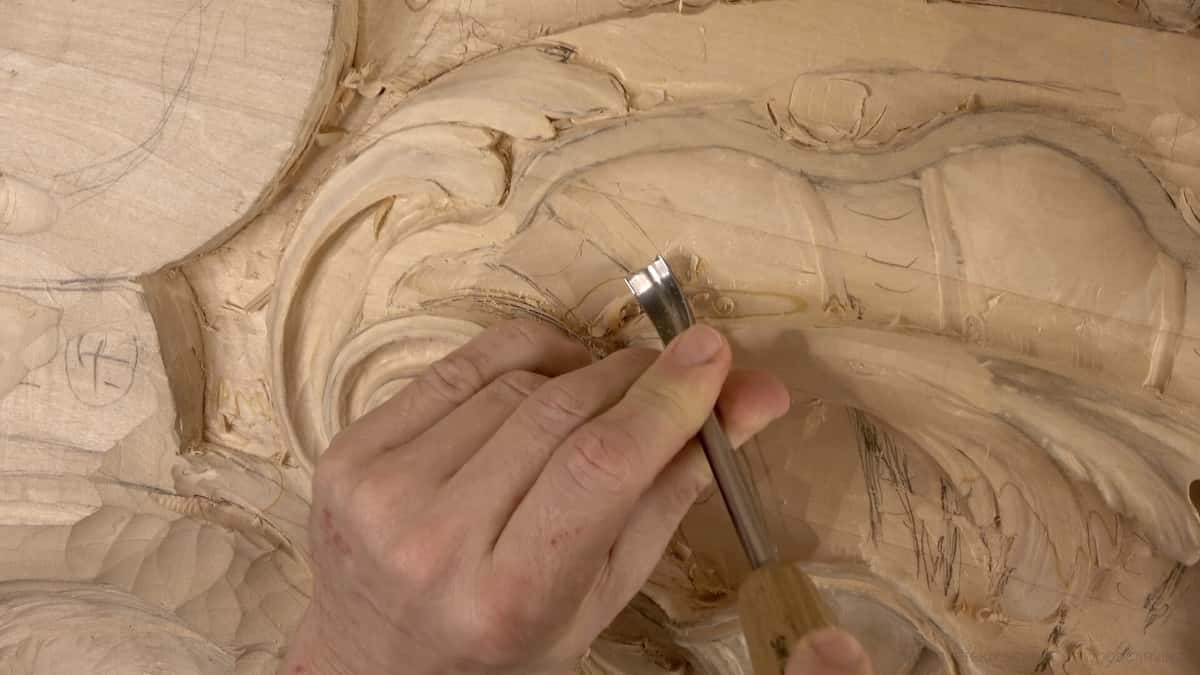
Mallet and gouge over a panel that is mostly drawing so far, chips already across it.
What happens when the grain changes inside one leaf?
Stop, walk around the piece, and take the rest of that shape from the far side until your two cuts meet in the middle.
I need to move around and work from this side. Again, I use just the edge of my tool until I meet those, I call it marriage line of the grain, until I remove completely. And you can see marriage line right here when the grain meets, and you really have to change the position of your tool.
Keep an eye on your grain, because here the grain changes the direction. I attacked from one side, and now I can work from the opposite side and meet those two cuts.
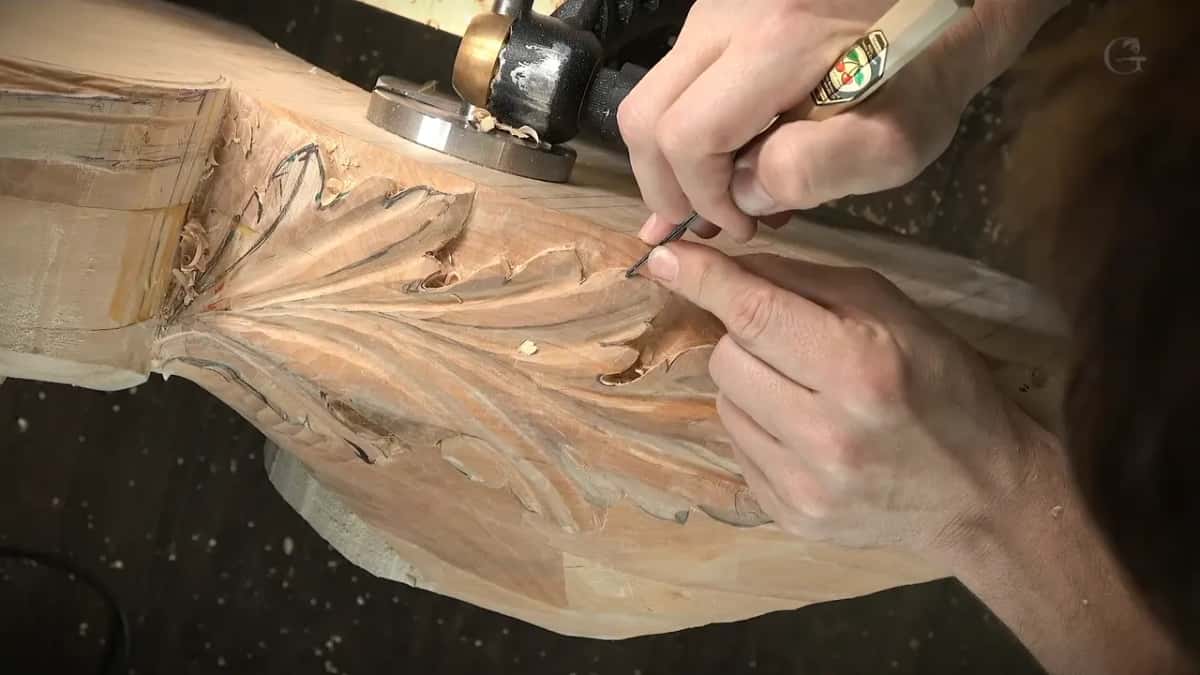
The leaf runs diagonally across this molding, so the direction shifts lobe to lobe.
Now the honest part, because I have taught this two ways and I know it. In one course I say the grain changes direction, and I say it that way in course after course. Somewhere else I stopped and corrected myself on camera. Well, the grain doesn't change direction, but the way you attack, it feels like the grain changes. But the grain still goes the same direction. I used to say that.
Both halves earn their keep. Fiber in the board runs where it grew, and the shape swings across it, so the relationship flips even though nothing moved inside the wood. Saying it the first way gets your hands right. The second version explains why.
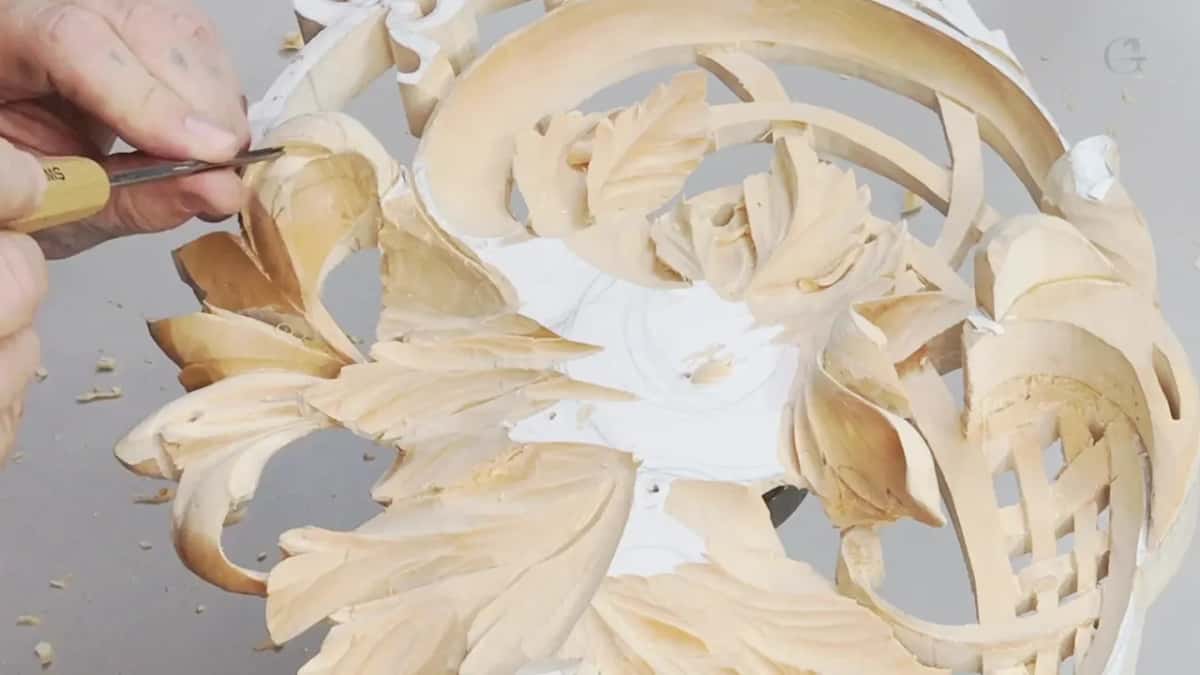
A pierced flower panel where the leaves curve every way at once.
In a complicated carving you have to really sometimes work against the grain no matter what. There's no way you can attack from the upper side, and the only way you can do that, sharp tools. Sharp tools.
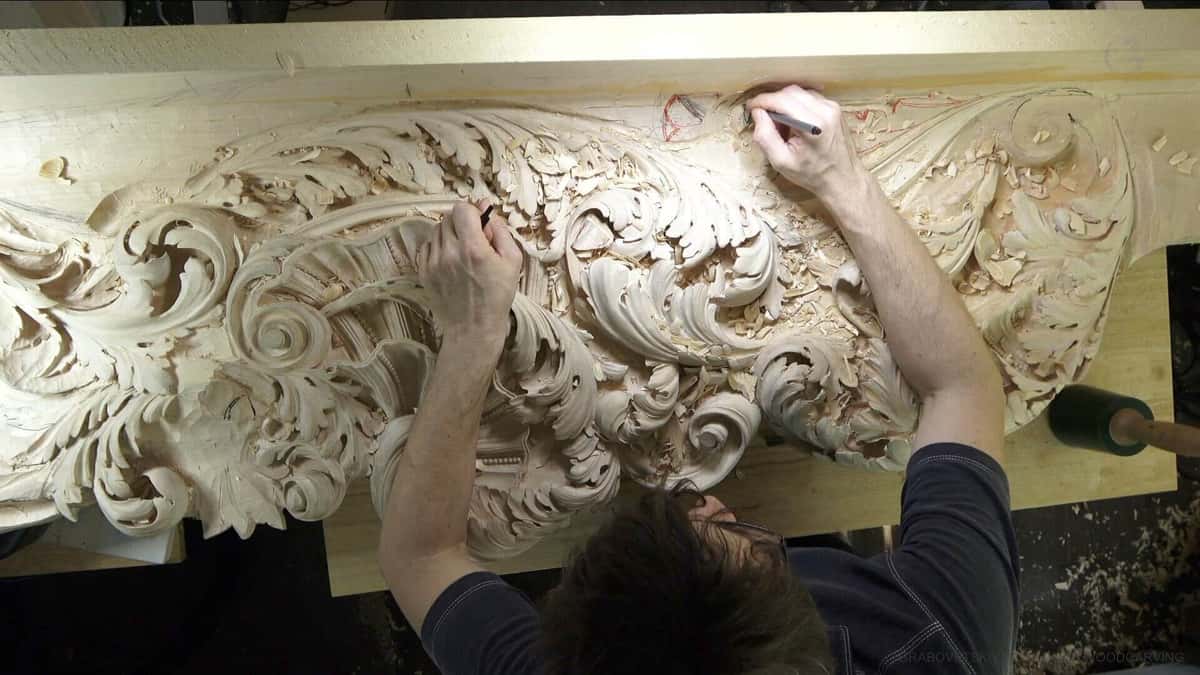
A whole frieze of leaves running different ways, red layout marks, chips everywhere.
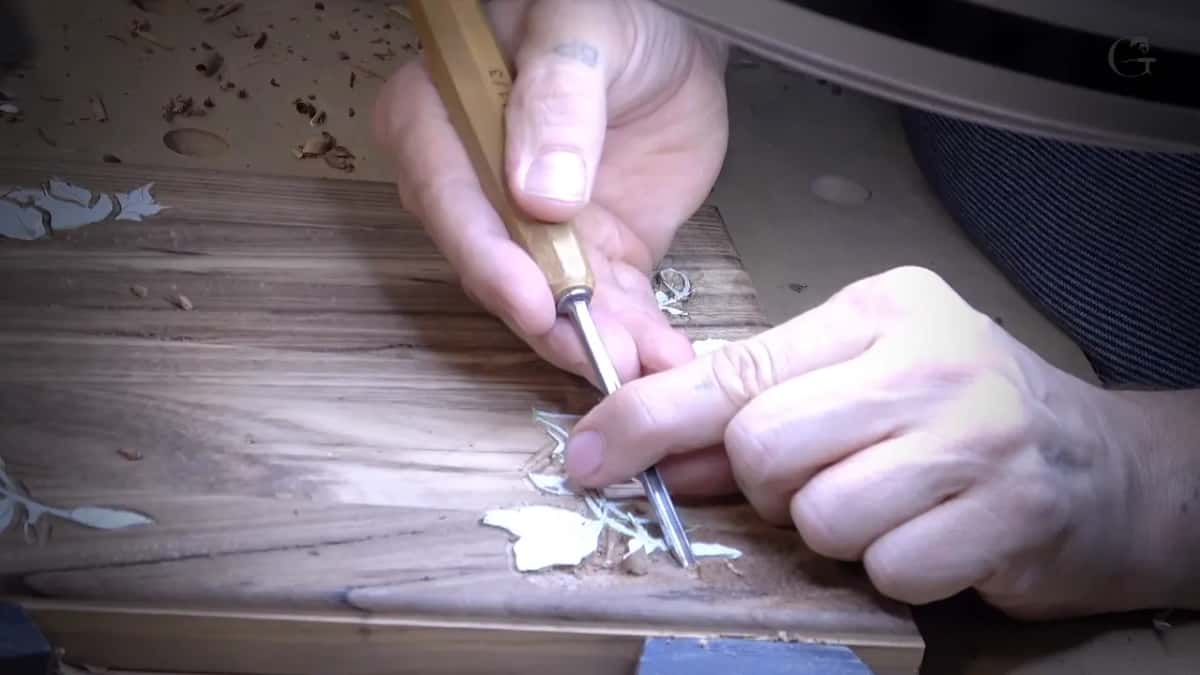
A mitred corner on an olive box, where two runs of fiber meet at an angle.
This question has a page of its own, and the longer answer lives in how to handle different grain directions in one carving. Why fiber matters at all sits in why wood grain is important for wood carving, with the rest filed under understanding wood for carving.
Why does end grain behave differently?
End grain gives you the cut ends of the straws instead of their sides, so your edge enters a bundle of open tubes rather than sliding along them.
Also, be careful, because it is end grain, and you can see what just happened. I got the grain. I caught the grain. And it's kind of, I did the right direction, but still kind of sketchy. It's a tough area because it's end grain.
Read that twice. My approach was correct and the wood still came out sketchy. Anybody promising that reading fiber removes the risk has not carved much of it.
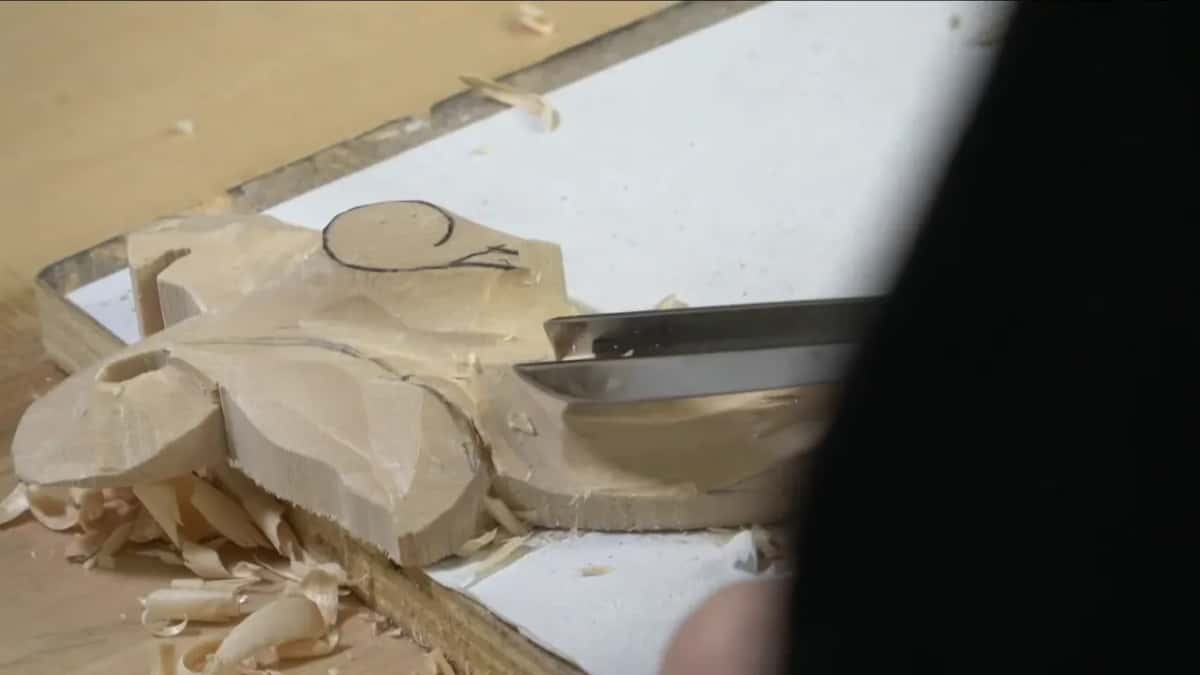
The square bandsawn end faces the camera while the carved side curves away.
Although be careful at the end grain. Like I said, it is easy to slip your knife and damage overall picture. Don't expect it is going to be exactly the same like we did when the tool presented straight down.
The Wood Database page on hardwood anatomy and its companion page on softwood anatomy show those tube ends in cross section. The InsideWood reference list at NC State goes further than any carver needs.
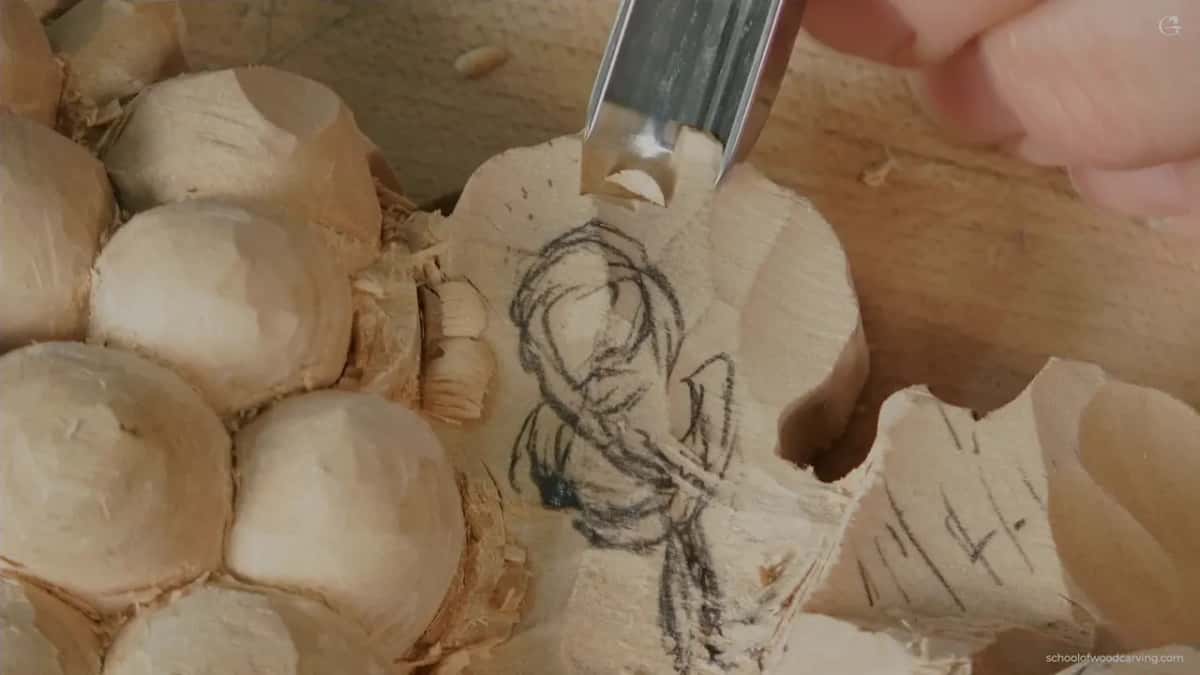
The blade is part way through a pencilled leaf, with finished grapes sitting to the left.
What do you do with a surface you already tore?
You come back to it. A rough area is not a ruined piece, and I clean those spots once the shape is right rather than in the middle of roughing.
Now, if you do have a rough area like this, like a marriage line, you can always come back and clean it. I will clean everywhere. But that is what I am after.
Here is the way I go about cleaning a rough spot. They used the skin of the shark. Some of those, like a fifteenth century guys, they used the glass and they would scrape it. Scraping is one of the techniques they used all over the Europe. In this case I am using pretty much carving knife. Later, after the scraping, you could just burnish it with the same species of wood. So that gives you a shiny surface, really shiny surface.
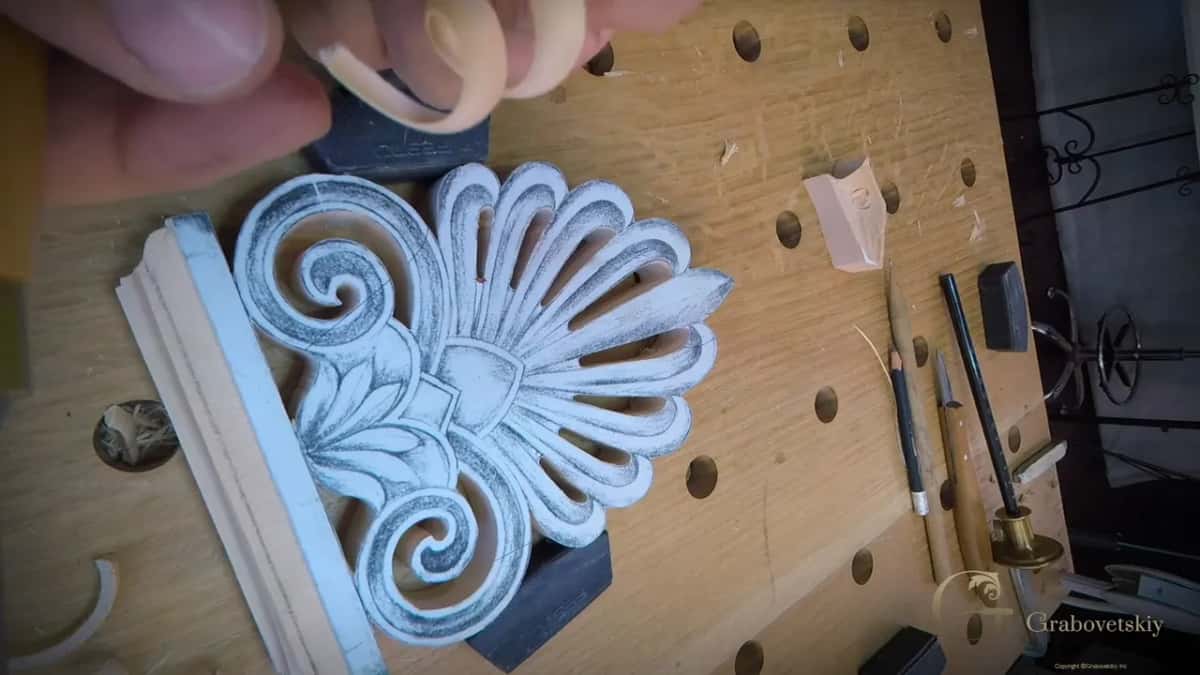
A pale curl held up in two fingers, above a Greek palmette rubbed dark with graphite.
Then there is sandpaper, and I owe you an honest answer, because I have said two opposite things in two courses. My beginner course has me refusing it outright. One person asked me why I do not want to sand. I do not like when you sand, you are actually pressing fibers together, and once you use a water based finish, it is going to raise up all the fibers. Believe me, it is easy on a flat piece, on the furniture, but not on really complicated forms.
And in the lesson where somebody asked me straight out, I answered straight out. It is absolutely okay to sand a thing. My own line holds both answers together: it all depends on the finish. Under water based finishes I would rather scrape. For gold leaf I sand, and I am not shy about it.
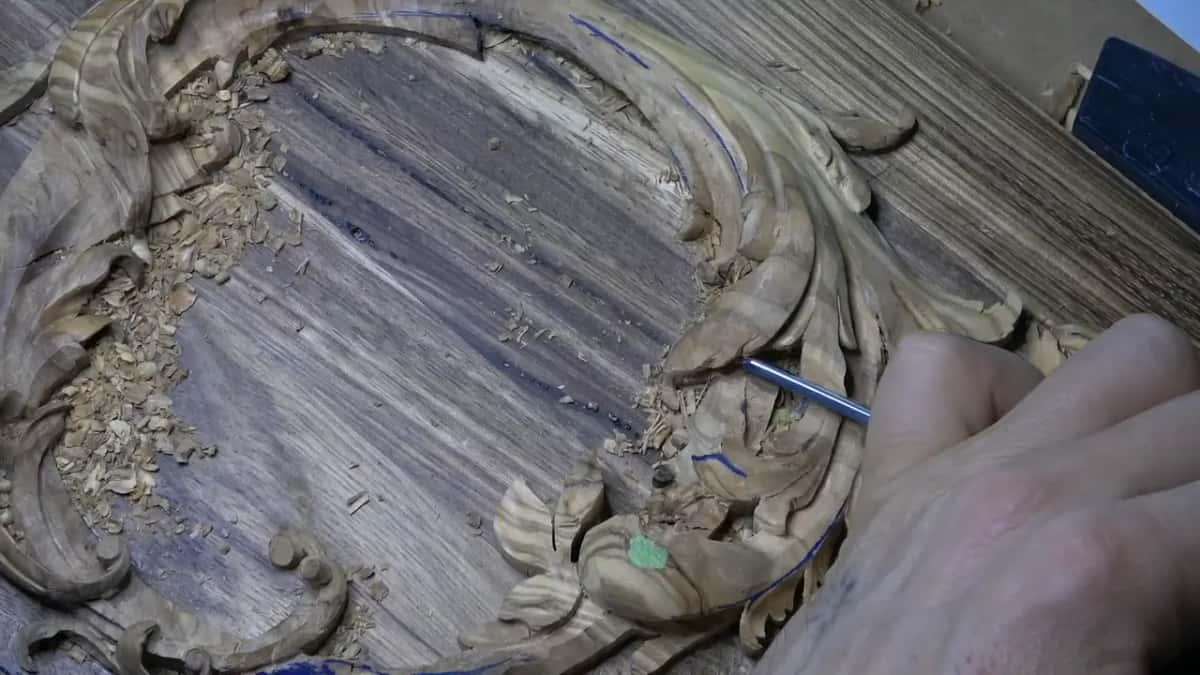
The lowered ground here stands in long parallel ridges.
Whatever goes on top changes the answer, which is why the finishes and sealants notes sit apart. Species matters too, so on softwood begin with the best softwoods to practice on. Wet wood is another material again, covered in how long wood takes to dry for carving.
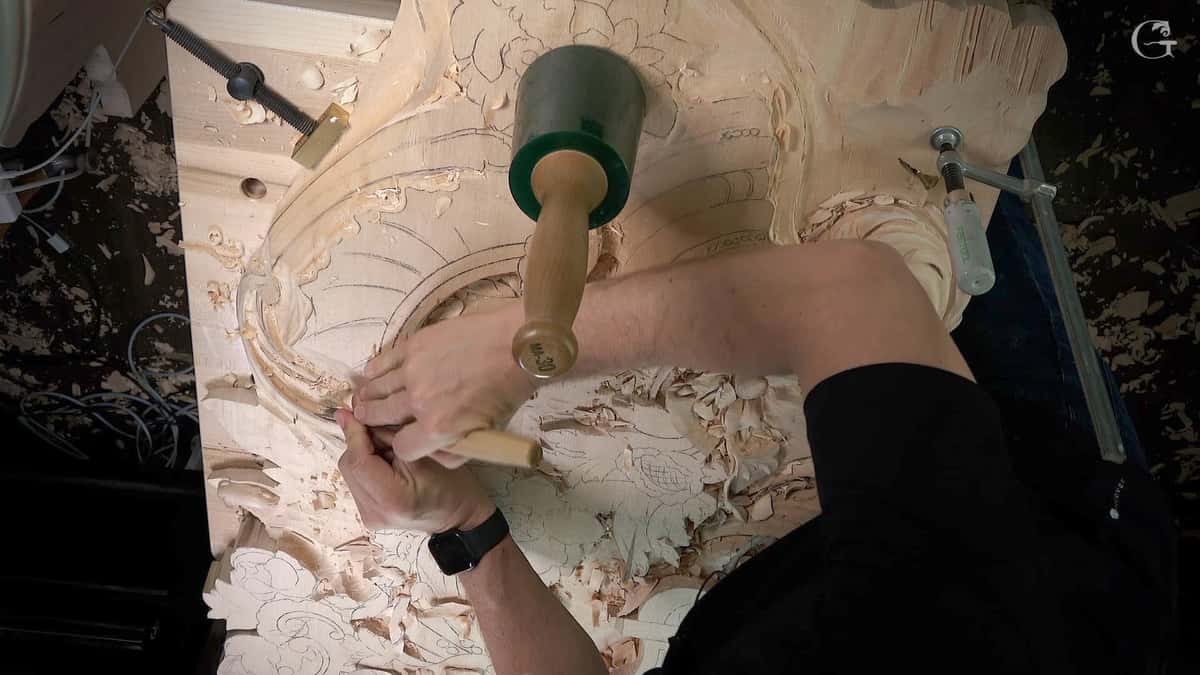
A bent gouge going into a rococo shell.
Can you always follow the fiber, or is that a fairy tale?
In Gibbons work there is no direction left to find, and I say so out loud in class.
When you carve in Grinling Gibbons style, there is no such a thing carve with the grain. Absolutely no. You have to attack from some angles. How can you find the grain? The only solution is just to keep your tools sharp. That is it.
Nobody wants to hear that after a whole page about reading fiber. High relief and deep undercutting send your edge in from every angle a shape allows, and the shape wins the argument. The V and A article on the Gibbons limewood cravat shows what that work asks for, next to its general note on sculpture techniques, and the Wikipedia entry for Grinling Gibbons gives the short life story. I teach the style, and I wrote about who actually teaches Grinling Gibbons style carving for the people hunting for it.
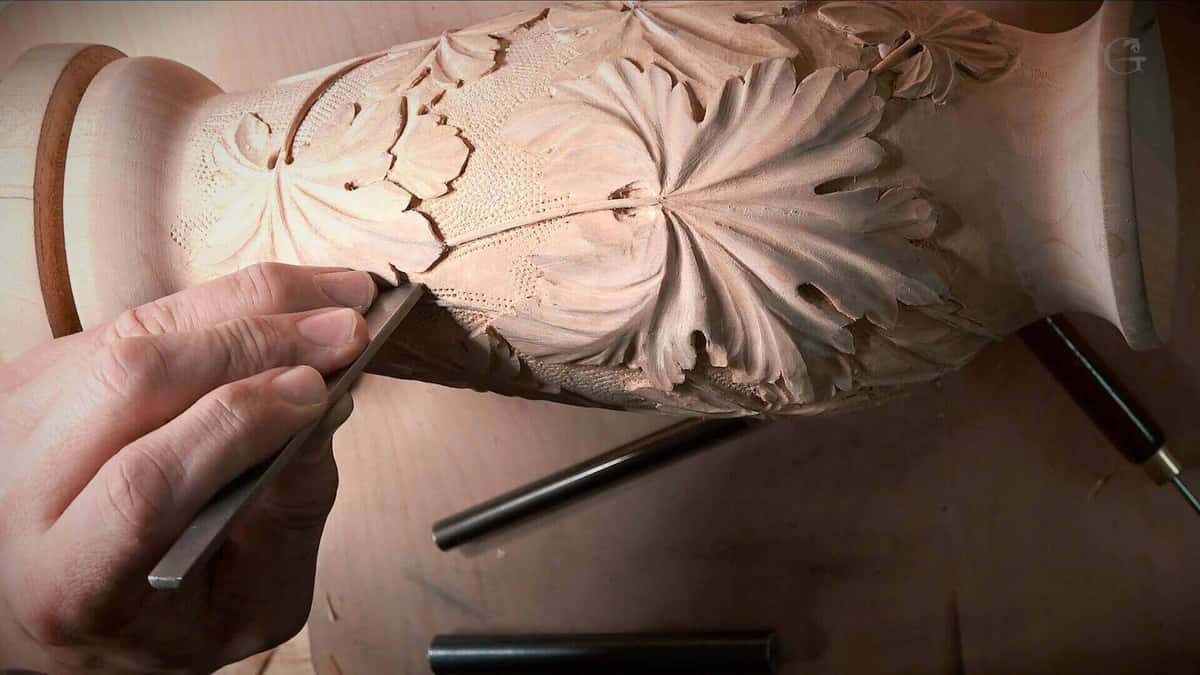
A flat chisel held nearly level against a turned baluster.
David Esterly wrote The Lost Carving. This is his line about limewood.
Crisp and firm, soft enough to be carved quickly but strong enough to be radically undercut, with a remarkable grain structure that can (with a little effort) be worked in any direction.
Worked in any direction, with a little effort. A carver of the highest rank, saying what I say in class, in better English than mine. Basswood, limewood and linden belong to one family, and the Wood Database entry for basswood plus the Tilia genus page sort out the names. Shopping questions get the plain treatment in what kind of wood to use for hand carving, and readers down south have the best woods in Australia for a beginner to practice on.
Don't overcomplicate things. Did I tell you about NASA? They had a problem. They would take a pen, and pen would leak. Ink in a space, and no gravity, so it is a big problem. They invested millions of dollars and lots of scientists, and they invented a nitrogen driven pen, and it worked. Russians also had that problem. They decided to use a pencil. So I heard.
The lesson is do not overcomplicate stuff. If it fights you, just sharpen your tools. That's it. Don't think, what angle should I just attack that. That was actually the first thing what my teacher taught me.
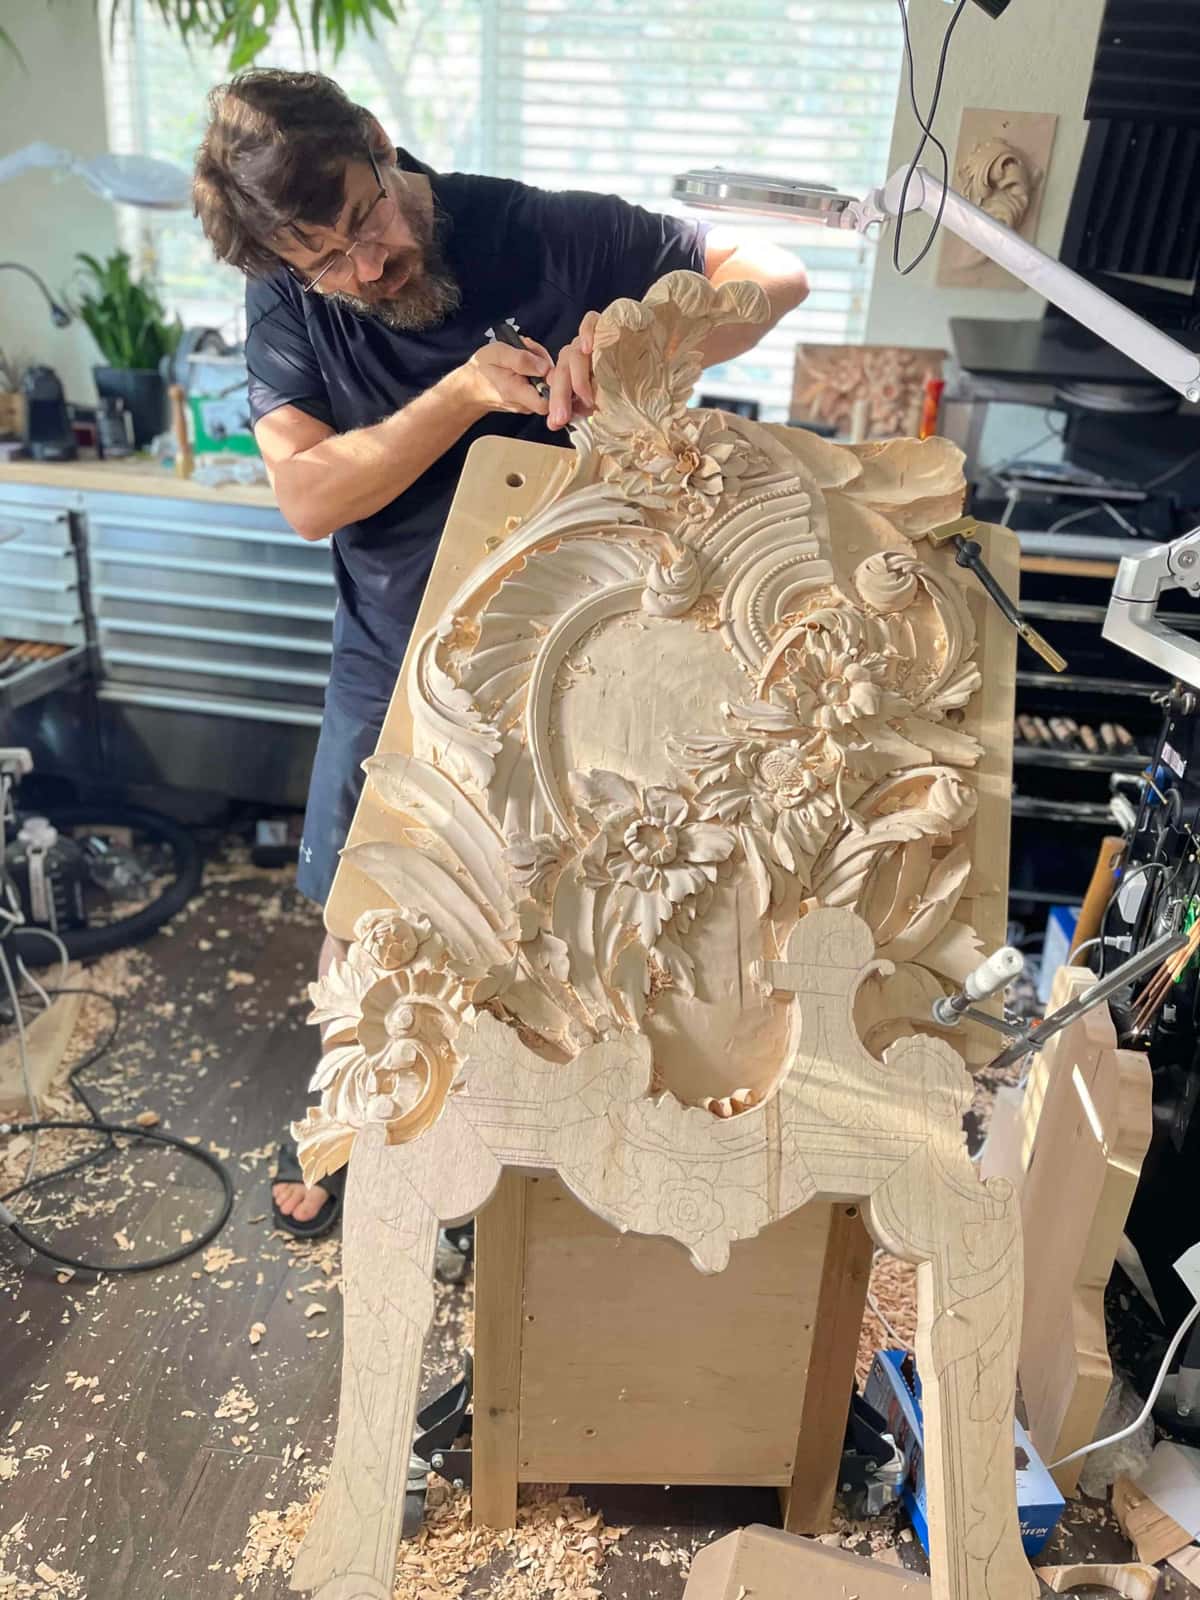
A tall rococo panel with the floor around it deep in shavings and chips.
A student in that class asked me straight out whether even I, after all these years, still do not feel the wood by now. You can feel it in a second, you feel it immediately. But no, I feel it, absolutely. I was sixteen when I became the only apprentice of a fine art master. Feeling comes out of carving, never out of reading. More sits in why wood carving is difficult and which skill is the real wall, in the common mistakes worth avoiding, and in your first clean groove.
Do you want to stop guessing which way to come at a curved leaf? The grain talk I save for the third day of an in person class sits inside the Techniques, Tips and Tricks course with the rest of the questions students bring me at the bench. Shall we carve?
Frequently asked questions
Does the grain really change direction inside one board?
Both answers are true, and I have taught both of them in class. Fiber in a board runs where it grew. Your shape swings across that fiber, so the relationship flips as you follow a curve. Either way, the far half of the curve still has to be taken from the other side.
Which way do I go on a shape with no straight edges?
Walk around it. Take one small stroke somewhere the fiber still has wood under it, and watch what comes off. A long curl means you guessed right. Chips and a crunchy surface mean you guessed wrong, and two lost strokes cost less than a lost leaf.
Is end grain always going to come out rough?
Often, even when the approach is correct. On camera I have gone the right way into end grain and still called the result sketchy. Treat that area as its own problem, keep the edge freshly honed, take less wood per stroke, and expect to clean the spot afterward.
Can a sharp tool really beat a bad approach?
Sharpness is the answer I keep giving, and I give it because shapes exist where no good approach is available. Deep undercut work comes at the wood from whatever angle it allows. A tool like a surgeon's knife carries you through, and a dull one turns good wood into firewood.
Should I sand a spot that came out rough?
It all depends on the finish. A water based finish raises the fibers you pressed flat, and then a hollow gets sanded again and again. My own preference is to scrape the spot with a knife, then burnish it with an offcut of the same species until it shines.
Do I need to understand this before my first project?
You do not, and that is exactly why the talk waits until day three of an in person class, after the wood has already fought everybody in the room. Read this page once, go ruin something you do not love, and read it again once your hands have a question.
Filed under
- avoiding splits while carving wood
- benefits of carving along the grain
- best wood types for carving
- carving curves in wood safely
- carving spoons with the grain
- carving techniques for wood projects
- carving wood for strength and durability
- how to carve wood properly
- how to identify wood grain direction
- importance of carving with the grain
- planning cuts based on grain
- prepping wood for carving projects
- safest way to carve wood
- techniques for detailed wood carving
- tips for wood carving direction
- Tools needed for wood carving
- Understanding Wood for Carving
- understanding wood grain for beginners
- why grain direction matters in carving
- wood carving basics for beginners