
October 2, 2024 · Updated August 17, 2026
By Alexander Grabovetskiy — Master Woodcarver · Founder, School of Wood Carving · 16 min read
What Is the First Step in Wood Carving?
The first step in wood carving is putting a proven sharp edge on one gouge, before you draw a line and before you touch a good board. Test it on a scrap of basswood. If the wood fights the tool instead of slicing, stop and strop. Your whole first hour rests on that edge.

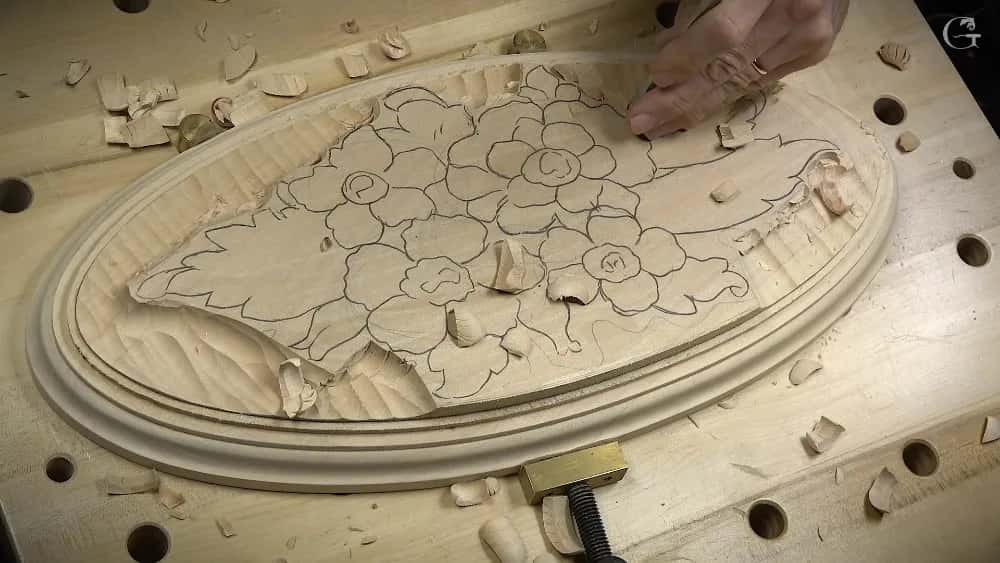
One brass clamp holds the whole panel. My hand is on the mallet, not on the wood.
Over forty years at the bench, and I still open a project the same way I did at sixteen, in my master's shop in Russia. Most people open it backwards. They order wood, then a tool set, then they sit down on a Saturday and the gouge skates over the grain and tears it, and by lunchtime they have decided they were born without talent.
You do not have a talent problem. You have an order problem.
- Sharpen one gouge and prove it on scrap before the good board ever comes out.
- Design, sharpening, carving. My order for learning, and carving is the most important of the three.
- One simple shape, drawn in pencil on flat basswood about the size of printer paper.
- Clamp the board. Keep both hands on the work, and neither one in front of the blade.
- Three shallow passes crossways to the grain, on scrap. Then start the real one.
What happens in your first hour at the bench?
Your first hour has five moves in it: hone a single gouge, test that edge on an offcut, clamp a flat board down, pencil an easy shape onto it, then take three light passes across the fibers. None of that needs a big set of tools.
An hour sounds short. It is plenty, because nobody expects a finished carving out of it. What you want by the end is a tool that slices, a board that cannot move, and a hand that knows where it belongs.
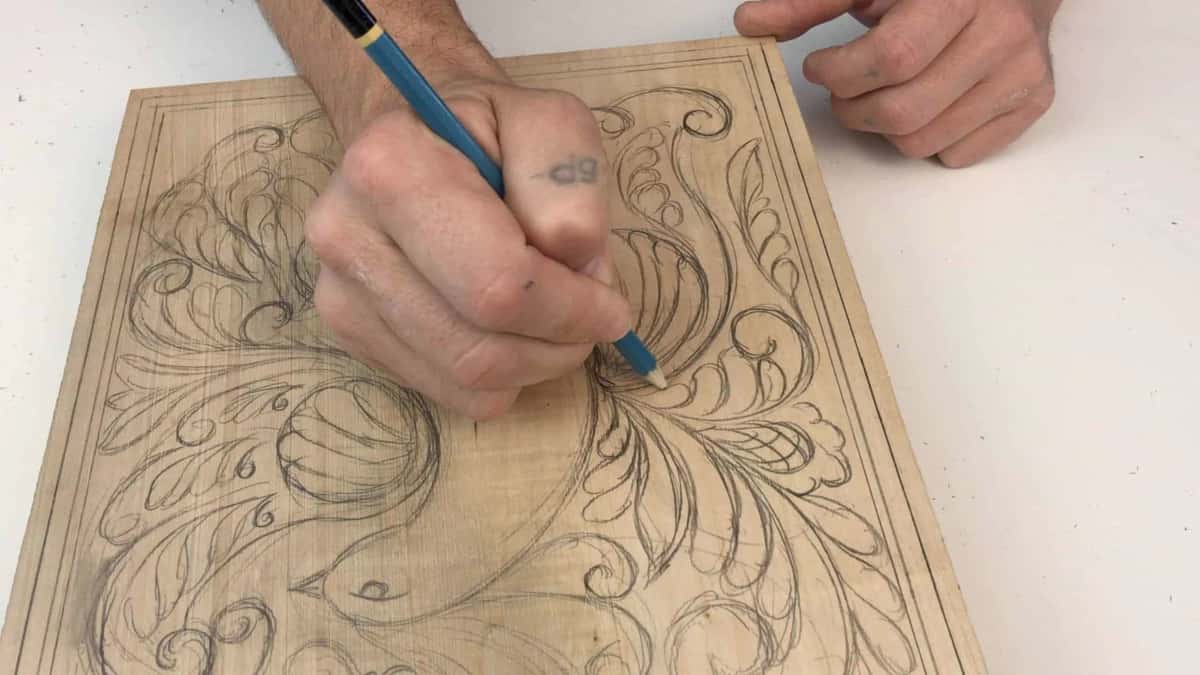
Graphite goes right onto the wood. Paper patterns come later, when the shape gets harder than your hand.
Read the neighbors in the right order too. What sits on the bench is the short kit list for a first carving, and what the hobby costs across a year is a separate and honest question about money. This page is only about sequence.
Why does the sharp edge come before the wood?
A dull gouge crushes the fibers ahead of it and tears them out, so the wood looks bad and you blame the wood. That is the step almost everyone skips, and it decides the result more than the species does.
In my course on tools for wood carving I say it plainly. If you are not planning to sharpen your tools, or if you do not know how to sharpen them, you are going to get frustrated. The whole warning, right there. Not a word in it about talent.
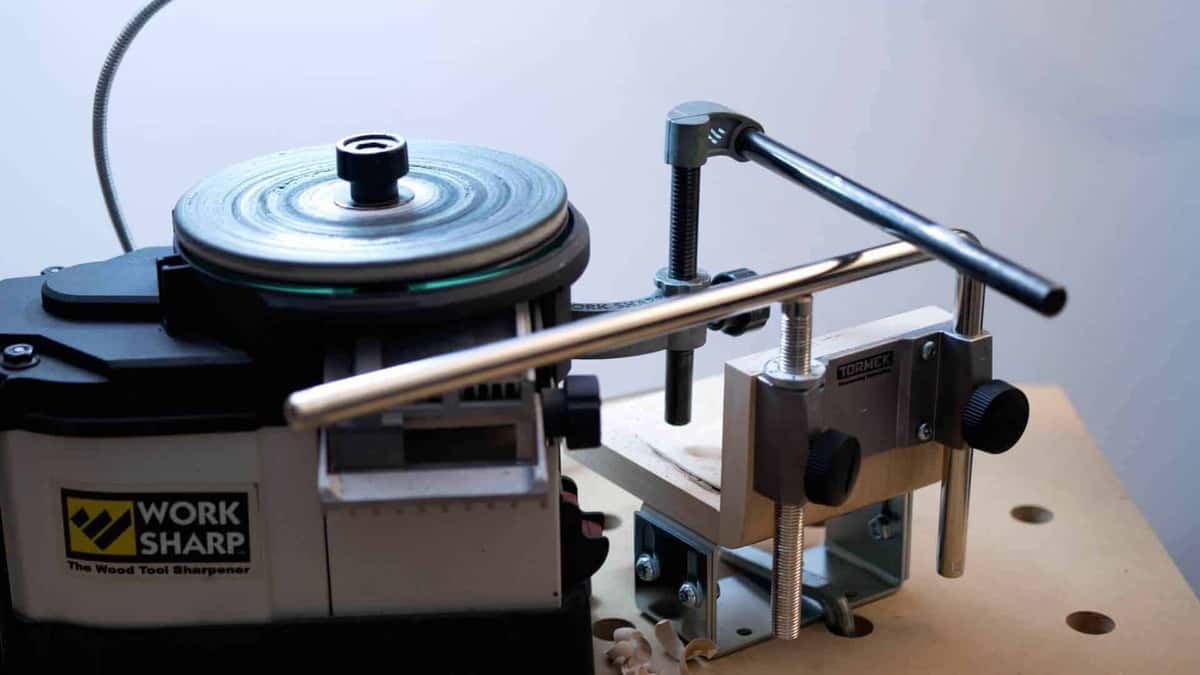
That silver rod is a Tormek bar bolted onto a Work Sharp. It holds the bevel angle for me.
Here is the part nobody tells a beginner. Most sets arrive unfinished. Look at those tools straight out of the box and you can see machine marks, and they have never really been sharpened, so I have to buff them before I can use them. I remember buying my first set and paying about half a thousand dollars for a few gouges, and every one of those came ready to carve. A cheap set of twelve sold to beginners does not. Nobody puts that trade on the box.

My slip stone lives on the bench, not in a drawer. A ground bevel is not an edge until it is honed.
Grinding sets the shape. Honing takes out the scratches the grinder left, and a leather strop polishes the last wire edge away. Skip those two and you own a wedge, not a carving tool. For the whole method, machine and hand both, there is my sharpening course from grinding through stropping.
A thirty second clip from my channel on sharpening carving tools. Sharpening comes first for a reason.
How do you prove a gouge is sharp before you start?
Push the edge into a scrap of basswood at a low angle and look hard at the shaving. A sharp gouge lifts a curl that holds together and leaves a wall with a shine on it. Dull steel leaves fuzz.
My own test in the shop is feel. If you feel resistance, do not force it. Make multiple cuts instead, and keep checking whether the tool is still sharp. Paper settles it too. Get your tools sharp enough and you should not have any problem going through paper and the green tape.
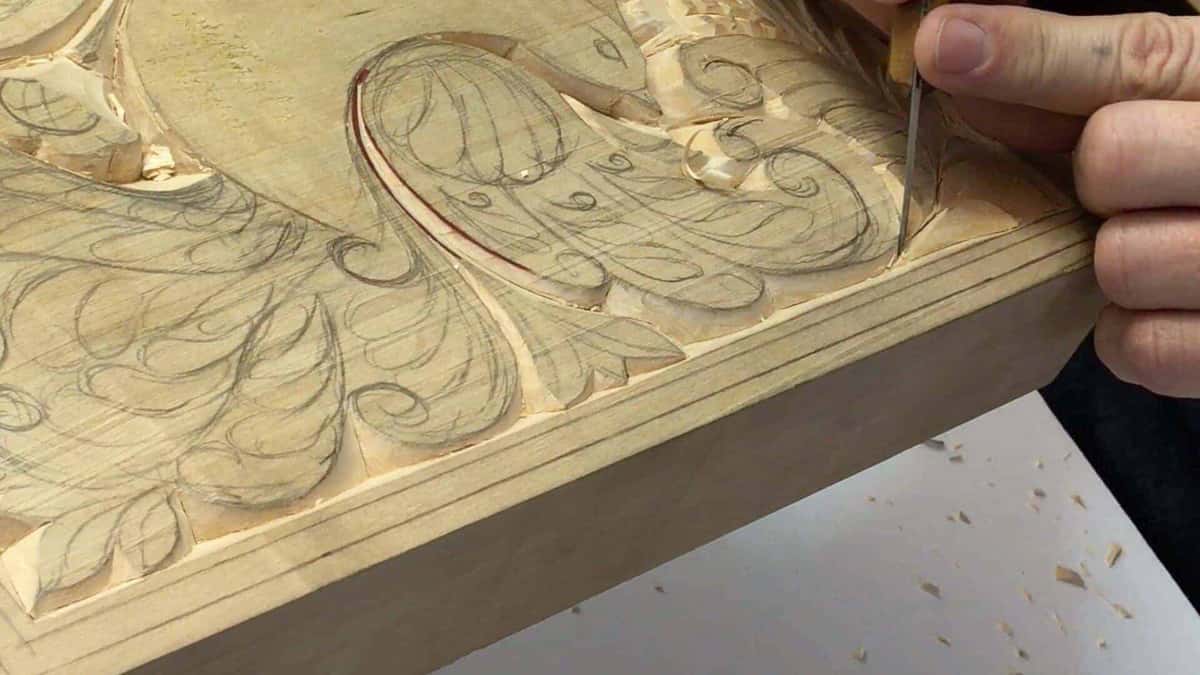
One pass at the edge, and the chips tell you plenty. A shaving that holds together is the only proof I trust.
When mine come off the buff I am not even pushing, because it is just that razor sharp, a lot sharper than some doctor's tools, surgeon tools. Bragging, until you feel one. Then it sounds more like a warning, which is why I would read what can actually hurt you before your first carving pass.
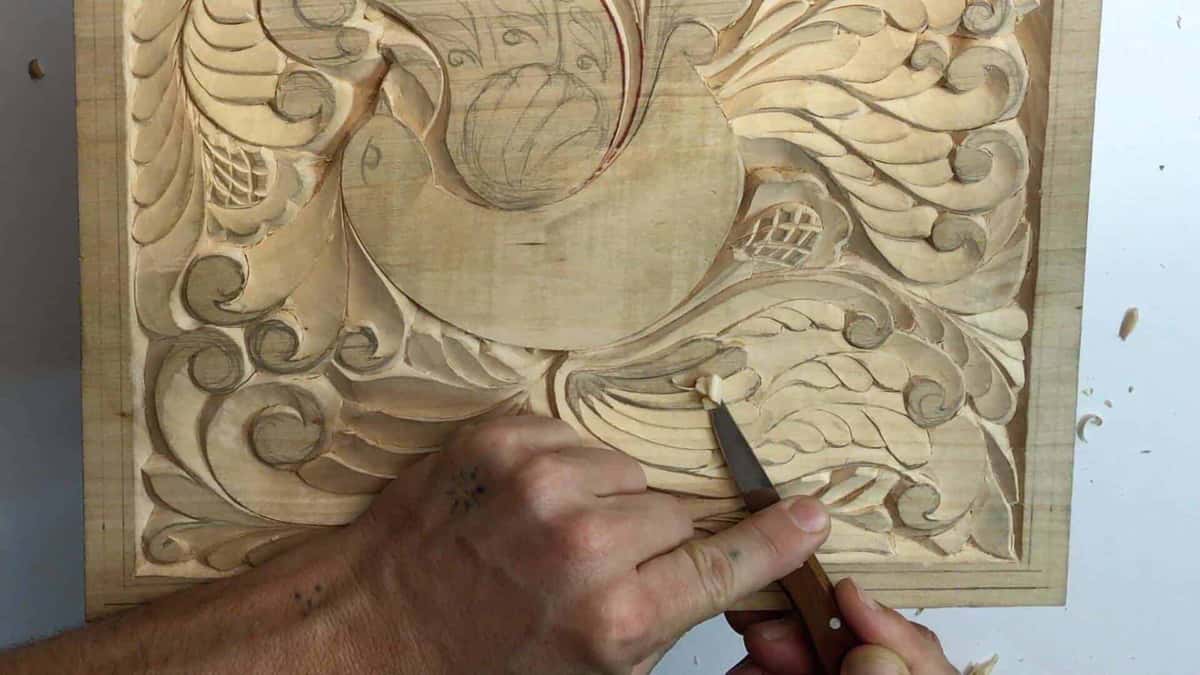
I stop and hone in the middle of a leaf. The tool tells me when, long before my eyes do.
Brands matter less than the last two minutes of work you put into them. Swiss made Pfeil gouges arrive close, and so do the Sheffield forged Ashley Iles ones I reach for. Both still want a strop. Grinding steel worries some people, and the plain physics of an edge is a ten minute read.
Where does design fit, and why do I put it first?
Design comes first in the order I teach, because design is the most complicated thing. It is first in learning and last to get right. The edge is first in the hour. Those two facts do not fight each other.
My master in Russia never taught me to draw pretty leaves. He taught me the laws of space. Rhythm, repetition, and how a tool wants to move. Ask me how many golden ratio points we have on that board and I will tell you we have four, on any board, before a single line goes down.
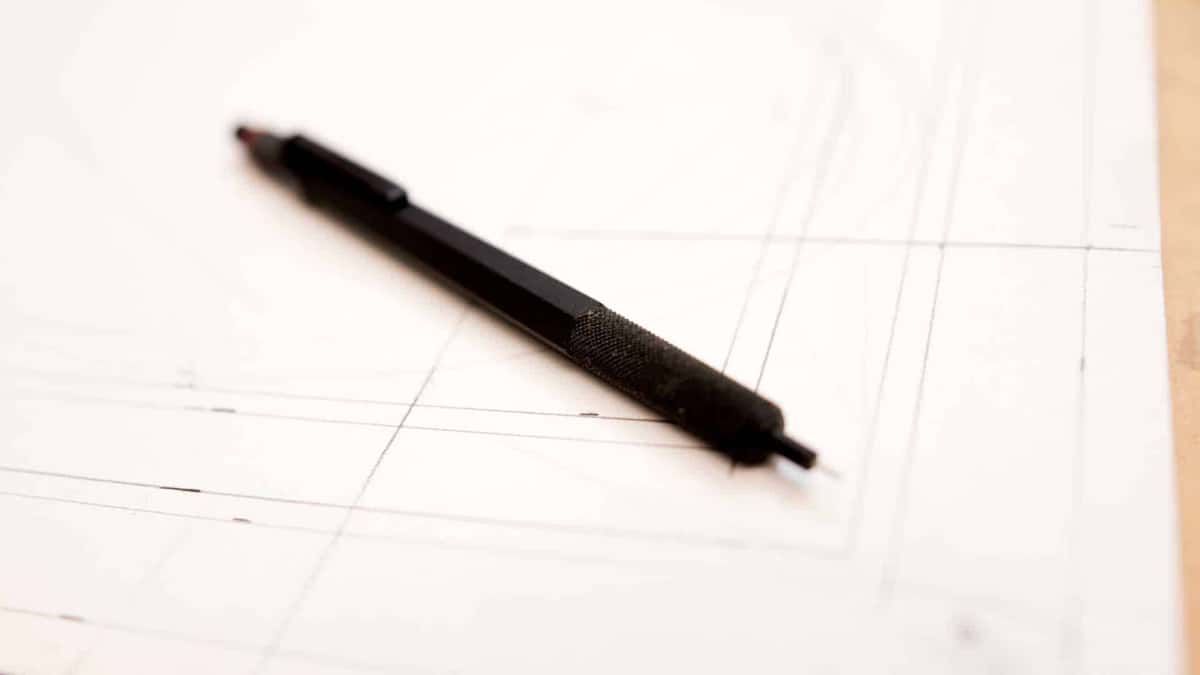
Lines and a pencil, before a single leaf goes down. The measuring happens first, every time.
Everything that survived in museums is based on the golden ratio. Mystical or merely useful, take your pick, but the ratio itself is old arithmetic, and the Fibonacci numbers come out of the same place. Grinling Gibbons carved with no machine in the room, and work from his hand is still standing three hundred years on.

A rosette starts from the center and works outward. That kind of shape is the kindest one to draw first.
Learning to draw is its own road, and I keep it separate on purpose. Start with the drawing skills a carver actually needs, and for the geometry behind the four points there is my whole design course on the laws of space. One leaf is enough for the first hour.
What should your first design on a real board look like?
Draw one shape, no bigger than a sheet of printer paper, with fewer than a dozen lines in it. A leaf. Maybe a simple scroll. Something you can finish in an afternoon and still want to look at a week later.
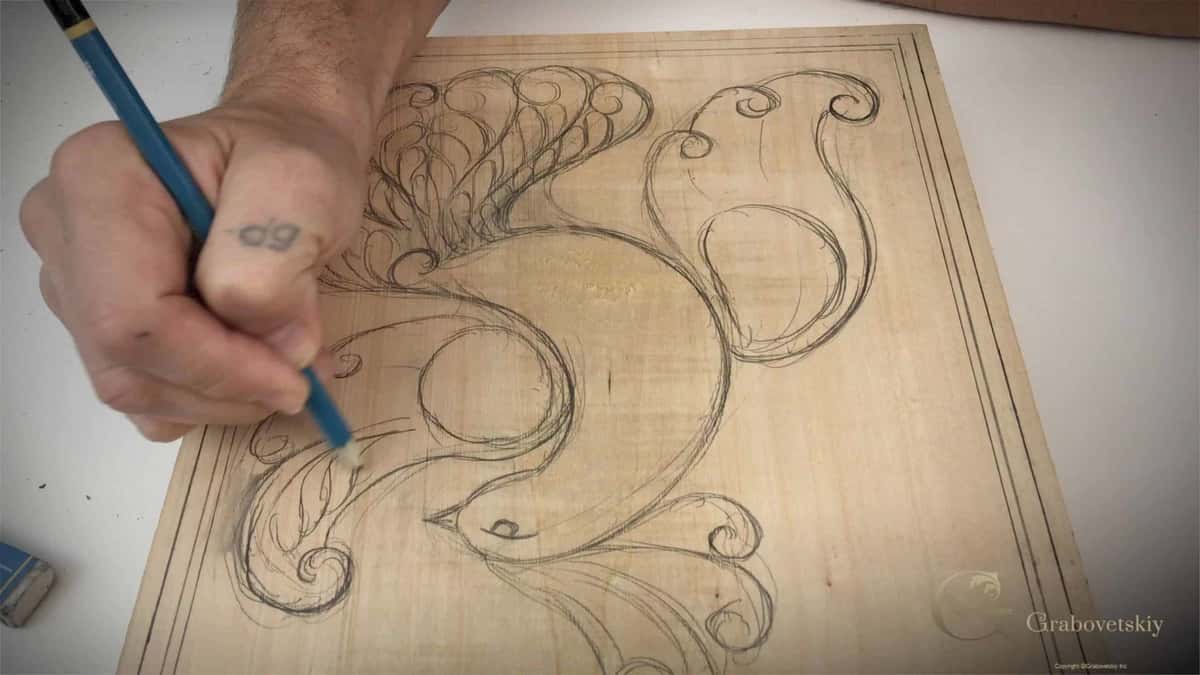
Fewer lines than this would be smarter for a first board. A crowded board punishes a beginner twice over, once while carving and again while looking at it.
Pencil goes straight on the wood for a shape this simple. Anything harder I trace with graphite paper, and pricking the pattern through with a needle is the older way. Then a marking gauge sets the border. An eighth of an inch, about 3 mm, scratched rather than drawn so a shaving cannot rub it away.

Fig 4, 5 and 6 on an old plate, labeled Laurel, Dock and Trefoil. The old books teach shapes.
Wood choice belongs in this hour too, and my answer is short. Basswood, which Europe calls limewood. It would be much easier on basswood, which I encourage you to try first. The wood database entry for basswood puts it at 410 lbf on the Janka hardness scale, soft enough to slice and firm enough to hold a detail, and the tree it comes from is the American linden. There is also a longer piece on the best wood for carving, plus a checklist for judging a board you already own.

The design sheet stays right on the blank all day long. I keep looking back at it.
Flat, dry, quiet grain beats pretty figure every time on a first board. Rough stock wants planing and squaring before any of this, which is how a rough board becomes a carving blank.
How do you hold the board still?
Clamp it, and clamp it flat, because a board that shifts under the tool turns every pass into a guess. Any clamp will work. Two of them work better than one, and a bench with holes in it beats both.

That threaded hold down drops straight into a bench hole. A row of holes is what makes a bench worth having.
Screw clamps do most of my holding, with bronze bench stops behind them, and double sided tape for a piece no clamp can reach. A front vise does the same job when that is what your bench has. What you must never do is hold the wood in your lap and push a razor edge toward your leg.

One clamp at the far end, and the panel still swings round when I need the other side.
Thin work changes the rules, and that is a subject of its own. Once a leaf tip gets down to a couple of millimeters it wants backing and support, which is how to keep a thin carving from breaking or warping.
Where does your off hand go?
Your off hand goes on the board, flat and solid, and never in front of the edge. One of the hands is supposed to be placed right on the board. Do not raise both hands in the air.
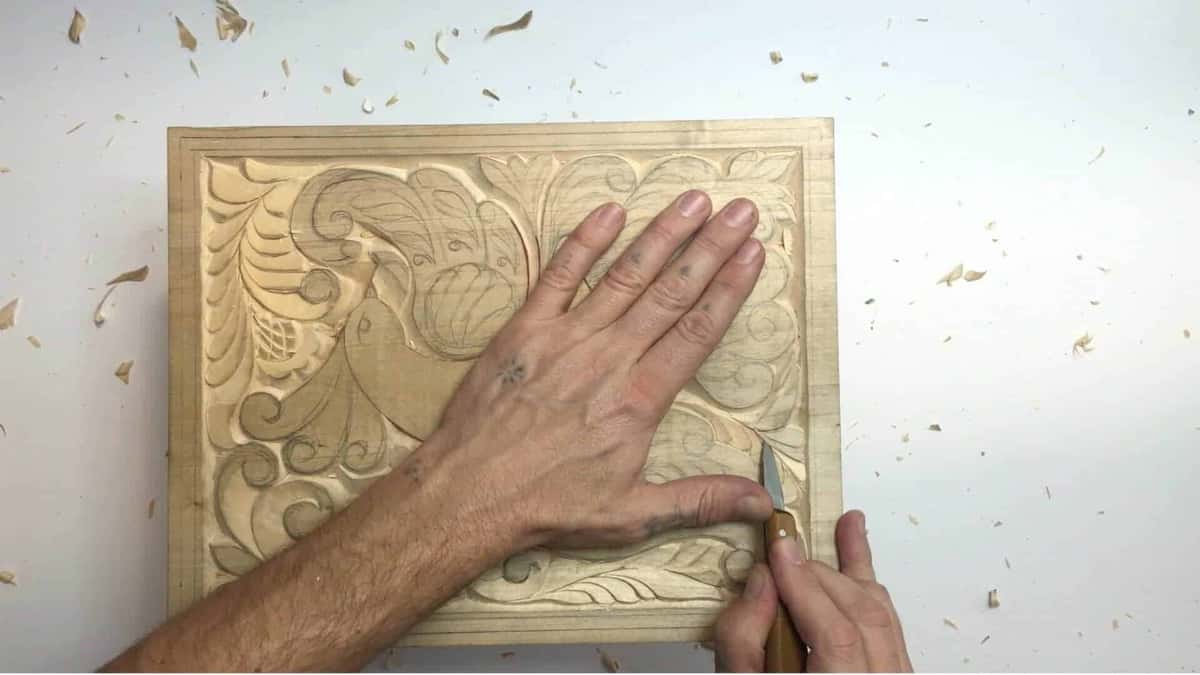
Left hand anchored, right hand driving, and the tool travels while the anchor stays put.
In my Greek acanthus leaf course I repeat the rule, and it is the one that draws blood. Never place your second hand in the way, because you can easily slip and cut your hand. On fine work I put a finger down on purpose, so it works as a stop, and that is what gives me a lot less chance to slip.
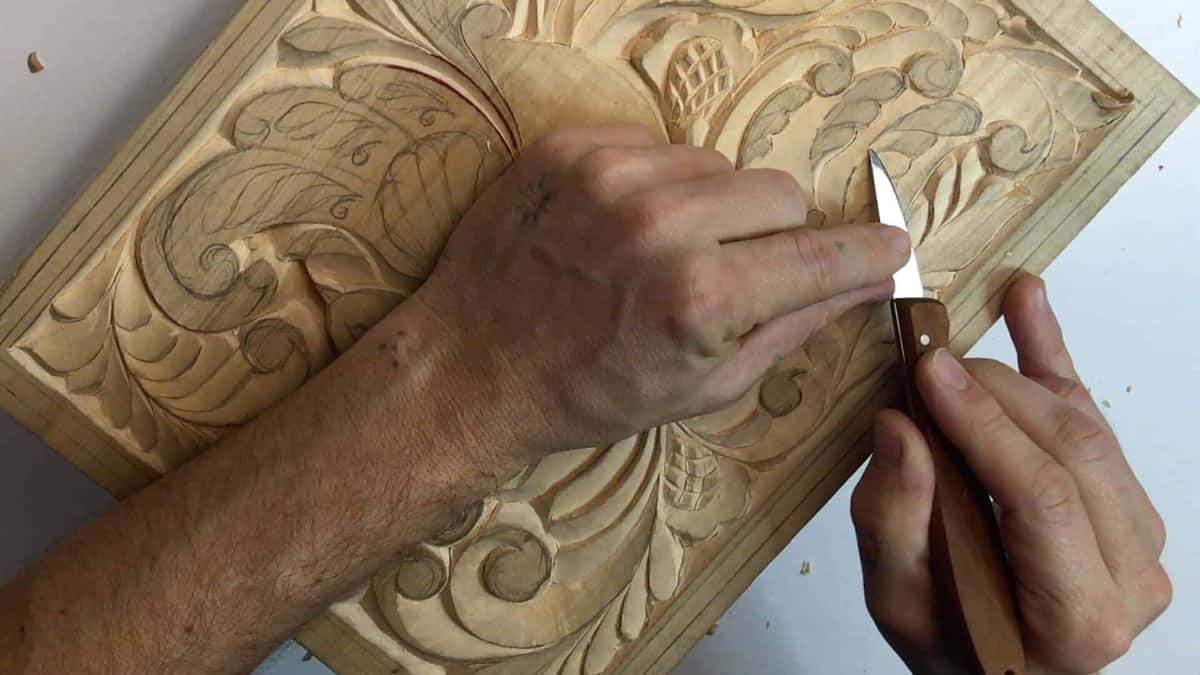
Fingers braced behind the blade, never ahead of it. I used to cut myself a lot of times, even several in one day, and now I almost never do.
Grip changes with the pass. Two hands for a straight line, a pencil grip with two extra fingers down for detail, and on small tools I hold a bronze mallet in my palm rather than by the handle, which shortens the blow to almost nothing. That habit earns me nothing at all. I just do it.
What does a practice pass on scrap teach you?
Scrap tells you three things fast: whether the edge is ready, which way the grain runs, and how hard you are pushing. No design gets ruined while you find out.
Go across the grain for the first pass. I am going across the grain, because it is the safest way. Then run the same pass with the grain and against it, and feel the difference in your shoulder before you see it in the wood. Grain direction is a physical property of the fiber, not an opinion, and the USDA Forest Service wood handbook spends whole chapters on it.

That pile is the real scorecard. Curls mean a good edge, and dust means the strop again.
Stay shallow. Push a thin spot too hard and it snaps right out, and a tip that breaks off on day one is a bad memory to carry around. There are a lot of different techniques you can practice just on small pieces of wood, and none of them cost you a good board. Reading grain properly is a skill with its own set of rules.
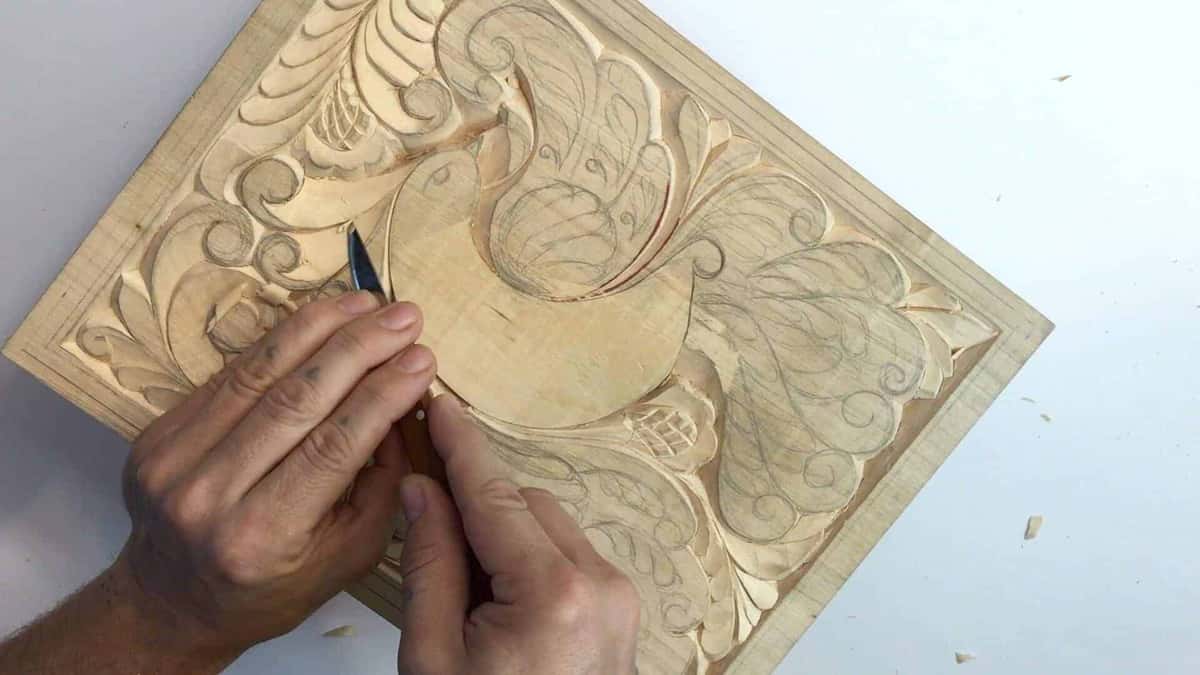
Pencil lines survive more passes than you would think. And I never got a splinter from basswood.
Which order do most beginners use, and what does it cost?
Most people run the hour in the exact reverse of what works, opening with a wood order and a big tool set and finishing with a dull edge on a good board. Here is the swap, move by move.
| Common first move | What that costs you at the board | Better first | The reason it works better |
|---|---|---|---|
| Order the wood | You wait a week and still cannot carve it | Strop one gouge | Ten minutes buys a working edge today |
| Buy a big set | Twelve dull tools, and no clue which one | Sharpen two | Two sharp gouges carve more |
| Draw a hard design | Too many lines, and you quit halfway through it | Draw one leaf | One shape teaches the whole grain lesson |
| Hold it by hand | The board slides and the gouge follows it | Clamp it | Your hands both stay on the work |
| Carve the real board | One bad pass, and the good board is gone | Carve scrap first | Scrap costs nothing and teaches the same thing |
| Go deep fast | Weak spots show up and the tip breaks off | Go shallow | Shallow leaves room to fix a mistake |
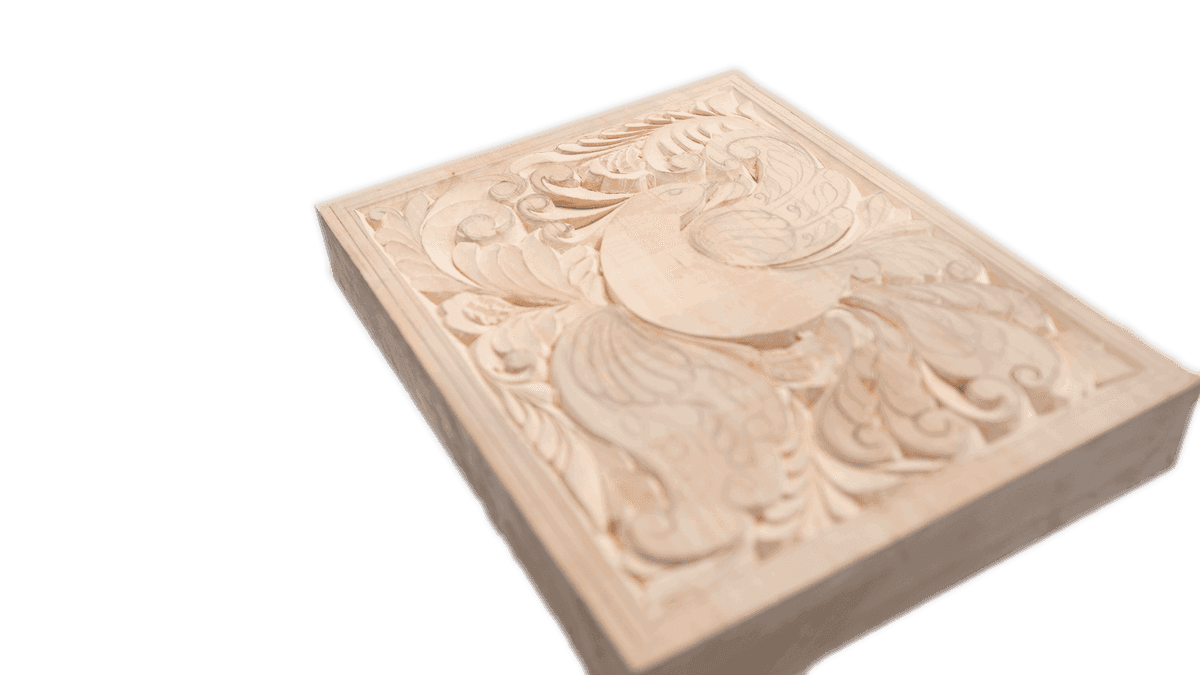
This is roughly where a first board can end up if you keep going. It took a good deal longer than one hour.
People who joined the school call themselves beginners, and they never carved before, but they already achieved really good results on these projects. The wider list of first-year traps sits on a page about the mistakes beginners make.
The first hour, in the order that works
Work these seven moves in order and the hour ends with a real carved shape instead of a ruined board. Set a timer if you like. The order matters more than the clock.
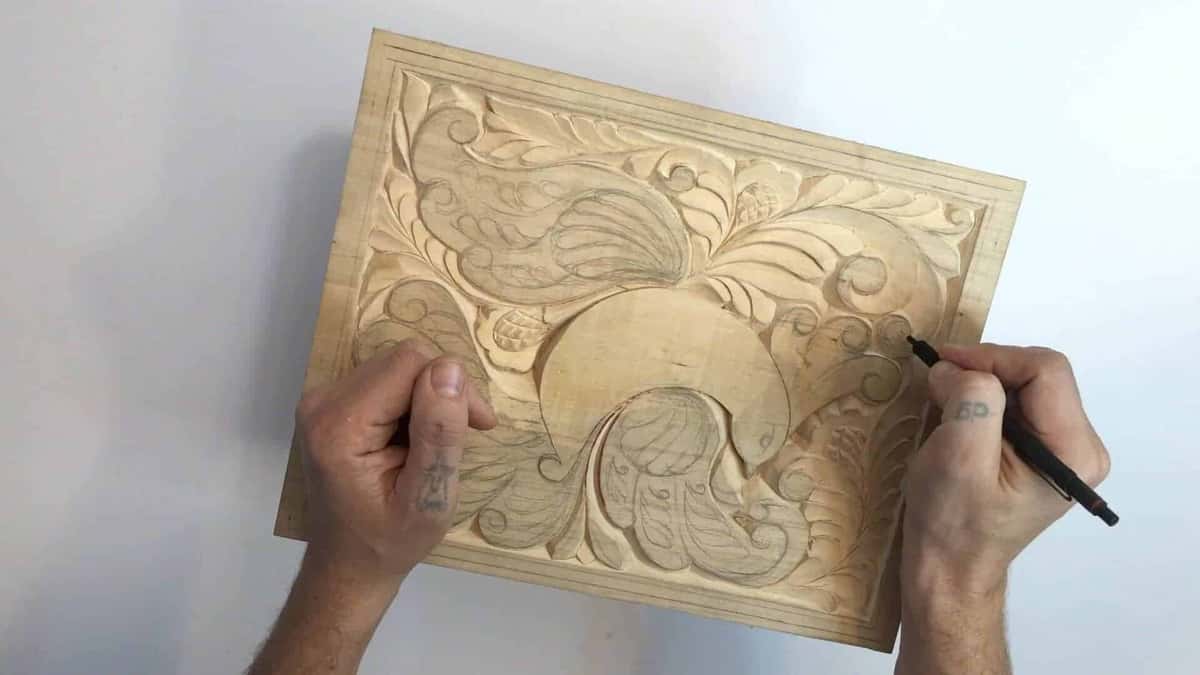
Lines get redrawn every time the wood drops, four or five times on a small panel in my case.
Step 1, get one gouge properly sharp and stop there
Take a number 5 gouge about 10 mm wide. Grind if the bevel is wrong, hone on a stone, then strop until the inside of the flute shines. One tool. Do not sharpen six before you know what sharp feels like.
Step 2, prove the edge on a scrap before the good board
Slice across a piece of basswood offcut. You want a curl that stays whole and a wall with a shine on it. Fuzz sends you back to the strop for another minute.
Step 3, pick a flat board about the size of printer paper
Basswood, dry, roughly 8.5 by 11 inches and at least 20 mm thick so the clamps have something to bite on. Quiet grain. Nothing with a knot sitting where your design wants to be.
Step 4, draw your shape right onto the wood
Set the border with a marking gauge at 3 mm, find your golden spot, then draw a leaf or a scroll in pencil. Fewer than a dozen lines. Look at it from arm's length before you commit.
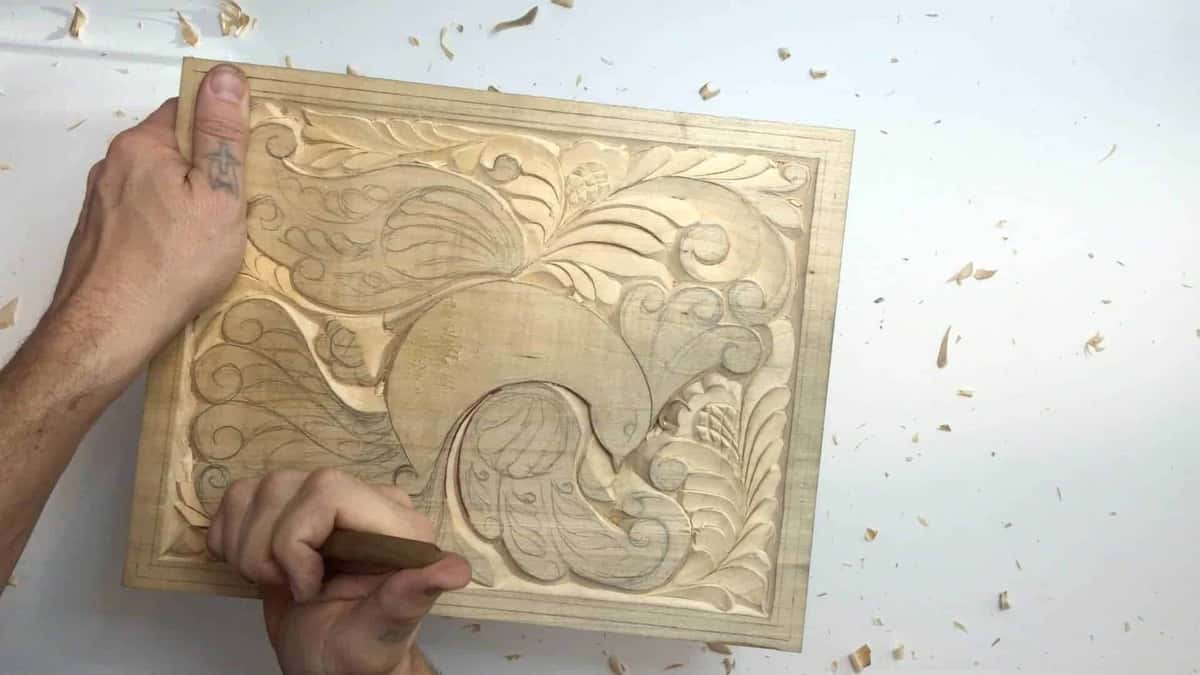
The far hand pins the board. No clamp on this one, which is not what I tell beginners.
Step 5, clamp the board so it cannot move at all
Two clamps, grain running away from you, a scrap of card under each pad so the jaws do not bruise the face. Lean on the board hard with one hand and try to rock it. Any rock at all, clamp it again.
Step 6, plant the off hand on the board
Palm or fingers down on the wood, always behind the edge, never in front of it. Each hand keeps touching something solid. Then warm up with three easy passes.
Step 7, outline the shape and lower the ground around it
Walk a small veiner just outside your pencil line, about 2 mm deep. Then take the background down to your border depth. Stop when the shape stands up, and the hour is done.
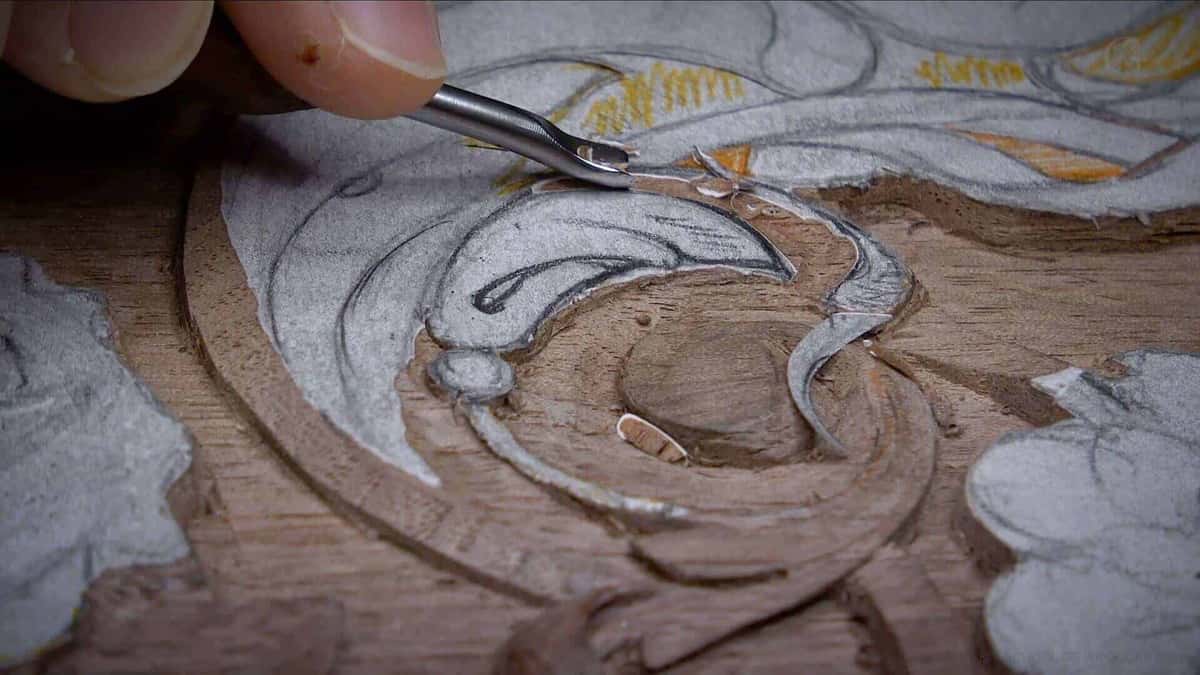
Outlining just off the drawn line. The ground comes down after this, never before it.
Patience is the skill under all seven. But on the other hand, if you don't have patience, wood carving is not for you at all, and I would rather say that now than watch you spend half a thousand dollars on gouges to find out. How long the road runs after this hour is a fair question with a measured answer, and the map of what to learn in what order sits in the guide to starting properly. What to expect of yourself before any of it is worth reading once, slowly.
One more thing before the bench. Sharpening sits second of the three, after design and ahead of carving, and it is the skill that keeps growing the longest. You will strop better at year five than at year one. And you will still be stropping.
Frequently asked questions
How long does that first hour really take a beginner?
Plan on more time than you expect the first time, because sharpening eats most of it. By the fourth session the same seven moves go much faster. Sharpening shrinks fastest of all, once your bevel is the right shape and only wants a strop.
Do I need a mallet on day one?
Skip the mallet for your first shallow passes on basswood. Hand pressure gives you better feel for the grain, and feel is the thing you are buying with this hour. A mallet earns its place later, on deep work and on hard species like white oak.
Can I practice on a scrap 2x4 from the garage?
Construction lumber teaches the wrong lesson. Spruce and pine studs are full of hard knots and soft summer wood, so the tool dives and the fibers tear. Carve a 2x4 and you will get frustrated and dull your gouge for nothing.
How sharp is sharp enough for a first pass?
Sharp enough to slice printer paper cleanly and to lift a whole curl from basswood without pressure. When you have to lean on the tool, the edge is not ready. Two minutes on a leather strop with blue paste usually closes that gap for good.
Should I draw on paper first or onto the board itself?
Draw straight on the wood for a first simple shape, since a pencil line on the board is the honest test of size and placement. Keep a paper copy beside the bench for reference. Trace with graphite paper only once the shape gets too complicated to sketch.
What if my first practice pass tears the wood?
Turn the board around and take the same pass from the other side. Tearing usually means you are running downhill into the grain, and half the time direction is the fix rather than sharpness. When it tears both ways, the edge needs another minute on the strop.
Filed under