

Alexander Grabovetskiy, woodcarver, School of Woodcarving · Published 2020
What does roll mean in wood carving?
Quick answer: Roll is my word for a part's turning movement: a roll back, a roll from underneath or a roll in the opposite direction. In part 5 of workshop 44 the roll comes with a far deeper cut at the shape's side, and other lessons pair it with undercuts, roundness or a limit.
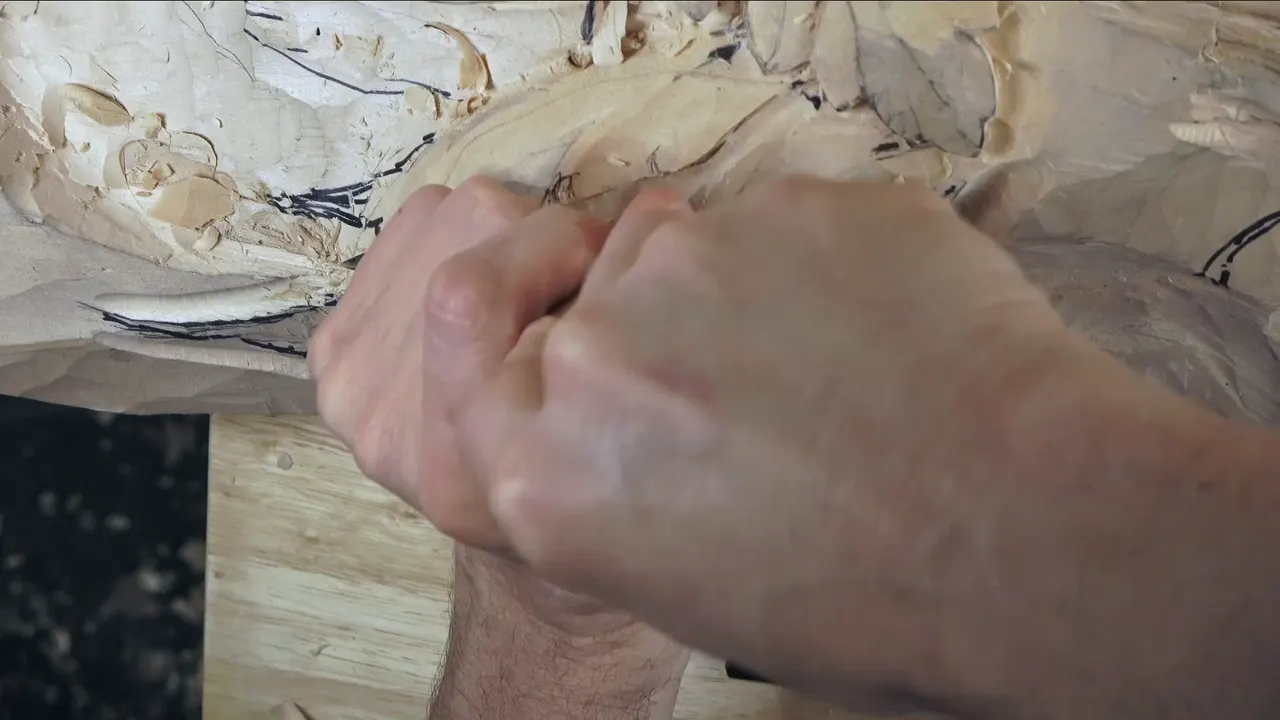

Roll is my word for a movement a part makes, this way, backward or from underneath. In Venice Room 44, part 5, a long shape gets a roll, and that asks for a much deeper cut on its side. My other lessons bring the word back with other jobs.
Ever stood at your workbench with a gouge in your hand, looking at a part that has to roll, and not sure where the tool goes? This video is short. So I put beside it what I say about roll in other wood carving lessons of mine, from other courses.
What does roll mean in this part?
The part opens on a movement. "And yes, it has to be long, and I'm going to roll it also." Ten seconds later comes "So it's going to roll this way." The price follows: "Which means I have to create much deeper cut on the side."

Next I pause over how it should look. Something will show on the side, and that gives me a chance to reduce the thickness of this chunk, "because right now it's just too thick." One line after that: "So that is actually a really good movement. Love it."
Another layer comes at 01:20. By 01:47 I am talking about the tool. "Maybe even I should use a little bigger," I say, and then pull it back: "Well, maybe not a little bigger. Big, like 30 millimeters" (1.18 in). It stays a thought. Nothing in the captions says I picked it up.

The captions go quiet until 03:04, when I ask, "See what I mean?" and say the side is giving a beautiful movement. Then I hold back. "Before I go too extreme to that point, I still need some material because I still have to develop this part." And until I made my final decision, "I got to stop somewhere."
The number comes at 03:41: "I left approximately, at the lowest point, about 20 millimeters I'd say" (0.79 in). In inches, "about three-quarter of an inch" (19 mm) "of the material."
What comes after the roll in part 5?
An outline is the next job: "Make the outline. Right away this." "Wonderful" comes at 04:24. Two seconds later: "Except I'm not sure if I like how that feels. But I can probably work on that."

A plan follows. "Actually, you know what? Let me give a shape to this one, more or less final shape." That will show me what I can do with it. I add at 05:03, "that is going to go all the way also."
Tool talk is brief. A skew gets one mention: I could "probably use just a skew" (05:14). A really nice preliminary shape is something else I could probably give. No cue says I did. Then a plan for later: separations are coming, and to carve them "I need to undercut underneath."

Then another plan: "I think I should give an eye, and get that piece go down all the way underneath." I say that will make more sense. Then, at 06:20: "I know it sounds funny, give an eye." It stays a plan. Nothing in the captions says I carved one.
The last minute of the part holds a choice left open. "There is a few different ways I could develop it." Then: "Let me think." A few seconds later comes "I do not want to do everything the same." Last, the middle point, "which is going to be right there." The last cue breaks off mid-sentence, "give a...", and then comes "I think."

Does the word come back in the next parts?
Part 4 uses it three times. Roundness comes up at 03:34: the shape needs it, "because it really has to just kind of roll this way." Later, at 04:05, comes a wish for a little roll in this direction, "but not much." Only one part of it rolls down.

For that I name "probably" a bigger number 11, "20 millimeters" (0.79 in). All of that is a plan. Another plan comes near the end of the part: I could excavate a little deeper underneath, so that it gives me "much more a three-dimensional look."
Part 6 has no word "roll," yet the tool turns. With another eye coming, my tool has to turn: "make the rotation with my tool somehow, and go around, and change the direction of this movement like that." One small line sits in part 3: "I wanted to get that point rolled in. So let me stop right there."
A maybe sits in part 11. After a thought about a secondary separation, I say, "maybe I can roll it a little bit this way." And of that part: "I'm happy."
How does the Modern Acanthus course use roll?
Lesson 1 of that course has me explaining the word itself. "Let me explain what I mean by Rolling." Some will be "High rolling back," and some "rolled back but that's gonna be much lower level." Then: "Rollovers is the high spot." The same colors come later, "and you will understand."

My reason to undercut a roll sits in lesson 2, part 2. "Rolling without undercutting doesn't produce any Shadow," I say, "and wood carving is all about the Shadow and Light." My cut under it is a "preliminary cut," not the final one, "just indication."

The plan in lesson 4 of that course starts with a number 7, 14 millimeters (0.55 in), to "create my rolling motion." A number 9 of 10 millimeters (0.39 in) is next, to undercut that area. "I really want to see the shadow."
How do I roll a part from underneath?
Lesson 28 of the Furniture Panel course, part 2, goes in steps. First comes a much deeper undercut, and I name what I am after: "I'm after shadow from almost nothing." Next, at 03:49: "So now the next step would be to roll it." The line needs an undercut right underneath it, "otherwise it's not gonna feel like it's rolling with the same tool."

I call it a tricky area at 05:16. Four seconds later you can see it already has the feel of a roll from underneath. By 06:04 the rolling from underneath is there, and that part I will probably blend.
A shallow carving gets the same job in lesson 27, part 3. I can put that concave "right underneath of this line and make it feel like it's a really rolling from underneath." Next tool: a number 3 of 12 millimeters (0.47 in), "little less than half an inch," and I will "roll it slightly."

Shallow is the difficulty. You still want all the concaves and convexes "without digging too deep." With a big tool, "you don't dig too deep to the background, otherwise you're gonna damage it."
An eye that should look like the shape of a water drop comes up in lesson 26, part 2. My plan is to "carefully gonna roll and blend somewhat underneath of this line." Later, at 17:37: "Feels like it's rolling even if we did not attack this side yet, but you can already see, you can detect that shadow."

Space is short there at 17:55. The plan: a number 1 and then "my rolling motion." Depth is only half a millimeter (0.02 in) right there, and I cannot go too deep. "Somewhat more extreme rolling" is how I name it.
How do I roll a flower or a petal?
In lesson 23, part 10, the flower is bigger than that side, I say. I want to be sure it rolls a little on that side: "it has to roll that way," and the opposite side the other way. That will give us some roundness.

Gibbons Maine class 7, part 2, begins with a plan for a number 2, "the flatter tool," and "I'm Gonna Roll it like this." Later I ask you to think of "the real life flower how it's supposed to roll," and I plan to undercut underneath of that side also "right away."

Class 8, part 3, wants a second flower to roll backwards: "So this one gonna be like flipping backwards." My plan calls for a number 7 of 14 millimeters (0.55 in). "Okay, just this one. I don't need to create a lots of those movements."

Venice Room 136, part 1, tells why. The part sits only a short distance from a flower. Without a roll, "it's just a little off. It just doesn't look right." With one, "it feels like if you're going to stretch those petals," and the shape comes out right. Rolling it extremely from that point is something I say I could do.

Workshop 138, part 3, has me turn a side in the opposite direction. "It doesn't really have to be number seven," I say. Number three could do it too, taken little by little. The feel I want is one that "goes from inside, go up and then rolls back." Underneath, of course, comes an undercut, and the one millimeter (0.04 in) can probably hit that right away.

Can a roll go too far?
In Floral and Molding lesson 6, part 1, I warn about one cut: "don't roll it too much." Look straight at that piece after rolling too much and "you're going to lose that feel. It's going to look like a straight line."

The Tray of Blessing, lesson 2, part 3, has a smaller tool for the same job. I grab a number 2 and plan a slight roll underneath. Certain people struggle with that, and I say they can grab a smaller tool and start undercutting.

Sometimes the roll goes far on purpose. Back in Venice Room 136, part 1, At 06:01 I decide which way the roll goes. At 06:23 I add that I will need to clean everything, of course, and at 06:35 I say I think the roll will be extreme.

What happens to a ridge or a pipe when it rolls?
A pipe gets its roll in lesson 82, part 10. "I have to probably roll it and create a chamfer cut or a fillet cut," I say, "because it's a part of a pipe." And the line after it: "So I don't want to see a sharp ridge."

Smaller work shows up in lesson 54, part 1. At 02:40 I say it would look really nice to "create a roll back like this": a concave cut on the inside and a roll slightly backward. Then comes another interesting detail at 03:59, "a detail on inside of detail." "I could actually roll this in," I say, the same effect on a micro level.

Of a detail that small I say, at 06:30, that it gives an extra level and extra shadow. Next: "And now I need to blend this side and roll it back." I can use "the upside down, any gouge which will fit," and "this is number five."

My doubt comes in lesson 75, part 12. "I'm not sure if I like it or not." Maybe the roll needs to be much better, and I plan to use number seven "and create that rolling effect." At 05:16: "It already feels like it does roll." Lines later it "rolls downhill," and at 06:42 comes the plan to take number 11, 2 millimeters (0.08 in), and clean it slightly.
Does a tool roll too?
Another job for the word sits in my talk on tools. Some people like an octagonal handle because it is not rolling, so the tool will not roll away from the bench. Then comes my own record: "in my life, and I'm carving daily, I carve every day, I never had even once that my tool rolled out of my workbench."

For a problem like that, I say you can use some kind of mat. Place it on the workbench with your tools on it, and none of them will roll out.
What do the ten places share?
Here are ten of the moments, with what rolled in each and what went with it.
| Lesson | What rolls in that lesson | What goes with it, as I said it |
|---|---|---|
| Venice 44.5 | A long shape | Much more depth at its side |
| Part 44.4 | Only one part of the shape, rolled a little | A roundness to that shape |
| Acanthus 1.1 | Rollovers, some high and some lower | Matching colors, used later on |
| Modern 2.2 | The rolling motion | An undercut, to get any shadow |
| Panel 28.2 | Something that feels like it rolls from underneath | An undercut right under the line |
| Panel 27.3 | A shallow carving, rolled slightly | A big tool kept out of the background |
| Flowers 23.10 | A flower, one side each way | Some roundness |
| Maine 8.3 | A second flower, flipping backwards | Just this one, not lots of those movements |
| Room 136.1 | Part close to a flower | Petals that look stretched, the right shape |
| Room 82.10 | Part of a pipe, rolled this way | A chamfer or fillet cut, no sharp ridge |
In every row the roll comes with a second job, such as extra depth, an undercut, some roundness or a limit.
What do I take from all of this?
Plain reasons follow the word. In workshop 44 it asks for a deeper cut beside the shape. In the Modern Acanthus course it asks for an undercut, and the shadow follows. Lesson 82 does not want a sharp ridge on a pipe.
Now look at your own workbench and find a part that needs a roll. My lines for it sit on camera in this video, and the lesson 44 page covers the whole workshop. For all my lessons in one place, start here.
The Venice Room course for workshops 38 to 49 holds the rest of this acanthus carving. These videos come from my Venice room carving and other courses of mine, and every figure in millimeters and inches on this page is mine, with the conversion beside it when I did not give one.
How it's done
- Name the direction. Say which way the part turns: this way, back or from underneath, as in this video and other lessons.
- Expect a deeper cut. The roll in workshop 44 brings extra depth at the side, and that side lets me thin the chunk.
- Leave wood for later. I stop somewhere and keep material, since the part still needs developing and the final look is not decided.
- Undercut for shadow. In the acanthus course I say a roll with no undercut gives no shadow, so my first pass is only preliminary.
- Hold the roll back. Check the piece head on. A line that reads as straight means I rolled too much, as I warn in one panel lesson.
Frequently asked questions
What did a roll need in the fifth part of workshop 44?
Much more depth beside the shape. I said the shape had to be long, so I would roll it too. That side also gave me room to take thickness off the chunk, which I called too thick.
How much wood did I leave when I stopped in part 5?
I left about three-quarter of an inch (19 mm), by my own words. Material was still needed. Somewhere I had to stop, I said, before my final decision, since the part had developing to do.
Why undercut a roll?
Shadow. In lesson 2 of my acanthus course I said a roll with no undercut gives none, and that carving is all about shadow and light. My first pass there was a preliminary cut, only an indication.
What to carve next