

Alexander Grabovetskiy, woodcarver, School of Woodcarving · Published 2020
What does a wood carver mean by "without damaging"?
Quick answer: In my workshop 44, part 7, I planned to clean a little around one area and remove some of what I did not need, "but also without damaging this part." The next line was about not digging too deep. The words came back a little later, and so did number three.
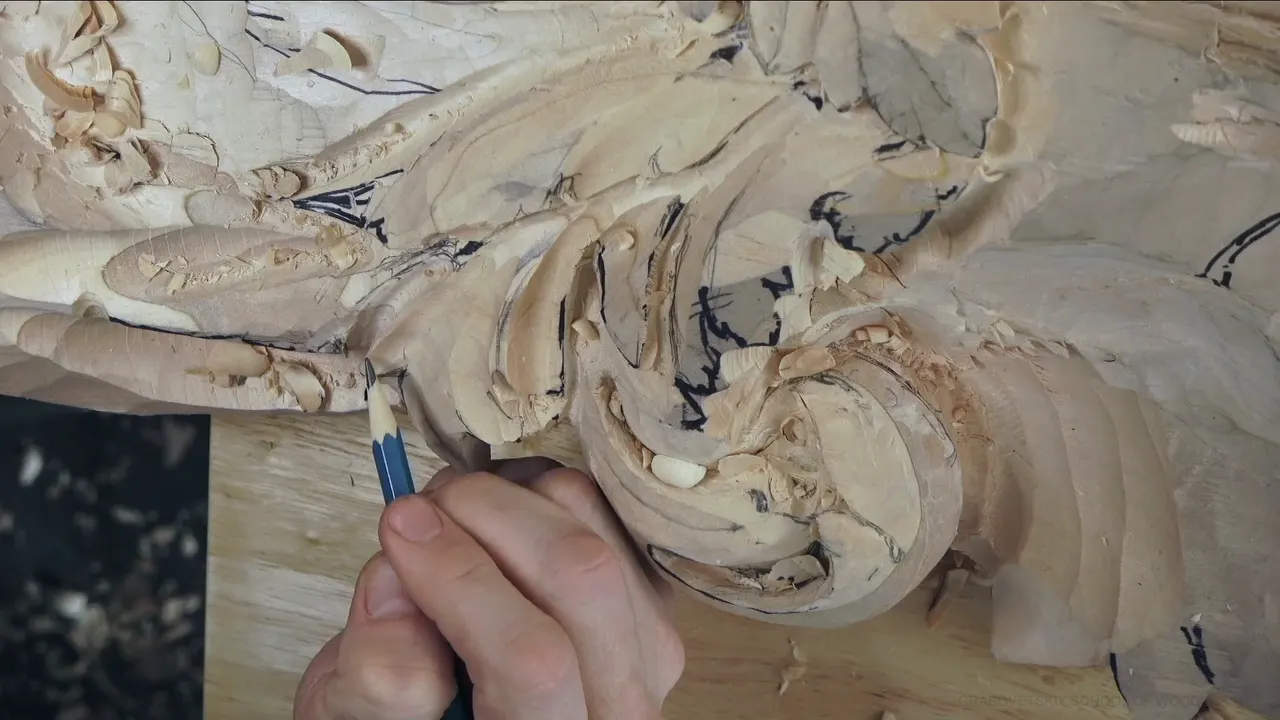

Without damaging is what I said in Venice Room 44, part 7, about "this part." I was cleaning around one area. A little later I said it again.
Have you ever had a gouge in the wood beside a part you cared about? Did you wonder how close was too close? Part 7 of workshop 44 is a short video of a relief panel. So beside it I put the same words from other wood carving lessons of mine, with the tool and the reason, and I name each lesson as I go.
What was I doing in part 7 when I said without damaging?

Shape and divisions open the part. "I'm after shape at first," I tell you, "but on another hand, nothing stops me from actually making the divisions." One part and another part repeat each other. Another small division could go right there, I add, and then comes "Maybe actually a little farther, because we don't want to get too close."
Next is "Let's work on those divisions." The first one is too big, so I need a smaller one. I definitely want to see that division. Another one needs more care, because the piece is going to go down, and a micro-division is planned for it later on.

Around 02:29 I say, "It's not the final shape, but it's a shape that I'm after." I love it, I tell you, and I like it a lot. Then comes the line this page is about. I clean a little around, and I do not want to get too much in this area. I plan to remove some of what I don't need, "but also without damaging this part."
Right after it comes "So it's important not to dig too deep." Around 03:18 comes "that is very good, or really good, I should say." The words return at 03:33, "Again, without damaging," and I could probably just use number three and clean up a little bit of this area. It's not developed yet, because I still have to develop this one. There's going to be a pipe.

What did I plan for the pipe, and with which gouge?

How low should the pipe sit? Going a little lower with the pipe is possible, I say, and then this has to go lower. "But no, it's not." Then, "It's not going to look good," and "it has to be something like that."

My tool plan comes next. "Again, I'm going to take 18 millimeters," I say, "about three-quarter of an inch" (18 mm works out to 0.71 in). Number 11 is the pick. It doesn't have to be, by the way. I could use just number seven, at 14 millimeters (about 9/16 in), and I plan my preliminary pass like that.
This side needs to be more accurate, I tell you, and in this case number 11 is probably the one. That is going to go underneath of this one. "I think I should use number 11," I repeat, and "Let's see." It needs to go down, like that. Another division will sit on the inside, and that is "really not bad at all."
One more tool plan follows: "Let me use number 11 and maybe half an inch" (about 13 mm). The pipe is the reason I give: "A little more. Not much, but a little more." On one of the sides I can lay it. With this tool, I say, I'm not losing the overall shape, and it still goes upward.
"But not too much," I add. A question I answer myself comes after it: "And do I want to do that? Of course not." It ends on "Blend that now," then "This way," and "That way."
What happened beside it in parts 6 and 8?

A pipe shows up in part 6 too. I want to raise a ridge, and I tell you I do not want to lose it. A small inward pass is planned at 05:31, "not too much to the pipe." Next comes the line that undercutting underneath of that pipe is not what I want.

Part 8 has the edge touching something. At 00:55 I say: "Oh, just touched my beautiful concave." It continues with "But I can always clean it. It's better not to do that, but that is what it is." My words are that I just touched it with the edge.

A few lines on, I have another pipe, and the movement is supposed to continue that way. That means I need to excavate underneath and go below that movement. The only tool that fits is number 11, on its side. At 02:23 the 4 millimeters (about 5/32 in) number 11 looks a little too big. I need 3 millimeters (1/8 in) or even 2 millimeters (5/64 in). "But let me start with three millimeters."
What did I say when I did damage something to the wood?

A plain case turns up in workshop 64. "And yes, I am damaging this side, but that is absolutely okay because I can clean that." I have no problem with this side, because I can clean it, and actually I can clean it with the number nine, "just super sharp number nine." A small section shows up, and that is absolutely okay.

Workshop 65 has a shorter version. "I'm okay that I'm damaging a little bit inside," I say. "I'll take care" with a tool I name, and "All I need is just those movements." I need to try to go along with the overall movement, carefully.
The Roman Acanthus lesson 10 gives the reason. I'll take just an eighth of an inch (about 3 mm), a small gouge, and work this way first. The opposite side can be exactly the same. Here is the line: "I don't worry about damaging this because I still have to make another concave and remove some material in the middle of this." The Carving Hazelnuts course holds the same thought about a leaf. I'll excavate a little deeper, and I don't worry about damaging the edge of the leaf slightly, as long as I have plenty of material. I can always change the design. Then a warning comes: don't excavate too deep, because going deeper than the background is going to be a big problem.

The Furniture Panel course, lesson 18, adds the wood. A little too low and a little too aggressive is how I describe my work, and if you don't feel comfortable doing it the way I do, feel free to take a little more time and do a lot more passes. After that: "I'm not damaging anything, and that depends also on the type of wood." Some woods, like this one, are a little more forgiving.
Which tool goes in beside the part you name, and why?
Small tools come first in workshop 73. A line needs care, and my plan is number three or so, a micro tool. "Again, really carefully without damaging, without creating a problem. I don't want to create a problem." That line is headed down to the shell, and later I'm really happy with it.

A shell comes up in part 6 of that same workshop. Those are small details, I say. "Just small micro tools, and I have to be careful how I approach that." Wiggle slightly and go in, and the next words are "without damaging," then "this part of a shell." A 1/8 of an inch number three micro tool (about 3 mm) is the plan at 06:22, to create small notches.

The tool in workshop 84 is a skew, and the spot is hard to reach. Maybe I have to raise it a little bit. That would make it more convenient for myself. Taking the skew, I plan to go carefully, and what follows is "without damaging." It is a kind of challenging area for me to reach. I can take probably just number nine and use a mallet to work from a back side, and yes, I am kneeling down, by the way.
The main movement comes up in workshop 149. A smaller number 11, 5 millimeters (about 3/16 in), is what I need to outline my middle part, because I need to outline this way without damaging too much of that movement. Smaller still comes after it, maybe number seven.

Workshop 29 has a chunk to remove, and that lesson says: I will remove probably a chunk of that, and about the bottom part I say "without damaging" it. Afterward I call the result much better that way.

A V tool is what I name in the Greek Acanthus lesson 6. It's a number 15, 6 millimeters (about 1/4 in), but any V tool will work. I like 45 degrees. That angle gets me really to the tiniest spots with no damage to the sides. A 60 degree angle would remove much more material at once from both sides, but with this one I can manage tiny passes. Later in that lesson my tool left a ridge, and I need to remove it. Using a knife again is an option, and I think it would be appropriate. "Really carefully without damaging the middle line." And if it's not flying out like this, "I'll take a V tool again and work my way in."

Another tool with a curvature turns up in the Plate with Butterflies lesson 10, for the same work I did on the butterfly before. I'm going to hold it almost flat, I tell you. I'll use this one because it has that curvature, and that helps me attack the edge without damage. "Only one millimeter deep" (about 1/25 in). "That is all what we need."

In Grape Onlay 8 I show what you could do with the facets. Any carving knife will do, to scrape them out slightly, and the finish is not damaged. See how much softer it looks? That looks actually really nice.
How deep can you go beside a ridge or a floor?

Numbers appear in the Floral and Molding lesson 10. I'm already really deep, about maybe 6 millimeters (about 1/4 in) in, and now I can carve toward my first cut, "but without damaging that ridge. Really important not to damage it." My reason is that I want it to feel like it is growing from underneath. So it has to be no lower than that.

Floral lesson 10, part 1, has a number nine, and I plan to take probably 10 millimeters (3/8 in) again and lower one area down "without damaging that line." It's important that you keep that line. A kind of mistake I'm okay with follows, and then: "it is always better to attack the piece from outside inward toward the line."
In the Furniture Panel course, lesson 20, I plan a number seven to give an edge some movement. That number seven is a quarter inch (6 mm), held upside down. Let me use just a corner of the tool and make a pass, I say, although it's not always possible to do that "without damaging." So it's better to use a half a millimeter (about 1/50 in) and remove all that waste. Digging even deeper in some spots would create a beautiful shadow, and right now I'm about 3 millimeters in (1/8 in). But be really careful with that, because you still could break it.

Lily Box 9 gives the last depth. Full undercutting is the line, "all the way to the floor without damaging the floor." After that: "let me fix overall movement of this one," and "now it looks like part of a design." At least I think so.
Which lessons carry the same words?
These places sit side by side here, each with its tool.
| Where I said it | The spot I named beside the tool | My tool |
|---|---|---|
| Venice Room 44.7 | An area to clean around a bit | Number three |
| Workshop 65 | I'm okay with a little damage inside | Going carefully |
| Workshop 73 | A line, and a shell's small details | Micro tools |
| Workshop 84 | A kind of challenging area to reach | A skew |
| Room 149 | The main movement around my middle part | Number 11 |
| Greek Acanthus 6 | The sides, and then the middle line | V tool, then knife |
| Butterfly Plate 10 | The edge, helped by that curvature | Held flat |
| Floral Panel 10 | A ridge I make sure I'm keeping | Nearby carving |
| Lily Box 9 | The floor, all the way to it | Full undercutting |
Every row pairs a spot I named with the tool or cut I said beside it, in my own words at the bench.
How can you use it at your own bench?
Start with what I told you straight. Take your time, with more passes, if my pace is too much for you. Attack toward a line from outside inward, and be really careful in a deep spot, because you still could break it. The rest are me at my own bench, and each one names its own spot.
The lesson 44 page covers the whole workshop, and the course page holds the rest of this acanthus panel. For all my lessons in one place, start here. The last lines of part 7 are "Blend that now," then "This way," and "That way."
How it's done
- Name the part. I planned a little cleaning around that spot, with this part left unharmed.
- Say the limit. Right after, I gave the limit, and it was about depth.
- Plan a small tool. I said I could probably just use number three to tidy that area a bit.
- Stay with the shape. With the number 11 I said I'm not losing the overall shape, and it still goes upward.
- Blend it. The video ends on blending, first one way and then the other.
Frequently asked questions
Which tool came next after I said it again in part 7?
A number three is what I said I could probably use, to clean that area up a bit. It was not developed yet, since this one still had to be developed, and a pipe was coming. Number 11, at 18 mm (about 0.7 in), was named a little later.
Is touching a nearby part ever okay?
My beautiful concave got touched with the edge in part 8, and I said I can always clean it, though it is better not to. Damaging a side was absolutely okay in workshop 64, since I could clean it, actually with a number nine.
Does the wood change how careful I am?
In Furniture Panel 18 I said I was not damaging anything, and that depends on the type of wood. Some woods, like that one, are a little more forgiving. I also said to take more time, and to do more passes, if my pace is too much.
What to carve next