

Alexander Grabovetskiy, woodcarver, School of Woodcarving · Published 2020
What does "some kind of" mean when a wood carver says it?
Quick answer: In Venice Room 46.7 I said it before an acanthus movement and again before an acanthus, a spot where I was blending one movement into another. Other lessons put it before a leaf, filler flowers, a wavy line and a flat tool, each time with a more exact name close behind.
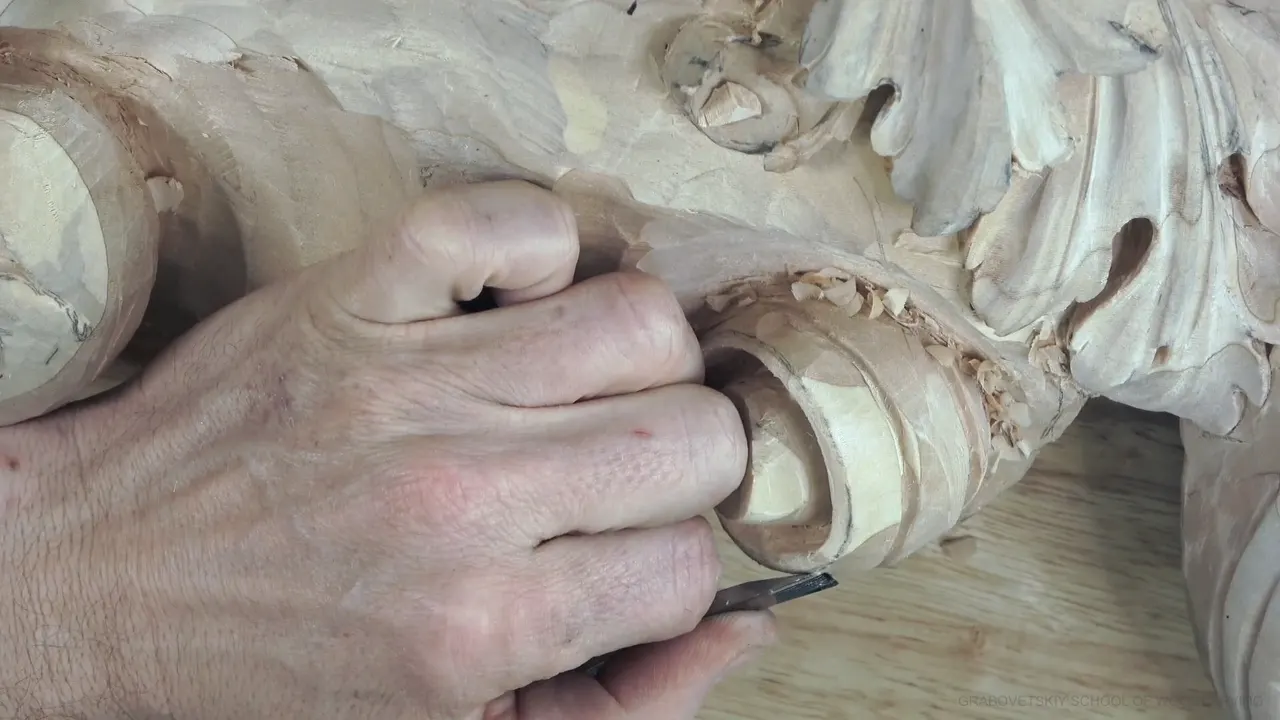

This phrase of mine goes in front of the thing I plan to add next. Part 7 of Venice Room workshop 46 has it ahead of an acanthus movement. Part 8 puts it ahead of an eye underneath. A more exact word usually follows.
Have you ever looked at a spot on a carving and known it needs something, with no name for it yet? Could you see a leaf there, or a few flowers, or only a line? Then you know where my phrase comes from.
Here is what I said about it, from this part, from part 8 beside it, and from other courses where I said it. A furniture panel design course, a chamomile rosette and a Venetian flowers rosette are among them. The next step is quoted each time too.
What my phrase did on these boards
- My Venice Room work used it ahead of a movement, an acanthus to blend two movements, and an eye underneath.
- The panel design lessons had it before a smaller leaf, filler flowers and a separation.
- The rosette lessons had it before a flat tool, a spoon gouge and a back bend.
- A size, a tool number or a direction came right after.
- One blend let me say it did not matter which tool, and then I picked a back bend and went on.
- Everything I named in part 7 was a plan.

What did I plan on the Venice Room board in part 7?
Part 7 starts with work on the wood. That was concave number one, I said, with concave number two still to do right there. I could not go all the way yet, since I still had to undercut. This pass was only preliminary, meant to give a main movement.
Inside, I wanted the convex, using the same tool. I was going to hit just the sides of the groove I had made, and I wanted it blended completely, with no ridges. "See, I've got a beautiful convex," I said. Probably I still had to hit one spot and clean a little bit.

Next, I said, let me hit again with the three millimeters, a number 11. Three millimeters is about 1/8 inch. A little at a time was all I wanted. Not much, just slightly, I said, and I called it a cleaning pass. That would be good, I said, and the result was a beautiful detail, so now came the next job.
Now I needed to develop this direction somehow, and there were a couple of ways to do it. Leaves from a flower cluster would be added on. Some of the mess was on my way, so I planned a two millimeter (5/64 in) to get rid of at least some of those chips.

Where did my phrase come in on that board?
It came right after I said the whole thing looked really good in the overall composition. Next, I said, I would establish an acanthus movement this way. I thought it would tie really nicely. The line would go like this, climb to the top, and go this way to here.
I offered to show it from a different camera. On the way, I said, I planned a movement right there, and I called that logical. One movement had to blend into the other.

The way to do it was to add an acanthus. "I should say," I added. It would end up like that and die on the inside. A separation would blend the design together, and another one would go the other way.
Then I traced the line aloud. It goes there, it dies right there, and it is a beautiful movement right here. Probably I needed to get this part a little longer.

How did part 8 treat the eye?
Part 8 picks up the same idea. An eye would sit underneath and tie together the movement on its side. At least I had the overall idea. "Just like that. Easy," I said, then again, "it is easy."
Partly the flowers would cover the eye anyway. You would still be able to detect something going on there. Outlining it first was my plan, and that is why I had not removed the whole chunk.
For the extra wood I planned the bigger number 11, just around the spot and just a little, because most of it would stay out of sight. Some leaves were still to be developed. The Part 4 Venice Room course has the whole board, and workshop 47 goes on after this one.
A really nice, flowing line was what I wanted next. A nice detail sat underneath it, and I did not want to lose it. A smaller tool was to go around that element, small as the detail was. The detail will be visible, I said, and even if it is not, it will still make me happier.

Did the panel design course have the phrase too?
Yes, and a lot. No other volute, I said in part 1. Instead, a leaf, a smaller one, of course, and one that repeats this movement, which meant three divisions.
A section of flowers came up in part 4. I already had some movement there, but the size was still open. Neither too small nor too big was the goal. The one I had was too small, I said, so I had to make it a little bigger.

Later in part 4 the flowers became curly ones. They were big enough but not overwhelming, and I added that I could even make one bigger. Another movement I kind of liked, although it would be an acanthus flip, and it still needed to be made tight together. "Let me think how I can do that," I said.
An acanthus flower turns up in part 3. There is such a thing as an acanthus flower, I said, and then I said, let me think. Part 2 brings a separation cut, maybe, which would be higher while the spot beside it would be a little lower. All of it is furniture panel lesson 14 material.
What are filler flowers, and how did my phrase lead to them?
Filler flowers are named for what they do. In part 5 I could put flowers in that space, because if you look at other sections, an invisible line goes all the way down. It made sense to me to create movements there. Foliage, like a leafage, let's say, and maybe flowers. And then: "Filler flowers, okay?"

If you don't remember what the filler flower is, I said, it is exactly like the name. It fills the space. They used those flowers to fill spaces when they sometimes didn't know what to do with an area, and just to create a part of a design. Looks really good, in my opinion. But we had three flowers.
I started wide with flowers or foliage, and one named flower is where I ended. It held the place until I knew the name.
Is it ever just a small detail on a drawn panel?
Once, yes. Sometimes what they would do, I said, is place a bump. Then I named it a small detail like this. I would place it and see whether I liked it or not, and then I admitted I was not sure.
Overlapping came up as well. Maybe I could do it again, I said, with an acanthus. Really common, I called that technique, and the thing to do was overlap those volutes. Earlier, I thought it would look much better if we did some development in that area.

Does the phrase also stand for a tool?
It does. The chamomile rosette had a hole planned with a small number 9, a quarter inch (6 mm), and said you can drill that too. Lowering the sides slightly was next in that part. That meant a flat tool, and in my case I grabbed a number 2. I can proudly say, I added, that it is my own number 2.
Over on the Venetian rosette, a straight tool did not help me as much with the shape. A spoon gouge was what I needed, and a number 7, a 5 or a 6 would work. I was debating which would be best. Later in that lesson, I planned a back bend, which would help me establish that movement.

Another blend there began on the same words, and I stopped halfway. It doesn't matter, I said. It could be a back bend. I would use one, because it made sense for me. That time I let the phrase stay loose and made no rule of any tool.
Another rosette part has a flatter tool too. I took a number 3, a quarter inch (6 mm) in my case. Not every petal needed the same movement, I said, and they can be different.
Lesson 3 of that rosette course called for a flatter tool, and any flat tool will work, I said. I used about half an inch (13 mm), a number 3. Chamomile rosette lesson 3 and rosette lesson 3 of the Venetian course hold the passages above.
How did it show up in shapes on the wood?
Take the Venetian rosette again. I planned a convex, then a slight concave, though I said it was not really a concave, and a raised area in that section. That would look really natural, I said. In the same lesson I said a real flower always has a folding motion, which gives me extra shadow, extra play.

The next part of that lesson had me saying it looked a little too flat, and I did not like how it looked. Concaves and convexes belonged right on the curl itself. My idea was a convex, then a really deep concave for the shadow's sake, and then convexity again. For that I needed a really small, tiny tool.
It is the same order I gave on the Venice board in part 7: a concave, a convex with the same tool, and a beautiful convex. Another petal was to get a concave at the edge, another concave at the edge, and the middle part raised. That way it would look really nice, I said.

Waviness got the same treatment, as I put it. It was not the end yet, I said, with the waviness still to create. In another part of that course, the line ran down to the bottom, and we could wave it on this side also. A beautiful movement, I called it.
The hazelnuts needed a curly motion of the husk, so a wavy line would go right there. At some point I had to connect that line, I said. The full passage sits in carving hazelnuts lesson 3.
Where my lines went
| Lesson | What I said before the next step | What came next |
|---|---|---|
| This part, 46.7 | A movement that ties nicely, and an acanthus to blend two movements | A separation, then another one |
| Venice Room 46.8 | An eye underneath that ties the movement on its side | An outline first, with the flowers to come |
| Lesson 14.1 | A smaller leaf that repeats a movement | Three divisions drawn on the panel |
| Lesson 14.4 | A section of flowers, too small at first | A bigger size, then curly flowers |
| Lesson 14.5 | Space beside the invisible line, filled with flowers | Filler flowers, three of them |
| Venetian rosette 3-3 | Spoon gouge needed, since a straight tool did not help | A number 7, or a 5, or a 6 |
| Venetian rosette 3-1 | A flatter tool, and any flat tool works | About half an inch (13 mm), a number 3 |
| Chamomile rosette 3-1 | Flat tool, grabbed without a fuss | My own number 2 |

What should you do when you cannot name the next part?
Say what you know, then say what it has to tie to. My Venice board had two movements to blend, and that was enough for me to say an acanthus would do it. My phrase held the place, and the plan stayed a plan.
You can ask the same of your own board. Where does the line go? What does it tie together? Which tool will reach there, and does it matter which one? Can you picture a small leaf or an eye in that spot before you pick up the gouge?

The workshop 46 page has all twelve parts, and workshop 45 comes before it. The Venice Room course holds the whole board. Wood carving is mostly deciding what comes next and then taking wood away, in relief or in the round. To see the other courses I quoted, start here.
Acanthus leaves, a rosette, a gouge and shadow all came up above, and so did the grain that decides how a tool goes in. A sharp bevel helps every pass. Foliage and chamomile showed up in my own words too.
How it's done
- Say the plan out loud. Part 7 starts with a planned acanthus movement and the reason it would tie nicely.
- Name what it has to tie to. One movement needed to merge into another, and I added an acanthus for that.
- Outline it first. Part 8 outlines first, since the flowers would hide part of it.
- Fix the size. The flowers on that panel had to be neither too small nor too big.
- Pick a tool and say it does not matter which. On the rosette one blend could use a back bend, I said, and I would use one.
Frequently asked questions
Does it mean I am unsure what to carve?
In part 7 one movement was to merge with another, and an acanthus was my plan for it. I named the plan loosely first and then more exactly.
Where does the phrase show up in 46.7?
My plan was an acanthus movement that ties nicely, plus a movement created on the way. I also added an acanthus, I should say, and part 8 brought an eye underneath. All of it was planned in those two parts.
Can it stand for a tool and not a shape?
It did in the rosette lessons. The rosette lessons did, with a flat tool that turned out to be my number 2. Another was a spoon gouge, and a number 6, 5 or 7 would work. A back bend made sense for one blend.
What to carve next