
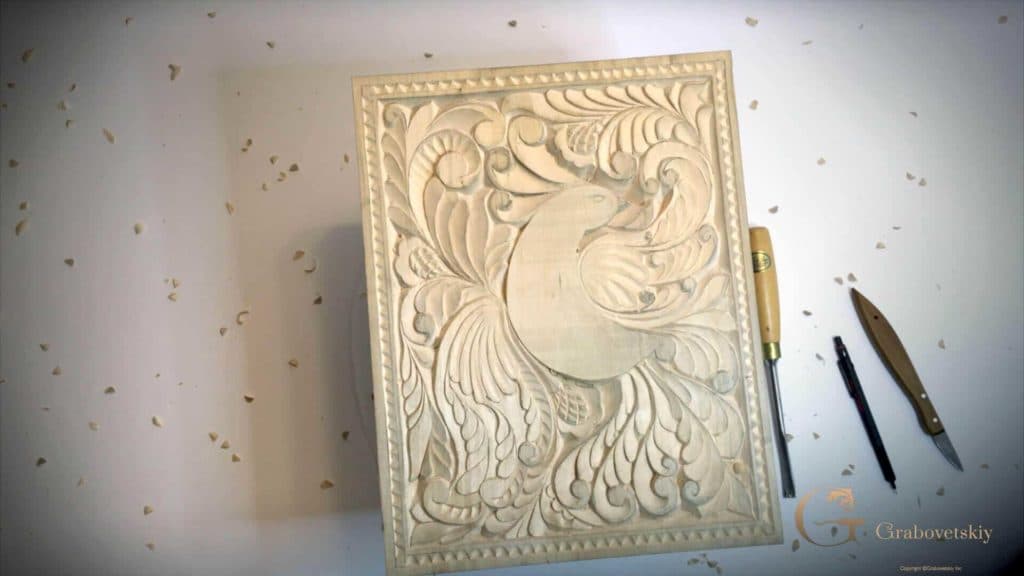
Alexander Grabovetskiy, woodcarver, School of Woodcarving · Published 2018
What do the numbers on wood carving gouges mean?
Quick answer: Every number stamped on a carving gouge describes the sweep of its edge and says nothing about width. Flat steel is number 1, a chisel, and British makers hand number 2 to the skew. From 3 the curve deepens steadily until 9, a half circle, while 10 and 11 curl into a letter U.
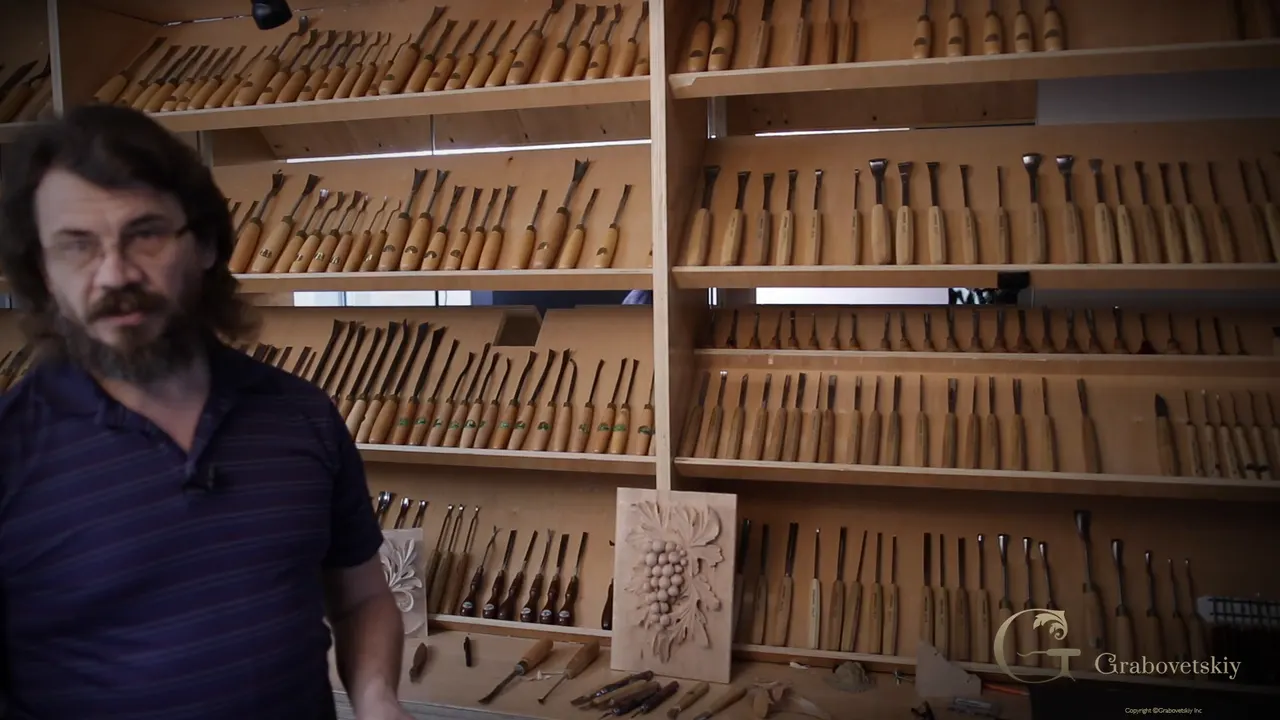
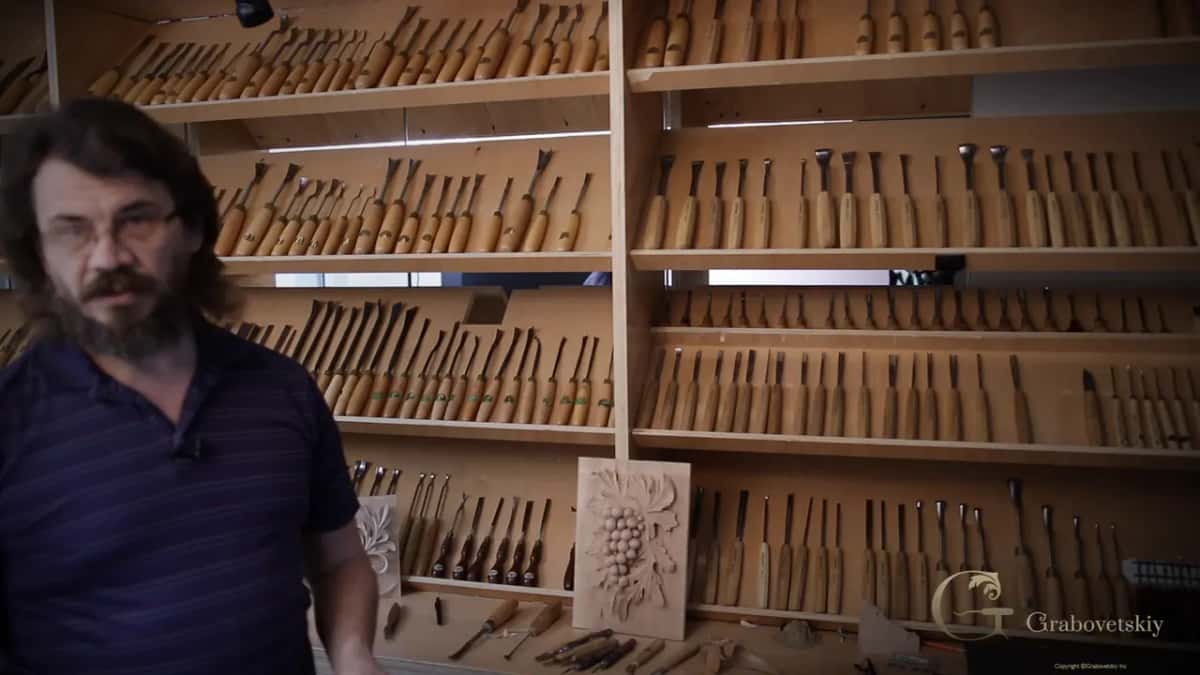
Every number on a carving gouge describes the curve of its edge, never its width. Flat steel is number 1, a chisel. British makers hand number 2 to the skew. From 3 upward the edge begins to curl, gently at first, until number 9 closes into a half circle. Above that you are into U shapes rather than gouges.
Have you ever picked up a gouge and wondered what the stamped number actually promised? Do you know which of them you genuinely need to start? This session opens the tool rack and answers both, then puts one gouge to work on a border.
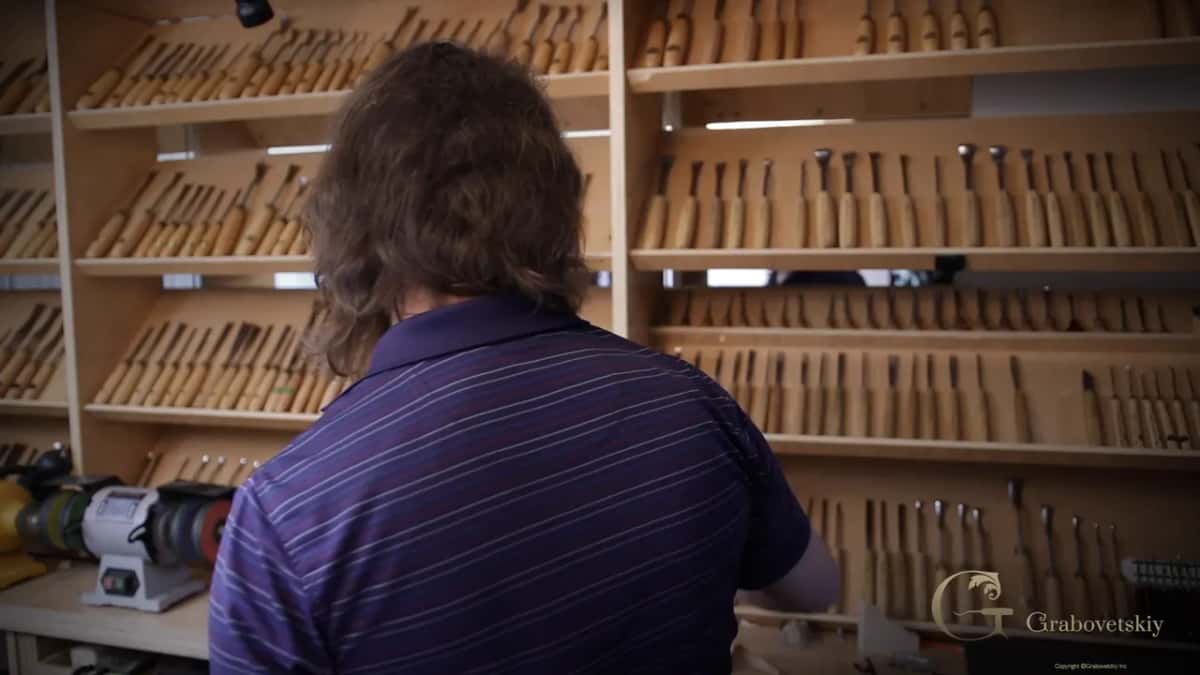
Everything on this board so far came off a single knife, a number 12. I own perhaps fifteen or twenty knives, all different, and I barely touch most of them. That one does something close to every pass on every job I take, and now it goes down on the bench for the first time in fourteen sessions.
What the numbers are telling you
- Perfectly flat steel takes the number 1, and carvers call that a chisel, not a gouge.
- In Britain the skew answers to number 2, its edge running over at an angle like a knife.
- Three through nine are gouges, and the sweep tightens as the number climbs.
- Nine closes into a half circle. Ten and eleven curl further, into a letter U.
- Numbering shifts between Britain and Germany, so check whose chart you are reading.
- Width is a separate measurement. My border gouge is a number 8 at 10 mm, three eighths of an inch.
What do the numbers on wood carving gouges mean?
Sweep. Each digit names how deeply the edge curves from one corner to the other, and it says nothing whatsoever about how wide the steel happens to be. Somebody asking for a number 8 might mean a narrow blade or a broad one.
| Number | Shape of the edge | Name | Reach for it when |
|---|---|---|---|
| 1 | absolutely straight, with no curve at all | a chisel | straight lines, flat ground |
| 2 | straight, only set over at an angle | a skew, as Britain numbers it | corners |
| 3 | barely curved | a flat gouge | smoothing, and any gentle shaping you need |
| 8 | curved well, though short of a half circle | a deep gouge | borders, hollows, most ornament you will ever carve |
| 9 | a true half circle | the deepest true gouge there is | scoops, cups, flutes |
| 10-11 | sides running straight upward | veiners | narrow channels, and the deepest lines of all |
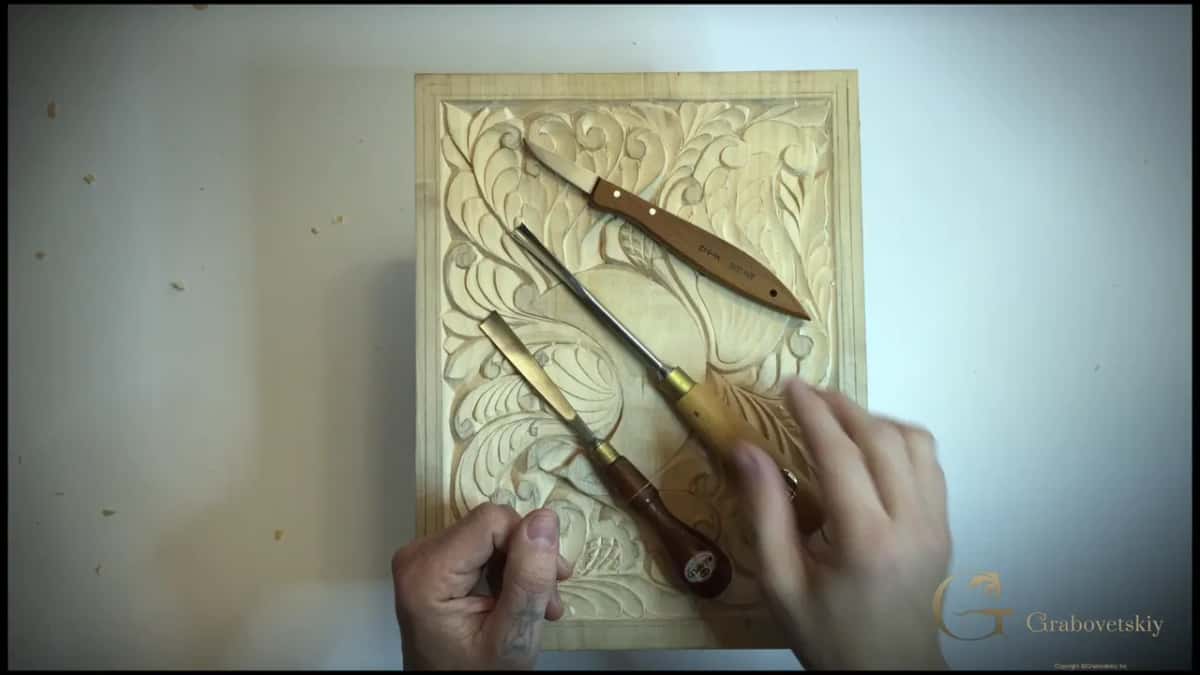
Past the gouges come the specialists. Veiners, V tools, macaroni and fluteroni, each solving one problem and sitting idle the rest of the time. Chisels and gouges do the overwhelming share of the work on my bench.
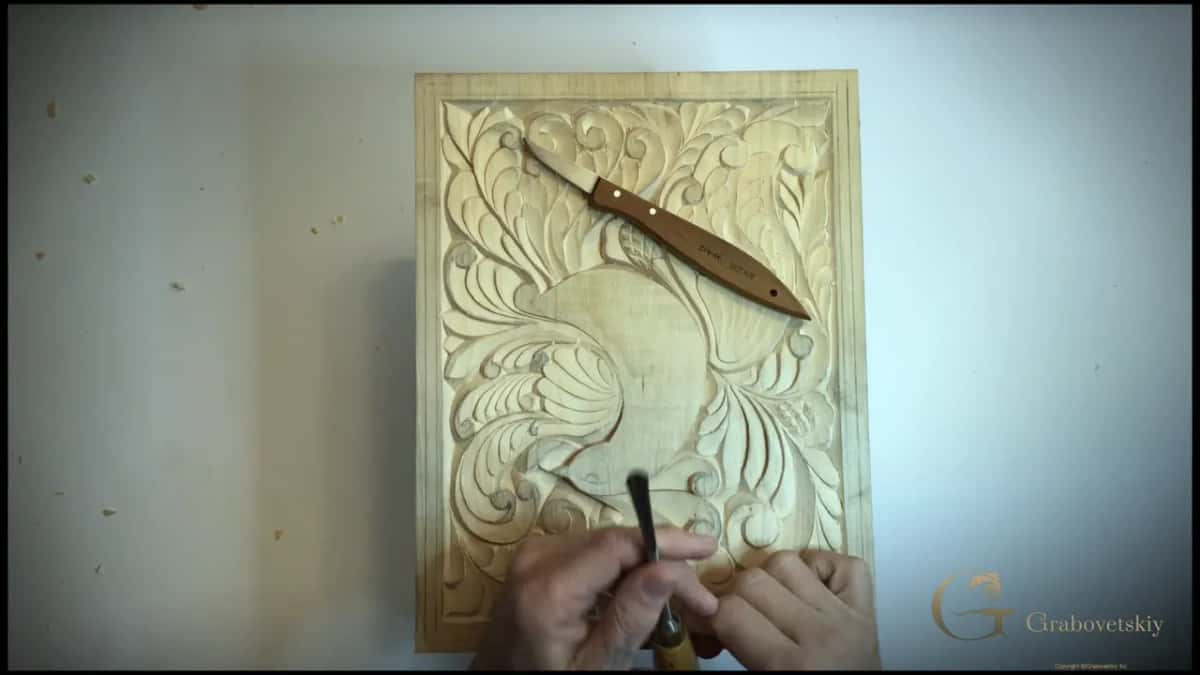
One warning worth having early. Where you buy decides which chart applies, because British and German makers do not number identically, and a catalogue from one country will not map cleanly onto steel from another. Read the shape, not just the digit.
Which gouge should a beginner buy first?
Number 8 and number 9, if you only buy two. Those two handle most of what ornament asks for, and everything in this session comes off one number 8 made in England, 10 mm wide, which is three eighths of an inch in basswood terms as good a general size as you will find.
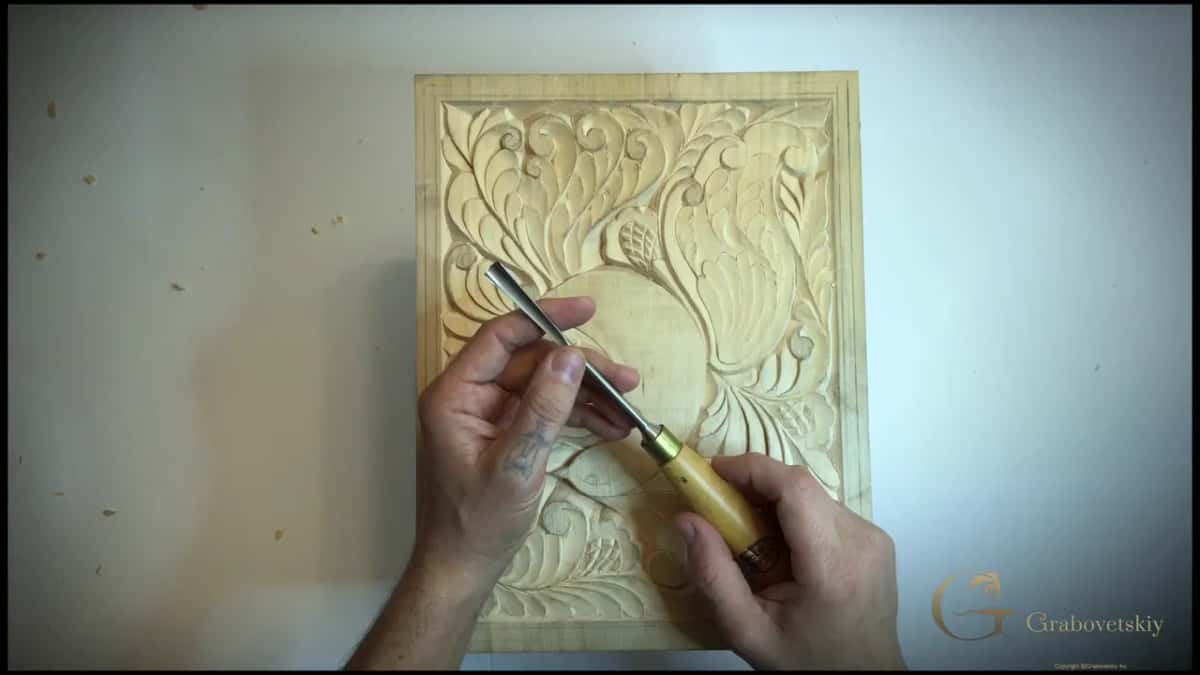
Land anywhere near those numbers and you will manage. The sweep matters more than the maker at this stage, though good steel holds an edge longer and that becomes obvious within a week. The tools course goes through brands and profiles properly, and the sharpening course covers keeping whichever you choose in working order.
Where should your hands go on a gouge?
Close to the steel. Your guiding hand sits nearly at the working end, as far forward as still lets you watch what it does, palm laid across the top of the tool.
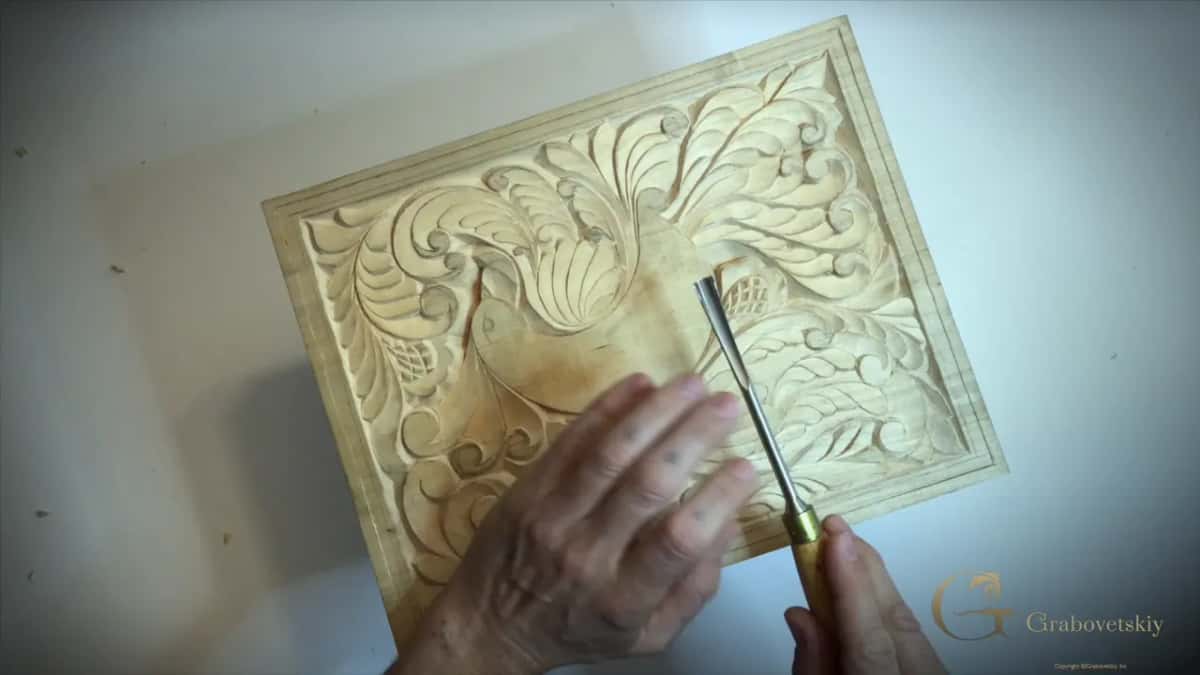
Your thumb can rest on the handle, below it, above it, wherever feels natural, because that detail changes nothing. The rear hand pushes and steers, the forward hand restrains, and between them you can travel round a curve without the tool running away from you.
A blade held far back is a blade you are hoping about rather than driving. Everything you learned about pressure with a knife transfers directly, which is the whole reason the knife came first.
How is the border carved?
Knife first, gouge second. Two pencil lines have been sitting on this board since the design stage, and the outer one gets a long knife pass along its whole length, at roughly the bevel of the walls already standing within this design.
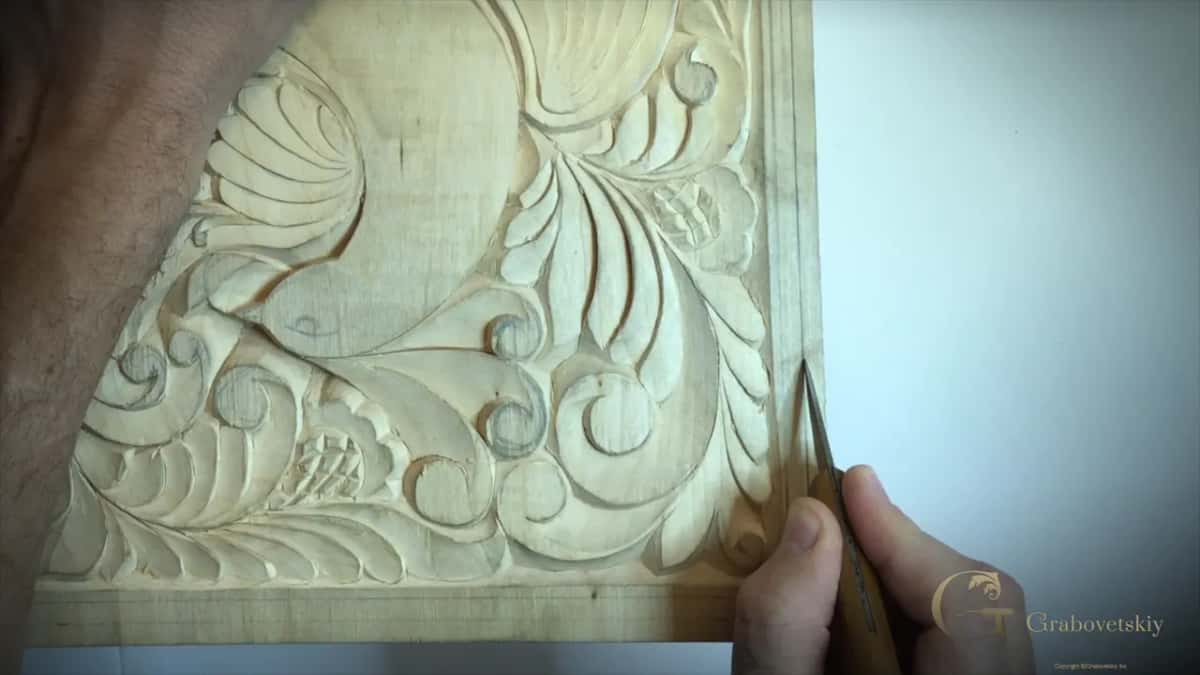
Follow that line as straight as you can and do not panic about being a hair off. At the far end, where the two lines meet, lift the handle and push the point in rather than dragging it out, which finishes the pass cleanly instead of tearing the corner.
Then turn the board and repeat on the next side. Along grain you can go a little deeper. Across end grain you cannot, and this is where beginners lose panels.
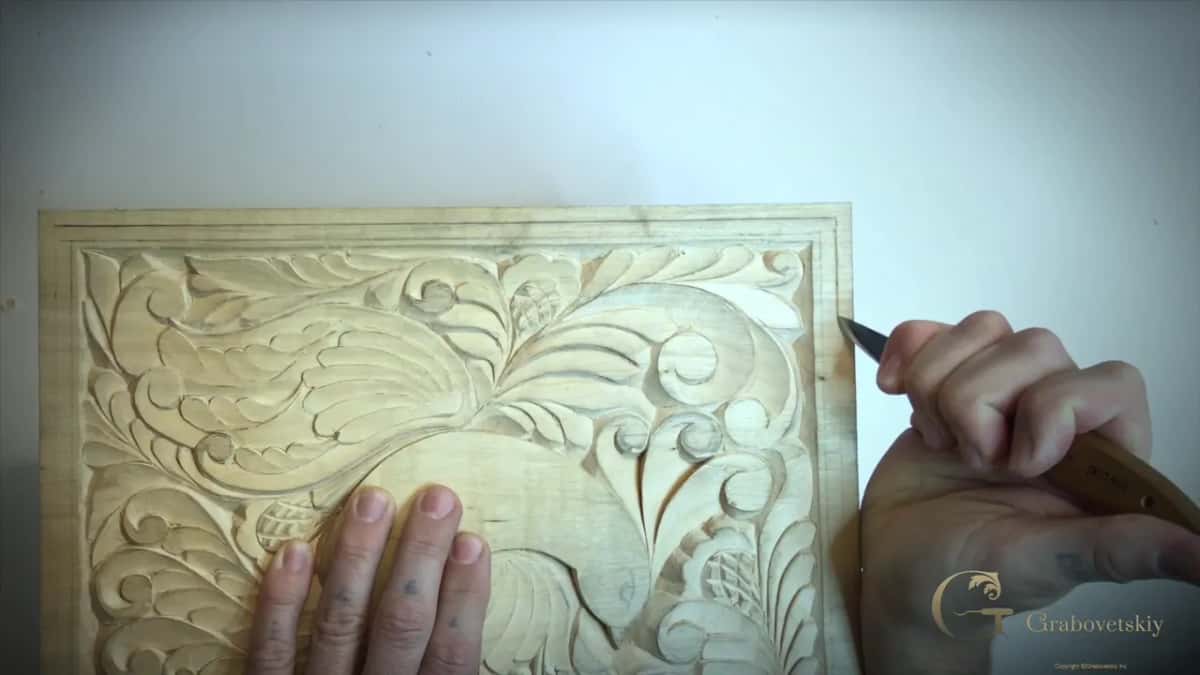
One pass on the end grain sides. Only one. Take a second while the first is still shallow and the grain can snap away in a piece, and the break will not look like anything you intended. Establish the line, leave it shallow, deepen it later once the waste around it is gone.
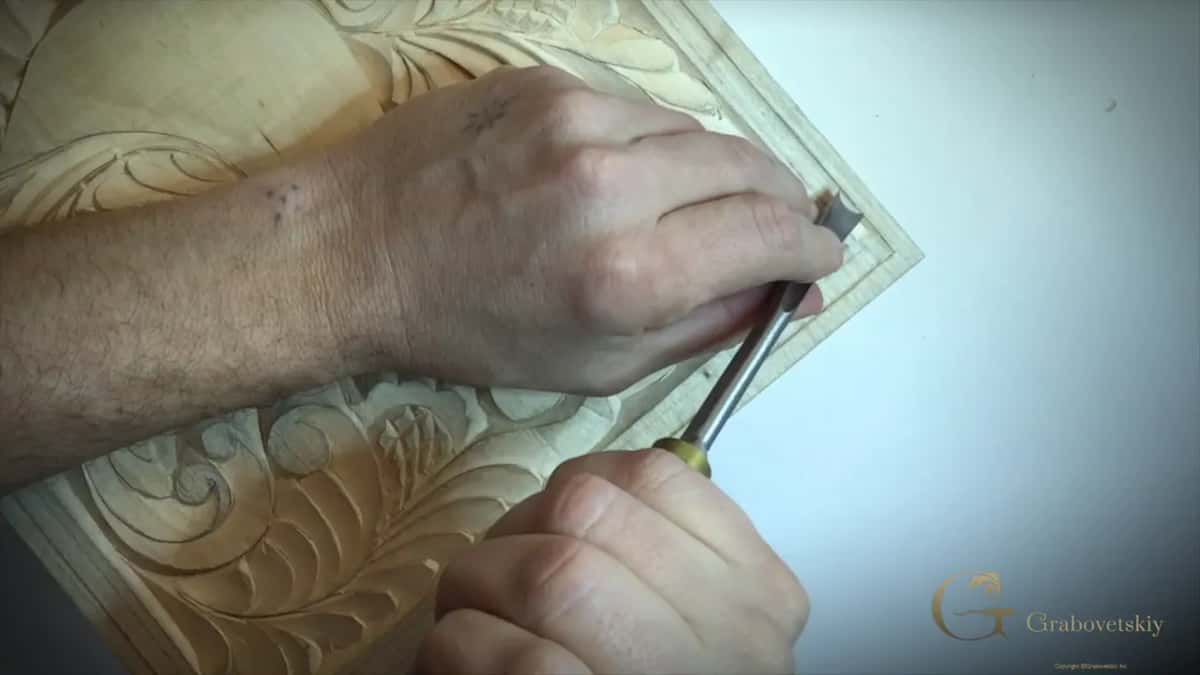
Now the gouge. Set it near the corner, carve in toward that knife line, then place the next cut immediately beside the first and repeat the whole way round. Keep the angle identical on every one. Patience does all the work here, and you have plenty of it by session sixteen. Force does nothing except break things, and it will break them at the corner where you have the least wood to spare.
Why does a border change the whole panel?
It gives the eye a wall to stop at. Carving without a frame drifts off toward the edges of the board and the design never quite settles, while a border tells everything inside it where it lives.
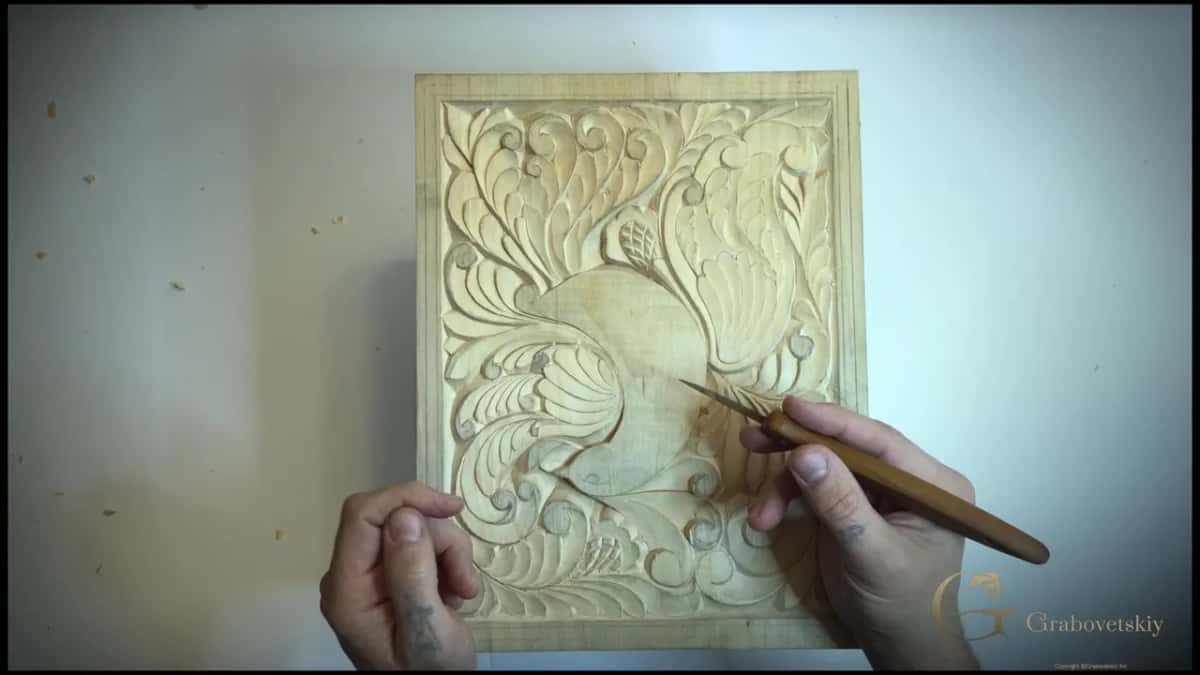
That effect arrives the moment the first side is finished. You carve one edge, look up, and the wing you have been staring at for three sessions suddenly reads as a composition rather than a shape floating on wood. Nothing inside the frame changed at all.
Old panels almost always carry one. Look at baroque doors, church screens, carved chests, and the ornament nearly always sits inside something. I do not think that was decoration for its own sake. It reads to me like carvers knowing what you are about to see for yourself on this board.
What order should the two lines be carved in?
Outer line first, always. Both lines went onto the board weeks ago at the design stage, and the outer one defines where the frame ends, so it gets established before anything gets removed between them.
Carve the inner one first and you will find yourself guessing the width of the border as you go, which produces a frame that wanders by a millimeter or two along its length. Nobody can name what is wrong with such a panel, and everybody can see that something is. That gap between seeing and naming is most of what design work fixes.
Turn the work rather than reaching across it. Four sides, four comfortable positions, and the angle of your hand stays the same on every one of them. Your body should never be the thing adapting.
How deep does the border go?
About the same as those walls already standing in the design, which keeps one system running through the whole board. Matching that bevel matters more than any particular measurement, because two different angles meeting at a corner announce themselves immediately in raking light.
On the grain sides you can push a little deeper without trouble. On end grain, stay shallow at first and deepen afterwards once the waste is gone and nothing is under tension. The grain decides, and the tool simply obeys.
Everything you have read about depth in Workshop 13 applies here as well. Shadow does the work. A border that is too deep looks heavy and starts competing with the bird it was meant to frame.
When the waste will not come out
Wiggle it, gently. Because that first knife line was deliberately shallow, chips along the border often sit there refusing to lift, and the temptation is to lever them. Resist that.
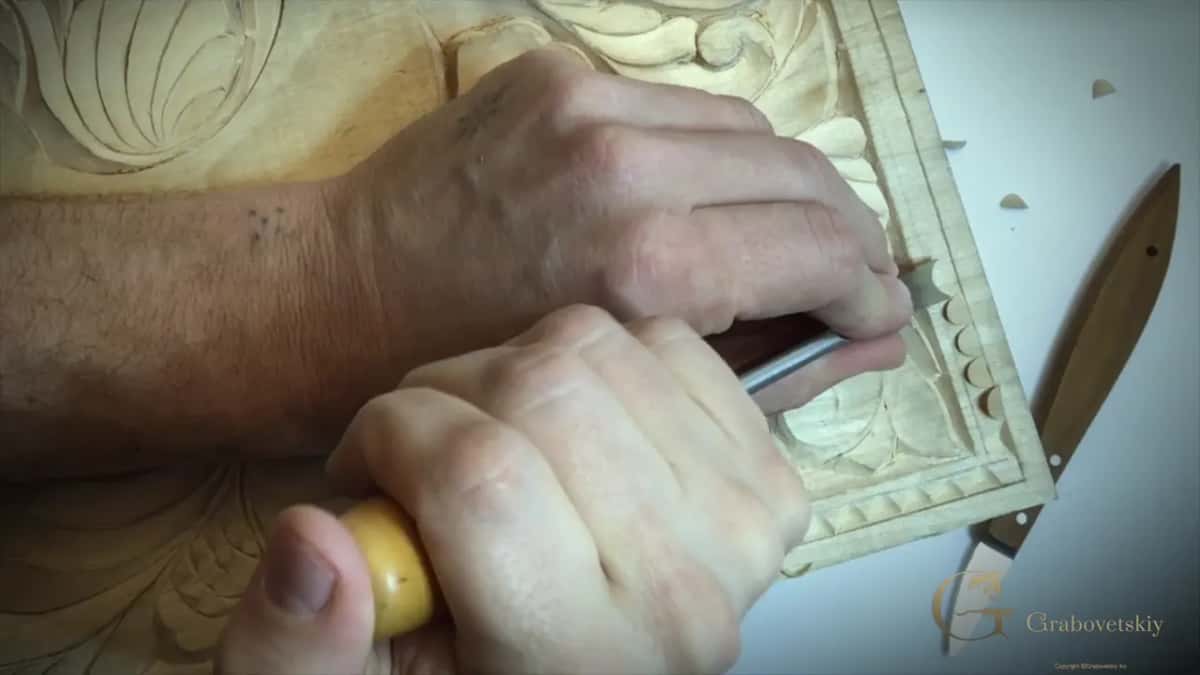
Go back over the knife line a little deeper, shift the board slightly if the angle is awkward, and take the waste away piece by piece rather than in one heroic lift. Breaking a border after this many hours would be a genuinely bad afternoon.
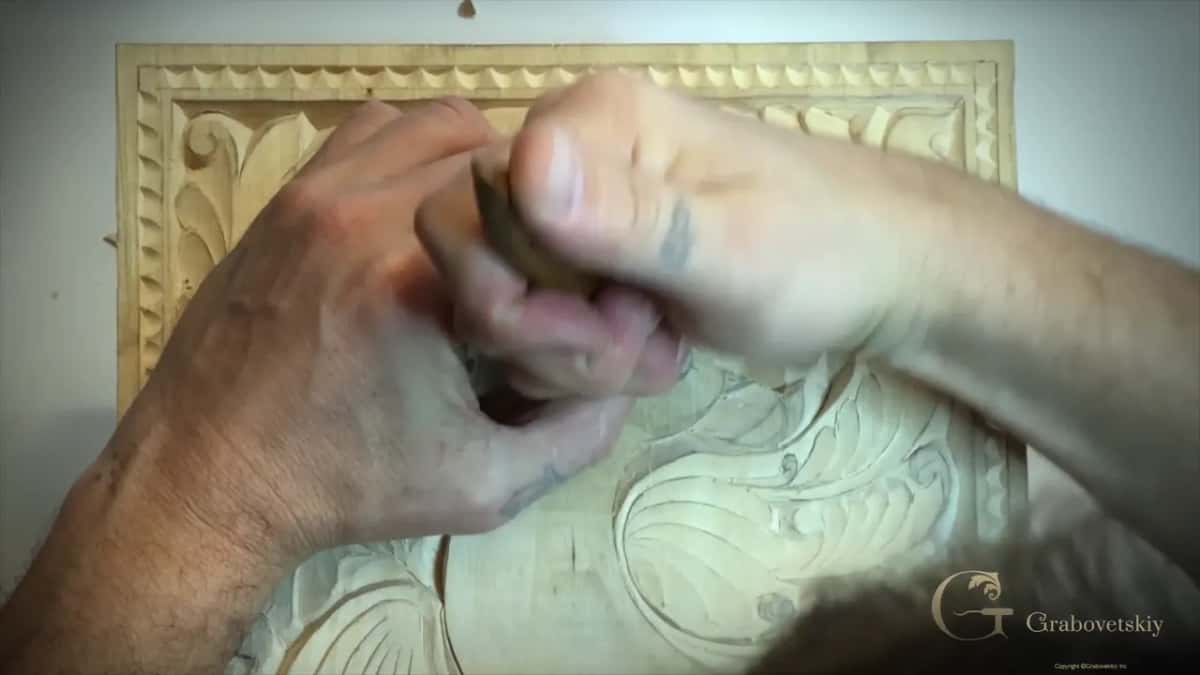
Once it runs all the way round, clean the leftovers with the knife and stand back. That frame changes how the entire relief reads, which is why a great many old panels carry one.
What else can one gouge do to a finished panel?
More than you would guess, and this is where a board stops being an exercise. Empty ground anywhere in the design can take a few pencil lines and then a row of angled gouge cuts, and suddenly that flat area has rhythm in it.
Knife first for the bevel, then the gouge, and I tilt it rather than driving straight down so the cuts lean with the flow of the design. Around a large volute you can fan them toward the centre, starting upright and leaning further as you travel.
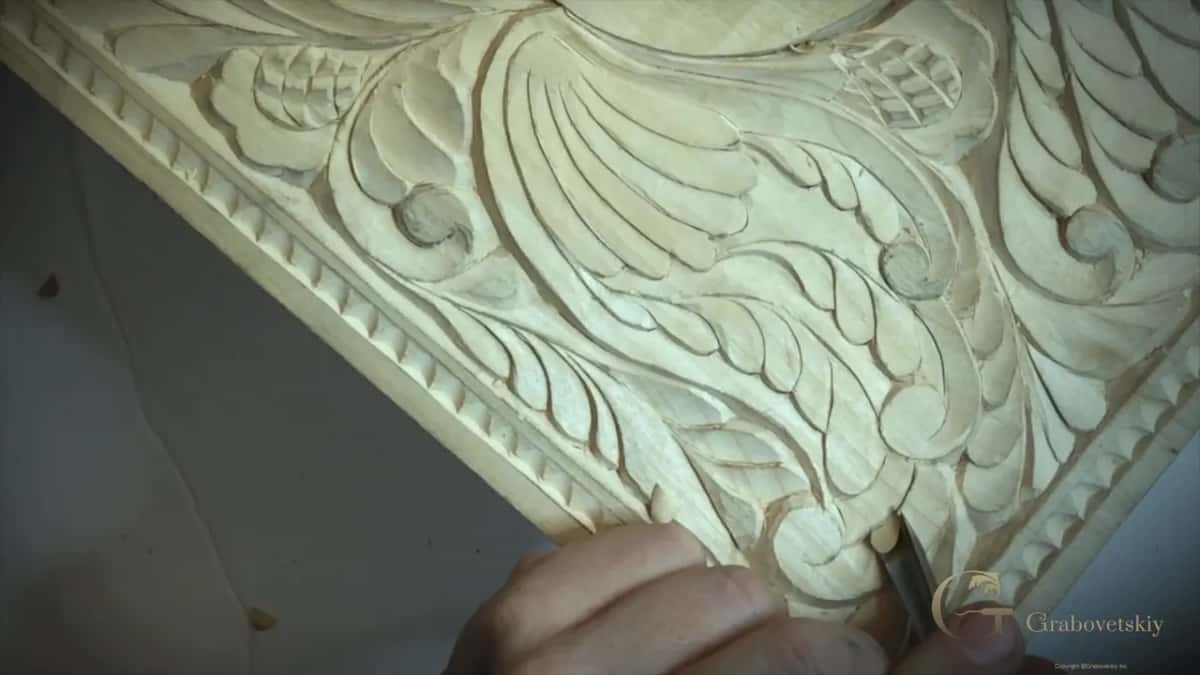
Long cuts down the side of each feather shape work too. So do straight downward cuts with a second row carved over the top of them. Decisions like these get made on the fly, and there is genuinely no limit to what you can add, which is exactly the moment to notice that stopping is also a decision.
Restraint matters because the wing was carved in one style and a border in a different mood fights it. Whatever you invent has to answer what is already on the board, the same rule that governed every pencil line back in the first workshop.
Does the knife still matter once you own gouges?
Mine never leaves the bench. Even in this session, the one where the gouge finally appears, the knife establishes every line the gouge then works to, cleans up after it, and carves the eye of the bird.
Tools do not replace each other. They accumulate, and each one narrows what the others have to do. A carver with fifteen knives and one gouge can work; a carver with fifteen gouges and no knife will struggle with the first tight curl they meet.
Which is also why I am not going to tell you to buy a set. Sets are sold because they are easy to sell, and most of the tools in one will sit in your rack for years looking reproachful. Buy a number 8, use it until you know exactly what it cannot do, and then buy the tool that does that one thing. Ten years of that and you will own a rack like mine, every tool in it earned.
What cleans a panel this detailed?
A scraper, and the old way is still my preference. Pencil marks, fuzz and the general grubbiness of a board handled for weeks, all of it ahead of any finish all come off cleanly without pressing anything flat.
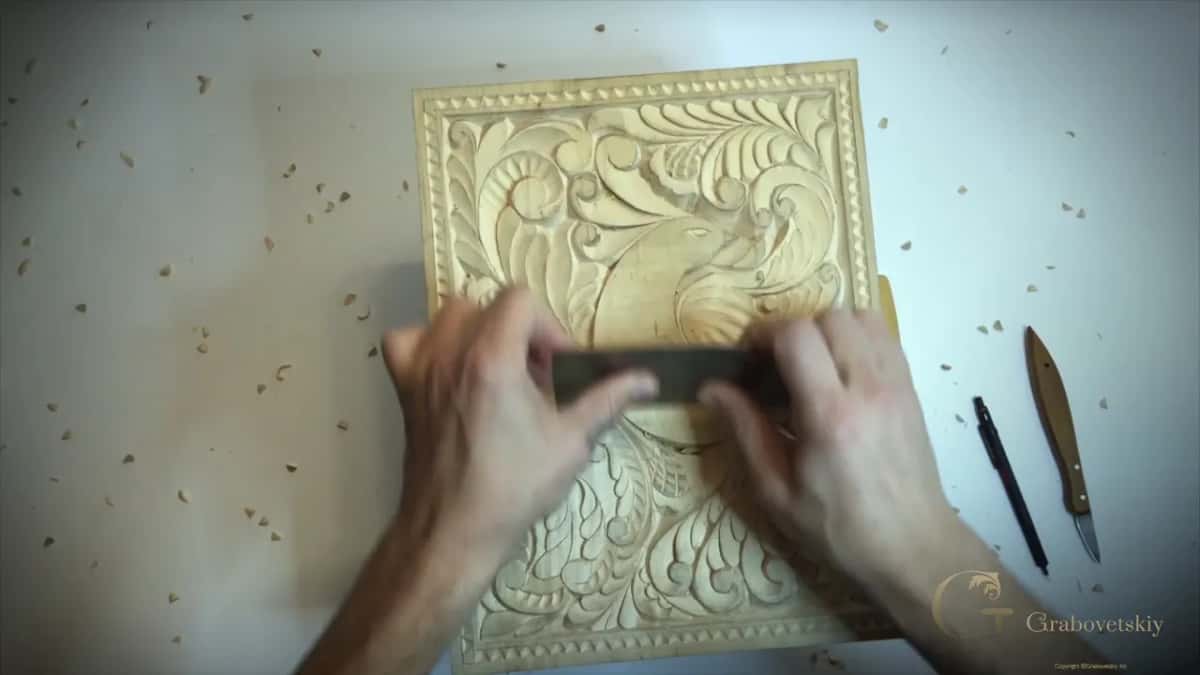
If scraping makes you nervous at this stage, a light pass with sandpaper on carving of this kind will not ruin anything. Go gently. Over sand it and the detail you spent fourteen sessions carving will quietly disappear, and Workshop 8 explains what abrasive does to the fibers.
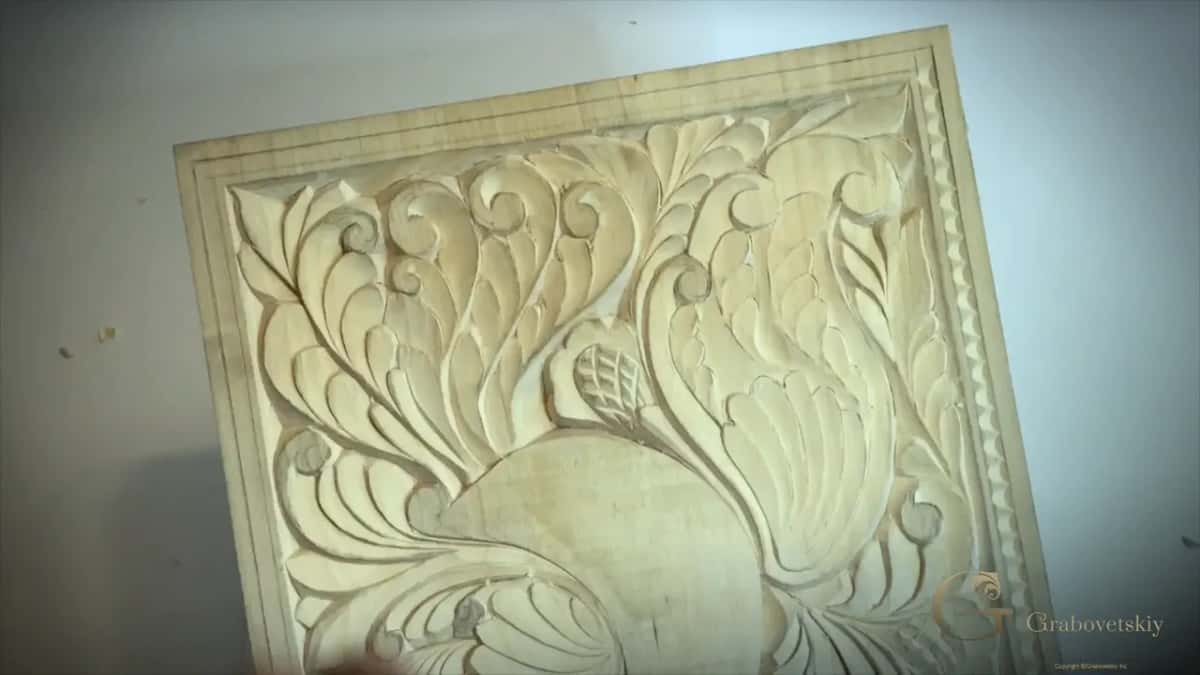
The eye of the bird went in with the knife, incidentally. A small gouge would have done it, and the knife was already in my hand, which is how most tool decisions actually get made in a working shop rather than in a catalogue.
Next session the carving stops and the colour begins, made out of onion skins and walnut shells rather than anything you would buy. Workshop 17 cooks it on a stove. Before that, Workshop 15 is where the knife work ended and the design course explains why the border does what it does.
You have a panel that is carved, a frame around it, and a gouge in your hand for the first time. The rest of this bird is waiting, along with three thousand other lessons. Shall we carve?
How it's done
- Read the sweep, not the digit. Numbering shifts between British and German makers, so look at the shape of that edge before trusting a catalogue number stamped on steel from somewhere else.
- Grip close to the blade. Grip near the working end of the steel with your palm across it, rear hand pushing and steering. Anything held far back is hope rather than control.
- Establish the outer line. Take a long knife pass along the outer pencil line at the bevel already used inside the panel, then lift the handle and push the point in at the corner.
- Go once on end grain. A single shallow pass along each end grain side. Repeating it while the line is still shallow snaps wood away in a piece you cannot put back.
- Work the gouge round. Cut in toward the line, place the next cut against the last, and hold one angle the whole way round the frame. Patience, never force.
- Free the waste gently. Deepen the knife line rather than levering. Rotate the board, wiggle the tool slightly, and lift the chips piece by piece.
Frequently asked questions
What does a number 8 gouge mean?
Eight describes a fairly deep curve across the edge, short of a half circle. Width is quoted separately, so the same number turns up on narrow blades and broad ones alike. The border here came off one measuring 10 mm.
Which carving gouges should a beginner buy?
Buy a number 8 and a number 9 before anything else. Between them they cover most ornament. Skip the boxed set, because the majority of its tools will sit in your rack untouched for years.
Is a chisel the same as a gouge?
Both cut wood and only one has a curve. A chisel is number 1, straight across, sometimes bevelled on a single face and sometimes on two. Anything numbered 3 upward carries a sweep and counts as a gouge.
What to carve next