
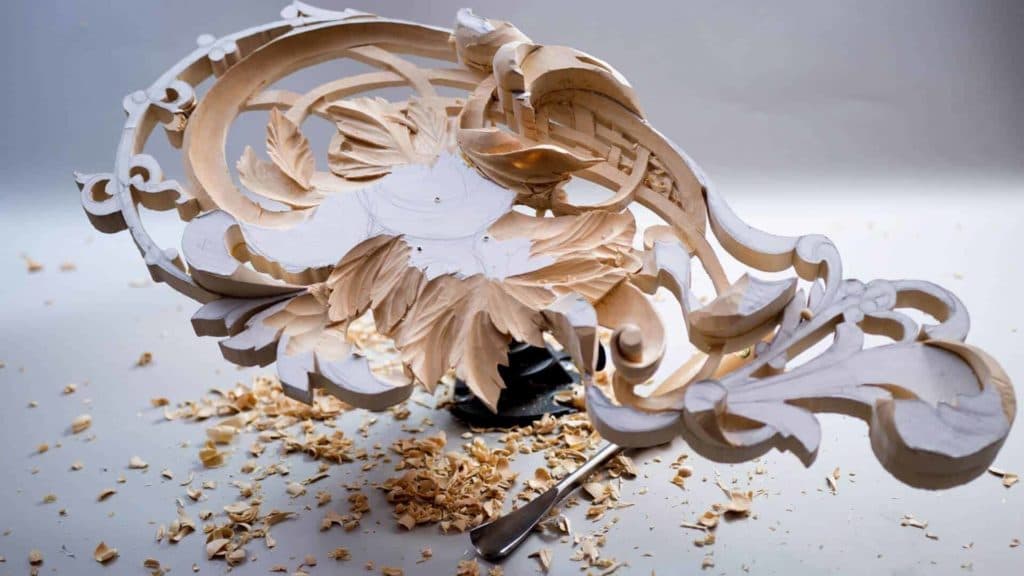
Alexander Grabovetskiy, woodcarver, School of Woodcarving · Published 2018
How do you tell if a carved line flows properly?
Quick answer: A carved flow line is judged by turning the work, not by staring down at it. Hold the panel at eye level, look along it from one side and then the other, and a bump that was invisible from above shows itself immediately. Fix whatever that view turns up, and very little wood has to move.
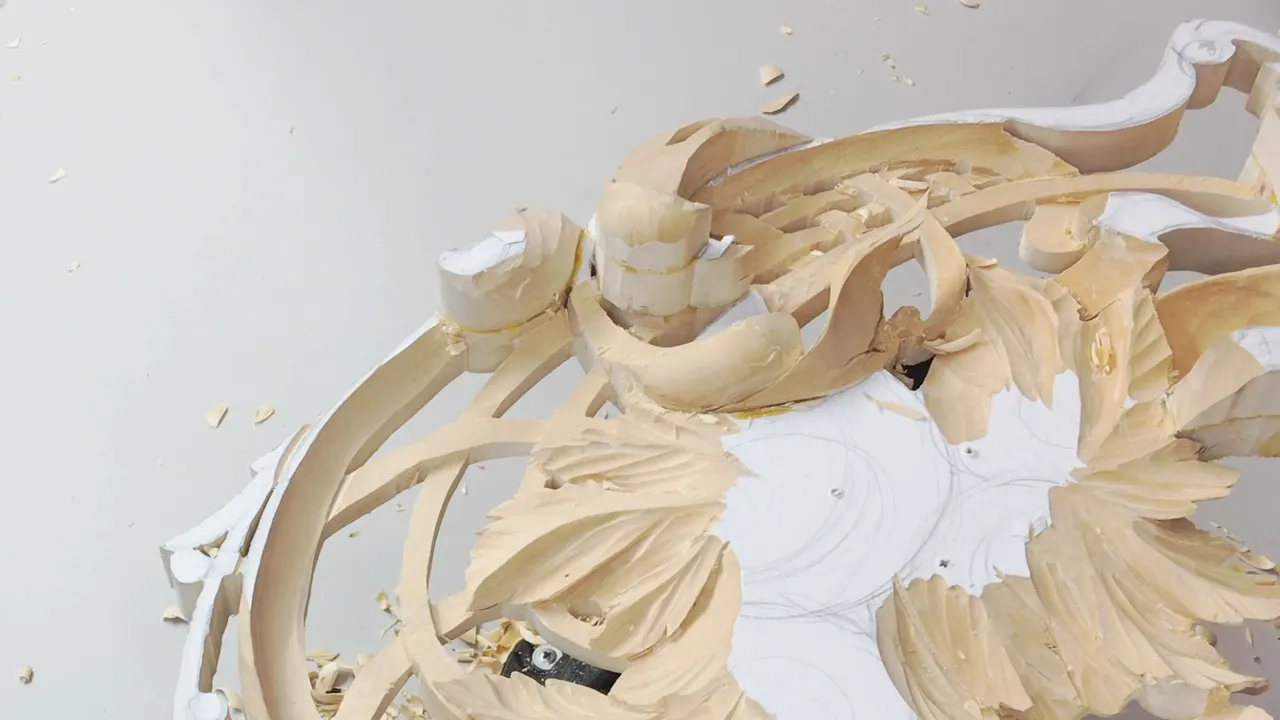
You cannot see a flow line from directly above, which is exactly where every carver stands. Pick it up and sight the leaf end on. The bump that looked fine from your chair will be sitting there in plain view.
How many times have you stood back from a carving and felt that something was off without being able to name it? Did you go looking for it? I used to stare harder at one picture.
Staring harder never worked. Carved surfaces read to the eye as a silhouette against whatever lies behind them, and from above nothing lies behind them except the bench, so the line you are trying to judge has no edge to show against. Turning the work gives it one. Workshop 9 of Carving Hashemi Flowers is almost entirely this: carve a little, turn it, look, fix what the turn found, turn it again.
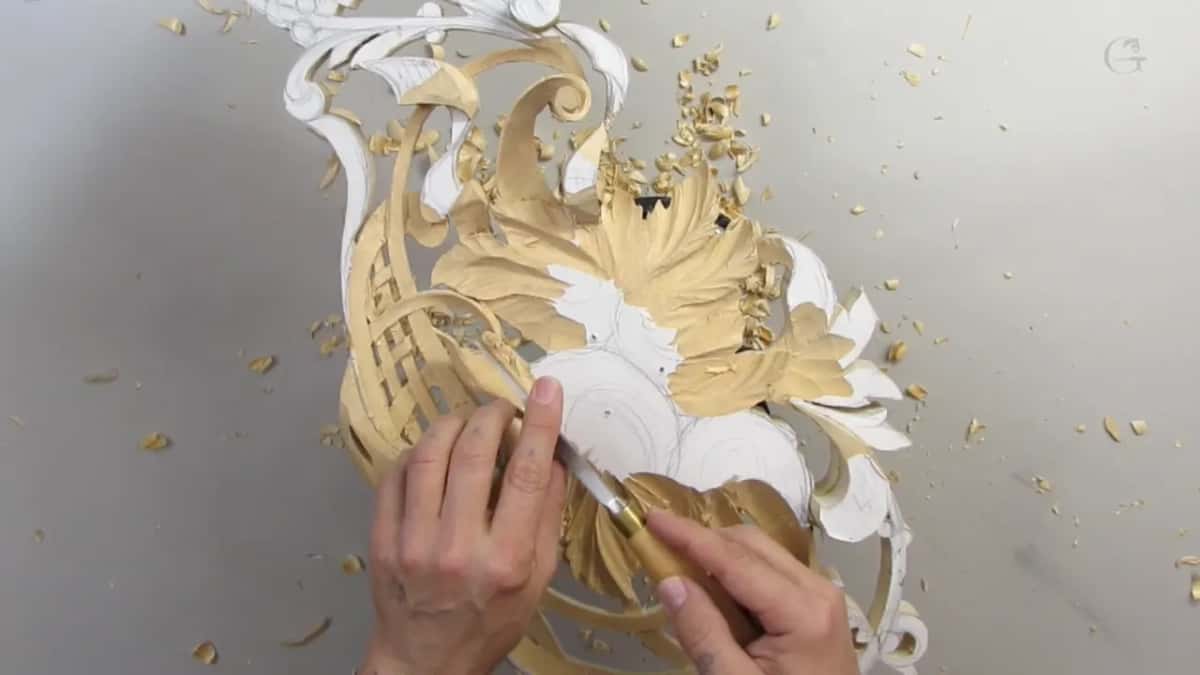
What the side view catches
- Bumps in a line that reads perfectly flat from above.
- A leaf at the wrong height.
- Places where two movements collide instead of passing.
- Thickness.
- Shadow landing somewhere you did not expect, which is what the modelling was for.
Why can you not judge a flow line from above?
Depth disappears when you look straight down. Every surface in a relief carving sits at a different height, and from directly overhead those heights collapse into one flat picture, so a hump and a hollow can read identically. Rotate the panel thirty degrees and both declare themselves.

My own habit is to lift the piece every few minutes. Sometimes I rotate it and simply look at how everything is travelling, and often enough I find a main movement I do not like at all, a place where the line stops flowing and starts bulging. Nothing about it was visible a moment earlier.
The same problem shows up in drawing, which is why the old workshops taught students to hold work at arm's length and squint. A carved relief is harder still, since it is a real object pretending to be deeper than it is. My page on carving shadows deliberately covers the illusion side of it.
How often should you turn the work?
Every few cuts, and always before you decide a passage is finished. I turn this panel so often during a workshop that students think I am stalling. What is actually happening is a running check, and the cost of it is nothing, while the cost of finding a bad line after the detail is carved on top is hours.
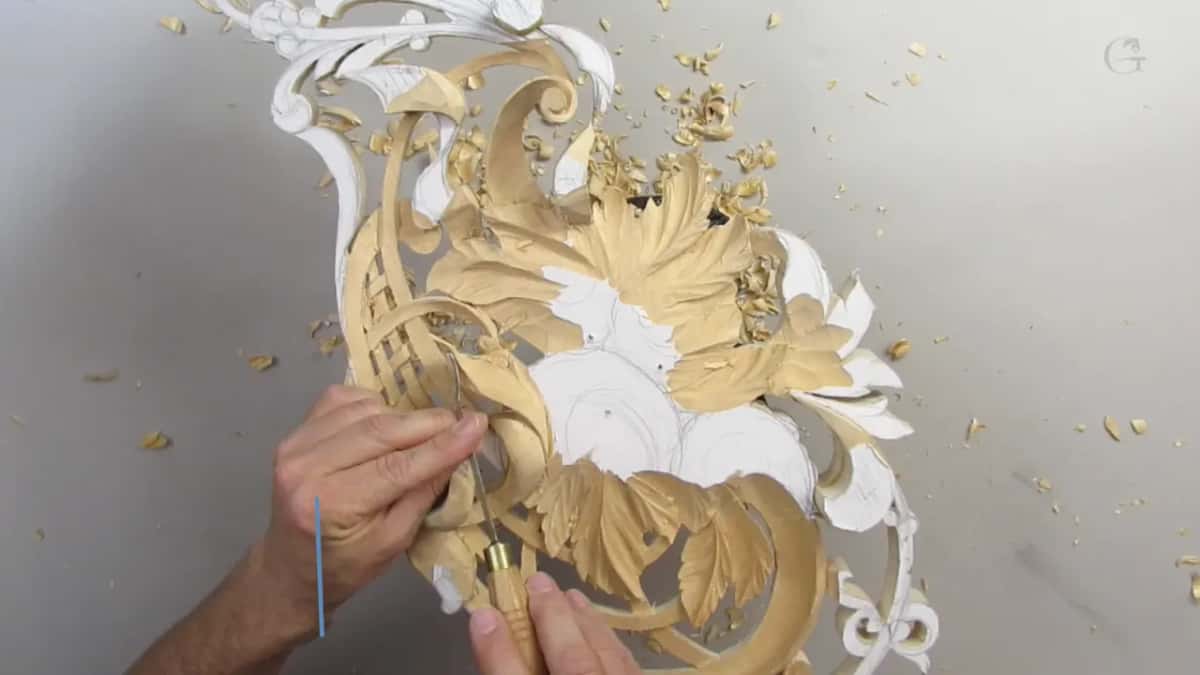
Look from more than two positions. Straight on, from the left, from the right, from below, and level with your eye. A flow line should hold up from all of them. Sometimes that is impossible and you accept a compromise, but if I catch it and there is room to fix it, I fix it.
Rotating also solves a carving problem, not just a looking problem. Half the cuts in this workshop are made with the panel spun round, because the grain wants the tool coming from the other end. My page on carving against the grain covers when that matters most.
What does a bad flow line look like?
| Where you put your eye to look at it | What that view alone shows | How often | The tool it usually sends you for |
|---|---|---|---|
| Directly from above | Composition and spacing, which is the drawing stage | Planning, and no later | A pencil used on paper, never on the wood |
| Eye level | Any bump that nothing else reveals | Constantly, from halfway | Knife, and very little of it |
| From underneath | How much wood is actually left under there | Ahead of any deep pass | Number 1 |
| A lamp set low and raking across the surface | Where shadows actually land | Late on, once the modelling is nearly finished | Nothing at all |
| With every light in the room off | Daylight through | Rarely, and it is always worth the trouble involved | None, you simply stop |
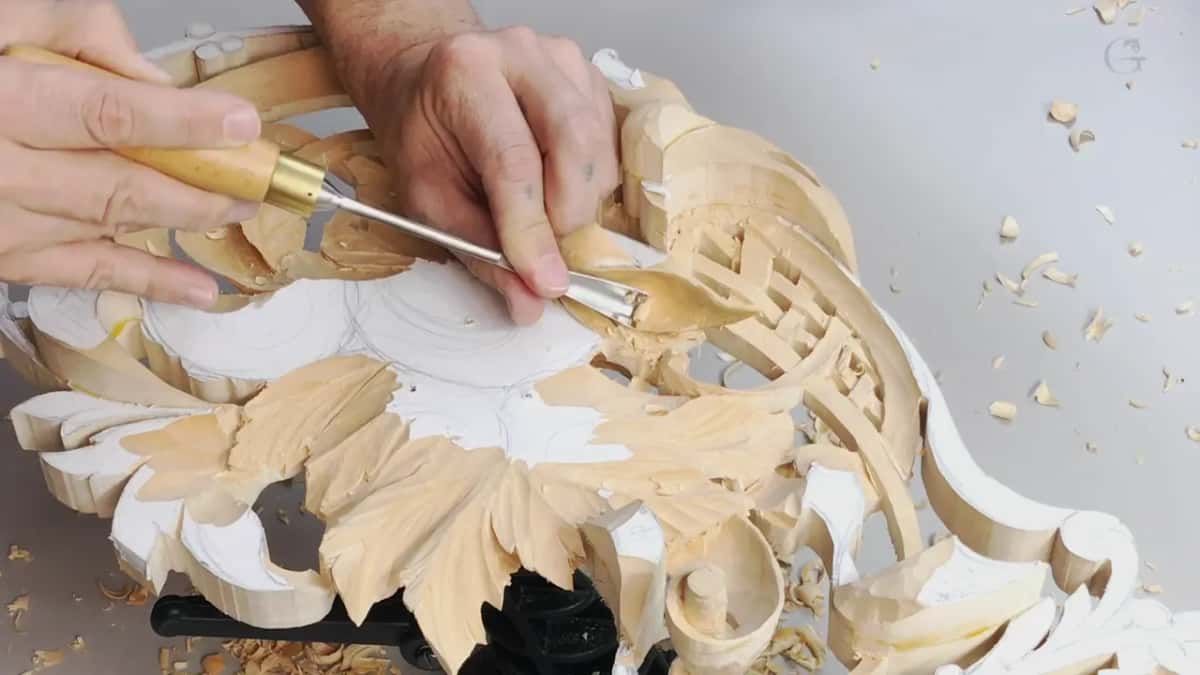
A bump. An honest answer, and it sounds too simple until you meet one. The line leaves its neighbour, rises where nothing asked it to rise, and comes back down, and your eye catches the interruption without being able to name it. Removing that one hump is what makes the whole movement read.
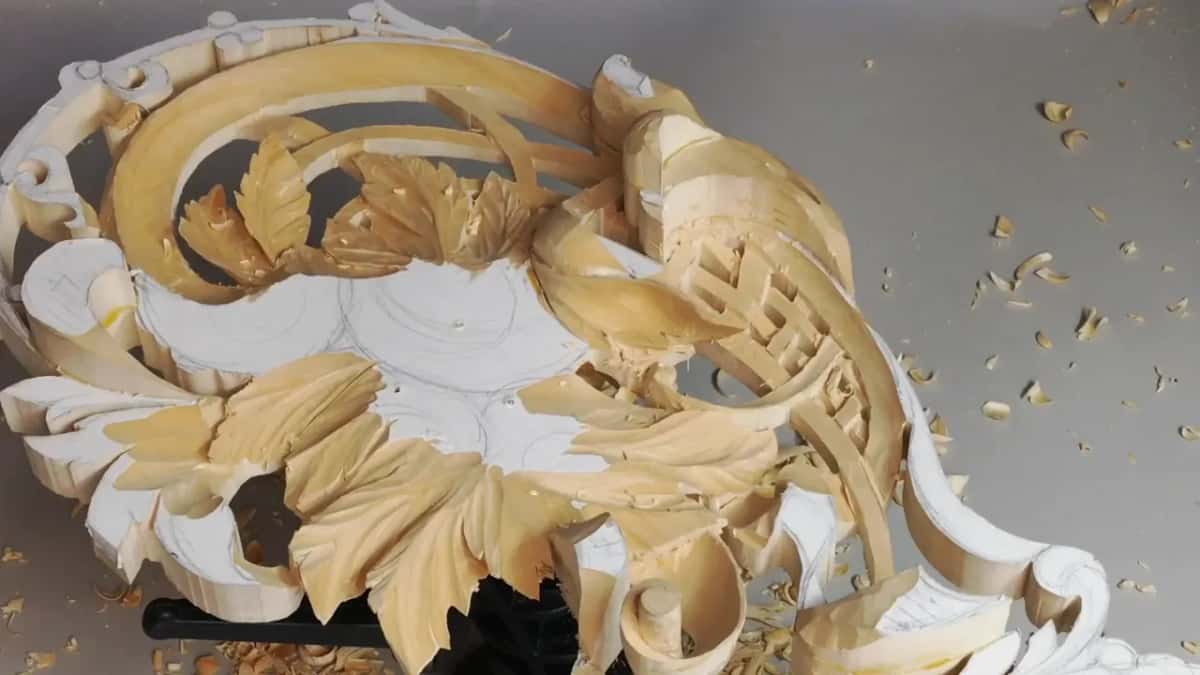
Collisions are the other kind. Two movements that should pass one over the other end up meeting at the same height, and the result reads as a knot rather than as foliage. Overlap has to be built deliberately, which I set out in what undercutting does to a relief.
Does fixing a flow line take much wood?
Hardly any. In this session I fixed a movement I had been unhappy with for twenty minutes, and afterwards I could barely tell where the tool had been. My knife took off the bump, the line settled, and what I wanted had been there all along.
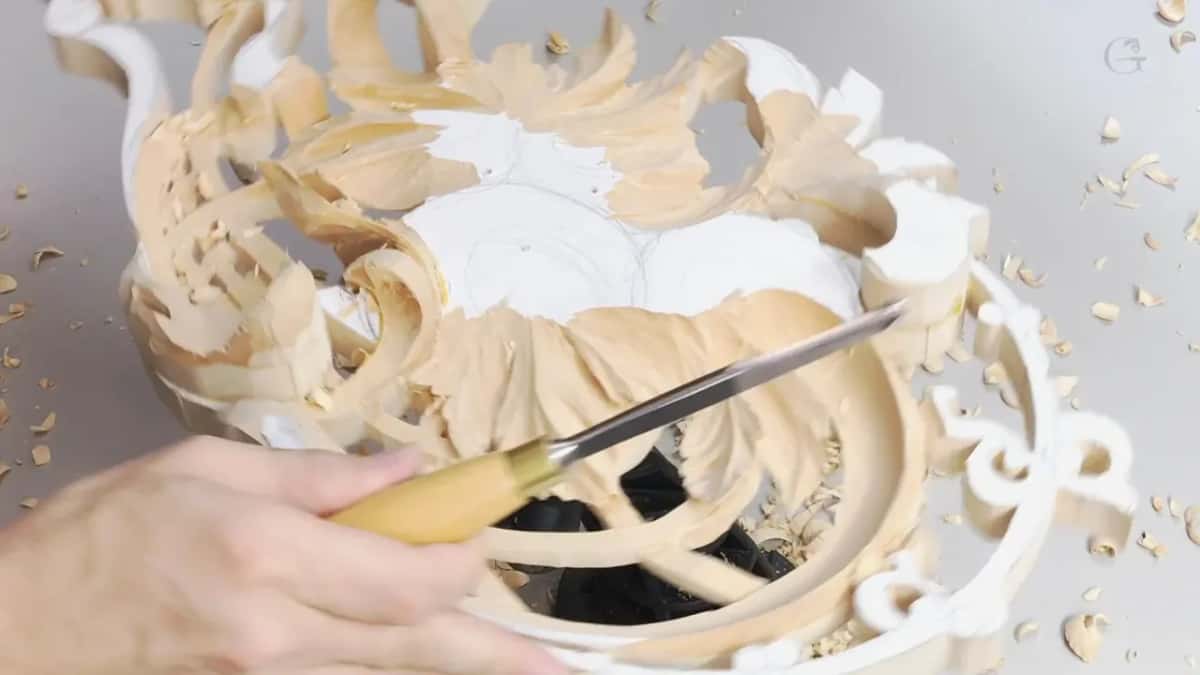
My number 12 knife does most of that work. A knife cuts where a gouge cannot be steered, it takes a shaving instead of a chip, and on a flow line you want a shaving. One knife carving teaches the grip properly.
Restraint is the difficult half. Once you have found a fault the temptation is to rework the whole passage, and then you have a new shape and a new set of faults. Take the bump off and nothing else. Turn it. Look again before you stop. Stop if the line has arrived where you wanted it.

Why would you turn the lights off?
Darkness is what shows you the thin places in a panel. Halfway through the session I switched the lamp off to see whether the shadows I had been cutting were really there, and what I got instead was light showing through the wood in two spots. No amount of looking under a bright lamp gives you that.
Light through a leaf means the wood is down past a sixteenth of an inch, about 1.5 mm, and you stop. My whole approach to that thickness is in how thin a carved leaf should be. Here it doubles as a warning light.
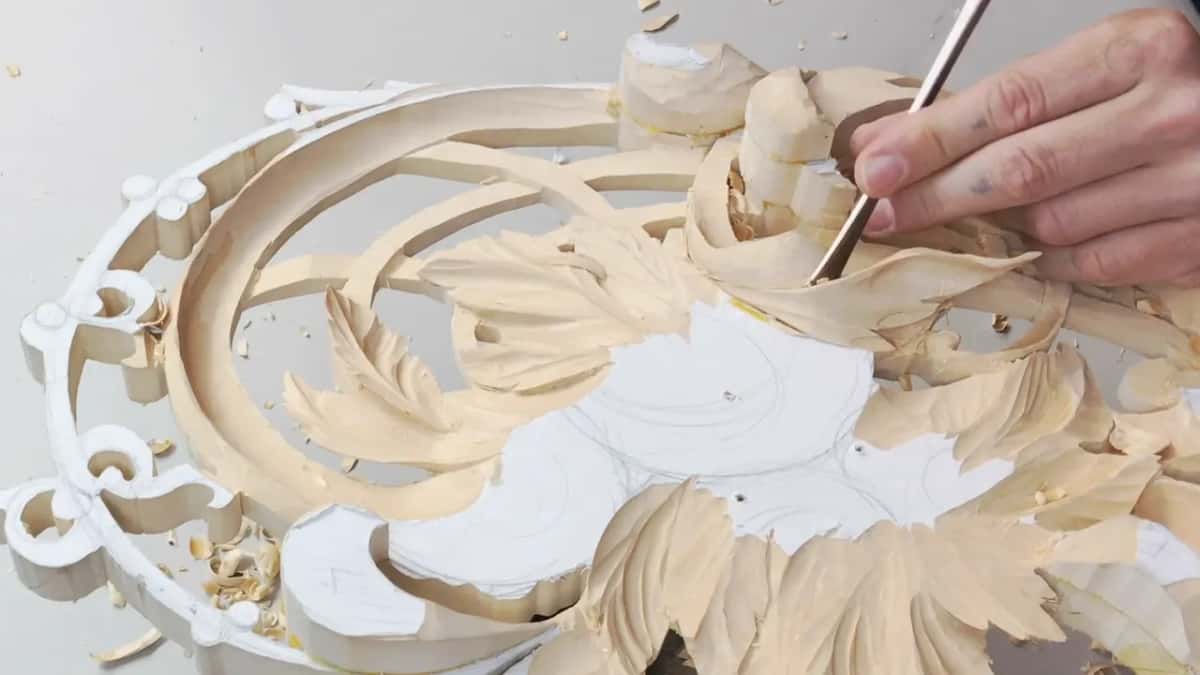
A low lamp does the opposite job. Raking the light across the surface exaggerates every hollow and ridge you have carved, and a passage that looked finished under overhead lighting suddenly shows its flat spots. Try both before you call anything done.
How sharp does the tool have to be for this?
Sharper than you think, and that is the actual secret of the craft. Watching me at this stage you would say I am not doing anything, because I create almost no pressure on the handle. The edge is doing the work. With a dull tool none of these cuts are possible at all.
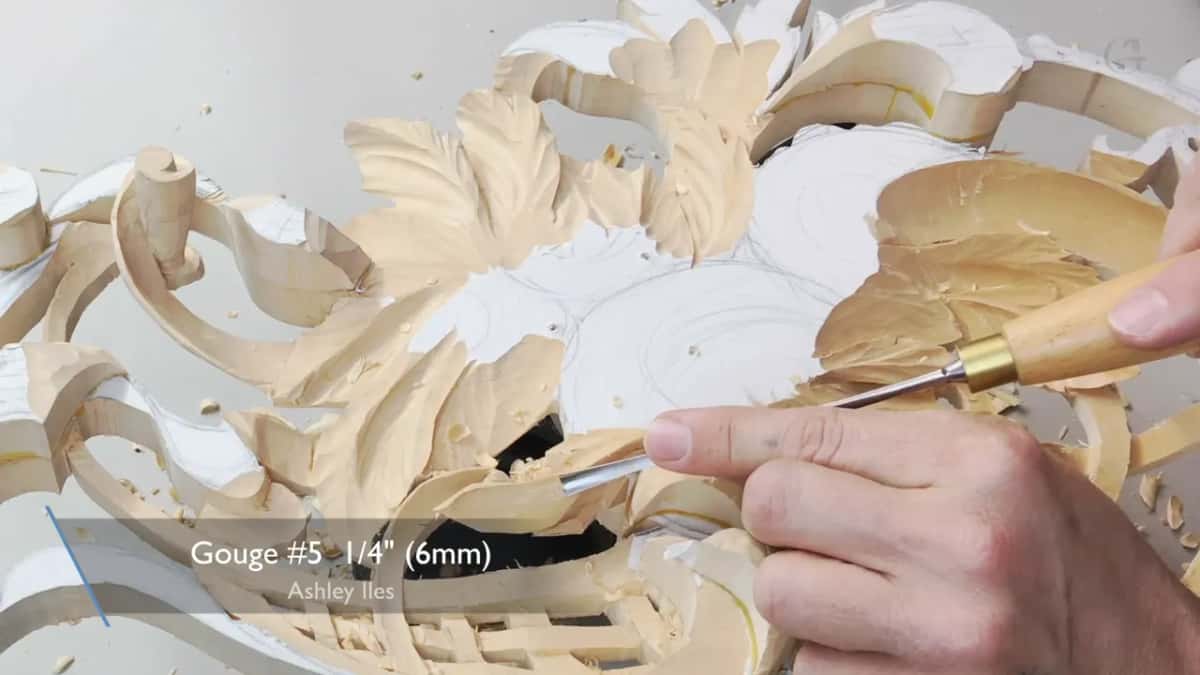
Two fingers steer the gouge through most of a passage like this. Not a fist, not a shoulder behind it, two fingers guiding a tool that is already cutting under its own keenness. Anybody who tells you carving is about strength has never had a properly sharpened edge in their hand.
Sharpening is therefore not a chore you get out of the way before the fun starts. My sharpening course exists because students kept blaming their hands for what their edges were doing, and Ashley Iles or Henry Taylor steel takes an edge that holds through a whole session.

Should you mark the wood with a pencil?
Avoid it wherever you can. There is a pencil mark on this panel that I regret, and I only made it so the camera could follow what I was planning. Graphite sinks into open grain and leaves a grey smear that survives every cleaning attempt.
My alternative is to carve the decision instead of drawing it. A shallow V cut states the same intention, it goes exactly where the line belongs, and the next pass removes it. Nothing is left to clean off a surface that will never be sanded, since I do not use sandpaper on work like this at all.

How thin is the panel by this stage?
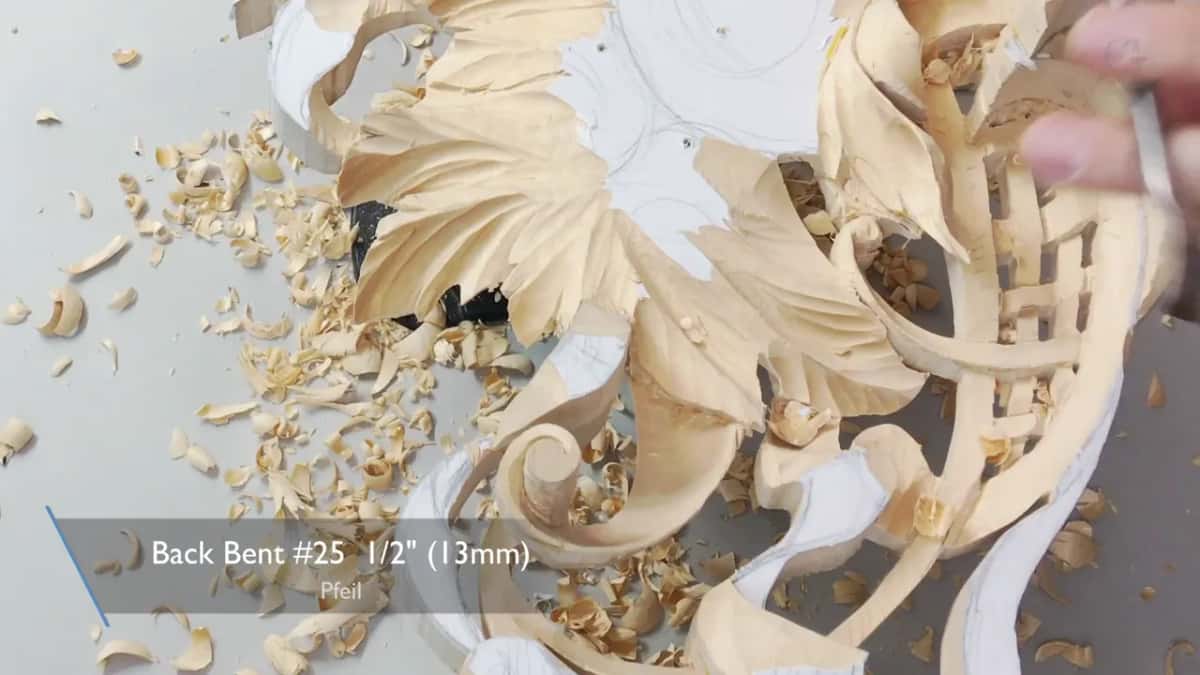
Parts of it are frightening. One rim in this workshop measures around three thirty seconds of an inch, and in a spot or two perhaps a sixty fourth, which is thinner than a fingernail. Other areas still carry half an inch, 13 mm, and I will unify all of it later.
Those numbers change how you hold everything. A finger goes underneath the piece you are cutting, supporting it from below, and the tool arrives with almost nothing behind it. Stopping a thin edge from breaking matters more here than anywhere else in the course.
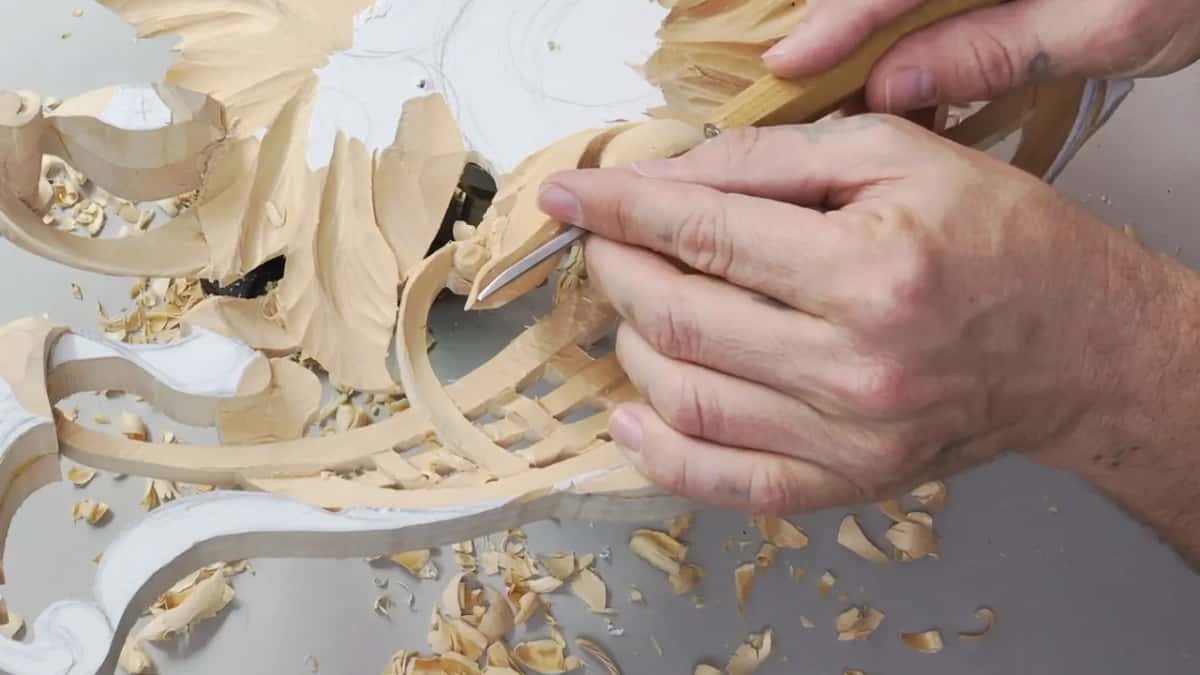
Tools shrink to match. A number 11 at one millimetre undercuts right at a rim. A back bent reaches under a movement no straight gouge can enter, and Ashley Iles mark theirs differently from everyone else, so their sweep 7 back bent is stamped 37 and catches people out.
How deep can you go before the design stops reading?
Deeper than the board, as long as the layer behind stays at its own height. Partway through this workshop I said out loud that I would not cut below the level of the original panel, and then I changed my mind and went below it anyway, because the leaf in front gained by the extra distance.
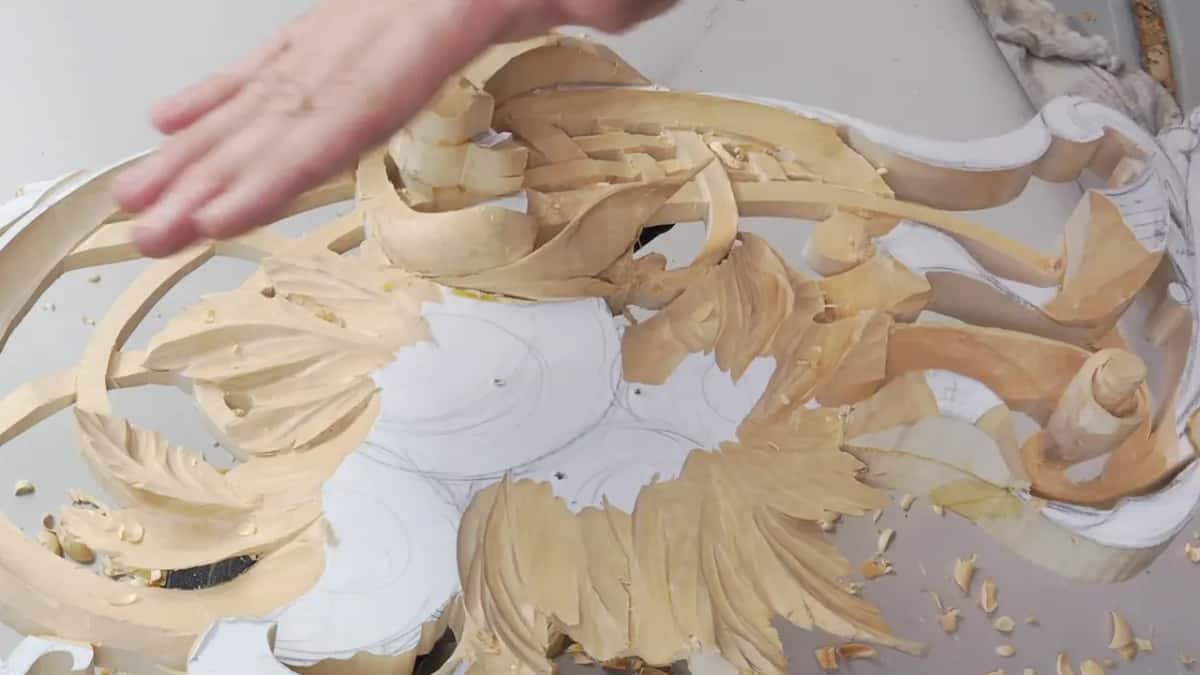
What I would not do is arrive at the same level as the woven basket underneath. Two elements sharing one height stop being two elements. The basket has to keep a line of its own, and the moment the leaf above reaches down to meet it the whole arrangement flattens into a single busy surface.
Gluing complicates it further. This panel is built from laminated stock, so a glue joint runs through it at a known depth, and cutting down to that joint would put a straight grey line across a carved hollow. My rule is to stop a little short and let the shadow finish the job, the same reasoning behind making a carving look deep without actually being deep.

Tight spaces change which tool can even get in. A skewed number 3 goes places a square edged one cannot, because I can push it straight forward and still get the sideways travel that makes a slicing cut work. No room to sweep the tool, and the skew supplies the angle instead.
Speed follows from that. A skewed gouge in a narrow hollow gets through the same material in half the passes, and every pass you do not make is a chance you do not take with an acanthus rim that has almost nothing left behind it. Good gouges in unusual grinds are worth hunting down for exactly this.
Does any of this show in a finished carving?
Only as a feeling, and that is the frustrating part. Nobody standing in front of a finished panel says that the flow lines were checked from five angles. What they say is that the carving looks alive, and the reason is that every long line in it resolves from wherever they happen to be standing.
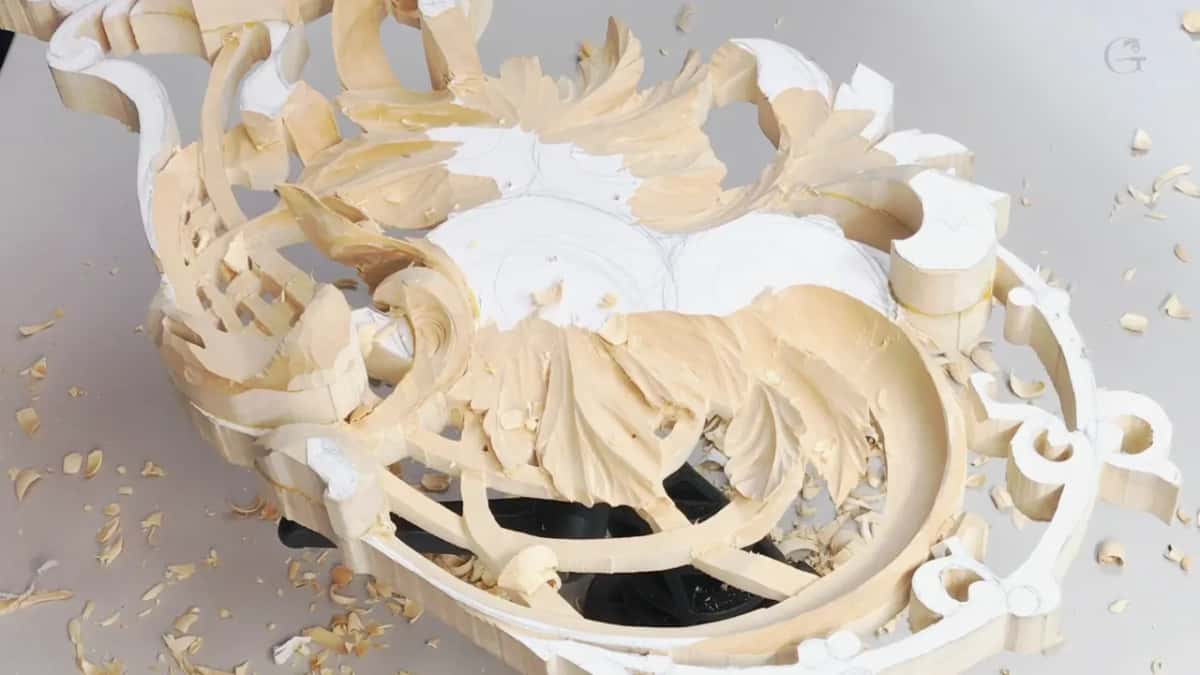
Look at any piece by Grinling Gibbons and try to find a line that goes wrong. There is not one. Those workshops were not blessed with better eyes than ours; they simply turned the work more often than we do, and had the patience to take a bump off a stem that nobody would ever measure.
Walk through the sculpture collection at the V and A, or the carved furniture in the Getty, and the surviving pieces share this quality. Lines that hold up from every seat in the room. None of that is talent. It is a habit of checking.

Basswood helps, since it takes a knife shaving cleanly and lets you correct without tearing. The fibre is fine and even, so a flow line can be adjusted a hair at a time. Butternut behaves nearly as well and carries more colour.

What should you try on your own bench?
Take whatever is on your bench right now and pick it up. Hold it up and run your eye along the longest line in the design, first from one flank and then the other. Write down what you see that you had not seen before.
My guess is you will find two things, and one of them will annoy you. Fix that one and put the piece back down. The 49 workshops of this course are inside the school, and workshop 9 is where the turning becomes a habit rather than a step.
One more thing about how this feels. You will keep finding faults for years, and that is not a sign of getting worse. Your eye improves faster than your hands, which means the gap between what you can see and what you can carve stays open. Mine still is.
How it's done
- Lift it off the bench. Put the panel in your hands instead of leaving it flat. Nothing about a line can be judged while work lies under an overhead lamp.
- Sight the longest line. Bring the piece up to your eye and look down the length of the main movement, then walk round and repeat.
- Mark nothing. Note where your eye catches and resist drawing on the wood. Graphite sinks into open fibre and stays there.
- Take only the bump. Pare the high spot away with a knife, one shaving at a time, leaving the rest of the passage untouched.
- Turn it again. Sight the same line once more before calling anything finished. Most corrections need a second, smaller one behind them.
- Rake a lamp across it. Set a light low and to one side so every hollow throws a shadow, then judge the modelling.
- Switch the lamp off. Look for light arriving through the wood. Any that does tells you where you have already gone as far as possible.
Frequently asked questions
Why can a flow line not be judged from above?
Heights collapse when you look straight down, so a hump and a hollow present the same flat picture. Sight needs a silhouette against something behind it. Tilting the work thirty degrees supplies one, and the fault appears at once.
Should you keep turning a carving while you work?
Every few cuts, and without fail before calling a passage done. Turning costs seconds. Finding a bad line after detail has been carved over the top of it costs a whole evening of unpicking.
How much wood does fixing a line take?
Almost none, in most cases. One bump pared away settles a movement that felt wrong for twenty minutes, and afterwards you can barely locate where the edge went.
What to carve next