
Alexander Grabovetskiy, woodcarver, School of Woodcarving · Published 2017
How do you design a carving pattern for a cutting board?
Quick answer: Drawing a carving pattern straight onto the board is three moves: rule the border, lay one sweeping line of movement, then work curls into every space left over. My tools here are a pencil, a steel scale and a slab of basswood 50 mm thick. No printer touches it at any point.
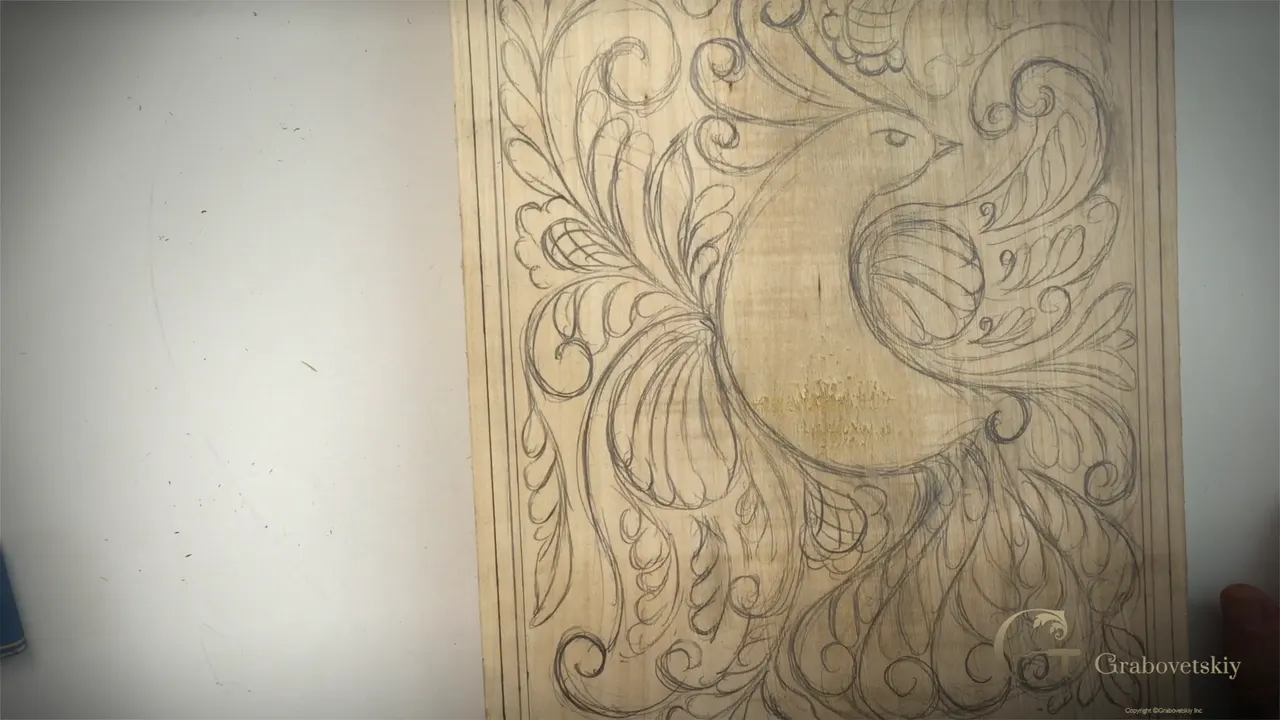
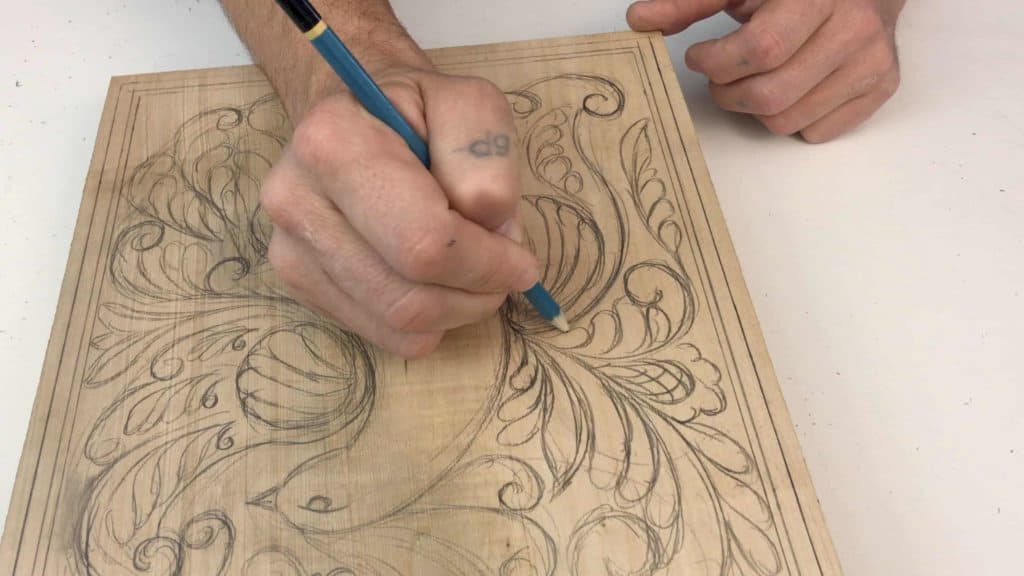
Drawing a carving pattern straight onto the board is a three step job: rule a border, set one main line of movement, then fill the open ground with curls. I work with a pencil, a steel scale and a two inch basswood blank about 10 by 13 inches, near enough 254 by 330 mm. The pattern never touches a printer.
Ever taped a printed pattern onto a board and watched the finished carving come out stiff? Do you want to draw your own ornament instead of borrowing somebody else's forever? Then start at the pencil.
I am going to be honest with you. People skip this workshop because there is no gouge in it, and later they wonder why the panel looks dead. The drawing decides that, long before the knife shows up. In the third workshop of this beginner course I fill a blank board on camera, on the fly, with a stylized bird of paradise and a field of curls. You can follow every pencil stroke and copy it, or change it to fit whatever board you have on your own bench.
What decides whether a drawing carves well
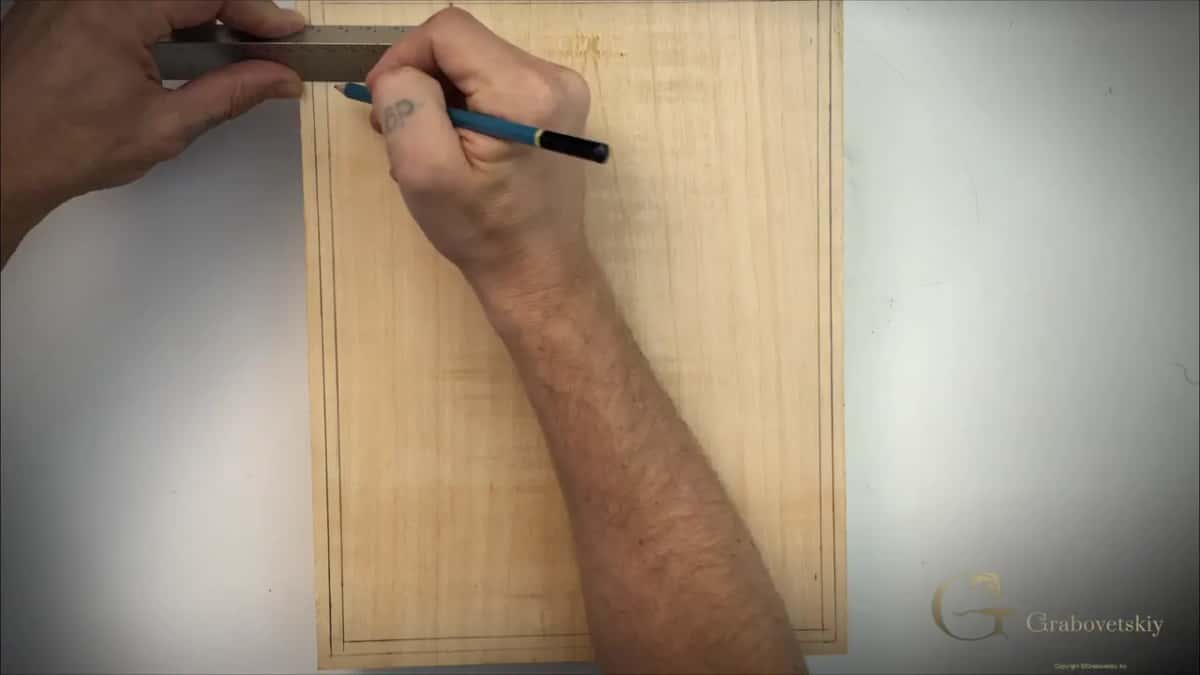
- Three pencil lines around the edge, spaced 6 mm, 6 mm and 3 mm, give the panel a frame and tell the knife where to stop.
- One sweeping stroke goes down first, and the bird hangs off it, and so does everything else.
- Curls fill the open ground, and the old name for the style comes from them.
- Every line has to run into another line. A line that dead ends against its neighbour is the fault carvers call a T stop.
- Basswood two inches thick stays flat. Thin stock warps and the panel fights you a year later.
- Scale the whole thing up or down for your own blank. Spacing matters more than size.
Why draw the pattern straight on the wood?
A pattern drawn on the board belongs to the board. Paper does not know where your grain runs, how wide your blank is, or that one corner has a knot in it. Wood does. When I draw on the blank I can stretch a curl into a gap that only exists on this piece, and I do that constantly, right through the carving as well. Three workshops from now I will still be moving a line because the grain told me to.
Look at your blank before you start. A knot, a streak of darker grain, a corner where the board is a little narrower than the other end. All of that is free information and a printed sheet throws it away. Put the bird's body across the clean centre and let a curl run over the busy part, and the finished panel reads better than one where the ornament lands wherever the paper said.
There is a second reason, and it is bigger. A carver who only traces stays a copier. Draw your own ornament twenty times and you stop needing anyone's pattern at all. The men who carved this style eight hundred and a thousand years ago had no printer, and no ruler either, and their work is still on church doors across Europe.
How wide should the border be on a carved board?
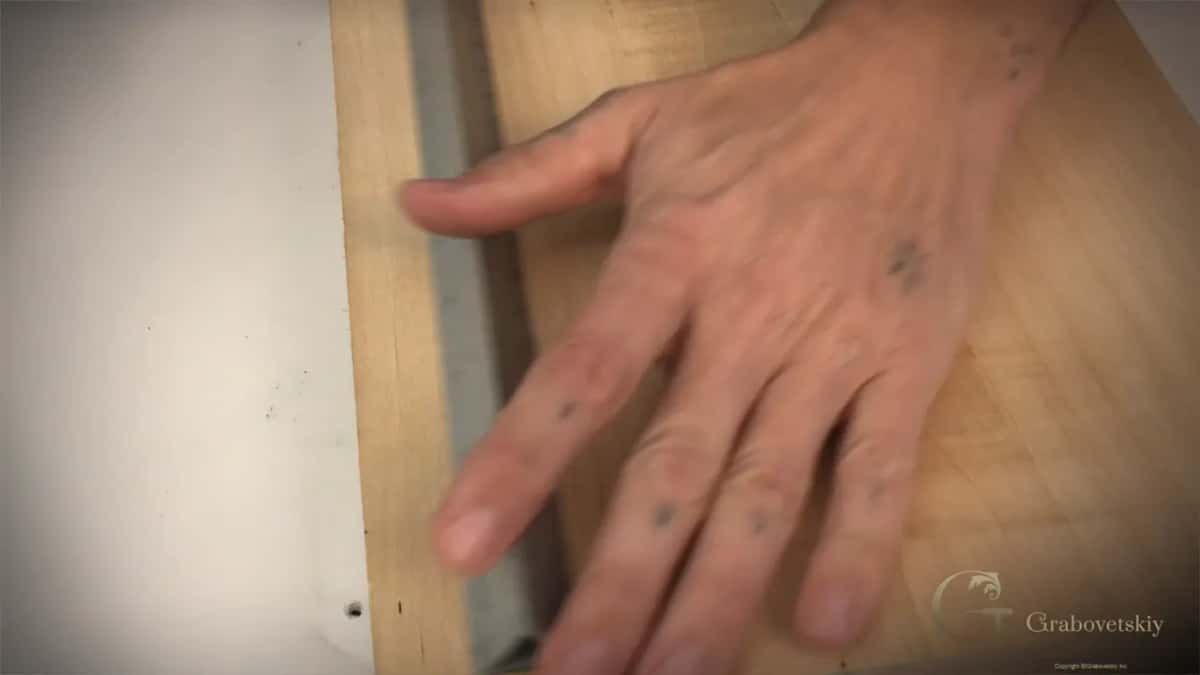
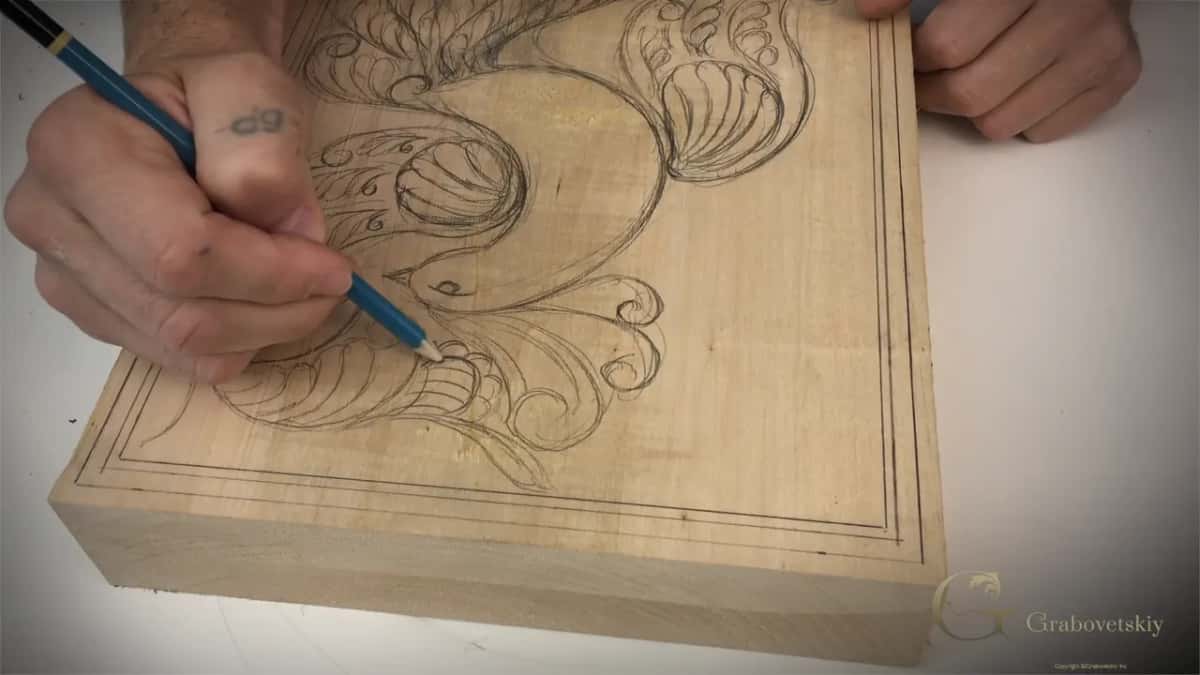
Quarter inch, quarter inch, and one eighth. Call it 6 mm, 6 mm and 3 mm. None of those three lines is there for decoration, and the narrowest one matters most. Your outer band is the edge you leave alone, so the panel has something to sit on, and the middle band is where the knife runs its angled pass the whole way round. Last comes the narrow one, 3 mm, which ends up as the raised lip framing the ornament. You will not really understand why until the third carving workshop, when the light catches it.
Draw all three before anything else. A border drawn afterwards never sits square with the design inside it.
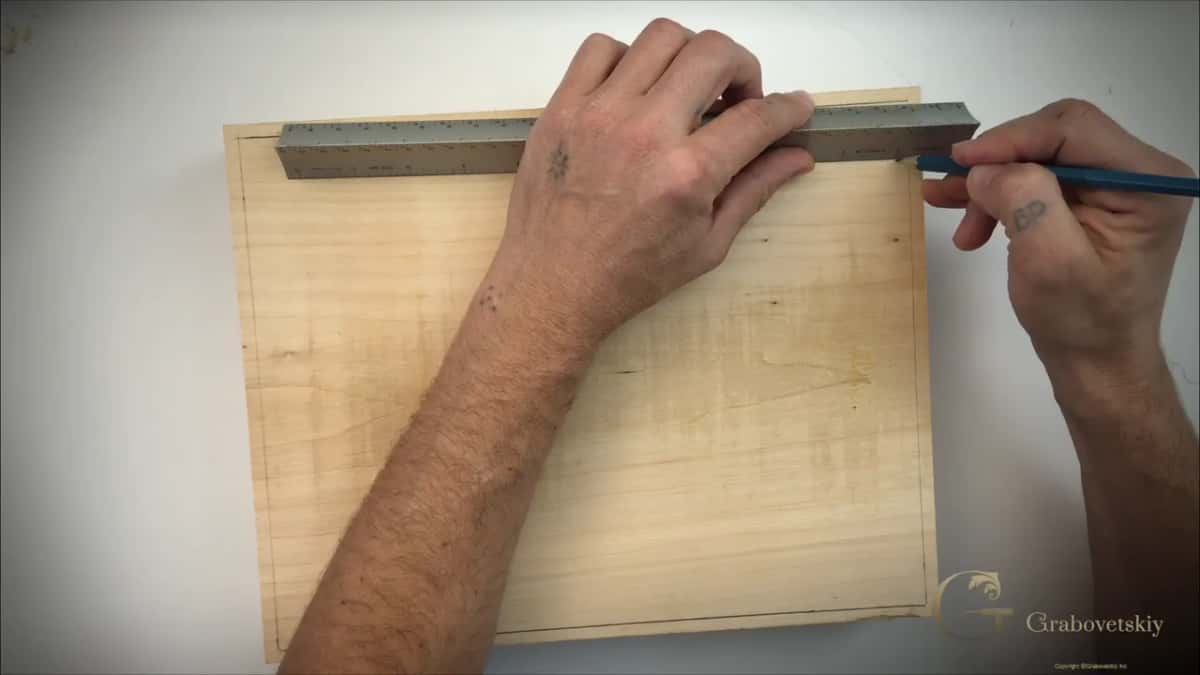
Can you draw a straight line without a ruler?
Your middle finger is the ruler. Press the side of it against the edge of the board, hold the pencil against that finger, and slide both together down the length of the blank. The line comes out parallel to the edge because your finger cannot change its own width.
I use a steel scale in the video because it is on the bench. Some of you will not have one. It does not matter. Two thousand years ago nobody had a machined rule in a drawer, and the borders on old work are dead straight anyway.
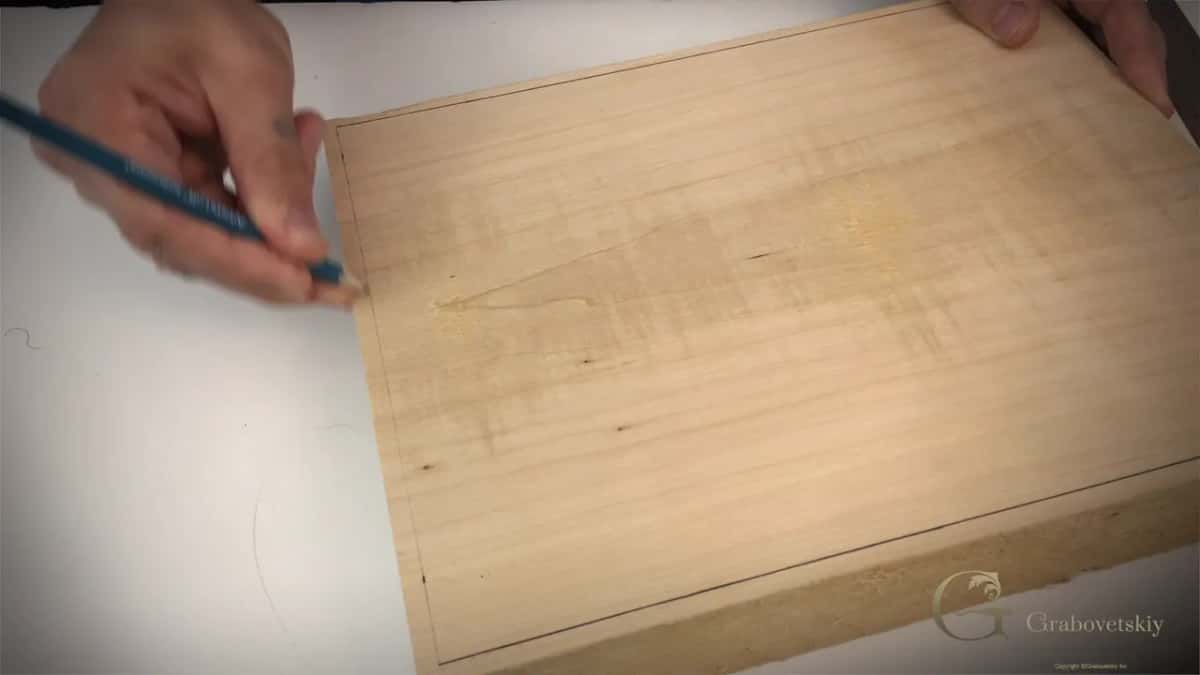
What is curly carving?
Curly carving is the old ornamental style whose whole vocabulary is the rolling curl. Different nations gave it different names, and translated they all come out near the same word. You find work like this from the eighth, ninth and tenth centuries across European cultures, and the tool behind almost all of it was a knife.
The single curl in the middle of it has a formal name too. Most books today call it a volute, because a rolled up curl is exactly what it resembles. Long before that word existed the shape was already being used. When Solomon built the temple in ancient Israel, volutes and shapes like them were already part of the ornament, and in some cultures the element still carries the name Solomon's cucumber. Look at one for a second and you will see why.
Why did the old carvers stylize everything?
Space decided it. Ornament has to fill a shape somebody else already chose, usually a door panel or the lid of a chest, and a bird drawn the way a real bird looks will never fill a rectangle nicely. So the old carvers bent the animal until it fit, and then kept bending the same way every time until the bending itself became the style.
Greek and Roman carvers did exactly this with a plant and gave us the acanthus leaf, which no gardener has ever found growing. Walk through the carved oak in a museum like the V and A and you will notice the same habit on every panel. Nature goes in, geometry comes out. So when I say follow the rule of the old way, I mean this. My bird has an eye and a crest, and every other thing about it obeys the curl.
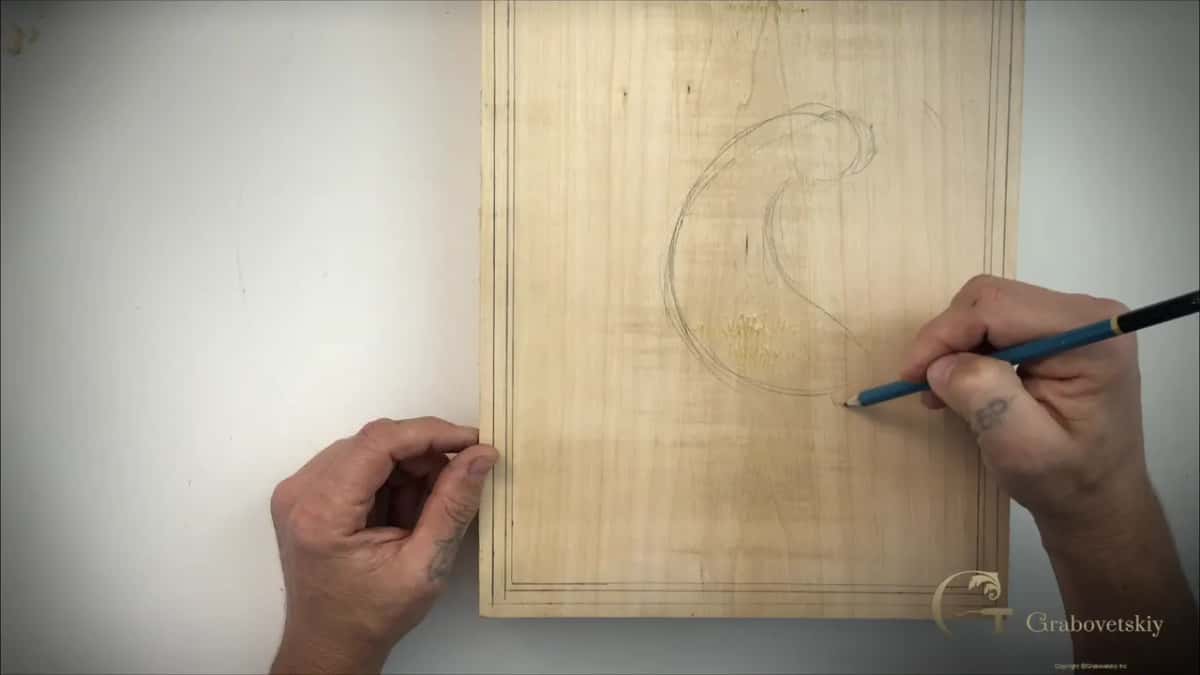
Where does a design start on a blank board?
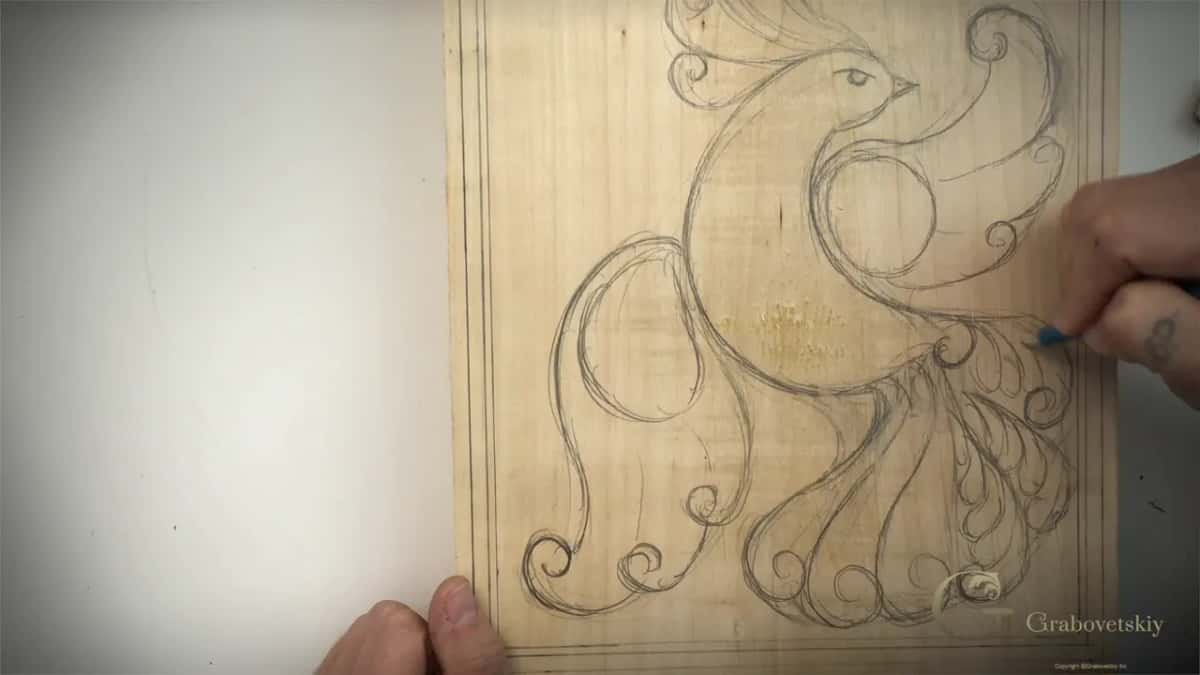
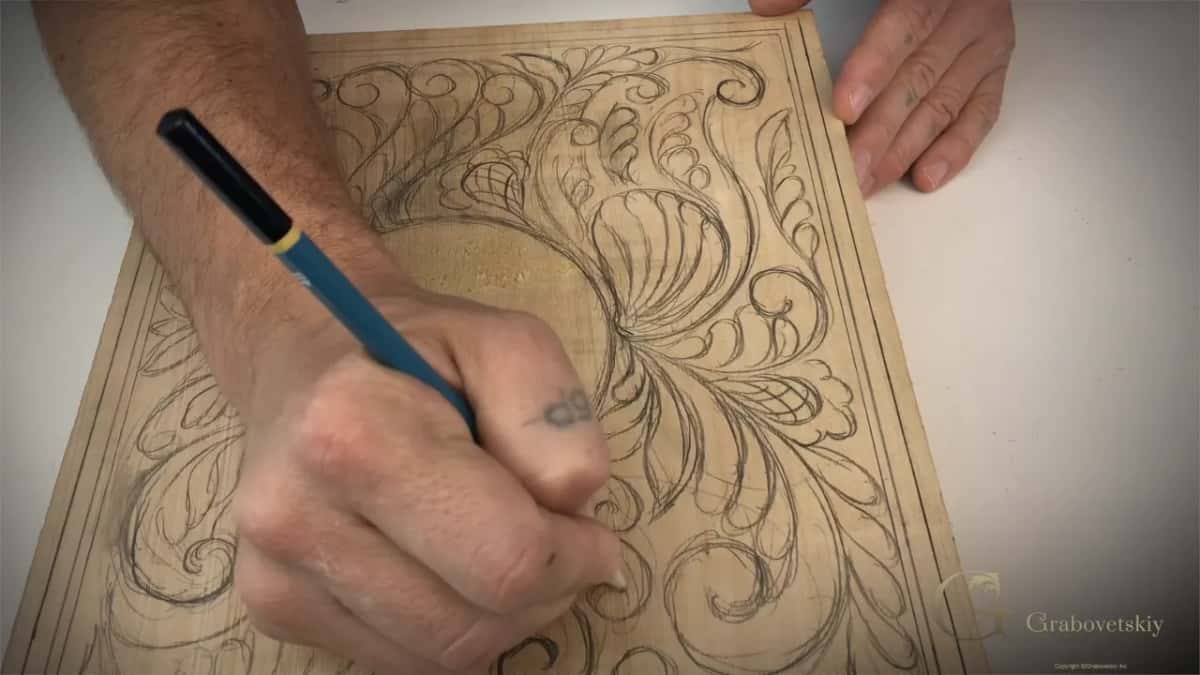
Movement comes first. I draw one long sweeping line down the board and nothing else, and that line is the spine of the panel. Everything after it hangs on that first stroke like washing on a rope: body and tail, then wings, then whatever leaves and flowers the ground still needs.
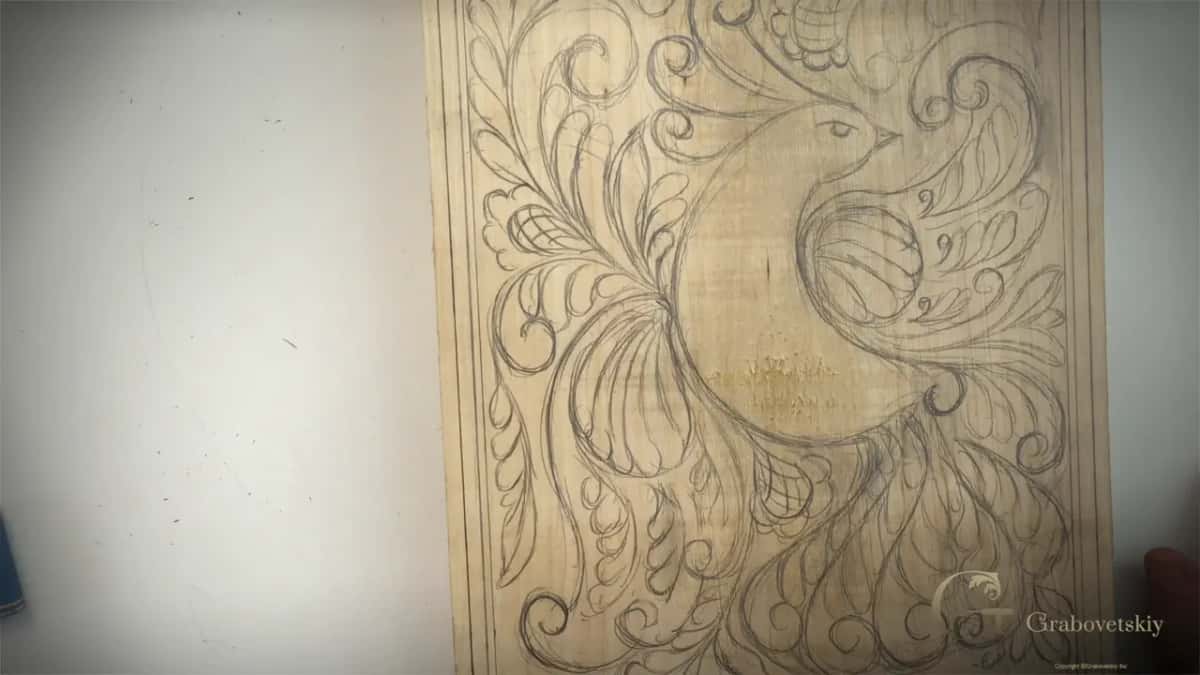
Only then do I decide what the shape is going to become. In this workshop the shape becomes a paradise bird, stylized the way the old carvers stylized every animal they touched. They never copied nature. They bent it until it fit the space, and so do we.
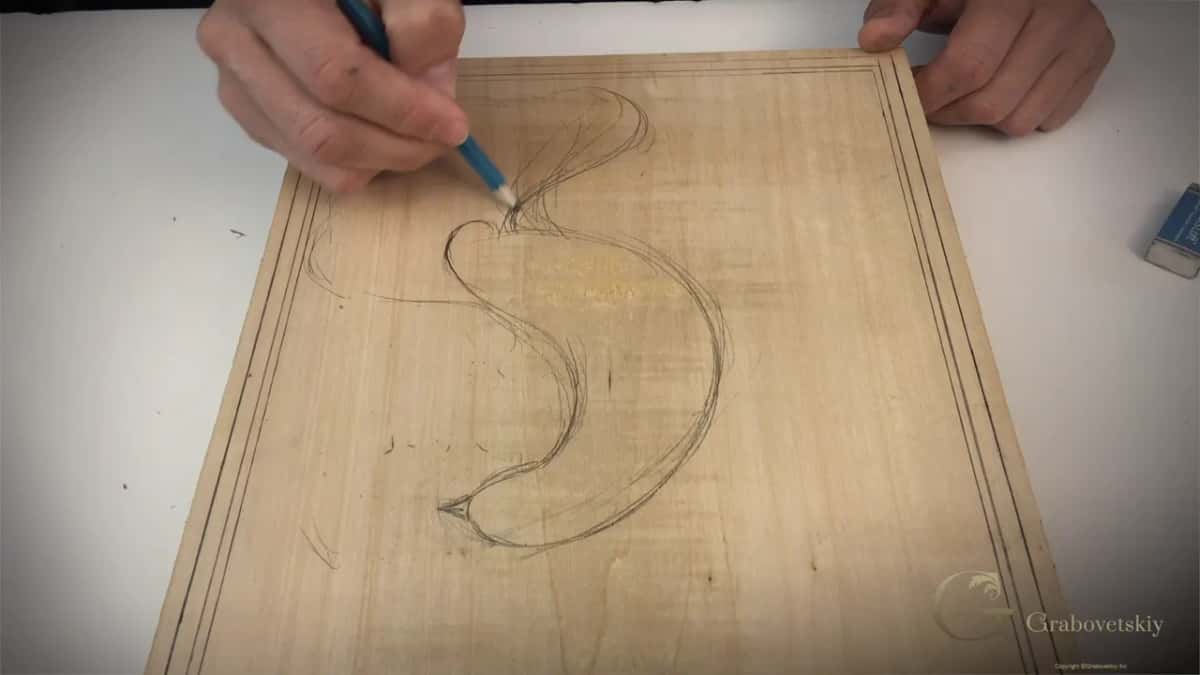
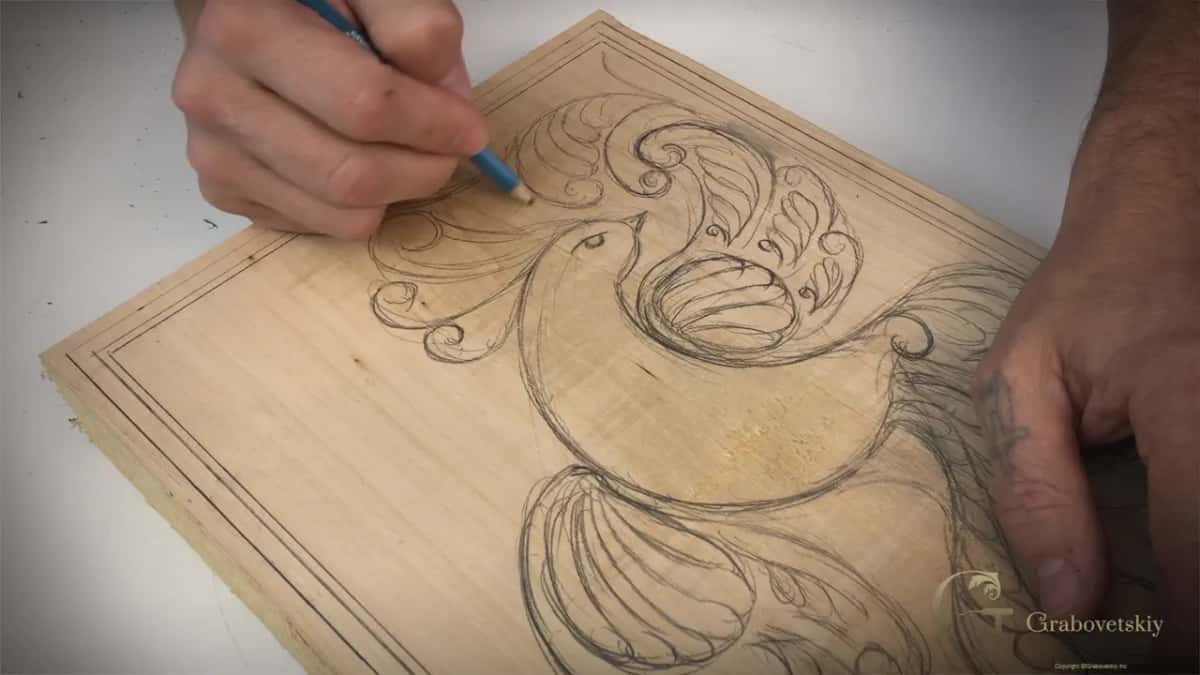
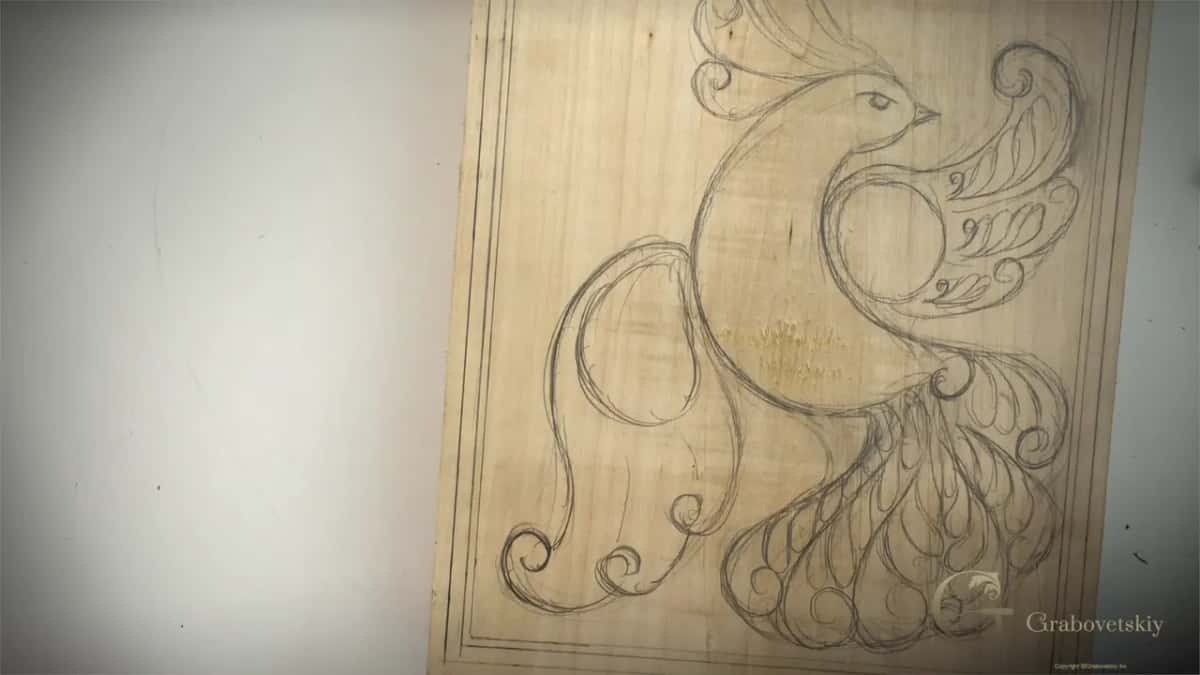
Tail next, then wings, then an eye, and finally a topknot, because that is what makes the bird a paradise bird. At that point most students stop and stare, because the bird appears out of what looked like scribble about ninety seconds earlier.
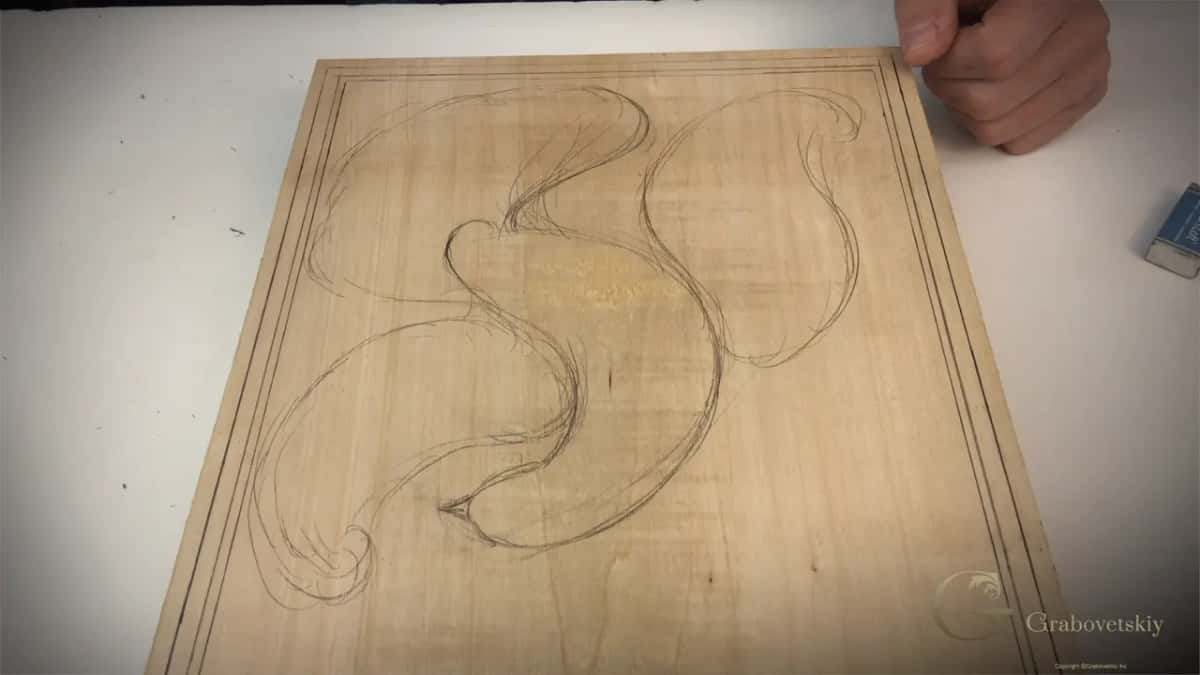
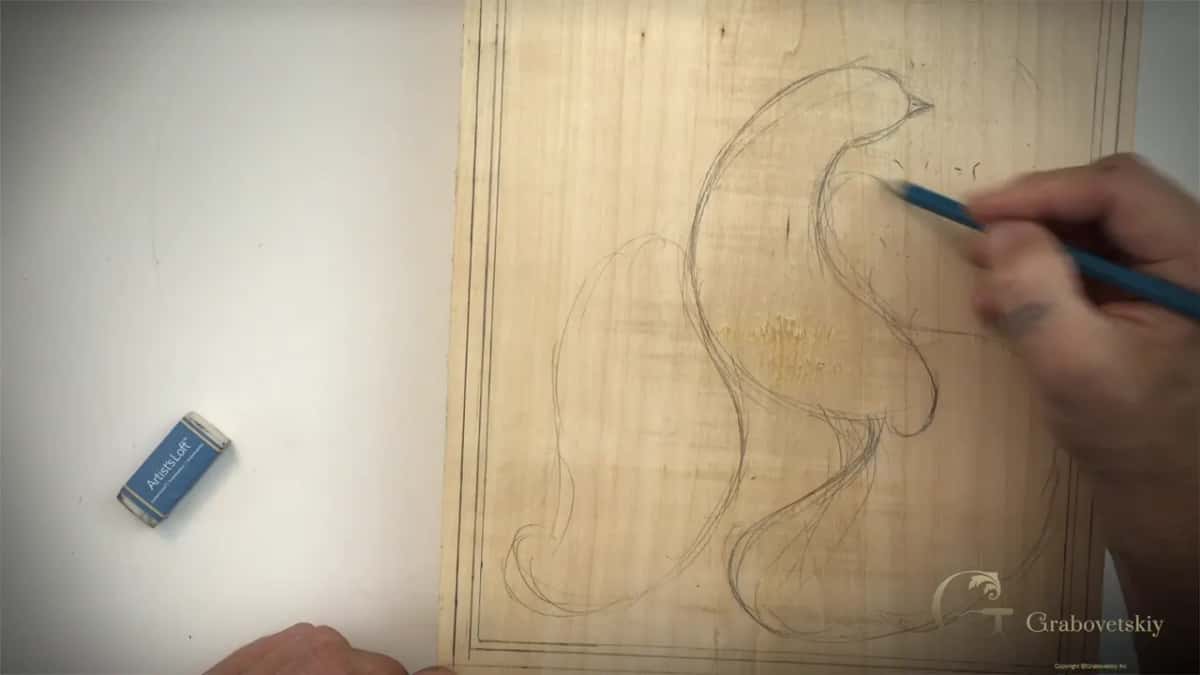
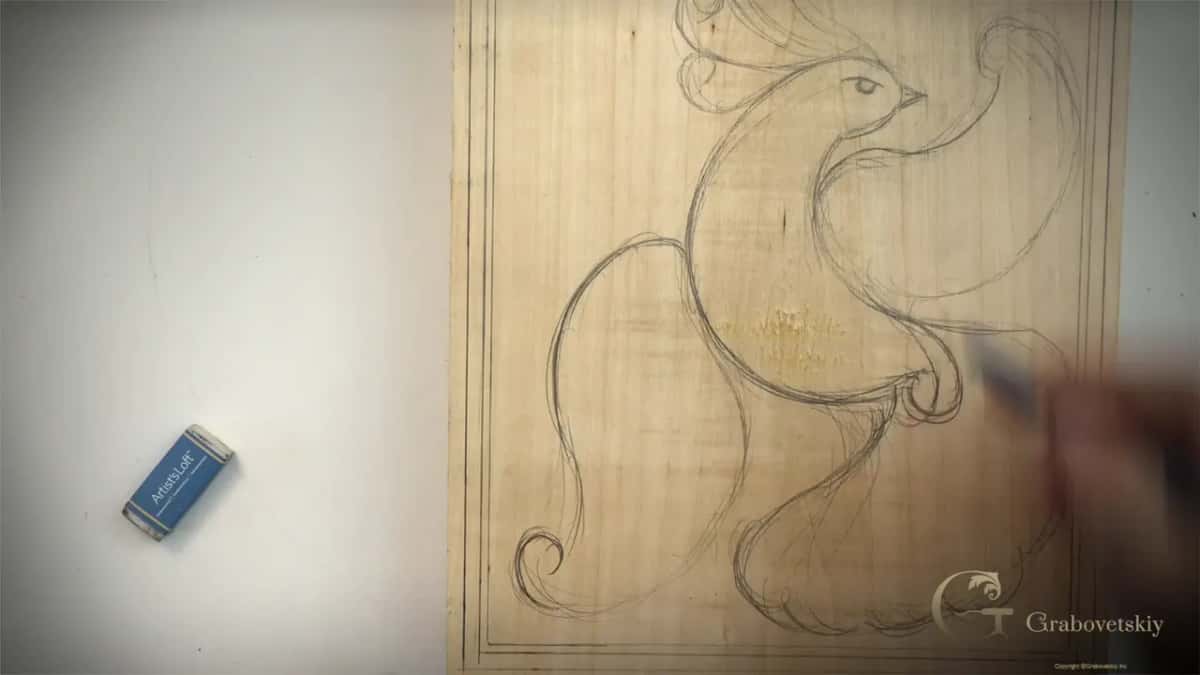
What does it mean when carvers say a design has to flow?
Flow means every line runs into another line and none of them stop dead. Put a line so it meets its neighbour at a right angle and you get a T. Your eye hits that T and parks there, and the whole panel dies at that spot. Carvers who work in ornament have hunted that fault for centuries.
So while I fill the ground around the bird I keep asking one question of every stroke. Where does this line go next? If the honest answer is nowhere, I erase it. The main movement on the left side has to answer the main movement on the right side, and the leaves have to lean the same way the bird leans.
Once that clicks for you, it never unclicks. You start seeing T stops in other people's carving, in printed patterns, on furniture in shop windows. Every later workshop in the school leans on the same rule, from a beginner cutting board up to a Venetian panel with four hundred hours in it.
| Pencil line | How far in from the last one | Later | What that band finally becomes |
|---|---|---|---|
| Outer line | a quarter inch from the raw edge | untouched | the flat rim your hand holds |
| Middle line | a second quarter inch further in | angled | the sloped wall running all round |
| Inner line | one eighth of an inch further | raised | the narrow lip framing the ornament |
| Open ground | everything inside the third line | carved | bird, curls, leaf, flower |
How do you fill the space around the ornament?
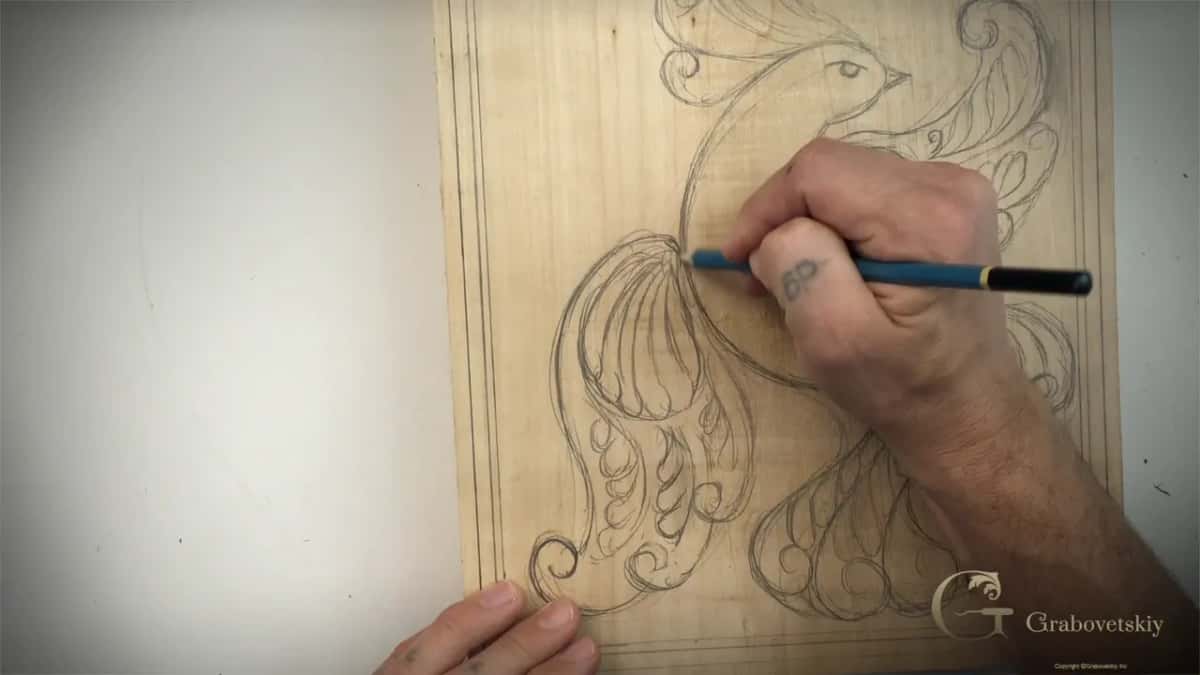
Curls, and then smaller curls inside what is left. Once the bird is settled I work outward, and the rule never changes. Same curl, rolled the same way, in one family of shapes across the whole board. A leaf here, a flower where three curls leave a hole, another flower to balance it on the far side.
Keep the gaps even. Big empty ground beside a crowded corner reads as a mistake even to somebody who has never held a knife. When a space is too small for a curl, put a tiny one in. Do that everywhere and you have the whole trick of the style, which is how old panels manage to look rich without one deep relief anywhere in them.
What wood should a beginner use for a carved cutting board?
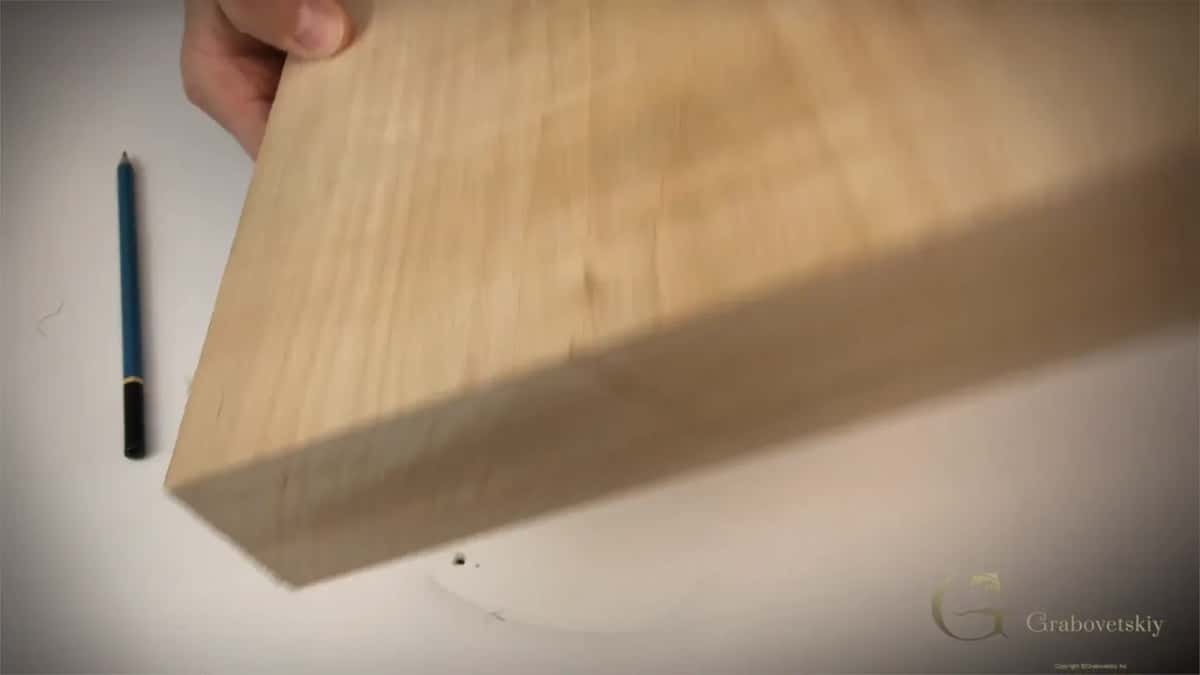
Basswood, the thicker the better. American basswood and European lime are the same genus, Tilia, and the timber is soft, pale and almost featureless, which is exactly what you want under a knife. My blank here is a full two inches, about 50 mm, and it started life as a piece I had lying in the shop. Twenty millimetres will do the job if your supplier has nothing deeper. Thicker stock simply stays flatter over the years.
You will see this called a butcher block if it is heavy enough, and a cutting board if it is not. Either way, check the working properties before you buy something exotic. Hard maple will punish a beginner with one knife, and construction lumber will destroy your edge and your patience in the same afternoon.
One warning about the food side of it. Lime is soft, which is what makes it pleasant under a knife, and it is not the timber a commercial kitchen would pick for a chopping surface. Mine hangs on a wall. If yours is going to meet a chef's knife every day, read the published work on wood properties and pick a harder species for the working face, then carve the show face only.
How long does it take to draw a panel like this?
About half an hour of real drawing. The four video parts of this workshop run roughly 26 minutes altogether, and that is close to unedited, because the pencil never stops. Expect your own first board to take longer, because you will stop and stare at it, which is the correct thing to do.
Give it an evening. Draw the border, walk away, come back later and put the movement in. A pattern you settled in four minutes is nearly always worse than the one you slept on, and you are about to spend many hours carving whatever you chose. I have never once regretted sleeping on a design, and I have regretted a good number of the ones I hurried. Nothing about woodcarving rewards speed at this stage.
What if part of the drawing comes out wrong?
Rub it out and draw it again, as many times as the board needs. An eraser sits on my bench through the whole workshop and I reach for it more than once on camera, because there is one area of the ground I keep disliking until the fourth attempt. Nobody designs a panel correctly on the first pass, and anybody who tells you otherwise is selling something.
Changes keep coming later too, and halfway through the carving I will still shift a wing line so it runs properly into the leaf below it. Pencil is cheap. Wood you have already carved away is gone for good.
What comes after the drawing is finished?
One knife and a great deal of patience. Workshop 4 starts on the bird itself and works outward, and every shape you have just drawn gets outlined with a chip carving knife before a gouge ever appears. If your edge is not ready for that, the sharpening course comes first, and if you are still choosing tools, start with the tools course instead.
Design keeps its own course as well. What we do here by eye gets taught properly, with the geometry behind it, in principles of design. Watch the four parts in order. Part 3.1 rules the border. Part 3.2 finds a bird in the empty middle, part 3.3 adds curls, and 3.4 spends seven minutes filling the ground around it. My drawing is also uploaded as a download if you would rather scale mine than draw from nothing on your first board.
You have a board, a pencil and an hour. Does the bird on your blank have to be my bird? Shall we carve?
How it's done
- Rule the outer border line. Set a steel scale a quarter inch, about 6 mm, in from the raw edge and draw a line along all four sides. With no scale on the bench, run your middle finger along the edge and let the pencil ride against it.
- Add the second and third lines. Another quarter inch inside the first, then 3 mm inside that. All three go around all four sides before anything is drawn in the middle.
- Lay in the main movement. One long sweeping line down the open ground, and nothing else yet. Every shape you add later hangs off this stroke, so redraw it until the sweep pleases you.
- Turn that line into a bird. Body, tail, wings, eye, and last the topknot. Stylize the shape to suit the space rather than copying a real bird.
- Fill the ground with curls. Work outward from the bird in the same family of rolling shapes, adding a leaf or a flower where three curls leave a hole. Check that each line leads somewhere and none of them stops dead.
- Erase and correct. Stand the board up, look at it from a distance, and rub out any area that reads as crowded or empty. Pencil costs nothing, and a fault left in the drawing becomes a fault in the carving.
Frequently asked questions
Do I need to be able to draw to start carving?
Almost nobody arriving at this workshop can draw. You need one sweeping line and a curl repeated at different sizes, and both improve fast because you repeat them hundreds of times on one board.
How big should my blank be?
Mine runs roughly 10 by 13 inches, near 254 by 330 mm, and a full 50 mm deep. Use whatever board you own and scale the ornament to suit it. Around 20 mm of thickness is the sensible minimum.
Can I print the design and glue it down instead?
Sure, and plenty of beginners do exactly that for their first board or two. Draw it yourself by the second one though, because a pattern glued on cannot answer the grain or the knot sitting in your particular blank.
What to carve next