
Alexander Grabovetskiy, woodcarver, School of Woodcarving · Published 2017
How do you scale a carving pattern to fit your block of wood?
Quick answer: Scaling a carving pattern is a job for SketchUp and one square box ruled around the drawing before anything else. I photograph the boxed sketch with a scanner app, import the picture, and type the size I need. LayOut then prints it at full size, and I glue the page to the block.
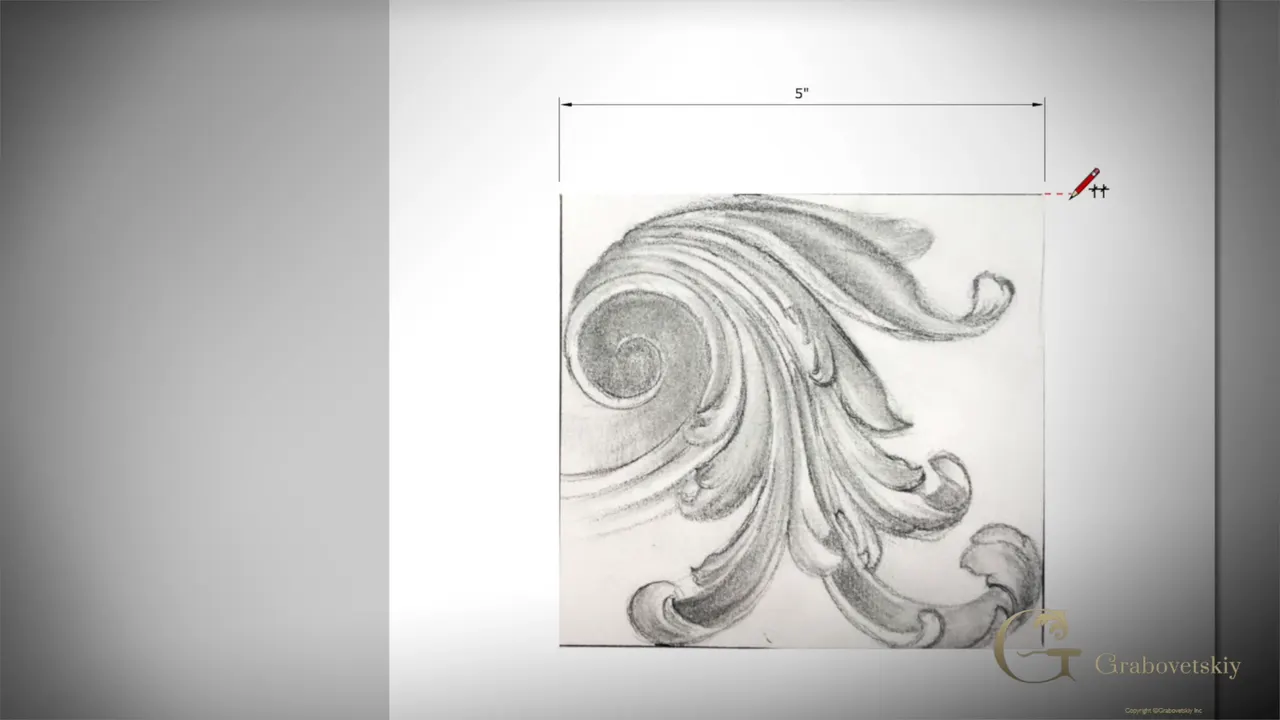
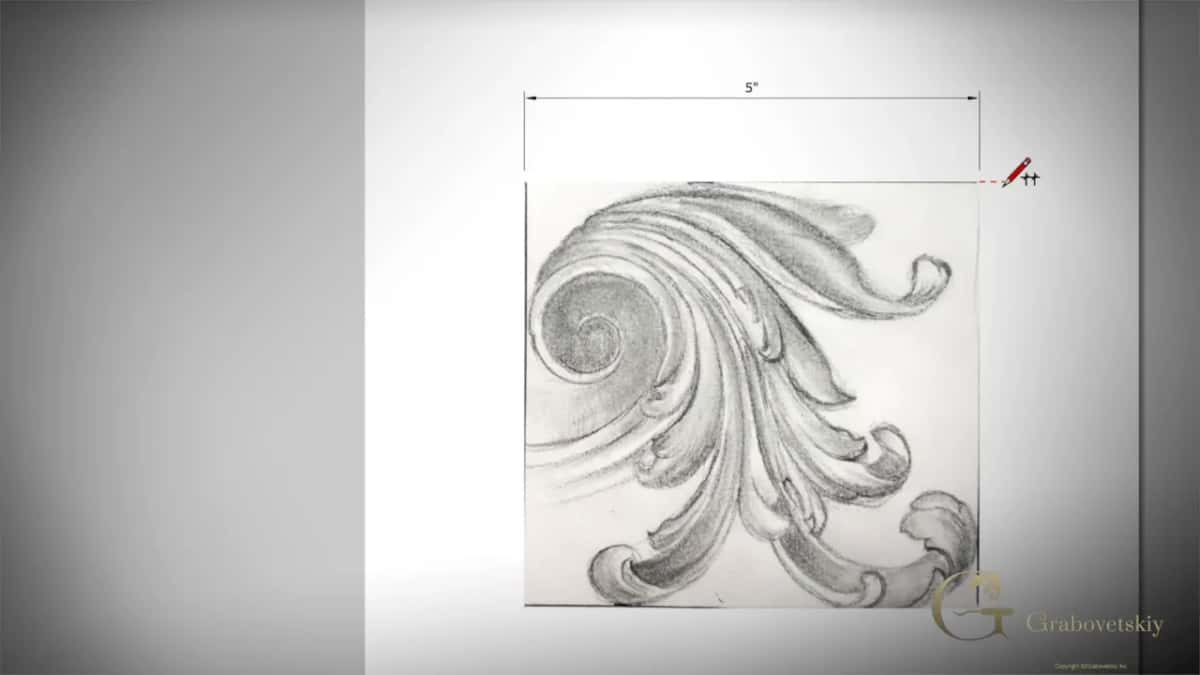
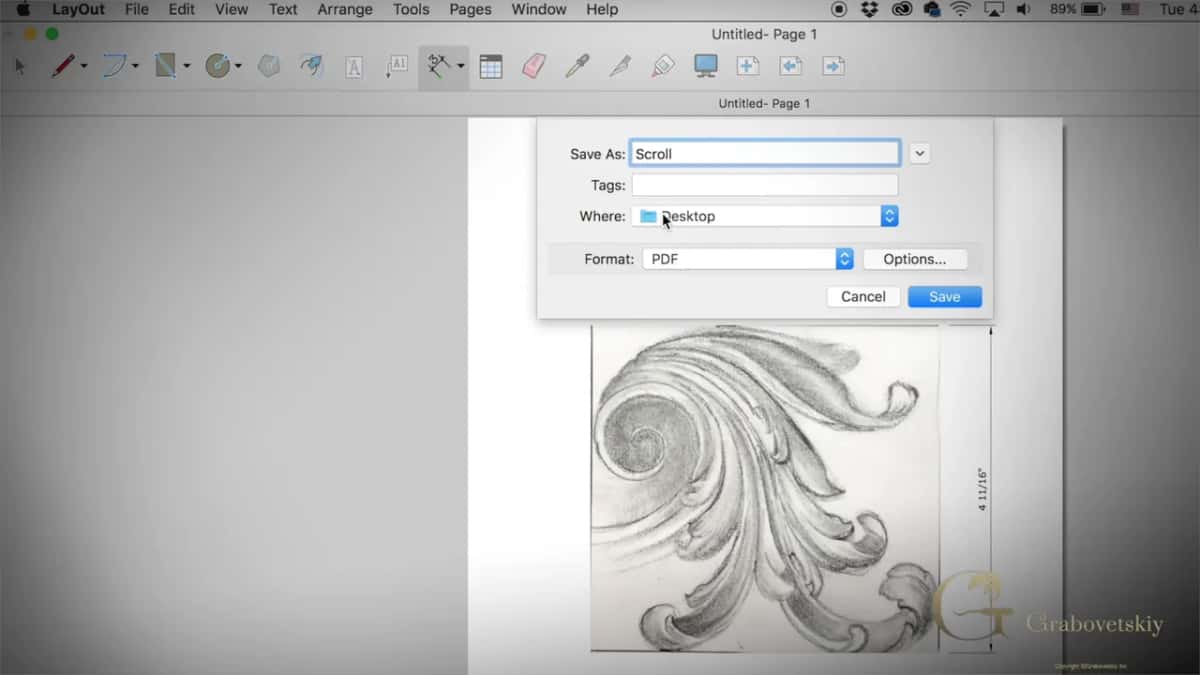
SketchUp is how I bring a pencil sketch to the exact size of my woodblock. The scroll in this lesson was drawn about three and a half inches wide, and I wanted it at five inches on the block. After a square box, one photo and a typed number, the PDF printed exactly five inches.
Do you have a drawing you love at the wrong size? Does the block on your bench refuse to match it? Then here is one of the most useful tricks I have found in SketchUp.
The whole trick in seven lines
- A square box ruled around the sketch.
- One picture through Office Lens, set to Document, so the app squares it up for me.
- Emailed to myself at actual size.
- SketchUp in top view, then File and Import.
- Five inches typed in.
- LayOut prints it full size once the scale menu says so, and the page goes to a PDF.
- Glued on, carved.
Why scale a carving pattern in SketchUp?
It takes a paper drawing to the woodblock at whatever size the block needs. SketchUp scales it down or scales it up, and that is how I transfer my paper drawings.
The program runs on Windows and on Mac. I have the Pro version, which includes a layout program, and that is actually an excellent tool for wood carving. I use SketchUp for many other things too, furniture building and so on, and I have done some really complicated drawings and renderings in it for furniture I was building. Easy to use, too, and the results come out really, really nice. For wood carving it helps even on a small case like this one, just to get a pattern to the right scale.
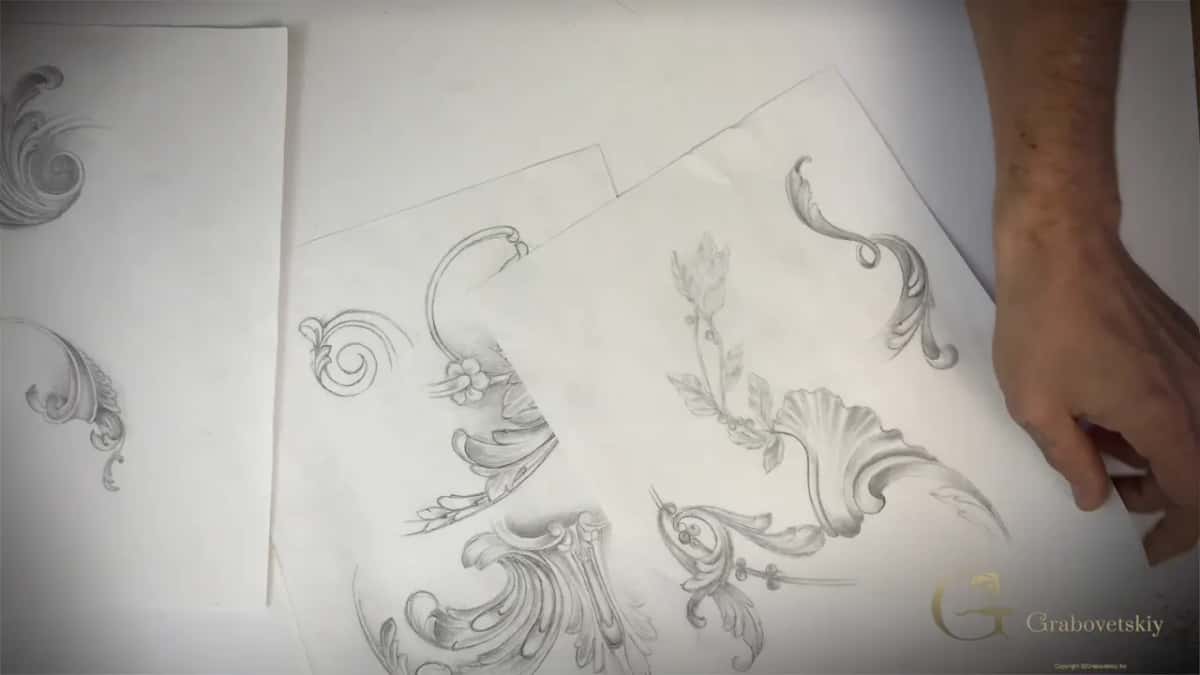
So say you have a sketch. I have several, pencil acanthus scrolls on plain white paper, and this scroll is a good one to pick. Let me think which one I want to carve, and yes, this one. Overall it measures roughly 3.5 inches each way. I want it on a block of wood at five inches, point to point.
Do I draw on the computer or by hand?
By hand, first. I love to draw my designs by hand, because that way it feels like a human being did it, and it trains my hands. I could take a design to AutoCAD, to SketchUp, or even to Illustrator and draw it there, but I would rather draw it myself. I just love to do that.
For the Greek acroterion I drew the design by hand, printed it to the scale of the design, and glued it on top of the lime wood. Something new I like to draw right on the piece of wood. A pattern that is already designed is another story, and there the quickest and simplest way is to take a picture, scale it, and apply it to the block, as I said on the flower rosette.
Why draw a square box around the drawing first?
The box is what everything after it finds and measures. I take one point of the drawing, then the opposite point, and lay my scraper against the paper there. Any piece with a true 90 degrees will do, and my card scraper happens to be square.
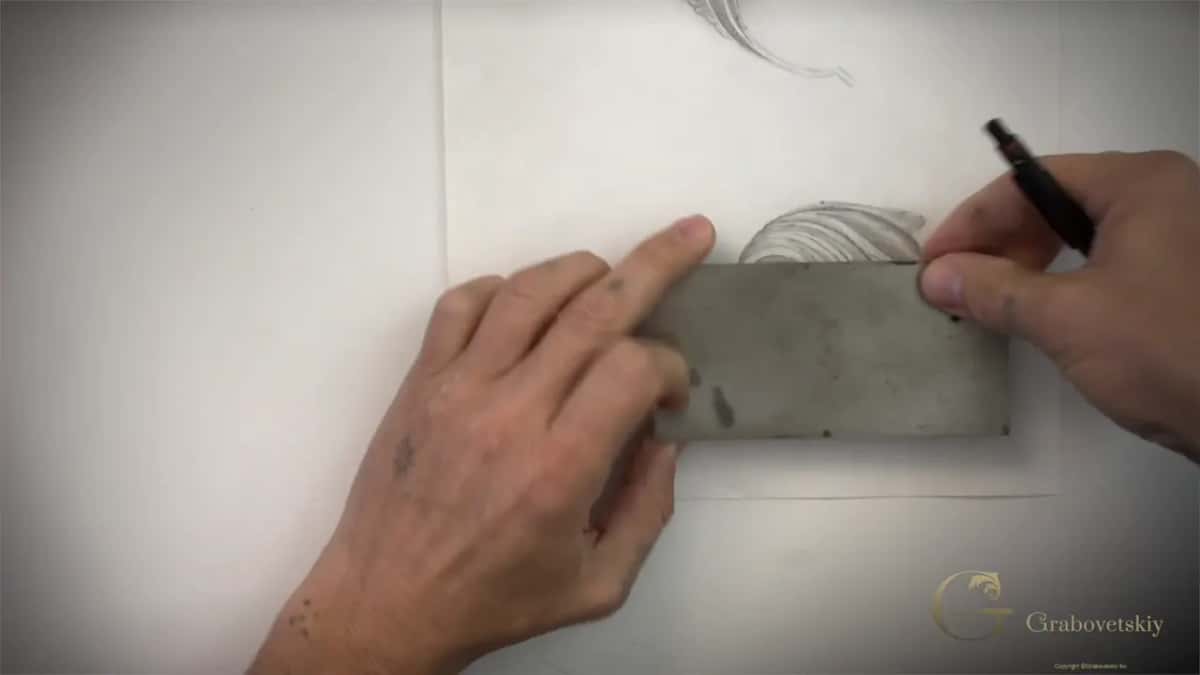
With the pencil I draw a line along its edge. Next comes a ruler, in my case a scale ruler, to extend that line. Now that line marks the high point of the drawing.
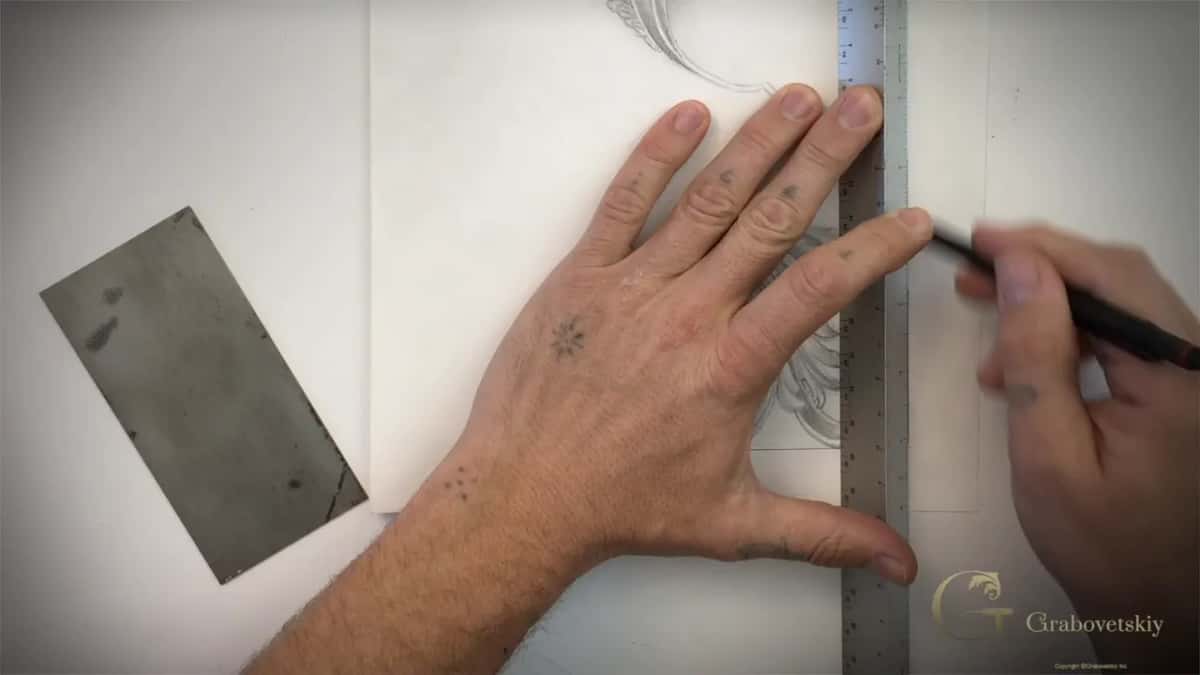
The same scraper goes down again, exactly parallel to the first line, and I draw the next one. That side comes out the same, near 3.5, and I just go with that edge. The whole point is to close the drawing inside a square box.
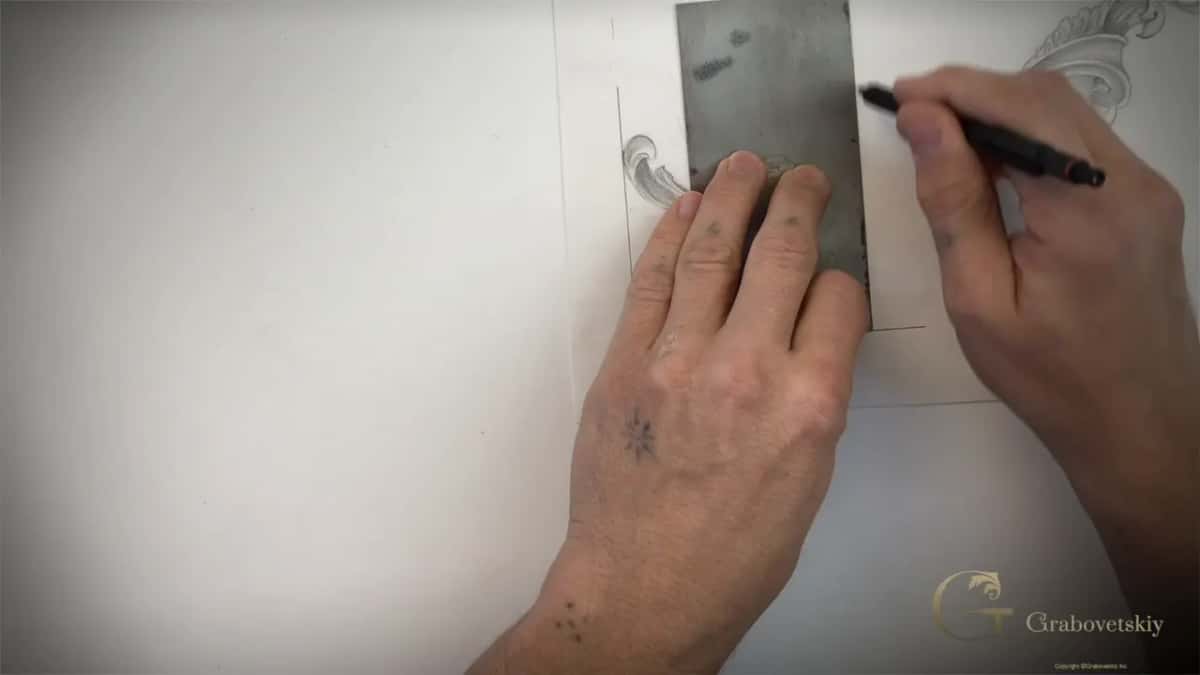
I found this one of the best tricks I ever had. I use it on chalk drawings too. In a woodworking school, a physical one, I sometimes draw on a blackboard or a whiteboard, and I put the same square around the chalk drawing before the next step.
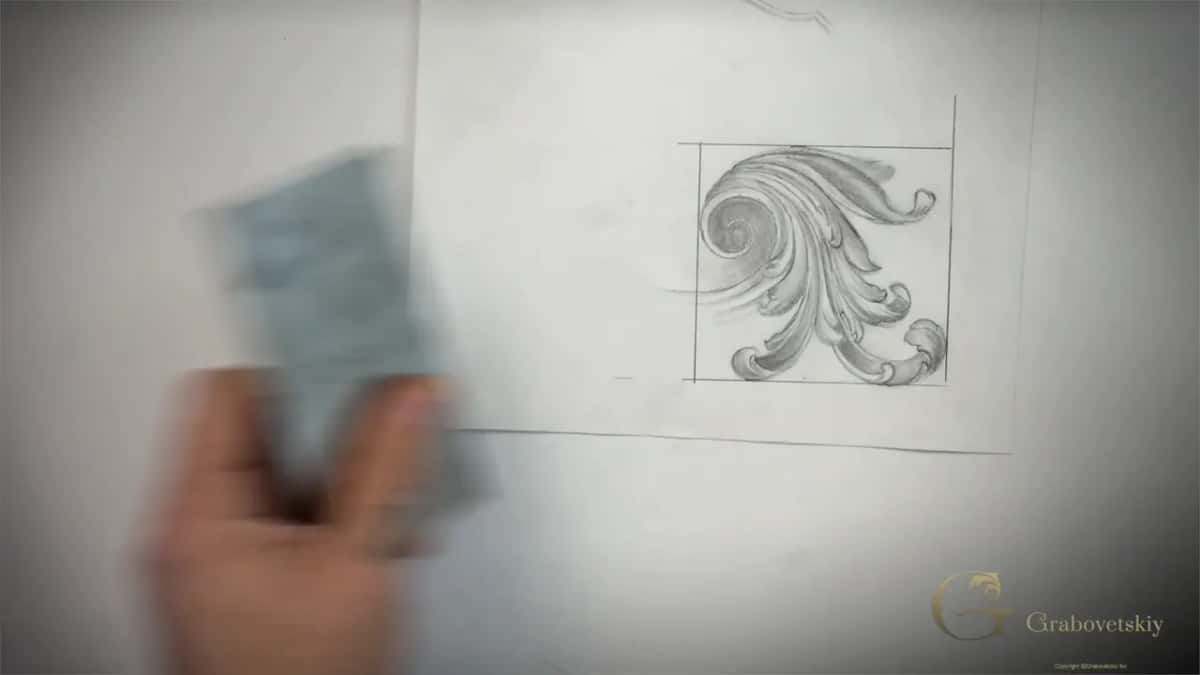
Which app turns the boxed sketch into a flat picture?
When I filmed this lesson in 2017, I used Office Lens, an app made by Microsoft. It was available for the iPhone, and I believe for Android devices too. Any smartphone should manage it.
The app gives you three choices, photo, document or whiteboard. I choose document and get close to my drawing, and you can see it trying to locate my box. One tap takes the picture.
No special camera is needed for this. I hold the phone straight down over the drawing, and the app squares the picture on its own, automatically. I was surprised how nice that Microsoft application works on my phone, and I use it a lot.
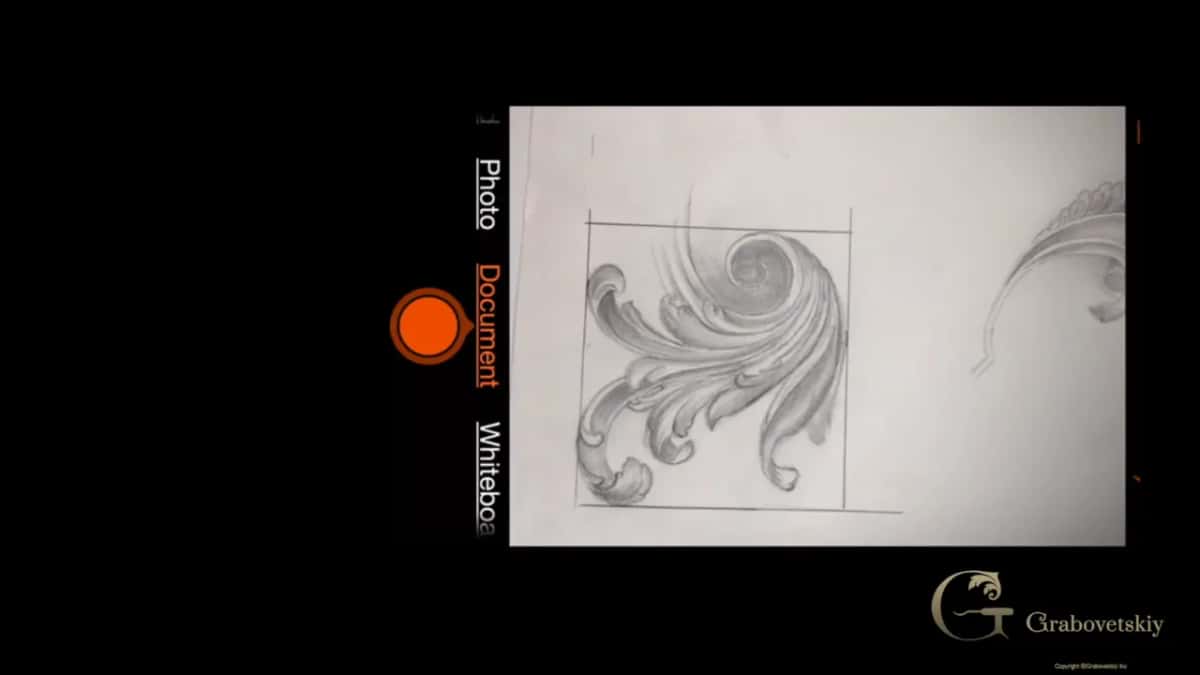
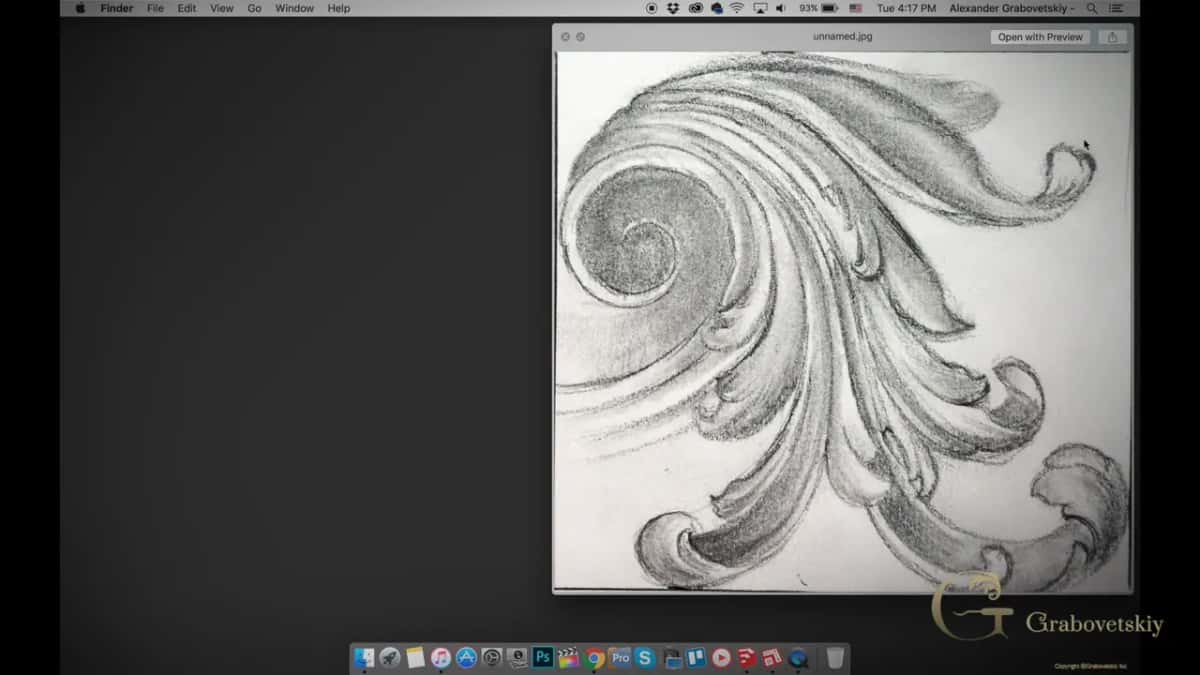
The result is exactly the outline box I drew with a pencil. I hit Done. From there it saves as a PDF, goes out by mail, or lands in the photo library, which is what I usually choose.
Next I open the photo library, find that picture and email it to myself. No subject line is needed. It asks what size to send, and I pick actual size. Dropbox would do the same job as email. In my inbox I save the picture, and it doesn't matter if it stays unnamed. Now it sits on my desktop, inside its square box.
How do you scale a picture to size in SketchUp?
Before SketchUp I used AutoCAD, and several other applications, and AutoCAD is probably the most common. For a few years already, though, SketchUp has been the easiest and quickest way I know to do any drawing, 3D or 2D.
Start a new project and get rid of the default figure. Click the top view icon. Then go to Camera and choose Parallel Projection.
Now import the picture with File, then Import, and look for your picture. Several formats can come in, so choose the one you need, a JPEG in my case, and click Import. The list runs from SketchUp and AutoCAD files through PNG and Photoshop all the way to PDF.
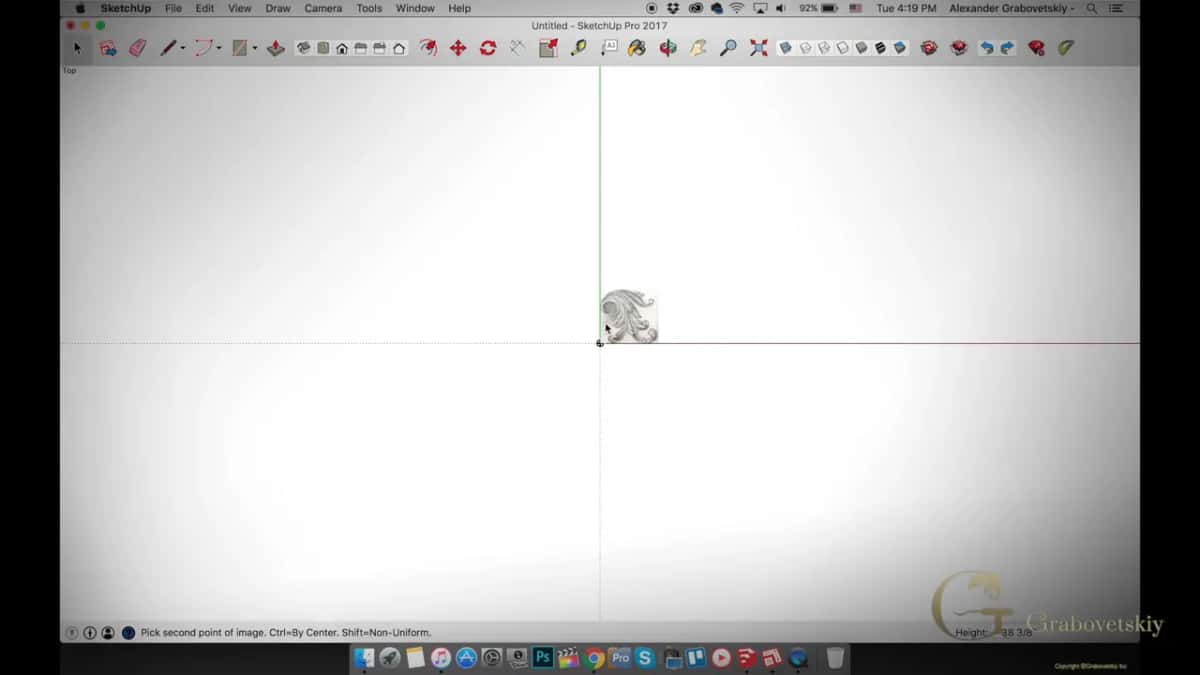
Here is the part that really matters. You need to know exactly what size of block and what size of material you are going to use, and I said five inches.
I usually hit the origin point and start scaling without clicking anything. Move your mouse without clicking and watch the number change at the bottom of the screen, since that number is the scale. I type five and press Enter, and now it is scaled to five inches. The flower rosette pattern got the same treatment, scaled to exactly two and a half inches.
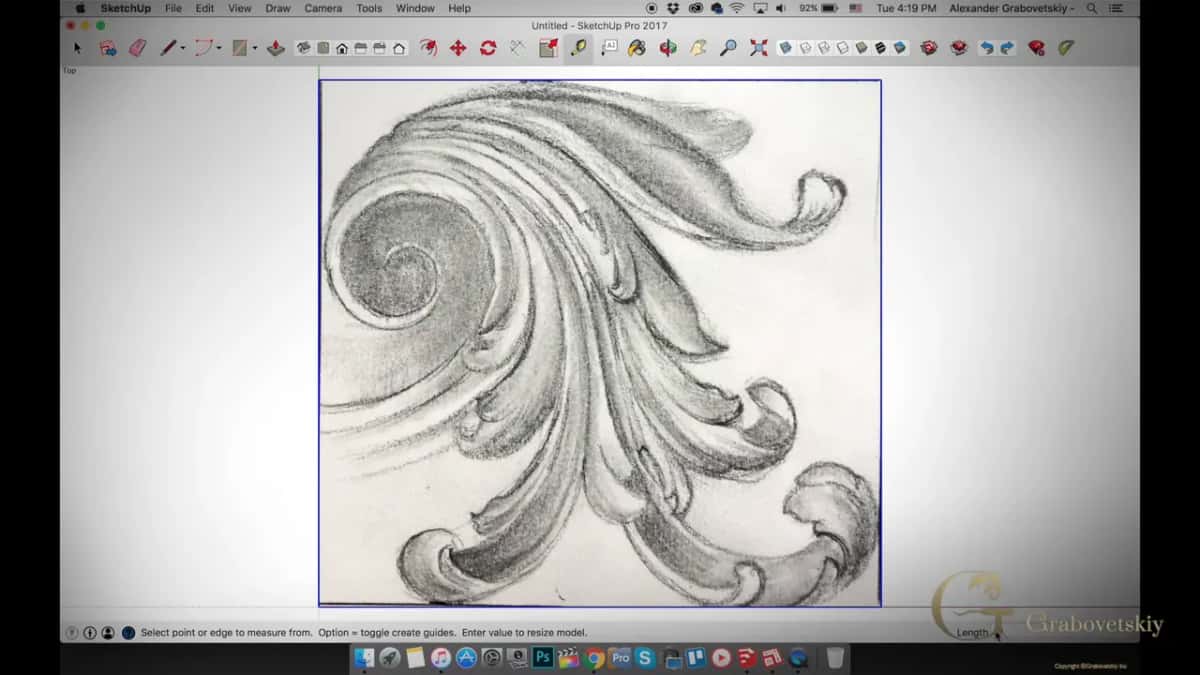
On a Macintosh I hit Shift Z and double check. It reads five inches, which is what we need.
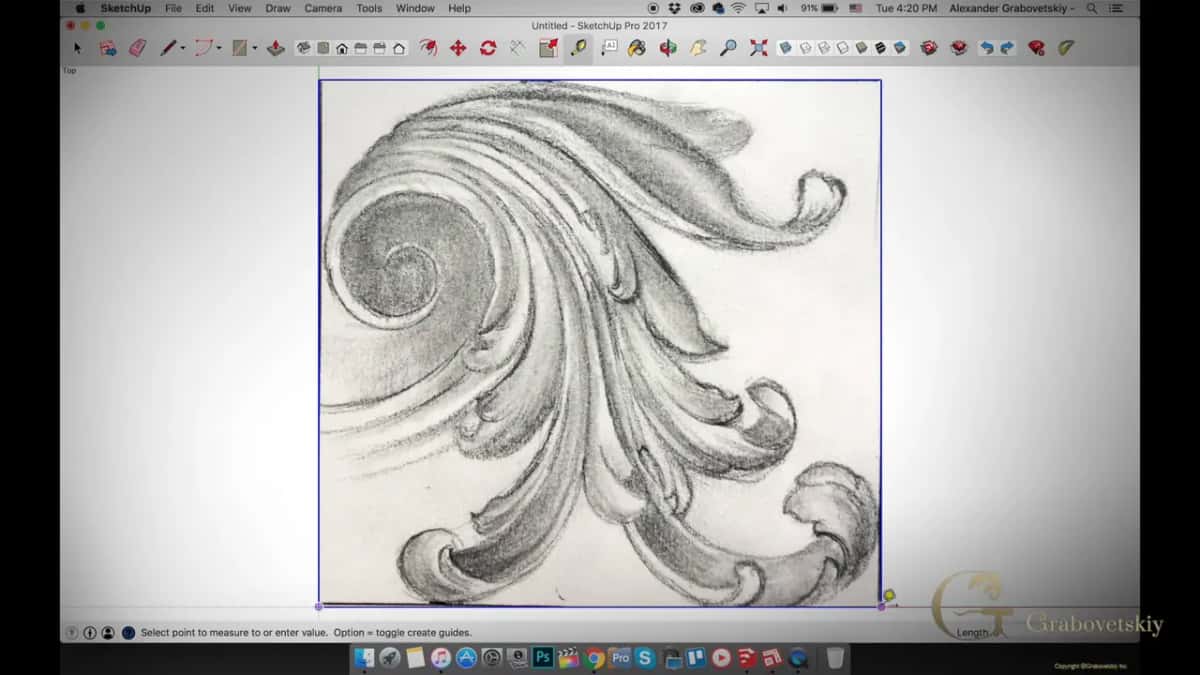
I save it with Save As, call it scroll, and put it on the desktop, scaled to five inches.
Why print from LayOut instead of SketchUp?
Accuracy, at least for me. You can go ahead and print from SketchUp itself, of course, but the most accurate way I have found to print at scale is LayOut, the layout program that comes with SketchUp Pro. For some reason it comes out more accurate for me. Maybe it's just me.
In LayOut I open a paper size, letter in this case, from a list of A3, A4 and letter pages, sideways or upright. Then I insert my scroll project, and it lands right in the middle of the page.
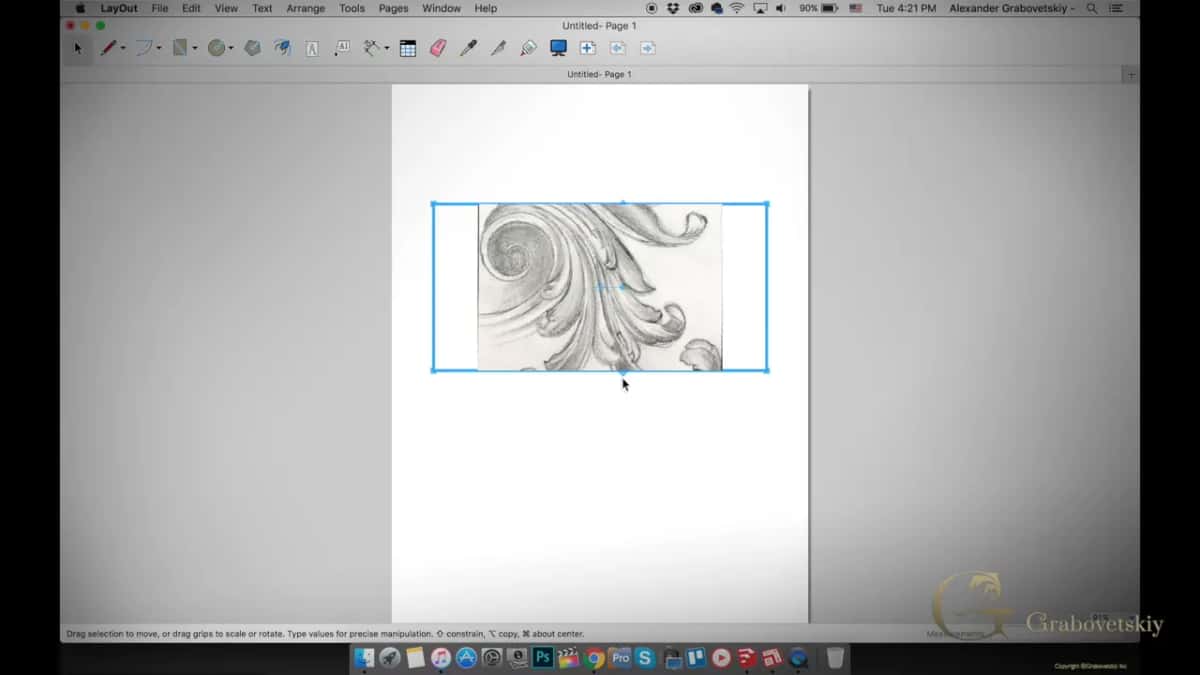
Now make sure the scale is correct. I left click, check all my scales, and choose full size, 1:1, which means one inch equals one inch. The same menu runs down through architectural scales too. One inch to the foot is there, and metric ones like 1:10.
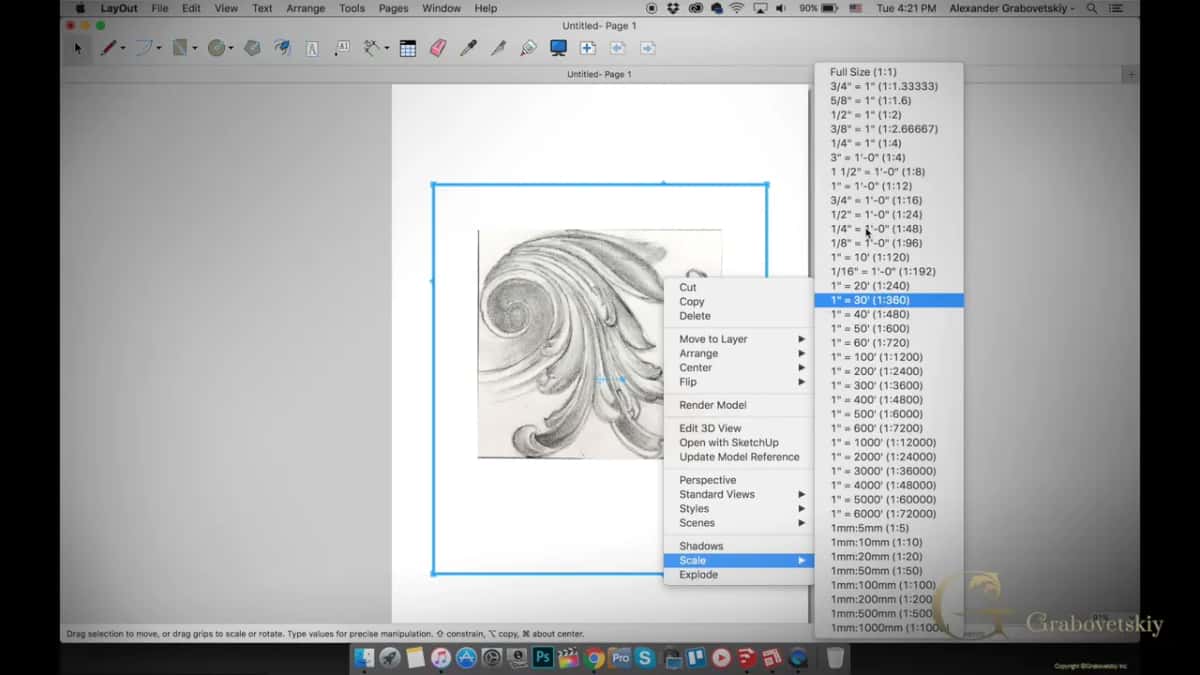
To double check, I use the dimension tool, and it is absolutely five inches, like we expected. Measured this way it also gives you a really good idea of what kind of block you have.
The last step is a PDF. I save it as scroll to the desktop, open that PDF, and it is exactly five inches if you print it in real life.
You are not limited by paper size either, the same as in AutoCAD. There is absolutely no limit in space, so you can print full scale prints, or blueprints, as some people call them. If you have never used SketchUp, I highly recommend it.
The file works in the other direction too. If you need exactly the same design as a bigger rosette, rescale it in SketchUp, send it to LayOut again, and print it full size. The patterns you download from my rosette course print at one to one, one inch equals one inch, one centimeter equals one centimeter, and one sheet there held ten small rosettes that I cut apart.
Here is the whole route again, with the one thing to check at each stop.
| Stage | What I use | What I check before the next stop |
|---|---|---|
| Square box | A pencil, plus my card scraper for the right angle | Corners square |
| Photo | Office Lens in document mode | The app found the whole box, all four corners of it |
| Scale | SketchUp, looking down from the top | Five inches across |
| LayOut, full size | What the dimension tool reads against the number I typed |
What happens to the printed page?
Glue it on the top of the piece, and you are ready to carve. Let the glue dry first. My Greek acroterion blank sat about overnight before I took it to my scroll saw, cut all around the outline, and it was ready. For the next line on that block, a small notch from the knife gives the marker something to catch.
Printouts help after the glue stage too. On one Venice Room corbel I printed several copies of a profile and laid them on the wood to mark how deep to excavate, so the curve on one side repeats on the other. That is in the Venice Room workshops 74 to 85, where another heavy block got a grid marked inch by inch from all sides with a red marker, and it was super heavy to flip over afterward.
My other courses start the same way. An antique rosette begins with a paper drawing glued to a blank cut dead square, and a Greek acanthus begins with a full size drawing glued to a lime block. On a furniture panel I glue white paper over the whole board before drawing a single leaf.
Print two copies if you can. On the Roman acanthus I glue one to the wood and keep the other one close, because the glued copy gets carved away and the spare lets me find a lost line again.
What if the pattern is ten feet long?
Then SketchUp does the same job, only the print gets bigger. For a wall in the Venice Room I drew extra details on an iPad, exported the drawing as a JPEG, scaled it in SketchUp to the millimeter, and saved a PDF.
A FedEx store printed the whole sheet, 36 by 120 inches, three by ten feet. I paid $27. I don't have a big printer, and I'm not planning to get one. I thought about a big plotter before, but then I would have to find extra space to keep it, and I don't see the big advantage.
That whole story, with the Procreate settings, is in drawing carving patterns on an iPad, in the same course. A big print like that gets traced onto the board with carbon paper instead of glued.
The carving itself of that room runs through the Venice Room workshops.
When does the size have to be exact?
When the carving has to fit something else. On that Venice Room wall I scaled to the millimeter, because everything had to be perfect once the pieces went up on the walls.
Without a computer, a grid does the job. For Roman acanthus 1 I divide the board into ten equal parts each way, number the lines, and draw right on paper already glued to the wood. About 3/8 of an inch, 10 mm, stays clear at the top as a boundary, and about 1/8 of an inch on the sides. Almost mathematical, and so easy. The rules for placing the main idea on a panel are in the design course.
Every one of those lessons is part of the school, next to the other tips in the techniques course.
I hope it helps you, and I hope it is a nice trick for you. Is your sketch boxed and ready?
How it's done
- Box the sketch. Rule a square frame along any edge that is exactly 90 degrees.
- Scan it flat. Photograph it in the document mode of a scanner app so the box comes out square.
- Send it to the computer. Email the picture to yourself at actual size and save it.
- Import into SketchUp. Choose top view, turn on Parallel Projection under Camera, then use File and Import for the JPEG.
- Type the size. Pick the origin, move the mouse without clicking, type the width you want and press Enter.
- Print full size from LayOut. Insert the model on a letter page, set the scale to full size and confirm it with the dimension tool.
- Glue and dry. Save a PDF, print it, and glue it to the block.
Frequently asked questions
Can you resize a carving pattern without SketchUp?
Procreate on an iPad prints to scale as well, and a ruled grid on the wood works with no computer at all. Whichever route you take, measure one known distance before you print, the way I check five inches with the dimension tool.
Why draw a box around a sketch before scanning it?
A scanner app looks for those four corners and flattens the picture to them. You also get two clean points to scale between. I rule mine against a card scraper, since any edge with a true 90 degrees will do.
What size should a printed pattern be?
Exactly the size of the block you will carve, measured point to point. My scroll was drawn at roughly 3.5 inches and printed at five, since five inches was what I wanted on the wood.
What to carve next