
September 30, 2024 · Updated August 17, 2026
By Alexander Grabovetskiy — Master Woodcarver · Founder, School of Wood Carving · 17 min read
What to look for in a wood carving tool set before you buy
What to look for in a wood carving tool set is the hardness stamped on the steel and the sweeps the box really holds. Then the handle against the grip your hand uses, and how many hours of sharpening stand between you and the first clean pass.
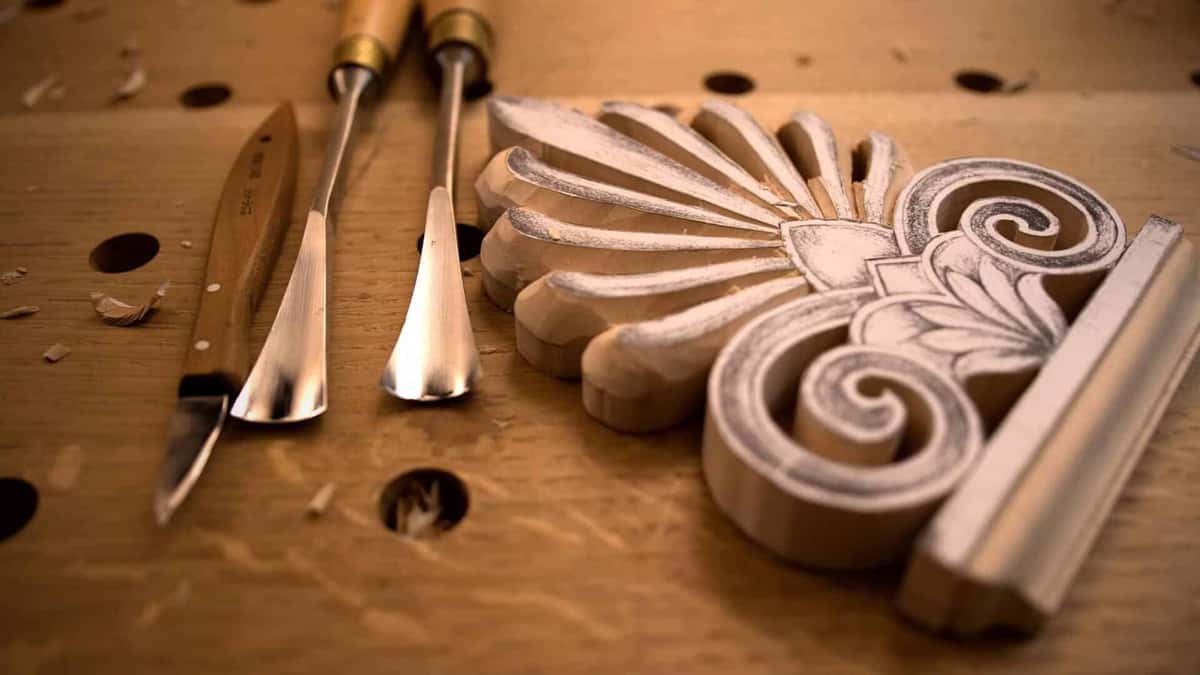
The fan and the moulding came off the bench that morning. Only three tools touched them.
I carve every day, and I own tools from six or seven makers. Some cost me $40 a gouge. One cost $150. A twelve tool set arrived here priced at about one and a half Swiss gouges, and I carved a whole grape panel with it to see what would happen. So I will not tell you which brand wins. My job is to train your eye, so you can lift one tool out of a shop display and read it before your card comes out.
A boxed set is a promise printed on cardboard. Read the promise, then read the steel.
- A hardness stamp tells you about the temper, and nothing at all about the edge.
- Count sweeps, not handles. Twelve tools often hide five real shapes.
- Put a rule on the shaft before you trust the phrase full size.
- Strop every tool in the box, then strop again halfway through a carving.
- The bench, the clamp and the strop are never in the box, and neither is the basswood.
What does the hardness number on the box tell you?
Hardness tells you how the steel was tempered, and almost nothing about how the edge was ground. Nearly every carving tool sold today lands between RC58 and RC62. RC60 sits right in the middle of that band, so a box printing RC60 is telling you very little.

A blade this thin slices beautifully in lime, and in oak it wants a shorter bevel.
My Swiss gouges run 59 to 61, and that is the one band a maker actually prints, in Pfeil's catalogue. My Ashley Iles tools say 61 and my Two Cherries sit at about the same number, but read those two carefully: both firms publish a Rockwell figure for their bench chisels and none at all for their carving tools. That spread is far too narrow to shop on, and the Rockwell hardness scale was never built to describe a carving edge. It describes how deep a diamond cone sinks into the metal under a fixed load. Nothing more.
What actually changes under your hand is the grind. Thickness behind the edge, evenness of the hardening across one batch, and whether the tempering after quench was held long enough. None of that fits on a label. A little reading about how tool steel is made will save you from paying for a number.
One brand I own rusted on the same shelf as my Swiss tools, sitting side by side, and only the German micro tools grew rust. I still use them. But the big sizes stay off my list.

Pitting like this never polishes out. It prints a line down every pass you take.
| The printed claim | What that number can prove to you | Your test | Where a beginner set usually fails |
|---|---|---|---|
| Hardened to RC60 | How hard the steel was tempered, roughly | Scratch test | One tool softer than the rest |
| Ground and honed edge | Somebody put a wheel on the bevel once | Slice some basswood | Machine marks still left inside the flute |
| Set of twelve | Twelve handles, and maybe only five real shapes | Count sweeps | Two gouges of the same curve |
| Hardwood handles, brass ferrules | The maker thought about how it sits in hand | Hold it upright | A loose handle on one small gouge |
| Full size tools | Nothing about length until you check the shaft | Lay a rule | Palm length sold as full size |
| Ready to carve today | Nothing you can trust until you strop it yourself | Carve one small leaf | The V tool skids across the grain |
How do you read the numbers stamped on a gouge?
Two numbers, and the first is the curve. A gouge carries a sweep number and a width in millimetres. The sweep tells you how deep the arc of its edge runs. The width says how wide that arc measures. Read them in that order and a whole wall of tools in a shop stops looking like a wall.
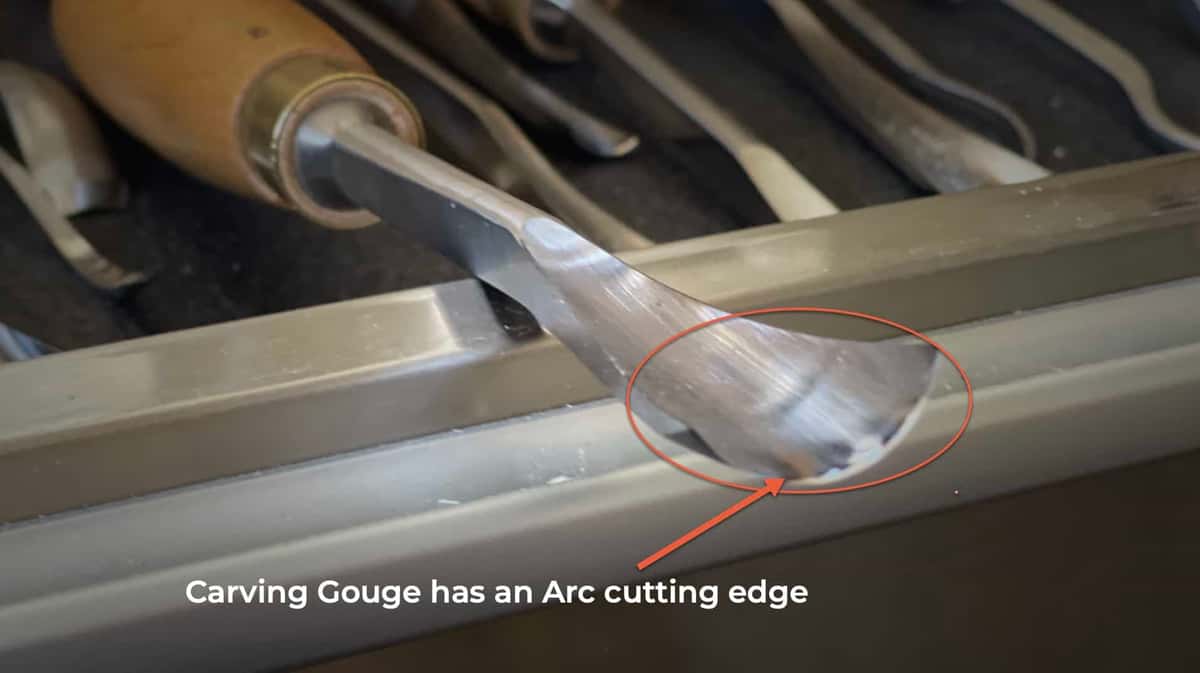
Set a rule across that curve and you can see why a 5 will not clean out an 8.
On my bench sits a tool stamped 11/12. Eleven is the sweep, a deep U, and twelve is its width in millimetres. Pfeil prints the rule in its own catalogue: first digit the profile, second digit the width of the blade across its edge in millimetres. Bent tools carry a letter instead of a second shape number, an a for short bent and an F for reverse bent, so a code with no letter in it is a straight tool. Now open another maker and the ground moves under you. Stubai leads with a series number and puts the sweep third, so one of their gouges reads 5205 02, where 52 is the series, 05 is the sweep and 02 is two millimetres. Same shape, unrecognisable code. Read the maker chart, never the number alone.

One handle is eight sided, the other is round. Your hand picks a side fast.
So a listing that says twelve pieces and prints no numbers is asking you to buy blind. Ask the seller for the sweep and width of every tool. If nobody can tell you, the maker does not know either, and you are looking at generic stock from the wider chisel family with carving handles glued on.
An hour of me reading printed size charts aloud and finding where they disagree.
Which sweeps does a set of twelve really give you?
Fewer than twelve, always. Sets pad the count with widths of one shape. I carved a small grape panel using a cheap set once and reached for eleven of its twelve tools. That sounds wonderful until you notice how many of the eleven repeat each other.
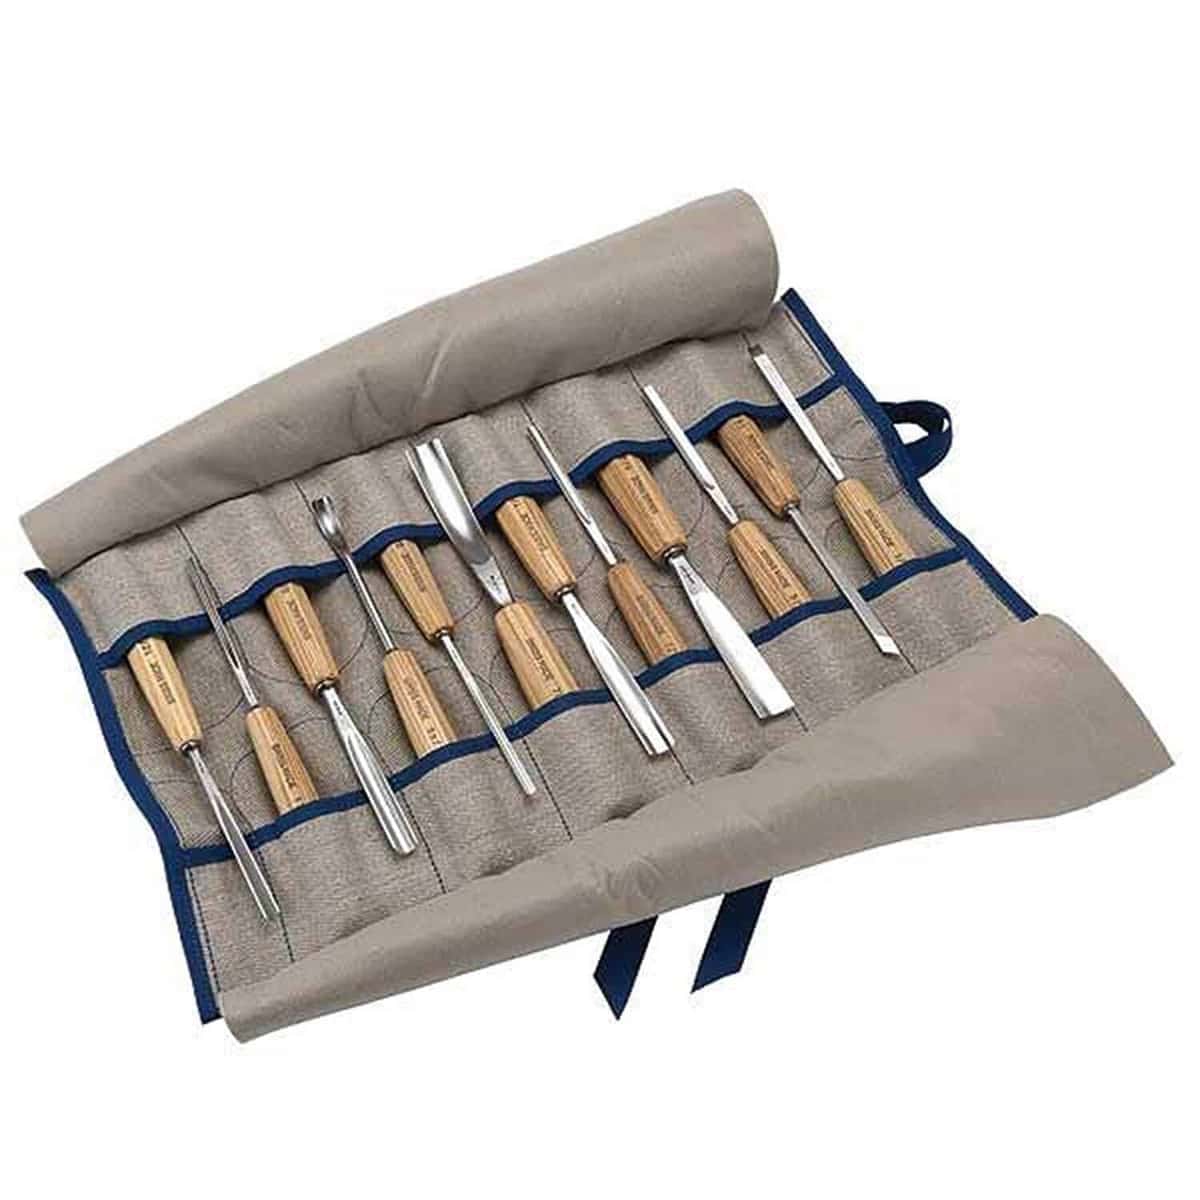
Twelve pockets, and the last two hold nothing alike.
Lay the whole set edge up on a scrap of paper and trace every curve. A useful first set covers a shallow 3, a middling 5, a deep 7 or 8, one small 11 veiner and one V tool. Five shapes. If your tracing shows three shallow curves and no deep one, the box was built to look full.

Ten tools are within reach here, and this rosette did not need all of them.
Widths matter as much as sweeps. Two 6mm gouges of the same curve do one job between them. A 3mm and a 16mm of that same curve do two very different jobs. The Austrian firm Stubai publishes its full range, and reading a real maker's chart beside a marketplace listing is the cheapest lesson in this whole article. For the honest question of which woodcarving tool set is best to buy, and for which tools a beginner needs first, I have written elsewhere. This page is about reading the box in front of you.
Will the handle fit the grip your hand actually uses?
Handle shape decides whether hour four hurts. Some people love an eight sided handle because it will not roll off the bench. I have carved daily for over forty years and not one tool has ever rolled off mine. Round handles feel better in my palm after a long day.

Pale handles beside dark ones. Every one of these was chosen by a hand, not a catalogue.
Length is the trap nobody photographs. A palm tool is short enough to live inside a closed fist. A full length tool wants two hands or a heavy mallet. Marketplace pictures crop out the difference, so measure the shaft in the listing photo against something you know.
Then check straightness, which takes four seconds. Hold the tool upright at eye level and look down the handle at the blade. The straightest tools I own are the Swiss ones. I look at how straight it was assembled, how nicely it was done. Ashley Iles works out of Lincolnshire now, and Henry Taylor has forged in Sheffield since 1834. A blade that leans will fight you on every sweeping pass, and no amount of sharpening fixes a crooked tang.

Three fingers on the shaft, thumb behind. That grip needs a slim neck, not a fat one.
I also like a fishtail, where the blade narrows toward its edge. You can reach into a corner with a fishtail that a parallel sided gouge cannot enter. Most beginner sets carry none, and that is worth knowing before you wonder why your corners look muddy.
How sharp is a brand new set, honestly?
Sharp enough to look promising, and never ready to carve. One seller says plainly on its listing that you should skip the tools if you do not plan to sharpen them. That warning is honest, and it applies to every brand on earth.
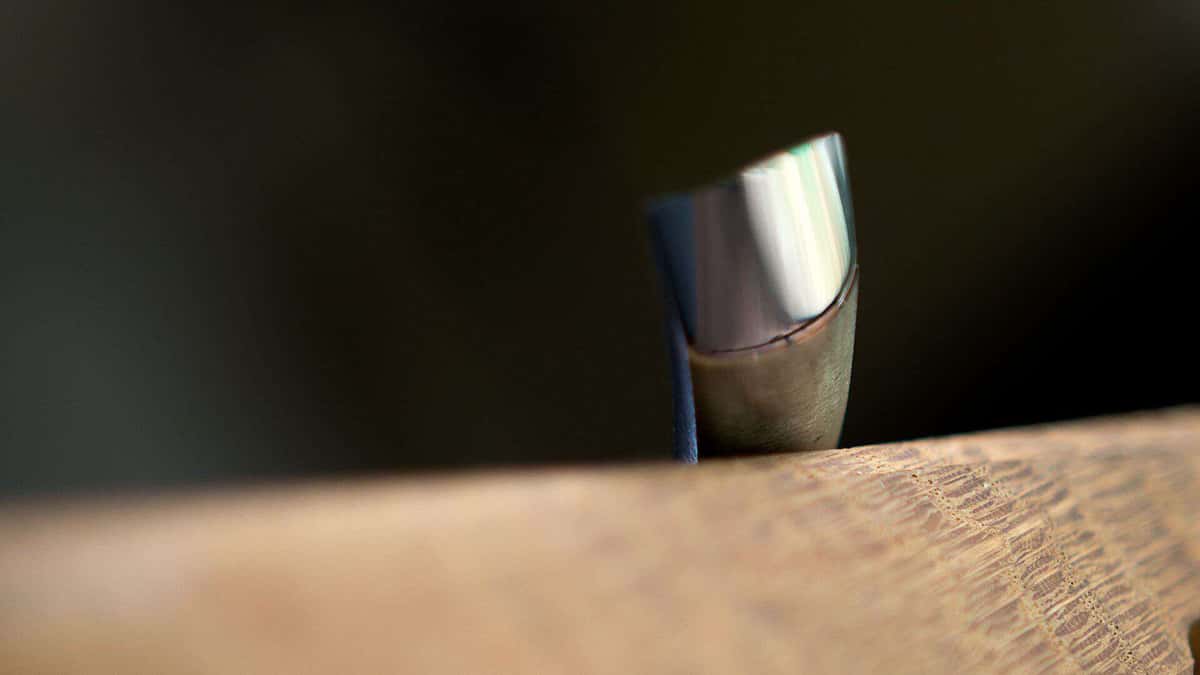
A bevel polished like this was never in the box. The wheel does half the work.
Any tool I buy, high end or budget, I reshape, resharpen and then strop or buff before it earns bench time. Out of the box you will see machine marks along the bevel and a wire edge that has never met leather. Slice end grain basswood with it and the tool will tear rather than shear.
There is a second problem the price tag hides. In all my years I have seen exactly one maker grind the outside bevel low enough, and only one. Everybody else, cheap or expensive, leaves it too high. With a good bevel my knuckle touches the wood and I start carving. Raise that bevel and the tool rides up on its heel instead.

A quarter inch of bevel for hard oak, and 20mm of it for soft lime.
That sounds like nothing. Carve six hours a day with your elbow lifted and your shoulder raised and you will learn why it matters. Read what sharpening really removes and the geometry stops being mysterious.
What will a new set cost you in sharpening hours?
A new box hands you tools that are ground, not sharpened, and you strop every one before it touches wood. On one small piece I had to rebuff each tool about probably three or four times. That work is not in the price.
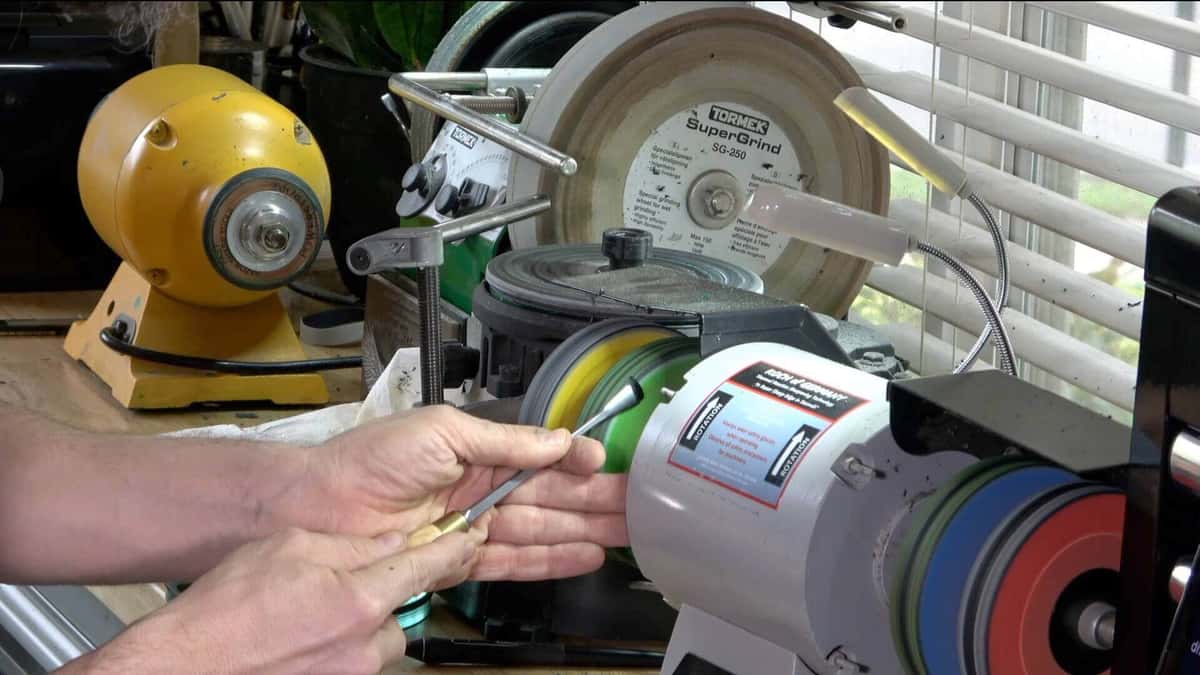
Green compound on a buffing wheel. This is the step people skip, then blame the steel.
During one small grape carving I had to rebuff each tool three or four times. That is the same rhythm my expensive tools want, so nobody escapes it. Sharpening comes second in the three things I teach, right after design, and it is the skill that takes the longest to own.
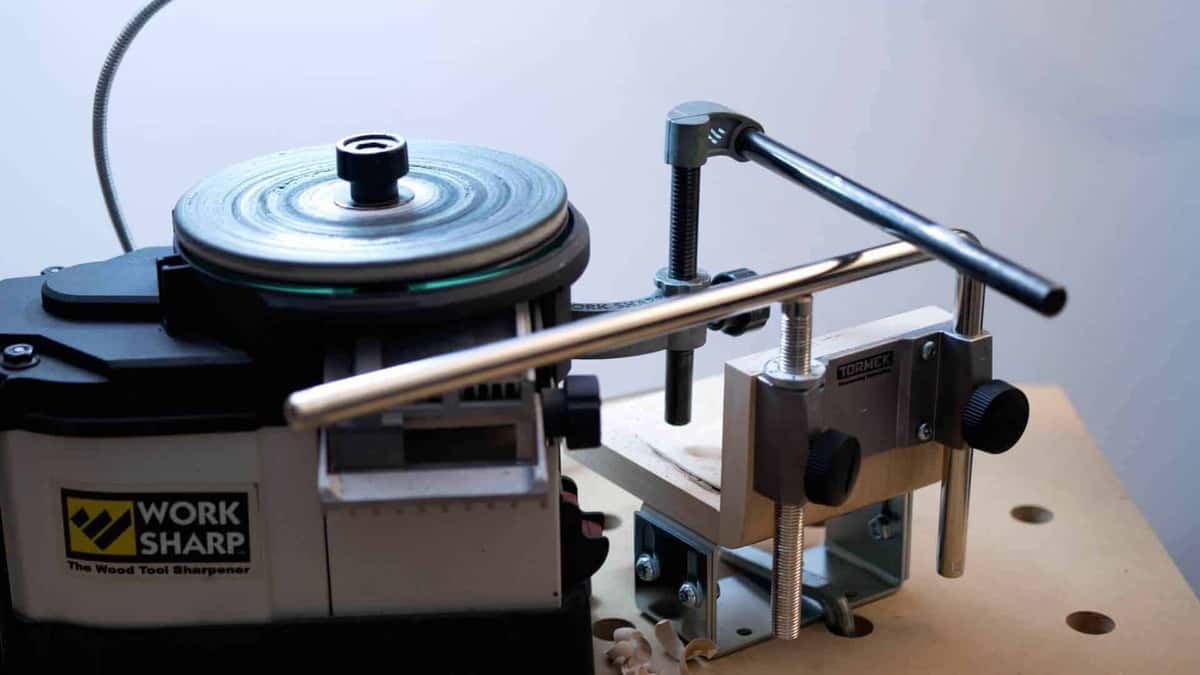
My Work Sharp with a Tormek bar bolted to it. Neither came in any tool box.
So add the real cost. Leather strop, a bar of compound, some slip stones for the inside curve, and either a machine or a great deal of patience. My sharpening course exists because this single skill sends more beginners home than dull wood or bad design ever will. If money is tight, understand what a first year of carving really costs before you spend.
Which pieces does every beginner set leave out?
The three tools you will want by week three, and everything that is not steel. A boxed set is built to a price and a shelf size. What falls off that list is not random, and knowing the pattern tells you what the box was really for.
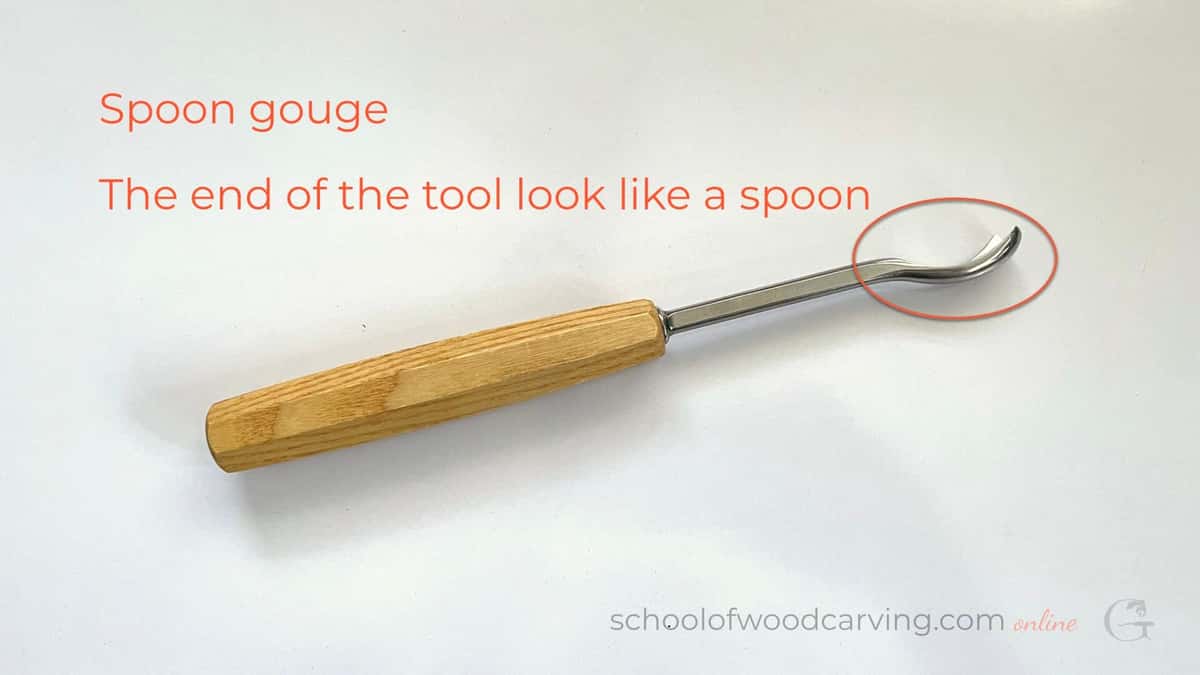
The end of this one curls up like a spoon, which is how it digs a hollow.
Back bent tools are my favourite in the whole shop, and I have never seen one in a starter box. When something stands in your way and you must get underneath it, nothing else will do the job. A spoon gouge is missing too. So is a 1mm number 11 veiner for cleaning tiny spots, and a V tool ground nearer 35 degrees instead of the usual 60.
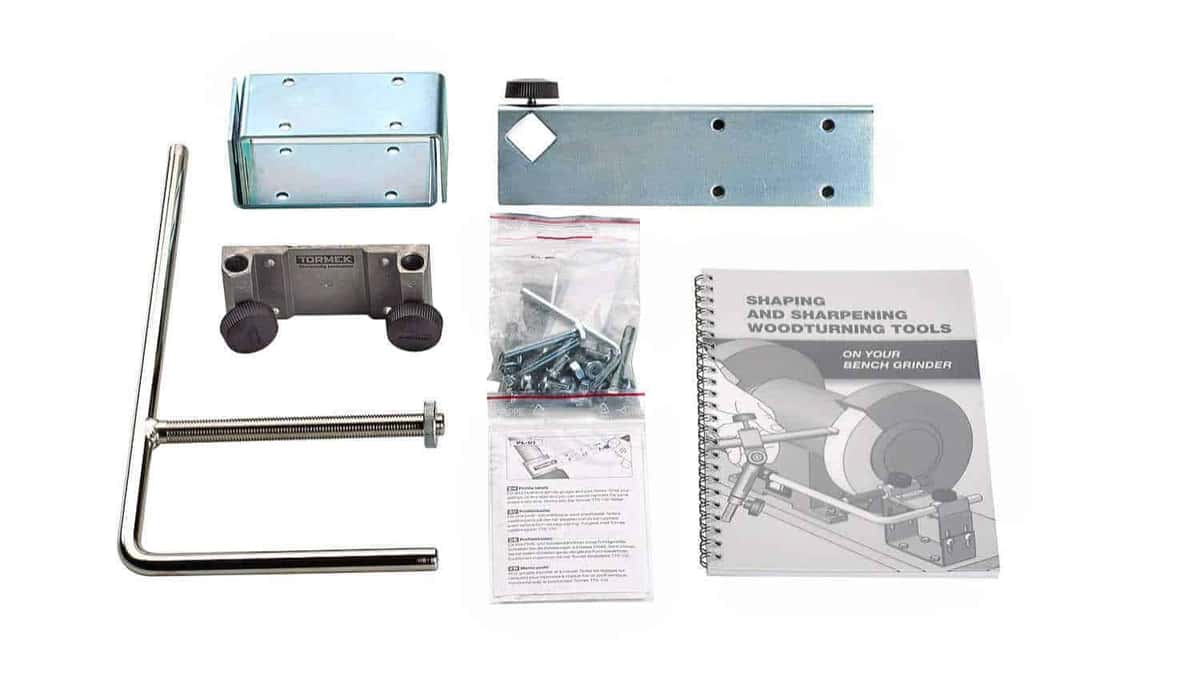
Half a sharpening setup arrives flat packed. That booklet is about turning tools.
Then the things that are not tools at all. Holding gear comes to mind first, because a carving that moves cannot be carved. You need a vice or a clamp or the paper and glue sandwich I use on big panels. A bench that walks across the floor is worse than none. Whether a mallet belongs in your hands yet is its own question, and what a carving mallet is made of matters more than its weight.
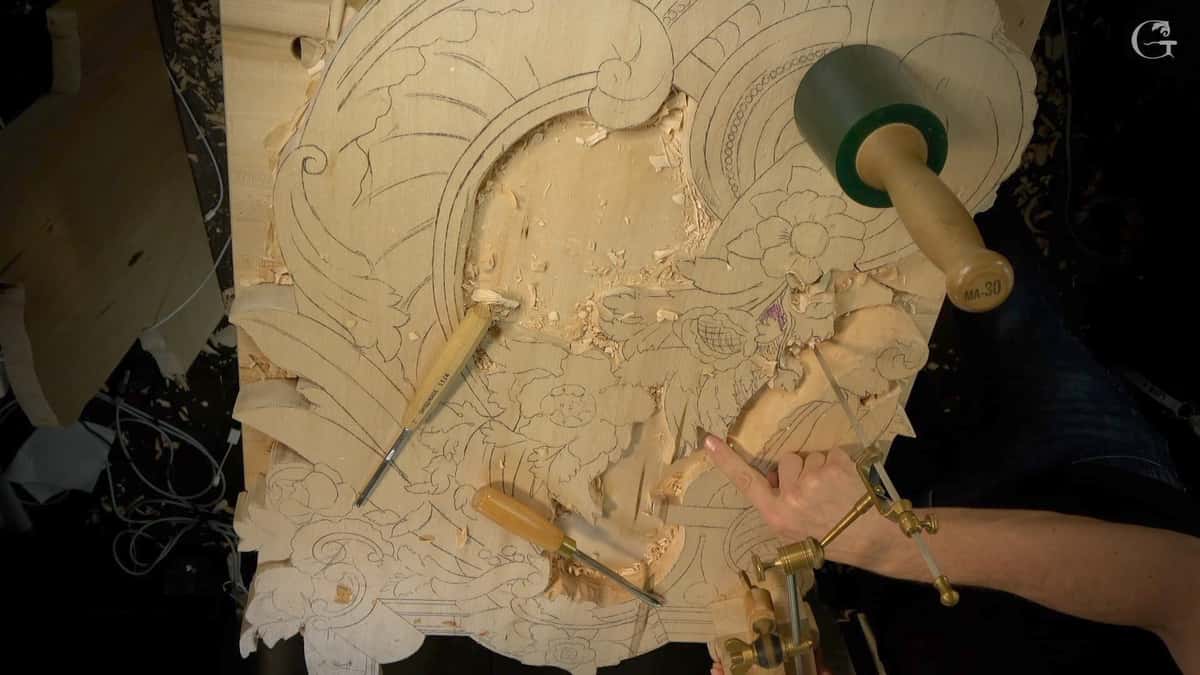
Nothing on this panel arrived in one box.
One good set I opened included leather, green paste and a canvas roll. It also included sticking plasters, which made me laugh and then made me respect the people who packed it. I have cut myself maybe over a hundred times in this trade. Nobody else thought to put a plaster in the box. For the full list of gear, see everything a carver needs beyond the steel, and the bench top I actually recommend. A brush for finishing is never in a carving set either, which matters once you learn how a lacquer film forms over carved detail.
When do three sharpened tools beat a full box?
Whenever you would rather learn to carve than learn to shop. I came to America from Russia carrying one gouge and one knife, and no other tools. My teacher gave me the gouge. The knife I made myself.

A pass from the far side must land in the same groove or the flute steps.
Three good tools you have sharpened yourself will teach you more in a month than twelve you are afraid to ruin. A 12mm number 5, a 6mm number 8 and a small V tool will carve a leaf, a scroll and a rosette. You will hit the limits of those three quickly, and that is exactly the point. The limit tells you which fourth tool to buy, and now you are buying for a reason instead of a discount.
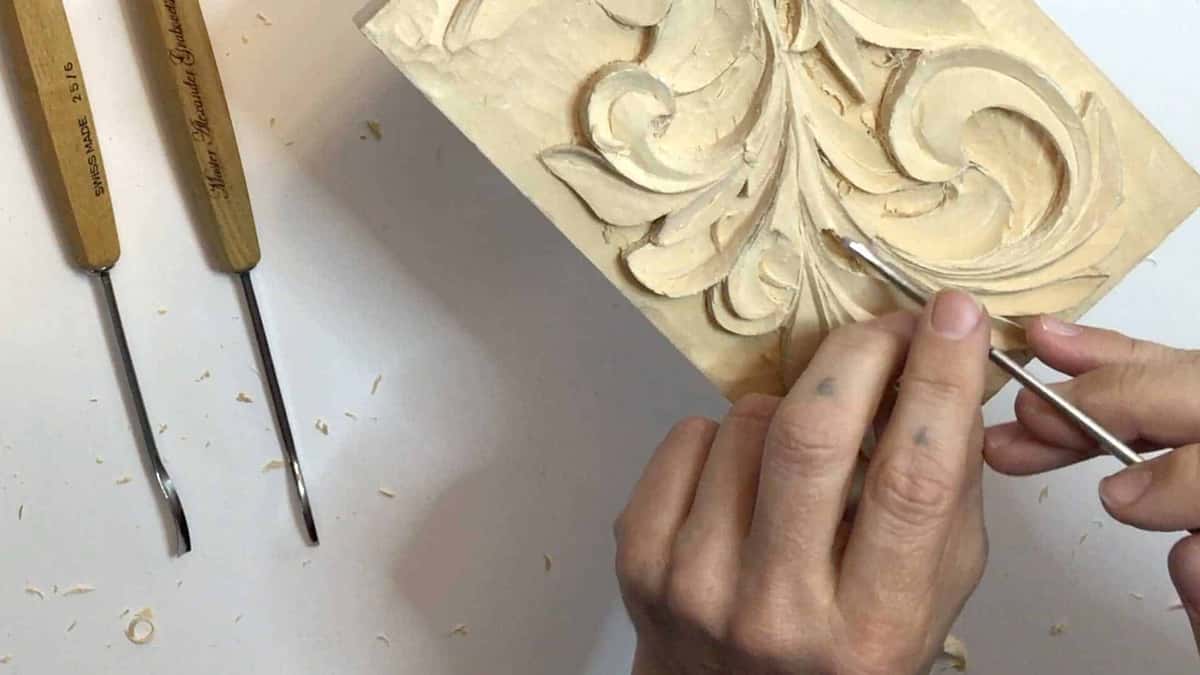
One handle reads SWISS MADE 25 over 6. Write that number on a card and you can buy the same tool again in ten years.
Buying twelve at once has the opposite effect. You never learn which tool made which mark, so you reach for whatever is nearest and the carving looks like nobody decided anything. If a carving knife suits the work you have in mind, one knife plus two gouges is a real kit. Beginners who start narrow also avoid most of the mistakes I see most often.
Where does hard wood punish a soft set?
Hard wood finds every soft edge, and the Janka scale puts a number on it before you buy the board. Basswood reads 410 pounds, black walnut 1,010, white oak 1,350. Basswood and lime forgive a mediocre grind. White oak, hard maple and cherry do not, and the tool tells you within three passes.

Half a millimetre wide. In oak a tip this fine will not hold long.
A long bevel gets thin, and thin steel is weak steel. On hardwood I keep the bevel short, or I round the heel away so I still get my hand low without weakening the edge. You make that choice board by board, which is why what the Janka hardness number means is worth an hour of reading. The Janka test explained covers the method, and the USDA Wood Handbook is the source everyone else quotes.

Across the grain, which is where a dull edge gives itself away first.
Compare the numbers before you blame your tools. Basswood sits near 410. Black walnut is around 1,010, and white oak pushes past 1,300. A budget set will carve the first happily and struggle in the third. Learn which woods fight a gouge, pick the right wood for carving for your first panel, and check whether the board in your hand is any good. An Irish reader will also want the woods an Irish beginner can actually buy.
How do you check a boxed set in the first ten minutes?
Ten minutes at the kitchen table will tell you more than ten reviews on a marketplace. Do these five things in order, before the roll ever reaches your bench, and while a return is still possible.
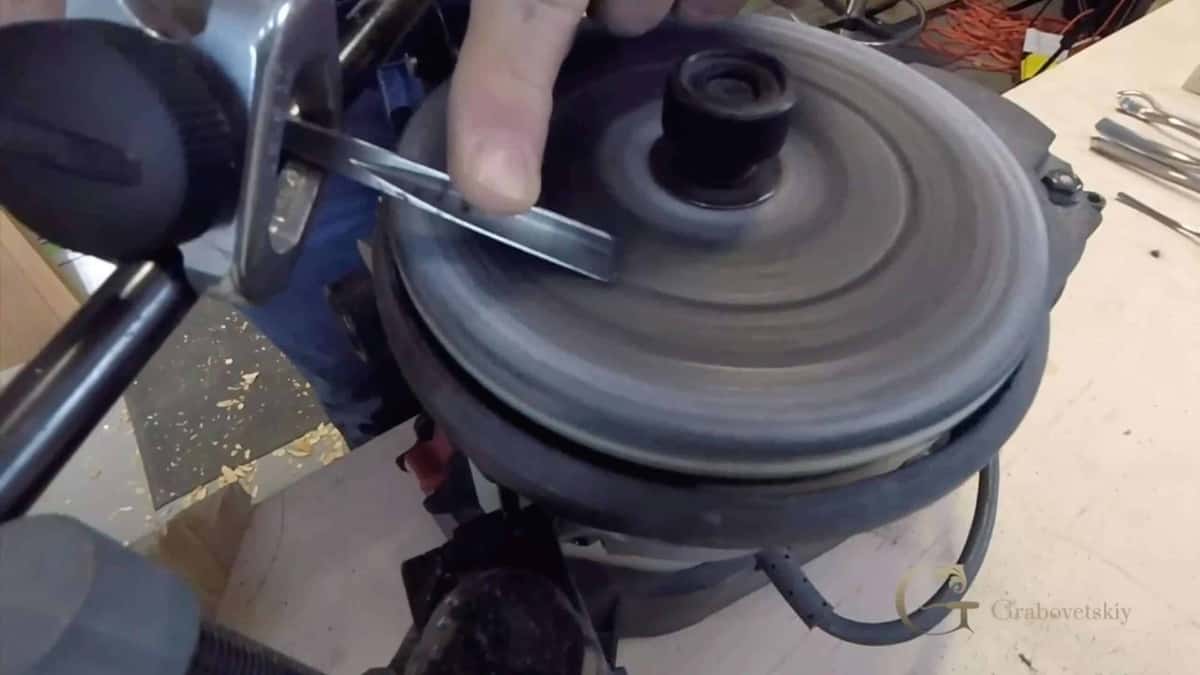
The two wings and the keel each need separate attention, then the corner.
Step 1, lay every tool edge up and trace the curves
Pencil round each edge on paper. Duplicate curves show up instantly, and you learn what you actually bought rather than what the count promised.
Step 2, hold each tool upright and sight down the handle
The blade should sit dead in line with the handle. A visible lean means a tang set crooked in the wood, and that is a fault you cannot grind out.
Step 3, run a fingernail along the inside of the flute
Machine marks and pitting live in there. Feel a rough ripple and you have hours of slip stone work waiting before that gouge leaves a clean surface.
Step 4, twist every handle hard in your fist
One loose handle in a box is common and easy to replace. Three loose handles mean the ferrules were pressed carelessly, and that signal means something different.
Step 5, strop one gouge and carve one small leaf
Five minutes on leather, then carve a leaf in scrap basswood and look at the surface. A tool that shears cleanly afterwards is worth keeping. One that still tears is worth returning.
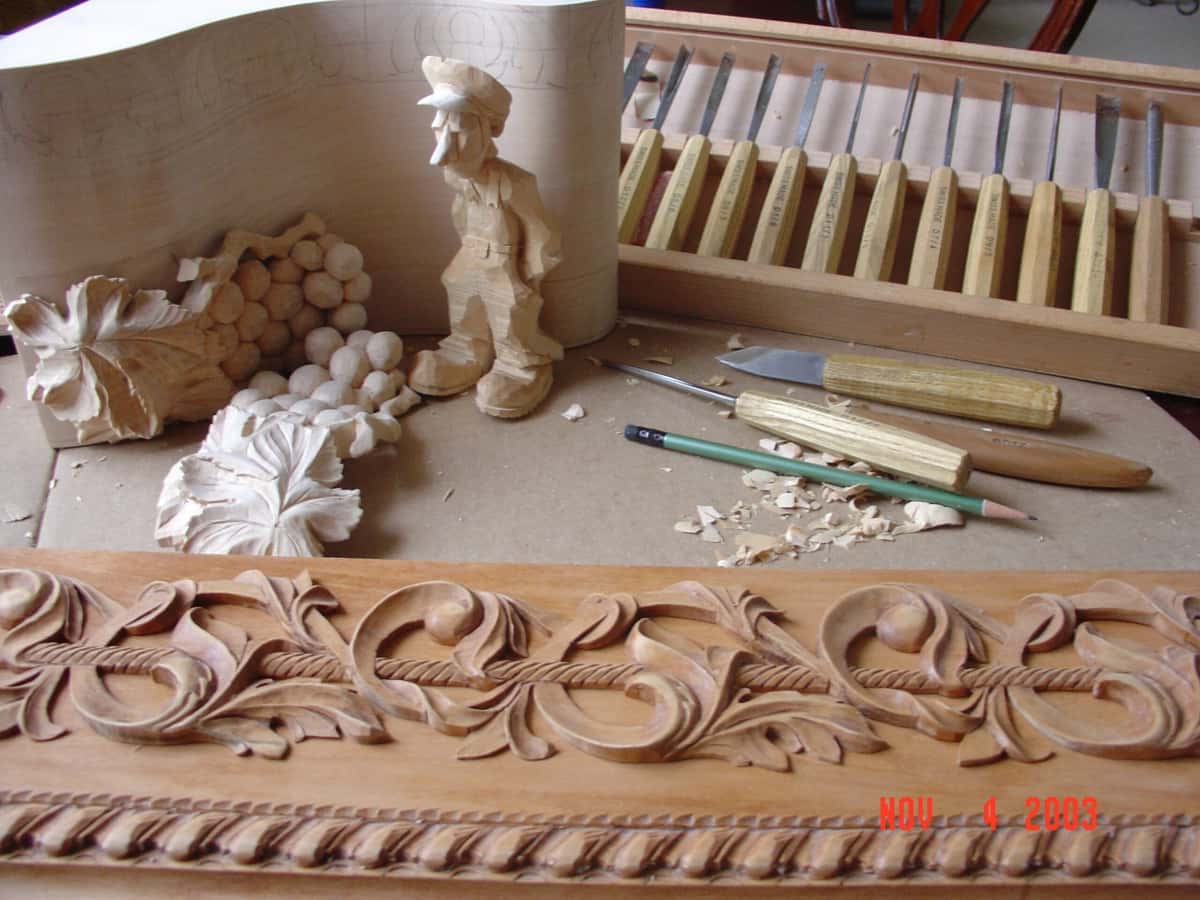
My shop in 2003. Some of those tools are still on the bench today.
Keep the box and the packing until step five is done. If you want to watch me open real boxes and grumble about real bevels, that is most of my course about tools for wood carving. Old bench tools go through the same five checks, and Woodcarving Illustrated is a fair place to read about the trade. The history of hand wood carving is longer than any brand.
Frequently asked questions
Does a higher Rockwell number mean a better carving tool?
Higher only means harder, and harder steel chips more readily in oak. My Swiss gouges read 59 to 61 and my English tools read 61, yet both hold an edge about the same length of time. Judge the grind and how thick the steel sits at the edge instead.
How many sweeps should a first set of carving tools cover?
Five shapes are plenty. A shallow number 3, a middling 5, a deep 7 or 8, a small 11 veiner and one V tool will carve almost any beginner project. Extra widths of a curve you already own add cost without adding capability.
Can I tell from a photograph whether tools are palm size or full length?
Look for something in the frame that gives you scale, such as a hand or a coin. A palm tool vanishes inside a closed hand. When a listing shows no scale at all, ask the seller for the overall length in millimetres.
Should a new tool set arrive sharp enough to carve straight away?
Manufacturers grind an edge, they rarely finish one. Plan on stropping every tool before its first pass, whatever the price was. Any set that carves clean out of the box will still need leather and compound within a day or two of real work.
Is a twelve piece set enough for relief carving?
For a hobby panel or a piece of furniture decoration, twelve is workable. Professional relief work asks for more than that, mostly on very small veiners and back bent tools. I would add a 1mm number 11 and a narrower V tool first.
What is the fastest way to spot a badly fitted handle?
Grip the handle and twist it. Any movement or click means the tang sits loose in its socket. Also look closely where the ferrule meets the wood, since a sloppy gap there usually repeats across the smaller tools in a set.