

Alexander Grabovetskiy, woodcarver, School of Woodcarving · Published 2020
Which gouge carves an almost flat concave on a leaf, and what cleans the inside?
Quick answer: A shallow concave is a hollow so gentle it hardly reads as a hollow. In Venice Room workshop 17, part 5, I wanted a flatter gouge first, maybe a three, then used a number four, and a number 11 did the cleaning inside.
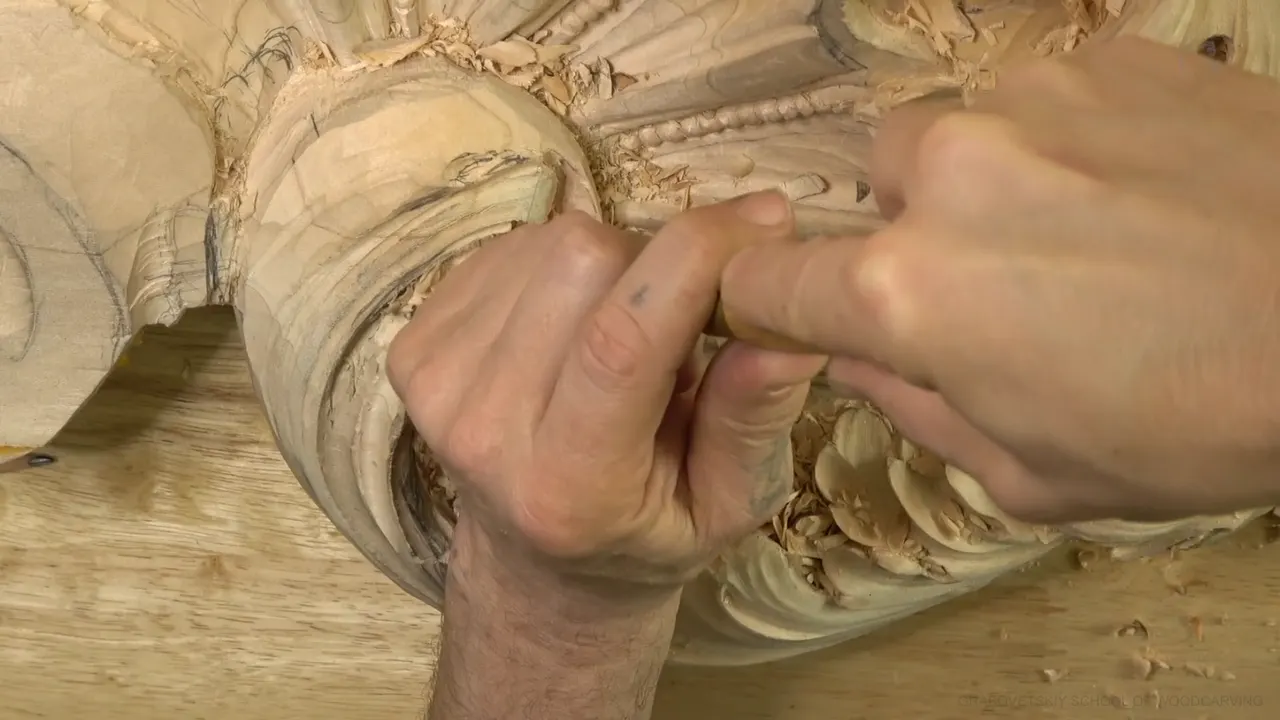
A shallow concave on a carved leaf is a hollow so gentle that it hardly reads as a hollow, and in part 5 of workshop 17 I start it with a flatter gouge, then clean inside with a number 11. A three came to mind first. Number four, 10 mm (3/8 in), was the gouge I picked.
This video is under eight minutes long, so I went back through my other lessons and gathered moments where I reached for a flatter gouge. Every one of them sits in a public lesson, and I link it.
Ever carved a hollow too deep for its spot? Would a gentler pass sit better beside the movement around it, once you see one done at the bench? Then follow along.

Which gouge carves an almost flat concave?
Flatter, and part 5 names two numbers. I could see what I was doing at 00:57, and I needed "a flatter gouge, like maybe a number three."
Seconds later the number four came out. "Let me use number four," I said, "maybe 10 millimeters, three-eighths of an inch," and carve a pass on this side. The three stayed a plan, and the four was the pick.
The first words of the video tell you what came before. Back at 00:10 I figured I could probably give a good concave right here, "like overall movement concave." The flatter gouge followed that idea.

Six things I did in part 5 of workshop 17
- A concave for the whole movement came first, before any gouge was chosen.
- A number three was the first plan.
- Number four took the first pass, on one side only.
- At 00:46 I said to change the direction and "go this way."
- "Almost flat cut" came at 03:12.
- Last, a number 11 at 3 mm (1/8 inch) did the cleaning inside, and it looked good.

What did the almost flat pass look like in part 5?
Just before it, one spot looked okay and the spot beside it looked not too good. My answer was to chop that side. The bridge I had made looked much better by 03:05.
Around 03:12 comes the line itself: "let me use almost no concave, almost flat cut." Which tool made it? I did not name one in this video, so I will not guess.
Part 4 has a name for something close. Around 03:49 I talk about giving a little concave, which I called a good idea, and I describe it as "a flatter concave." It's not really concave, I added.

What cleans the inside of the hollow?
A number 11 at 3 millimeters (1/8 in) was my pick. My words at 03:31 were "now I can clean on inside," and three seconds later I settled on "just the number 11 and 3 millimeters."
When 04:00 came I told you it was looking good, and at 04:07 I said it once more, with "at least overall" tacked on.
A smaller tool comes up in part 4. I called the shadow really good, and I could exaggerate it with 1 millimeter (about 0.04 in), because the work will be seen from the bottom and the light will hit from the top at night.
The seventh video goes deeper with the same family. Even deeper inside, I wanted a number 11, trying five millimeters (about 3/16 in) first and following with four millimeters (about 5/32 in) toward that cavity.

Where else did a number 11 follow a flatter pass?
Lesson 4 of my lily box course has a flatter gouge, a number two, 12 millimeters across (a bit under half an inch), going most of the distance. Next came "the same number 11 and 3 millimeters" to remove that waste, a tool of three millimeters, an eighth of an inch.
Workshop 144 of the Venice Room turns the order around. There I planned a number 11, 3 mm across (an eighth of an inch), and right after it a ridge to take care of with "just flatter tool, like number three or so." That left me somewhat happy with the overall movement.
Over in workshop 21 I planned to follow with a number 11 of four millimeters, 5/32 of an inch, to excavate what I had just made and get rid of all the junk. I added that I had to be careful not to lean against any part I had just carved.
Which number is almost flat on my other gouges?
Two or three, by my own words. Back in lesson 4 I needed a flatter gouge, maybe like number two at 12 mm (about 1/2 in). A three would work also, I added, and so would a four.
In the next video of that lesson I held a number two and told you it "is equal actually to number three" in English brands. It is almost flat, "but still it has a little sweep."
A warning on the same point sits in workshop 18. A European number two is not equal to English-made tools, I told you, and in England a number two would be a skew chisel.
The number on the steel is only half the answer. The miss sits in lesson 5: I wondered if a number three would fit, then called it "not good" for that spot. Next I tried a number two, and it fit perfectly.
Lily box lesson 4 has another job for a flatter gouge besides a concave. I called the coming pass "a convex cut," just like a fillet with a bigger radius, and a flatter gouge was the tool for it. The gouge would go almost all the way, and I did not want to touch my edge.

How does a flatter gouge blend a ridge away?
Often by taking the ridge off. Early in lesson 4 I planned "a flatter gouge, maybe number three," and added that a five could do the job as well. One inch (25 mm) was the size for taking out those ridges.
Later in that lesson I faced a choice. I could create a concave, or I could just remove that ridge using the flatter gouge. I wanted to see which approach looked better. I used "the same number 4 and 10 millimeters" (3/8 inch) as before.
Another line from that lesson is about the height. A whole section can be lowered, I said, except one spot that has to stay higher, and that has to happen gradually.
There I meant to start almost flat and move the tool gradually, little by little. The trick, I said, is to blend it, to match together two surfaces.
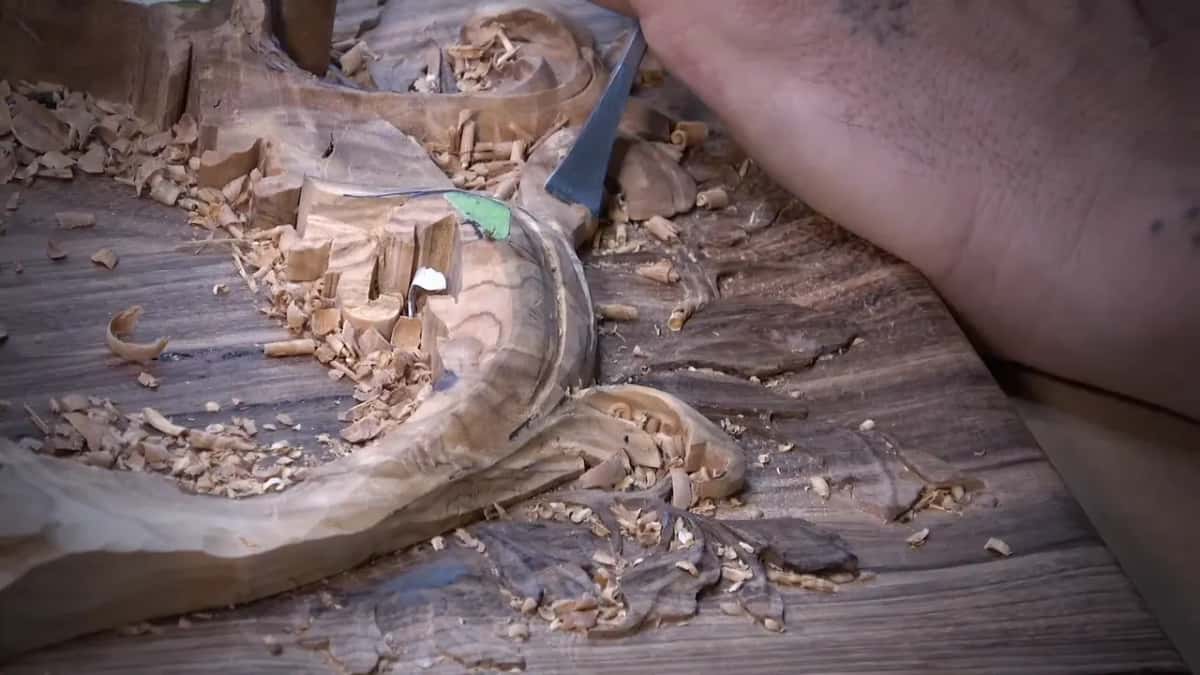
The small tool goes first in lesson 5. I was working with a 3/32 in (about 2.4 mm) gouge, and I could turn to a flatter gouge, like number three again, to blend that to the pass I had just made.
The size comes from lesson 6, where I was using a flatter gouge, number three, "and maybe about four millimeters," about 5/32 inch, to clean the upper part of a movement. That number three then lowered the overall movement.
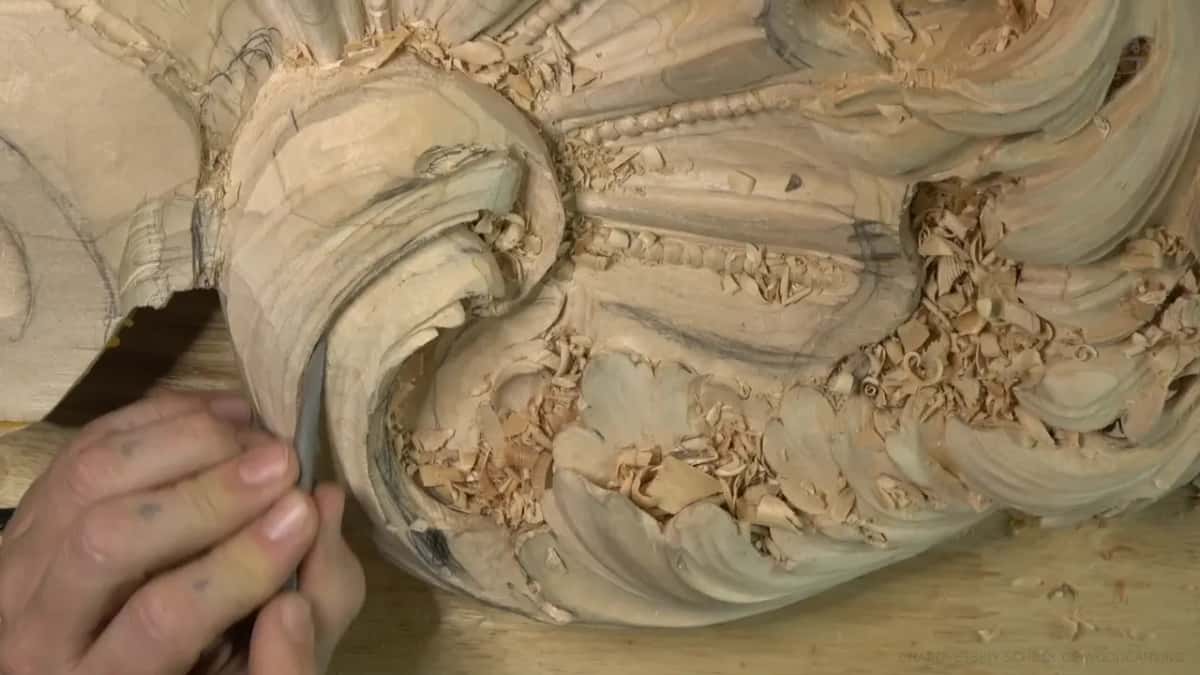
Can a number 11 act as a flatter tool?
By its side, yes, and workshop 111 is where I said so. I meant to use the same tool as before, with my pressure only on the left side of it.
The U shape of a number 11 matters here, I told you. "You can use just the side of the tool as a number three flatter tool." The concave pleased me, though it was not final yet.
A deeper concave came next, since I needed that shadow much sharper and nicer. A nearby part had to go lower, and my reason was to round the head of the acanthus.

How do I start a hollow so it comes out shallow?
From far away, with almost nothing. Starting at the far end and digging a little deeper was my plan in workshop 127, and I called the result a really nice and smooth pass.
The size comes from workshop 128. On the other side a bigger tool, probably 7 millimeters (just over 1/4 in), would start far out, and I called the result "just indication of concave."
One notch in lesson 8 of the lily box had "almost no concave," though a small one was still there, and I named a number three sweep. Lesson 7 has a little concave meant to transition from the surface, with a flatter gouge to blend it.

The fourth video of workshop 17 holds the same plan. A preliminary pass like a concave would start far out, "from almost nothing, almost invisible concave," and then go much deeper, until it is really deep.
When did I go deeper instead of flatter?
Part 6 of workshop 17 is the opposite case. Close to 04:16 I wanted a deeper concave, and one spot still left me unhappy. A little later came "Long concave all the way, just like that."
Next I checked the wood. Plenty was left, I said, so a much deeper excavation made sense right there, "because otherwise it's just too plain." I had material, I added. Why not use it?
That fourth video also has a flatter tool. At 05:07 I would take just a number three to try to hit that edge. Sharp points were another worry, because I want to be authentic, and one was a little too sharp, so I planned to round it a little bit.
The last minute of part 4 is a curl. A good idea, I said at 07:05, might be to curl one piece a little bit downhill, though I did not have too much material and wanted to see if I had enough. Out came a number seven. It makes sense from this point, I said, and maybe not from above, where nobody will see it.
Over in workshop 20 I say it twice: "flatter concave." I was solving a little problem I had caused myself, and I called it not even a problem.
A lesser pipe in workshop 163, still an important one, was not for anything too extreme because it was already a raised part. I planned to just roll it like that, and the part still needed blending in.
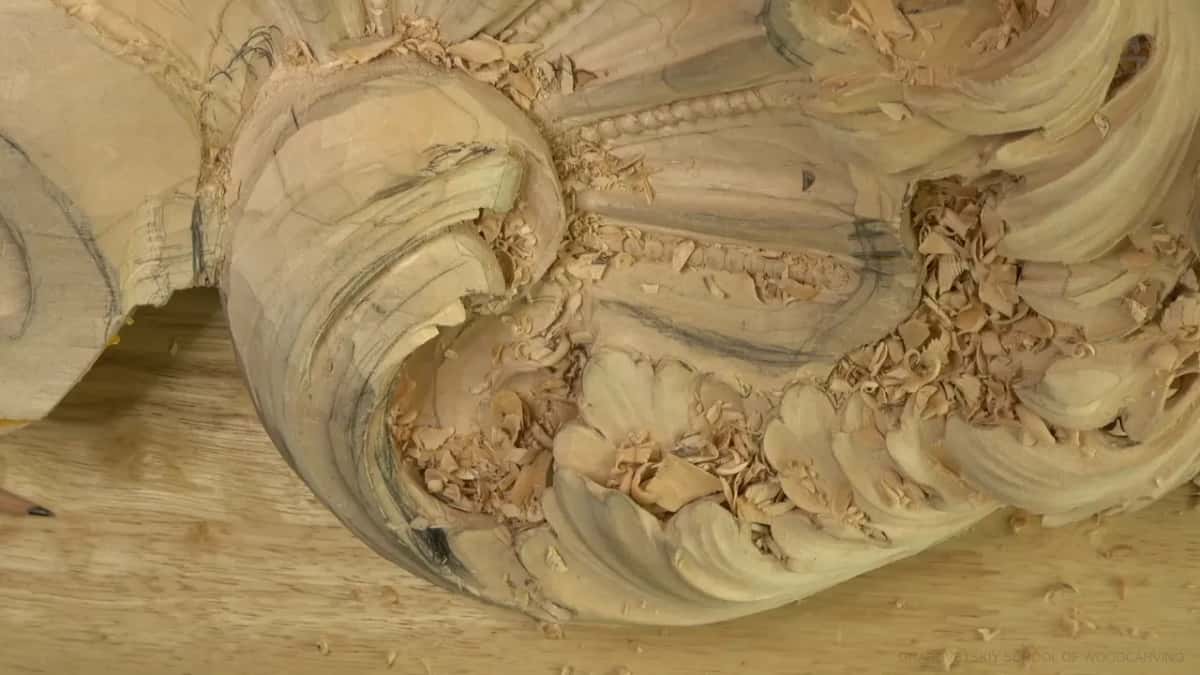
Do I carve this with a straight gouge or a back bent?
A back bent gets a cleaner look, by my words. In workshop 26 I was using just a flatter tool and straight tools. "There is always better tools like back bends," I said, and a back bend would give me much cleaner and nicer look right out of the chisel.
Back in 128 I planned exactly that. A back bend, six millimeters (about 1/4 in), number three sweep, almost flat, would blend a convex on a pipe.
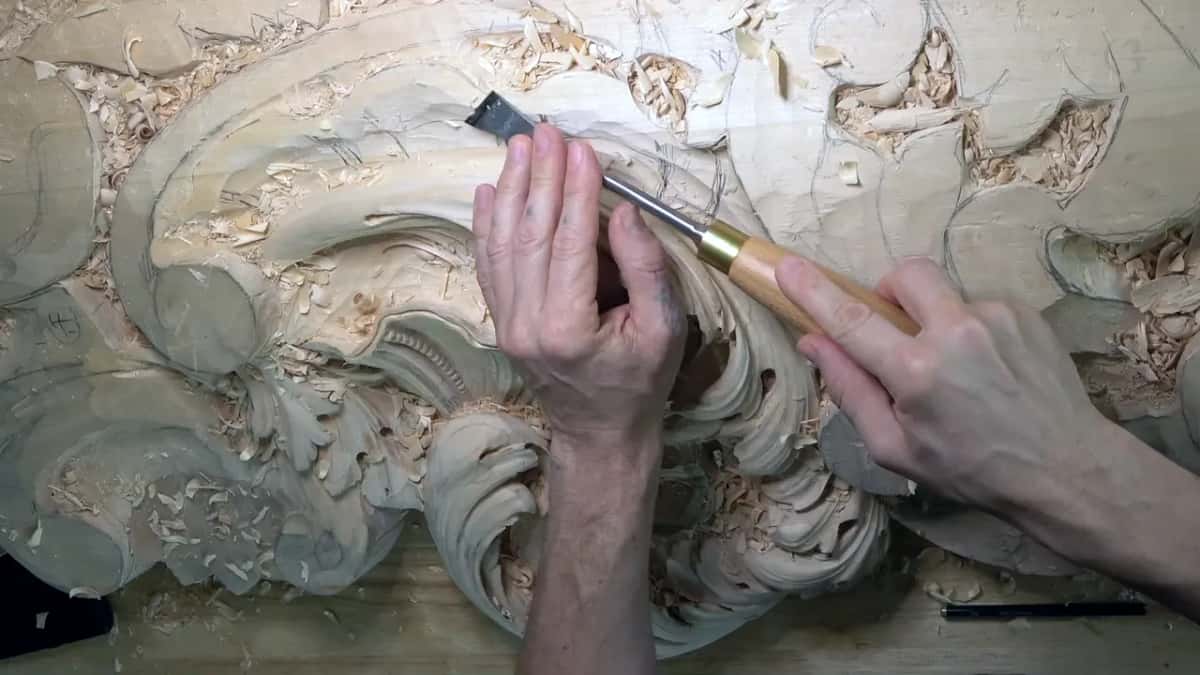
Why slice when the gouge is flatter?
Slicing continues on a flatter sweep. Take the second lily box lesson, where I planned a number three at one inch, 25 millimeters, and told you to make sure you are not pushing. You are still doing slicing movements, I said, even with the flatter sweeps.
A version of it sits in lesson 11. It was probably time, I said, to switch to a flatter gouge with lesser sweep, and the next tool would be a number seven at 10 millimeters, 3/8 of an inch. Even working toward myself, I said, I am making a slicing motion.
One more habit comes from workshop 24. A big tool ridden almost flat to its bevel catches the high spots, I said, and it works just like a hand plane.

A short record of the tools and sizes
Here are six moments in my own words, with the size I gave each time. A plan stays a plan, so the middle column says what I said, and the video shows what I carried out.
| Where | Tool | Reason |
|---|---|---|
| Venice part 5 | Maybe a flatter gouge, number three in mind | For the whole movement |
| Same video, again | Four at 10 mm (3/8 in), on one side | For a single pass |
| Same video, later | Number 11, 3 mm (1/8 in), for cleaning | After the flat pass |
| Lily lesson four | Two at 12 mm (about 1/2 in), almost flat | With a little sweep |
| Lily lesson six | Three, about 4 mm (5/32 in), for lowering | Lowering the overall movement |
| Venice workshop 111 | The side of a number 11, flatter tool | Used like a three |
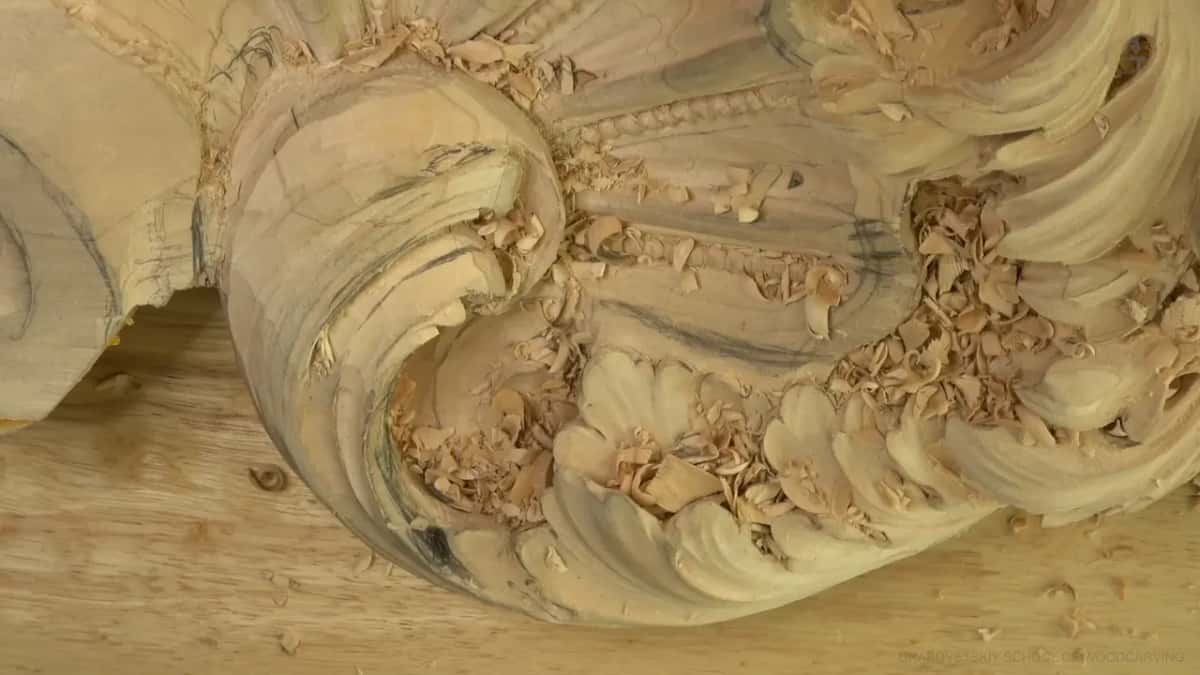
What did I leave for later in part 5?
The video ends on the shell. Near 07:38 I still wanted to develop a movement that direction, right on top of my shell. That space would be really good to use, I said. "Otherwise, the chunk doesn't make too much sense."
Before that I picked up a rasp again, to blend everything a little better and make it a little softer. All twelve videos of workshop 17 sit in the lesson, and the rasp gets its own answer on this site.
Is there a hollow on your leaf that looks too deep for its place? Does one spot feel stiff beside a gentler one? Try a flatter gouge there first.
The craft behind these steps is wood carving, a branch of woodworking. A gouge is a kind of chisel, and a relief is carved on a flat background. My sizes are in millimeters and inches, and the room follows the style of Venice.
The whole course is Advanced Carving: Venice Room, Part 2, and the wider family of the craft is sculpture. A hollow like this one holds shadow.
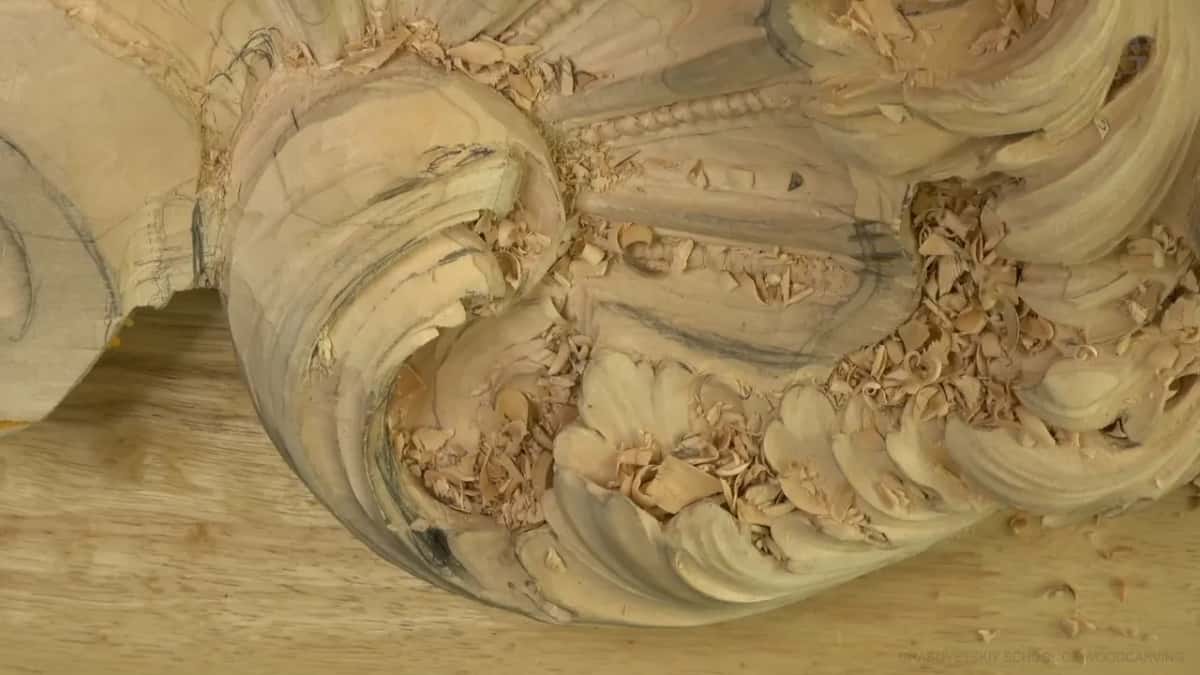
Which hollow on your leaf would you flatten first?
How it's done
- Say what the hollow is for. Part 5 began with a concave for the whole movement, so the flatter gouge had a job before it touched the wood.
- Pick a flatter gouge. My plan was number three. The first pass on one side came from number four.
- Start from far away. My plan was to begin far out and dig a little deeper, as in workshops 127 and 128.
- Ask for a flatter pass. The bridge I had carved looked much better by 03:05, and at 03:12 came the almost flat pass.
- Clean inside the hollow. My number 11 cleaned inside until it looked good at 04:07.
Frequently asked questions
Is a number three the right gouge for a shallow concave?
Number three was my plan in part 5 for the flatter gouge, and then number four did the carving. Elsewhere I said a number two works too. The sweep is almost flat, with a little curve left.
What cleaned the inside of the hollow?
A small number 11. I said now I can clean on inside, and at 04:00 I said it was looking good. Part 4 has me saying a tool of 1 millimeter could exaggerate the shadow.
Does a flatter gouge slice or push?
A flatter sweep still slices. The second lily course lesson has me telling viewers to make sure they are not pushing, because a number three still slices, even on a flatter sweep.
What to carve next