

Alexander Grabovetskiy, woodcarver, School of Woodcarving · Published 2020
Do number 11 gouges from different brands have the same shape?
Quick answer: The shape of a number 11 gouge changes with the brand. In part 12 of Venice Room workshop 17, I told you makers sell their own version. The one I pointed out lacked a pronounced U, and its wings only rose a little, which I called almost like a gouge.
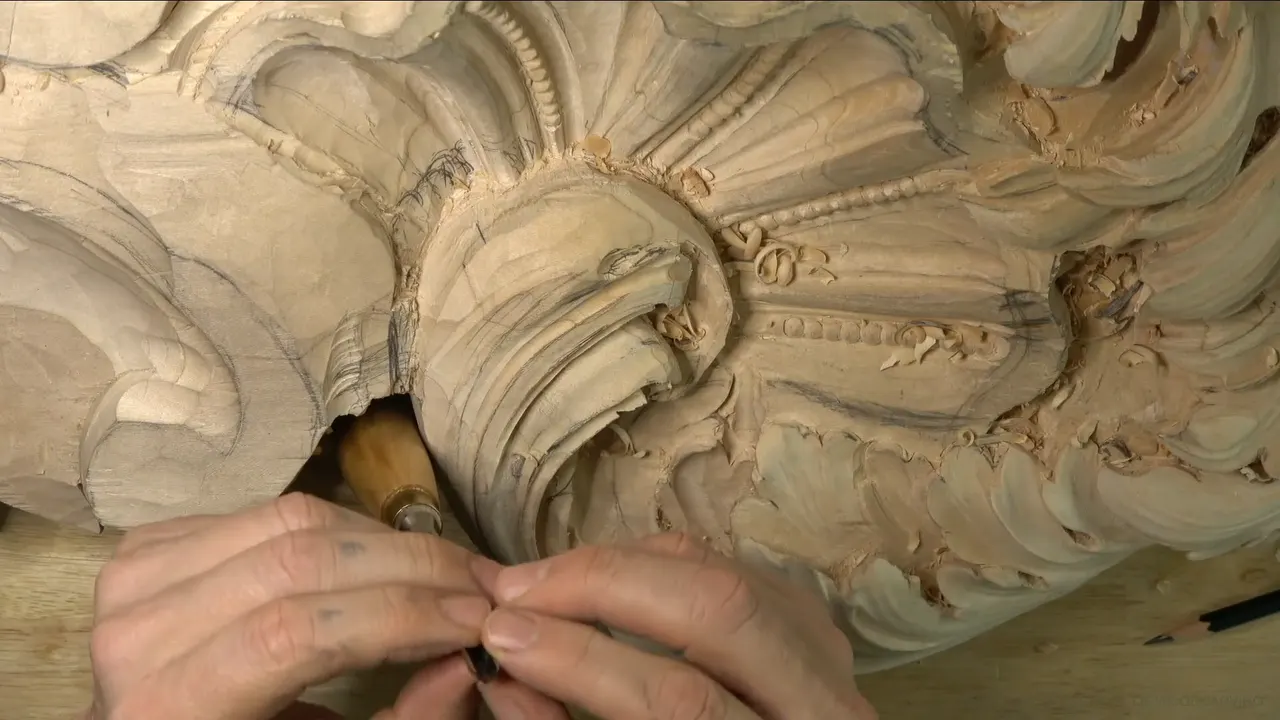
A number 11 gouge can change shape with the brand. In workshop 17, part 12, at 06:06, I put it plainly: different brands do have a different number 11. What I pointed out had hardly a U in it, and its wings rose only a little.
The video runs short, and most of it is one long concave. To give you a full page, I went back through my other lessons for each time I talked about the shape of this tool. I link every lesson I borrow from where I use it.
Have you ever laid two 11s side by side and seen that the wings were not twins? Does one stand taller at the sides than the other? Pick yours up while you read.

The short version on number 11 shapes
- The twelfth part of lesson 17 says each brand makes its own version, and my tool showed it.
- In my words from workshop 53, I like the Swiss Made shape, though that U is off from a true one.
- Workshops 38 and 42 show what a U shape cannot do, which is rotate the way a number 9 does, and that limit is worth knowing before you carve.
- Brands mark their tools in their own ways, and in workshop 74 a number 3 of mine carried a 30 on it.
- A big skew finished two concaves in that video, and I said the blade has to be sharp.
What did I say about the number 11 in part 12 of workshop 17?
It came at the end of a long concave. I told you at 02:15 that I wanted a concave right there, because the spot did not look too nice to me, in my opinion. Maybe I should use a deeper one, I said, and a few seconds later I added that maybe I could take a number 11 and create a good-looking concave.
Next I slowed down. Overdoing it was the worry, and I said this was going to be the right side of my pass. It would create a little different movement, but I thought it would make more sense. My start was far over on the right, and the gouge climbed carefully. The ridge where my pencil mark sat could wait, because I planned to soften it a little later.

By 04:33 I was calling it a nice and long movement. Another spot still looked a little off, so I said maybe I could do exactly the same there. Start from almost nothing, and carry the pass to the end with the same tool, carefully. I could move a little that way too, I said. Why not? There was some material there that would be more visible. Make it a little lower, I said, sloping that way.
At 05:55 I told you that was the number 11 I used, and then I turned to you with a warning: "But also, you probably have to know there is a different number 11s." I pointed out one made by Ashley Iles, and about the tool in my hand I said it "doesn't have pronounced U-shape, just slightly bigger wings upward." That was not much, I added, almost like a gouge.
The part gives no size in millimeters for that tool, and it does not say whether I used it on the concave. The shape is what I described.

Why does the shape of a number 11 matter at the wood?
Part 12 stops there, so I went back through other lessons to see what the U does when I carve. Take workshop 50 first. My tool was an 11 of 18 millimeters (0.71 in), got a little deeper, and blended a ridge with the same tool. Its shape is a letter U, I said; its sides equal a number 3 tool, so I can use the side as a number 3 gouge and skip the switch to another tool.
Over in workshop 53 I came at it from another side. I leaned on the left side of my tool and started a concave, and I told you the movement is like a U that goes on in. Normal gouges would need two tools for that, a number 9 and then a number 3. The 11 gives you the effect pretty much right away, because it fits like that. A single pass, I said.

One more reason sits in workshop 1 of the Venice Room. A smaller 11 came out, about half an inch (12.7 mm), then said maybe about 14 millimeters (0.55 in), and told you, "Why I like the number 11 because it's a U shape." The vase course puts it in one breath. In lesson 2 I said that is why I like that 11, since I can use just one of the sides, or wings, if you wish, and carve a really beautiful pass.
Back in workshop 39 the reason was different. Probably an 11 was coming, I said, because I kind of needed more U shape around. Taking too much material right there was a worry, since I did not know yet how to develop that part. With the U, I can excavate much deeper without going too far. After that I asked whether to go even bigger, and 30 millimeters (1.2 in) came to mind.

Does a number 11 rotate like a number 9?
Not in my hands. Veiner rotation came up in workshop 42, at 00:07, where I said I cannot rotate the veiner because it is a U shape. "Veiner is always U shape," I said. After that I called it no bueno. I said the part was not completely broken, and it was strong, but I could feel it move, and I could see it move. That was not so good.
Workshop 38 is the other end of it. Care was needed with an 11, since it is a U shaped tool and not half a round. To go in that direction, I said, it is better to use a number 9 or even a number 8, because those two you can rotate. Workshop 40 sets the 9 beside it: any number 9 has a true radius, I said, and it finishes the pass at the same spot.
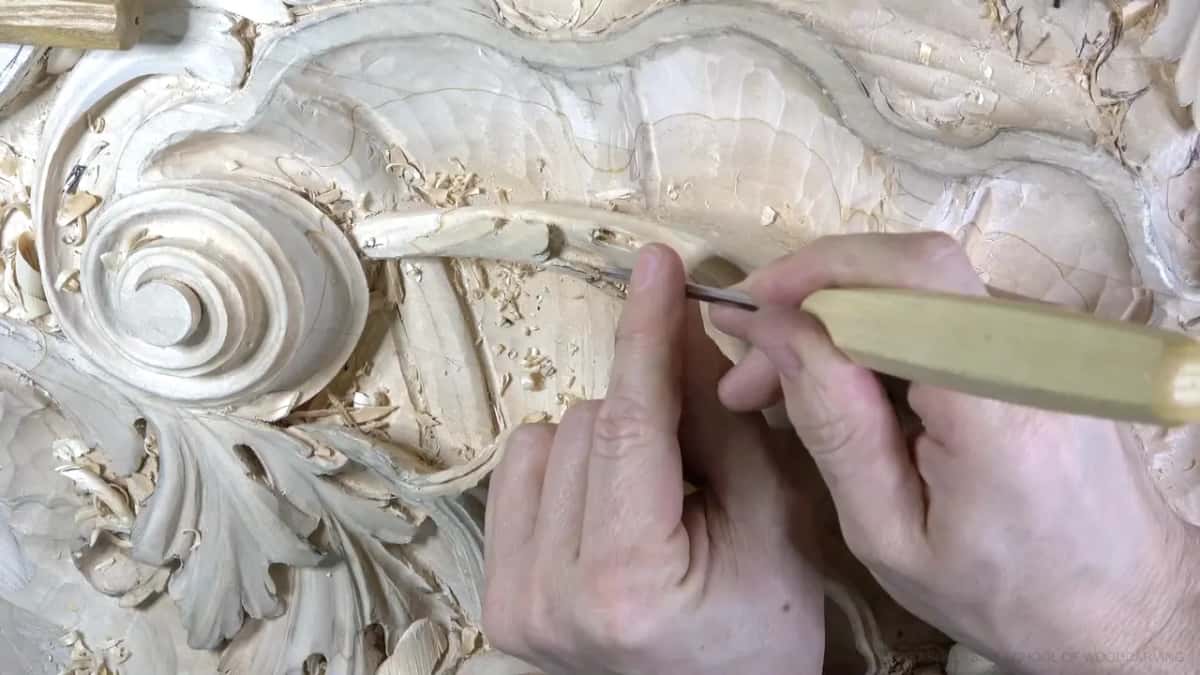
The plain words come from workshop 49. A veiner has a letter U shape, and a gouge has the true radius, I explained. The veiner in my hand was 7 millimeters (0.28 in), a little bigger than a quarter inch, and I used it for preliminary relief cuts before I chopped a subdivision.
Set those lines against part 12 and you get two things from me. One says a veiner is always a U. The other says one brand's 11 barely has the U. Both are mine, and they came in different lessons, and nothing in these lessons puts the two side by side.

Which number 11s did I call not a true U?
Three more tools belong on this list, and each sits in a different course. The first is in workshop 53, part 6. I took 5 millimeters, 3/16 of an inch, and said again that it was a number 11. "In this case, it's a Swiss Made," I said, and I could use other brands also, since it would still be the same thing. As far as 11s go, I told you, I like the Swiss Made shape. "It's not true U," I said, and "little different shape."

The second is in the twelfth lesson of the Roman acanthus course, where a spot needed a really tiny tool. I reached for the veiner instead of the gouge, a number 11 that is a little more than half round. It has a U shape, though I added that it is not noticeable on that one. That veiner was 1 millimeter (0.04 in) and marked D, and I said it is not true half round.

The third is in the ninth lesson of the floral and molding course. Next came 6 millimeters (about 1/4 in), and I corrected myself: it was actually not an 11 but a number 10. It was still not like a true round, and it stood a little higher. "It's like a U shape, but not as tall," I said, and it was a German brand, I said.
So the line in part 12 is not a one-off. I have held a Swiss Made 11, a tiny 11 marked D, and a number 10 from a German brand, and and each time I said the profile was a little off from the textbook one. Here they are in one place.
| Lesson and part | Tool I held up at that moment | Shape I named for it |
|---|---|---|
| Lesson 17, twelfth part, the video you are watching | The 11 I held up, no size given | Hardly a U shape |
| Workshop 53, part 6 | A Swiss Made 11 of 5 mm (3/16 in) | Short of a true U |
| Roman acanthus 12, part 3 | Tiny veiner 11 of 1 mm (0.04 in), marked D | Short of true half round |
| Floral panel 9, part 2 | Number 10 of 6 mm (about 1/4 in) | A shorter U shape |

Do brands mark gouges alike?
The number on the handle is not the same everywhere either. In Hashemi flowers 9 I took a number 7 back bent by Ashley Iles and said it was actually marked 37. That maker marks the back bends a little differently, I said, and my number 7 looked like almost a number 8 sweep.
Workshop 74 has another one. Next came a back bend, a number 3 sweep. Actually it is number 3, I said, though they mark it like a 30, which struck me as an interesting way to mark.

A mark can also carry the width. Lesson 8 of the same course (Hashemi flowers 8) has a back bent number 5 of 13 millimeters, which is half an inch (0.51 in), marked 25/13. In the 25, I explained, the 2 means a back bent and the 5 is the sweep, and 13 is the millimeters.
Sizes slip too. Hashemi flowers 21 has a number 7 marked 6 millimeters. By the size of it, I said, it was more like 3/16 of an inch, like 5 millimeters. Manufacturers, when they mark the tools, are not too accurate about it, I told you. It doesn't really matter as long as it works.

Workshop 60 brings the 11 and the mark together. Maybe 3 millimeters, I said, and by 07:00 I told you that if you like different brands, this is a Henry Taylor number 11, but they mark it 48. Just a number 11 veiner, I said, about 1/8 of an inch.
Which brands did I name beside the 11?
In that same video I said I love Henry Taylor tools. Those two English brands, Henry Taylor and Ashley Iles, are my favorites, I said, and there are other brands too. I also mentioned a French brand that I would love, if they would do the whole line. For some reason they do not.
Workshop 77 says the other half. The tools are all different, by the way, I told you. All the brands offer different things, and that brand was not the only one. I was holding a micro tool with a really small handle, comfortable, and I said it sits in your fingers nearly like a pencil.

Workshop 37 shows what I mean when I say a different 11 in the middle of a pass. A different number 11 was next, I said, a spoon, a short bend, maybe about 7 millimeters (0.28 in), used sideways. The word different was about size and bend there, while in part 12 it was about the brand, and that difference is the one this page is about.
What else happened in part 12 besides the number 11?
A lot of small checks. It opens with me not too happy about one side, and then I decided I should not worry about it. I had a small concave there, but with a bump. Probably a number 5, quarter inch (about 6 mm), was the tool, I said, planing a little bit just to get rid of the bump. I double checked. Yes, I check with my fingers, because sometimes fingers give me a lot better idea of what is going on.
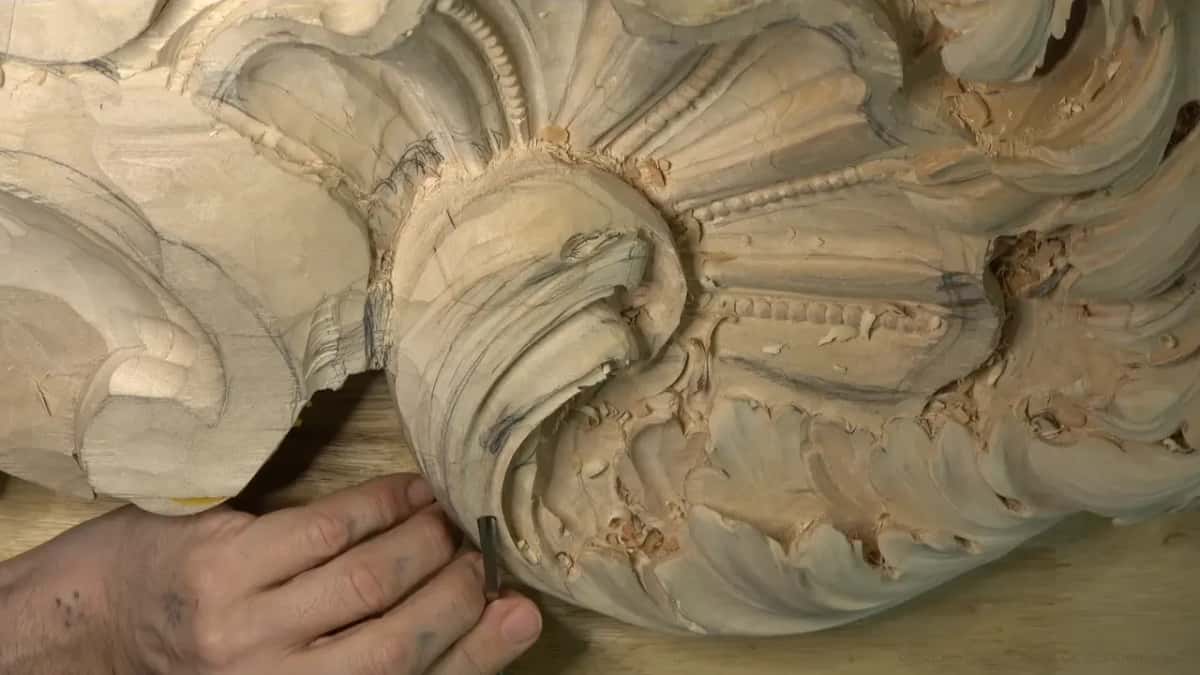
At 01:00 I was kind of happy with that movement. I could slightly, probably, break the edge, I said, and then I fixed myself. I meant around the edge.
I also told you I loved the idea of rasps right then, and that I decided to order just the cheap diamond ones, which have some curvatures also. I know they will not leave any abrasive in the wood, I said, and mine is a little finer grit.
How did the big skew finish the concave?
A big skew chisel was my next tool, I said, to ride along the edge. There are different techniques to do that, I told you. But one of the sides is leveraging, cranking against the edge, and my pass comes out much smoother. It gives me much better control, I said, this way and also here.

The same idea shows up one video earlier in the lesson. In part 11 I took the big skew because it has a leverage point. One of its parts rides on the edge, I said, which makes a lot smoother pass for me. A knife would do the trick, I added, or pretty much any tool.
Near the end I said the warning plainly. Your tool must be sharp. Otherwise, it is not going to help you. It does not matter what kind of skew you use, because a dull one gives no help at all. By 08:00 I was happy, at least with the look of those two sections.

What would you check on your own number 11?
Have you looked at the wings of yours lately? Do they stand tall like a letter U, or flare out a little at the top? Then read the mark on the handle too, since the mark on a handle can differ between makers.
That video is one part of the lesson. Workshop 17 holds the rest, and the course page is Advanced Carving: Venice Room, Part 2. My other borrowed lines come from Venice Room Part 5, Part 3, workshops 38 to 49 and the Roman acanthus course. The craft is wood carving, a branch of woodworking. A gouge belongs to the chisel family, and a relief is carved on a flat background. An acanthus leaf has deep spots that hold shadow. A rasp is a toothed file, a mallet drives a tool, a pencil marks the line, a handle carries the mark, and my sizes are in millimeters and inches.
Which of your tools will you hold up to the light first?
How it's done
- Plane the bump. I took probably a number 5, quarter inch (about 6 mm), planed a little bit right there, and checked with my fingers.
- Pick a deeper concave. The spot did not look too nice to me, so I said maybe I should use a deeper concave and take a number 11.
- Choose where to start. Overdoing it was my worry. I began far over on the right side of the pass and went up carefully.
- Fix the second movement. I began from almost nothing, carried the pass to the end, then lowered that spot a little, sloping that way.
- Ride the edge with a sharp skew. I leaned one side of a big skew against the edge for a smoother pass, and I said a dull one will not help.
Frequently asked questions
Do number 11 gouges from different brands have the same shape?
Each maker has its own version, I said, and the tool I held in workshop 17, part 12, had little U to it, with wings that rose a bit. I added that it is not much.
Is every number 11 a true U shape?
My lines differ by lesson. I called the veiner a U shape in workshop 42 and the 11 a letter U in workshop 50, yet my Swiss Made one, I said in workshop 53, is not true U.
Can you rotate a number 11 the way you rotate a number 9?
Mine would not turn. Its U shape is the reason, I said. For that direction, workshop 38 says to use a 9 or even an 8, since you can rotate those.
What to carve next