

Alexander Grabovetskiy, woodcarver, School of Woodcarving · Published 2020
What goes wrong when you skip the relief cut before taking out a triangle in a carving?
Quick answer: Cutting a relief first protects a triangle when the main gouge goes in. In Venice Room 25.7 I said I try to relieve my triangles ahead of the attack, to keep the details. A part of mine broke in workshop 72 because the relief under it was not good enough.
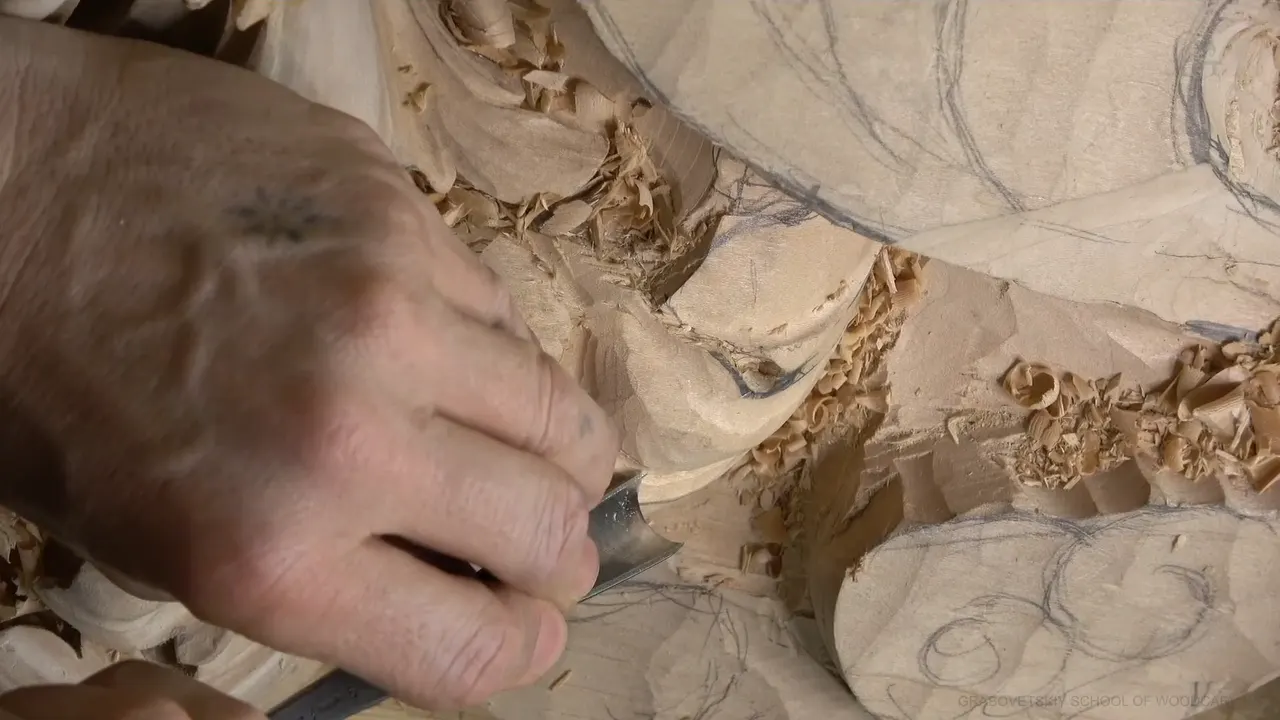
A relief cut is a straight down cut I make in a triangle of waste before the triangle comes out, and without it the small parts beside the triangle can break. Part 7 of workshop 25 in my Venice Room has the rule at 01:52. I do relief cuts before I attack my triangles. I learned that lesson a long time ago.
The video is short, so I went through my other lessons and pulled in every place where I said why.
Ever lifted a small point of a leaf while you cleared the wood beside it? Did the grain run against the pass you picked? A minute at the start might save you hours, and I will show you where I learned it.

Relief cuts before a triangle, in five lines
- Each relief cut goes straight down into the triangle before it comes out.
- Skip it, and a small detail can break along the grain when the gouge goes in.
- Workshop 72 had one of mine break.
- I mostly reach for a number 11 veiner, often 3 mm (1/8 in).
- On part 7 the relief cuts took almost no time.
What did I do in part 7 of workshop 25?
At 01:03 I could see the main subdivisions, and I said I could probably redraw everything, but fifteen seconds later I was not sure I should go that far. Maybe I could just stop at the point right there. That would make more sense, I said.
I planned extra subdivisions inside the section, too, because, like I said before, I want it to look curly. That was going to be the main shape of this section. At 01:47 the relief cuts came.
My words were plain. Relief cuts go in before my triangles, since I learned that lesson long ago. If I want to keep the details, and get them as detailed as possible, relieving first is better. It takes only a couple of seconds. It doesn't take too long at all. Then I made a couple of relief cuts and went on.

Then, at 02:31, I added a line about the old work. Look at the original work, I said, and many times you will see they left those sections inside round. I added that this means they used exactly the same approach, with the gouge, creating the reliefs.
The S shape came next, at 03:01. I flipped my gouge to go in that direction, then made a straight down cut on one side and on the other, with a straight tool. Or a straighter one, I should say. For the corners I said I could probably reach for a number 5, a quarter inch (about 6 mm).

By 04:07 the leaf was taking shape. It was not final, since it did not look clean and nice yet, but I told you I would clean it to perfection. At least you know how it will look. The junk inside I could probably knock down right away, because I would not need it.
What breaks when you chop a triangle without a relief cut?
Points break. My Byzantine acanthus course says it, after I had made the divisions. Every one of them had turned into three pieces inside, and I told you those triangles were really important to relieve. Some people take a gouge and start cutting straight in. Because of the grain, you break the points. That's no good.
I asked for a bigger tool and a mallet, to relieve it even more, and then I said the smaller one was next. Every triangle should get the same tool, I said, all around.

On my furniture panel, in lesson 16, I wanted to keep a wall next to a corner. Why would you need a relief cut there? Try those cuts without it, I said, and you will see. You end up chopping fibers and breaking stuff, and your grain can split. That spot was an intersection of two elements, and it was better to relieve it, a number 8 at 7 mm (about 9/32 in), a little bigger than a quarter inch.
The reason sits in workshop 77, in one breath. Every time I see a triangle like that, a small detail, you really have to relieve it. Otherwise you are going to break it. You will know what I mean once you start doing them. I made one relief cut, then another, and I said I would flip the piece to attack from the opposite side, maybe sideways.

A story from the first part of my Venice Room sits in workshop 3. I was teaching a class in Tampa, in person, and I tried to explain this idea. One of the guys told me he had carved for a long time and had not done it, and had no problem.
He decided not to do it that way, and he messed up his carving. It was fixable. But why would you fix something if you can avoid it in the beginning? Right in that video, a number 9, 16 mm, or 5/8 of an inch, went round every corner that held a triangle. I went deep, and deep, and deep, and took out the plugs.
How did I learn it, and what did it cost me?
One broke on camera in workshop 72. No bueno, I said. I was a little too fast. One of my rules is that when something breaks, I change the design and don't tell nobody. You had already seen what happened, though.
The mistake was a relief cut that was not good enough. It is better to make those triangle relief cuts much deeper, I said. Right there almost no relief cut sat below the spot, and when I put some force on, I broke with the grain. That was one of the mistakes I made. On the other hand, I had taken out a whole bunch of wood I was not going to need anyway.
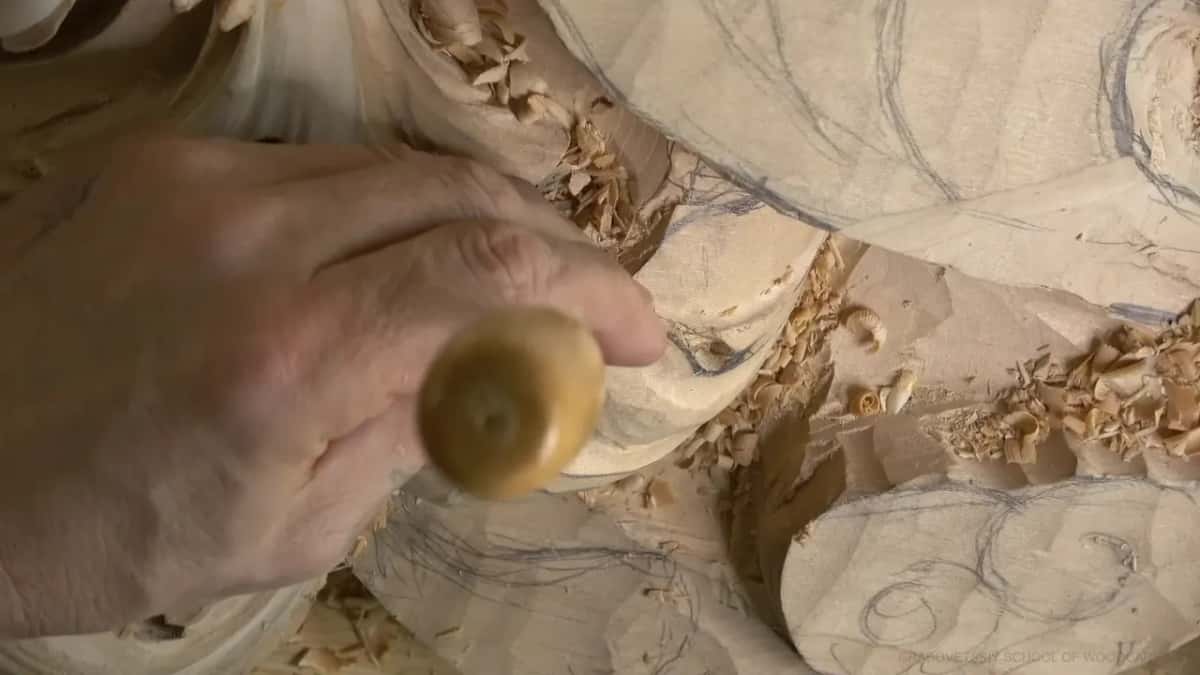
A second lesson came in workshop 54. I said I do have doubts sometimes, and that I would do the relief cuts first. A little later I told you why it had happened. I had carved inward too early with my skew chisel and taken too much material out before I made the separations. My note to myself that day was to finish the face before I go behind the ears.
In part 5 of workshop 14 I said to make the relief first, with a number 9. Wherever I see those triangles, I try for one, a straight down pass. I learned my lesson too many times. I know I can rush stuff and make it quick, but that is not necessarily the best approach. There is a saying, I told you, that if you rush, you make people laugh.

The lily box shows the same thing. Lily box lesson 7 has me about to shape a part beside a notch. I said I should make that relief cut, but I hadn't. I needed to. Sometimes rushing things is not the best idea. When I say relief cut, I mean I place the tool and make my cut straight down. Then a number 5 was next, I said.
Which tool makes a relief cut, and how do I use it?
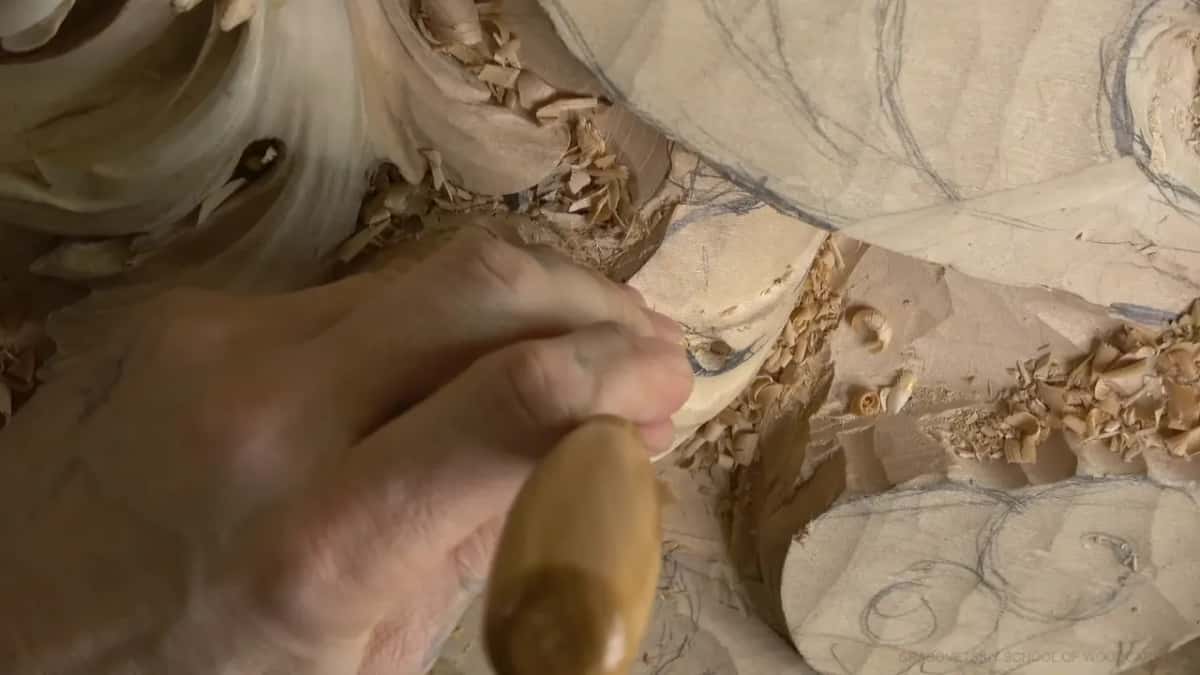
I place the tool, then go straight down. Workshop 49 has me saying a lot of people make big mistakes when they just try to chop without a relief cut. My tool for it is the 11 veiner, 7 mm (about 9/32 in), a little bigger than a quarter inch. A veiner has a letter U shape, and a gouge has a true radius. I chop, and chop, and call those the preliminary relief cuts.

Depth changes with the spot. Over in workshop 75 a little relief cut, a number 11, 10 mm (about 3/8 in), could go right on a triangle, I said, and not all the way. That would be a big mistake. Don't push it through, because it is better to attack from the sides. The grape onlay lesson has a U-shaped veiner, 3 mm (1/8 in), that relieved some of the stress, and I removed wood from different angles.
In furniture panel lesson 28 I lost some detail, drew the separation back with a pencil, and relieved the triangle with a 2 mm number 11 (about 5/64 in). Older tools in that size are almost impossible to find, I said. A 3 mm or a 1 mm tool works too, but make sure you really relieve it, because otherwise you have a big problem.

Which spots need a relief cut the most?
Fragile ones, and I said so more than once. In lesson 8 of the lily box I worked with the number 11 first and not the bent gouge. That area was really fragile. I wanted the relief in first, and a straight tool could not reach that area, but the backbend could.
A crack shows up in lesson 9 of the lily box. I took a 1 mm number 11 (about 1/25 in) and put the relief in first, because I had another void inside the wood. That void affected the part next to it, and a piece was just flying out. Not good, I said. On another side, which I called picky, a number 8 at an eighth of an inch (3 mm) went straight down. I did not want to go too deep, since I had to keep the same height as the other side.

The Corinthian course gave me a reason inside the wood. Then, in lesson 3, once some material was out from inside, I could see the fibers on one side were weaker than on the other. What stays will remain really nice, without the fibers smooshing together. The fibers on the other side didn't matter, because I was going to remove them anyway.
Back in lesson 2 I explained that some people call it a relief cut, and that you are relieving the stress of the wood. We were almost ready to go all the way to the line, and I said it would be much easier at that point.

Do I ever skip the relief cut?
Where time is short, yes. In that same Corinthian lesson I said that when you don't have time, you can work directly without relief cuts. Wherever it is possible, and especially if you have time, I try to make as many as I can.
A relief cut can still nick an edge. In part 6 of workshop 13 I made one in a triangle, a number 9, 3 mm, an eighth of an inch, since I didn't want to make mistakes. I still chopped a little bit of the edge with that relief. That is okay, I told you, and not a big deal.
Workshop 50 has me telling you I know some of you probably doubt it. I call it a relieving cut, even if that sounds funny, and I don't care how it sounds. It's the right thing to do, and you are doing the right thing if you do it that way.

Why is the relief cut worth a minute?
The arithmetic is simple. In furniture panel lesson 15 I said it is a good idea to make relief cuts everywhere. You spend the extra minute, but you save maybe hours. If you make the mistake, you have to fix it, all because you did not want to do one extra step.
Lesson 23 of that panel has a couple of them, in triangles, with the same 11 veiner, 3 mm (about 0.12 in), and I said they do matter. After that I could refine the divisions with care, so I would not damage the background.

Over in lesson 39 I felt safe to jab in, since my relief was already in and I had no problem. In my tray lesson I said you will want to grab the flatter tool and carve from both sides of a separation, and you will break it. Do the relief first, I told you, even if you attack upside down. Then take the flatter tool.
One more note comes from workshop 52, where I said you can do this work without really expensive tools. What counts is the skill you have, and the carving uses a lot of those small veiners.
A short record of the relief cuts I showed you
Here are six, each with its reason. The sizes are the ones I said on camera, with my figure first.
| Where | Protected | Tool | Size |
|---|---|---|---|
| Venice part 25.7 | Triangles in a section I wanted curly | Not said | a couple of seconds, no size |
| Lily-box lesson 8 | A fragile spot a backbend reached later | Number 11 | made first, before the bent gouge |
| Lily-box lesson 9 | A spot beside a crack in wood | Tiny veiner | width 1 mm (about 1/25 in) |
| Workshop number 75 | A triangle I did not push through | Wider veiner | size 10 mm (about 3/8 in) |
| Furniture lesson 28 | A triangle left after losing a separation | Narrow veiner | tool 2 mm (about 5/64 in) |
| Workshop 3 story | Plugs in every corner holding a triangle | Number 9 | 16 mm (5/8 in) rotation cut |
Where would you put the first relief cut on your bench?
Is there a triangle in your leaf with a thin point beside it, one that looks ready to snap? Does the grain run the wrong way? One small relief first, straight down, is what I would make.
The video I described is one part of workshop 25, and the course page is Advanced Carving: Venice Room, Part 2. The craft is wood carving, a branch of woodworking. A gouge belongs to the chisel family, and a mallet drives it. In relief carving the design stays attached to its background, the ornament in this course is the acanthus leaf, and grain is what the points break along. Wood is made of fibers. My sizes come in millimeters and inches, and the style is from Venice.

Which triangle will you relieve first?
How it's done
- I looked for the triangles. Workshop 3 shows me going to every corner that held a triangle, because that is where I make my relief cuts.
- I picked a small tool. A small veiner was my usual one, and a number 9 did the bigger corners.
- I made the cut straight down. I set the tool in the triangle and went straight down. Workshop 75 has me saying to go in from the sides and not push it through.
- I went all around. Every triangle gets the same tool, all around, I said, and not one leaf only.
- I took the triangle out. Once the reliefs were in, the junk on the inside could probably come down right away, which I did not need anyway (04:31, 04:38).
Frequently asked questions
Does every triangle get a relief cut?
I go for as many as I can. In my Corinthian acanthus lesson I told you that when you don't have time, you can sometimes work directly without them.
Which tool makes a relief cut?
In this part the likely tool was a number 5 at a quarter inch (about 6 mm) on the corners, and a straighter tool for the straight down cuts (03:43, 03:52). Other videos show a 16 mm number 9 (5/8 in) and a 1 mm (about 0.04 in) veiner beside a crack.
What happens if you make the relief too shallow?
Mine fell short in workshop 72, and almost no relief cut sat below the spot. When I put some force on, I broke with the grain. I had already removed a whole bunch of wood I would not need, so I changed the design.
What to carve next