
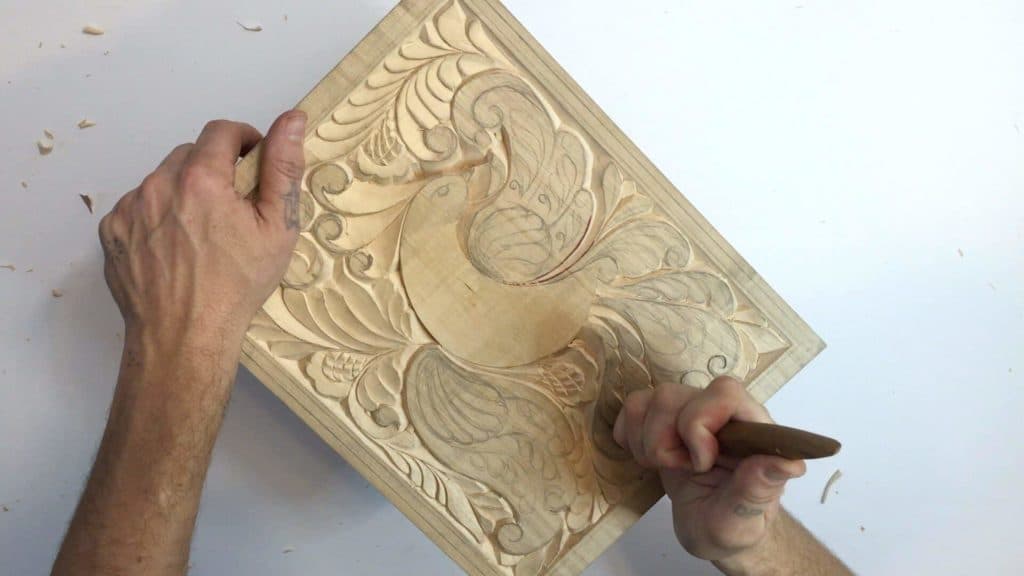
Alexander Grabovetskiy, woodcarver, School of Woodcarving · Published 2017
Why does a carved line look rough a day after you carve it?
Quick answer: Fiber spring back is the reason a carved line looks rough the next morning. The blade presses wood down as much as it slices it, and wood behaves like a hard sponge. Overnight the crushed fibers take their moisture back, swell, and stand up as small ridges you carve away.
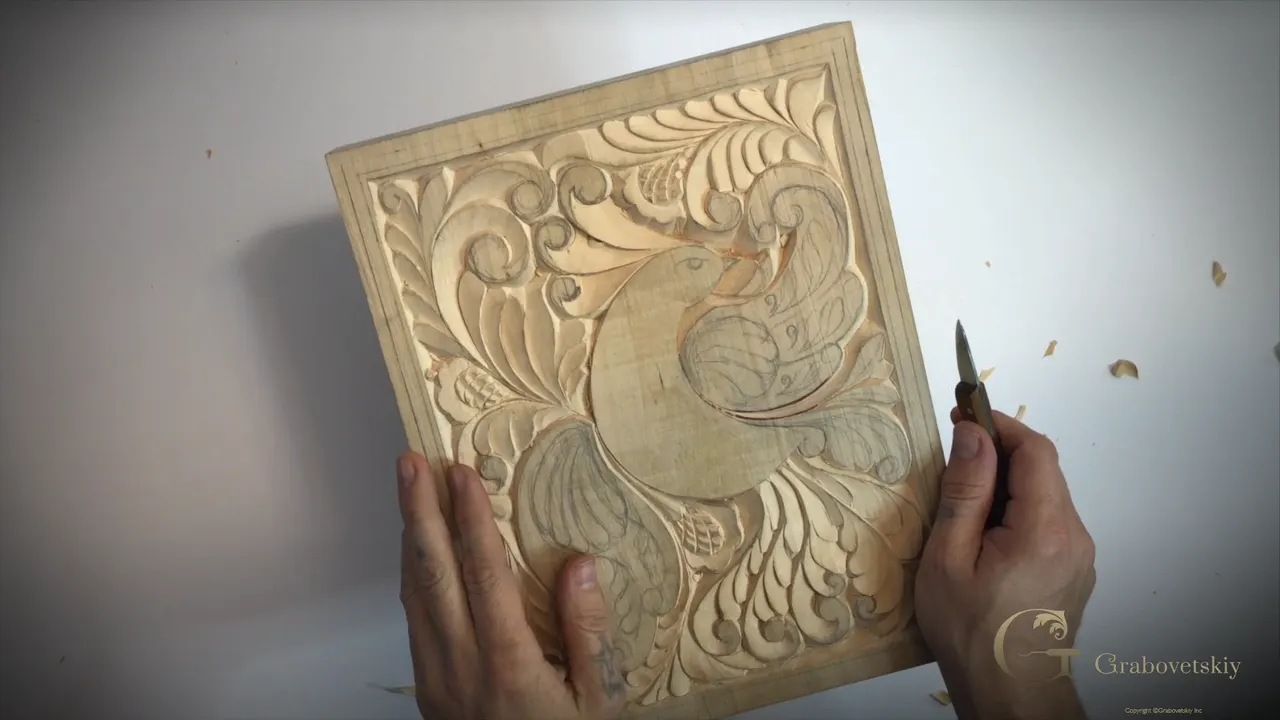
A carved line that looked perfect last night can wake up with ridges in it. Your blade is doing two jobs at once. It slices some fibers and it presses others flat, and the flattened ones draw moisture back from the air and rise again. You did nothing wrong. Pick the knife up and take them off.
Ever finish a curl, feel pleased with it, and find it fuzzy by morning? Do you know which of those ridges belong to you and which belong to the wood? This session answers both.
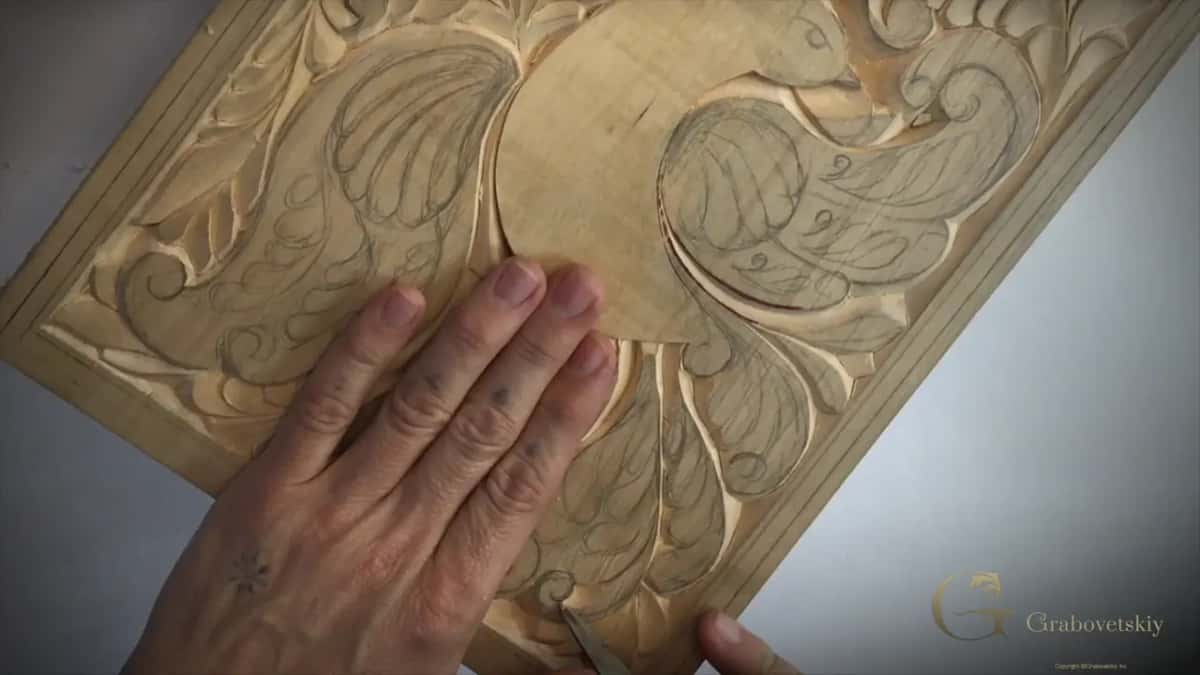
My grandfather put a chisel in my hand when I was six. I took it straight to a brick, tried to carve a face, and destroyed the edge completely. Wood teaches the same lesson, only slower and with far better manners. Workshop 12 carves the curls on the tail: depth, grain direction, the one line you never touch, and what a board does behind your back overnight.
What the tail curls are really teaching
- Lift the corner out first, because that small triangle of waste settles your depth before you have committed to anything else.
- Six millimeters on the wide curls. Around 5 mm, three sixteenths, wherever the run gets shorter.
- An upright pass is ninety degrees, and the shaping pass that follows rides on a bevel laid almost flat.
- Grain reverses inside a curl. Half of it gets carved left to right, the rest the opposite way.
- Your outside line stays high and untouched. Everything around it comes down to meet that line.
- Ridges a day later are the wood breathing, not your hands failing.
Why does a clean carved line grow ridges overnight?
Wood is a sponge. Harder than the one beside your sink, and much slower, but it behaves in exactly the same way: it takes on moisture, it swells, it gives that moisture back, it shrinks. Every carver lives with this. The ones who get upset about it are the ones nobody warned.
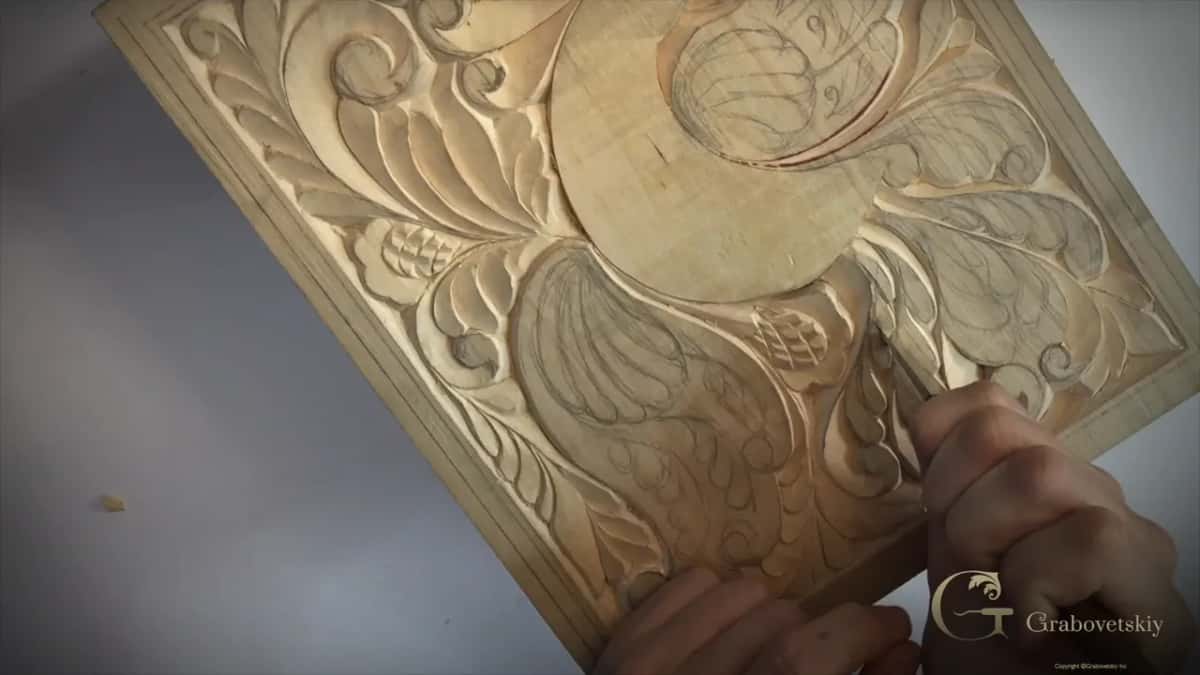
Here is what happens under your blade. Around a curved line you slice some fibers and press a good number of others sideways and down into the board. They lie flat. Your line looks beautiful, it follows exactly where you wanted it to go, and you put the knife down happy. Then the panel sits overnight in a room with its own humidity, those crushed fibers take their water back, and they stand up again like a lawn after rain.

Now you return to a curl wearing small ridges that were absent when you left. Nothing is ruined. A single pass with the same knife removes them, and the second time they mostly stay away, because the badly crushed fibers are gone rather than hiding. Ordinary hygroscopic behavior, the same property that makes a board move as it dries, measured to death by the forest products people in their chapter on moisture relations.
Knowing that changes how you work. Years ago I stopped chasing perfection on the first evening. Shape it, let the board rest, look again in daylight, refine. A carver who understands this stays calm, while one who does not will quietly decide their hands are getting worse.
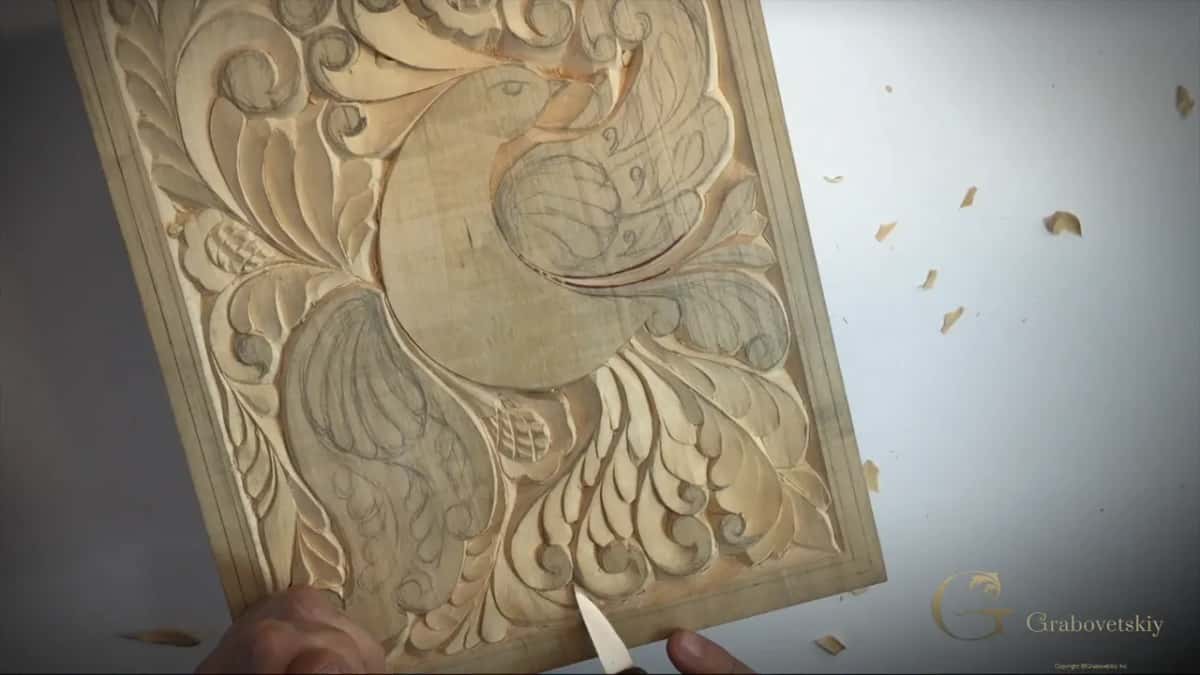
How deep should the curls on a cutting board go?
Deep enough to throw a shadow and no deeper. On the wide curls at the tail I went about a quarter of an inch, roughly 6 mm, measured surface to floor. Where the distance between two lines gets shorter, that depth stops making sense, and five millimeters does an identical job.
| Where you are on the tail | Depth | In millimeters | Why the depth stops there |
|---|---|---|---|
| Wide tail curls | a quarter inch, corner lifted out first | about 6 mm | a broad shape carries that shadow |
| Tighter curls beside | three sixteenths and not a hair more | close to 5 mm | a shorter run needs much less |
| Against the outline | nothing, the wood there stays standing | no depth | that line is the high point of the panel |
| Where curls cross | one drops below its neighbor | a millimeter | flat against flat looks like a mistake |
| Near the board edge | whatever the thin wall will take | less again | pressure there snaps the edge off |
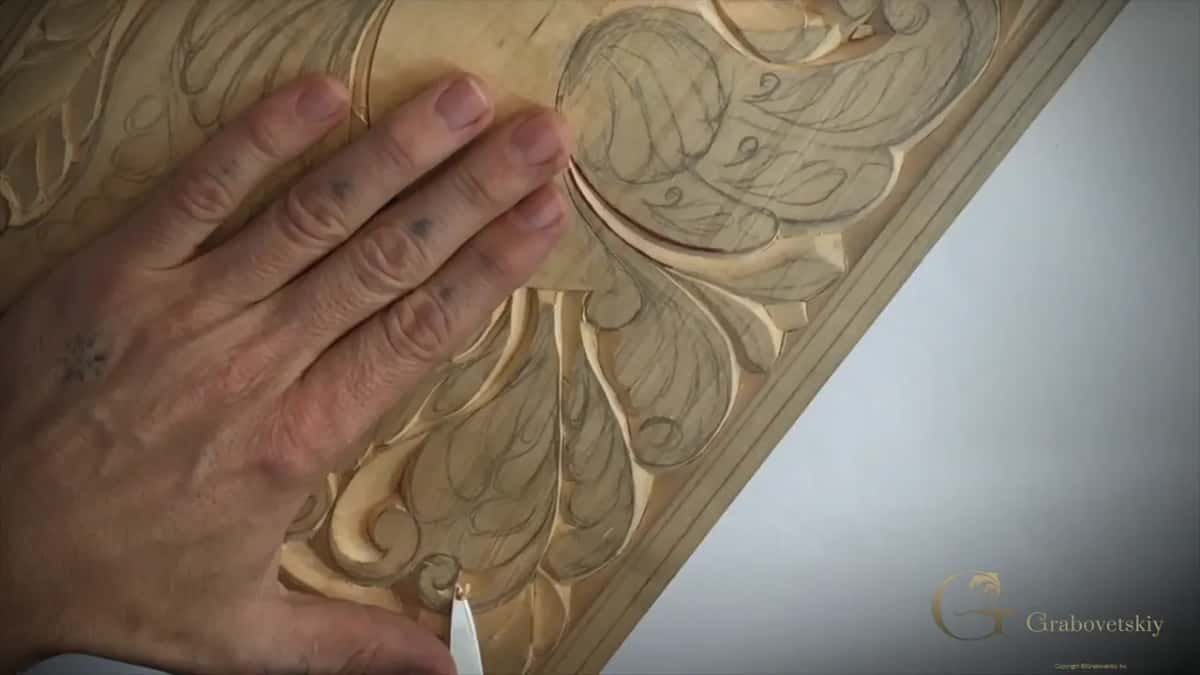
Two curls sitting at exactly the same height look wrong. For years I could not have told you why. Now I lower one of them by a millimeter, blend it underneath its neighbor, and the eye relaxes immediately. That same judgement runs right through the course on design, where it stops being a trick and turns into a habit.
Where does a curl actually start?
At the corner, every single time. Before shaping anything I remove the small triangle at the tightest point, and that one piece of waste fixes how deep the whole shape will sit. Everything afterwards is carving the rest of the wood down to a depth I already chose.
Work the other way round and you will find yourself guessing. You carve, you look, you take a bit more, the depth creeps, and by the fourth curl your tail has lost its rhythm. Setting that corner first is the difference between four matching curls and four opinions.
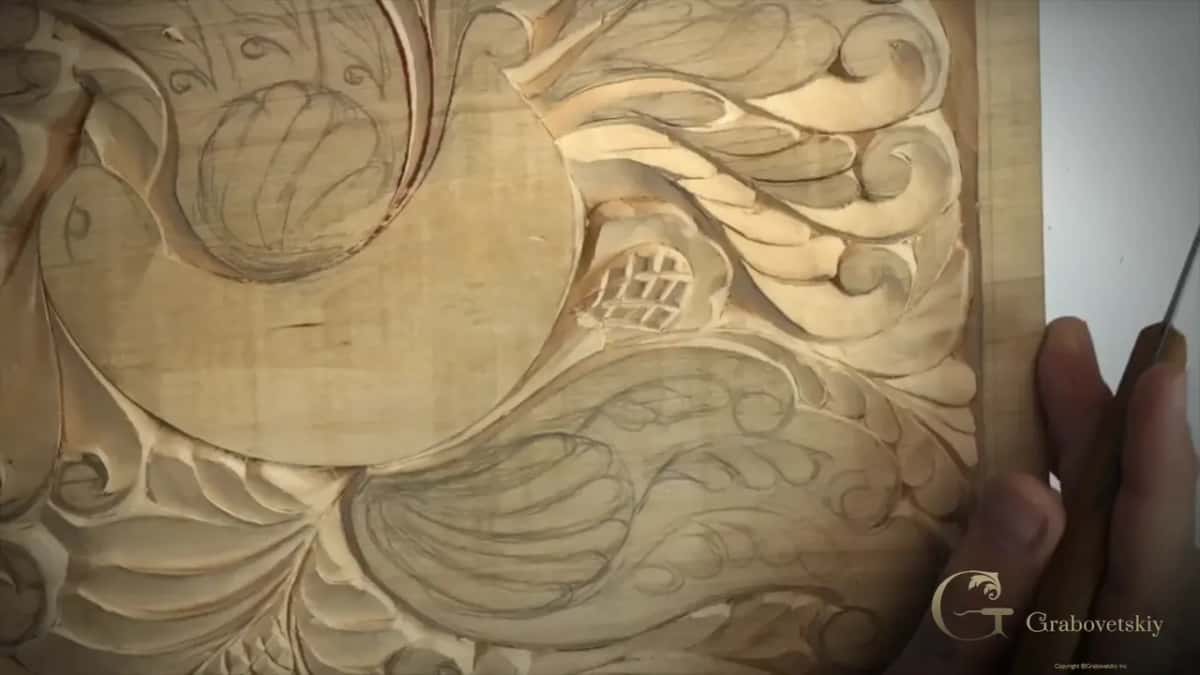
Then the upright passes. Straight down is ninety degrees, no lean at all, or a hair of lean where the shape asks for one. Those go in on the pencil. The shaping pass comes after, riding a very low bevel, and it climbs off the low ground to meet that upright wall. Workshop 6 took that bevel angle apart properly.
Which way does the blade travel when the grain turns around?
Both ways. You have no choice about it, because inside one curl the grain changes direction, which means half of that curl wants carving from the left and half from the right. Take the whole thing in one direction and the second half tears instead of slicing.
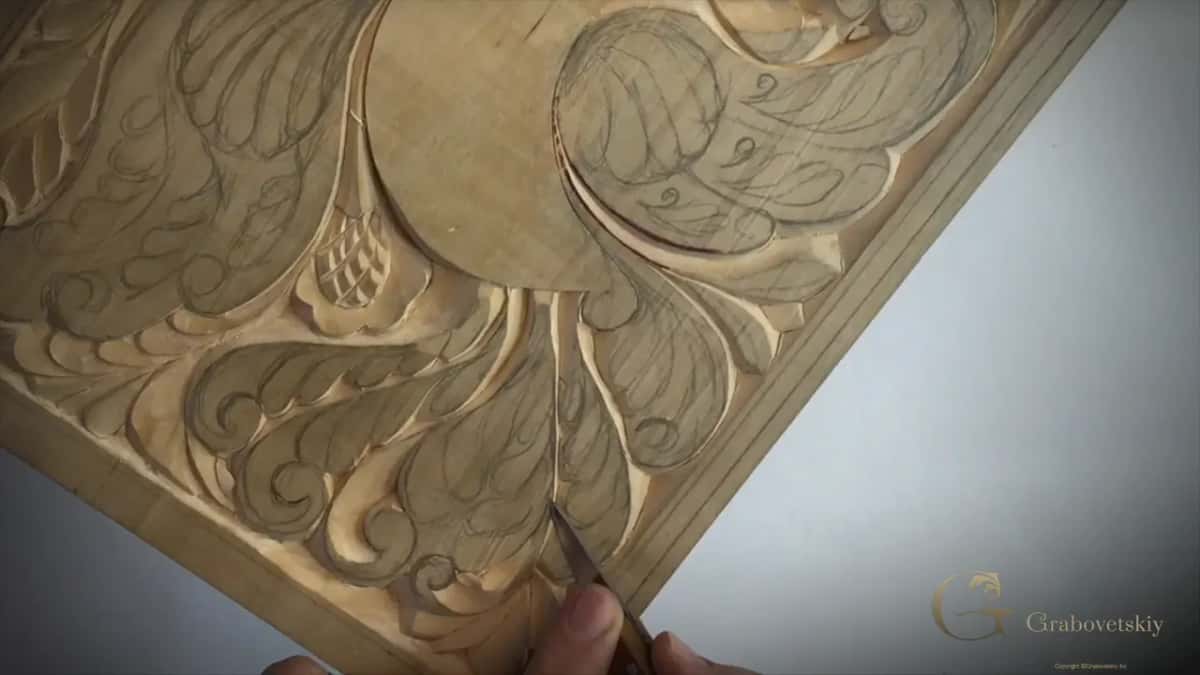
I call the place where those two directions meet the marriage line. Probably some proper technical term exists for it. Learning one has never interested me, because the name already tells you the job. Travel to that point from one side, stop, turn the board, arrive at it from the other, let them meet. Then refine the meeting until nobody can see it. Light passes, never one heavy pass. A heavy pass in a curl is how most carvers find out where the grain was actually running, and by then the damage sits in the wood.
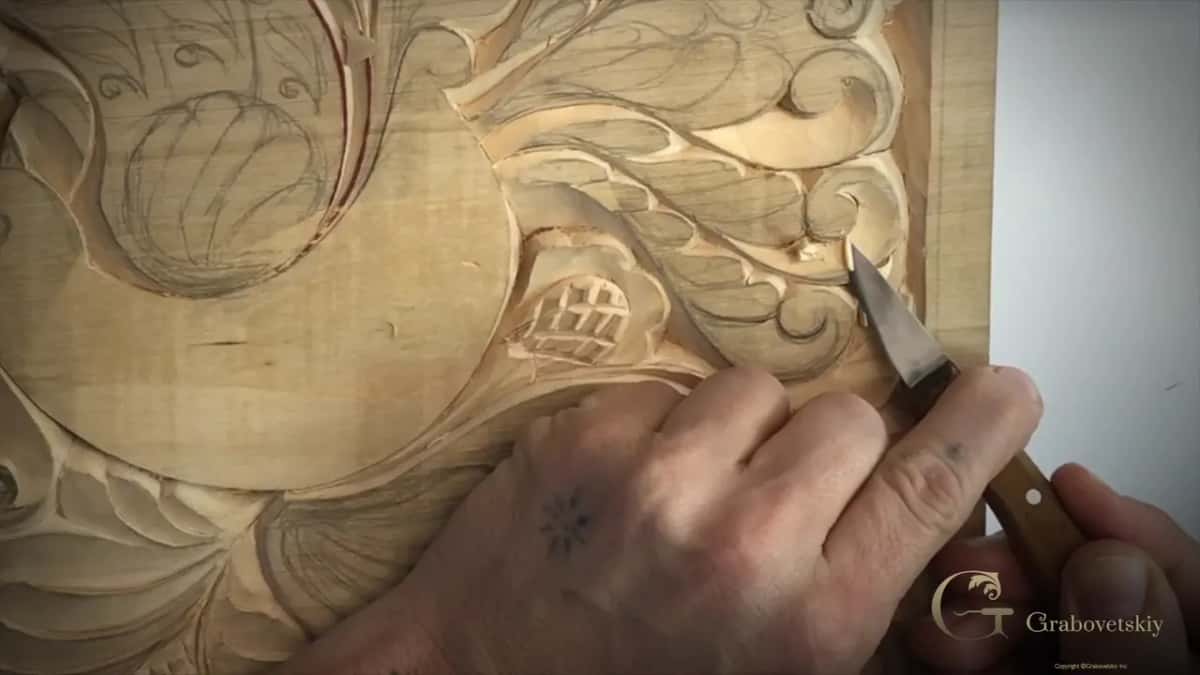
All of this is meant to be invisible afterwards. A finished curl should read as one single pass of the knife. It never is one pass, not on this board and not on a baroque panel covered in them, and yet that is what your eye has to believe. Carve clean, still see a step where the halves met, and your knife is asking for a strop. The sharpening course exists for exactly that conversation.
Which curl should pass under which?
Whichever you decide, as long as you decide once. Halfway along this tail I stopped and considered reversing the overlap, running each curl under its neighbor the other way round, then kept the direction already established. Either reading is correct ornament. Mixing the two inside one panel is not.
Consistency does a quiet job here. Your eye follows an overlap the way it follows an arrow, so when every curl in a row points one way the tail reads as a single movement rather than a pile of separate shapes. Change direction halfway and a viewer feels that something is wrong long before they can name it.
One exception I allow myself. Where two curls arrive in the same place on one level, I drop one slightly and blend it underneath, because two shapes on a single plane look flat however clean the carving is.
One more thing about depth, and it is the thing beginners get backwards. Depth is not what makes carving look three dimensional. Shadow does that, and shadow arrives from the angle of the wall you carved, not from how far down you went. A shallow pass with a clean upright wall throws a harder shadow than a deep pass with a rounded one. Which is why the wings in the next session go down to an eighth of an inch and less, and still read as carved from across a room.
What holds a chip that will not lift out?
A connection point, somewhere underneath where your eye cannot reach. When a waste triangle refuses to pop free, resist the urge to lever it out on your point. Levering is how a good curl gets a torn corner.
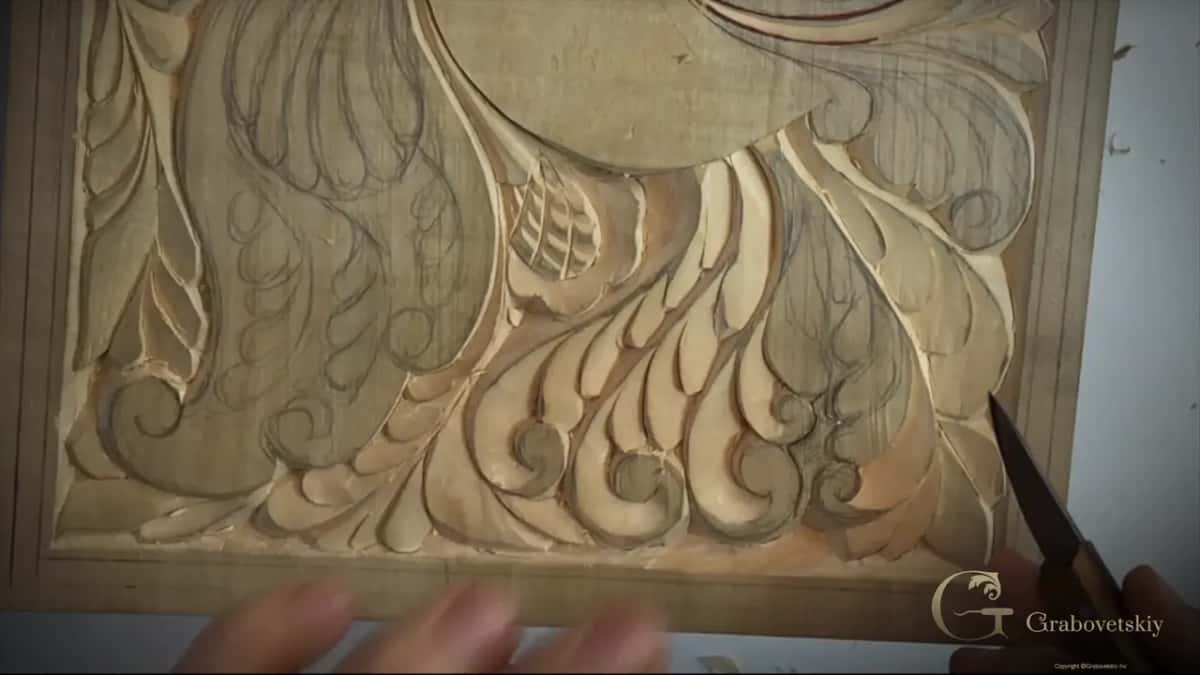
Repeat the line on this side, then again on the far side, and the waste releases by itself. Wait for that. A chip that comes away without force takes its corner with it, and a chip you tear out leaves a scar you will be carving around for the rest of the panel. Every time I have been impatient here I have paid for it. Repairs take longer than patience would have. Workshop 9 deals with a board that already has a crack running through it, which is the same patience in a harder form.
How close to the outside edge can you press?
Close, but almost weightless. The wall of wood between your line and the edge of the board gets thin fast, and thin wood with a blade leaning on it breaks. Along that last half inch I let sharpness do everything and let almost all the weight leave my hand.

A related trap hides in how the design sits. Draw two volutes too far apart and the carving between them has to run deeper to reach anywhere, and deep in the wrong place reads as heavy rather than rich. I moved one small volute on this tail closer to its partner for that reason, with a pencil, before the knife went near it.
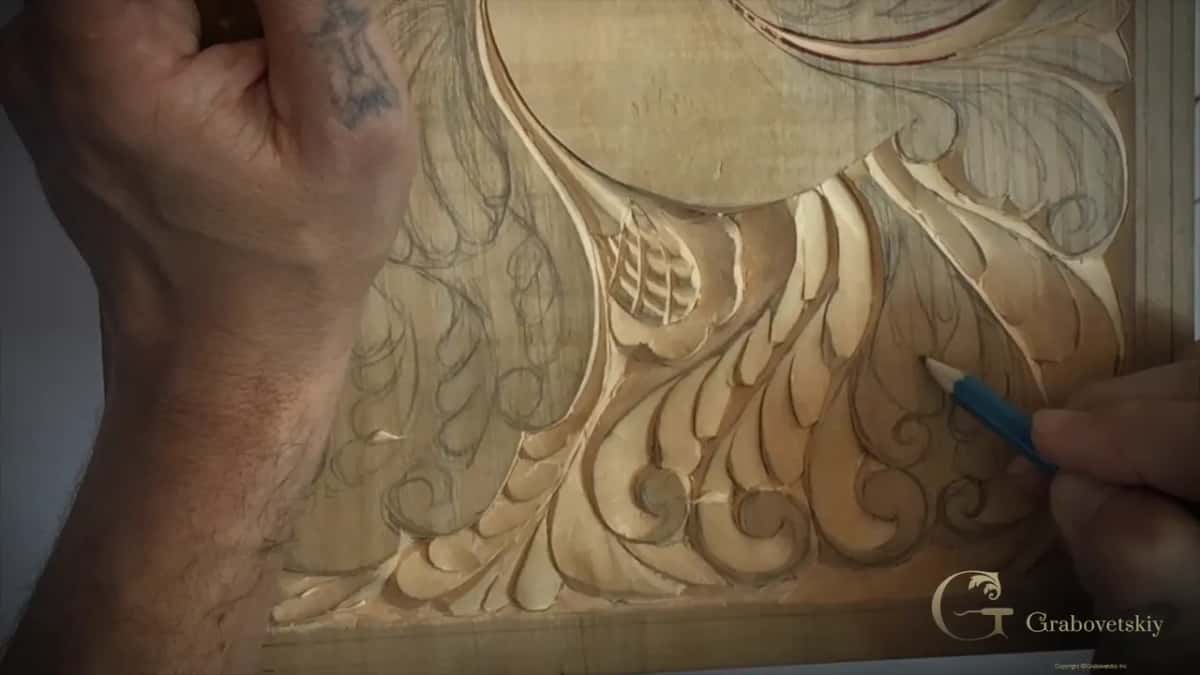
That small volute never appeared in the original drawing. I added it during the session because the section looked plain to me, and a carving you are enjoying is a carving that gets finished. Then I made the curl curlier, if that is even a word. Want the drawing stage on its own? The first workshop of this course is where the whole pattern gets drawn onto the board.
Could a straight chisel do the same work?
Most of it, yes. Nearly everything on this tail could be done with a plain carpenter chisel, using one corner of the edge instead of a point, and carvers worked that way for centuries before anybody sold a carving set. A knife gives you more freedom in a tight curl. That is the whole difference.
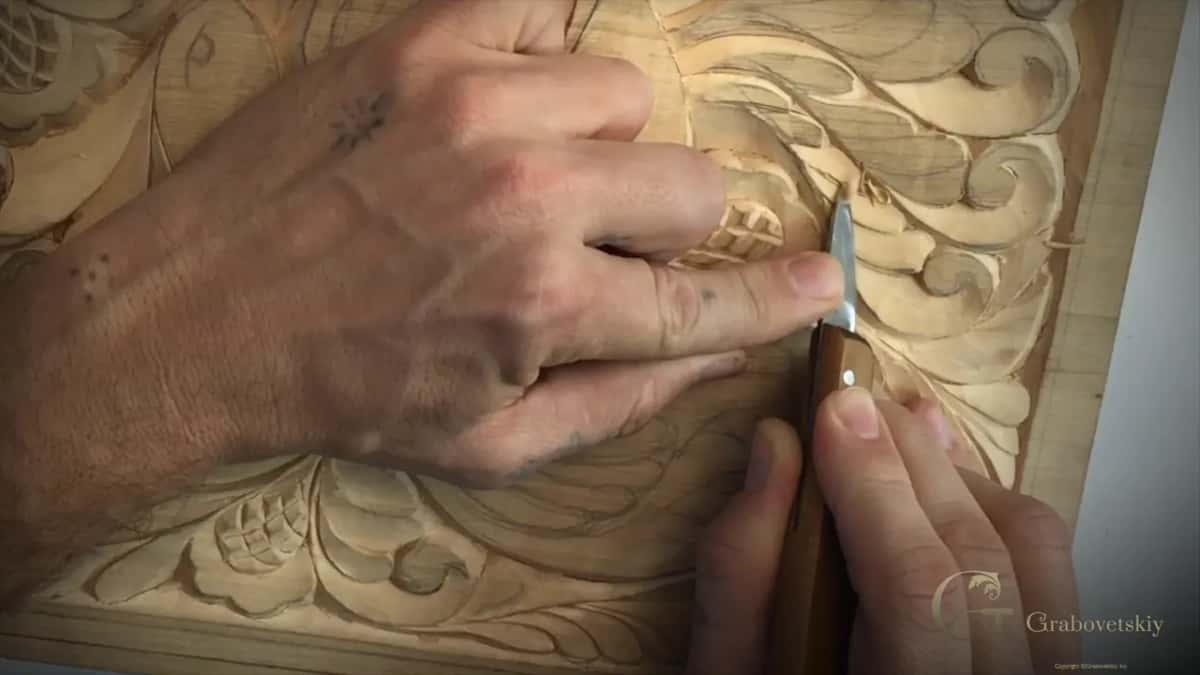
People arrive at the school carrying a roll of gouges and no clear idea what any of them do. Learn the blade first. Everything else on your bench gets easier afterwards, which is the argument behind the tools course and the reason this beginner course spends so long on a single edge.

Watch my grip in that frame. Three fingers and a thumb, exactly as you would hold a pencil to write a letter, the thumb steering instead of pushing. Workshop 7 goes through the grips properly. This one suits shallow chip work in any mild wood, basswood above all.
What to leave completely alone
The outside line. While the wood around it drops away, that line stays exactly where your pencil put it, and the moment a blade drifts onto it you have lost the high point that gives the whole tail its shape. Watch the edge underneath as well. Dig beneath the wall and you get an undercut, which is no disaster at all, simply a different kind of carving.

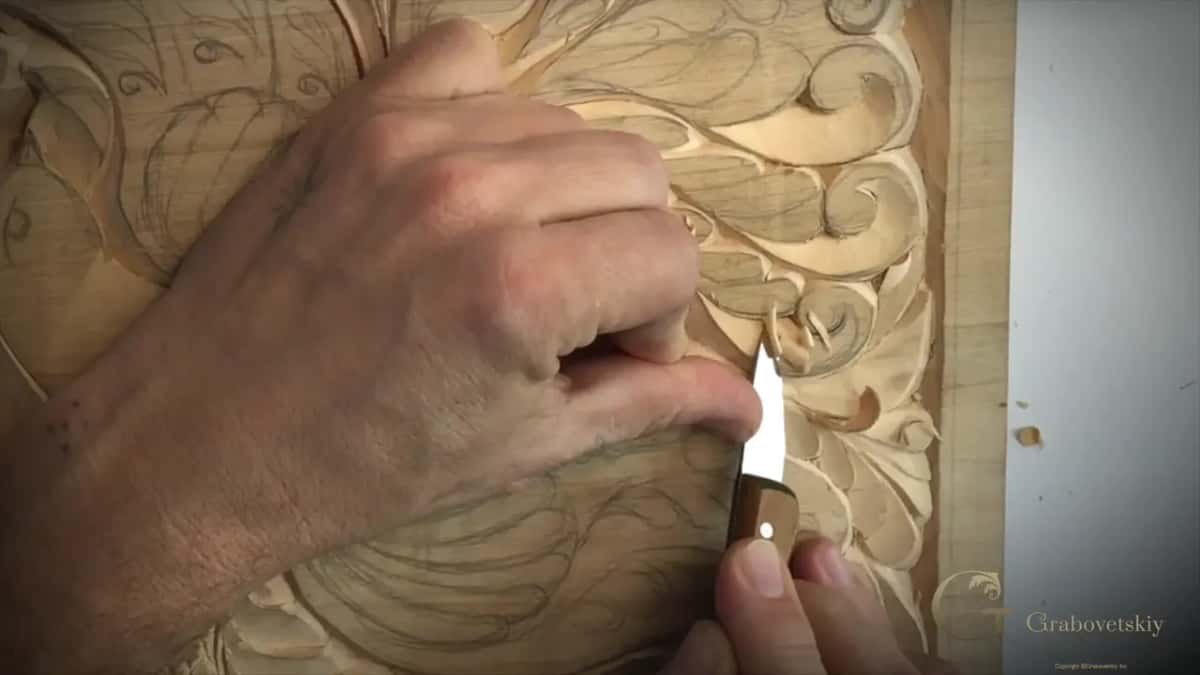
And please do not overdo it. Once a curl is right, walk away. Pushing a detail further does not always work out, and it does not always look better. This tail is finished not because it is perfect but because it stopped asking me for anything.
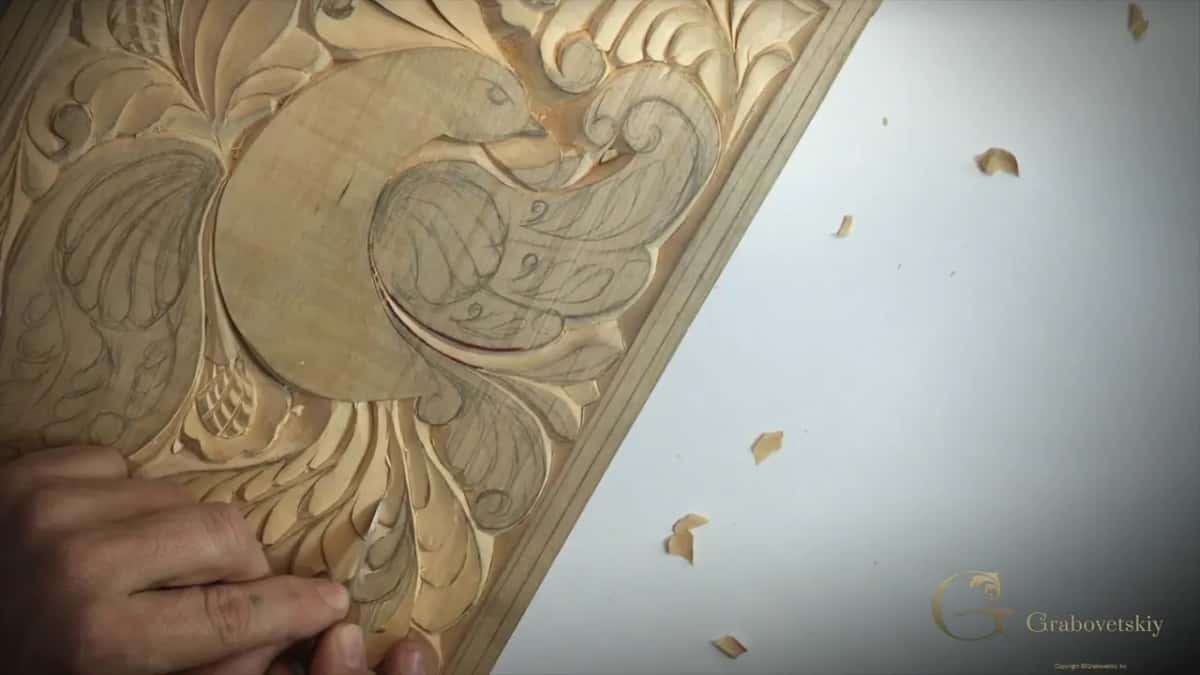
Next session the wings begin, and shallow work brings its own trouble. Workshop 13 drops the depth to an eighth of an inch and asks the shadow to carry everything. Before this one, number 11 worked out the line of the tail, and number 8 explains why none of this will ever meet sandpaper.
You have a board, a knife you can keep sharp, and a curl that will look fuzzy tomorrow whatever either of us does about it. The rest of this bird is waiting, along with three thousand other lessons. Shall we carve?
How it's done
- Take the corner out first. Lift the small triangle at the tightest point of the curl. That single piece decides the depth of everything that follows, so guessing stops here.
- Run the upright passes. Set the blade on the pencil line at ninety degrees, or with a hair of lean if the shape suits it, and travel the whole line before shaping anything.
- Shape from the waste side. Come back on a shallow bevel from the low ground and rise to meet that upright wall. Several light passes, never one heavy one.
- Turn the board at the grain change. Where the fibers reverse inside the curl, stop, rotate the panel, and travel toward the same meeting point coming the opposite way.
- Free the waste without levering. When a chip holds on, repeat both passes rather than prying at it. Waste drops the moment its last hidden connection goes.
- Look again in daylight. Let the board rest a night, then take a single pass over any ridge that has risen. Stop there and leave the curl alone.
Frequently asked questions
Why is my wood carving fuzzy the next day?
Crushed fibers draw moisture back from the room air and stand up again. A blade flattens as well as slices, especially around a curve, so what lay down at the bench lifts overnight. Take one pass to remove them and they mostly stay gone.
How deep should I carve a decorative cutting board?
Six millimeters suits a wide curl, which is close to a quarter inch. A five millimeter pass does the same job where two lines run near each other. Depth exists to make shadow. Past that point it only weakens the wood around it.
What is a marriage line in wood carving?
My own name for the place inside a curl where two grain directions meet. You travel to it from the left, rotate the panel, arrive again from the right, then blend the meeting until your eye reads a single continuous pass.
What to carve next