
Alexander Grabovetskiy, woodcarver, School of Woodcarving · Published 2026
How much space do you leave between leaves in a relief carving?
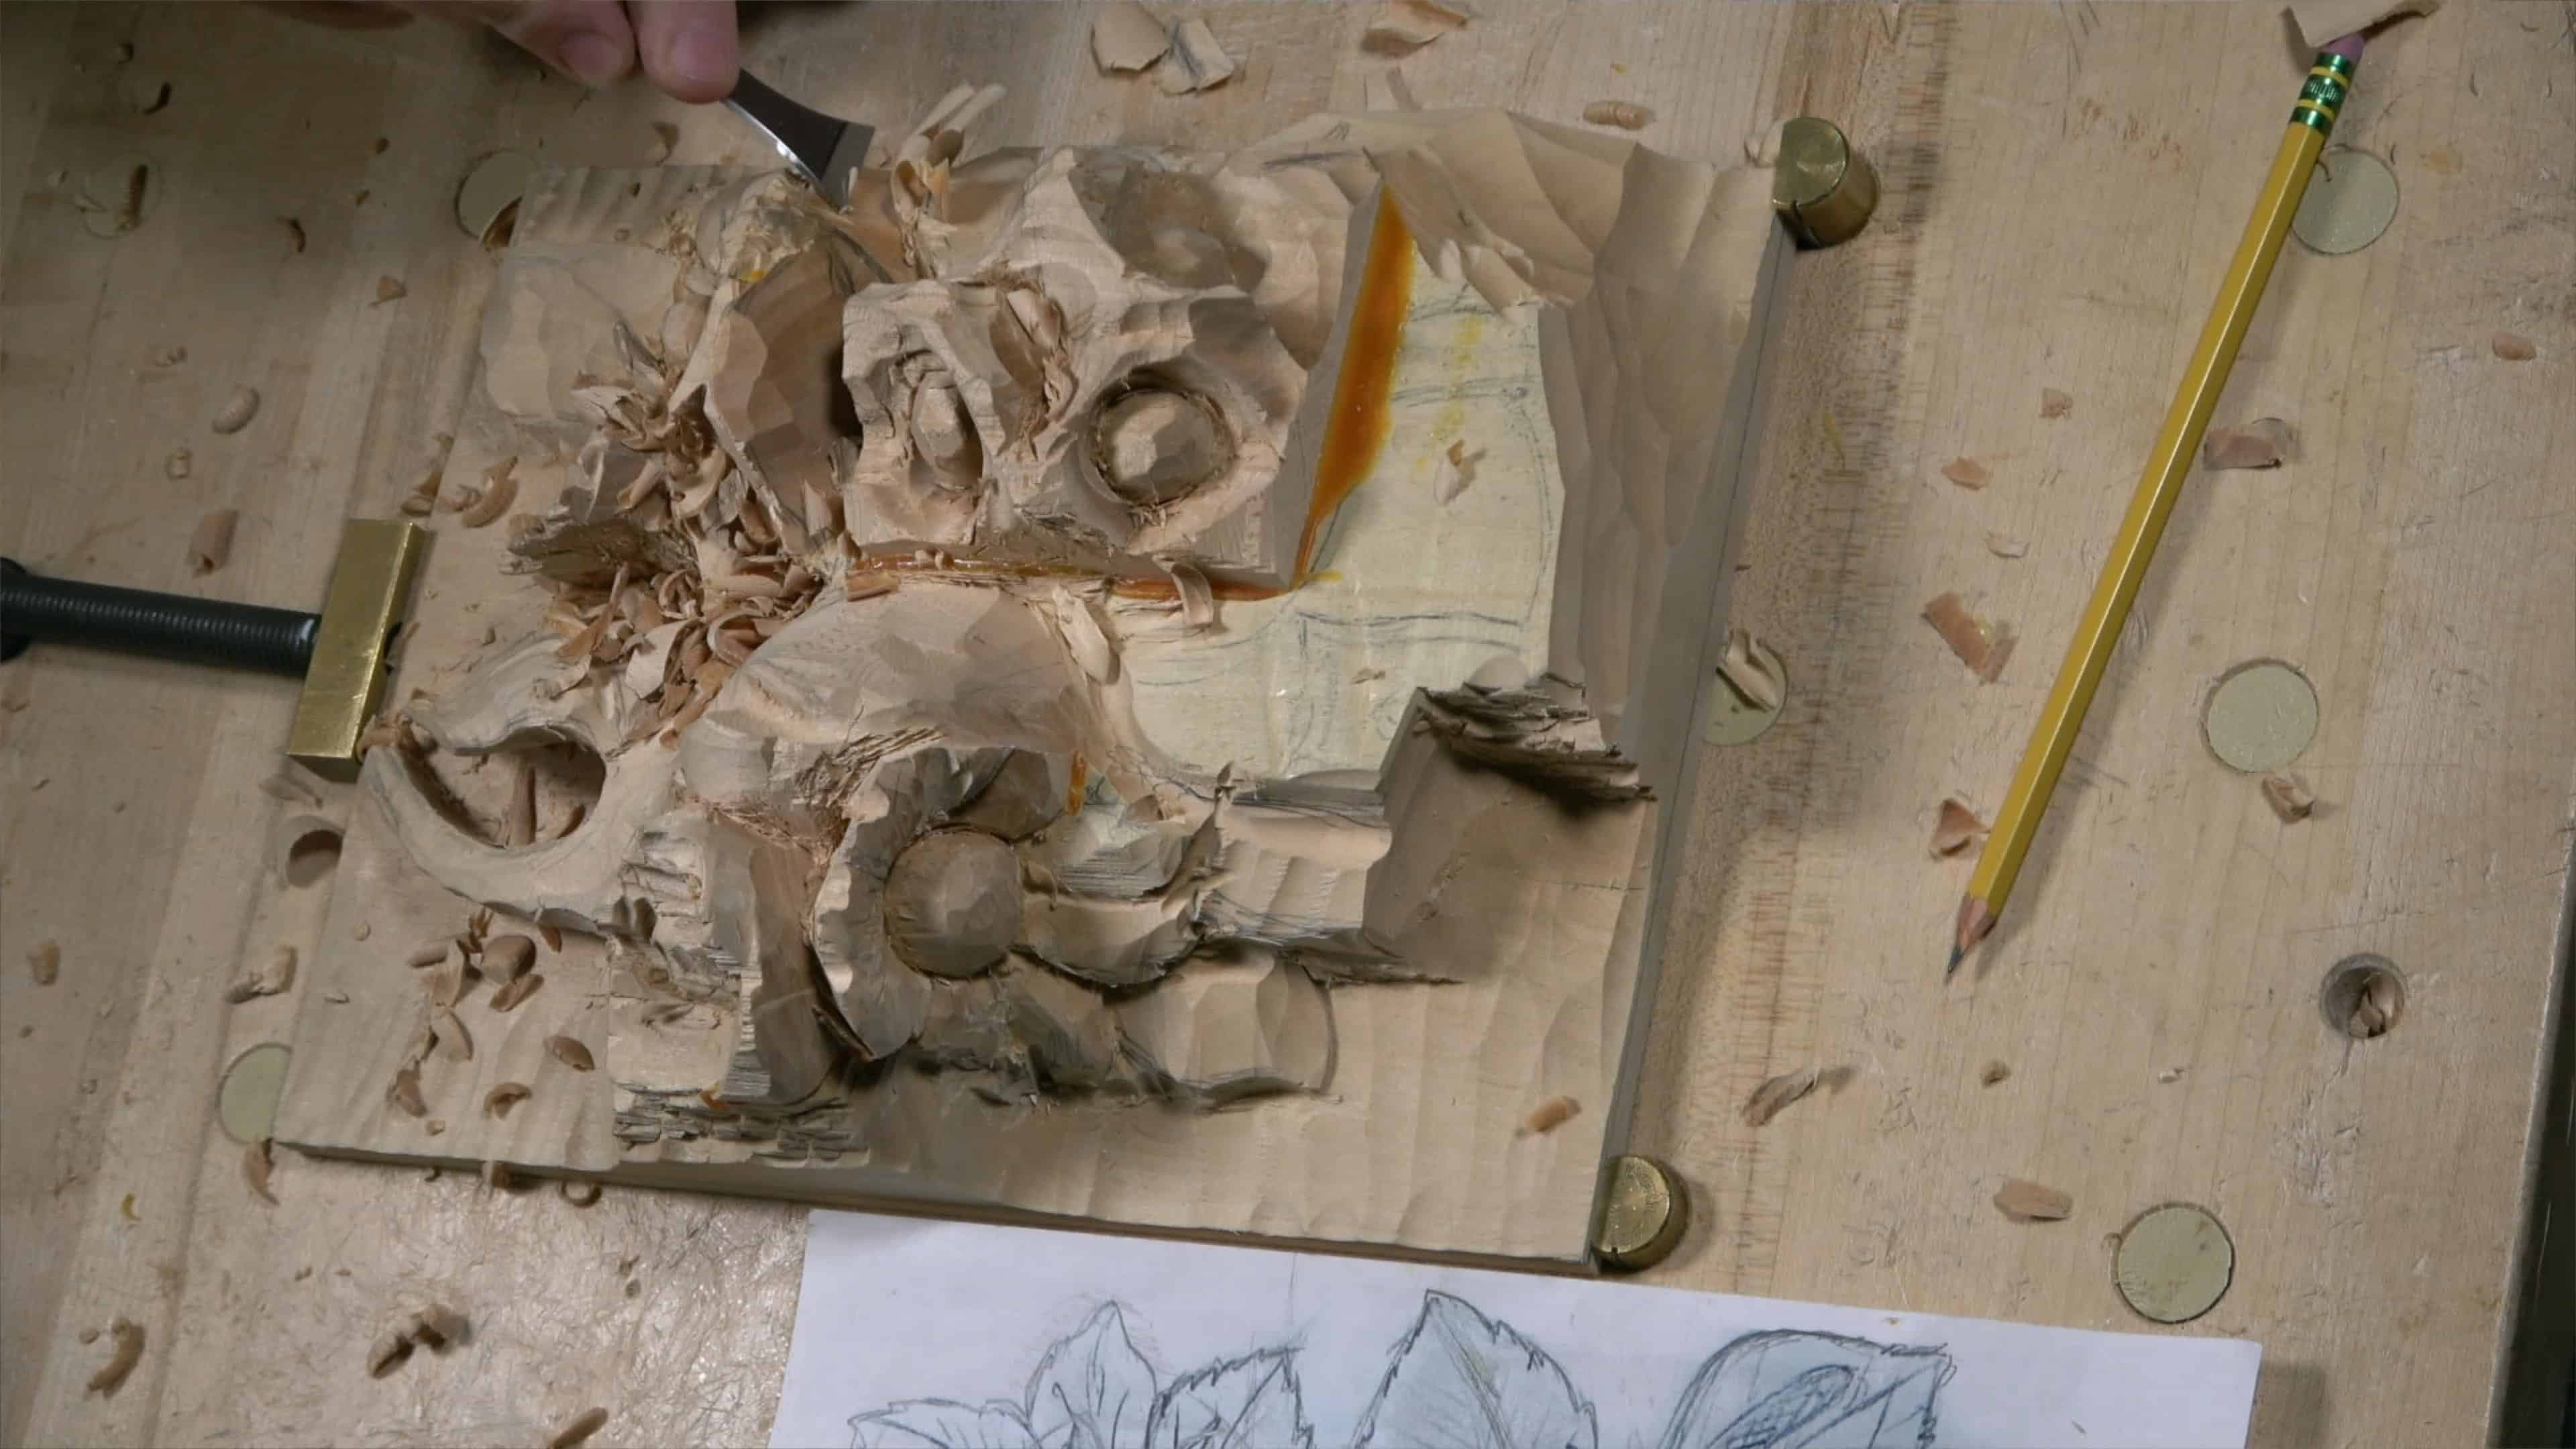
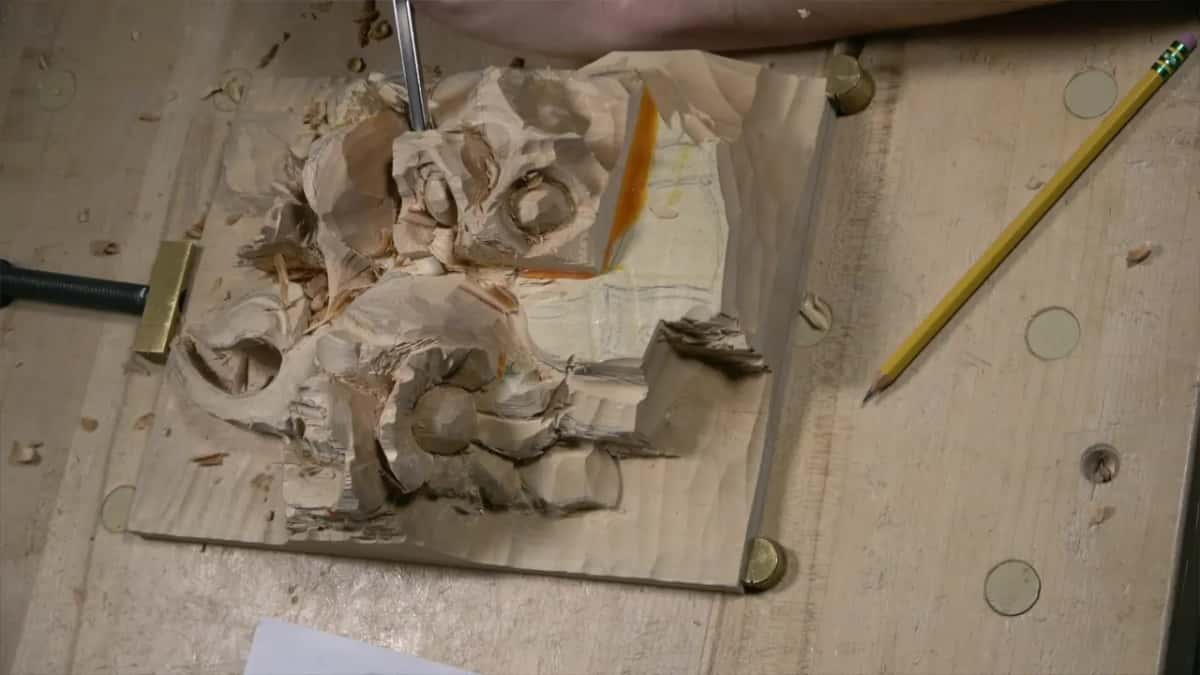
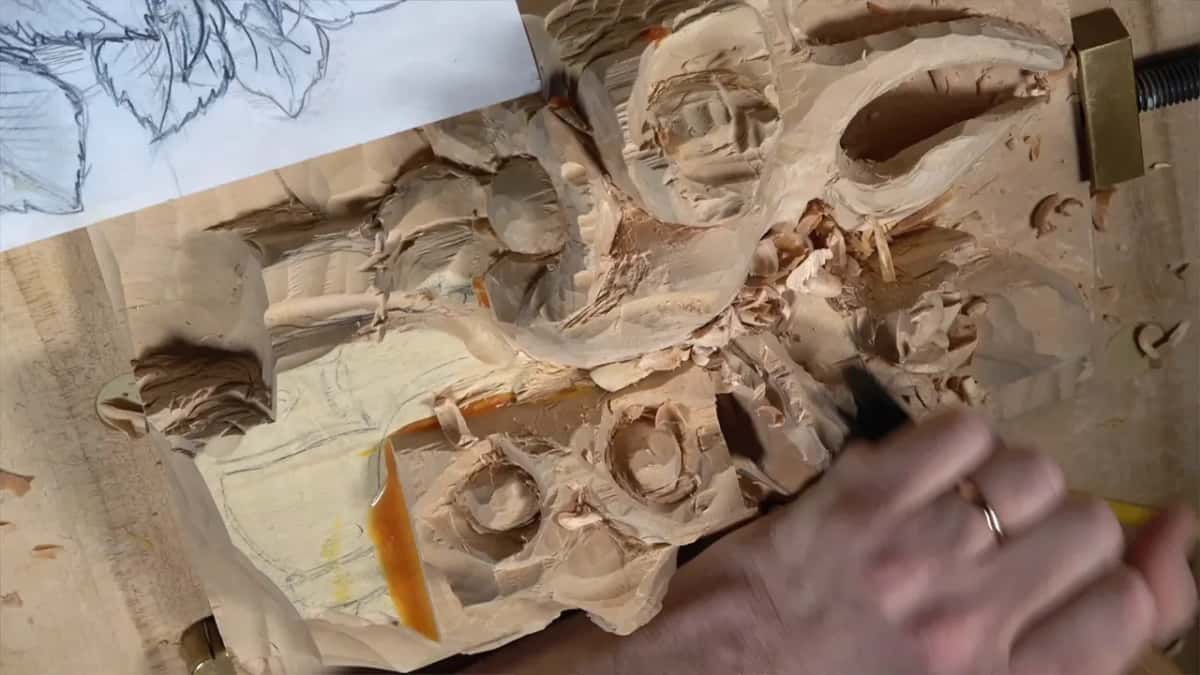
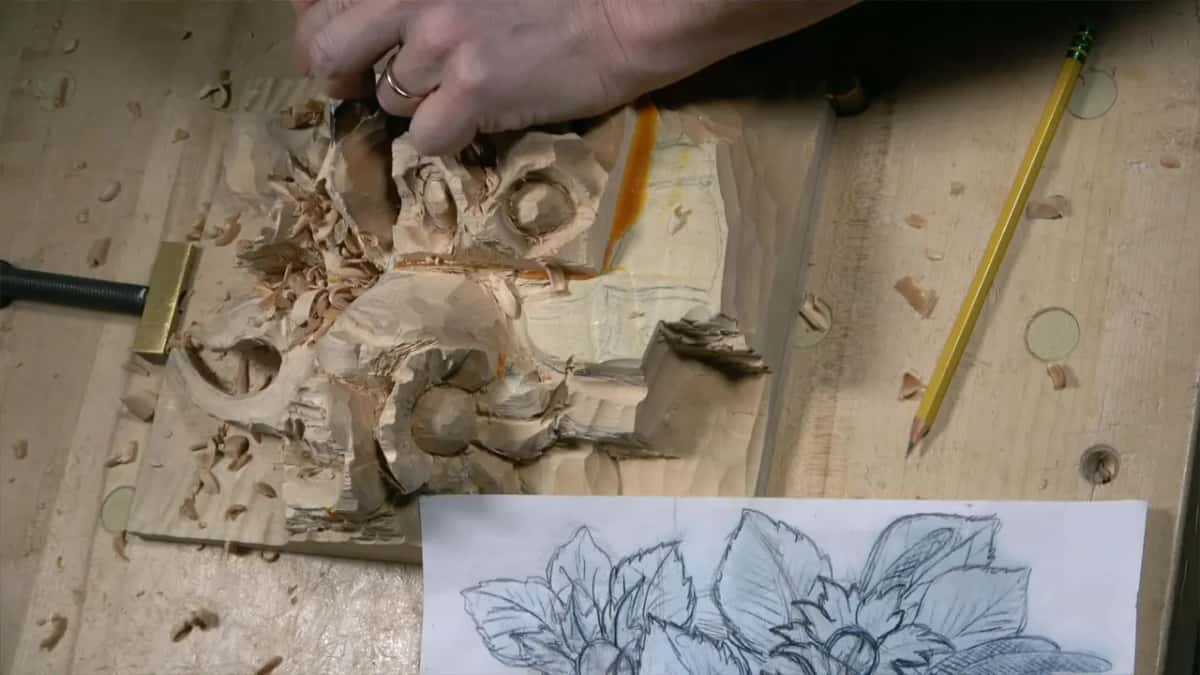
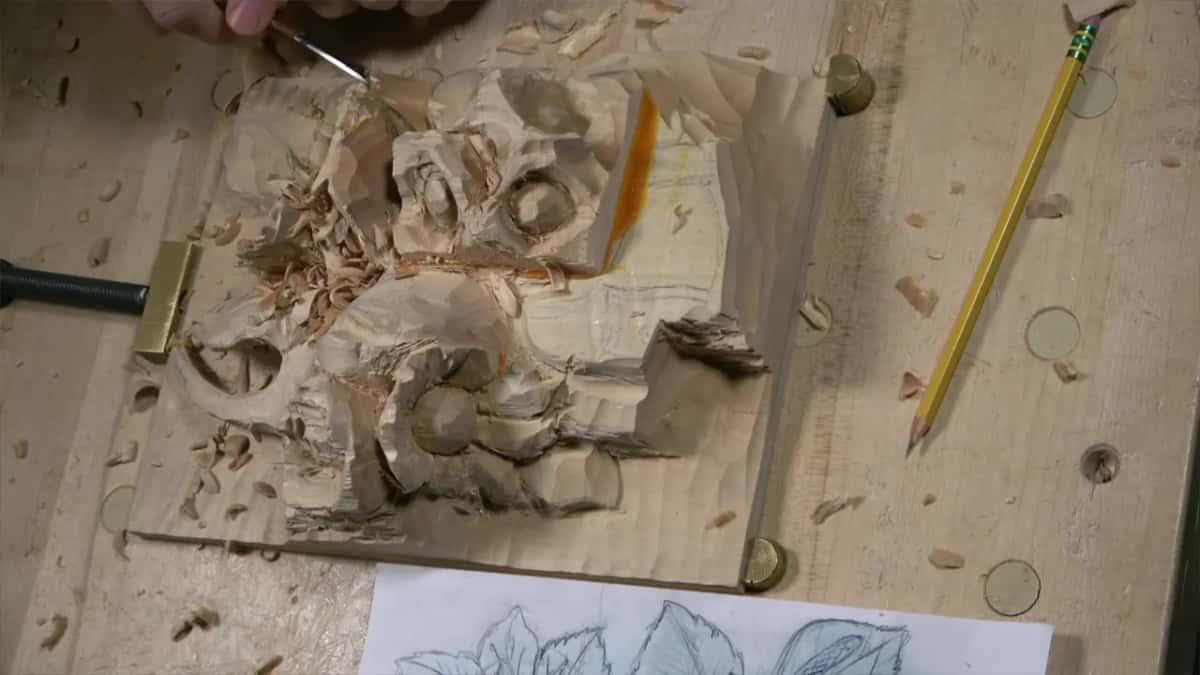
Quick answer: The space between leaves in a relief carving is, on my hazelnut panel, a gap of about 3/8 of an inch, about 10 mm. I set that gap by eye with no ruler, as I did every leaf in this part, and dug it open with a 10 mm number 11 veiner so I could see the leaves much better.
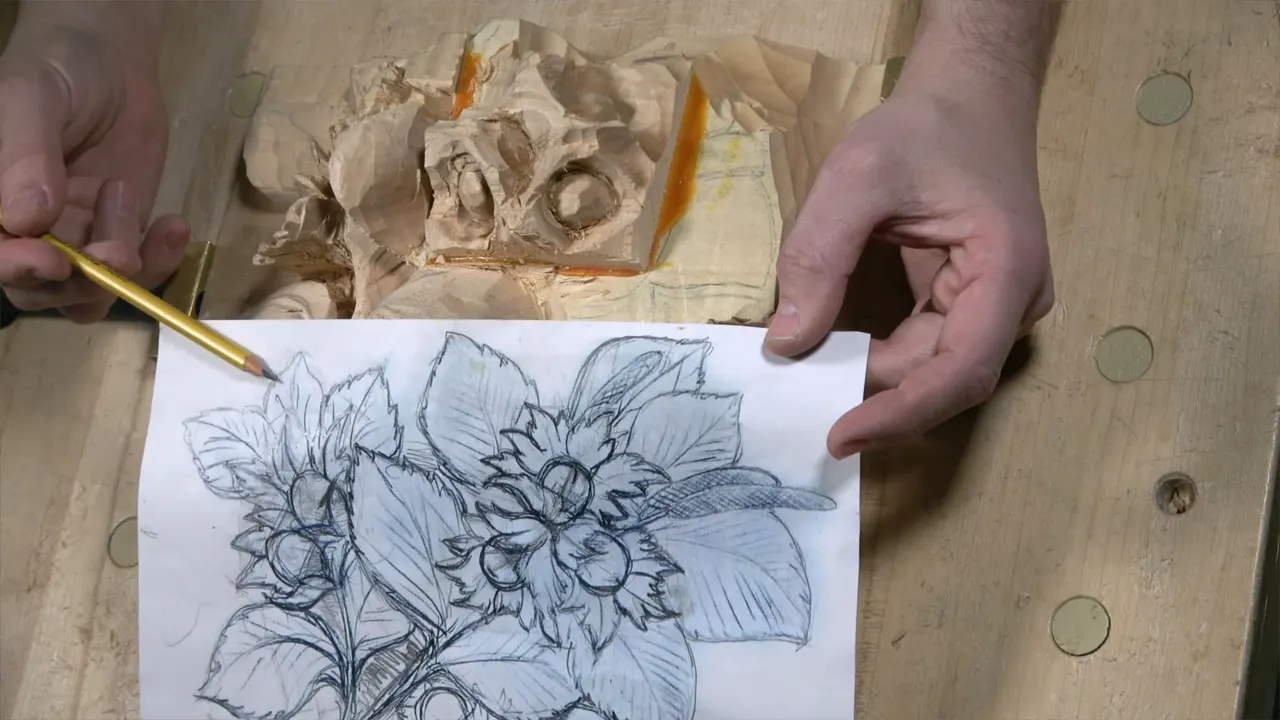
The space between relief carving leaves on my hazelnut panel is about 3/8 of an inch, about 10 mm. I said it when I set one leaf, and near the end of the video I said 10 mm again for another pair of leaves. I did not put a ruler on it. I eyeballed it, the way I placed the other leaves in this part, and then I opened the gap with a number 11 veiner so I could see where each leaf goes.
Have you drawn two leaves side by side and stopped, pencil in the air, not sure how much wood to keep between them? Did a ruler seem like the safe answer? Take two spots on the wood, guess the distance, then open the gap with a veiner and look.
You get the rough numbers I said in this part of lesson 8 of the Carving Hazelnuts course, the veiner I put in each gap, and what I did when one line came out wrong. A few things I said on other projects belong here too, and I tell you where each one comes from.
My numbers for the leaves, short
- My gap between two leaves came out near 3/8 inch, or ten millimeters.
- One leaf got roughly an inch and three quarters of width.
- Another sat 3/4 inch in from the panel edge, which works out to some 19 millimeters, and I placed it by eye like the rest.
- I eyeballed these and said the numbers don't have to be exact.
- A 10 mm number 11 opened the 10 mm gap, and smaller veiners took the tighter spots.
- Where I dug too far, I plan to chop a little off the leaf beside it, later.
How wide is the gap between relief carving leaves on my hazelnuts?
Roughly 10 mm, which is 3/8 inch. I placed one leaf and its width, and then I said I have a space there and gave it in both units. The next leaf starts on the far side of that space. Close to the end of the video I came back to the same 10 mm for two more leaves, and I called that the spacing. This is relief work on a cluster of hazelnuts, and the leaves sit around the nuts.
I gave no reason for that number in this video. What I did say, about the width of the leaf, is that it doesn't have to be exact. Same with its distance to the edge. Every distance I gave in this part came with an about or an approximately, and in this part I changed a line, and later the center line of a leaf.
Do you have to measure the space between leaves?
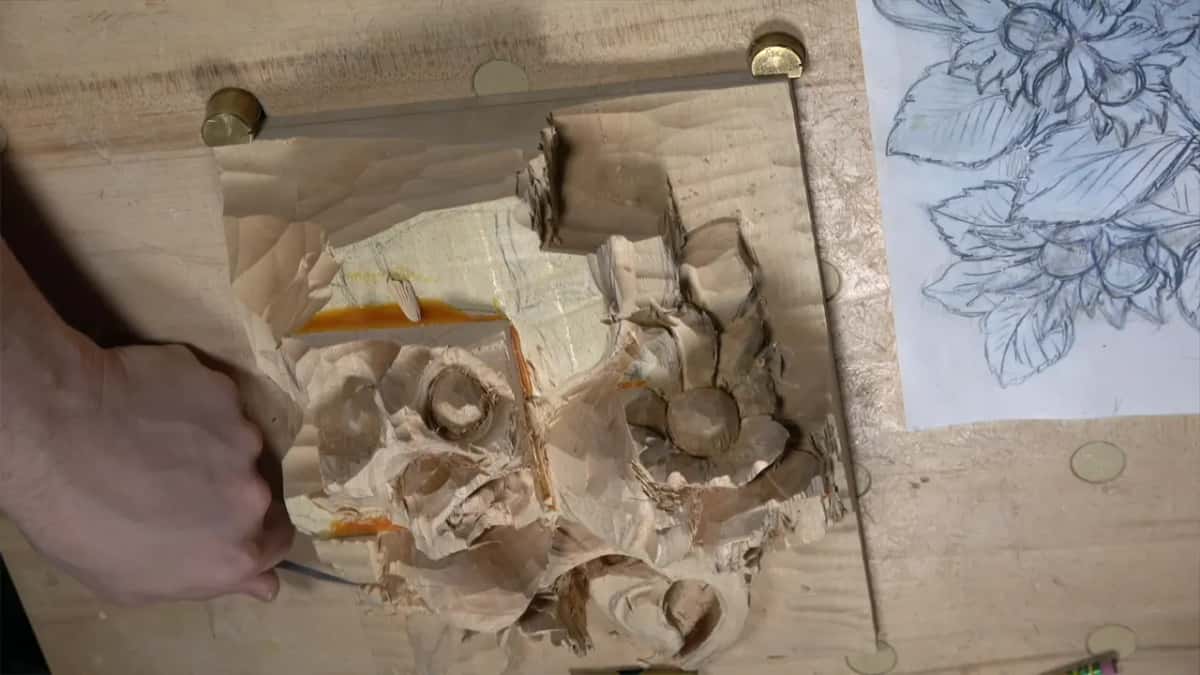
I eyeball it. When I placed the very first leaf, I said I would approximately measure, and then I put it right. Not to measure, just to locate the leaf. One point to the other was about one inch, about 25 millimeters or so. So I said it plainly. I'm not going to measure it, I just eyeball it.
Eyeballing still asks for care. On the Chamomile and Bow Rosette I left a border of about 3 millimeters, an eighth of an inch, and I eyeballed that too. Right after, I told you to make it as accurate as possible. For me, eyeballing is probably one of the best methods, and I said those words on that rosette.
And a ruler is fine too. In the furniture panel design I eyeballed a line 3/16 of an inch, five millimeters, from the line before it, and said you could measure that and it would be absolutely fine. My ruler went down to check. Exactly five millimeters.
Depth got the same treatment on the antique style rosette. My router plane would not fit there, so I eyeballed the background and told you that you don't have to. A nail or a screw set at the right height lets you check the background any time. I didn't use one, because with just the eyeballing I'm really close to it, as I said on that rosette.
Where does each leaf go when you place it by eye?
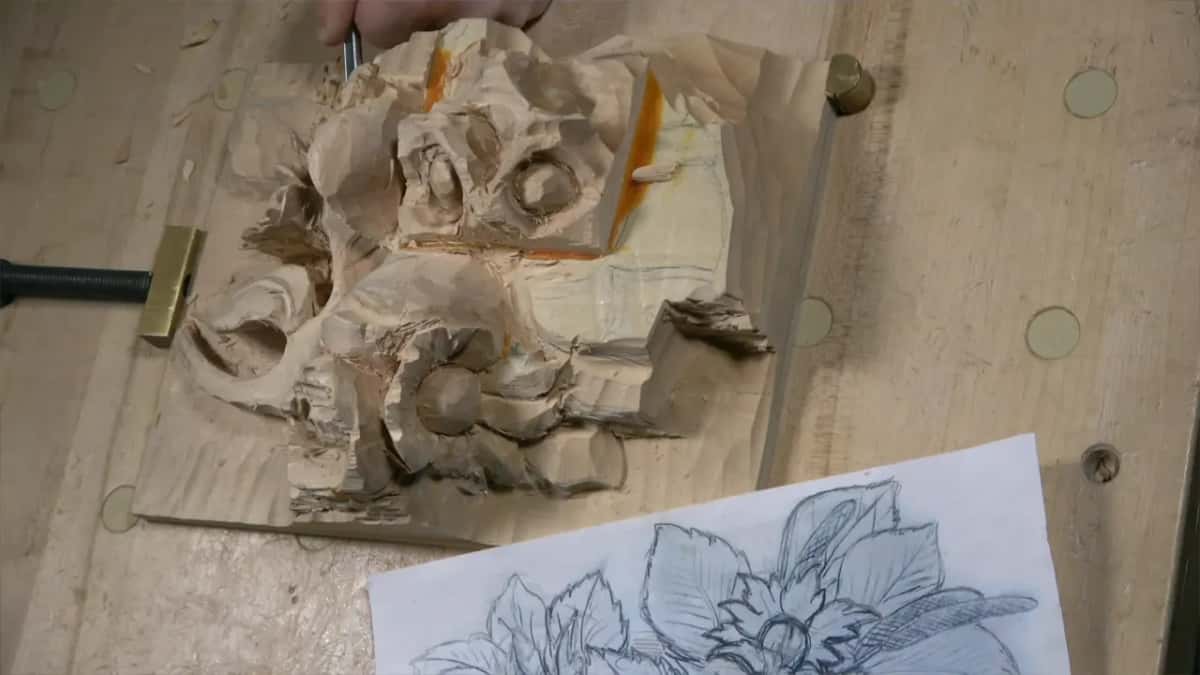
Take one spot, take another, and guess the distance between them. That is the easy way I gave in this video, and the spot I was after fell about an inch and a quarter, about 32 mm, from the first one. I needed that leaf to finish right there, so the motion goes like an inside curve to reach it.
Other leaves got the same kind of number. One leaf ran about 3/4 of an inch, about 19 mm, in from that edge. My tiny guy, the smallest one, came to 1 1/2 inch overall, maybe 1 1/4, so roughly 38 or 32 mm. Near the end I gave one more leaf its own distance off the edge. The very first leaf, back at the start, was about one inch point to point, and I put its line pretty low, almost down to the background.
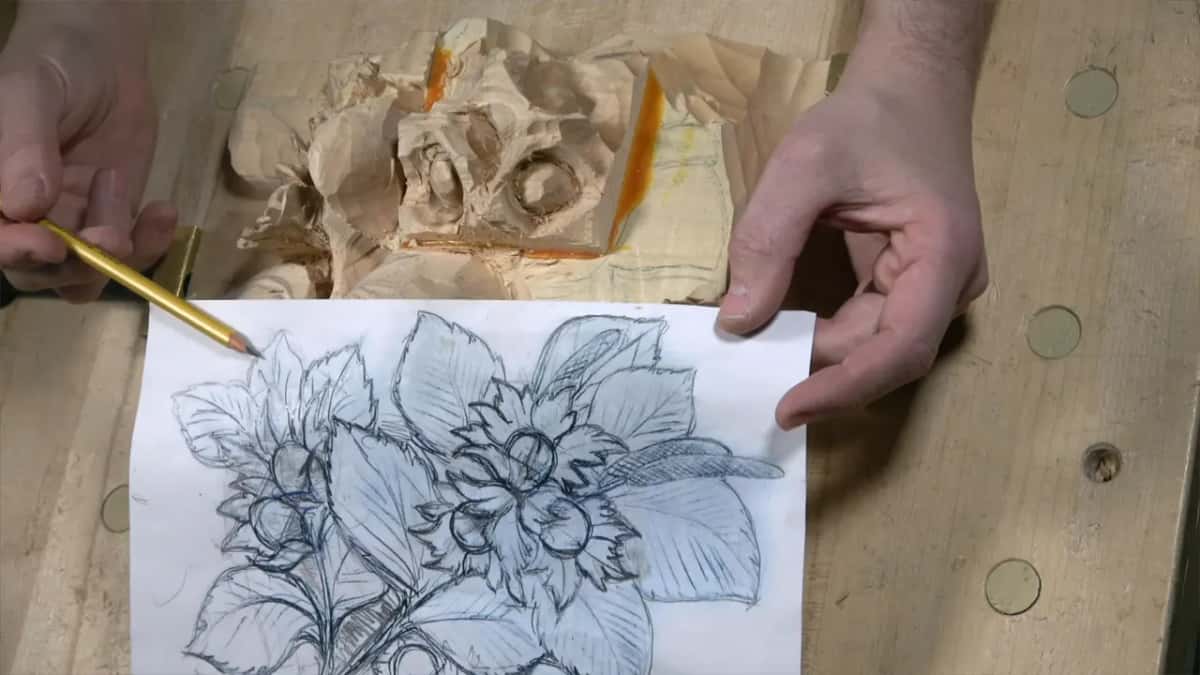
One more thing guided those lines, and I'll keep it to one sentence, since lesson 7 covers it. Each leaf line comes out of the center of the bunch, the way it grows. Two nuts in the middle, a leaf going right on top of them, and the other leaves around them.
Which veiner do you use to open the gap?
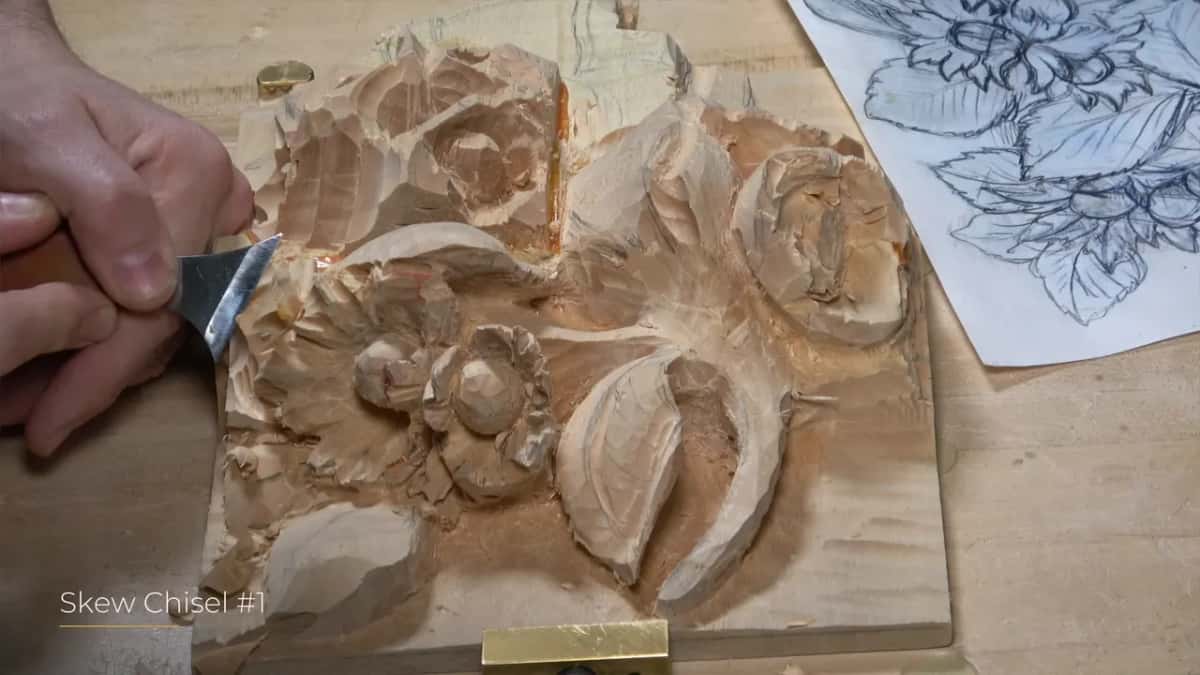
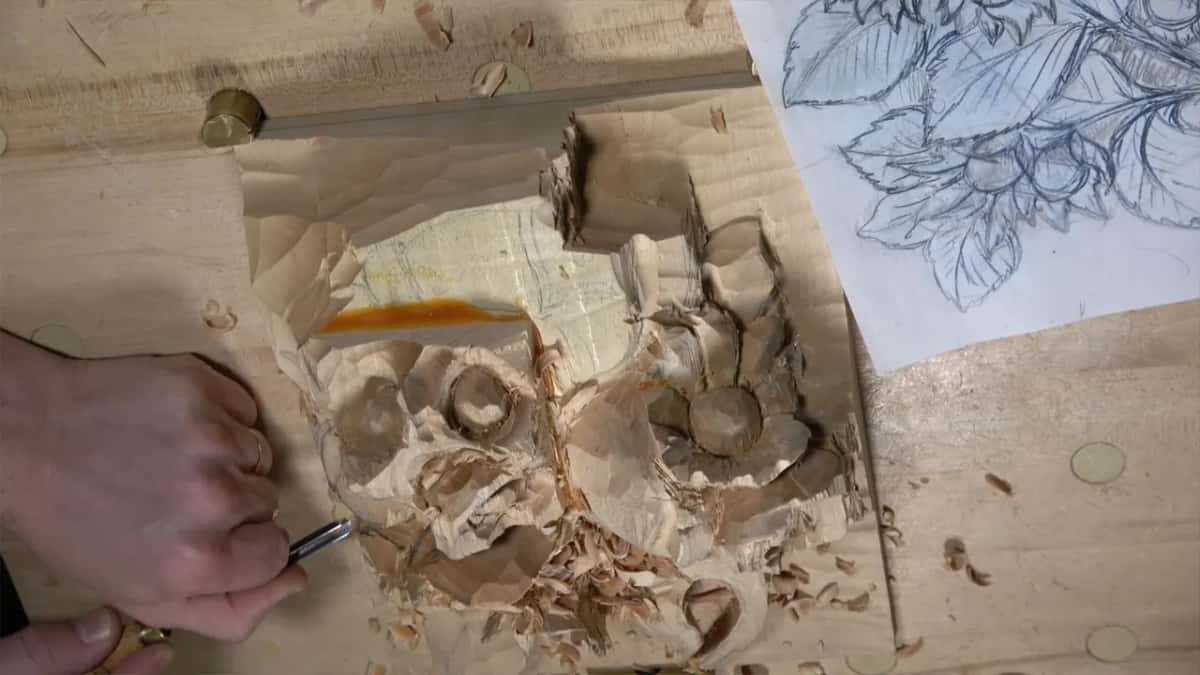
For that gap, a veiner of the same width. I took my number 11 in 10 mm, a Swiss made Pfeil, and I said I could probably use the same tool since the gap was that width anyway. I held the flute toward myself and aimed from above, down into the gap. After that I went in from the outside toward the inside.
Keep an eye on the background line while you do it. Those were my words right there, because you don't want to damage it by going too deep.
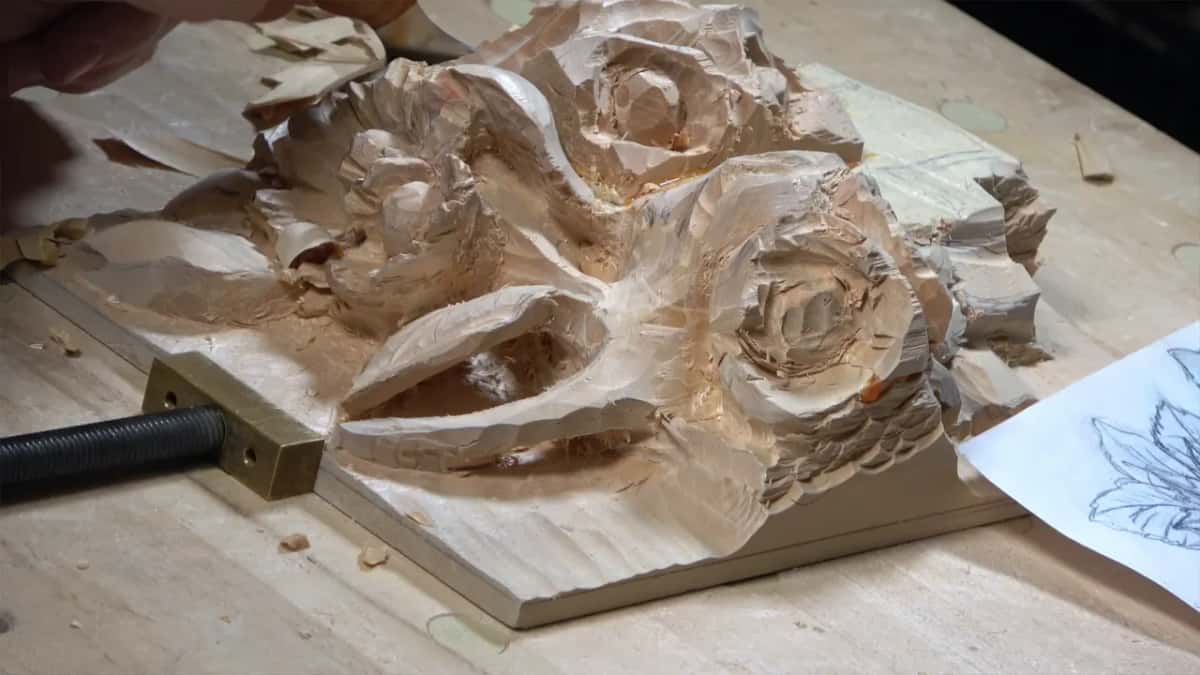
The gap beside two other leaves was a little smaller. I switched to a smaller veiner, 3/16 inch, about 5 mm, a number 11 again. All I wanted was to see the leaves. I didn't want to go too deep yet, because it was not the final look.
Then came a 3 mm veiner, about 1/8 inch, number 11 again, to make the space between two leaves a little deeper, and maybe, I said, all the way down to my background. The initial background, I said, not the final one. That first background sits a little above the final background, and the final level comes later.
Before the 3 mm, I had picked up a bigger one, a 12 mm Pfeil, number 11 too, a little smaller than half an inch, and then went back to the 5 mm to undercut. Every veiner I named in this part was a number 11. Only the width changed.
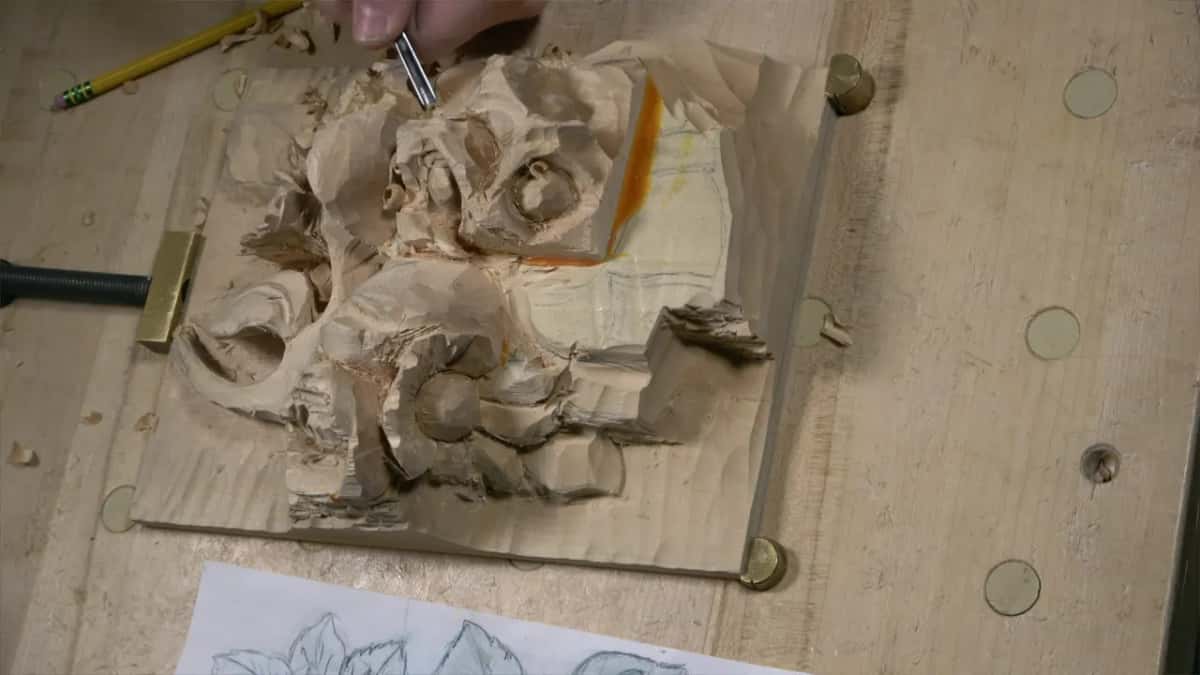
Here is how the figures line up, each one as I said it, with the tool or the note that went with it.
| Spot | Figure | Tool |
|---|---|---|
| Gap between leaves | Three eighths of an inch, or 10 mm | My 10 mm Pfeil |
| A tighter gap | Smaller than the first gap, no figure given | A 5 mm veiner |
| Width of leaf | Close to 1 3/4 inch, about 44 mm | Not exact, I said |
| In from edge | Three quarters of an inch, about 19 mm | Eyeballed from the edge |
| Leaf end point | An inch and a quarter, about 32 mm | Two spots, one guess |
| My tiny guy | About 1 1/2 inch, maybe 1 1/4 inch | The 3 mm veiner |
What do you do when a leaf line comes out wrong?
You change it. Partway through, I looked at one leaf that has to be like a continuation of its stem, and I said my previous line was not good. I gave it a new end point, and the motion curves inward to get there. The two spots and that guess are how I found that end.
Then came a spot I didn't like. Some kind of crazy motion was there, I said, and we would try to fix it later. Maybe. I don't know. Right after, I saw I had excavated a little too much in one place, and I said it was okay. The fix I named was to chop slightly some of that leaf, later, before I find the true shape, the true form. Taking too much now was what I wanted to avoid.
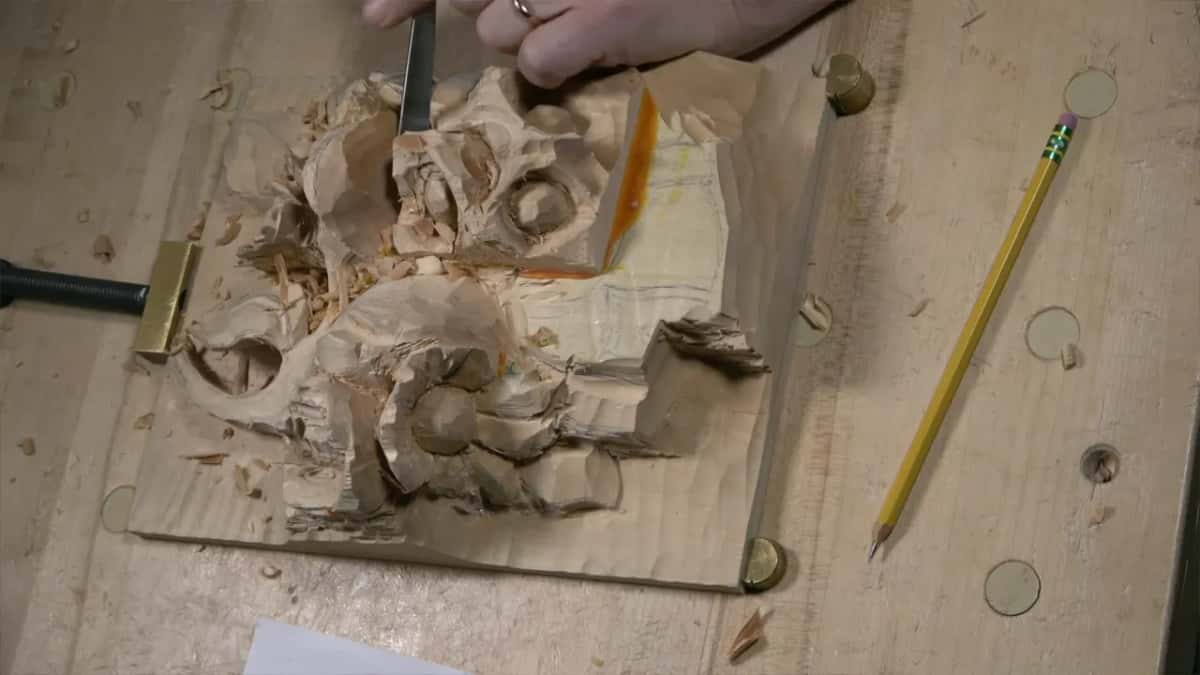
My knife came next, a skew knife, to clean off the pencil marks, and I said I'd rather not see them. I still didn't like the overall shape of that leaf, so I went back with the 5 mm veiner and opened the space between it and its neighbor a little more. Later I changed the center line of one leaf slightly, to make sure the overall curvature makes sense. Back in lesson 3 two of the nuts sat too close together, and I did not leave enough space for the husk.
In my furniture panel design, lesson 11, a repeat ran a little wider than my line. I checked it and found maybe 3/32 of an inch of difference, about 2.4 mm. That space was going to be a little thicker there, and I said I didn't think it would be a problem. The repeat ended up a little wider than the original one, and I was okay with that.
Why open the space between them this early?
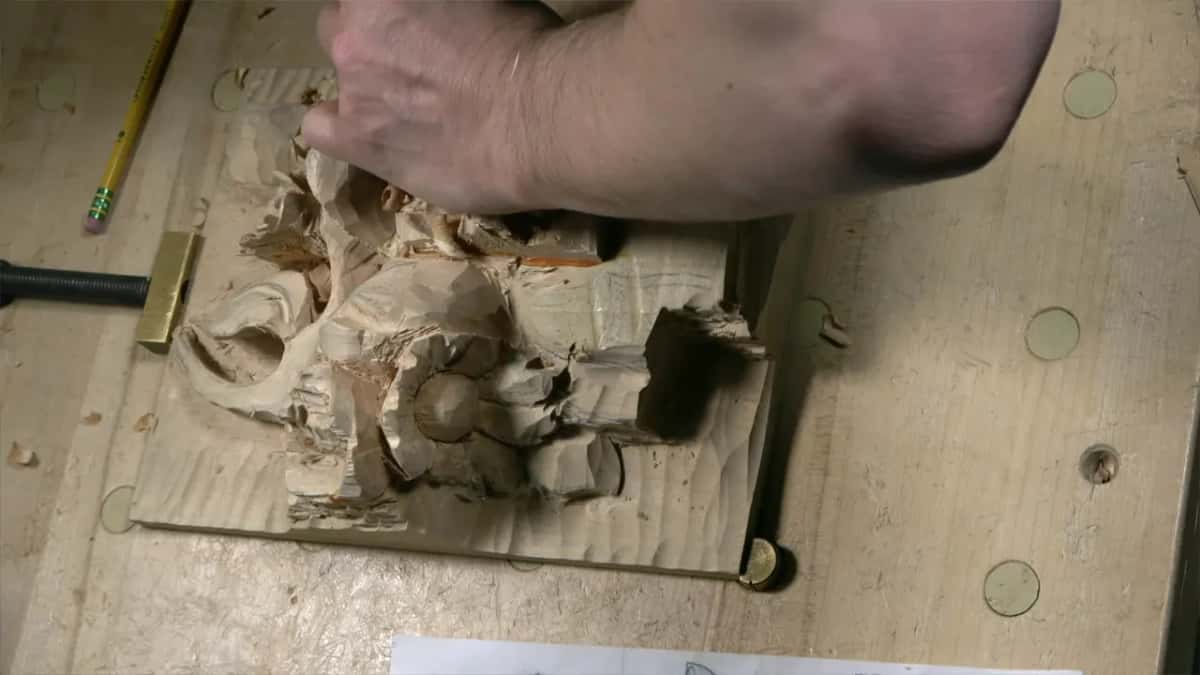
To see them. Once that space was set, I said let me excavate the space between, that way I'm going to see much better. A little later I said I just have to make sure I can see clearly where the leaves are supposed to go.
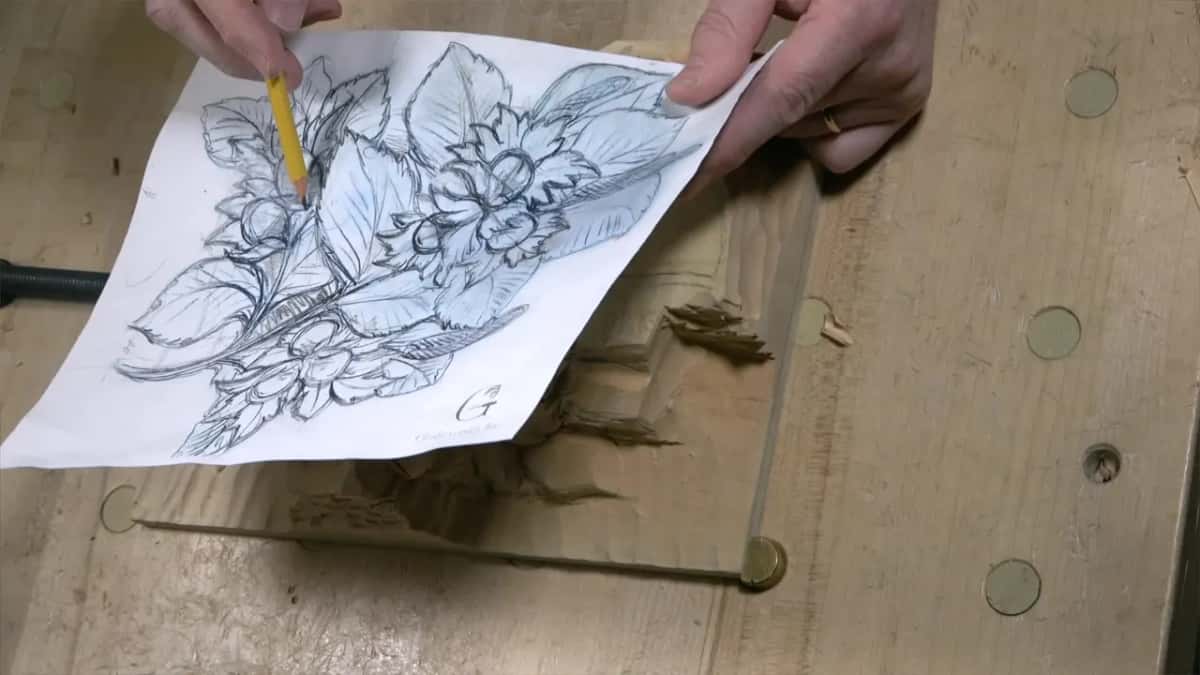
Shadow is the other half of it. Under the husk I said I could probably make the undercut a little more extreme, because I need that shadow. Wood carving itself is all about shadow, and light of course, and there's no shadow without the light, so you paint with the shadows and with the light. Painters call that chiaroscuro. Later, under the bunch, I got about a half inch in, about 13 mm, said that was enough, and showed how it casts the shadow. That is what I'm after, I said, and later on the smaller tools would get much deeper.
In my Grinling Gibbons class in Maine I pointed at two petals and asked if you could detect the space between them, especially closer to the center part. There were openings there all the way through to the first layer. That space made a dark spot, which is really important for me, plus a separation you can see and a feeling of lightness, even though the carving is still solid. Grinling Gibbons carved that kind of lightness in limewood centuries ago, and that class carried his name. Artists call the gap itself negative space.
In one of my April 2020 livestreams I had to match two sides, and the room between a pair of leaves was much smaller. The only way, I said, was to undercut beneath this side and beneath that side, and lower that section of the division. In the same livestream I held a soft 8B pencil and said I usually don't carve with those, because they leave a lot of dirt markings. A marker leaves less, though sometimes I just grab one.
How close do you carve to the line of a leaf?
A little way off at first. Back on the Roman acanthus leaf, lesson 2, I told you not to get too close and to leave some space between the final lines and where you carve, about one eighth of an inch, two or three millimeters. I worked around from the outside in and stayed above the rough background line.
Next I turned the gouge the other way to work the outlines, still a couple of millimeters away, three or four, about an eighth or three sixteenths of an inch short of the final form. I used a number 5, one inch, because it was working better there to repeat the shape of that acanthus leaf, and I said any gouge that fits and gets really close is fine. It's not necessarily the tools I'm using that you have to use.
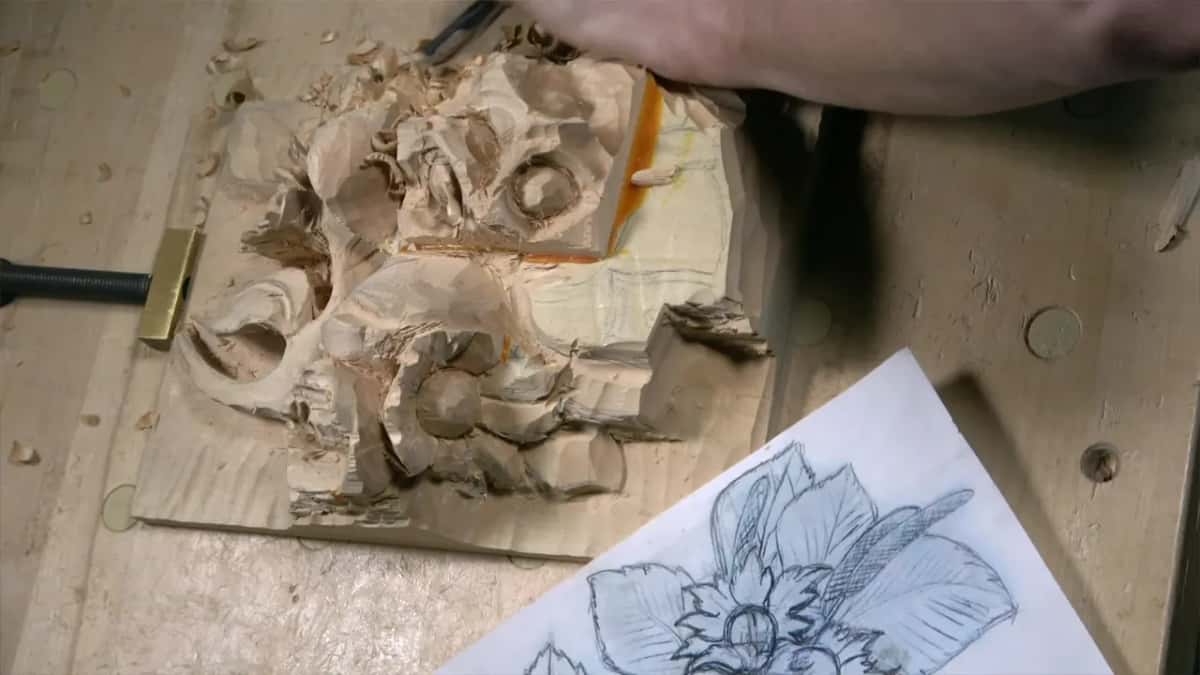
Here on the hazelnuts the gaps were just an indication yet, I said, and not a final look. I was still looking for the final shape, the final form.
What else was in my hand while I set these leaves?
A flatter tool first. The low leaf got a number 3, the big one, one inch, about 25 millimeters, an Ashley Iles with a really long bevel. I worked it across the grain and turned it upside down, since that way the slope gives me the right direction right away.
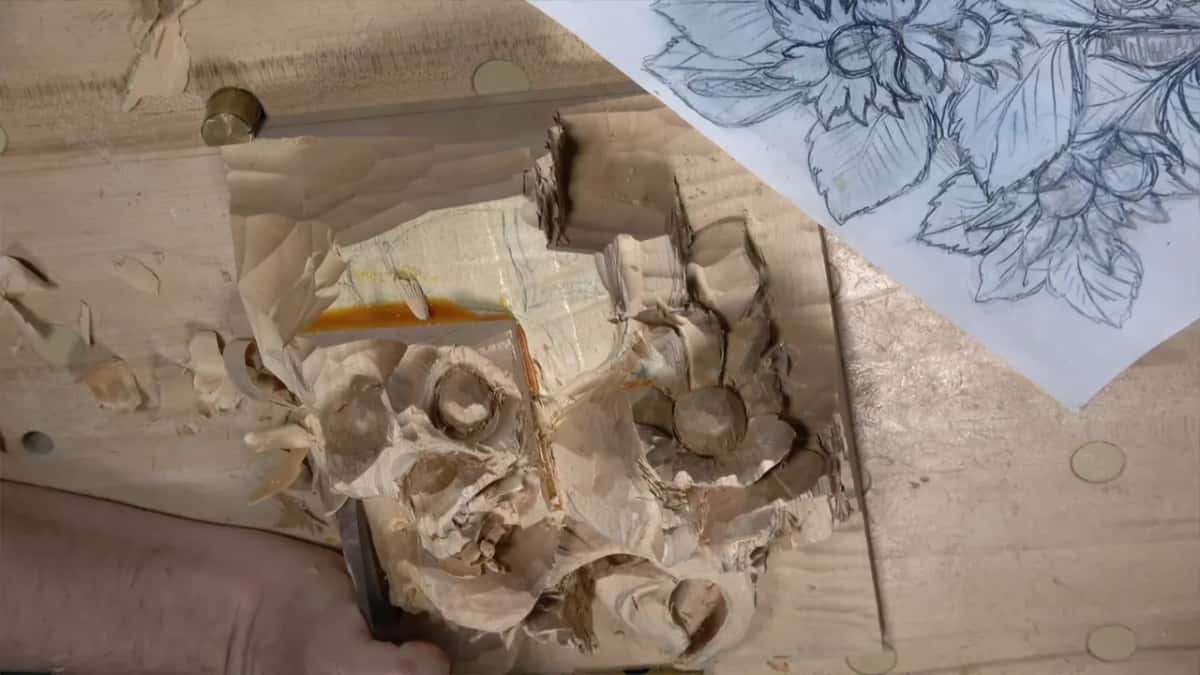
A huge chunk that will become another leaf was in my way, so I chopped it down with a knife, moving it downhill, and said any flatter tool works there. A skew chisel, my number one, set the overall slope. Near the glue I switched to a number 3 about a half inch wide, a Marples and Sons, a thick tool, flute the normal way up. There was a glue line there, and it has to be gone. It went.
Do you have a cluster drawn and a pencil nearby? Can you pick two spots on it and put a number between them? Then your first gap can go in tonight, by eye, using a veiner that fits it. Every lesson of the hazelnut panel is in the school, and you can pick the Plan that fits you here. On my panel, the next leaf to shape sits near the edge.
How it's done
- Choose two spots. I took one spot, then another, and guessed the distance between them to find where a leaf should end.
- Set the rough numbers by eye. A leaf roughly an inch and three quarters wide, then a space near ten millimeters, then the next leaf, set in from the edge by eye.
- Open it with a veiner as wide as the gap. The 10 mm veiner went into the 10 mm space, flute toward me, down from above, then outside in.
- Go smaller where the gap narrows. A 5 mm, about 3/16 inch, for the tighter space. The tiniest leaf got a 3 mm.
- Watch the background line. I kept the first pass shallow and kept an eye on the background so I would not damage it.
- Fix the line you don't like. When a line was not good I gave the leaf a new end point, and a skew knife took the pencil marks off.
Frequently asked questions
Does the gap between two carved leaves need to be exactly 10 mm?
Exact did not matter to me there. About the leaf beside my 10 mm gap, I said exact wasn't needed. On a furniture panel a space ran maybe 3/32 of an inch wider than my line, about 2.4 mm, and I did not expect a problem from it.
What tool opens the space between two carved leaves?
A veiner, number 11, did it on the hazelnuts. The gap I called 10 mm got the 10 mm Pfeil, a tighter gap took the 5 mm, which is 3/16, and the smallest leaf took a 3 mm. I held the flute toward myself and came down from above.
How deep should the first pass between leaves go?
Deep enough to see clearly where the leaves are supposed to go. Going deeper had to wait, since what I had then was an indication, not a final shape. My smallest leaf got its space dug to my first background, a little above the final one, and I watched that line.
What to carve next