
Alexander Grabovetskiy, woodcarver, School of Woodcarving · Published 2026
Can you change which leaf goes under in the middle of a relief carving?
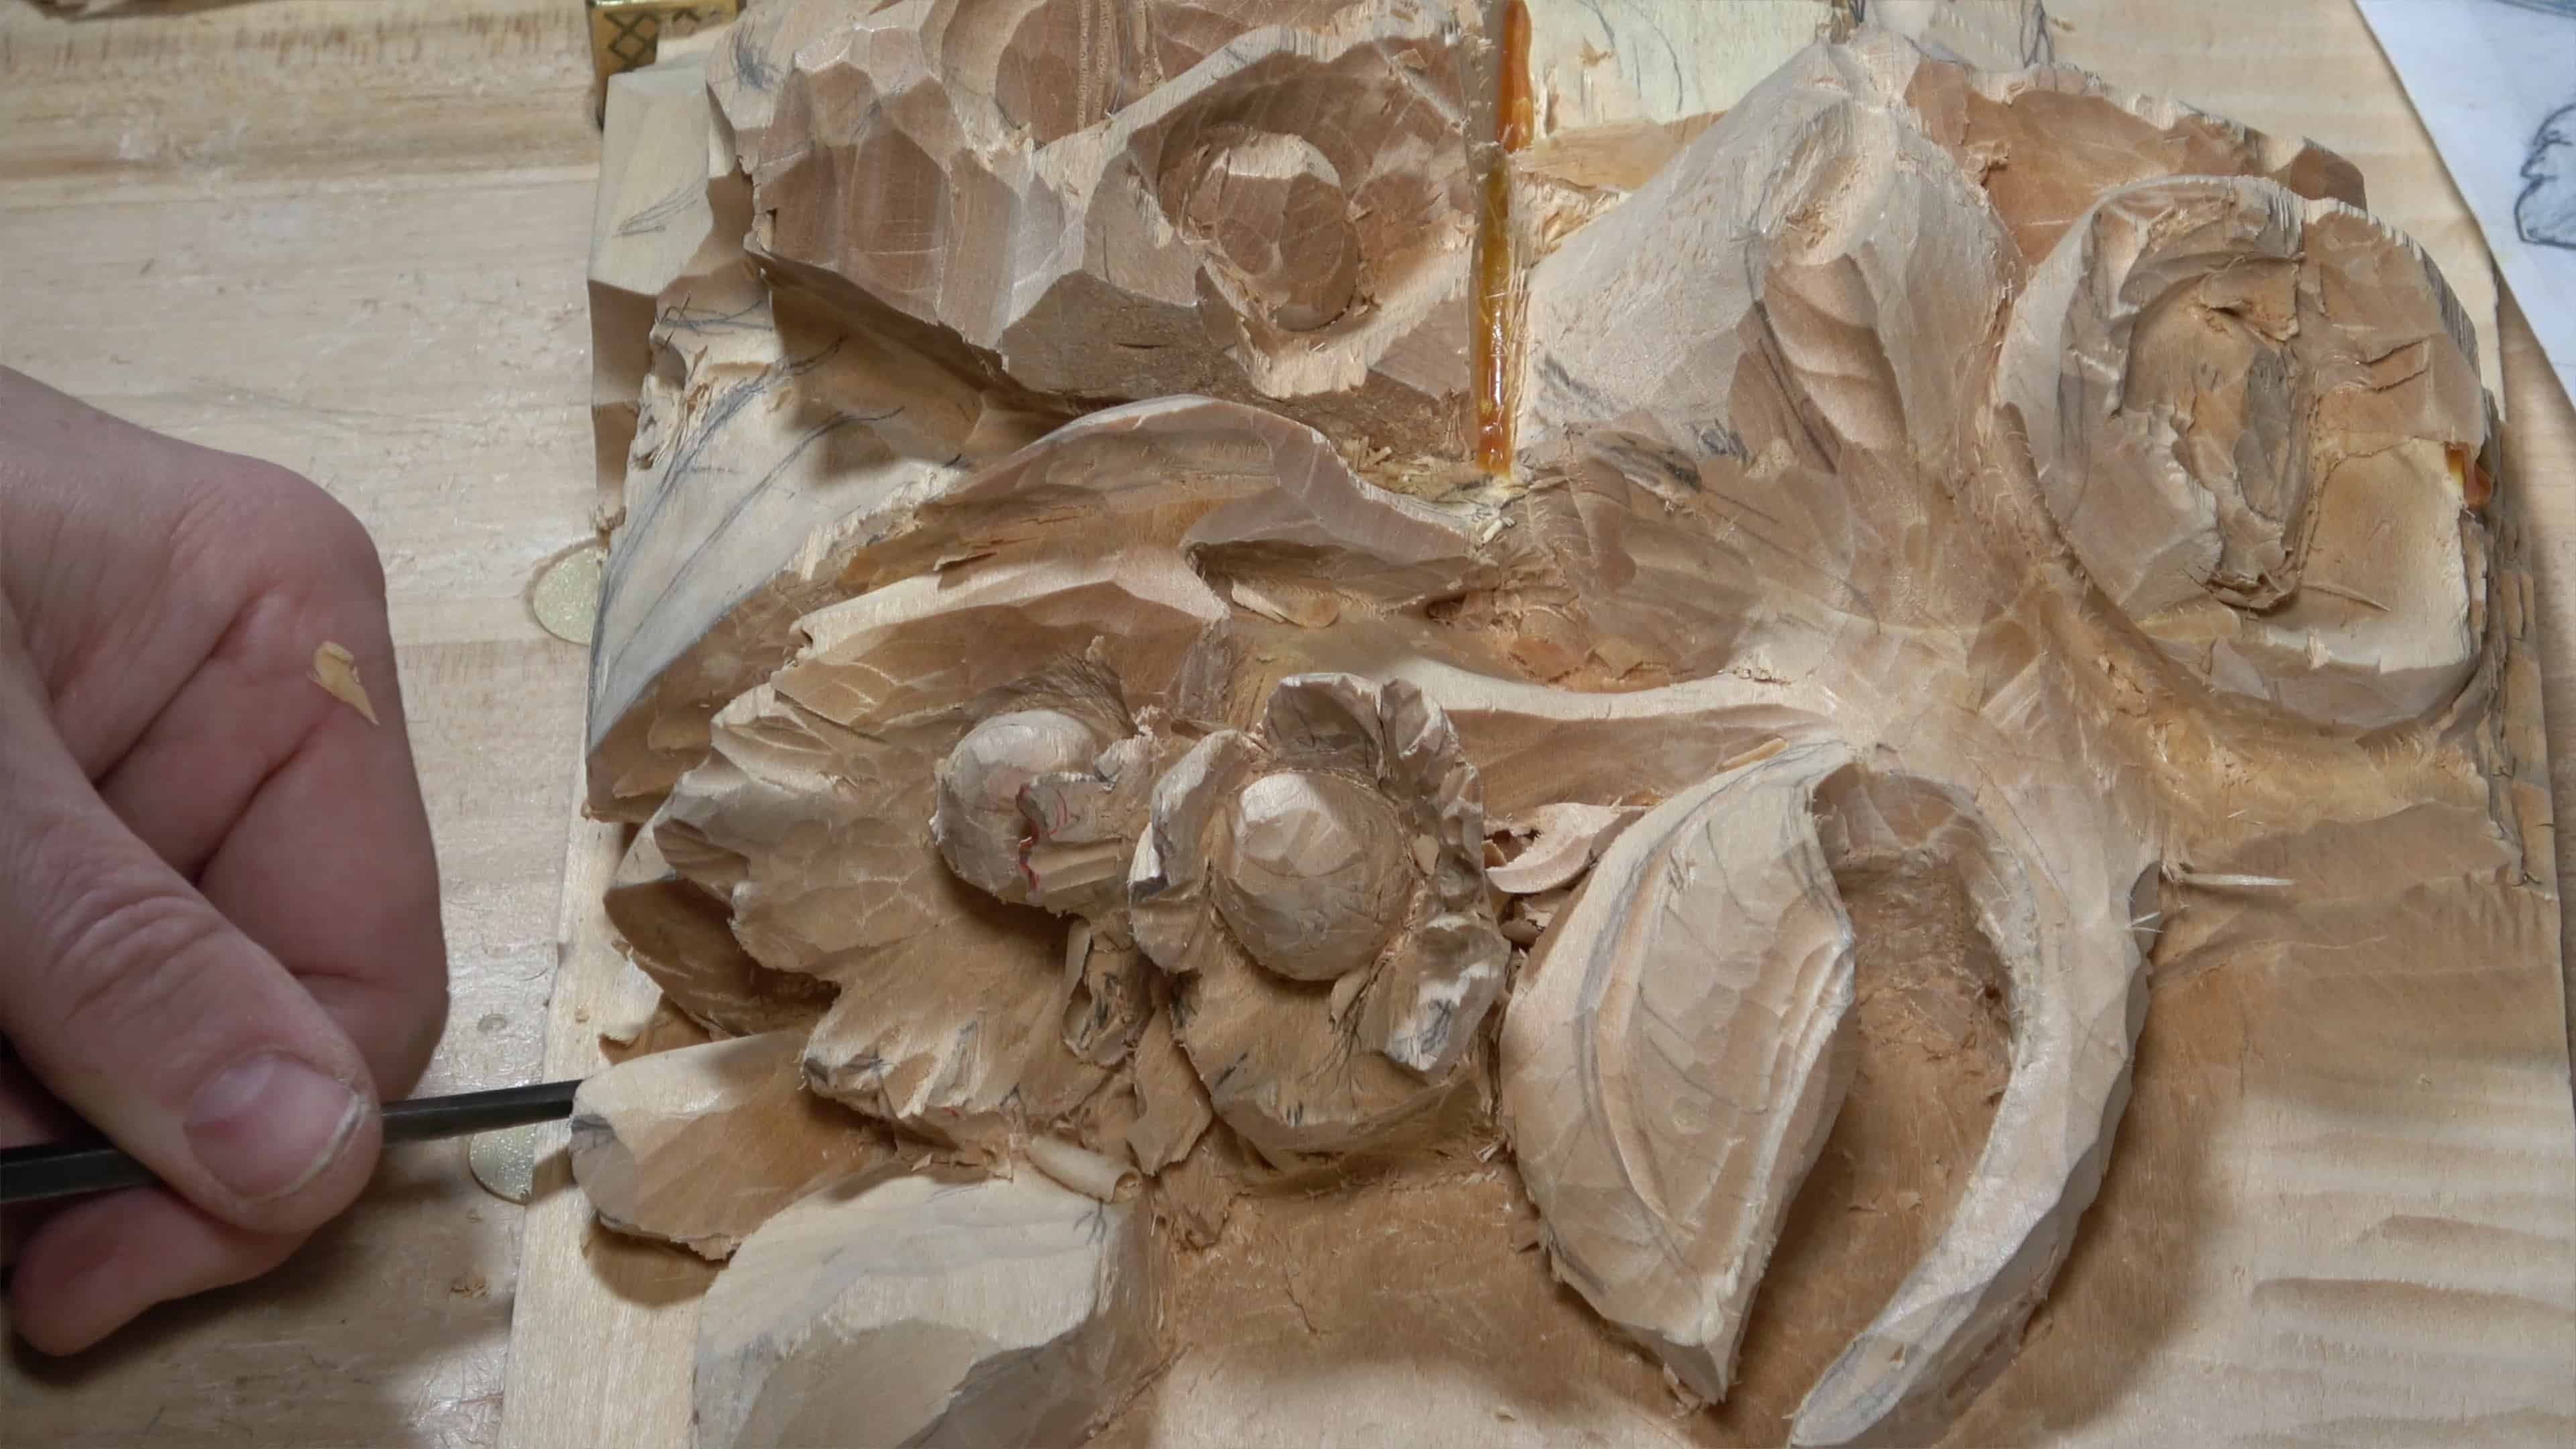
Quick answer: Swapping the part that tucks under in a relief carving is possible while the work is still rough. On my hazelnut panel a husk I first meant to sit under a leaf ended up with the leaf rolling under it, and the limit was the wood left for that motion.
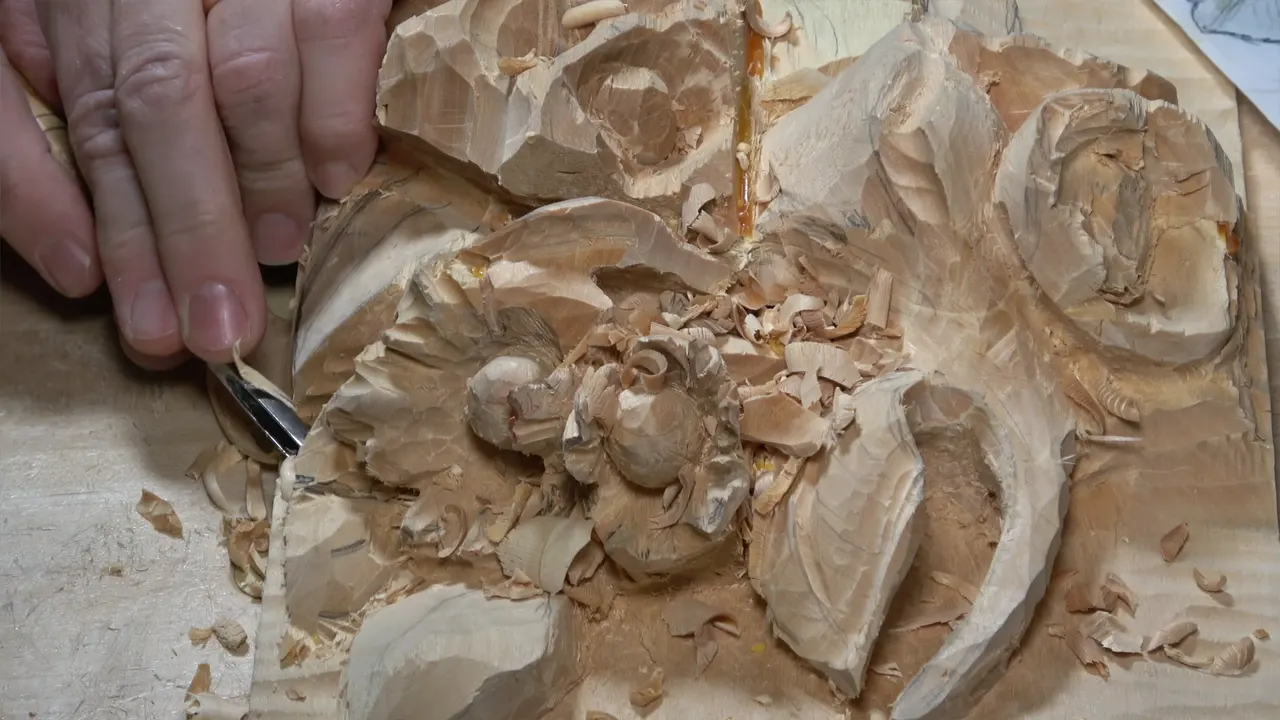
Changing which leaf goes under is a call you can still make in the middle of a relief carving, as long as the wood for the new motion is still there. I made that call on a hazelnut panel, in the second video of lesson 8 of Carving Hazelnuts. This page is about wood carving leaves that trade places once the gouge is already in.
A pencil line on a board is flat, right? And the leaf you carve out of that board has height, thickness and a slope? Then the drawing can't settle every overlap for you. Mine didn't. At the bench I said maybe yes, maybe not, and then I chopped it anyway.
Below you'll find what I weighed, which gouge laid the leaf down, and the spot where my planned overlap would not fit.

What changed on the hazelnut leaves in this video
- I first thought the husk had to go under a leaf, then the leaf went slightly under the husk.
- My worry was material, since chopping the motion could leave too little wood for a beautiful one.
- A Pfeil number 2, 10 mm (3/8 in), laid the leaf down low, with the flute normal at first and later turned over.
- One overlap I wanted was not possible for me, and I called it a little mistake.
- The undercuts stayed shallow while I was still looking for the form.
Can you swap the overlap once the gouge is in the wood?
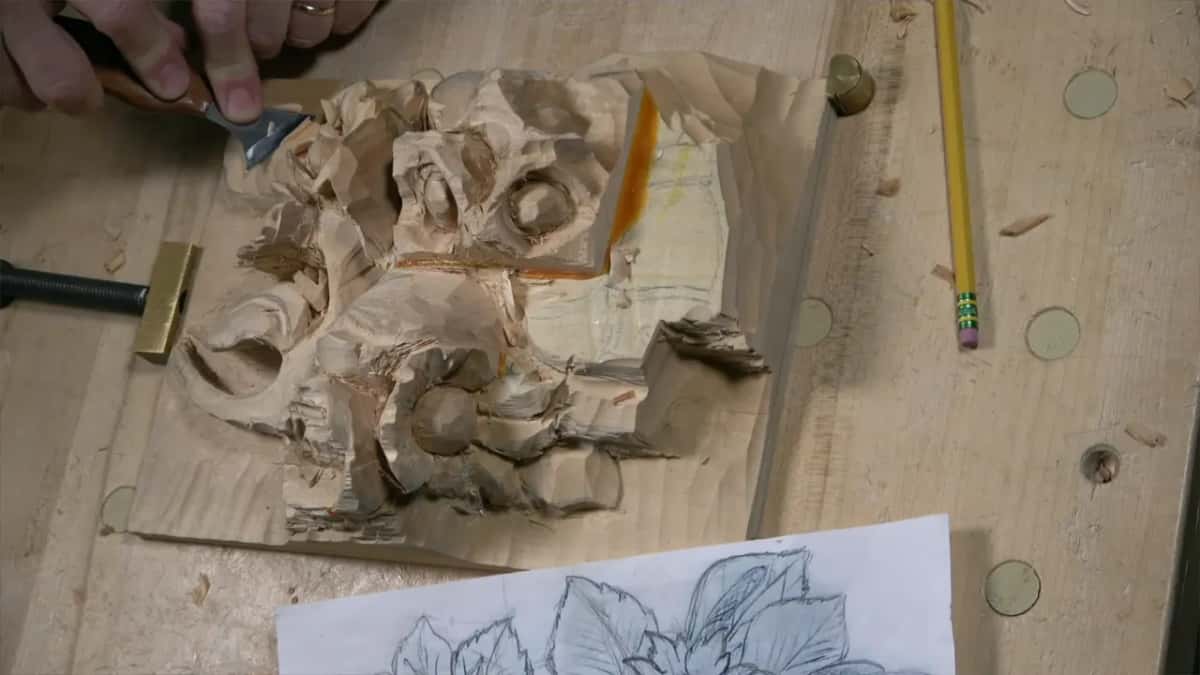
You can, while the carving is still rough. I was blocking in the leaves around the husks, with no details yet, when I stopped over one husk. My first thought was that it had to go underneath of the leaf beside it. Or maybe not, I said. Maybe I can change it and let the leaf go slightly under instead.
After the chop I went back to the small number 11, the 1/8 inch one (about 3 mm), and started rolling under that leaf. I said I didn't know yet if I had made a mistake. We'd see later. A quarter inch number 3 by Ashley Iles (about 6 mm) came next, and then I said I can't do anything else there for now. The husks get their turn later. For now I could see that leaf, how it's supposed to be.
A 1/4 inch number 11 would work for those undercuts, I said near the start, and mine was a 3/16. A different tool can do it too.
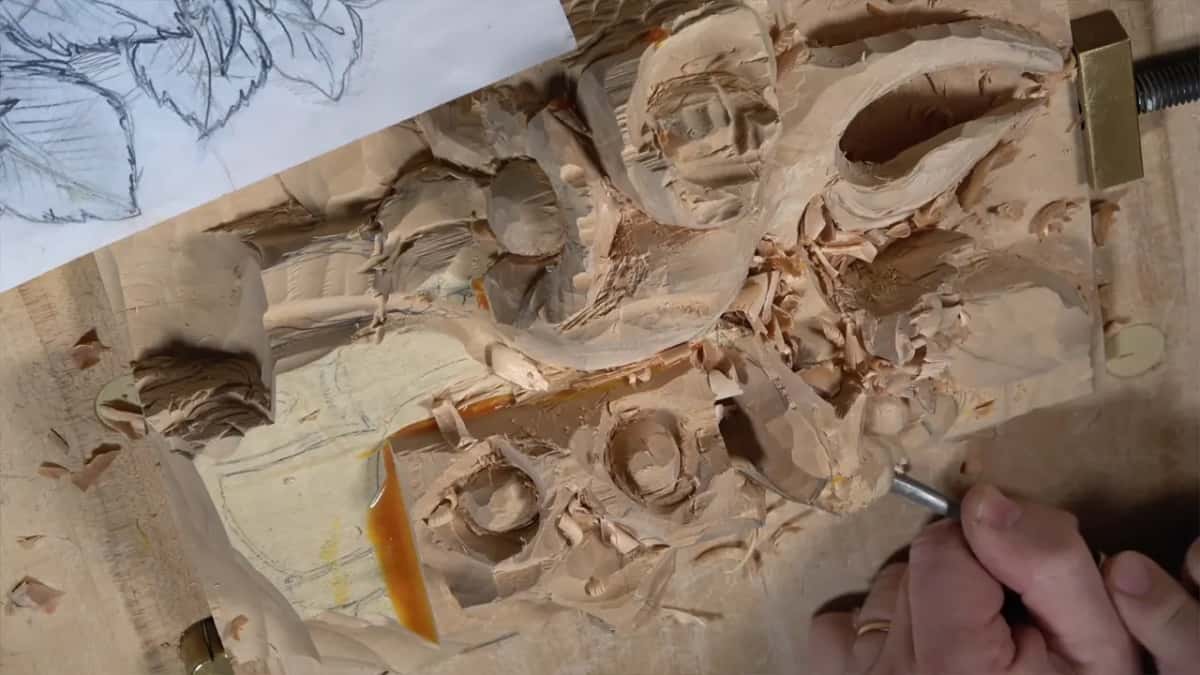
Earlier on, I undercut under that husk from two positions. I knew how its final shape goes underneath, looking to the right in my case, so I set that overall curve first and said I was safe to excavate after it. I cleaned the space between, too. There I could excavate a little deeper, and I said I still have plenty of space for the later development. The husk is what botanists call an involucre, the leafy wrap around each nut.

What does the change cost you in wood?
On this husk the cost was material. If I chopped some of that motion, I was afraid it would not give me enough material to create a beautiful motion. That fear came right before the knife went in.
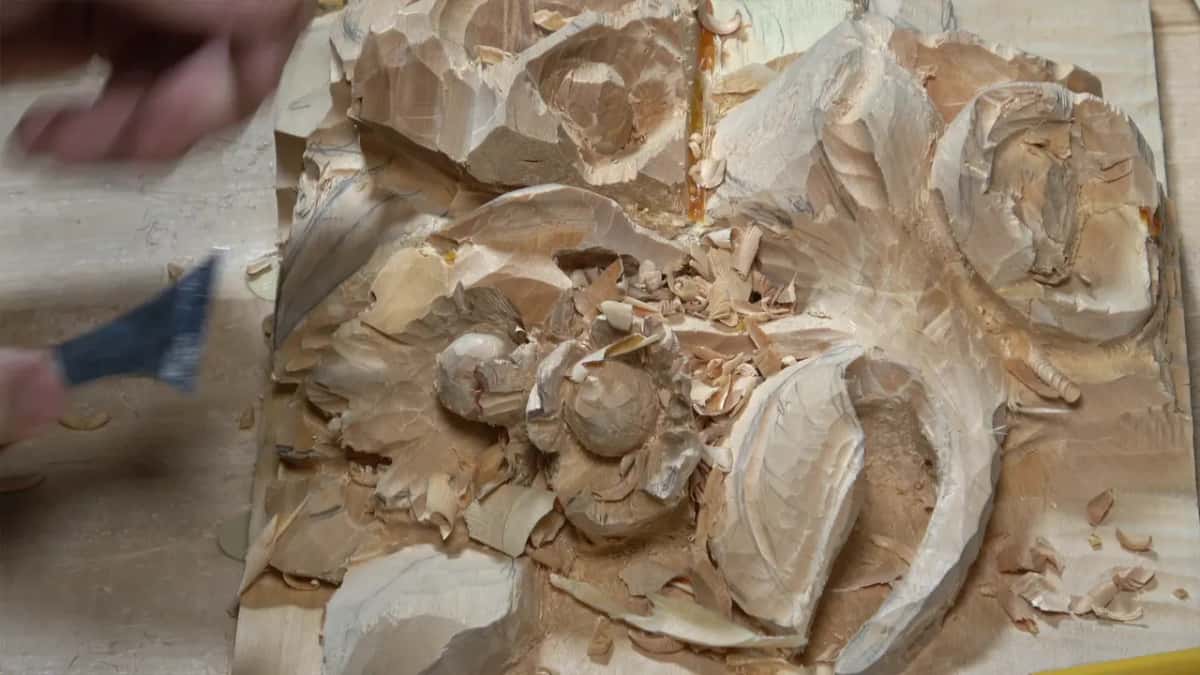
The panel is a solid piece, and I said for some of you that makes it a really challenging project, since we did not stack thin layers. The base is basswood, with 25 mm (about 1 in) blocks glued on top where the nuts need height.
On the furniture panel, in lesson 21, I said I do have plenty of material there, and maybe a part could just slightly flip above. My plan was for it to go underneath, grow above again and overlap once more. To get it, I had to bring my walls really close, and I outlined them with a one millimeter number 11 and could go really deep, since that part goes almost all the way to the background on both sides. Any type of gouge works for that waste, I said, and I took a number seven, a quarter inch one, and kept an eye on how deep I went. The part was supposed to sit about one and a half millimeters above, 1/16 of an inch or less, and I said it looked awful right then, because the main movement was not there yet.
Back on the hazelnuts, when I excavated a little under a small piece, I said don't make it too thin yet. We make it really thin later.

How do you get a leaf to roll down under the husk?
With a flatter tool, in my case. We're going to need one, I said, to get this leaf rolling nicely underneath of the husk, and a number 2 would do here. Mine is a Pfeil, 10 mm, 3/8 of an inch, Swiss made.
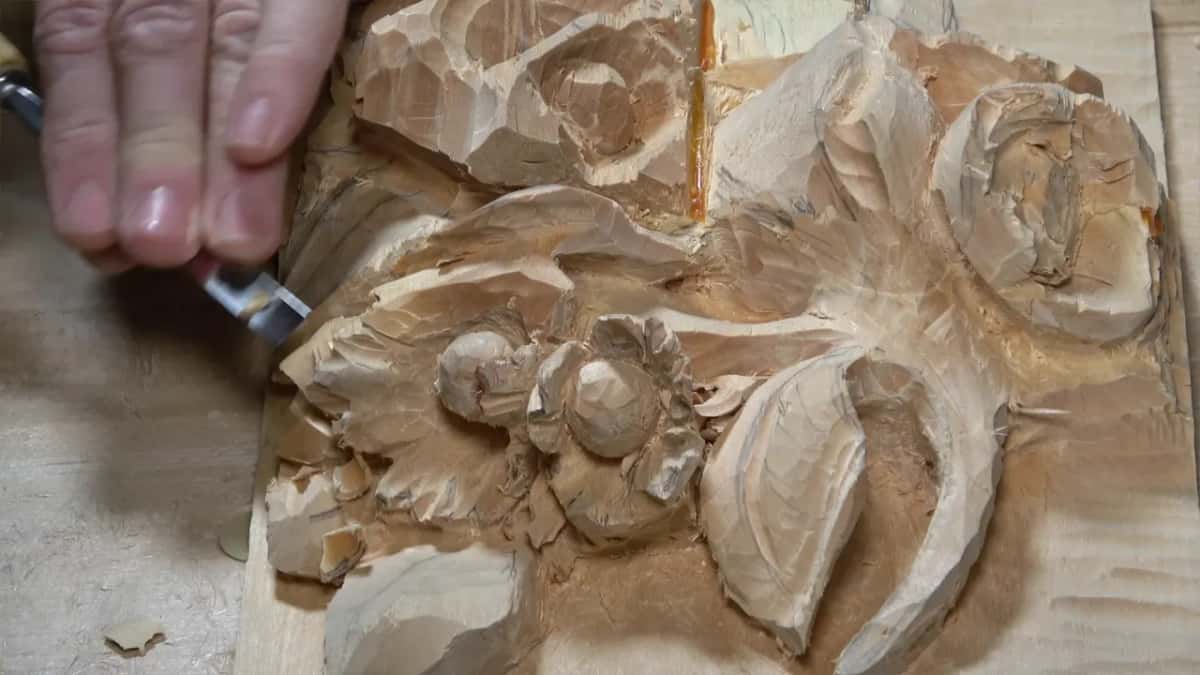
Flute normal first, on a gouge that flat. The leaf is supposed to roll, or fall, closer to the background. Then I turned the tool upside down. Don't undercut too much here, I said, and right after it, please don't. My target was a somewhat final curve, not really final, but still, and when it came I said that is a good shape.
Maybe I can lower the left side of this leaf, I said a little later, and bring it closer to the background. Same number 2 for that, and a number 3 works too, by the way. Any brand of number 3 will work, I said, though I kind of like Addis tools myself.

A number two did the same job on the Tray of Blessing, where I grabbed it again to roll a leaf underneath slightly. Some people struggle to roll it, I said there, and you can grab a smaller tool and start undercutting. But hold off on the undercut until you see you have a full block. Otherwise it gets too squished and won't look like full 3D. I liked the flip, too. It gave me a really good shadow, and it's much better than a plain leaf lying on top. Next, I said, I could spoon it out, almost like carving a spoon. Please don't raise that part too high, I said there, or it gets really hard to escape from that pass.
Later in the hazelnut video I said you could use a V tool to make that undercut line a little sharper, and my 35 degree number 16, about an eighth of an inch (3 mm), gave me really good separation. Still a lot of mess, I said, but it's OK.

What if the overlap you wanted won't fit?
The plan moves again. I wanted to overlap one piece, and it was not possible for me. Not a huge mistake, I said, but kind of a little mistake. My next words were slope a little more, since that creates a little better shadow. Later I might add some concave in that section, because it's going to look much better.

Then another way out showed up. I could hide this small piece under the bigger one. We'll see, I said. Not hide, but stuck, so it overlaps that one slightly. I excavated a little of it out and undercut it at 1/8 of an inch (3 mm), a first pass only. After a cleanup with the knife I said it would be a good idea to stack this leaf under that leaf.
Near the end I talked about a concave on one side. Every concave gives you a shadow, and it doesn't have to be a really pronounced one. It's still a concave.
Here is how those moments line up, on this panel and on one other:
| Spot | Question | Tool | Outcome |
|---|---|---|---|
| Husk or leaf | Should the husk tuck under the leaf? | Knife, #11 | Leaf tucked slightly beneath the husk |
| Rolling leaf down | How does the leaf fall toward background? | Pfeil #2 | Flute normal first, then upside down |
| Planned overlap fails | Would this piece overlap the next one? | Same #2 | Not possible, sloped for better shadow |
| That small piece | Hide it under the bigger one, maybe? | 3 mm | Overlaps slightly, enough wood kept back |
| Furniture panel tendril | Should the tendril overlap above or below? | Number five | Lower it to about one millimeter |
Why do wood carving leaves stay rough while you decide?
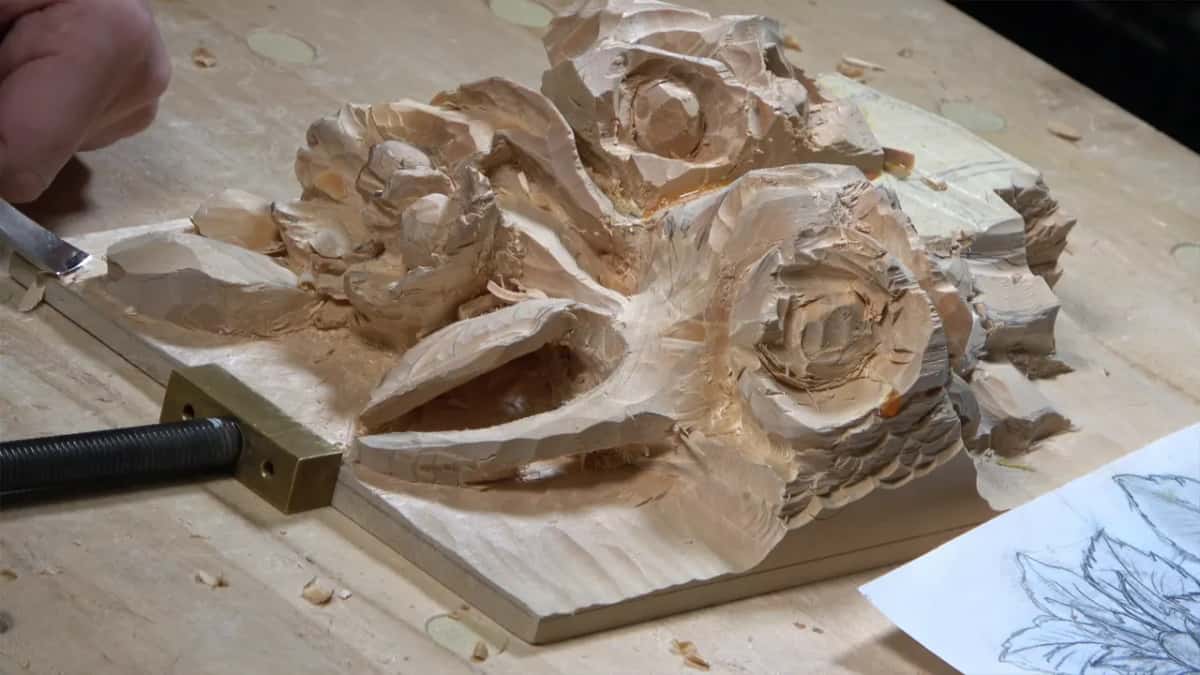
The form is still moving at that stage. At the very start I undercut right away under the leaves, and I wanted them a little higher than the background, for the shadow. I kept those passes shallow, I said, since we were still trying to find a form, still too early in the stage. No details yet.

I even began with the grain, which is kind of dangerous. My grain was pretty straight, but normally you don't go along the grain, because you can always break it. Between passes I got rid of the really sharp chips with the 1/8 inch number 11, flute outward, since you can catch a splinter if you don't.
The ground looked a little too messy, so I cleaned it with a knife whose handle I made really thin, so I can lay it really low when nothing is in my way. My ground was still a little above the final background, and I warned about raising the handle too high, since then you dig into the final background, and you don't want that yet.
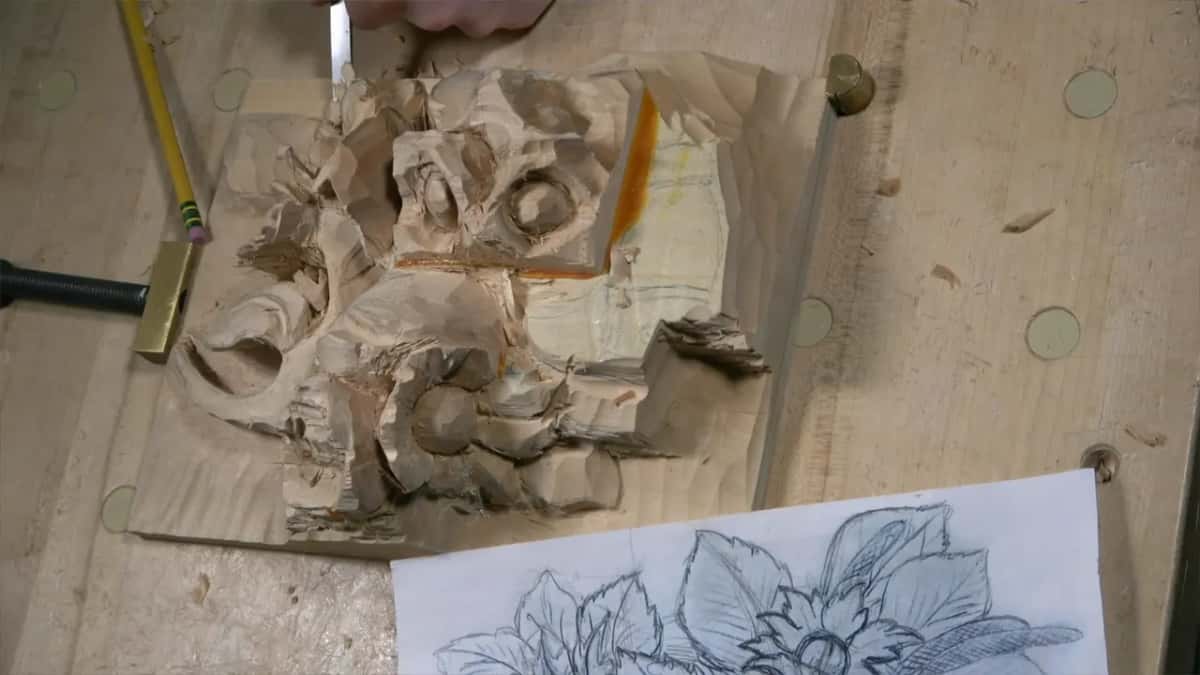
Early on I said I could see a light at the end of a tunnel. Later, with too many chips on the board, I cleaned up and said I think it looks good already. Toward the end I said if that is the central line, there is going to be a point right there, so I wanted a good outline of my future leaf and a canvas as clean as possible. I don't really like to use pencil, but for you to see it, it makes sense.
In this video I also set the line for a second leaf from the center of the bunch, about an inch and a half (about 38 mm) over, and maybe, I said, I had just changed the position of its curve. The spacing, the deep plug cut and how thick the leaves stay belong to the other videos of this lesson. The video ends on a plan, to excavate under the cavity between those three leaves, since nothing stops me there and I can already see good sloping.
Have other carvings made me stop and weigh over or under?
In workshop 56 of the Venice Room course I said it straight. I have still doubts, what should I do? Maybe skip the overlap, maybe carve underneath that movement instead. But that part sloped upward, and I didn't want to lose the overall feel of it, raising up all the way toward the ceiling. That section sat a little higher than the other one, and that, I said, was a challenge. I do not want to make a mistake, I said. My plan there was to widen that area a little, like the boat of a fisherman, and send the rest of the movement underneath the leaf, then let it stick out and keep moving.
In workshop 29 I wanted one part to feel like it is flipping on top. I wasn't sure I should, since not every acanthus eye and not every pipe should do that. With a smaller number 11, one eighth of an inch, I tried it and said yes, it's going to go underneath, and it looks good.

In lesson 31 of the furniture panel course I wasn't sure if a tendril should overlap above or below. I didn't want to break those tendrils, because they're going to be tiny. That meant lowering one side of the leaf, pulling it down to about one millimeter (about 0.04 in) from the background, maybe one and a half. Outlining the flipping motion came next, I said, then the separation between those two, and for the lowering I reached for a number five of a quarter inch, about six millimeters. Rough or thick didn't bother me there, I said, because I can always refine it. What I worry about is the overall movement.

If you carve leaves that cross, which one goes under? On these hazelnuts the answer moved while I carved, and the wood left for the motion set the limit. Mine took a knife, a flat number 2 and a little mistake. The order of the nut and its husk is in lesson 6, why a hazelnut should not look like a grape is in lesson 5, and the leaf that floats over the background is in lesson 7. Wood carving in relief has a long story, and the Wood Database has the numbers on basswood.
The whole video sits in lesson 8, and Access to the school opens it, with the knife, the number 2 and every maybe in it.
How it's done
- Block in before you commit. Rough out the leaves around the husks and keep the first undercuts shallow while the form is still being found.
- Weigh the overlap against the wood. Look at which part should tuck under and whether enough material stays for the motion.
- Chop, then roll under. Take the old motion off with a knife, then roll beneath that leaf with a little number 11, about 3 mm.
- Lay the leaf down. A flat number 2, used the normal way and then flipped, lets the leaf fall nearer the ground. Keep the undercut light here.
- Slope where the overlap fails. Where a planned overlap won't fit, slope that spot a little more for a better shadow and leave room for a light concave later.
- Settle the stack. Choose which small piece sits beneath the larger one, excavate a little, and keep thickness for the final thinning.
Frequently asked questions
Is changing the overlap halfway a mistake?
On this panel I couldn't tell at first. Right after the swap I said I didn't know yet if I had made one, and later a different overlap I had planned proved impossible, which I called kind of a little mistake. My answer to that one was a steeper slope there, for a better shadow.
Which tool lays a leaf down toward the background?
A flat gouge did it for me, a 10 mm Pfeil number 2 from Switzerland, run with the flute the normal way and then turned over. A number 3 would also work, I said. On the Tray of Blessing a number two rolled a leaf under as well.
How deep should the first undercut go when the overlap might change?
Shallow. I was still trying to find a form, too early in the stage for depth, so I kept away from deep undercutting. When I excavated under a small piece later, I said to leave enough material for the future and go really thin later.
What to carve next