
September 9, 2024 · Updated August 22, 2026
By Alexander Grabovetskiy — Master Woodcarver · Founder, School of Wood Carving · 20 min read
How To Carve Wood?
Carving wood is removing the wood you do not want, one pass at a time, with a sharp tool. I teach how to carve wood as six moves, and the order matters. Sharpen. Hold the block down so it cannot move. Draw the design. Read the grain, go straight down on your line, then take the waste out across it.
My grandfather put a chisel in my hand when I was six. I took it straight to a brick to carve a face, and I destroyed that tool. The passion was born right there on the brick. Most people who write to me are standing in the same spot, except they blame themselves instead of the brick. A set of tools arrived in the mail. One video got watched twice. Then the wood tore, edges crumbled, and the piece went into a drawer.
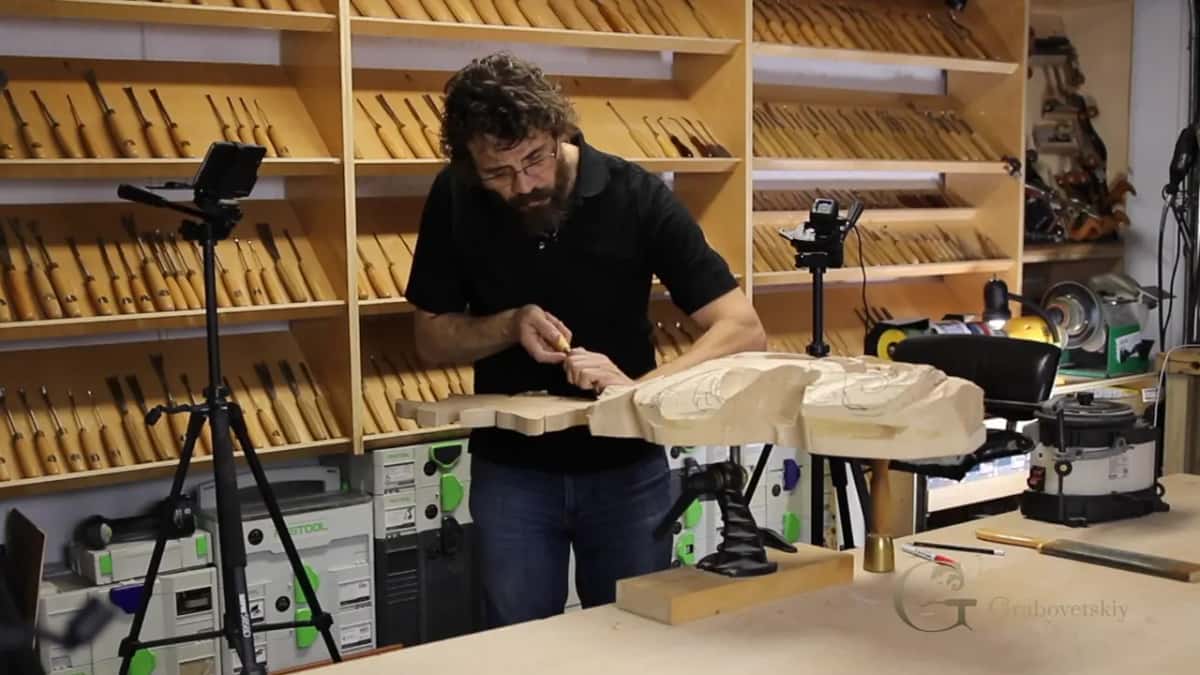
My shop today. There was a time when my whole bench was a single knife and a number seven gouge.
Your tools were not the problem and neither were you. Nobody ever handed you the order to work in, and order is the whole thing. Below are the same six moves I put in front of a brand new student, boring parts left in, because the boring parts are where a beginner loses the piece. Sharpening leads. Holding the wood down follows. Then small pieces of wood come off until the shape shows up.
- Sharpen first. A dull edge turns good wood into a fight you cannot win.
- Clamp the block. Wood that can rock puts your hand where a clamp belongs.
- Come down on the line at 90 degrees. Never lean the tool over and never undercut.
- Clear the waste across the grain, outside toward the middle, an eighth of an inch per pass.
- You can always go deeper, but you cannot go back.
What do I need before I carve wood for the first time?
A surface you can clamp to, one clamp, one sharp knife, a pencil with carbon paper, and a piece of basswood. That is the whole list. Everything else waits.
You need some type of table. Lacking a dedicated space in your house, lacking a workshop, you can just use your kitchen table. I have done lots of projects on the kitchen table. So you don't need to buy expensive benches, but you do need some surface.
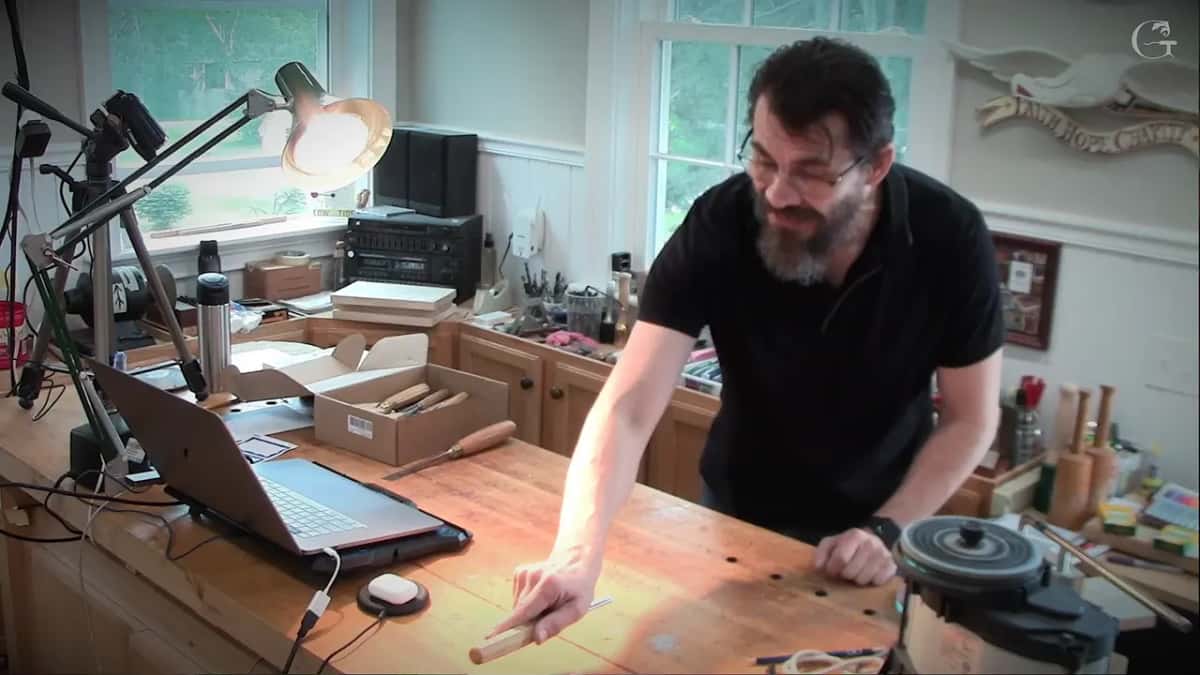
A bright room, a cardboard box of gouges, a laptop propped up for the lesson. No cabinet shop required.
Next comes a clamp to hold that piece down. For the beginner lesson I use a simple clamping system, nothing special about it. My own shop runs Veritas screw clamps plus bronze bench stops in three quarter inch holes, held by a magnet, and all of that arrived much later.
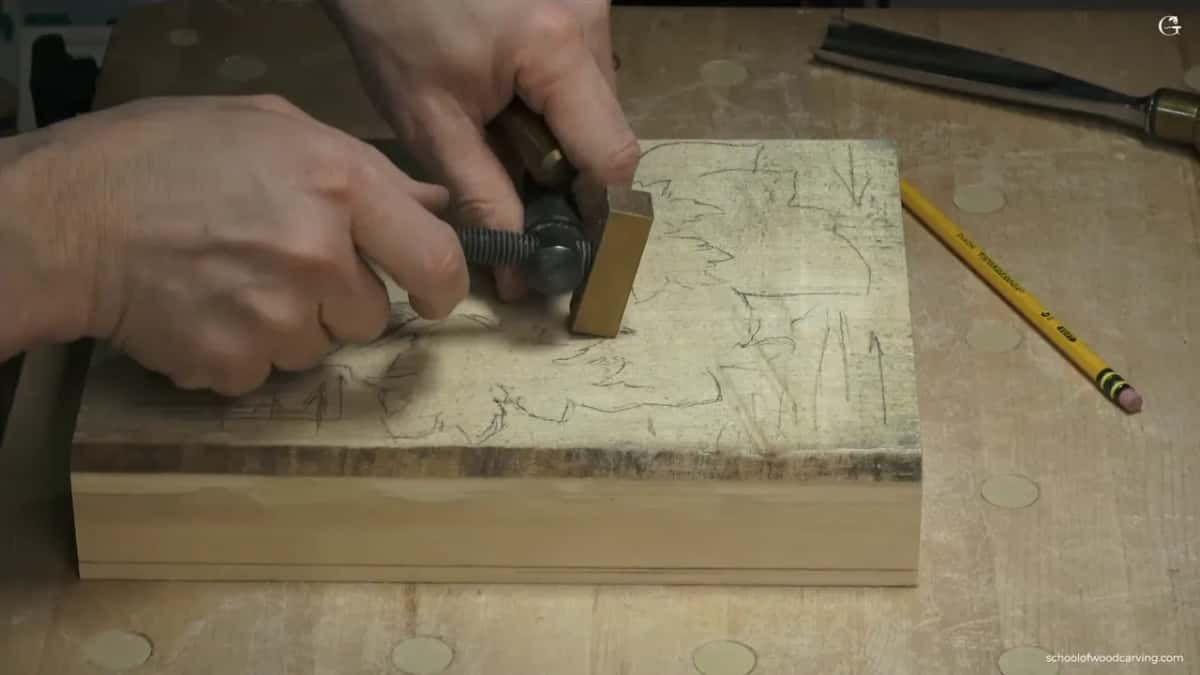
The block gets locked down before anything else happens. Those pencil arrows mark grain direction, written on the wood so I cannot forget it.
Now the knife. Mine is a number 12 Pfeil chip carving knife, Swiss made, and it has been sitting on my shelf for twenty years. And don't go with the cheaper options. A cheap blade goes dull on you, and then you will believe the problem is you.
One knife is plenty to begin with. There was a time when I owned one knife and one gouge, a number seven, and I was still able to do my work. Really, a big pile of tools is not what creates something nice, but you are limited. My teacher would not let me anywhere near a gouge early on. He said you have to master knife before you get to the gouge, and if you cannot master knife, I am not going to give you gouge. A real apprenticeship sounds exactly like that.
A pencil and carbon paper will do for the design. Or make a copy of the pattern and glue it right onto the block. Graphite paper works the same way. When I glue a paper pattern down I reach for photo mount glue, mild enough that it leaves no residue on the wood.
The board in that lesson is pale basswood, and pale basswood is what I put under a beginner. Measured numbers for the species sit in the Wood Database entry for basswood, and the tree belongs to the Tilia genus alongside European limewood. Read the page before you buy any other board. There is one for butternut, one for black walnut, one for eastern white pine, a standard hardness test behind those figures, and the free Forest Service wood handbook under all of it. Carvers argue about the rest over at WoodWeb.
My longer answer on the species is on the wood guide page for basswood. The shopping list sits in what is needed to carve wood, and the bench gets its own page in what to look for in a carving bench.
How do I hold the knife for the very first pass?
Lay the knife flat in your palm, close your hand tight around it, set the edge on your pencil mark and pull it toward you. Straight down, square to the face of the board. Nothing clever.
Having never carved before, it is really important how you use this knife. The knife is used pretty much in three different angles. We are talking about the straight cut, and the right hand angle, and the left hand angle. Those three angles are the whole vocabulary to start with.
So: straight down, 90 degrees. Hold your knife like this, just place it in your palm. Make it tight, really tight, put that knife on the mark and pull it toward yourself.
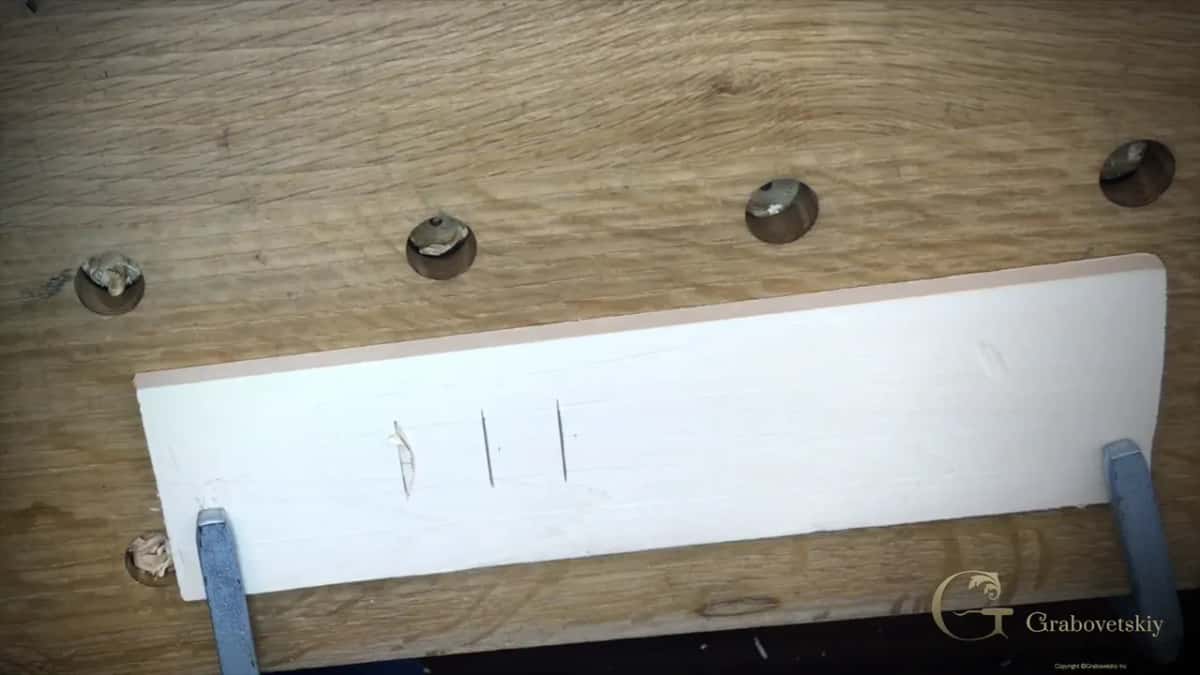
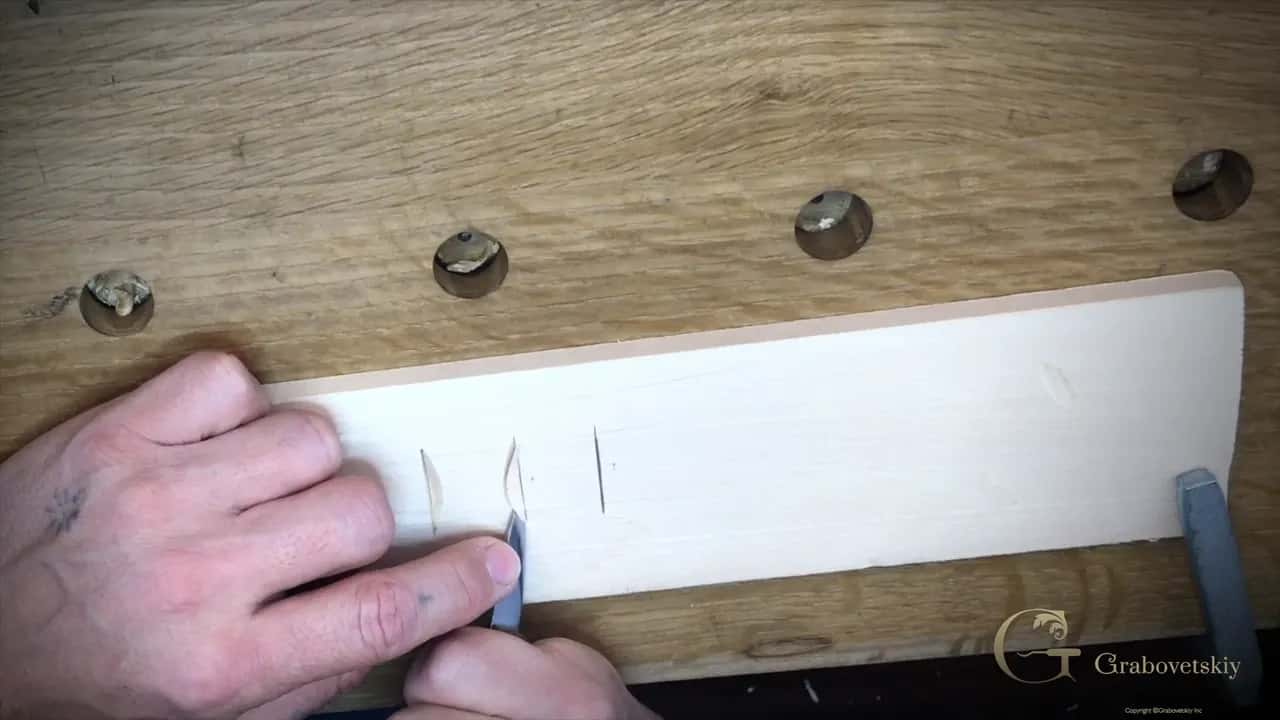
Three vertical passes, and one chip already lifted at the left. Pale basswood against blue clamp jaws on an oak bench.
Repeat that on a plain board over and over before you carve anything with a shape in it. The practice looks pointless. It actually trains how deep you travel with your knife. The goal is to establish the feel. Feel how deep your knife should be and what angle you should hold it.
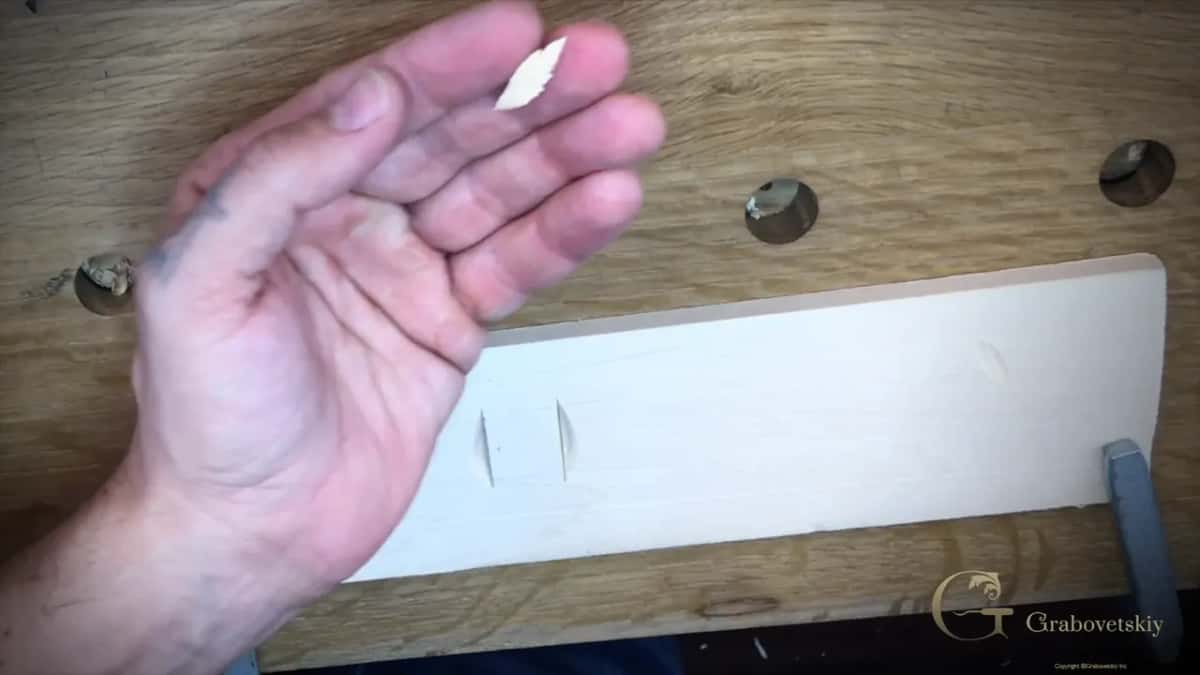
One chip in the palm, two clean notches behind it.
A chip that pops out whole tells you the angle was right. When one tears out grey and fuzzy, either the edge is dull or you came at the wrong side of the fibre. Work of this shape carries its own name and its own long history, gathered under chip carving.
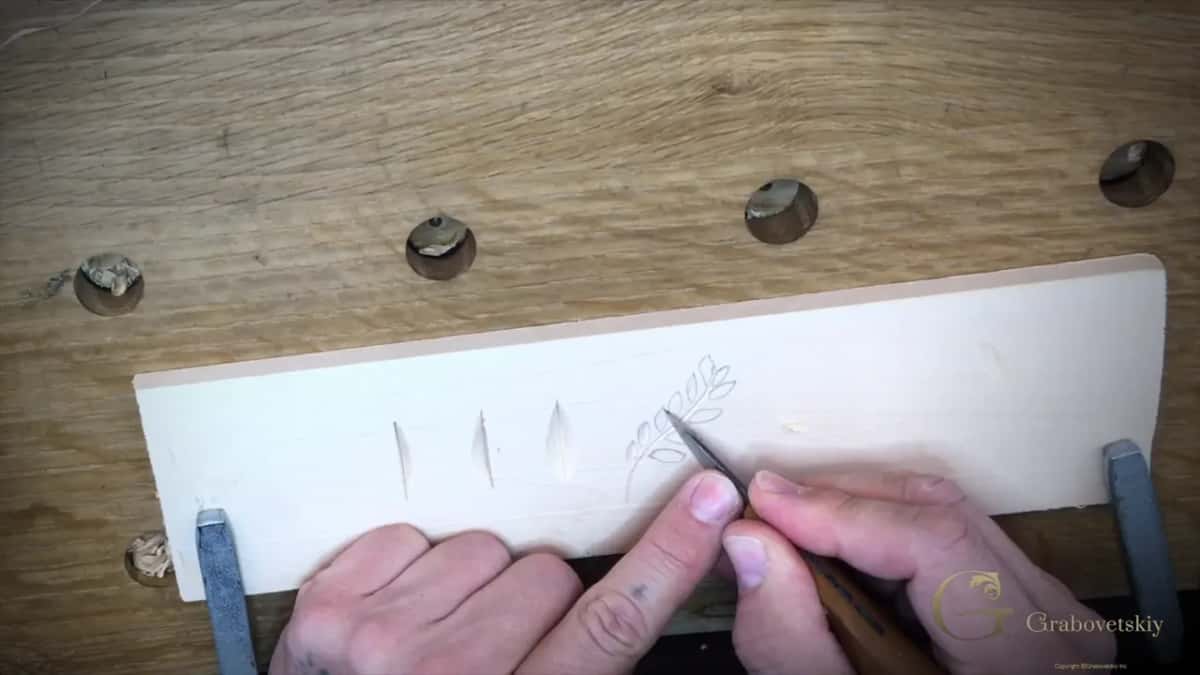
Both hands on the knife, free thumb up beside the blade. Three finished notches sit at the left of the drawing.
Which knife I hand a beginner, and why, is in what a carving knife is. To watch that first pass with my hands in frame, go to Wood Carving: First Cuts for Beginners. The shortest written version lives in what the first step in wood carving is.
Which way does the grain run, and why does the wood fight me?
Wood fibres lie in bundles, and every bundle is held up from underneath by the one below it. Work down the slope and the fibre has something behind it. Come from the other end and it lifts.
That is the upper part of the grain, and below is a supporting grain. It actually holds that upper part. Start carving from the wrong end and there is no supporting grain. They will just rise up and fight you.
Think of a bundle of drinking straws lying on the bench. Or, given a dog in the house, try to pet against the grain and watch what the hair does. Wood does the same thing. A technical write up of wood grain will give you the vocabulary, and the Forest Service goes deeper in its handbook chapter on the physical properties of wood.
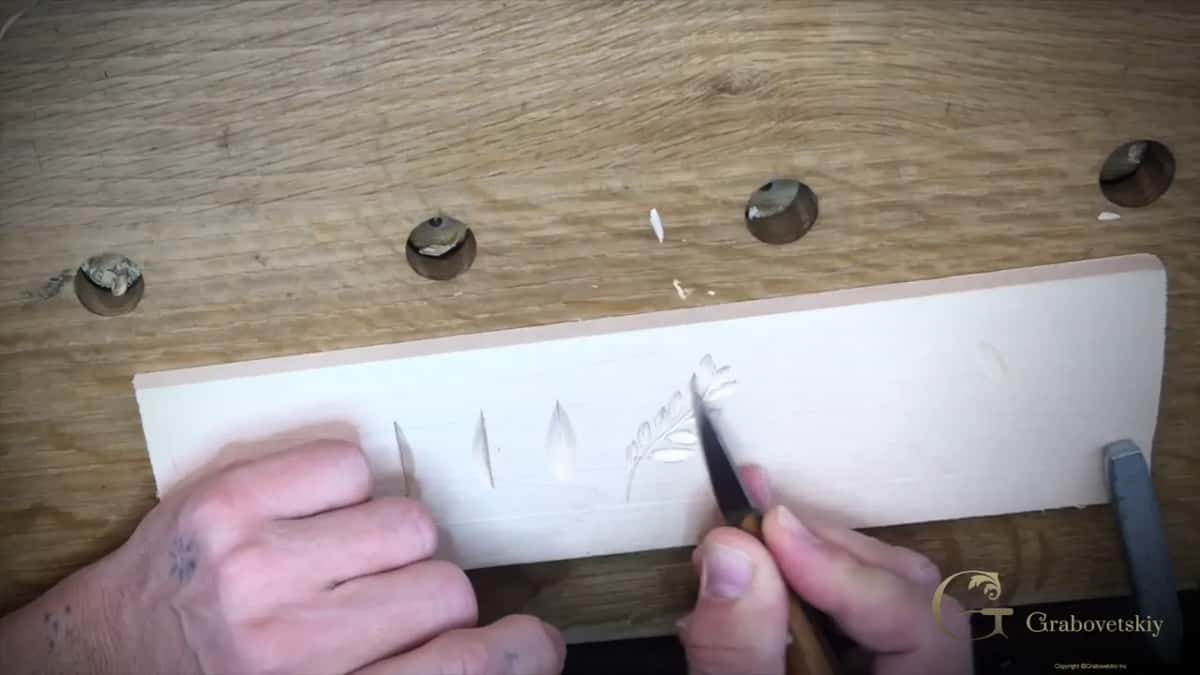
The same drawing, carved out, with one loose chip left on the bench.
Carve a plain channel across a board. One side runs with the grain, the other against it. So this cut will be a clean cut, and that cut will be a really rough cut. Same tool, same hand, same afternoon.
Very early on, say the direction out loud. Where the grain runs this way, always start at the top and follow the line down. Working against it is possible, and much easier with it.
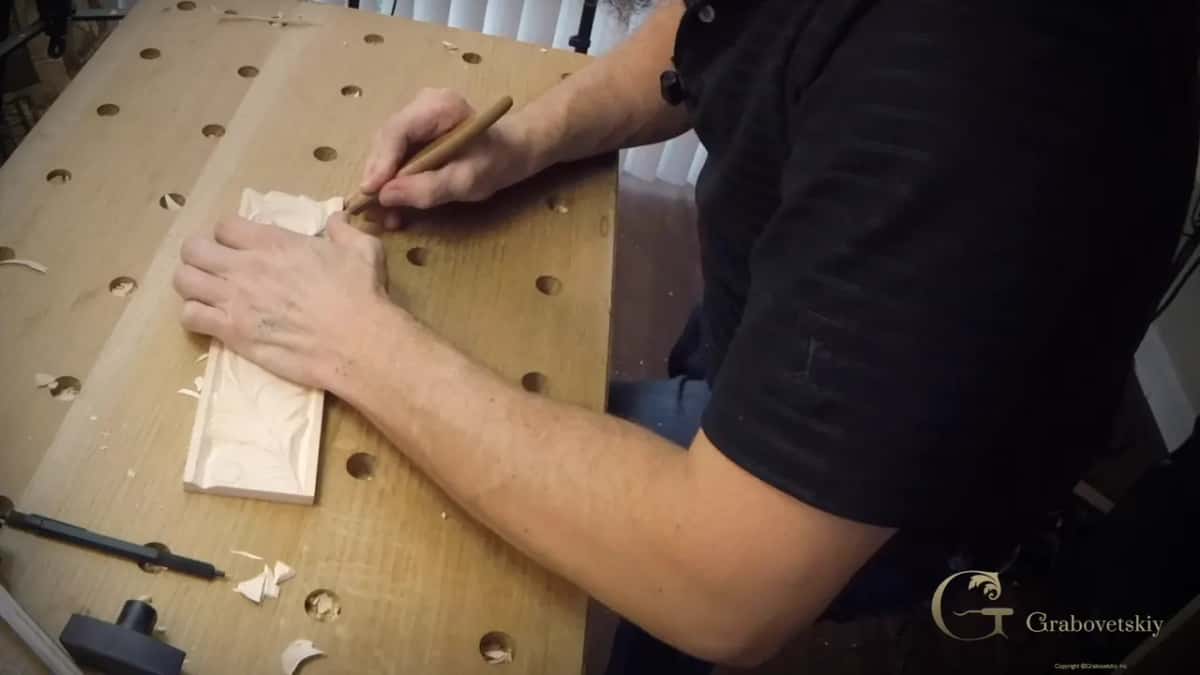
Both hands come together at the tip, the left one planted flat on the panel. Shavings rather than dust mean the edge is still good.
So what should you do when it fights anyway? Sharpen. The only solution is just to keep your tools sharp, and that is it. Do not overcomplicate stuff. Sharpen the tool and quit standing there asking yourself which angle you should attack from.
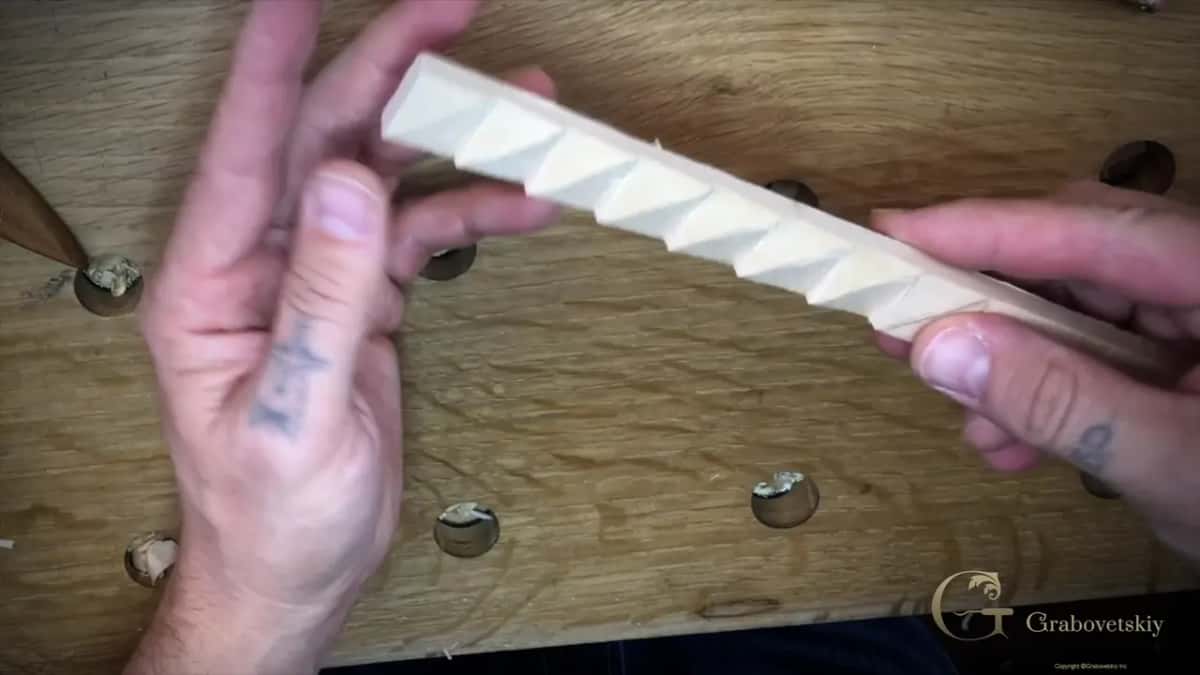
A finished practice molding. Those facets only read because every wall of them is a clean surface.
Two harder cases have pages of their own, how to handle different grain directions and why direction matters so much.
What are the six moves, in the order I use them?
Sharpen, hold the work down, put the design on the wood, read the grain, come straight down on the line, then move the waste out and clean the background last. Six steps, and the order is the point.
One thing about the big picture first. I break every job into three stages, and my word for the first one is not real English. The first stage would be just the boasting, which means just establishing overall shape. Second would be carving. And of course, the most important stage would be to clean up everything and just make the final shape.
Step 1, sharpen before the wood ever moves
When you buy sharp tools, they do not last. Dull is not an if, it is a when, and the when arrives sooner than you expect. So sharpening is never a thing you graduate out of, it is where a session starts.
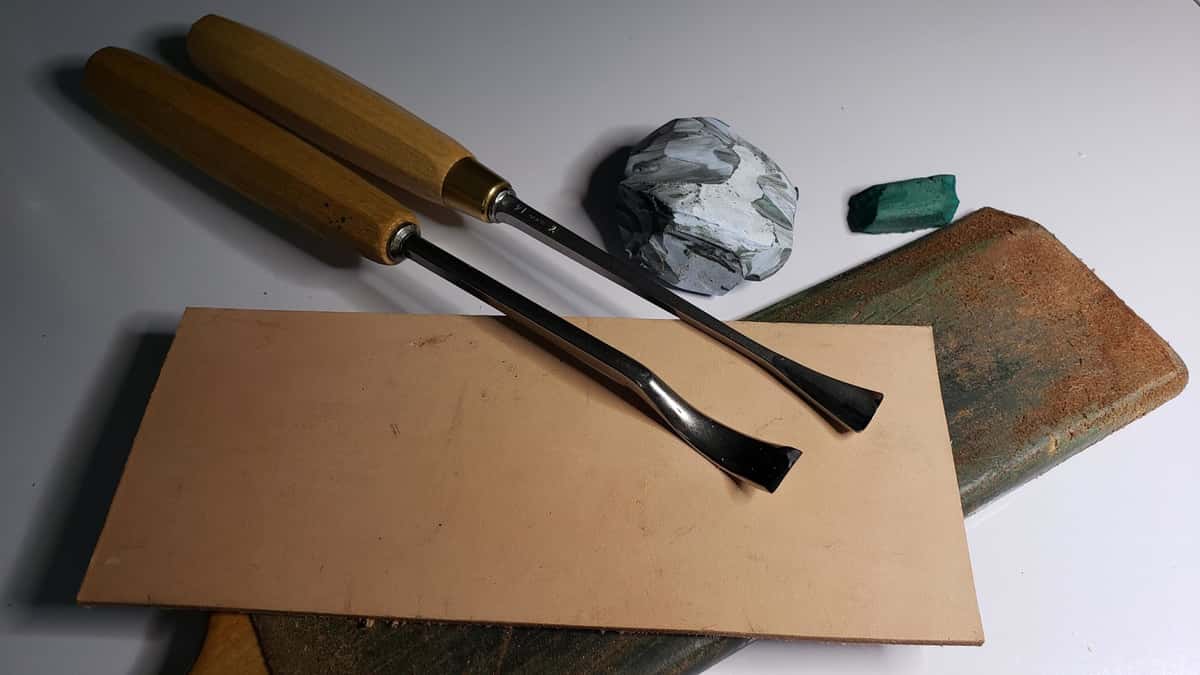
Plain leather, a bar of green compound, a charged strop block. The whole kit.
Money tight? Go to Home Depot, buy different grit sandpaper for five dollars, and use it on a flat bench. That works. That was actually the first thing my teacher ever taught me about sharpening. The whole method is in Carving Tool Sharpening.
Step 2, hold the work down so it cannot shift
You are going to need some kind of clamps to clamp that down and hold that piece. A block that rocks even slightly turns your left hand into a vise, and a hand doing a vise job is a hand that gets cut.
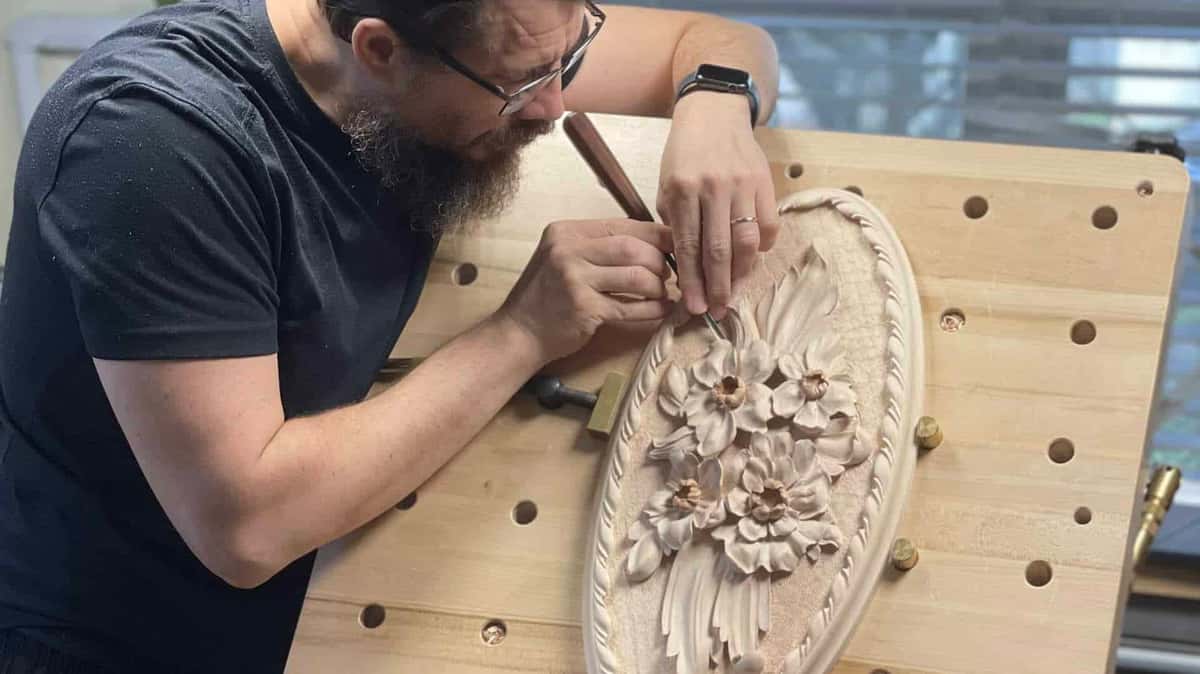
Bench dogs and a brass screw clamp, and this rosette will not shift under a mallet.
Step 3, draw the design onto the wood
Carbon paper is one route. Or you could go ahead and make a copy of the pattern and glue it right on top of the block. Both routes work. What fails every time is carving with the drawing only in your head.
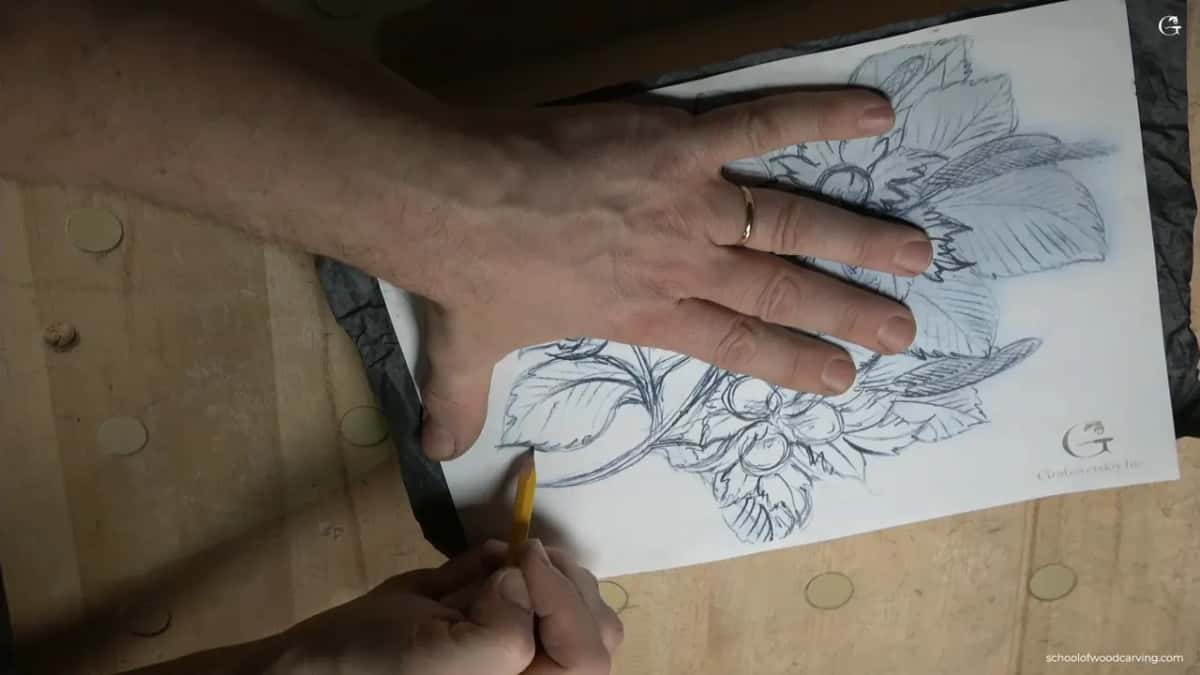
Pattern on top, carbon underneath, one hand holding both still.
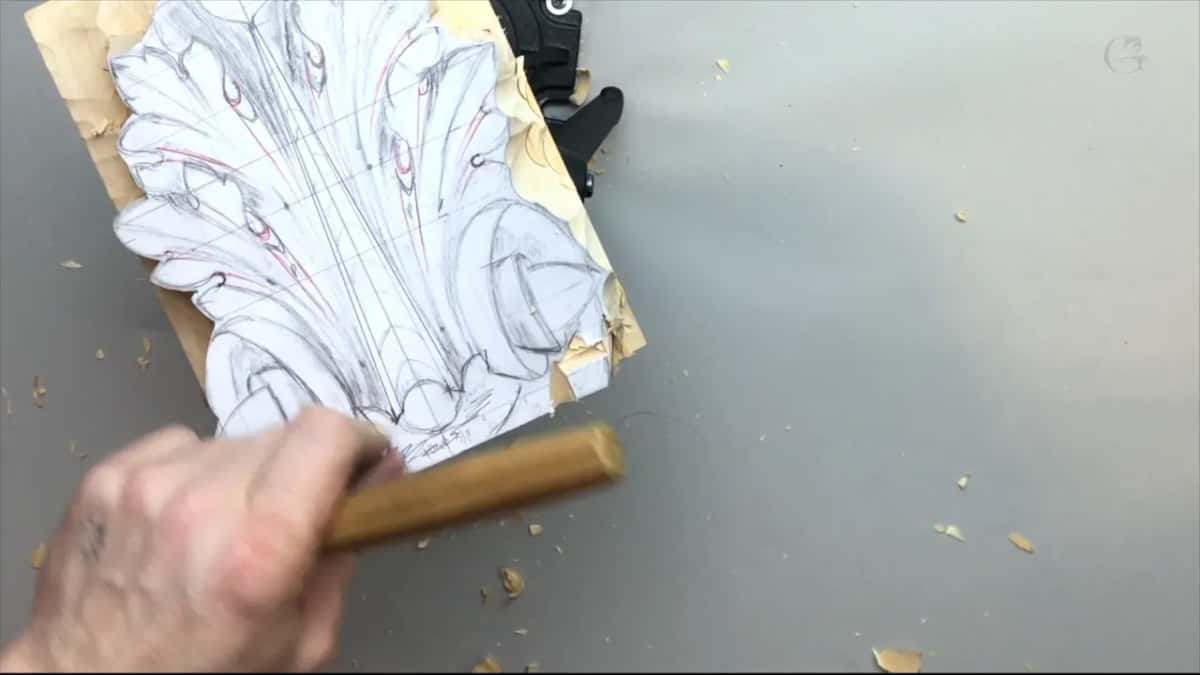
The other route, a paper drawing glued straight onto the blank and clamped down.
Drawing ability is not the gate here, and I mean that plainly. See why drawing skills are not required.
Step 4, find the grain direction and mark it
Put a pencil arrow on the wood before the tool touches it. Settle it before the first pass.
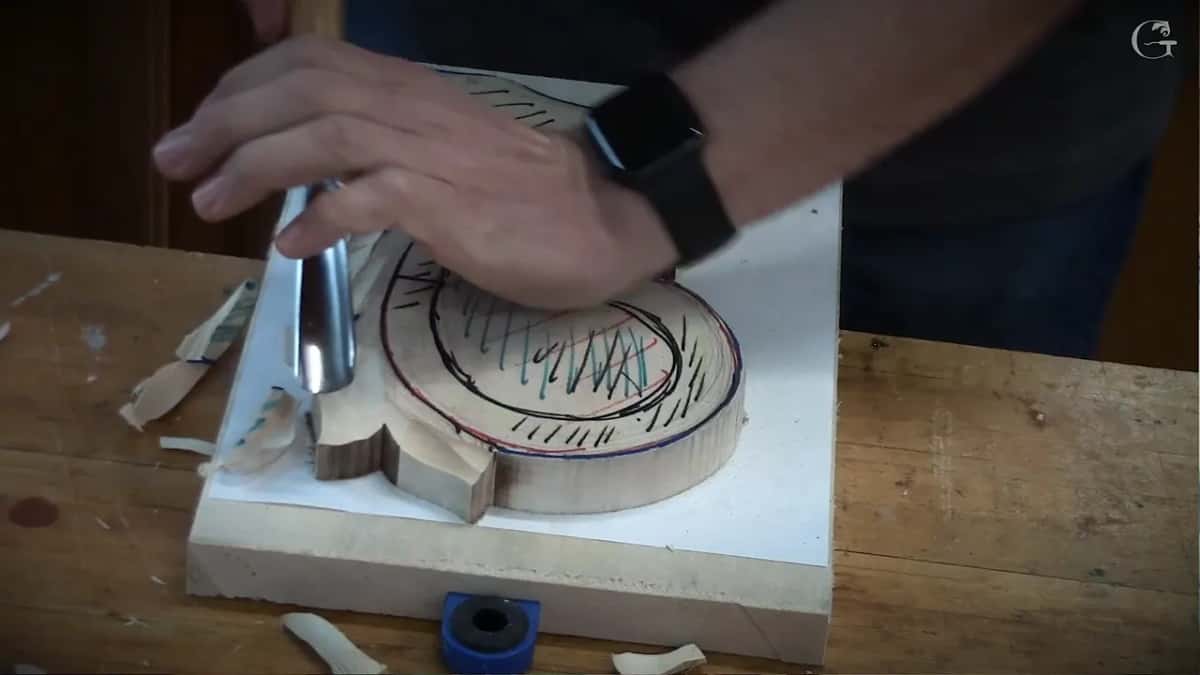
Black, red and teal marker on a round blank. The tool waits at the edge.
Step 5, take the line straight down at 90 degrees
Again, your cut is supposed to be straight down, like 90 degrees. Never undercut, and never lean the opposite way. Try to stay at 90 as much as you possibly can. I want to make sure I am carving a straight line, which is exactly why I control it with two hands instead of one.

The gouge stands vertical on the pencil line. This blank sits between wood blocks so nothing can shift under the stroke.
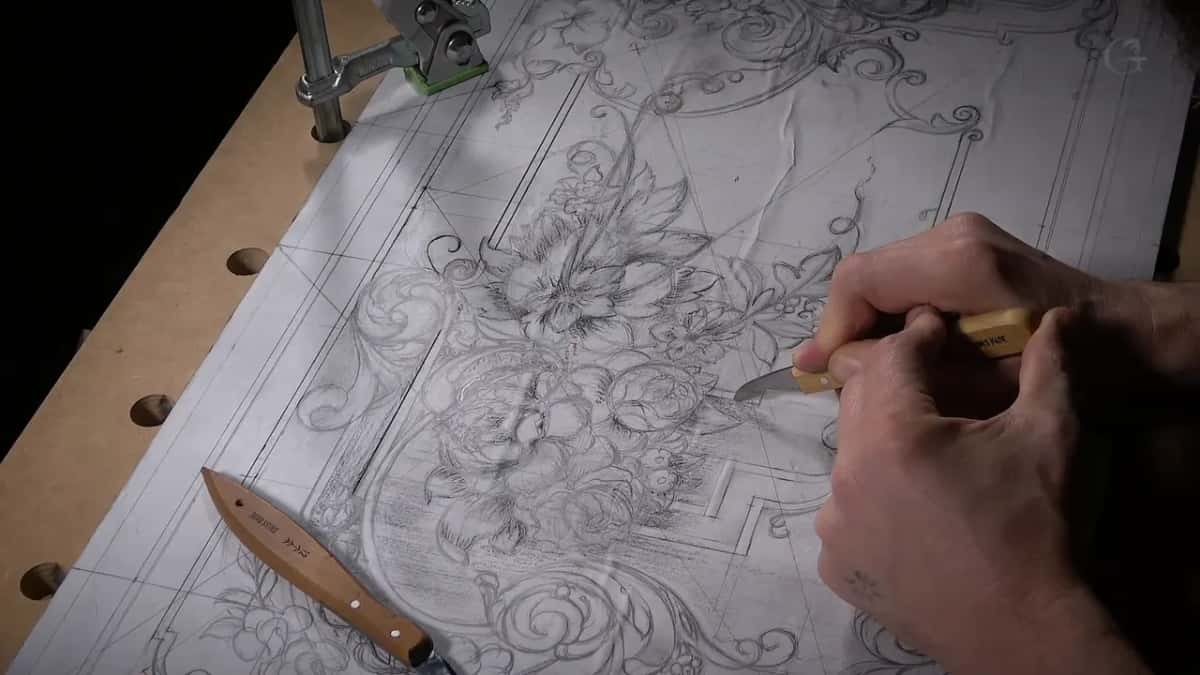
A full size pattern clamped flat, both hands steering one small knife along a single line.
Depth carries a rule of its own. Just make sure you do not go over an eighth of an inch. You can always go deeper, but you cannot go back. So that is really important, and it is the one mistake here nobody can repair.
Step 6, move the waste out and clean the background last
Now the mass comes off. I want to remove all of the material perpendicular to the grain, so where the grain runs this way, I take it from outside toward in. Hit it the other way and the wood splits, and you lose material you needed.
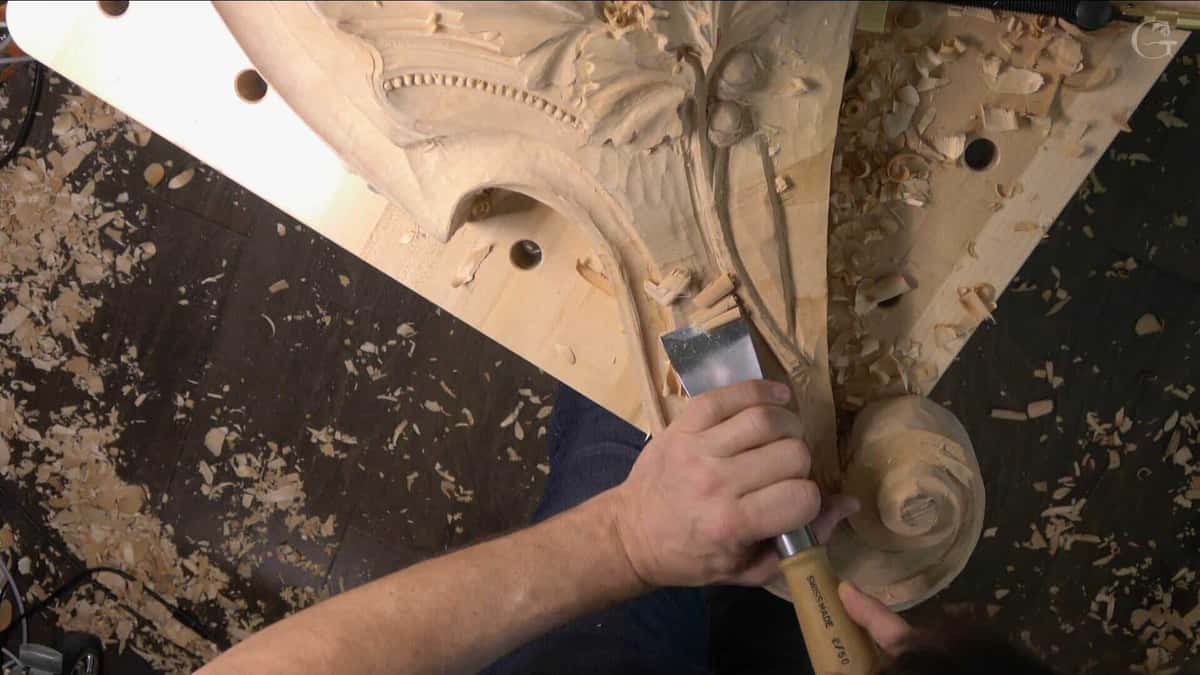
A wide chisel, stamped 2 by 50 on the handle, clearing background beside a finished volute.
Background depth gets decided before I start. On the hazelnut panel the final was about five millimeters, three sixteenths of an inch, fixed before the first pass landed. Each bite runs near three millimeters. I travel across the grain when cleaning that background, wherever the shape lets me. Depth like that is half of what makes a panel read as relief rather than a flat drawing. Watch it play out over a whole course in Carving Hazelnuts.
Big tool or small tool, which one comes first?
The big one, always. One of the biggest mistakes people make, whether they started last week or have carved for years, is that they take a small tool and zig that, and zig and zig and zig, spend enormous time, and get frustrated.
Please keep in mind, always, if you have a bigger tool, grab the bigger tool. Always. Then, having to go smaller, you get a medium tool. And the smallest of the smallest, that is only when we are doing details.
| What I call it | Width across the blade | Where it earns its keep |
|---|---|---|
| Big | 80 mm, about three and one eighth inches | Takes bulk off fast, and it will still carve a small detail |
| Medium | Around 20 mm, three quarters of an inch | Most of the shaping |
| Small | A quarter inch and under | Detail only, and only at the very end of a job |
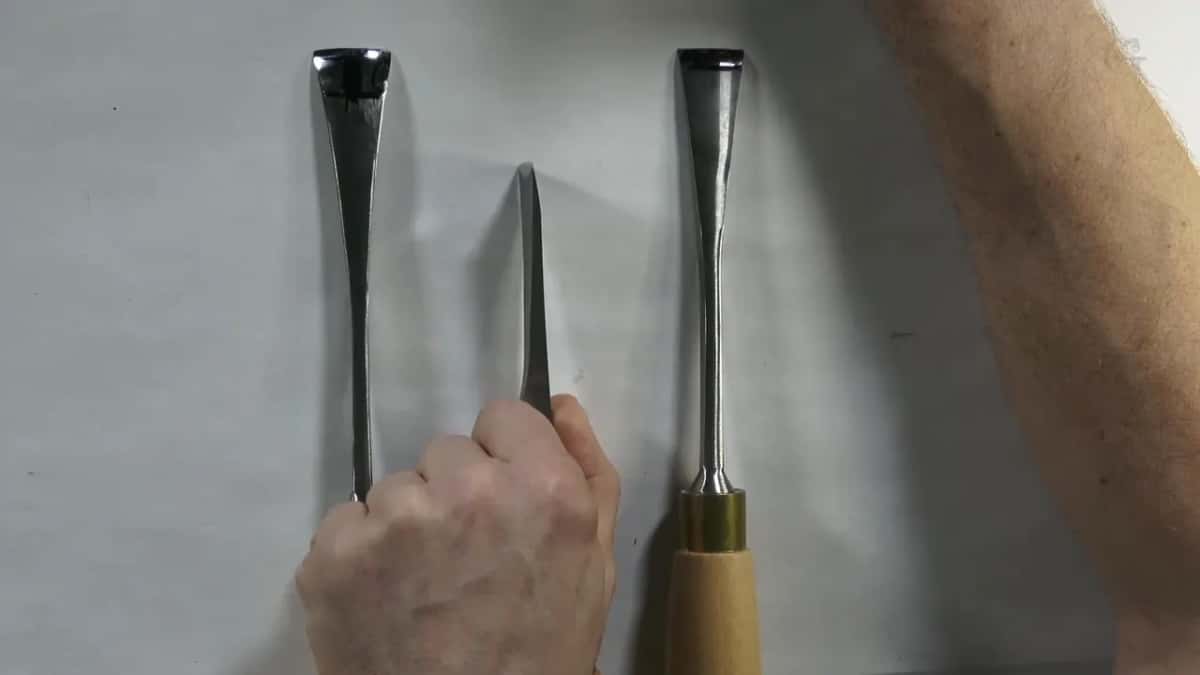
Two blades held up with a small one between them, ends toward the camera so the sweep reads.
Buying your first tools, get the bigger ones and not the smallest ones. With a big one you can still carve really small details, which surprises people every time I say it out loud. A whole course sits at All about tools for Wood Carving, plus a shorter buying guide in what to look for in a tool set.
How tools lie on the bench matters too, and this one is free. We usually put tools toward ourselves, edge first, with a space between them, because you actually read the sweep that way. Another rule, don't put too many out in front of you. I keep two, three, five at the most.
Where do my hands go while I carve?
One hand on the handle, the other riding on the blade itself, as close to the edge as it will go. The closer to the blade you hold that second hand, the cleaner the pass and the more control you have.
Second hand is always on the blade. Don't hold two hands on the handle, because it is not good and it is not right. It is not paint, like painting with a brush. Get that hand as close as possible to the edge of the tool and you will have far more control.
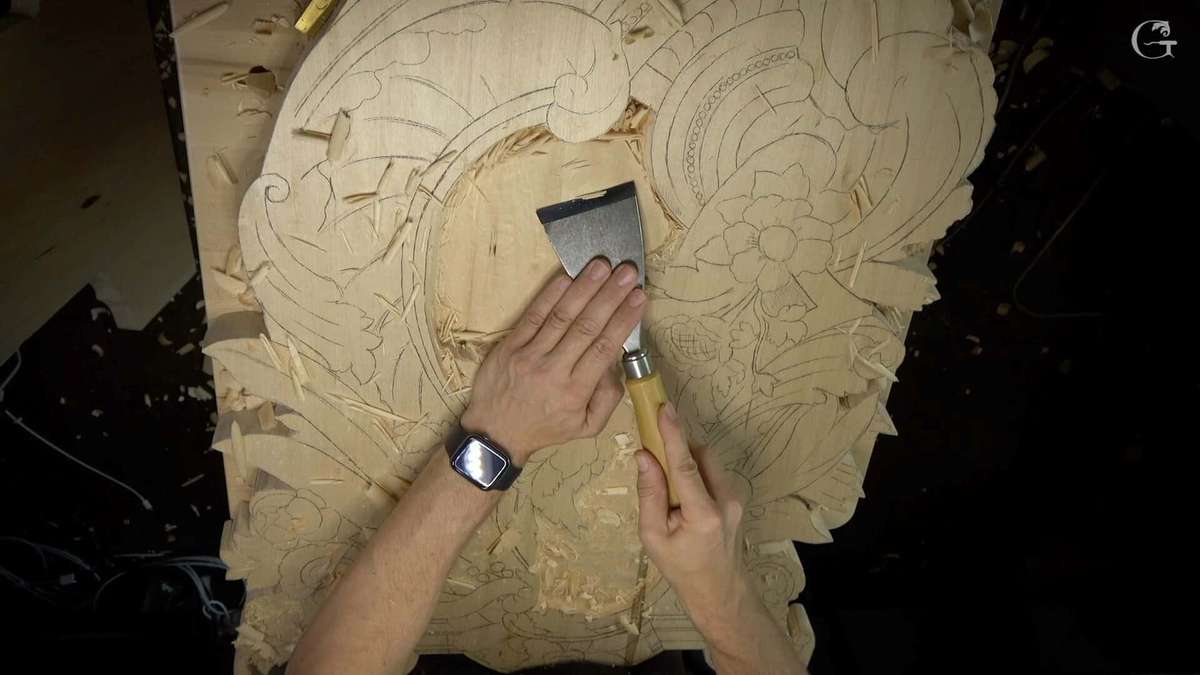
The pushing hand drives while the other rides the blade near its edge. Layout pencil is still on the panel.
Left hand always supposed to be placed solidly on something. In my case, right on the handle. It has got to be either on the background or on the piece. Do not do air carving. Airbrushing is not what I am talking about, with both hands up in the air. So that is no bueno.
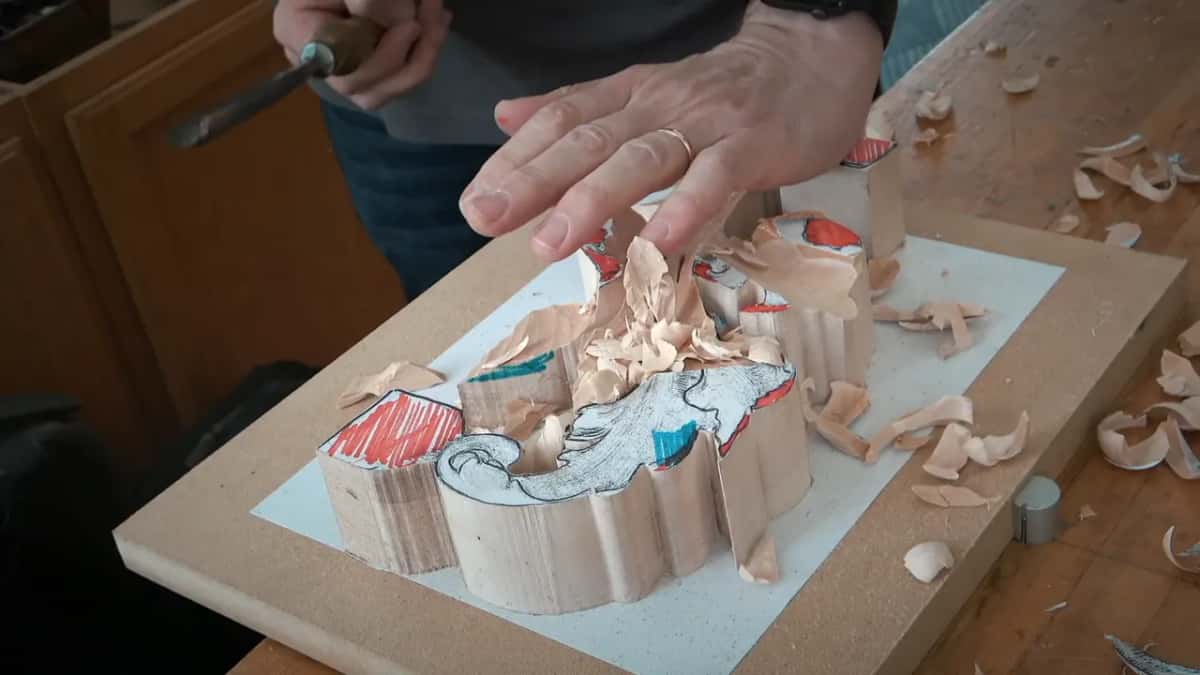
One hand flat above the work, gouge in the other, fresh shavings piled on the blank.
Pass length belongs to the same idea. I am creating really short passes, scooping out just like this, no more than about half an inch, maybe three quarters at the most, which gives me a much safer stroke.
How sharp is sharp enough?
Sharp enough that the tool grabs the wood by itself when the bevel sits flat on it. Place your hand underneath the handle, grab that, and your knuckle should almost touch the wood. Then the tool takes hold of the material.
That lands between 18 and 22 degrees, to be really technical about it. I am not measuring. My hand tells me.
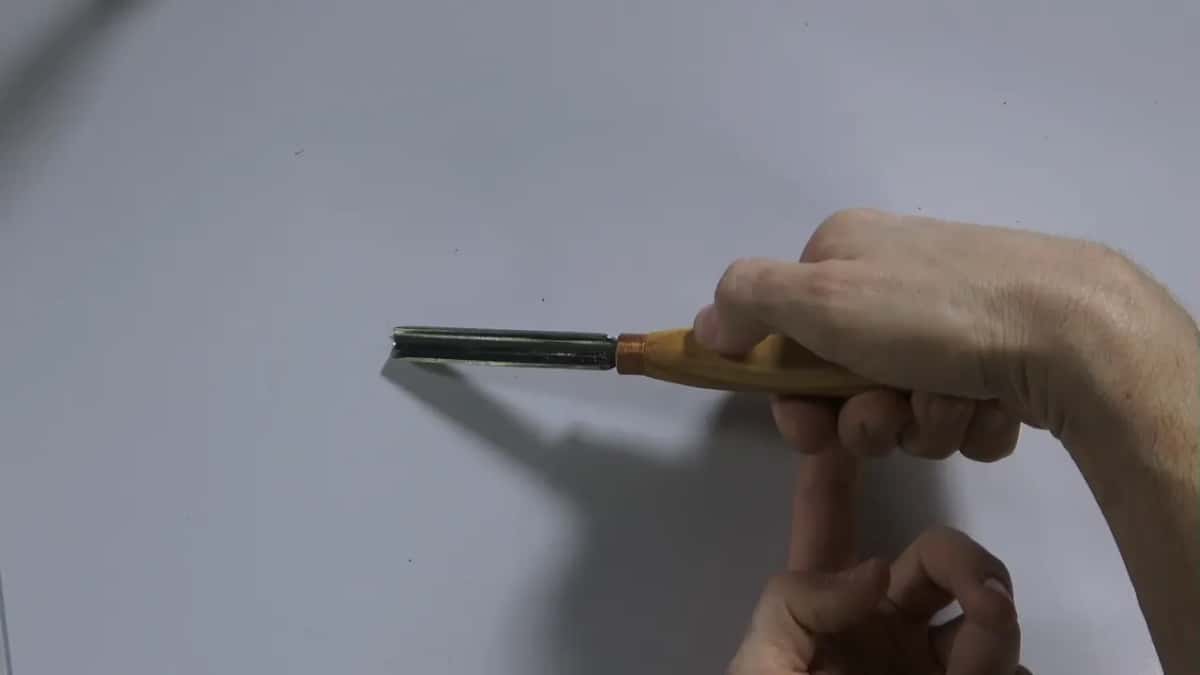
The bevel in profile, knuckle sitting just under the handle. That whole test takes a second.
In the final stage especially, every pass is a clean pass. We are not going to use any sandpaper. True masters never used sandpaper in the past. Paper rounds over what the edge just made crisp, and that rounding is the whole loss.
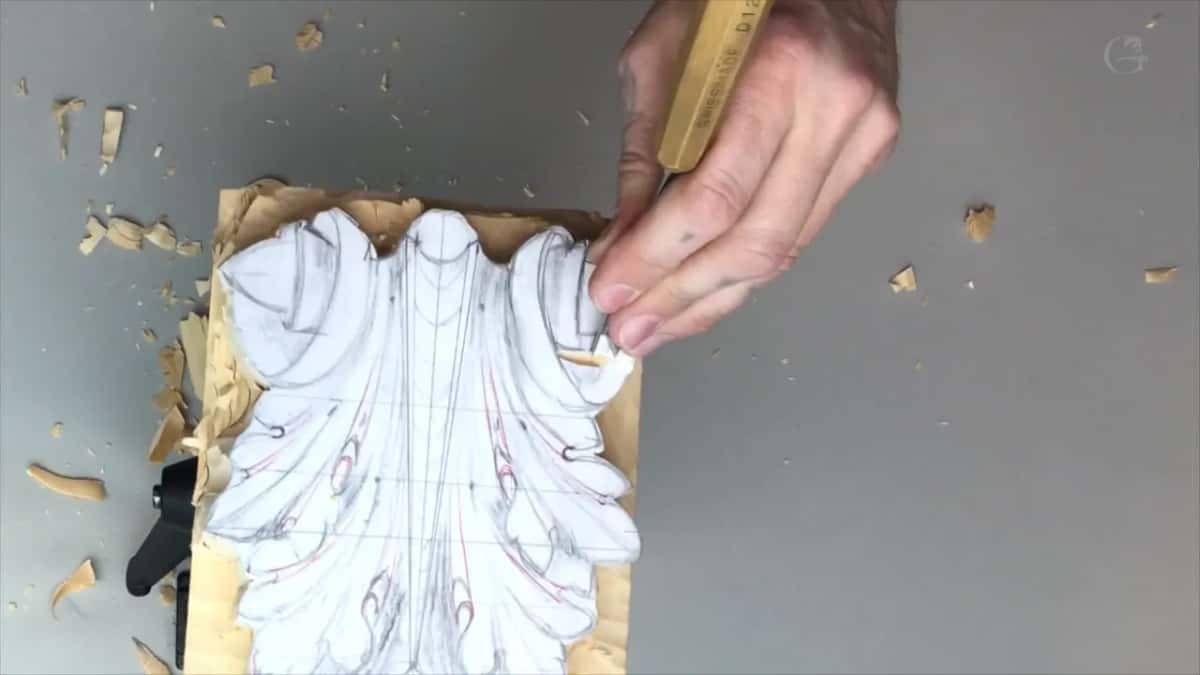
Waste taken back to the paper pattern, shavings everywhere, a Swiss Made gouge resting on the outline.
Do I need a mallet to carve wood?
I found, personally, with the mallet I have a lot more control than pushing gives me. Push with the tool and you force your whole body, and there is momentum in that push. I do not use one on a chip carving knife.
Momentum is the problem. That pass can slide and destroy the next detail before you stop it. Under a mallet the tool travels exactly as far as I told it to travel.
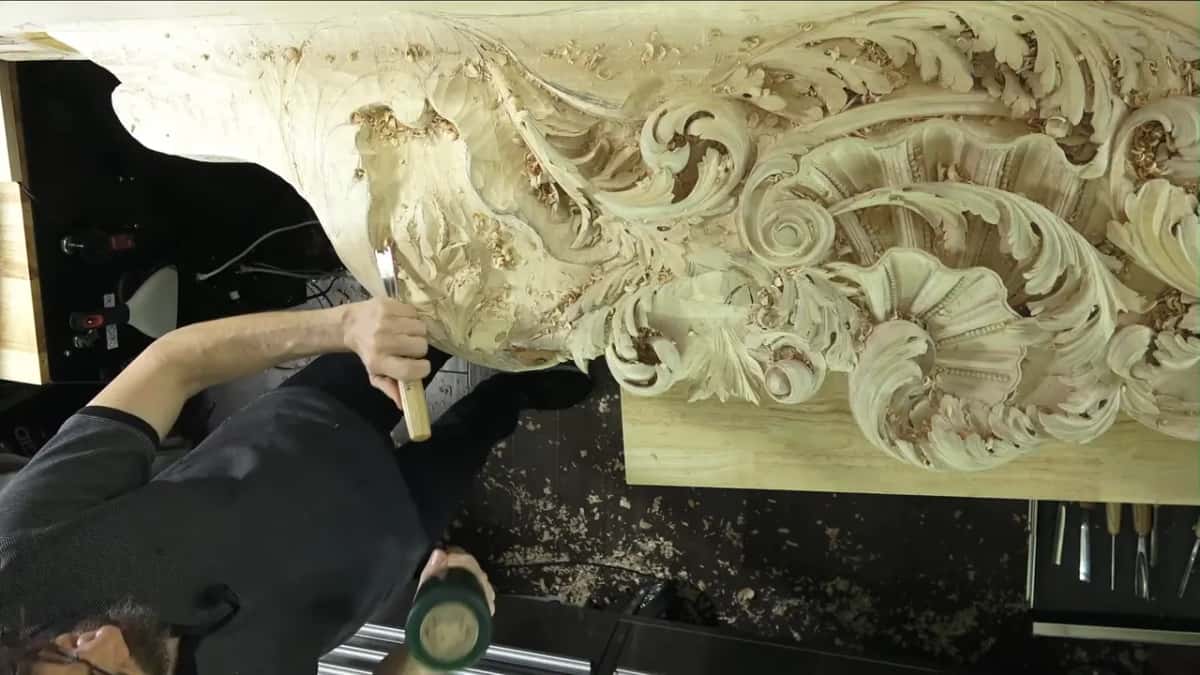
Gouge set on the line, green rubber mallet coming up. Shavings all over the black bench top.
When you bang on the tool, you are not supposed to use your whole body or even your whole hand. You are really just using your palm. Using your palm, you are not creating stress on your arm and hand and shoulder. Twenty years of that adds up in one direction or another.
Mine is a rubberized mallet by Wood is Good, which absorbs the stroke on its own. I keep a twelve ounce and a thirty two ounce, plus a half pound brass one for tapping. Whether a beginner needs any of them is answered properly in do you need a mallet for wood carving and in what a wood carving mallet actually is.
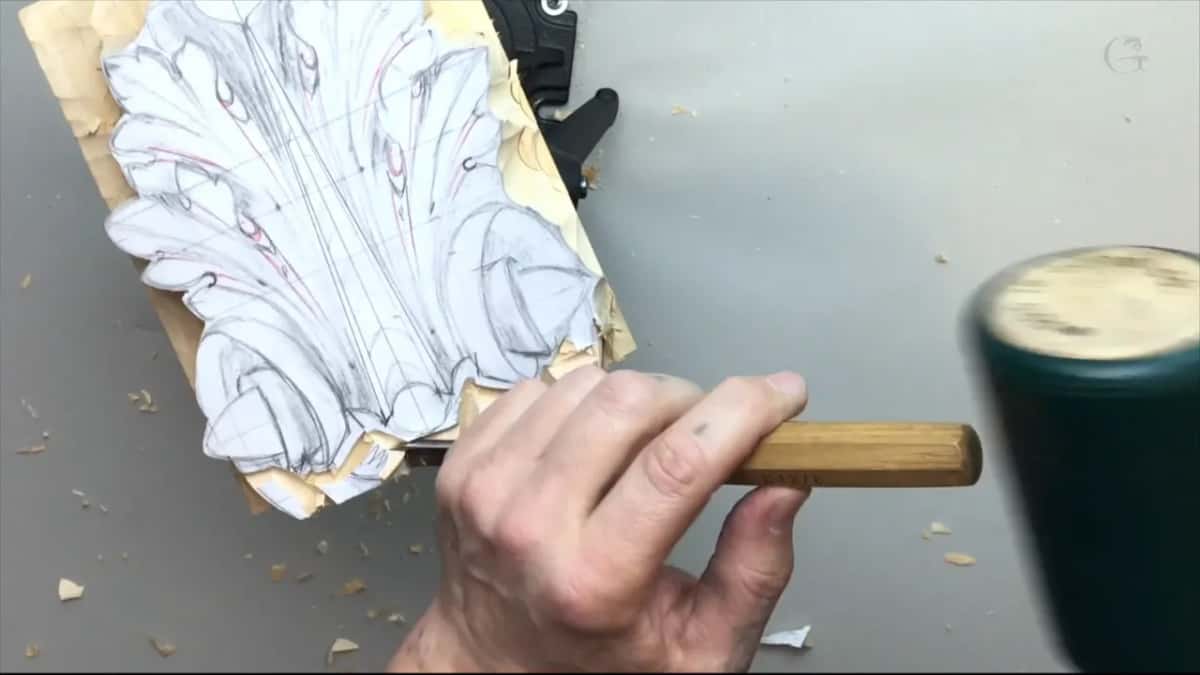
The mallet head is a blur while the work stays sharp, which is how a real stroke photographs.
Can I carve toward myself?
Never carve toward yourself unless you are a dentist. And I still carve toward myself. Every carver does it. They will all tell you not to, and they all still do it.
Here is the honest version. Having to work toward yourself, lock your elbows, put your hands right on the piece, so a slip cannot let the blade reach you, and stay a little farther back from the blade.
The other hand carries a rule with no exception at all. Working with a knife, your second hand stays away from the cutting blade. You cannot place a hand like this, in front of the steel, because a slip there will cut you really, really badly.
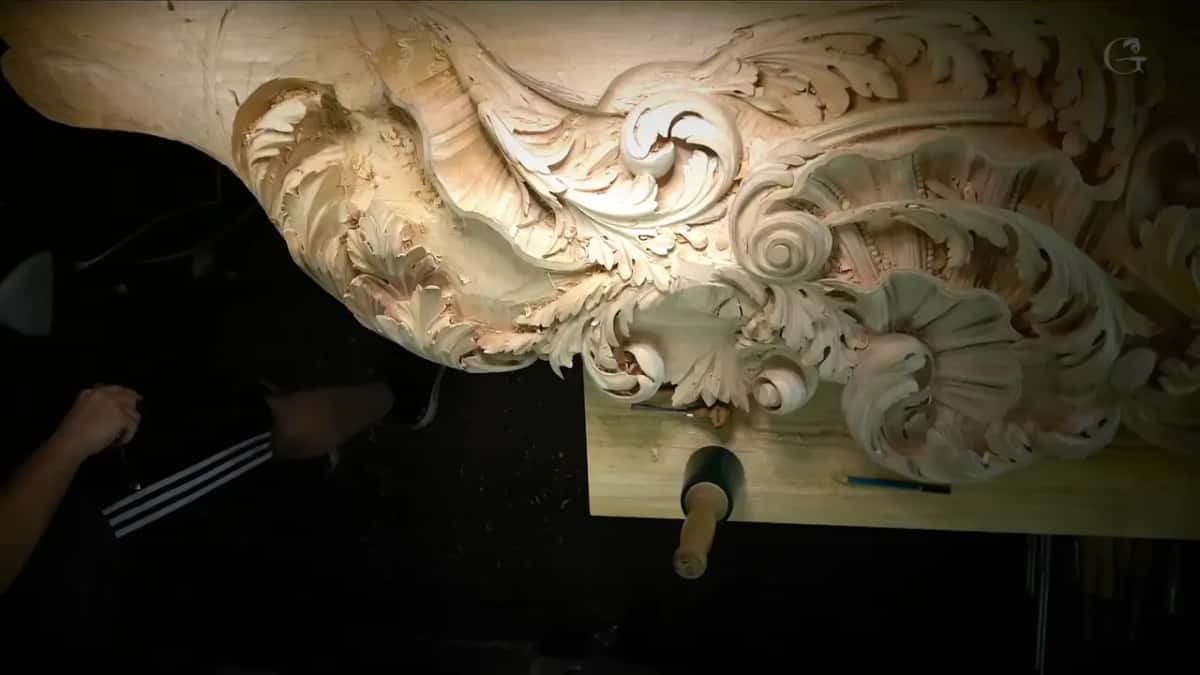
A finished frieze with the mallet, gouge and pencil that made it lying beside the work.
One more hazard has nothing to do with blades. Wood dust does real damage over years. The OSHA page on wood dust lays out why in plain language. Hand carving throws shavings rather than fine dust, one of the quiet gifts of working this way. The rest of the risk list is in the dangers of wood carving for beginners.
What should I carve first?
A row of straight notches on a plain board, then a simple leaf, then a small molding. Boring, and it works. Each one teaches your hand a single thing, so nothing has to be learned twice.
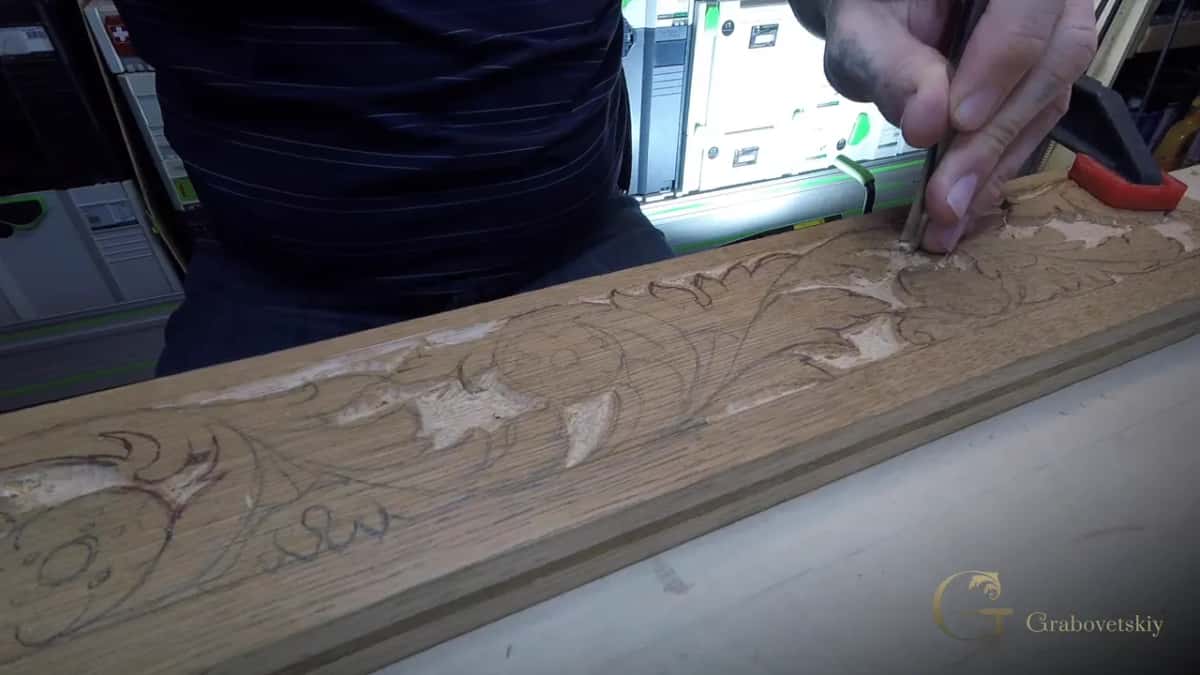
A molding is a beginner project that never stops being useful. This one is oak, clamped, drawn and half carved.
Here is my short answer on camera about which tools to get when starting out.
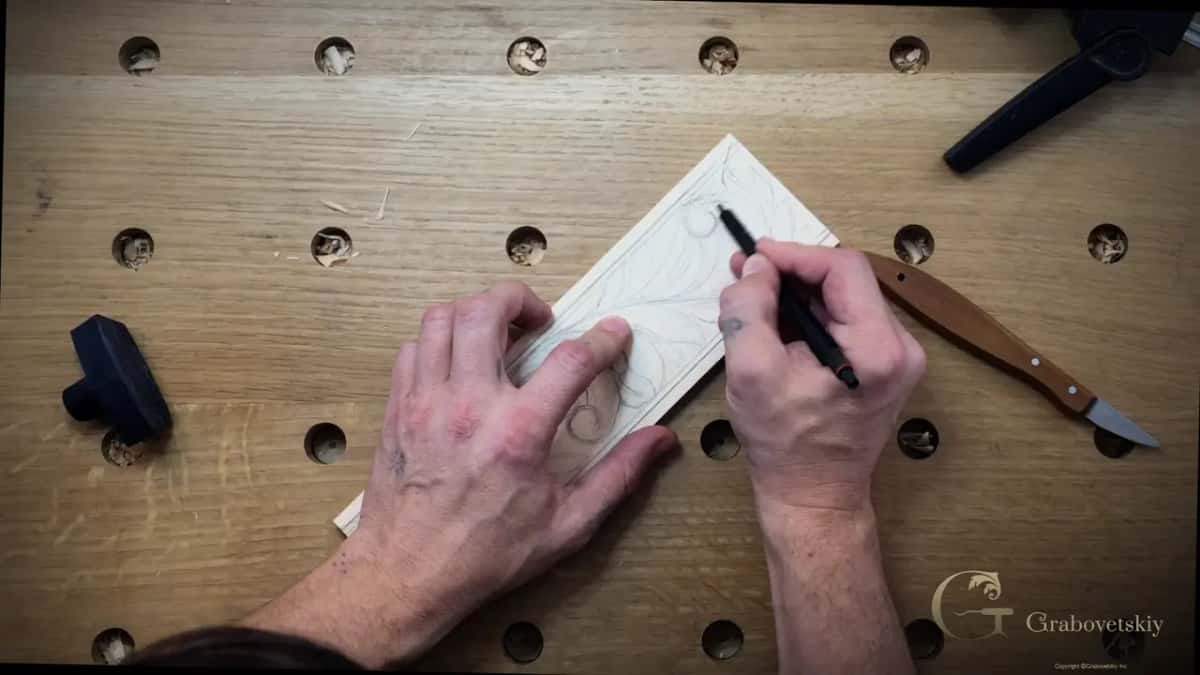
A pencil scroll going onto a small board. Knife on the right, black rubber mallet on the left.
Keep the drawing coming back. As shapes go down, lines disappear, so I redraw them on the wood again and again through a whole job. People are always surprised to see that in a video, and it is the most ordinary thing in my day.
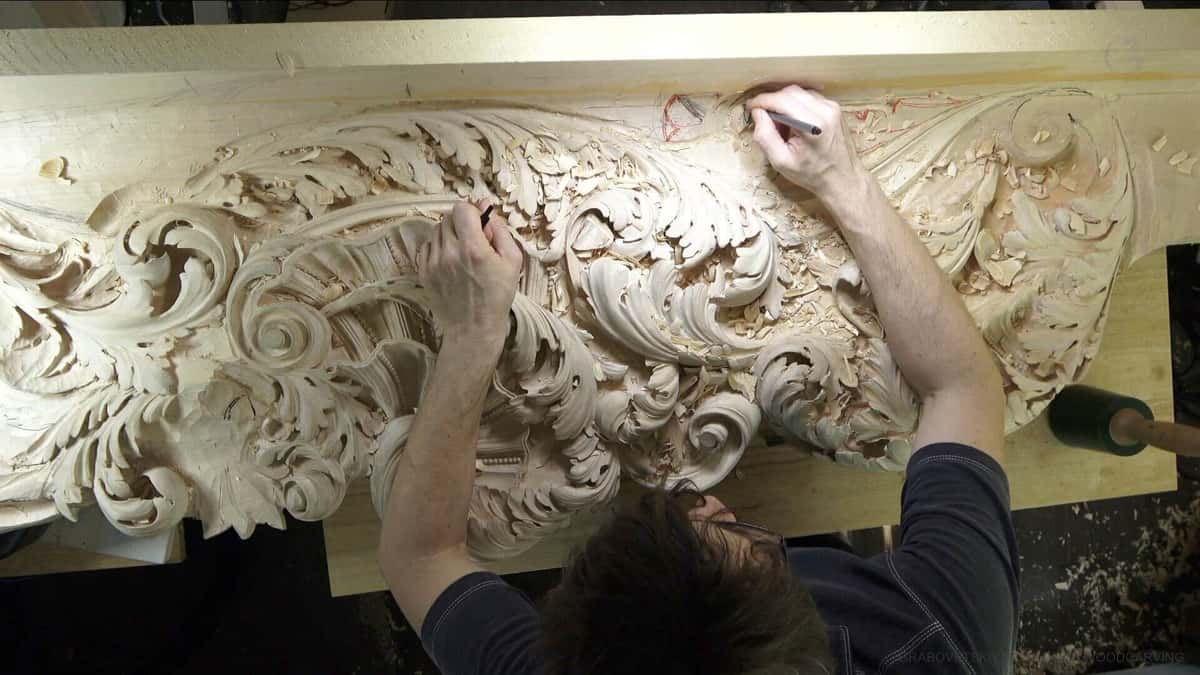
Halfway down, and the drawing is being put back on. Red and graphite over carved wood.
Wanting a target worth aiming at, go look at real work. Grinling Gibbons is the deep end, and his record is easy to find. The sculpture collection at the V and A is worth a long evening, the acanthus is the leaf running through most of it, and the general history of the craft sits in one place. To see the trade today, read Fine Woodworking and the Heritage Crafts red list. What goes on the wood at the very end is a separate craft, and wood finishing is where to start on that.
Two more honest reads before you begin. Try whether wood carving is hard and how long it takes to learn, hour by hour. Preferring to see the mistakes first, they are collected in common mistakes beginners make, and the whole first year is laid out in how to start learning wood carving.
My permission is not something you need, and more tools will not help either. What you need is somebody standing next to you saying, that line, right there, straight down. Shall we carve?
Frequently asked questions
Do I have to buy a full set of gouges to begin?
One knife will carry you through your first weeks. For a long stretch I worked with a single blade and a number seven gouge and still delivered paid jobs. The limit shows up in which shapes you can reach. Later on, when you do buy more, take the wide ones before the narrow ones.
What holds the block while my hands are busy?
Any clamp that keeps the wood from rocking. A kitchen table and one clamp got several of my early projects finished. My bench now uses screw clamps and bronze stops in three quarter inch holes, and that came out of years of paid work.
How much wood should come off in one pass?
Near three millimeters, an eighth inch. Small bites let you feel the fibre give way instead of hearing it tear. Depth travels one direction only, so a shallow pass you regret can be repeated, while a deep pass you regret is a piece of firewood.
Why is one wall of my groove smooth and the other one ragged?
Each wall meets the fibre from an opposite side, so one has support underneath and one has none. Nothing your wrist does will fix the ragged wall. A freshly stropped edge gets you most of the way, and turning the board around does the rest.
Should I sand a carving when I finish it?
Put the paper away. In the last stage every pass has to leave a surface you would sign your name to, and the old masters worked that way with nothing else available. Sandpaper softens the crisp edges your tool just made and it packs the grain with grit.
Is it normal to feel slow at this?
Painfully normal, and it stays that way a while. Your hand is learning depth and angle, which no amount of reading hands over. The ones who give up are usually the ones who reached for a tiny tool and stayed on one corner.
Filed under
- beginner projects for wood carving
- beginner wood carving chisels
- benefits of carving gloves
- best types of wood for carving
- carving tools for softwood vs hardwood
- do I need a mallet for wood carving
- how to choose wood for carving projects
- how to maintain carving knives
- how to start wood carving as a hobby
- importance of a strop for tools
- maintaining your carving tools properly
- needed gouges for beginners
- sharpening tools for wood carving
- techniques for beginner wood carvers
- tips for carving detailed designs
- using a carving bench effectively
- what is the best knife for wood carving
- where to find carving tool sets
- Wood Carving Basics
- wood carving mistakes to avoid
- wood carving safety equipment tips