
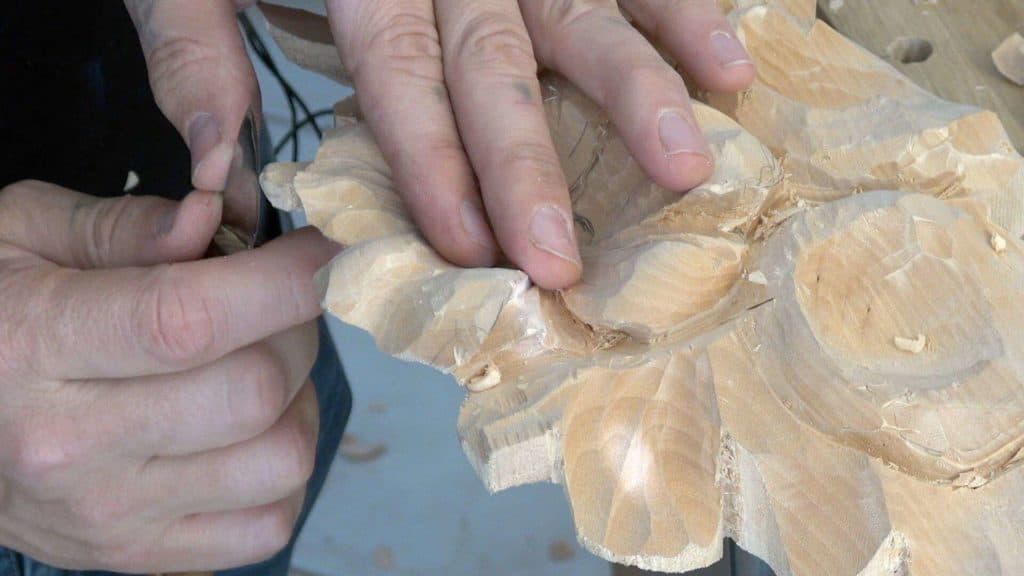
Alexander Grabovetskiy, woodcarver, School of Woodcarving · Published 2018
Can you add a leaf to a carving that was not in the drawing?
Quick answer: Adding to a carving as you go is normal practice, and a leftover scrap is the usual reason. Undercut one side of a piece the roughing left behind and it reads as a leaf coming out from under its neighbour. Anything added must behave the way a real plant does.
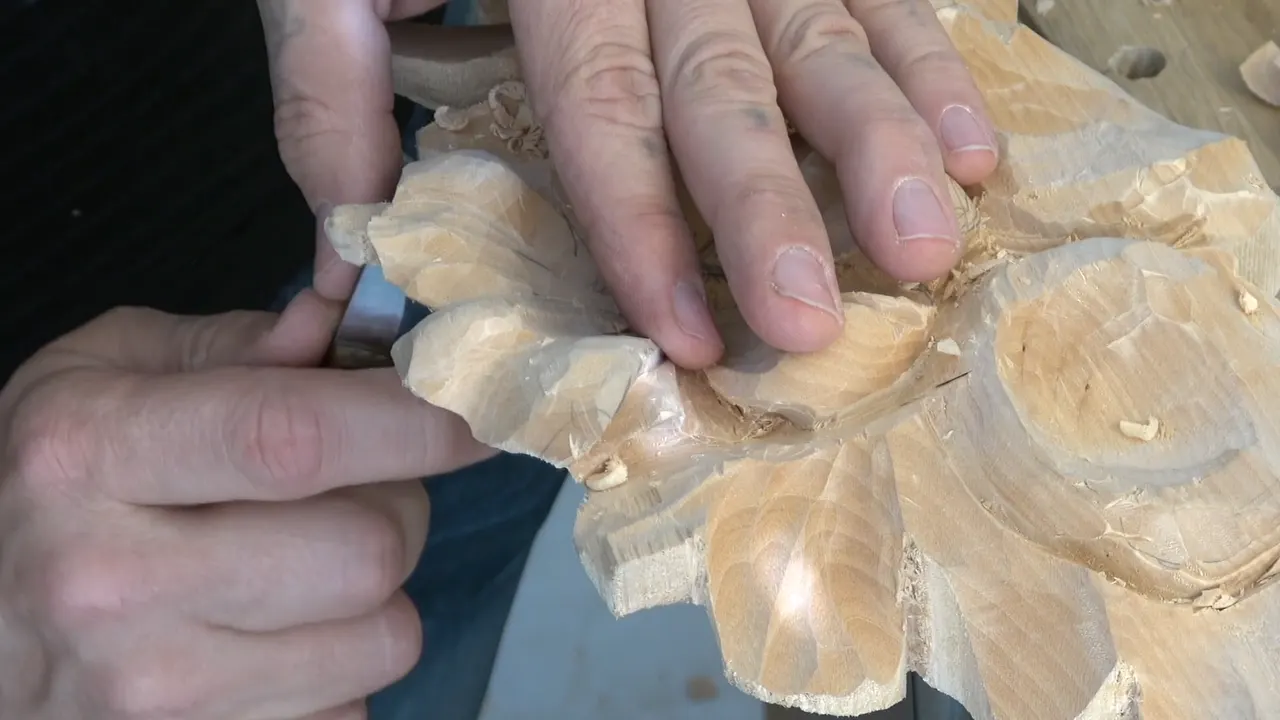
Yes, and on this flower I did exactly that. A scrap of wood was left standing where the drawing asked for nothing, too small to be a petal and too awkward to cut away. So I made it into a little leaf growing out from underneath, and now it looks like the plan all along.
Have you ever reached the detail stage and found a lump of wood nobody accounted for? Did you cut it off, or did you stare at it for a while? Wood that is already there is free material. Removing it costs you something you cannot get back, so the first question is always whether it could become something.
Lesson 31 of the Hashemi flowers panel finishes the first ring of the big flower that got its petals in lesson 30. Undercutting, blending, the smallest gouges in the rack, and a great deal of standing still and thinking.
What the drawing cannot tell you
- Whether a petal can be reached under at all, and how far, before the wood behind it runs out.
- Which gouge fits.
- Whether a subdivision wants to be equal or deliberately lopsided, which only becomes clear once the neighbouring shapes exist in three dimensions.
- What to do with a scrap nobody planned.
- How much shadow is enough.
Can you add a leaf that was not in the drawing?
Wood decides that, not paper. A drawing is a plan for a flat surface, and by the time a panel has real depth in it there are places the drawing never predicted, so a carver who refuses to change anything ends up fighting his own pattern. I add small things constantly.

The rule I hold to is that anything added has to belong. A leaf coming out from beneath its petal belongs, because leaves do exactly that on a real plant. A shape invented purely to use up spare wood does not, and it shows immediately, in the same way a wrong note does.
Nothing about this is modern. The carved ornament that survives in old houses is full of decisions that can only have been taken with a tool already in hand. Walk right up to any of it and look at how little actually repeats.
Where did that leaf come from?
Left over from earlier work. A tiny piece had been sticking up since the roughing stage, surrounded by shapes that had been cut down around it, and I had passed it several times without deciding anything. It was too small to matter and too present to ignore.

Undercutting it was what gave it away. Once I had reached under one side, the piece read as though it came from somewhere behind, and a leaf was the obvious thing it wanted to be. A knife tidied it and that was the whole job.
Small additions like that do more for a panel than people expect. They break up the repeat, they give the eye somewhere unexpected to land, and they cost nothing at all. The first time a student does it on purpose is usually the moment a panel stops being a copy of something.
Look at Grinling Gibbons for the extreme version of this. His foliage carries peapods, birds and small creatures, and an open peapod is said to have been his own mark. The sculpture rooms at the V and A are where I would go to see it properly.

How much of a flower gets settled at the bench?
Most of it, once the count is fixed. The drawing decides how many petals and roughly where they sit. Everything after that is judgement made standing in front of the wood, which is why I say on camera that it is up to you, then correct myself and say it is up to me.
| Decision | Settled | Why |
|---|---|---|
| how many petals a flower gets | on paper, before anything | the count has to work before any wood moves |
| which petal lies on top | with a tool in hand | it depends on the angle you happen to be looking from |
| the depth of an undercut | only once the wood says so | limited by whatever thickness is left behind the cut |
| an extra leaf | at the bench | when the roughing leaves a lump the drawing never mentioned |

Depth, waste, light, shadow. Those four questions run the whole stage and not one of them has a single answer. A carver who wants to be told exactly how far to go will be disappointed by flowers, and a carver who enjoys deciding will find this the best part of the course. Rushing it is the one real danger, and I argued about that in lesson 18.
Subdivision behaves the same way. I split the ring into eight, and deliberately not into eight equal pieces, because equal parts are what a machine produces. The five and eight counting rule I went through in the last lesson sets the number, and the eye sets the widths.

What is a blending cut?
A shallow concave that makes one shape flow into the next. Before any undercutting I take a small 9 and put a gentle hollow where the two forms meet, which softens the junction, and only then does the V tool go in underneath. Blending first, undercutting second, the same order I used on the socket work.

Doing it the other way round leaves a hard step. Undercut a junction that has not been blended and you get a shadow line with a sharp corner above it, which reads as two pieces of wood rather than one plant. The order matters more than the tools do.

Blending is also how a section gets extended. I pulled one small piece further under its neighbour with a blending cut, giving me more length to work with than the drawing had offered. Nobody standing in front of the finished panel is ever going to find it.
Why turn the work instead of the tool?
Your wrist has limits and the vise does not. Partway into the undercutting I stopped, changed the angle of the whole piece on its post, and carried on with the same gouge in the same grip, which was easier and safer than bending my hand into the position the wood was asking for.

Awkward angles are where slips happen. A cut made from a comfortable position goes where you intend, and a cut made with your elbow up in the air goes wherever the tool decides. Turn the wood.
Flipping a gouge upside down is the other half of it. A number 5 held with its hollow face down will reach into places the same tool cannot touch the normal way up, and that single habit removes most of the need for bent tools on work like this. Half of what I know about relief carving rests on that one trick.

Which gouges did this one flower need?
Seven, and the smallest of them is tiny. A 5 at 6 mm did most of the shaping on this flower, a deep 9 at 3 mm put the curl into an edge, and a 7 at 20 mm refined the long movements. One veiner half a millimetre wide reached the places none of the others could.

That last one is a veiner, half a millimetre across. Its label appears on screen as a number 11 by Lamp. It takes a shaving you can barely see, and nothing wider will physically enter the corner where a deep shadow has to be cut. Sharpening one is a skill of its own.

A knife works alongside them. Mine is a Pfeil number 12 and it reaches deep excavations that no gouge handle will clear, and I used it for the preliminary cuts under two petals here before the gouges followed. An excellent tool, and nothing like the beginner toy people assume it is.

When is a sweep too much?
When the curve of the tool is deeper than the curve you want. I picked up a 7 to blend a transition on this petal, felt it cutting a hollow rather than a slope, said out loud that it was too much of a sweep, and swapped to a 5 at one inch. The cut came right immediately.

Matching sweep to shape is guesswork at first and instinct later. Lay the tool on the surface and look at the gap under it. If daylight shows at the corners the sweep is too flat, and if the corners dig in before the middle touches, the sweep is too deep. Makers stamp the number for a reason.
Nobody gets this right from a chart. You get it right from having been wrong about forty times, and the tool you reach for stops being a decision once you have been at it a while. I still pick up the wrong one now and then, on camera, and I leave it in the video, and the same reason the slip in lesson 11 is still there.
Grain pushes back too, and a tool that felt right a moment ago can start tearing. When a gouge meets grain running the wrong way it stops slicing and begins crushing, and you feel it in your shoulder before you see it in the surface. Come at the same spot from the other side instead of leaning harder on the tool.

What does a carver actually mean by be creative with it?
Four questions, answered by you rather than by me. How deep will you go, what comes away, how far will you reach in underneath, and what shadow do you want the finished thing to throw. I say it twice in this lesson because students keep waiting for a number.

There is no number. Two carvers working the same drawing, the same wood and the same tools will hand you two different flowers, and both can be right, which is uncomfortable for anybody who came to carving from engineering. The acanthus has been carved for well over two thousand years and no two are identical.
What I can give you is the limit. Go as deep as the wood behind will carry, never deeper, and stop when the shadows do the job. Past that point extra passes start evening out the surface you spent the morning making uneven, the mistake I watch most often in the roughing stages.

Creative does not mean careless. Every movement I put into this ring follows the way a real petal sits, and the freedom is in the amount, never in the direction. Get the direction wrong and no amount of fine work rescues it.
What happens when the pencil wears off?
You redraw, or you carve blind. Halfway through this flower my pencil lines had gone, and I said so plainly, because every pass with a gouge takes some of the drawing with it and by the middle of an afternoon a board can be bare of everything decided that morning.

Redrawing on a shaped surface is harder than on a flat one. The pencil skips across the facets, the line lands in the bottom of a hollow where you cannot see it, and a marker sometimes works better. I keep several within reach and use whichever grips.
What I will not do is guess. A wrong line on a flower this far along costs a petal, and the wood does not come back. Two minutes with a pencil beats an hour with a glue pot, and a patch glued into a panel is never as good as the wood it replaced. Judging a line by eye is a separate skill, and I took it apart in lesson 9.

Where this leaves the panel
One flower with its first ring finished, and I went badly too deep inside it in one place, which I said on camera at the time. Most of that will be hidden under the layer glued in later, and that is the only reason it does not matter. Lesson 32 does the same work on the rest.

Every facet and every tool mark makes this flower better looking, in my opinion, and you are free to hold a different one. Nothing here is sanded. The light lands unevenly across the surface and the flower changes as you move, which is the whole reason I carve it this way.

Be creative with it. Put in as many movements as you want, go as deep as your wood allows, and stop once the shadows do what you were after. That freedom is what separates ornament from joinery, and it is the real subject of lesson 24.

All 49 lessons of this panel sit behind tuition at the school, carved in basswood, which is lime under its other name.
How it's done
- Leave the scrap alone at first. Do not cut away an unplanned piece of wood the moment you notice it. Carry on with the surrounding shapes and come back once they have real depth.
- Undercut one side of it. Reach under a single edge with a V tool or a knife. The piece will start to read as though it comes from behind the shape next to it.
- Give it a plant's logic. Make it a leaf emerging beneath a petal, or a stem passing behind one. An invented shape with no botanical reason shows at once.
- Blend before you undercut. Put a shallow concave where the new shape meets its neighbour with a small deep gouge, then take the V tool underneath. Blending second leaves a hard step.
- Turn the work, not your wrist. Change the angle of the whole piece on its post rather than bending your hand into an awkward position. Cuts made comfortably go where you intend.
- Tidy with a knife. Finish the new shape with a knife, which reaches deep excavations no gouge handle will clear. Two minutes is usually enough.
Frequently asked questions
Is it cheating to change a carving from its drawing?
Far from it. A drawing is a plan for a flat sheet, and a panel with depth in it always presents places the plan could not predict. Old shops worked the same way, which is why so little repeats in surviving ornament.
What makes an added shape look wrong?
Inventing it purely to use up spare wood. A leaf that comes from under a petal has a reason to exist. A shape with no plant logic behind it reads as filler, however well it is carved.
How small does a carving gouge get?
About as narrow as they come is the 0.5 mm printed on the label of mine. A veiner that fine takes a shaving you can barely see, and it is the only thing that will physically enter a deep corner to cut a shadow.
What to carve next