
September 2, 2024 · Updated August 23, 2026
By Alexander Grabovetskiy — Master Woodcarver · Founder, School of Wood Carving · 20 min read
How long do wood carvings last?
How long wood carvings last is set by the room they live in, not by how well they were carved. I have stood in old German churches and English palaces in front of 15th and 16th century limewood, and it still looks nice and fresh.
You came here for a number of years. I do not have one, and I will not invent one for you.
What I have is better than a number. The work is still on the wall. I can put my face close to a leaf carved in the 15th century and see exactly how it held, and so can you, and so can the people paid to look after it. Evidence like that beats any figure I could type.
Ask this question and somebody hands you a ranking of woods, hardest at the top. Hardest lasts longest, they say, so buy the dense stuff. Then you go and look at what actually survived, and the ranking falls apart in your hands.
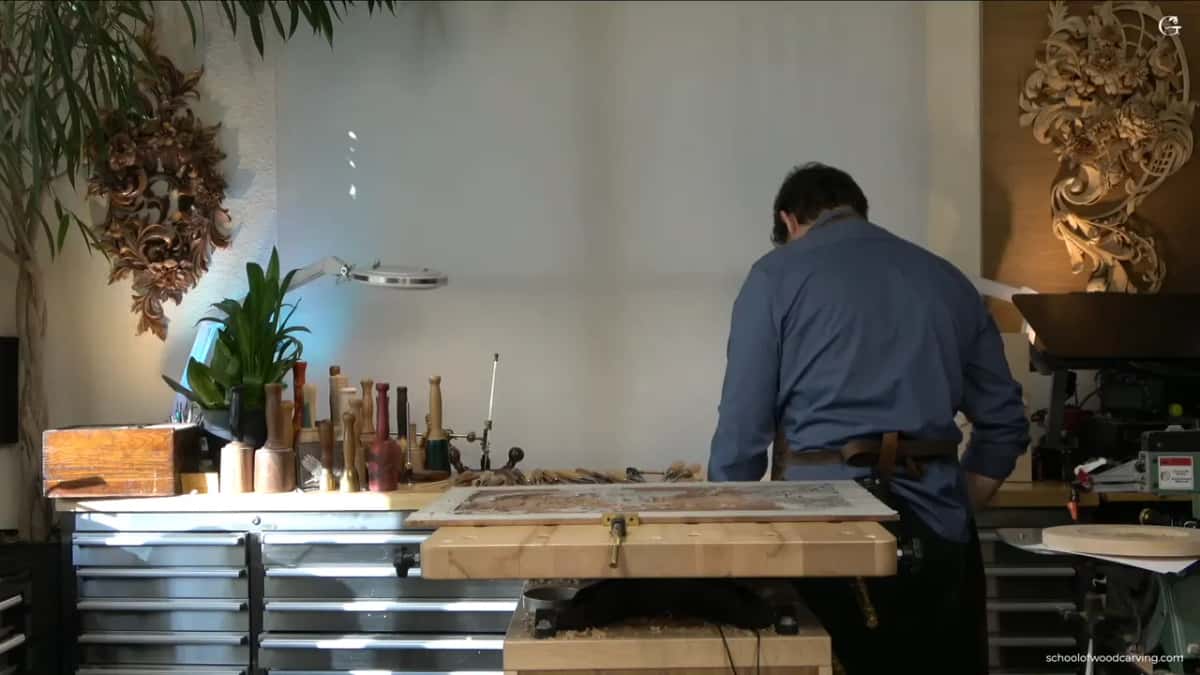
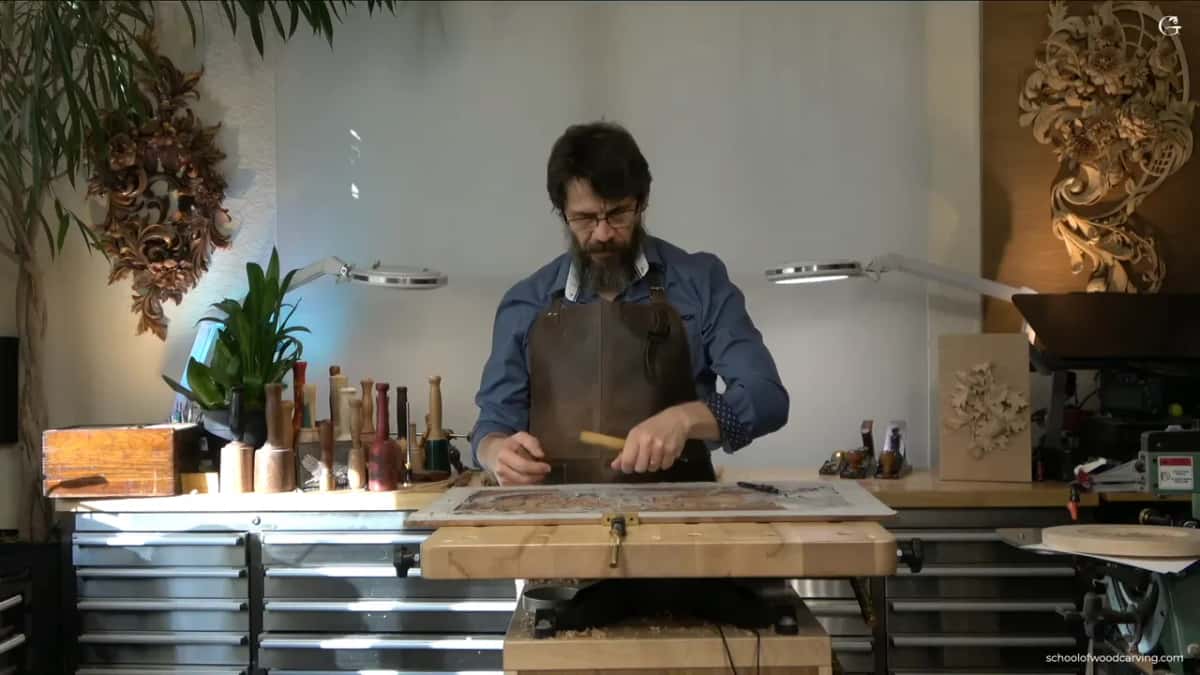
My shop on an ordinary working day, lit from one side.
Here is what I would want somebody to tell me first, if this piece were mine.
- Centuries is the honest answer, and the evidence is work still hanging in old churches.
- The room does the deciding. Damp air, hard light, beetles, bare wood left unsealed and a badly chosen finish do the damage.
- Limewood is soft and low in density, and most old church carving is made of it anyway.
- Deep undercut work is no weaker on a wall piece. Grinling Gibbons carved very deep and most of his work is whole.
- Screws and glued layers are old practice.
- Body oil is not the problem you were told about. Wood goes dark from oxidation, even under clean hands.
- A finish that holds is one you picked for the room the piece will live in, never for the photograph.
Where does a carving's real lifespan come from?
The room decides how long a carving lives, and the wood species barely gets a vote. That sounds backwards. Read it against the surviving work and it stops sounding backwards very fast.
The most famous carving in the V and A is a limewood cravat. The Victoria and Albert Museum dates it to about 1690 in London, one block, cut life size in imitation of Venetian needlepoint lace. The museum's own article says the whole thing weighs less than 150 grams, no more than an apple, and that it has held people's attention for over three centuries.
Now think about what that block is. Limewood is a soft wood with low density. The Wood Database gives basswood, the American side of the same family, about 410 lbf on the Janka hardness number, against 1,350 for white oak. The laboratory chapter on mechanical properties calls density a good index, not a guarantee. For the mechanism behind those figures, go to the page on how hardness and strength really behave, and the species page for basswood covers the working side.
So the softest block on the bench is still standing after three centuries. Indoors did that. Dry, out of the sun.
Gibbons himself called limewood the queen of all woods. He was not talking about toughness. Limewood holds a fine edge on a petal and does what your hand tells it to, which is a different argument entirely.
What does a 500 year old carving actually look like?
A limewood group carved around 1505 has worm holes plugged with wood and an inscription recording a repair in 1817. I would rather you saw a museum record like that than a promise from me.
The piece is Tilman Riemenschneider's Mary Salome and Zebedee, carved and glazed limewood, made in Wurzburg about 1505 and standing 120 cm tall. The record does not tidy up its history. It says the figure was seriously worm infested at some point and the holes were filled with wood plugs. Somebody in 1817 wrote the repair into the piece itself.
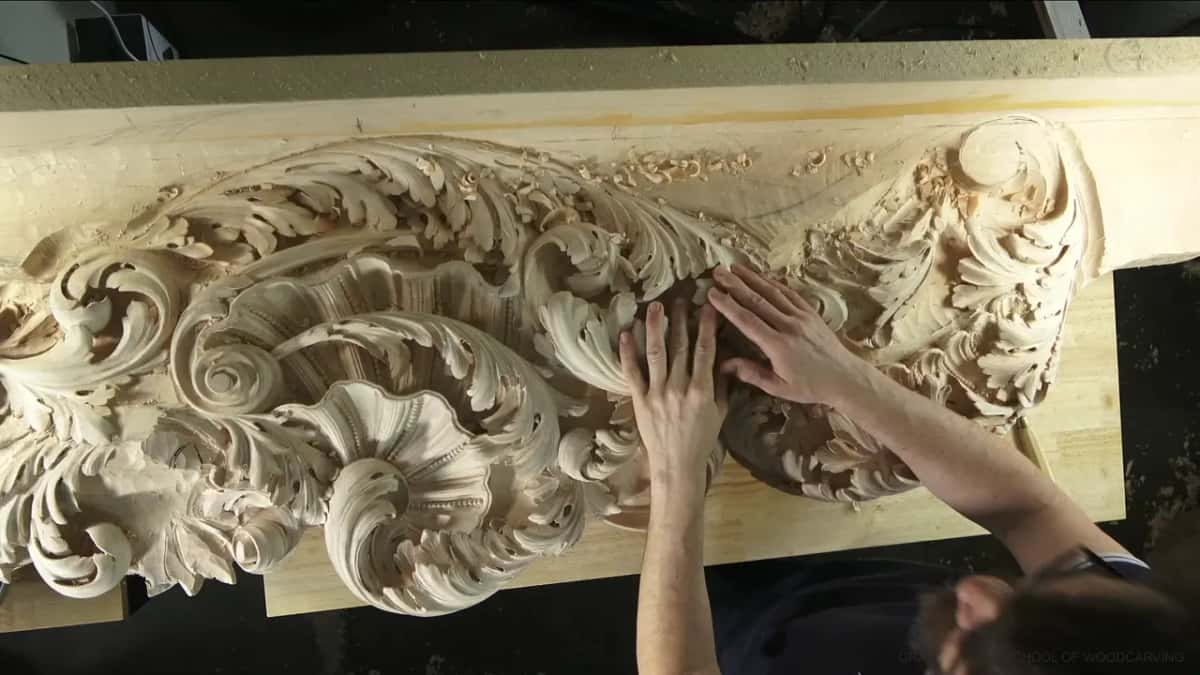
Sometimes the hand tells you more about a surface than the eye does.
Read the record twice and you have the whole story of a long lived carving. It was attacked. Somebody mended it. The figure is still standing in a public gallery today.
All of which matches what my own eyes see. Walk into an old German church, or into the English palaces, and the 15th and 16th century work is limewood, and it looks nice and fresh. Not pristine. Fresh the way a face is fresh, with the history sitting right on it. I wrote more about that surface on Riemenschneider's unpainted limewood.
Nobody in 1505 was reading a hygrometer. What that figure had instead was a stone building with a slow, steady climate and no window burning onto it.
Is deep undercut carving weaker?
Deep undercut work is not the weakness people think, provided the piece is not being handled, and Grinling Gibbons is the proof I keep coming back to. There is a logic behind the usual warning, and I understand it. The thing will be used, people touch it, and you can break it.
Then look at Gibbons. He carved really extremely when he was alive. He was extreme on all the undercutting, and his carving is still there. It is not broken. Some of it probably is, but not much of it, and a warning that survivors keep ignoring is worth less than it sounds.
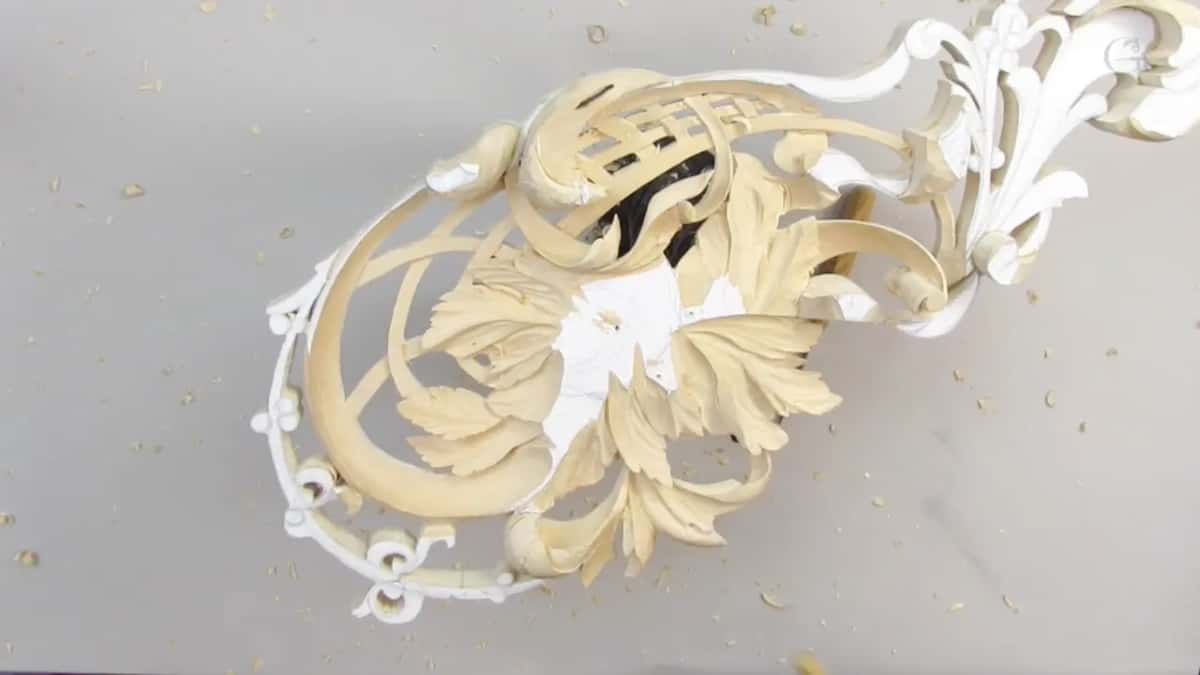
The Victoria and Albert Museum, which holds a rich variety of his work, dates him 1648 to 1721 and calls him Britain's most celebrated carver in wood. When a modern carver recreated a section of that cravat for the museum's film, the block was measured and outlined first and then shaped over about two weeks. Careful setting out, then very deep work. Order like that matters, which is why I make people plan the design before touching wood.
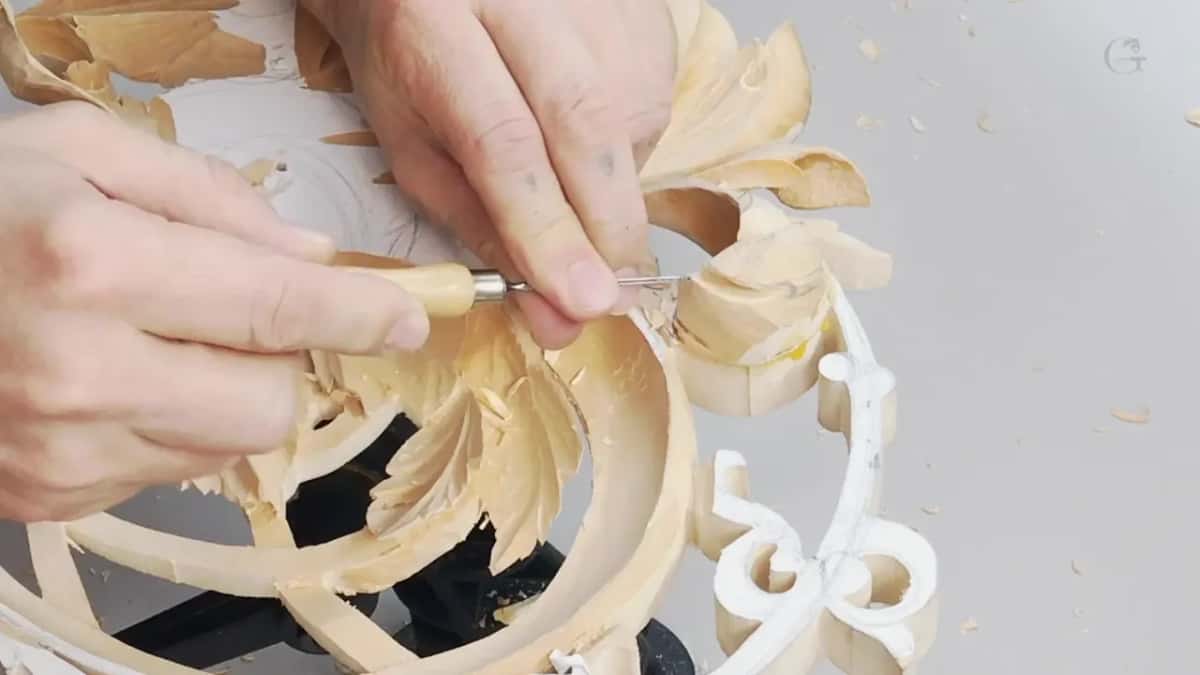
A thin part that needs holding gets stabilized at the bench. I go through it in the video above, and in writing on stabilizing thin carvings.
Two more of my own reasons sit under that. A piece going on the wall is not handled all the time, so you can undercut as extremely as you wish. And when you are doing a deep excavation you are preventing movement, while less excavation leaves you a little more of it.
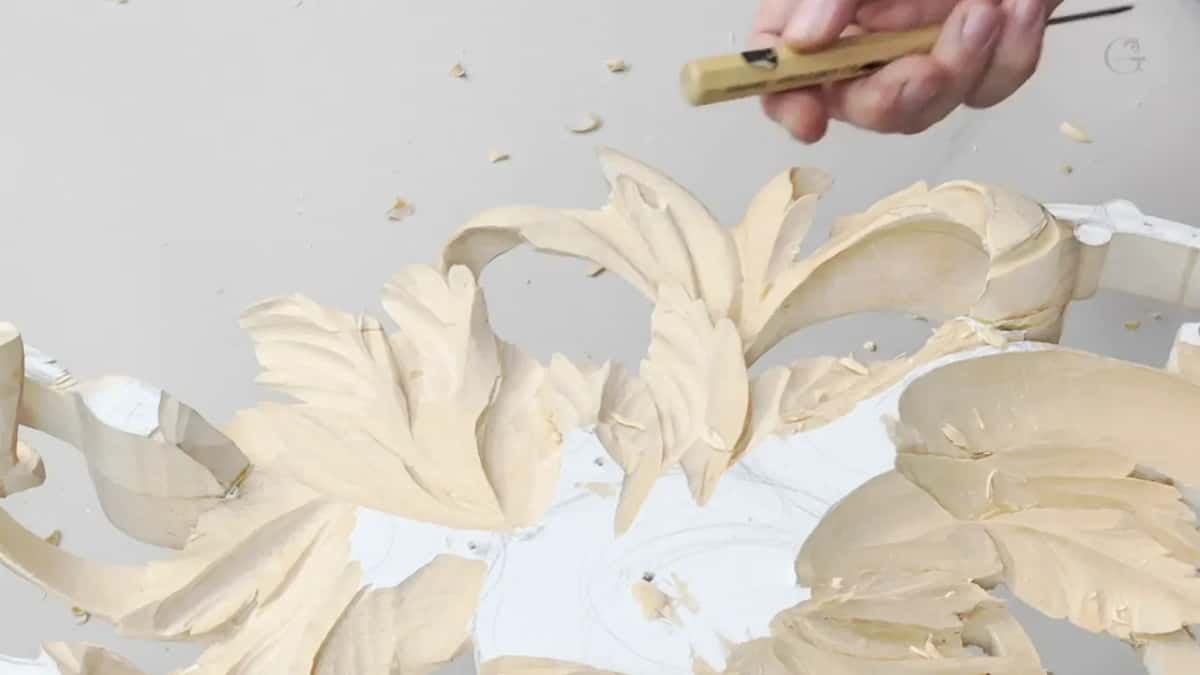
Undercutting also buys you shadow. Shadow makes a leaf read from across a room, and a flat, timid carving reads as nothing from across the room, so the safe version is not the durable one either.
Do screws and glued layers shorten a carving's life?
Fasteners and glued layers are old practice, and the finest carver in the language used them without apology. Even Grinling Gibbons, the greatest of the greatest carvers, used screws, and he had no problem with that.
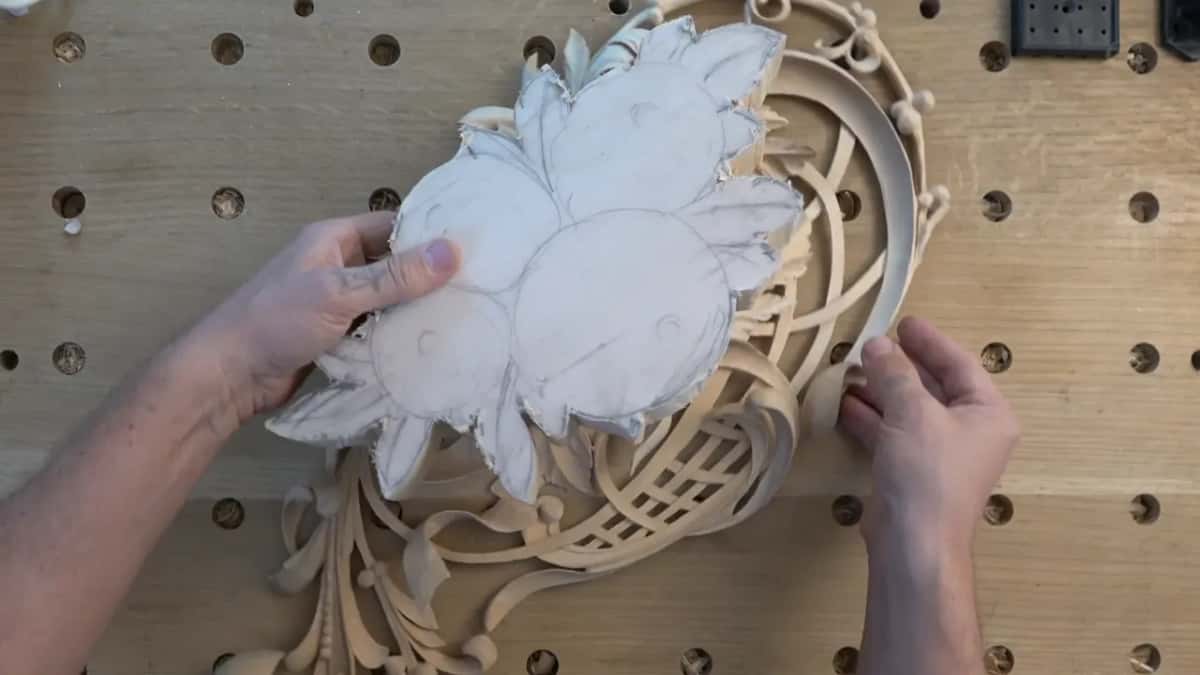
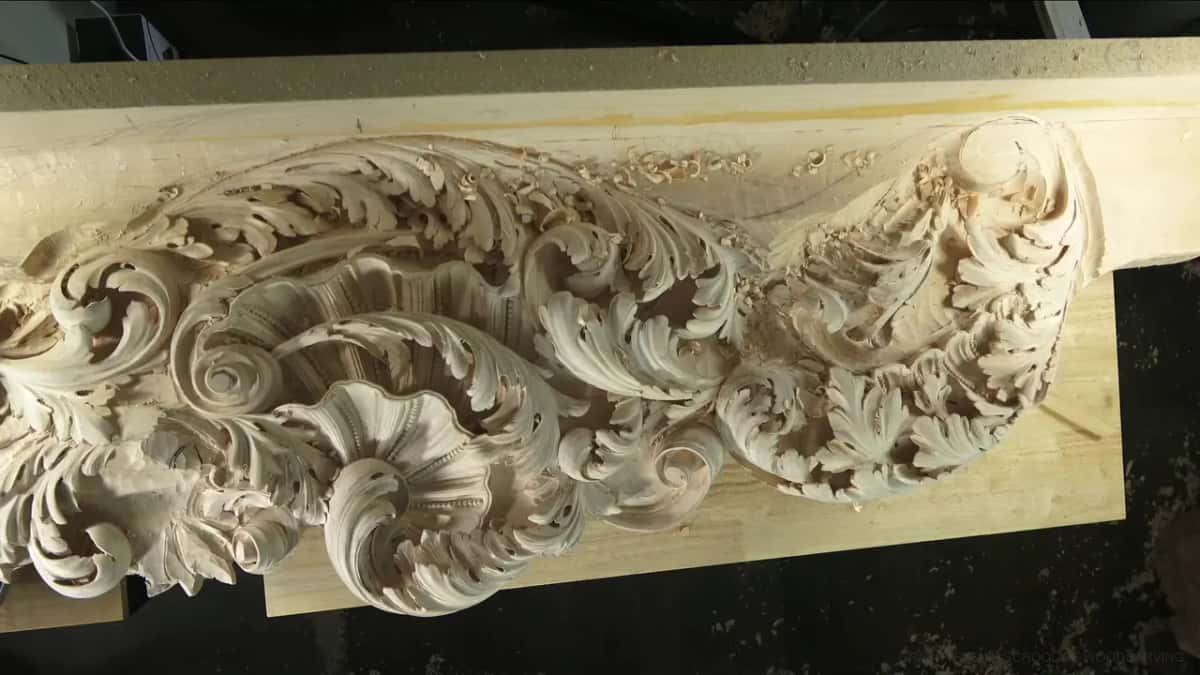
A roughed blank held up against the finished carving.
I build the same way. One piece goes right on top of the first layer, and you can still read the design through both. The alternative is a single slab thick enough to hold every level, and doing it in layers also hides the connection points, the dowels and the screws.
People hear glue and think weakness. When you glue the boards together, you are preventing that movement. I set out the trade on applied carving against carving in the solid.
One panel in my shop looks like a solid block. It is not. Look closer and there are glue lines in it, and it is staying right there with no movement whatsoever, because I altered my direction of the grain.
Why do wood carvings degrade over time?
Damp air, hard light, beetles, bare wood left unsealed and a badly chosen finish do nearly all of it. Notice that four of those five are about where the piece sits, and only one is about the carving.
| What attacks it | What the damage does inside the wood | Warning sign | What to do about it here |
|---|---|---|---|
| Damp indoor air | Fungus needs wood wetter than thirty percent | Musty smell | Move the piece to a drier wall |
| Sun through the window | Light fades the surface and never returns | Pale patch | Hang it on a wall the sun never gets to |
| Wood boring beetles | Insects tunnel inside the carved wood | Fresh dust | Take it to a conservator quickly |
| Hands on it | Oxidation darkens the wood even under perfectly clean hands | Dark sheen | Lay a paper towel over the sections you have finished |
| Choosing the wrong finish | A warm room softens wax and it runs | Sticky film | Use thin shellac driven in repeatedly |
Outdoors is a separate problem on a much shorter clock, which I handle on the page about what survives outdoors. Species choice starts to matter once a piece leaves the house, and if that is your plan, read up on rot resistant wood before buying anything.
None of these five arrive fast. They are slow, and slowness is exactly why people miss them until a corner is gone.
How dry does a carving have to stay indoors?
Keep it under twenty percent moisture and fungus has no reasonable chance at it, and no other rule here is as hard. The USDA Forest Products Laboratory states this plainly in the biodeterioration chapter of the 2010 Wood Handbook.
Fully air dried wood will usually sit at a moisture content not over twenty percent, which the laboratory calls a reasonable margin of safety against fungal damage. Wood will not decay if it is kept air dry. Better than that, decay already there from an earlier infection will not go any further.
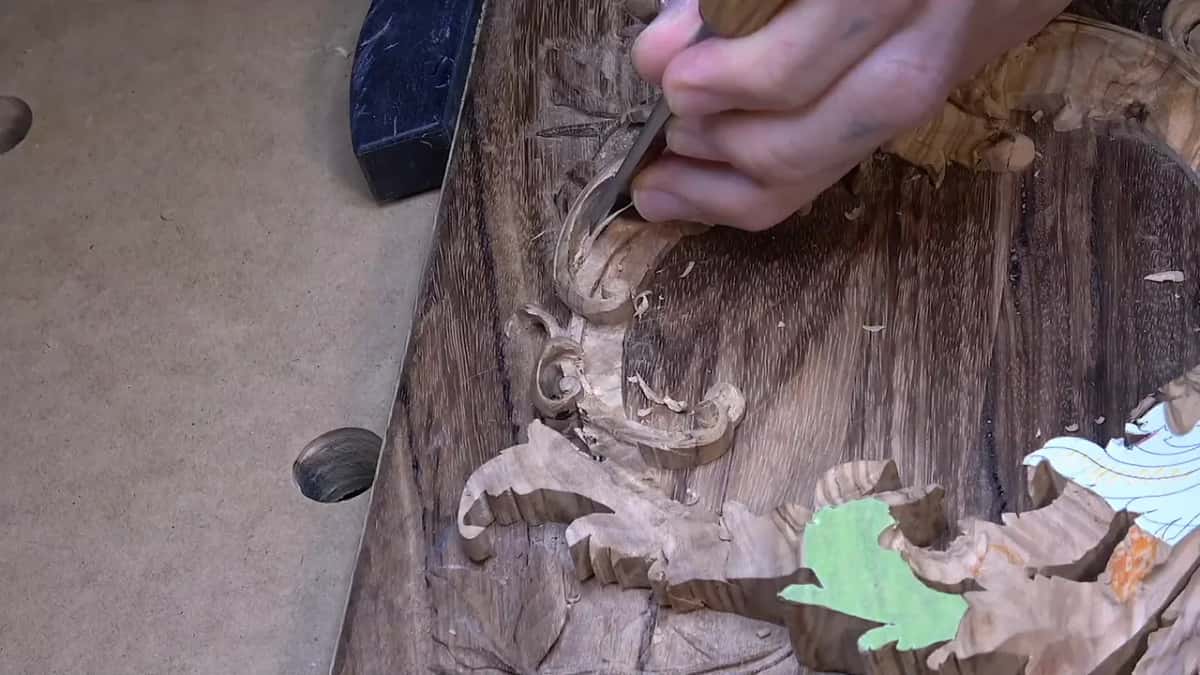
An overhead pass with the pattern lying where I can glance at it.
Read that last line again. A piece with old damage is not on a road to nothing. Get it dry, keep it dry, and the rot stops where it stands.
Fungus needs free water, and wood only carries free water above the fiber saturation point, which the same handbook's moisture chapter puts at about thirty percent on average. A carving in a heated house sits nowhere near that.
Twenty percent is the ceiling, not the target. The drying chapter of the same handbook puts interior woodwork, furniture and trim at eight percent on average when it is installed, six in the dry southwest and eleven in damp coastal air. A house holding eight has an enormous margin.
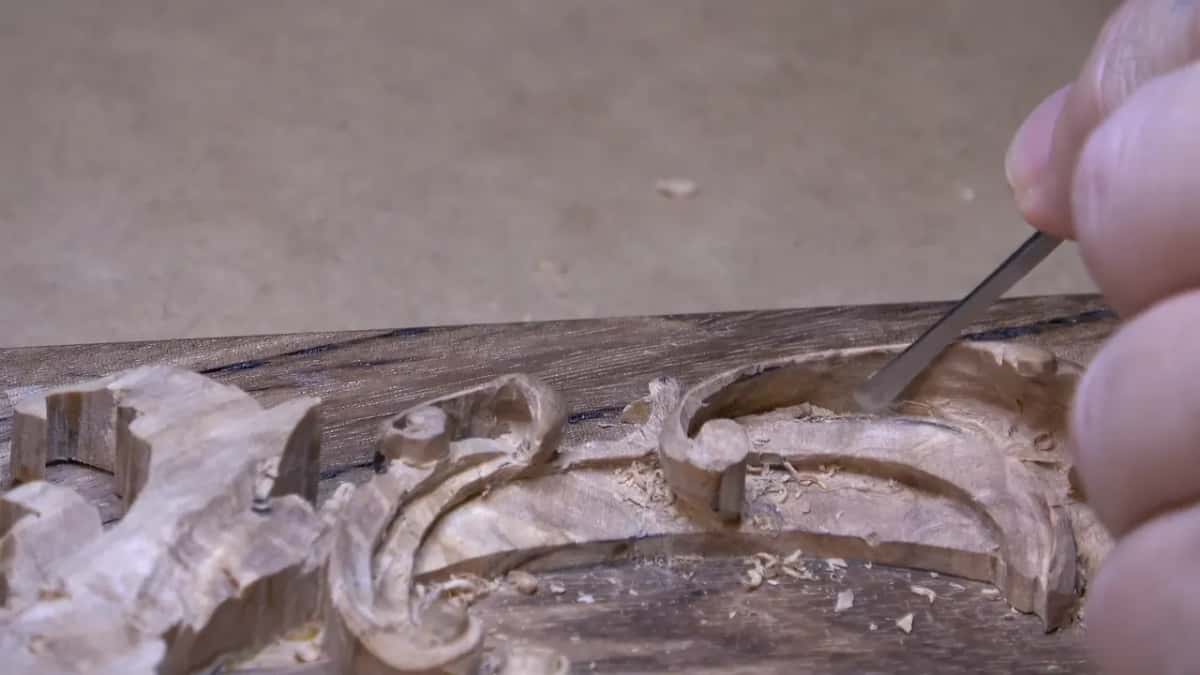
Getting a blank down to that figure in the first place is a different job with different rules, and it belongs on the page about how thickness and drying work together. Service is my half of it, which means holding the number for the rest of the piece's life. The Wood Database note on weight measured at twelve percent moisture gives a useful reference point, because twelve percent is where wood settles at 70 F and about 65 percent humidity.
What humidity and light suit a carving?
Forty to fifty five percent humidity, held steady, with the light kept low. Those are not my numbers. They are what the National Park Service tells its own conservators to hold for organic objects, and a carving is an organic object.
The Park Service asks for forty to fifty five percent humidity, with under five percent of movement inside any twenty four hours and under fifteen percent of change across a whole year. Its mould guidance narrows the comfortable band to forty five and fifty five, says humidity should always be kept below sixty five percent, and sets the room at 64 to 68 F.
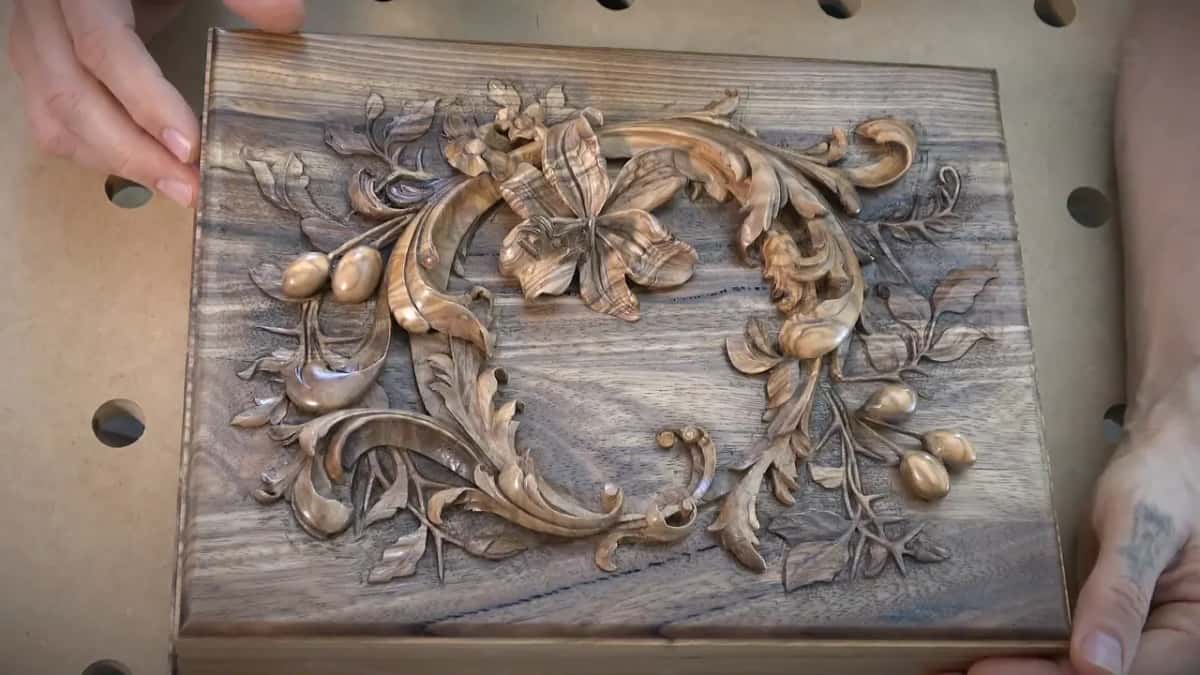
Steadiness beats the exact figure. A room that lives at fifty and never jumps treats a panel better than a room averaging forty five by swinging between thirty and sixty every week.
Light is the part people forget. Park Service guidance on light keeps levels below fifty lux, because light damage adds up and cannot be undone. You never get the colour back. Ever.
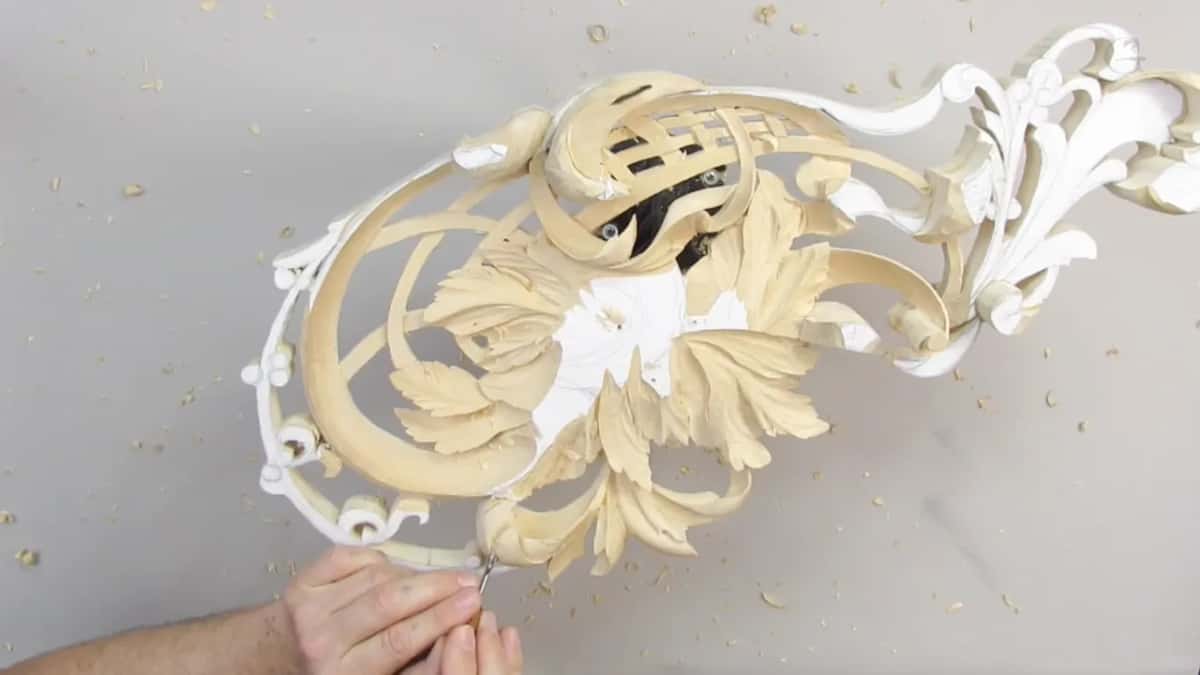
The practical version of all that: an inside wall, no window across from it, a hygrometer from the hardware store hung on the same wall, and a humidifier when the reading drops. Species take that treatment differently, and the wood species guide is where I keep the per species notes.
Will a carving crack when the house swings wet to dry?
Movement is certain in any carving, and almost none of it ever does real harm. Short answer, am I afraid of movement on a finished piece? Not really, and I have the years behind me to say it.
Even when it moves a little, that is fine, and I have not had a problem in years with movement. Huge movement, I mean. Of course the wood still moves. It still puffs, it still shrinks, and it will keep doing both for as long as it exists.
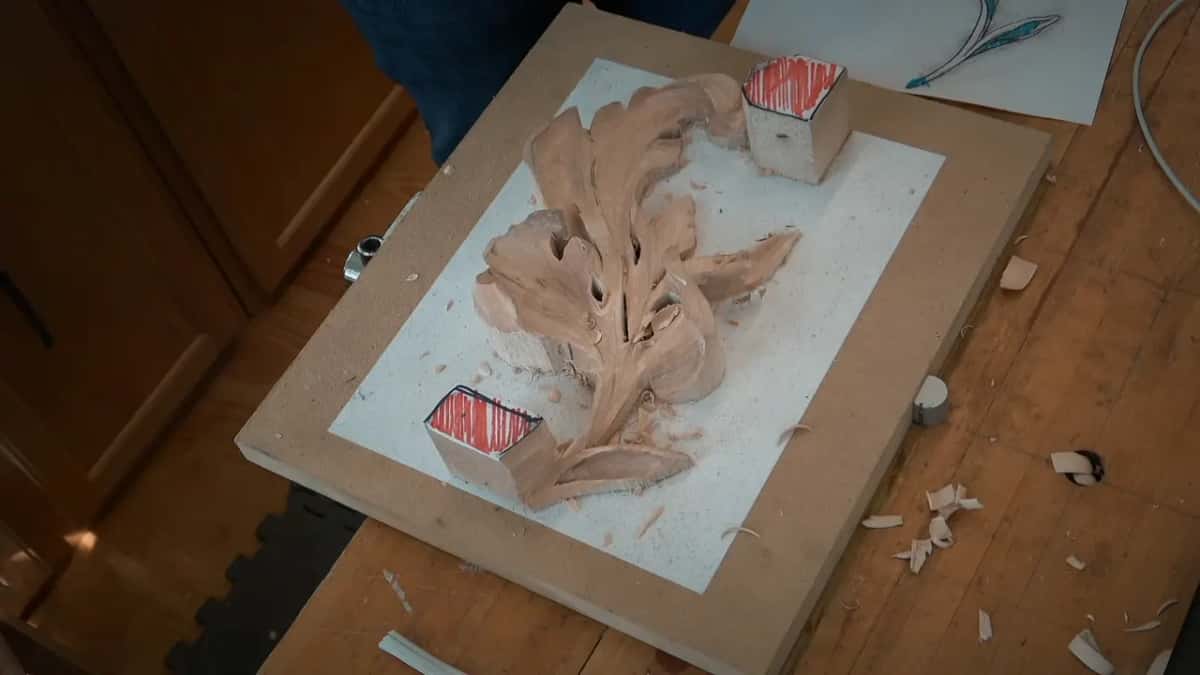
Here is the mechanism, in the plainest words I have. Wood is just like a sponge. When there is moisture in the air, wood takes that water in, and once it takes the water in it expands. It puffs out. A really humid summer with a lot of rain, and absolutely it is going to expand. A dry winter, and it shrinks back down. A fresh log can hold more water than fiber by weight, and nothing changes size at all until that free water has gone.
Growing up in Russia we used the same physics on purpose. Thirty below, forty below, and one winter of my childhood at fifty three below zero. We would take a board outside and let the cold do the work. The water that accumulated all summer froze and pushed itself out, and the board really became dry, like a freeze dry.
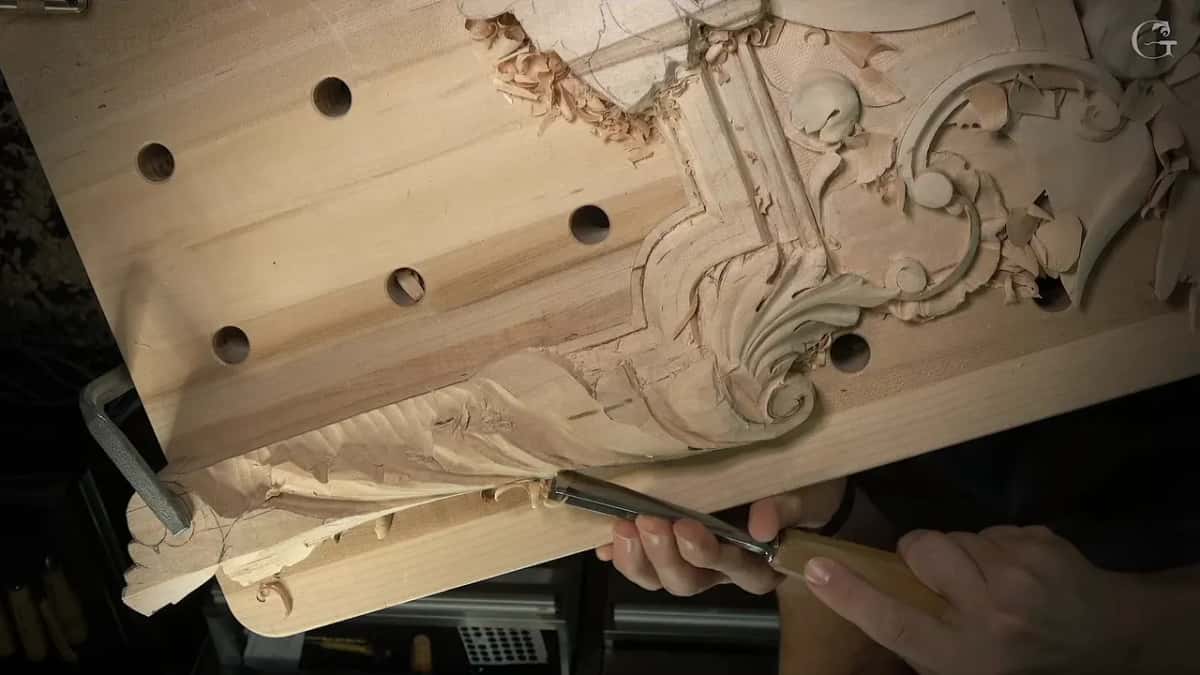
The other half can wait until tomorrow.
Cracking in service comes from the speed of the swing rather than its size. Slow the swing down with the humidity numbers above and a sealed surface, and the wood has time to move as one body. Cracking while a blank is drying is a different animal, and it lives on the pages about how wood shrinks, drying wood before carving, and warping and cupping. Two numbers from those pages do reach into service life: the tangential to radial ratio of your species, and the fact that quartersawn stock checks and splits less in use.
Does touching a carving ruin the surface?
Touching does darken wood, and the cause is oxidation rather than the oil on your fingers. Most of the time I do not wear gloves for it.
Body oils are not the biggest problem. I clean my hands all the time, and you can have absolutely clean hands, and the darkening still happens. When you touch the wood a reaction starts inside it, and the wood becomes darker. I do not see a big problem in that.
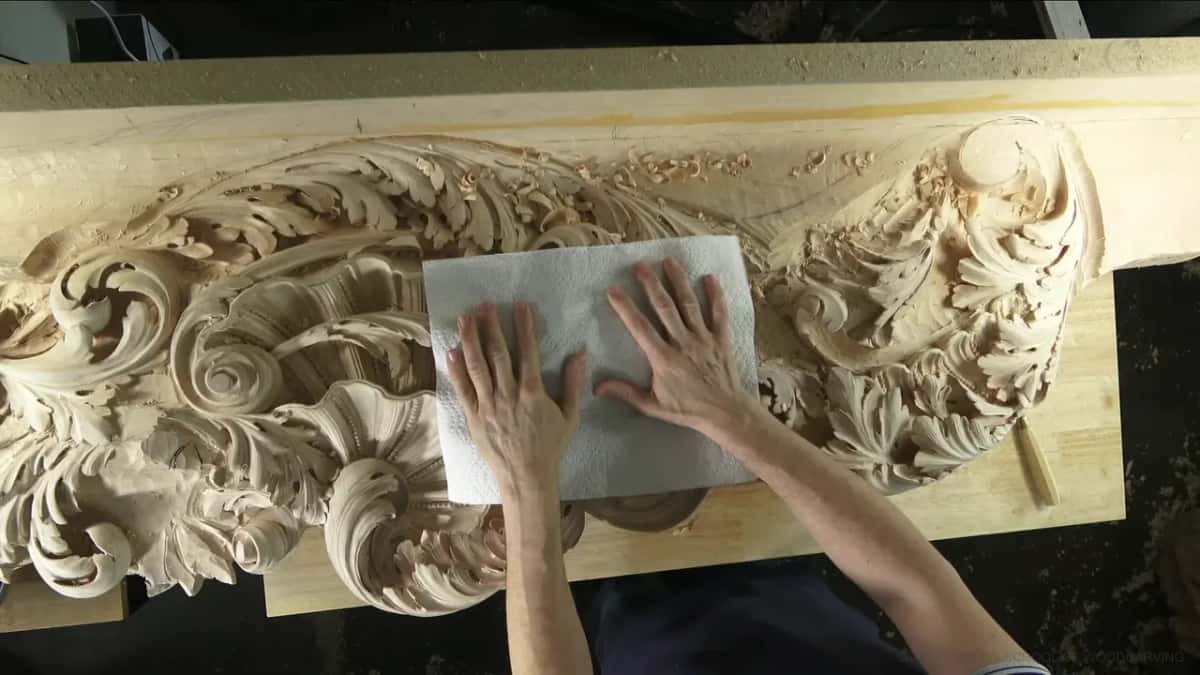
The cheapest protection in the shop, and it costs nothing to try.
Should you really worry about it, the fix is free. Put a cloth or a paper towel over the section you have finished and carry on working the next part, as long as the piece is still bare. Gloves work too, and sometimes I carve in the white painter's gloves. My trouble with gloves is that I cannot grab my handle. I have work here that was never finished, so no coating ever went onto it, and yes, I had to protect that piece.
Saying it out loud matters, because you will read everywhere that hand oil is eating your carving. Air is doing that instead, and the same change happens to a board nobody ever touched, only slower where the surface is sealed. Sealing slows the darkening and evens it out, which is one honest reason to seal wood after carving, and a better reason than gloss.
Which finish holds up for a long time?
The finish that lasts is the one chosen for the room, and the failure it has to survive is the thing to name first. I will give you two real decisions instead of a rule.
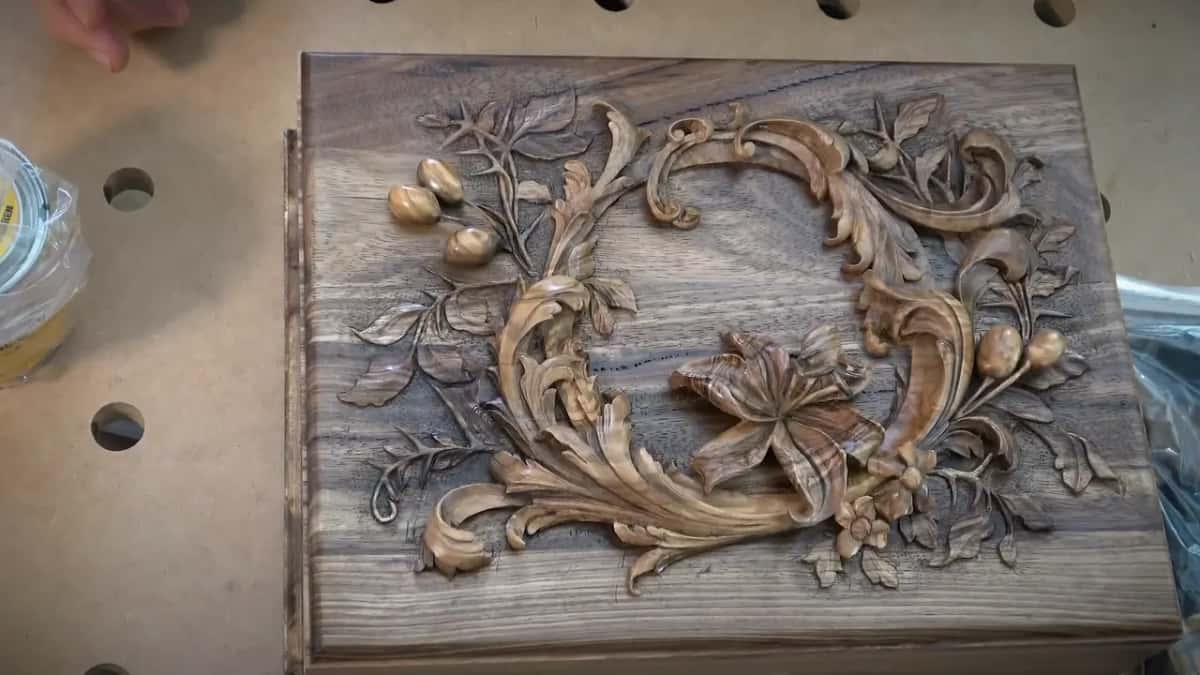
I carved a box to hold a Bible. That box was going to sit on the table every day, I think, with the Bible inside it, and people were going to use the Bible. Wax was out, and I still wanted the box to look waxed, and it had to be durable. The reason wax was out is that the box lives inside a house, and if the house is warm, the wax melts. Then you open it, you take the Bible out, and believe me, that is not good for the paper.
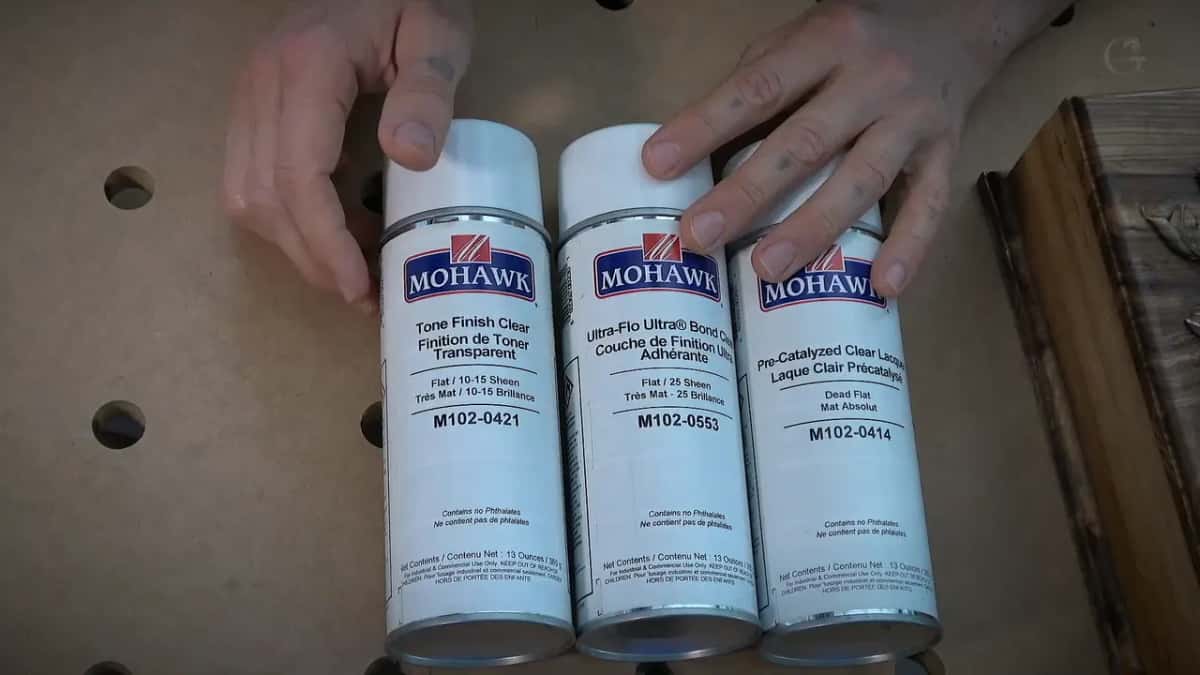
Tone finish, bond coat and pre-catalyzed clear lacquer, all three labels readable.
Shellac was the second candidate. I am fine with shellac and I have no problem with it, but in that case it was almost too shiny, and if you spill some kind of spirit on it, or wine, it is going to destroy the finish. A box on a table gets a spill sooner or later.
To make a story short, the answer I came to was lacquer. Not the normal lacquer either. In the United States I really like the Mohawk brand, and it comes in different sheens, one at ten to fifteen percent, one at twenty five, and one dead flat. All I need is one small can, and that brand sprays beautifully.
For a carving that hangs on a wall, shellac earns its place thinned. You can dilute shellac as much as possible with spirit and penetrate multiple times, and that way it binds all those fibers inside, and it is going to hold really long. That trick is the one thing worth carrying away from this whole page.
Another approach keeps the natural colour of the wood. Dilute a carpenter's glue, a yellow glue like Titebond, with water as much as possible and soak the area. Those resins get inside the fibers and they bind, and it holds really nicely. The same trick works on really fragile wood before you carve it.
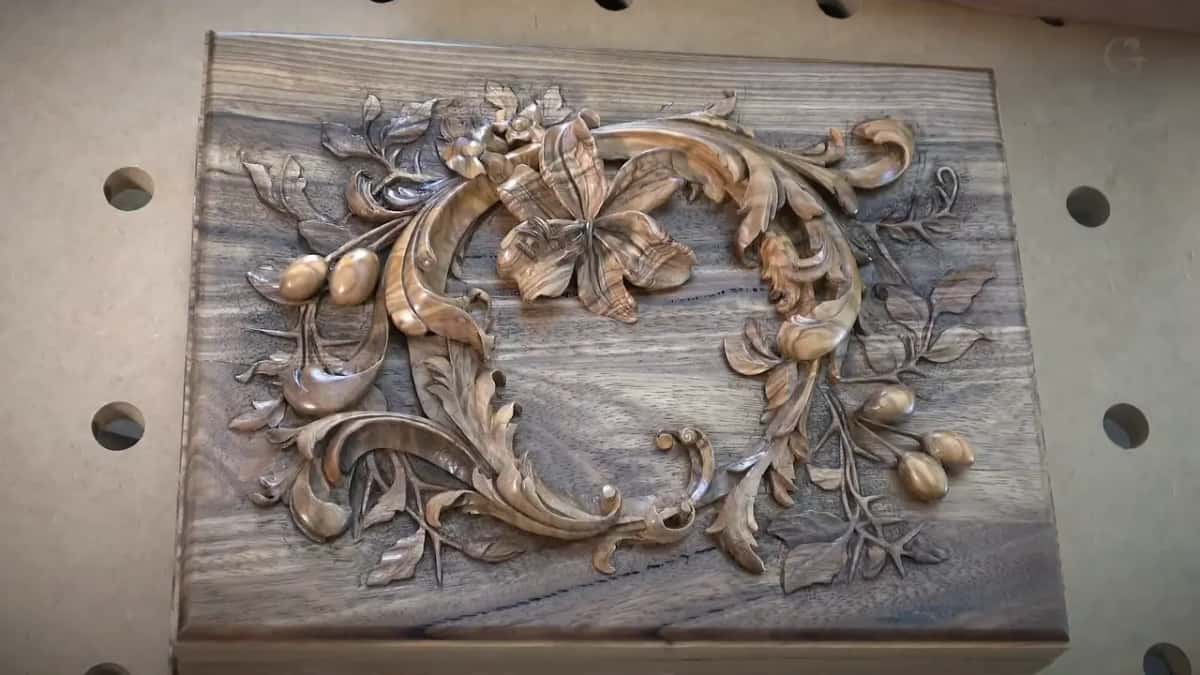
The rest of what I use, and the arithmetic of building a film, sits on finishes and sealants I use, how a lacquer film works and how many coats of lacquer to lay down. Finish it after you carve, never before, and here is why: finish it after you carve, never before. Oily species behave differently again, and walnut is the one people ask about most.
What did restoration teach us about old carving?
Restorers found sanding marks on work everybody believed had never been sanded. Nobody knew, until they started the restoration process, and the men who did that work included David Esterly, who used to restore Grinling Gibbons' work.
Look at the piece closer and you can see sanding marks. They did not use sandpaper, because that paper did not exist. What they used was Dutch rush reeds. For sanding, the reed is equal to about 400 grit sandpaper, and I have shown the same thing on a furniture panel online.
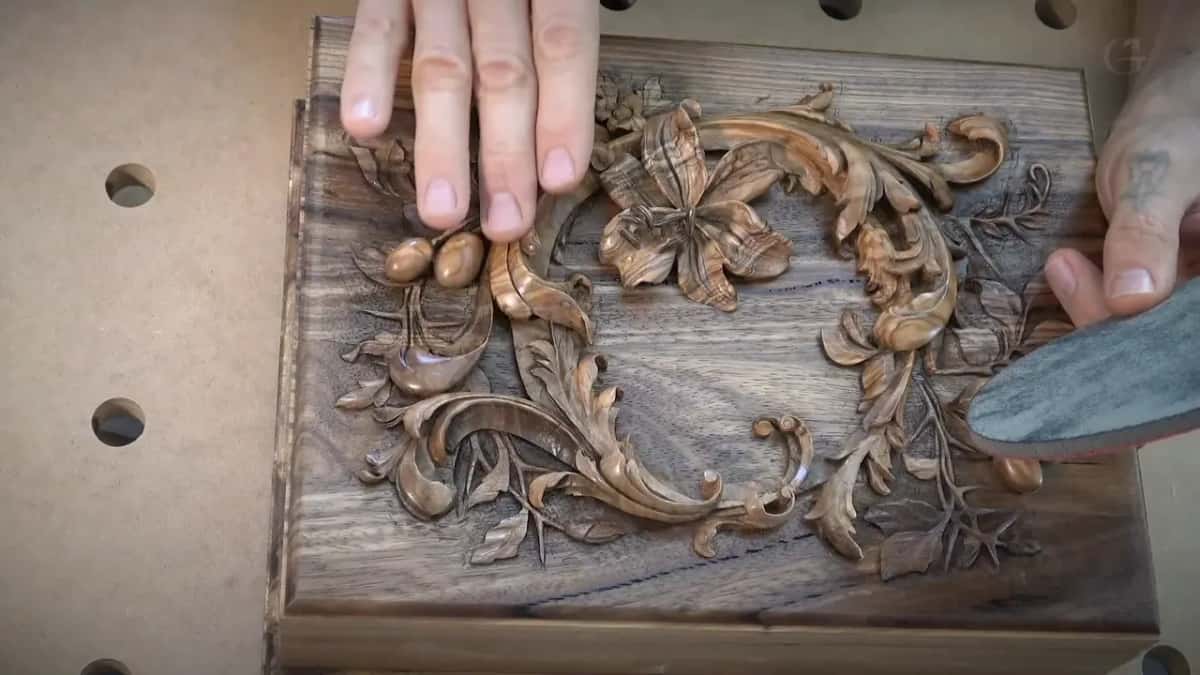
Reeds grow by the water. Any reed will work, and a dry one is what you want.
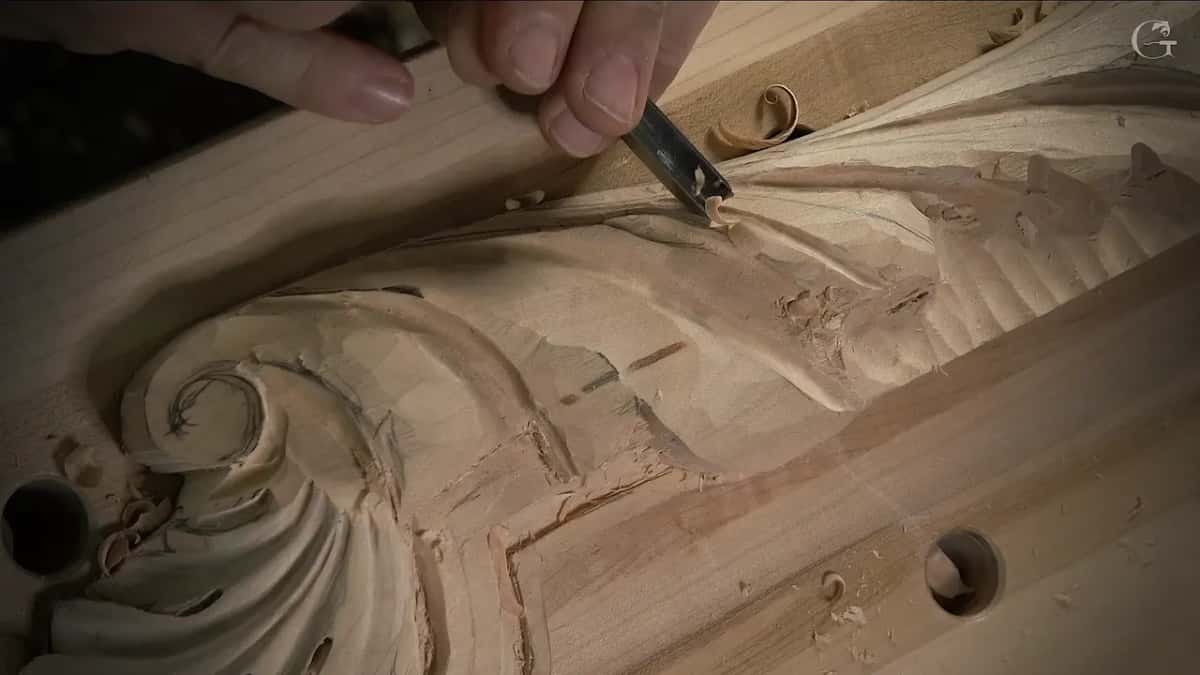
The museum tells another story against the same grain. His earliest surviving carving, a King David panel, came from a print of a painting he knew only at second hand.
Why any of this matters for lifespan: our picture of old work keeps getting corrected by people who take it apart. Every generation of restoration tells us something the last one had wrong, which is a good argument for keeping a written record of whatever you do to a piece. Should you ever be asked to replace a missing section, I walk through the method on matching an antique carving.
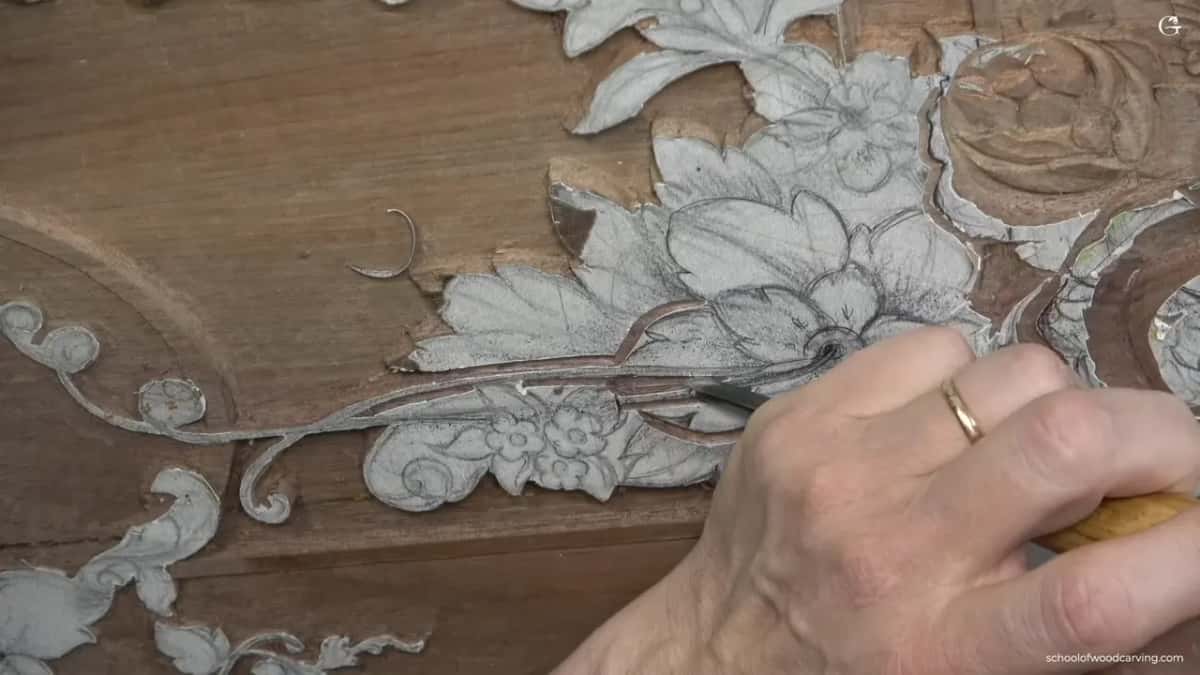
In some old churches that were saved, you see gold leaf on parts of the carving, and inside the cracks of the gold leaf you can see the red clay. I think that is a really smart thing they did.
How do I set a carving up to last?
Pick the wall, read the room, keep the light off it, seal the wood, and look twice a year. Six short jobs, and five of them happen after the carving is done.
Step 1, pick an inside wall
An outside wall runs colder than the room in winter, and a cold surface collects water. Hang the piece on an inside wall, away from a radiator, and well away from the kitchen and the bathroom. The USDA Wood Handbook is blunt about what damp does, and the answer to damp is dry air rather than a coating.
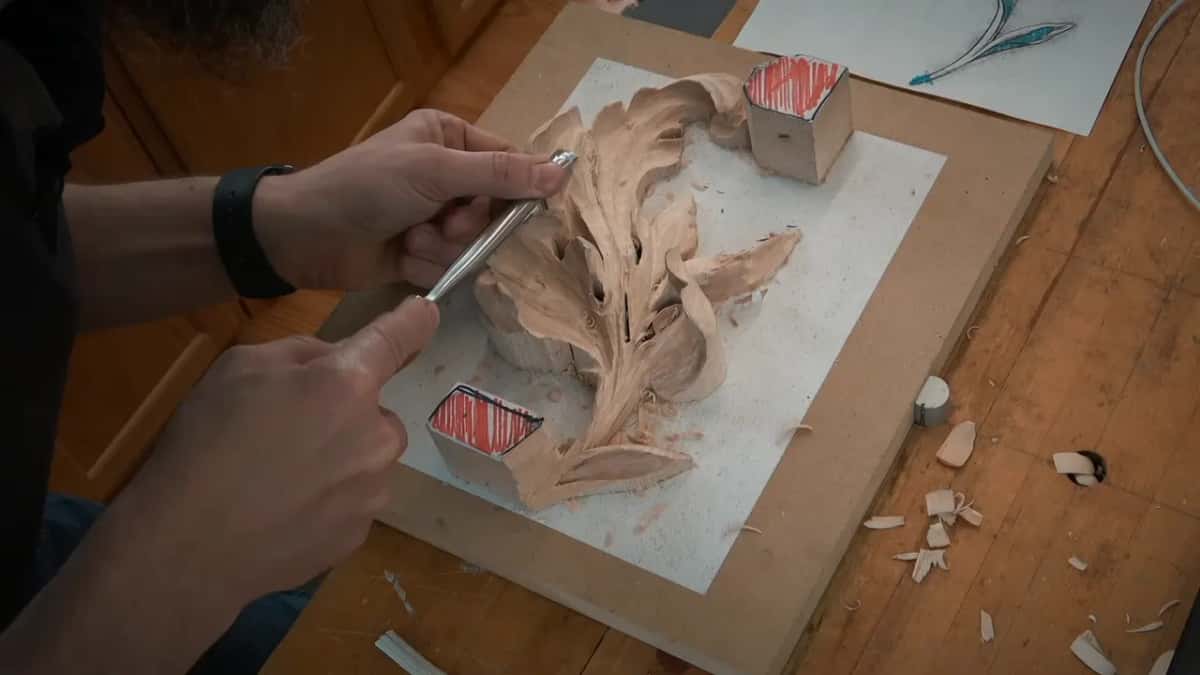
Step 2, read the room before you trust it
Buy a hygrometer and hang it on the same wall. Watch it for a month. You want a steady reading in the forty five to fifty five band, and more than that you want to know how far it travels in a day.
Step 3, keep hard light off the surface
Move the piece out of the sun's whole path, and not the noon sun alone. Track the light across a whole day before you drive the nail. A north facing wall is the easy answer in the northern half of the world.
Step 4, seal the wood so it breathes slowly
Thin shellac, penetrated multiple times, binds the fibers and slows every exchange with the air. A film does not stop movement. It buys the wood time to move as one body instead of tearing.
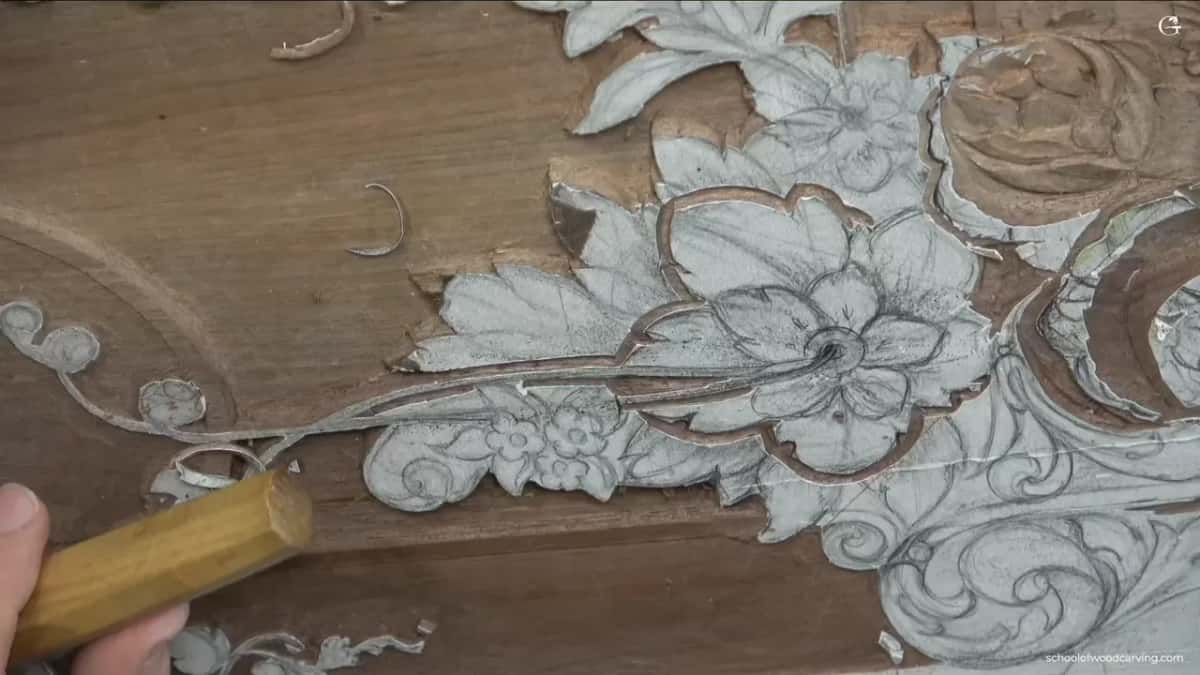
Step 5, dust dry and look for holes
A soft dry brush, every six months, working downward and away from the undercuts. Keep water away, and leave the polish and the spray in the cupboard. While the brush is in your hand, look for fresh pale dust under the piece, which is an early sign of insect damage.
Step 6, write down what you did
Date, finish, any repair. Tape the note to the back. Somebody wrote the year of a repair onto the back of Riemenschneider's figure in 1817, and a museum is still reading it, and a museum is still reading it.
For the whole method rather than the maintenance end of it, the course catalog runs in order and the starting page tells you which door to walk through. The beginner course is where most people should begin, and what tuition costs sits on its own page with no small print. You will find a shelf of finishing articles if that is the part you are stuck on.
You will not be here to see whether your carving made it. Those are the terms, and they are good terms, because the work answers a question you never get to ask. Shall we carve?
Frequently asked questions
How often should I clean my wood carvings?
Every six months is plenty for a piece hanging indoors. Use a soft dry brush and work downward, out from the deep pockets where dust settles. Skip water and skip polish. The brushing matters far less than looking hard at the surface while you brush.
Should I apply anything after cleaning?
Leave it alone, unless the surface has gone dull or bare in a way you can see. Adding a coat every year builds a thick, cloudy film that a restorer has to strip off later. Once a piece really has lost its skin, thin the same finish it already carries and lay on one light pass.
Do wood carvings last outdoors?
Outside, the clock runs a great deal faster, because rain and sun and insects all get a turn. Species and detailing choices start to matter enormously out there. When a piece has to live outside, plan it as an outdoor object from the drawing stage rather than moving an indoor carving out.
Can a cracked carving be saved?
Usually, and often the crack is doing no harm at all. Get the piece into steady air first and give it a season to settle, because a gap that opened in a dry winter often closes on its own by summer. Fill only what is still open after that.
Does a painted carving last longer than a bare one?
Paint keeps water and light off the surface, which helps, but it also hides the early warning signs and traps damp underneath when the wood was wet on the day it went on. Old church work went both ways. Bare limewood pieces have done perfectly well without any colour.
Filed under
- best wood grains for durability
- best woods for outdoor carvings
- choosing durable wood for carvings
- effects of temperature on wood carvings
- hardwood vs softwood carvings
- how long do wood carvings last
- how termites affect wood carvings
- impact of climate on wood carvings
- longevity of carved wooden sculptures
- long-lasting wood carving techniques
- preserving softwood carvings
- tips for maintaining wood carvings
- treating wood for carving longevity
- types of wood for carvings
- which wood lasts longest for carving
- Wood Carving Basics
- wood carving care instructions
- wood density and carving longevity
- wood finishes to preserve carvings
- wood moisture content and carvings
- wood types resistant to pests