

Alexander Grabovetskiy, woodcarver, School of Woodcarving · Published 2020
What does "otherwise" mean when a wood carver says it?
Quick answer: Otherwise is the word I put after a step to name what goes wrong without it. In Venice Room 41.2 it came four times: a concave side that needed much more depth, a second side I wanted clean, and one part I maybe had to lower so a later dig would not get too deep.

"Otherwise" is the word I put after a step to say what goes wrong if the step is left out. In part 2 of Venice Room workshop 41 it came four times in a little over seven minutes. One concave side had to go much deeper, I wanted a second side clean, and one part maybe had to come down before a later dig on the shell.
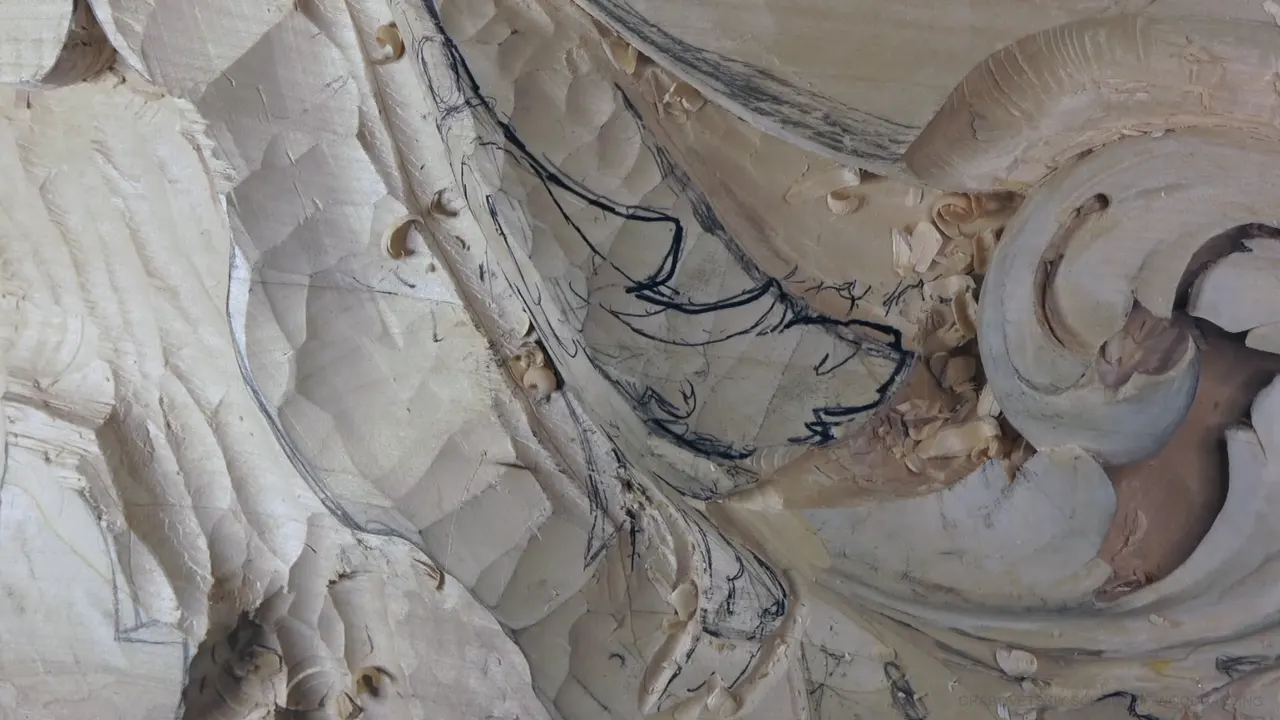
The board in the photos from this part is the Venice Room ceiling board, filmed from straight above, with my black marker lines still on it and the shavings left where they fell.
Have you ever skipped a small step to save time and paid for it a day later? Did the reason for that step only make sense once the trouble showed up? Then you know what this word points at. This part is short, about 470 words of talk, so most of this page comes from my other courses, where the same word came up and named what a step was guarding in the wood carving process.
Six things the word otherwise guarded in my lessons
- How a part looks, like a second side cleaned so it looks right.
- Thin wood with almost no connection left.
- Work still ahead, like a background that would be hard to clean later.
- High spots that hold the overall shape of a leaf.
- The grain at an edge you come in from.
- My own time, by leaving one leaf alone until the one I was on was done.
What did otherwise mean in this part?
It closed a reason about depth. The twist came from part 1 of the same workshop, where I said I could go deeper in this case because I'd have a twist. I wanted that twist in one spot, so it needed to be a little deeper again. That part would be concave, which meant doing this side much deeper, and that gives a lot more material to work with. "Otherwise, it's not going to look good."
Of course, it also has to be blended all together. Important too. Next came my plan for preliminary divisions, since I was about to start excavating the part and there would be divisions in it, and I didn't want them lost.

I named them one after another, division and division. One part would go underneath a chunk, with a division right there as well. "And I think that's going to be beautiful detail."
Why clean the other side as well?
In my words that day, otherwise it just doesn't look right. Right after the divisions came the plan to clean this side too, and I gave that same reason twice in a row, word for word.

A division came next that would run all the way along. That part would get its rounding later on, I said at first. Then I changed my mind. Well, actually, I could round it preliminarily. No problem.
Why use a straight gouge when a back bend fits better?
That rounding was only a first look. "I'm using number seven," I said. "Just a straight tool, but back bend would be probably more proper tool for this operation." It was just for myself, to see the idea.

It worked. Now I could see the part would be rounding down, and a plain straight gouge had shown me that much.
Can one step now keep a later dig from getting too deep?
The fourth otherwise was about exactly that. First I said one area needed to get much lower, then I asked what else I could do. Lowering this side of the shell and exposing a little more was one choice.
If I should or not, I just have to think, because I don't want to lose overall feel to it. "Maybe I shouldn't." Another movement was coming right there. And twice I told you what I was doing: just outlining.

Then came the last otherwise of the part. Maybe I have to lower this down a little bit, I said, meaning one part. Otherwise the excavation would get a little too deep later on, when I work on that part of the shell. Next I said okay, yes, and that at least some of it would be exposed.
"That is good." The same tool could give it a little better shape, I said. Now I'd outlined it, though it wasn't the final shape yet, and I could probably refine this movement a little better.
Two more divisions were coming. Around them I could excavate with a smaller number 11, and 4 millimeters (about 5/32 in) was the size in my hand right then.
How does otherwise guard the look of a carving?
It names the line or shape that would come out wrong. In lesson 22 of the Furniture Panel course, part 8, I showed you a line on the panel that was supposed to continue somewhere right there. Otherwise, it just doesn't look right, I said, so I need to chop out this section, or it's just not flowing together.
My plan for the fix was the 1 millimeter (about 1/25 in) number 11 again. If you would ask me why I spend so much time on details some people call insignificant, here is my answer from that day. I think it'll bug me. Better to fix it right now than have it bug me for many years.

A curl on the lily box got the same reason. I need to curl it, I said, or it won't look like it's flipping. Then one spot sat a little too high, which is what I don't want to see. No, I did not break it, I told you. I just chopped some upper part, and it was okay.

The floral and molding panel, lesson 11, part 2, needed the pipe under a flower to be a big convex. Really important for me to have that convex feel, I said, otherwise it'll look too dull. Not three-dimensional, if I can say it that way. So that ridge needed lowering even more, and with plenty of material there I didn't expect a problem.

Can a warning keep thin wood from breaking?
It names the break before it happens. In lesson 9 of the lily box, part 1, the original drawing had one part above, curling down. So I had to lower it, but I also had to remember there was no glue underneath and only about a 16th of an inch (about 1.6 mm) of connection. A really weak spot.
Got to be careful, I said, and use really small tools, otherwise I'll break it, and that I really don't want. I planned to chop carefully with a number three, one-eighth of an inch (about 3 mm). Then: "Okay, see? It moves."

The furniture panel, lesson 18, part 4, has the honest version. One move would be a little too dangerous, so I needed a micro cut with the 1 millimeter number 11 first. Just remove it. Otherwise, I create a weak point right here, and that's no bueno, I said, it would not be smart.
Eleven seconds later came this. "And I already did, I guess. Yep." Now that spot needed lowering a little, and I called it another mistake, the kind I don't like to make. I did it again.

The connecting point to my shell on the floral and molding panel, lesson 14, part 1, had to have some meat. Without it, I said, the spot would be too weak. The grain runs that direction there and makes a really, really weak point, so I really have to make sure it's not too low.

With the Hashemi flowers, lesson 12, part 5, the danger was the gouge on its own. Let me use a V tool again, I said, number 16, 6 millimeters, a quarter inch, and make my relief cut. I can't press it anymore, and using just my gouge would break it, so I constantly have to go back to the V tool.

What about the work still ahead?
Otherwise can look past today's pass to the cleaning or the next leaf. In the furniture panel, lesson 19, part 5, my plan was to go around first, straight down at the beginning, so there would be no visible wall. An undercut was coming instead.
Be careful not to dig inside the background when you do that, I said. Otherwise, it's going to be a big mistake, and you'll see it later, because it'll be really hard to clean. Next I planned a number three again, 6 millimeters (about 1/4 in), and a careful attack on my edge to make it a little round.

In workshop 39 of the Venice Room, part 3, I explained a leaf I'd left alone. I was using a number nine, 20 millimeters (about 0.8 in). I didn't develop the next leaf before this one, because otherwise I'd lose and just redo, and that would be extra work, and I really don't want extra work if I don't have to.
In part 9 of Venice Room 44, a much smaller tool was the plan, and then this. Oh, actually, I need to undercut pretty much right away. Otherwise I won't be able to do that pipe. It didn't have to be deep on the inside, just a little bit, I said. A little later I had it, and said so: here you go, I've got a pronounced pipe.

Where does the overall shape come in?
In the high spots and the lines you read a design by. The vase with grape leaves, lesson 2, part 5, had one spot set to be a high spot, and we need to keep those high spots almost untouched. I marked that one only to show you. The rest I wasn't going to mark, because I wanted them as high as possible.
Otherwise, we'll lose the overall shape, I said. The middle line of every division was a high spot, and that vase leaf had five divisions.
Three parts later, in 2.8, the same vase got a middle ridge. After blending the marks to a line, my plan was to go upside down and blend again to the line, so it would be more pronounced. We really need to see that middle ridge, I said. Otherwise, we're going to lose the movement. A number three or a number five will work, but I want to see that middle ridge on every one of them.

The Roman acanthus leaf, lesson 3, part 4, got a straight down cut, to reestablish my overall picture. Just make sure you don't undercut when you're doing straight down, I said. Really important. Otherwise, you'll lose that picture.

Which way should you come at the grain?
Come in from the edge. The Byzantine acanthus course, lesson 10, part 3, has a leaf in that Byzantine style where something happened on one end. So it's a good idea to attack from the edge toward the inside, I said, or it'll catch the edge, the grain, and won't look as nice. Attack from outside, go inside, then rotate and come at it from the opposite side.

The Greek acroterion, lesson 4, part 7, had me using my knife carefully. If it isn't free to move out, better to just recut the edge and not force it, I said, otherwise you'll make a mistake with the fibers. My grain looked like it went one direction, so I rotated and cleaned a little on this side.

Eight otherwise lines side by side
Here are eight of the clips in one table, each with the step and the trouble it was guarding against.
| Where | Step | Otherwise |
|---|---|---|
| Venice Room 41.2 | Doing one side far deeper for a concave | It won't look good |
| Same part, later | Lowering one part a little, said as a maybe | Too deep a dig later |
| Furniture Panel 22.8 | Chopping out a section so a line carries on | Not flowing together |
| Furniture Panel 18.4 | Removing a little with a micro cut first | A weak point |
| Lily Box 9.1 | Really small tools on a part with no glue | I'd break it |
| Venice Room 39.3 | The next leaf left alone until this one was done | Extra work |
| Grape vase 2.5 | High spots kept almost untouched on every division | Losing the overall shape |
| Byzantine acanthus 10-3 | Attacking from outside, then going in | Catching the grain |
Two rows hold a maybe or a plan. The lowering in 41.2 was a maybe, and the small tools on the lily box were what I said I'd use, just before the part moved.
Which otherwise will you hear next?
Is there a step you're tempted to skip when you're tired? Would it help to know what it guards before you skip it? Listen for the word in the next lesson you watch, because each time the words after it name what the step protects.
Part 2 of workshop 41 sits on the lesson 41 page with the other parts of that workshop on the Venice ceiling board, and the Venice Room course for workshops 38 to 49 holds the whole job. For all my lessons in one place, start here.
How it's done
- Give the concave side its depth. In 41.2 I needed this side much deeper for the concave.
- Keep the divisions in view. Preliminary divisions came first in my plan, before the excavating started.
- Plan to clean the second side. Let me clean this side also, I said, so it looks right.
- Round it roughly first. A straight number seven gave a preliminary rounding, just for myself to see the idea.
- Stop and think before lowering more. I could lower one side of the shell and expose a little more, but maybe I shouldn't, so the overall feel stays.
- Excavate around with a small number 11. Around two divisions I could excavate with a 4 mm number 11, the size I was using right then.
Frequently asked questions
Why did one side of that concave need so much depth?
The spot in 41.2 would be concave, so that side had to be much deeper. More depth gives a lot more material to work with. Without it, I said, the whole thing won't look good, and it still has to blend together.
Was a straight number seven the best gouge for the rounding?
Not by my own words. A back bend was probably the more proper tool for that operation, I said, while the straight one was in my hand. It still gave me a first look at the rounding.
Why leave a leaf alone until another part is done?
In Venice Room 39, part 3, I said I didn't develop the next leaf first, because otherwise I'd lose and just redo. Extra work like that I'd rather not do if I don't have to.
What to carve next