

Alexander Grabovetskiy, woodcarver, School of Woodcarving · Published 2020
What does "I can always" mean when a wood carver says it?
Quick answer: The words "I can always" came up in my own part and in many other lessons. In Venice Room 45, video three, I said it about a mess and about a smaller tool. Other lessons use it for cleaning, going deeper and replacing a tool. The warning beside it is too much depth, too soon.
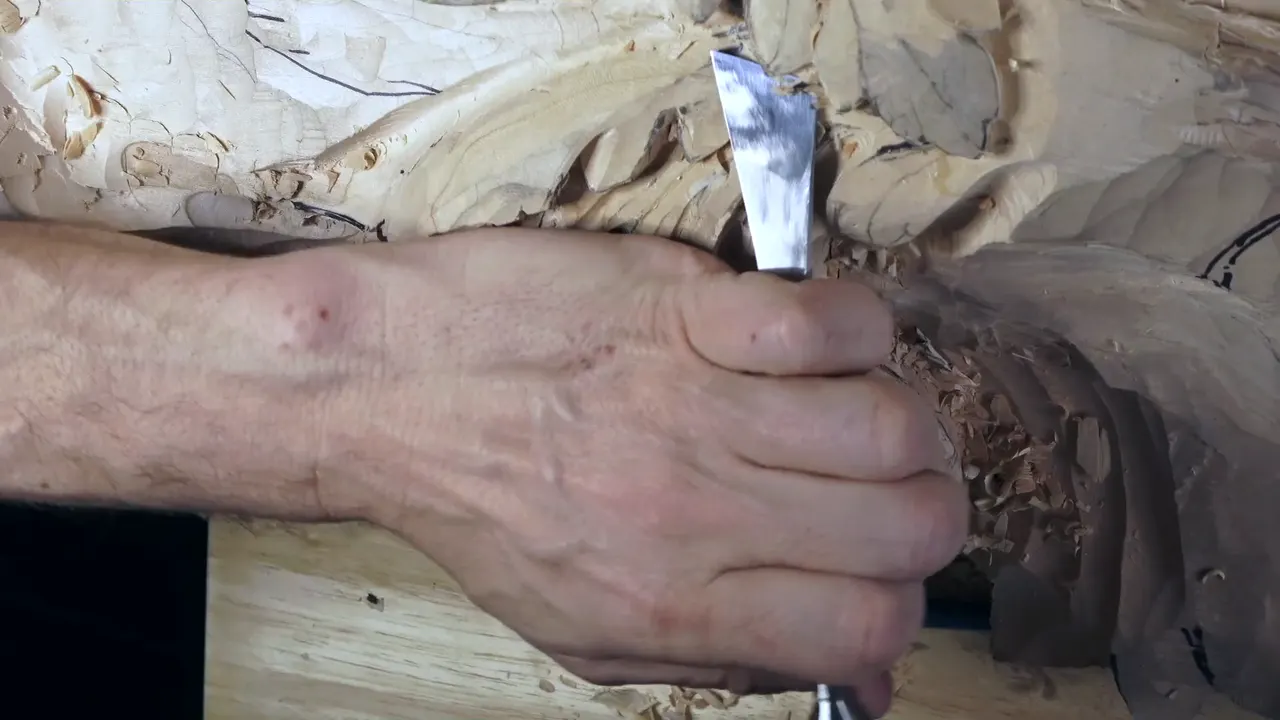

The phrase is a bench habit of mine, and a next move came with it in the passages below. Venice Room workshop 45, third video, is where I used it for a smaller tool and for a mess. My other lessons stretch it over cleaning, depth, a broken edge and a ground-down tool.
Have you ever held a gouge over a spot and stalled, because one wrong pass felt like the end? Did you wait a long time because of it? Then come along. I'll show you what I say at my bench to keep going, and where I hold back.
Five jobs the phrase does for me
- Reach for a smaller tool when the first one is too big.
- Deal with a mess I made.
- Clean a rough spot, or go at it from another side.
- Go deeper when the first depth is not enough.
- Refine a broken edge. Replace a tool I ground down.
Where I hold back waits further down the page.
What did I say in workshop 45, third video?
The words come while the pipes and the eye of acanthus are still taking shape.
The part opens on a pipe. I would go around this pipe and that pipe, I said, and that one is going to be a pipe also. But to do that, I have to clean it first. I need a cleanup job, I said, and then I need to give a cleanup job.
I do not want to force it, I said, but this will be undercut underneath of this. Exactly the same underneath of that side, and that side again. And that is good.

It has to make sense, I said. That would be the main pipe, and the movement had to blend into it, which meant I needed a concave and a way downhill. The same movement was supposed to go downhill and develop the rest of it.
That's too big, I said, so I need to use a smaller one again. And that was little too big also. I was able to use it, I said, although I created some mess, and this mess was not a big mess.
Right there came the words, I can always, always take care of it. The small reach, just invisible, was going to run all the way to a line, and that makes sense.

I needed much deeper shadow in that area. Here you go, I said, and that is my eye, the eye of acanthus, of course, not my eye. Now, probably, I was going to take care right away of this side.

I believe now altogether it does make sense, the overall movement, I said, and at least how it develops should, though subdivisions and divisions and more roundness were still ahead. For a rounder look I used a number seven, upside down. Beautiful and round detail, I called it.

Let me think, I said. If the middle line of this goes that way, this division goes like that and that one like this, and that's going to be a letter S. I could probably give a shape to it, pretty much.
The S movement I liked, so I was not going to reshape it. Maybe just slight concaves, not big ones. About undercutting there, I said, I don't worry. As for making a mistake there, I said not as of now, at least, and I kept going.
Probably I could give a nicer undercut, and a deeper one, I said, and to clean that undercut, of course, a number 11 veiner. And if this doesn't fit, I can always fit a smaller one. Let me get this shape, I said. I also can undercut.

How does a smaller tool rescue a cut that went too big?
A smaller tool comes up in this video, and other workshops give a different reason each time. In workshop 49 the question was an opening for an eye. Two millimeters (about 5/64 in) is what I'm using, I said. Three millimeters (about 0.12 in) I could use too, which probably also would give me a really nice eye. Two first, I said. I can always make a bigger opening.
Maybe I should, or maybe I shouldn't, and let me use the one millimeter. There, the fallback ran the other way.

The Venice Room workshop 64 put the question as depth. How deep to go was a decision I had to make, I said, and if the tool is too big, I can always switch to a smaller one and start excavating with it. Farther in, a smaller tool is what you should use, because otherwise it won't look nice if people look inside and see a not so beautiful finish.
My favorite for that job was a quarter inch number nine (about 6 mm). Maybe a number nine at one-eighth of an inch (about 3.2 mm), like three millimeters, could get even deeper.

Part four of workshop 45 says it in fewer words. Careful, I said, because that mess is becoming a little too weak, and I do not want to break it. And again, a smaller one. Just a smaller one, and go deep.
Later in the same part I told you what I was using, two millimeters. Going too extreme, I could use one millimeter (about 1/25 in), and some spots do get one. If I don't have to, I leave it alone. I said I would see if I could use a big one. And no, that is too big. I'm going to use a smaller one, like 13 mm (about 0.5 in).
The number nine in workshop 54 was, I said, little too small. A quarter inch number nine (about 6 mm) was next, to get rid of a spot and roll it a little in one direction. Yes, I can always fix the movement, I said. It's not a big deal, but I think it just gave me extra dimension.
Does it mean I clean up later?
In several lessons. Number five in the Lily Box, I said, might create a little digging in this section, and I don't worry. Again, with the number 11, I can always clean.

Another Lily Box spot called for a cleaning cut. From the side again, I said, I have to attack and clean it, with the same tool just upside down for a cleaning cut, and I can always go back and clean with a different gouge. But let me create the convexes first.
Over in the Hashemi flowers course I was working against the grain and also uphill, which doesn't help at all. Not my clean cut, I said, but later on I can always come back and clean it from the opposite direction.

At that moment I really couldn't make that cleaning, because the spot was on my way and I have a tendency to pry, and that's not so good. Maybe I could use a spoon gouge, I said. My first try would be number eight, half an inch (about 13 mm). Okay, and that works.
A ridge I did not need turned up in workshop 100. Number three will do, I said, and shave out the ridge I have right now. I don't worry if it doesn't look too clean, and I can always attack from another side and make it a little cleaner.

For my furniture panel lesson I could use just the number one, at one and a half millimeters (about 0.06 in), and clean all that out. A little later, I said, I can always take care of it. This is a little tedious work, and I still had a curl to finish.
An earlier Venice Room course, workshop 17, had a spot I didn't worry about, because I still had to make it rounding later on, with a smooth transition from the opposite side. But I want to make sure the overall movement makes sense.

The grape onlay gave me a bigger spot. The biggest challenge was how much material I had in that section. Some excavation was already done, and I could almost put a quarter inch (about 6.4 mm) on the inside. If it's not good, I can always just clean this out, I said. A stabbing cut is not the thing I'm the biggest fan of, and I prefer to use number 11.
Can you go deeper after the first pass?
My plan in workshop 37 was to start my movement in carefully, but not too deep, because it's always possible to do it too deep, and I can always do deeper if I want to. But if I don't have to, I have to be really mindful.

Workshop 59 went the same way. I would not go too deep yet, I said, so we'll see, and I can always go deeper. But if I go too deep, too soon, I can be in trouble. And I don't want to be in trouble.
The depth in workshop 61 was approximately about 3 mm (about 1/8 in). That's what I'm doing, I said, and it will still give me that motion, and if it's not enough I can always make it deeper if I need to. It looks like this one could be a little deeper, I said. I need that shadow.

Earlier, in workshop 45, second video, came the other half. When I'm doing a cut like this inside, I said, I got to be really careful not to dig too deep. My tools are super sharp, and see how long a bevel I have? Just like doctor's tools, like surgeon tools, so it's really easy to dig inside of the fibers. You can actually shave yourself with it.
Where do I hold back?
The clearest case for holding back comes from workshop 66. I did not undercut a spot too much, I said, because I really needed that depth, and I can always undercut, but it would be a big mistake. With extra material I could create something beautiful and get this eye.

In lesson 32 of the furniture panel course too deep of a cut was not what I wanted. There is no reason, I said, and it was already creating a really dark spot, and that's all I need. I start in this case with the center cut. Once we create a dome, it's going to become weaker, and I can always break it, and I don't want to do that.
The word break sits in two places in my lessons. My Lily Box plan was a straight 1 mm (about 0.04 in) to excavate a little more without breaking that edge. Should I break it, I can always refine it later, I said. Breaking was the thing I did not want on the panel.

Losing a tool was another matter. For the antique style rosette I ground one side off my tool, and I don't worry about losing it, I said, because it's not that expensive, and I can always replace if I have to.
Where else did I say it?
Eight spots, each with my own words from that moment at the bench.
| Lesson | My bench work | The way back I named for it |
|---|---|---|
| Pipe in 45.3 | Carving a pipe, after I made some mess | Handle the mess |
| Eye in 49 | Opening an eye with two millimeters first | Make a bigger opening |
| Hollow in 64 | Deciding how deep the excavation would go | Smaller tool instead |
| Lily Box | Digging in a little with a number five | Number 11 for the cleanup |
| Hashemi flowers 12 | Working against the grain and uphill | Return later and clean it from the other side |
| Cut in 59 | Starting a cut, not too deep yet | Go deeper |
| Lily Box edge | Excavating a little more without breaking it | Refine it later |
| Rosette workshop 6 | Grinding my tool down on one side | Replace the tool |
Is it a phrase from only one course?
My own words are in the Venice Room Part 4 course, in workshop 17 of an earlier Venice Room course, and in my courses on the Hashemi flowers, the Lily Box, the furniture panel, the rosette and the grape onlay. My transcripts hold it in far more lessons than I used here.

The third video ends on a plan to get this shape. You can watch what came after, video by video, in the workshop 45 lesson, on the same wood carving board.
Where can you watch this part?
The video sits inside the Venice Room 45 lesson, in the Venice Room Part 4 course. Is there a mess on your board right now that you are afraid of? Could a smaller tool be your next move? Then take it, and carve along with me. The tuition opens the whole room, and you can start here.
How it's done
- Say what size the mess is. This mess, not big mess, I said in the third video, and then came the words about it.
- Move down a size. Workshop 64 told it plainly. A tool that is too big can be swapped for a smaller one, then I start excavating with it.
- Clean with a number 11. Digging in a little was fine in the Lily Box. Cleaning with the number 11 again was open to me.
- Make it deeper in small steps. Workshop 61 put the depth at about three millimeters (about 1/8 in), and I said it could go deeper when needed.
- Hold back where depth is needed. Workshop 66 held back an undercut because I really needed that depth.
Frequently asked questions
Can you use a tool that is slightly too large?
In workshop 45 of the Venice Room I did. A second tool was little too big also, but I was able to use it, although I created some mess, and this mess was not big. Then the small reach, just invisible, ran all the way to a line, and that made sense.
What cleans an undercut in this workshop?
In the third video the answer was, of course, a number 11 veiner for cleaning that undercut. And if it doesn't fit, I can always fit a smaller one.
What rounded the shape in this part?
A number seven, upside down, in the third video, and I called the result beautiful and round detail. Divisions and subdivisions were still left to do, and I said so.
What to carve next