

Alexander Grabovetskiy, woodcarver, School of Woodcarving · Published 2020
What does a wood carver mean by "believe me"?
Quick answer: Near the end of part 9, a volute movement got these words from me: "And yes, they could be problematic. Believe me." Other lessons carry the same words, about a thin piece that breaks, a detail you can't see, a messy look, and small details that do matter.
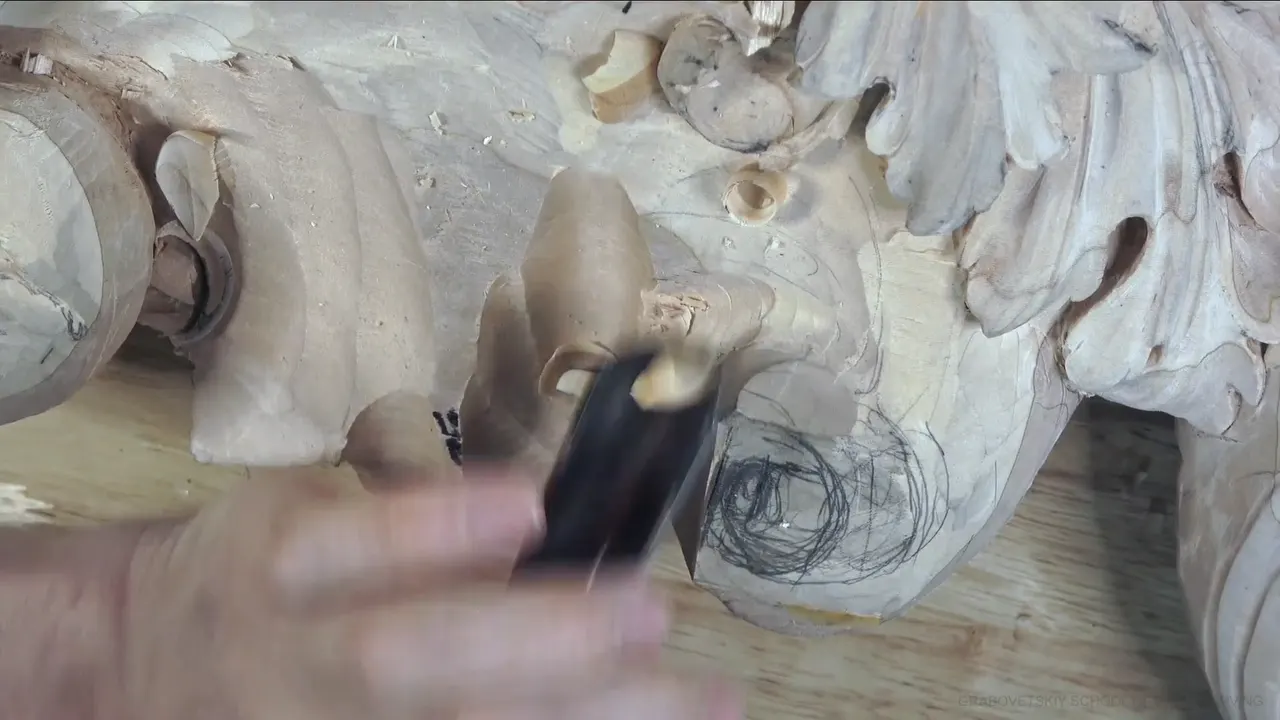

In part 9 of Venice Room 45, I ended a talk about a volute movement with two words: "Believe me." They show up in my other courses too, over a thin piece of wood carving, a detail nobody sees, or lines that look like a mess. Here are the places, with what came right before and after.
Ever pushed a gouge at a thin end and felt the wood start to give? Did you look at your carving and not see where it was going yet? Both happen at my bench.
The places I said it, at a glance
- The volute movement in part 9, and the three dimensions I need to see.
- Thin pieces that can break.
- Slow work.
- Carved lines and spots nobody sees from where you stand.
- A messy look.
- Small details, and a carving that is never finished.
What did believe me mean?
Part 9 opens in the middle of a thought. "And that way you're going to solve the problem. So let me think again." There are many, many different ways of developing it, I said, and maybe I can bring that volute all the way to this point.
To do that, I need the right slope. I want to see the movement from the side, so the upper part needs some space. Number 11, just that one. One pass I called too dangerous: "I could hit this and break it."

Size came next. "Also really important decision," I said, and I would make the volute approximately 15 millimeters (about 0.6 in). I got that number from how much material I have left to the bottom, and I can't go too extreme, because I still have to keep some of the material. "Let me clean this with the skew," I said, and called that the working surface. Next I tried to show you from another point of view, so right now you're looking from the left side. Then I said, let me take the skew again and create a little better surface. I like the slope of this barrel. I do not want to change it. Position came after that. How far from the edges am I supposed to go? "Which in this case, I probably got right on the money." It is about 15, 16, maybe 17 millimeters (about 0.6 to 0.7 in) at the beginning, and later on it will be changed. A chunk I need.

I also need to excavate a little right there, because that barrel is supposed to go inward. That makes a different slope. I would do it with number 11 and 12 millimeters (0.47 in), and yes, I could actually go a little this way. On another hand, hold on, let me clean a little deeper here.
"I need to figure out the movement itself," I said, "because there is also different ways of doing it." Here is the end of the volute. It goes this way, around, and that way. Here is the barrel, and I have to make sure I have the right movement around. A double movement.

An edge goes around, and then a secondary one goes this way. I said I'd excavate this preliminary. Well, I want to keep the barrel. That's how I call it, like a barrel of the volute, and it will be exposed.
I said: "I created the outline of it. I know it doesn't make sense. It will."
I've done that movement multiple times. Sometimes it's kind of complicated. It isn't really complicated, but when you're doing it first time, it could be complicated.

At the end of part 9, I said again that I need to go a little farther this way. "The goal is to see in three dimensions. That is the main goal. If you don't see that, that could be a problem." I think it's the main problem with people having this type of movements. "And yes, they could be problematic. Believe me."
Part 10 carries the same thought. Hope it makes sense, I said, and I know it will. "Nothing confusing. I know it's looking a little confusing at the beginning." All of it sits in workshop 45.
Which pieces did I say could break?
Greek acanthus lesson 15: make sure you don't force it. "If you force it, you break it, believe me." Take your time, I said, spend a little longer, and do it the right way. Then I said I'd use the number 15, three millimeters (0.12 in), exactly the same tool we used before.

One millimeter could clean around, I said, and I'd probably need my number 12 knife to get a little deeper right there.
In part 4 of lesson 13 I said I'd just use the knife carefully again, and believe me, you can break your knife if you're not too careful. A little further on, I said the biggest probably difference between the ancient carvers and today's carvers, in today society based on speed, like go. "And that's not always good. Okay, I completely broke this piece."

The antique rosette course says how deep: I don't go as deep, and the most where I'm going is about 1/16 of an inch (1.6 mm) deep, no more than that. I'd rather make two passes, three passes, than make a mistake and snap it, because this section is only eighth of an inch (about 3 mm), and believe me, it's really easy to snap.
I was on the end grain. I have to be really careful and really accurate on my line, because your eye can easily catch a wavy one. Rush it and the line gets wavy, no matter how stable your hand is or how good you are, and believe me on that, I said. No waviness allowed here.

In Roman acanthus 14 I said to excavate, approaching from both sides. Don't press it too much. It is fragile, I said, believe me, and you could break it. A small knife next, and tackle it from the sides.
Over in lesson 12 of that course I said, "Again and again, don't overdo it." If your piece feels too fragile, stop and work on something else, and you can always go back to the area. "This is not the easiest area to work, believe me." This piece is really fragile now. It's easy to break.

Back in workshop 45, part 8, the warning was about the mallet. With big tools, don't go all the way to the end, because right now this end is just weak. Our grain runs like this, and it's always better to approach from the end itself. Otherwise you can break it easily. I'm still going to keep some thickness for now, because if it's too thin, I can easily break it.
My reason shows up in Roman acanthus 10. When you do an extreme undercutting like I'm doing most of the time, and believe me on this, you really have to control your tools and feel what you do. When a piece becomes really fragile, most of the time you can't fix those mistakes.
Why take the slow way on a carving?
The Hashemi flowers 20 lesson: I said I'd take a small, tiny gouge and make multiple passes without forcing. Tempting, I said, to carve all of it as quickly as possible. Not the best idea, believe me, I said. Better to take your time, little by little, even if it takes an extra amount of time. A few minutes more beat forcing it and making a big mistake.

A tool can be too big. In lesson 23 I said it's tempting to take a big tool and a mallet and just boom, one pass. "But it just doesn't work on that type of carving. So this type of carving is actually not the fastest. But believe me, it trains your character. Trains your patience." Maybe this is too big, I said. Take a smaller one.
Undercutting asks for time too, and in Greek acanthus 10 I said it takes time to nicely undercut, and "believe me, sometimes it takes longer to undercut than to establish the main form." When those shadows catch the right lighting, they look really nice, gorgeous.
How do you carve what nobody can see?
Lesson 41 of Hashemi flowers is about a detail under a flower: "the second one, which I know you can't see because it's underneath the flower. But just believe me. Just trust it's there." Maybe it's a good idea to use smaller tools, I said, like the number five I have right now.

Venice Room 13 asked for less. This part will overlap that side, I said, and you don't see that. I asked you to believe me. I'd show you later, and someday you'll see the whole picture. On Venice Room 8, mid-work: "I know it's not visible on the camera, what I'm doing right now, but just try to believe me."
The Grinling Gibbons class in Maine had a spot I couldn't show, and I said the stuff is just impossible to see on the camera. "You probably have to just believe me and that's it."

A line can work the same way. In furniture panel 9 I said I'd just get rid of part of this curl and redo that curl, or should I call it a volute, which is more accurate. You're not going to see this line, I said, and believe me, you will still see it visually. You will feel an invisible line.
Shadows are the same kind of thing. At Hashemi flowers 9 I named a tool at 5/16 of an inch (about 8 mm), and said I'll do a pass like this. About those shadows: "I know it's hard to see those shadows, but believe me, they are there." Next, let me turn the light off and check if I'll be able to see those shadows, I said. "And now you can see the light through."
What if the carving looks messy?
In furniture panel 3 I said I'd draw another line, and I think that's already complicated for some of you, and believe me, it will make sense. Those movements will be really organic. In lesson 5 it comes again: I know all of those lines are kind of confusing, and they will make sense later on, believe me. Really important lines.

In Venice Room 8, I said I know it doesn't look good yet, but it will, and believe me, I said, it will look really good. Seconds later: let me see what the best solution is for this area. I'm not really happy about overall movement right there. Number five, the big one, I said, and then I'd see if it works as a solution.
Venice Room 22 had a movement I couldn't show from one side. You really don't see it from this point, I said, because you're looking from that side. It's a beautiful movement, I said, believe me, but it's not enough for me. I still wanted extra separations, a small section, an extra notch, to give extra curliness, with probably just number 11 and 1 millimeter (about 0.04 in).

Do small details matter?
Back in Roman acanthus 13 I was making a small return in the middle part, just little by little, and believe me, those small details, they do matter. I'd attack it from the right position, because my grain goes in that direction.
Roman lesson 7 makes it plainer. It's just 1/8 of an inch, 3 millimeters. A number eight gouge, I said, and number nine will work, but number seven will not. "And believe me, those details, they do matter. They really matter. Carving is actually all about the smallest, tiniest details. Because every cut, every move produces some type of shadow." As you remember, I said, wood carving is all about light and shadow.
Does a carving ever get finished?
The curly cutting board course has it too. With the practice of many years I know I'm still going to find some imperfections, but I'll find them much quicker after a few days when I look back. "Although, believe me, your work never going to be finished. Never." Art never ends.
Over in Hashemi 49, the most challenging part, at least for me, is how nice I want to see my final look. You can go as extreme as you wish, I said, and there's no end to it. You will always find some imperfections. "And believe me, you're not going to like completely the final look what you've done."
My teacher would tell me, "If there's going to be a day when you look at your work and you're going to say, 'Wow, it's beautiful. I couldn't make it better,' he said, 'That's the last day of your artistry. So you're not an artist anymore.'"
Where did I say it, and what came next?
The table lists six of them, side by side.
| Lesson | What the two words were about | What came next |
|---|---|---|
| Greek acanthus 15 | Force it and you break it | Spend a little longer, do it the right way |
| Antique rosette 2 | A section only 1/8 in wide | A really accurate line, no waviness |
| Roman acanthus 14 | A piece that is really fragile | A small knife, from the sides |
| Hashemi flowers 41 | A second detail under the flower | Smaller tools, like my number five |
| Furniture panel 5 | Lines that look kind of confusing | You'll see one is going to develop |
| Hashemi flowers 49 | A final look you won't completely like | My teacher, and the day you stop being an artist |
Where can you see these lessons?
Each one sits inside a course of mine, and Venice Room Part 4 holds workshops 38 to 49. Every course is one click away if you start here.

How it's done
- Make the slope first. A right slope, so the upper part has some space and I can see the movement from the side, with just number 11.
- Set the size from the wood left. Roughly 15 mm (0.59 in) for the volute, decided by how much wood sits left to the bottom.
- Clean the working surface. I would clean it with the skew first, and I would take the skew again for a little better surface.
- Look from the left side. From there the slope of the barrel looked right, and I did not want to change it.
- Excavate a little for the barrel. The barrel goes inward, so I planned a number 11 with 12 millimeters (0.47 in), and a little deeper.
Frequently asked questions
How far from the edges did I place the volute?
About 15, 16, maybe 17 millimeters or 0.6 to 0.7 in to start with, and I thought I probably got it right on the money. I called that distance a chunk I need, and later on, I said, it will be changed.
How big did I make the volute?
About 15 mm (0.59 in), and I called that a really important decision. The wood left under it set the number, and I could not go too extreme, because I still had to keep some of the material.
What happens when I rush a line on end grain?
Your eye can easily catch a wavy line, I said, and rushing makes it wavy no matter how stable your hand is or how good you are. On that end grain I had to be careful and accurate, and waviness was not allowed.
What to carve next