

Alexander Grabovetskiy, woodcarver, School of Woodcarving · Published 2020
How do you reach the waste behind a weak edge when you cannot crank against it?
Quick answer: Reaching waste behind a weak edge is a matter of changing the side you work from. In Venice Room part 10, I said I did not want to crank against that edge, and I used a back bent on the backside so that the tool stopped pushing on it.
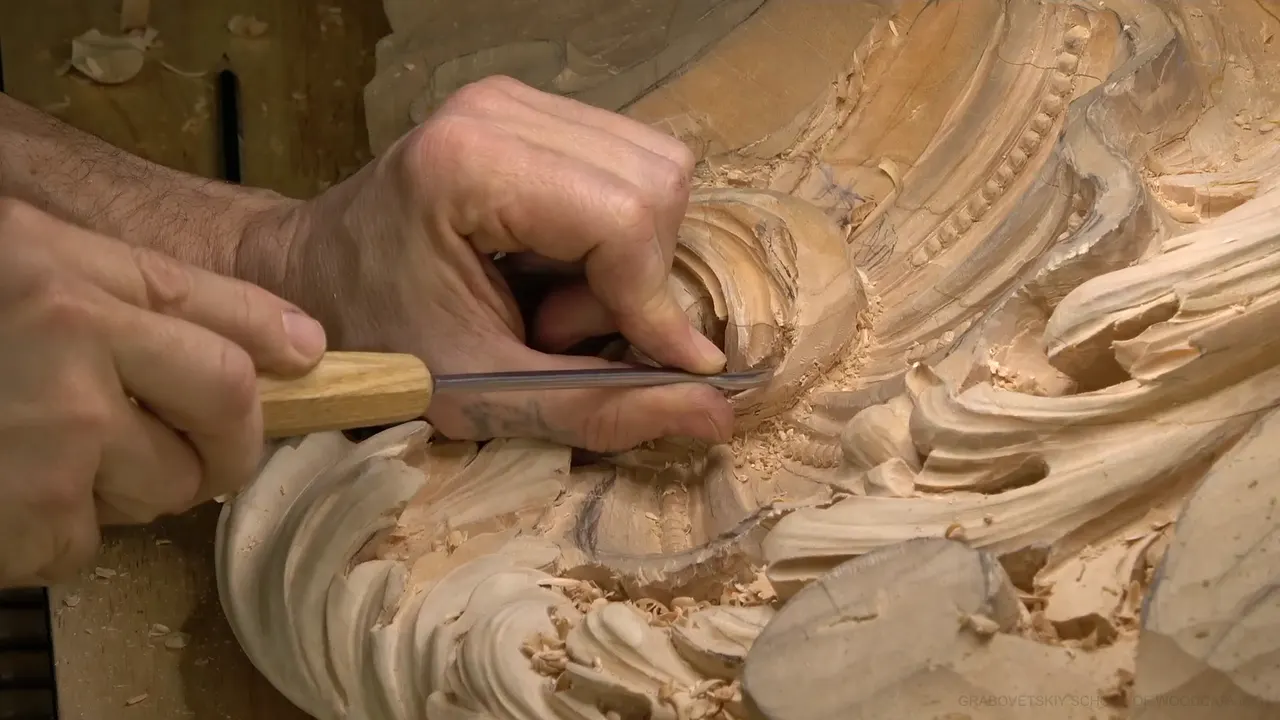
If an edge is too weak to crank against, I change the side I work from, and a back bent gouge does the reaching. In part 10 of workshop 18 of the Venice Room, I say at 00:19, "I don't want to crank against this edge." I add at 03:29 that I also could take material off the backside.
The video is short. So I pulled in what I said about cranking, leverage and the back bent in other lessons, and I tell you where each line comes from. Every course I use has a public page, and I link it.
Ever felt a thin edge shift under your gouge? Would you like to clear the wood beside it and still keep the edge? Then stay with this one.

My steps in part 10 when the edge got weak
- A weak edge gets no lever pressure from me.
- My number 7 chopped a little bit in, and a number 11 took out more.
- Movement in the wood made me stop.
- Going to the backside gave me more accessibility to that area.
- Then a back bent worked inward in small steps.
- The pass ran completely underneath, and I kept the result as a little detail.
- Other lessons show the same worry.
How do you take out waste if the edge in front of it is too weak?
I take the wood from the other side and reach for a back bent. Part 10 starts mid-excavation. Cranking on that edge would be a big mistake, I say at 00:19, because it is already becoming too weak. The area is tough. My number 7 chops a little bit in, and the number 11 removes more (00:39 to 00:54).
The wood tells me when to quit. "It's already breaking, so that's not good," I say at 01:32, and then, "got to stop." Gluing it back is not my plan. My plan is to fix it. The sign to watch for is the movement itself, because if you see it move like that, you are pushing it too far.

Next I think out loud. Maybe a small number 8 could remove some of that waste (02:44). Going too deep worries me at 03:22, since I really need a smooth transition there.
The backside is where the idea lands. "I also could remove some of that material on the backside of this movement," I say at 03:29. "It's going to give me more accessibility to that area." I will use a back bent again for that, I say.
What makes a back bent work here?
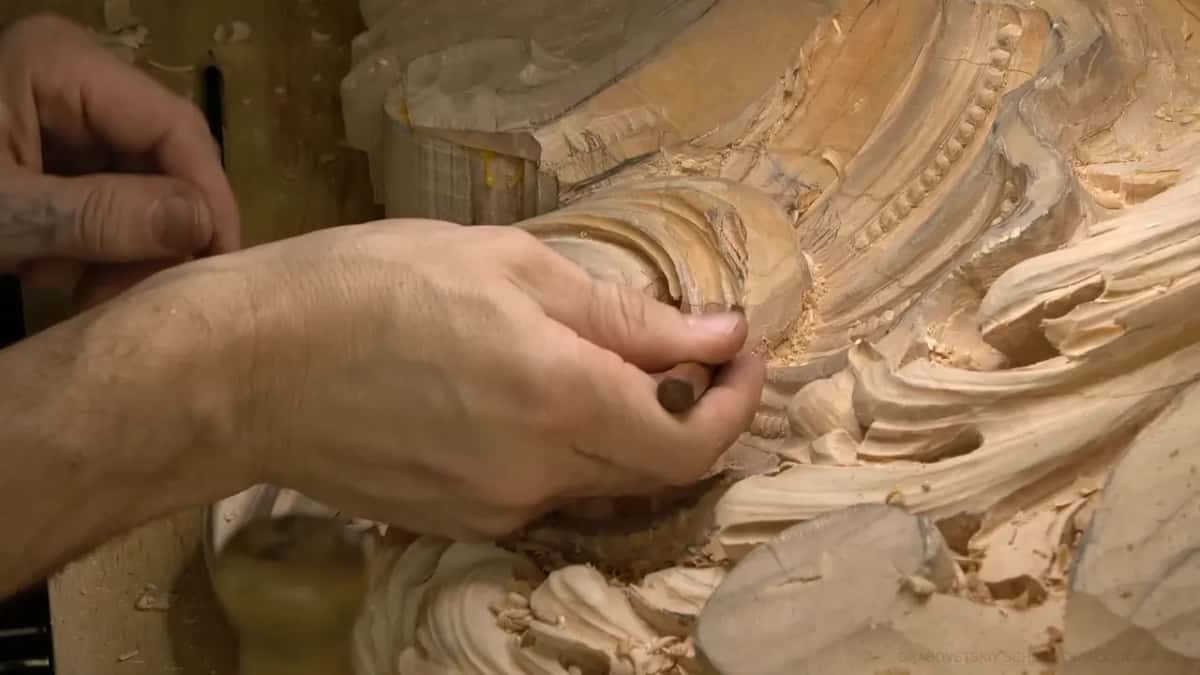
It leaves the edge alone. A back bent in a number 5 sweep, 6 mm (about 1/4 in), comes up at 03:46, and I go little by little inward. The mallet goes away at 03:59, with an apology in case it distracted you. By 04:05 I am working without forcing too much.
"Because it's a back bent, I'm not cranking anymore on this edge," I say at 04:09. From there I can clean really deep, until I cut completely underneath (04:18 to 04:27). The tool goes all the way.

This is not a new idea in the course. A viewer once asked me to show how certain tools are used, and the back bent tools lesson of my tools course is my answer. I call the back bent one of the best tools. Say I have a high spot, and I still have to reach and carve the area behind it. Attack that at the right angle with a straight tool, and it is going to dig in.
The back bent rides raised above the spot. I can safely attack that part, and I show it from the side. That is one of the reasons I love that tool.

A second use in the same lesson is undercutting. Working your way right underneath is what it does well, and it gets you into really deep undercuts. Sometimes something sits right in the way, and no other tool can do the job.
Some of mine are huge, and they are really handy for getting right underneath in the big carvings. Others are tiny, about one-eighth of an inch, 3 mm. A few are really short, with different profiles. When a spot has to be reached on one piece of wood that is not glued down, a straight tool will not give you that ability. Later in that lesson I call them my favorite tools.

What does it look like when an edge is about to give?
It moves, and that is the whole warning. Back in workshop 42, I dig in with a number 9, in what I call the plug cutting motion. "Oops, that's no bueno," I say. "That's already too weak." The part did not break completely, but I made it loose.
I explain how. You move in, in, in without removing anything, and you crank upward. I call that a big mistake, and I carve a little at a time. The grain matters too. My cut ran against the grain and more or less upward, which did not help at all.

The second layer of my lily box brings the same fear. To dig on the side I would probably use 3 mm (1/8 in) at first. I say that cranking it too hard against this edge will break it again. I don't want to break it.
So the tool changes. Maybe a smaller mallet is a good idea there, like a 12 ounce (about 340 g) one, used carefully. Then come straight inside cuts, the same idea as the straight down relief cuts, chipping away.
Over in workshop 51, I am cutting a plug out. Go in, make a full rotation, and make sure you are not cranking like this, I say, because this is fragile now and you can break it. So take your time.
Where do you crank when an edge cannot take it?
Against a spot you left strong on purpose. Around 01:35 of workshop 30, some details are still untouched because I knew I was going to excavate some of the stuff there. "I still need that material for leveraging," I say. "I'm going to crank against that." Sometimes I leave the details to the end, until I am ready.
Workshop 35 makes the same point. I did not undercut too high at that point (01:54), since parts of my tool were going to crank against it or leverage against it. Doing it to the final form is the error. A carving looks rough until the end for that reason, and as I put it, "always at the end, I'll have a good chance to clean everything."

The cost of getting it wrong shows in workshop 57. "I'm never attacking right away all that mess before I finish the main movements," I say. I sometimes have to crank against the edges, and I need solid spots for the leverage.
Then I point at one. "Here is a cranking point or leveraging point." Finish that piece with all the undercut done, and I would easily break it. Big mistake. The reason fits in one line in workshop 47. Some pieces are what I crank against, so I do not want them too weak too early.
Which spot on your own carving could stay heavy for now? Would it hold your gouge while you excavate the weak part beside it? Then leave it, and come back to it last.

What if there is no solid wood to lever on?
My hand does it. In the lily box lesson I say to try not to press the edge, because right now it just becomes fragile. My middle finger goes down as a reference point or cranking point or leverage point, if you wish to call it that. The edge stays untouched.
The same idea shows up close in workshop 60. The middle finger is my leveraging point, and I am cranking against my finger, which gives me a lot of control. Pushing too hard is a danger. The next video of that lesson carries a warning, that you can actually break your bone if you do not do it the right way.
That workshop also has my teacher's answer to hurry. A damaged piece was not the worst case, he said. The worst case was that you "can cut yourself really badly, because we are working with the sharp tools." So even on a large sculpture, it is better not to dig too deep.

| Where I said it | My move at the weak spot | What it shows |
|---|---|---|
| Part 10, workshop 18 | Took the waste from the backside with a back bent gouge | No lever on the edge |
| Back bent tools lesson | Raised the tool over a high spot to reach behind it | A straight tool digs in |
| Excavating in workshop 30 | Left some details alone until the end | Wood to lever on |
| Lily box, second layer | Put a middle finger down as my leverage point | A finger as the lever |
| Digging in workshop 42 | Pushed in with no waste coming out | A loose part |
What do you do when a pass runs clear under the edge?
I keep it. "This tool goes all the way," I say at 04:30. Then I say what happened. "It's actually my future separation cut." It fell where one was coming anyway, so the separation cut gets made right there.
It is just a little detail, "naturally as it sort of is." Then at 04:54 I decide to keep it like that, because it is going to give extra something.

Where does the inside work start once the edge is safe?
From underneath, with a lot of thought. A number 11 spoon gouge comes out at 05:29, and I wonder out loud if it will fit, because I excavated some more. It will, to a certain point, and I can work from underneath (05:45 to 05:55).
"My goal is not to touch the edge," I say at 06:18, and then, "which is almost impossible." By 06:58 that tool has done all it can. A little more cleaning inside gets rid of tool marks I do not need.

The last minutes are cleanup. A tiny number 3 removes a triangle that is kind of bugging me (07:51), and it is still possible. Now it looks good, I say at 08:09, though lots of chips sit inside.
What is left on the inside is a little cleaning with a bigger tool. I wonder at 08:32 whether a number 7, maybe half an inch (about 13 mm), will fit and make it even smoother. I also need to be sure it is really sharp.

Can a weak-looking edge take a little pressure?
In one case it did. Pressure gets checked in workshop 46, where I keep an eye on how I am pressing to the edge. I am barely creating any pressure, yet I am kind of cranking against it. Then comes the surprise. "I thought it's too weak, but it's not." I go in from that end and from the other side, and 3 mm is the deepest I can go. For more, I switch to 2 mm.
Workshop 37 is the careful version. I have to be careful not to crank too much against that edge. Maybe my cut on that side came too early, and I should wait probably a little longer. I only made it to show you roughly what the finished shape is supposed to look like.

The lily flower lesson has the same patience. Excavating much deeper has to wait for a little later, because the petal is too fragile now. I am afraid that if I crank on it while I work on the other petals, I can break the edges. What I can do instead is measure exactly how long all of my petals should be.
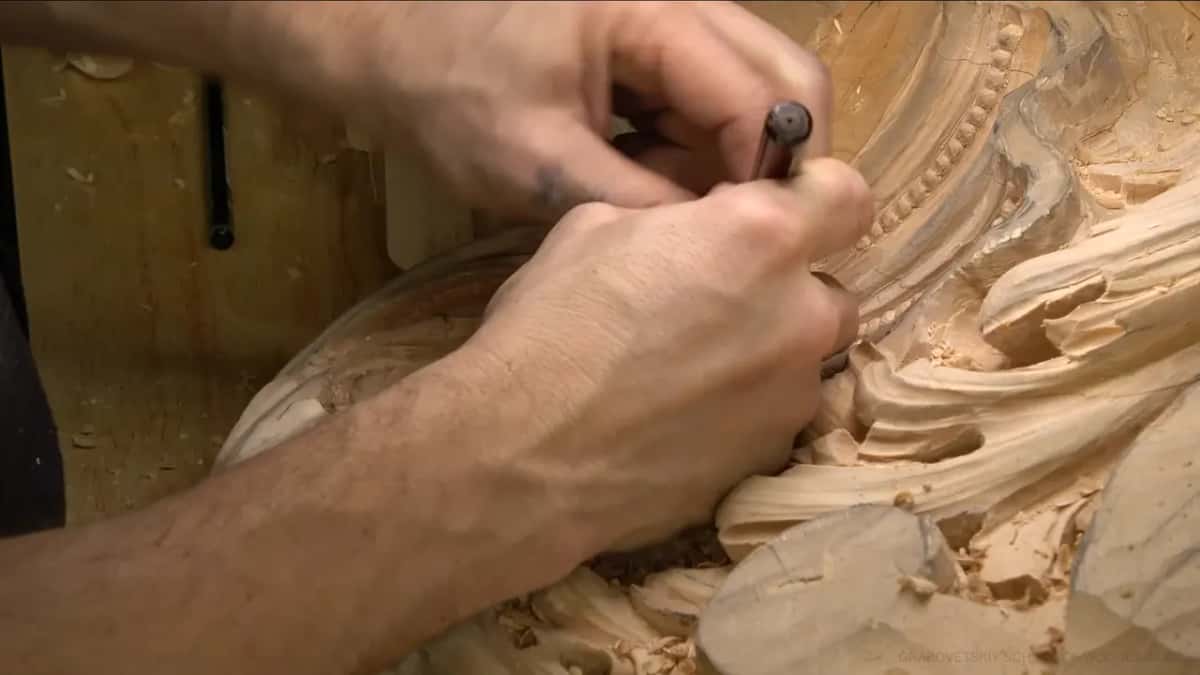
The back bent comes back there too. I reach as much as I can and go as deep as I can, taking a back bent again. Then a 1 mm (about 0.04 in) tool cleans all that. "Carefully, carefully, without forcing," I say, and I end up with really deep undercutting.
What would you try at your own bench?
Here is my order, taken from all the lessons above. When the wood moves, I stop. I look at the other side of the movement and ask whether the waste can come out from there. I reach for a back bent, because a straight tool would dig in. I keep solid spots to lever on, or I use my own finger, and I leave the final shape of the strong parts for last.
The rest of workshop 18 sits on its lesson page. Workshop 13 and workshop 16 also have me warning myself about cranking, and the whole set lives on the Venice Room Part 2 course page.
Some of the words here have plain pages behind them, if you want them. They are gouge, mallet, leverage, fulcrum, fracture, grain and stress. The craft itself is wood carving.
The course is named for Venice. My sizes are in millimeters and inches, and every tool I used is a hand tool.
Which edge on your carving is too weak to lever on right now?
How it's done
- Stop when it moves. Under the gouge the wood moved, so I stopped, and I was not going to glue it back.
- Check the other side. I asked whether the backside could give me more access.
- Use a back bent. It went little by little inward, without forcing too much.
- Leave the edge alone. Because the tool was a back bent, I was not cranking on that edge anymore.
- Keep what it gives you. What ran underneath became a separation cut, and I kept it.
Frequently asked questions
Can you carve beside a weak edge without breaking it?
You can, if you come at the waste from the backside. Part 10 had me take material off the backside with a back bent, and the tool stopped cranking on the edge. I went in a little at a time.
What size back bent did I use in part 10?
A number 5 sweep, 6 mm (about 1/4 in), which I name at 03:50. For the inside, a number 11 spoon gouge came next, and a tiny number 3 near the end.
What shows that the wood is about to break?
Movement does. At 01:44 I say that if you see the movement like that, you are pushing it too far. Workshop 42 shows the same thing, after I moved in with no waste coming out and a part went loose.
What to carve next