

Alexander Grabovetskiy, woodcarver, School of Woodcarving · Published 2020
How do you clean the inside of an undercut so you do not destroy the sharp edge you just made?
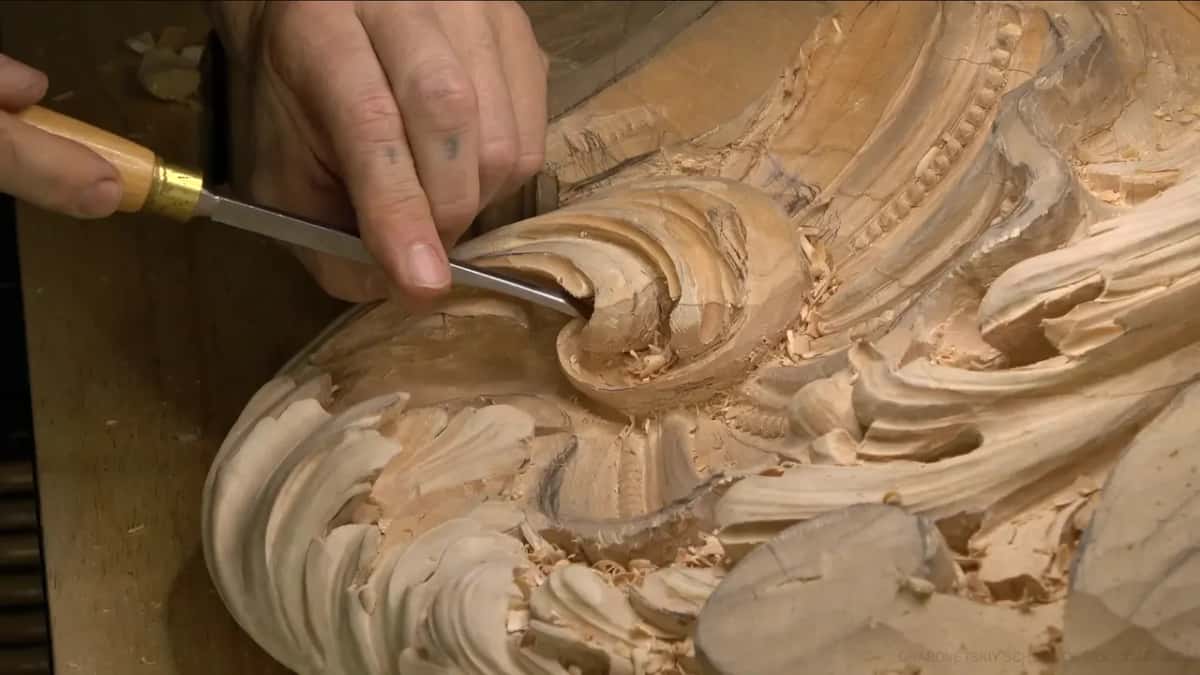
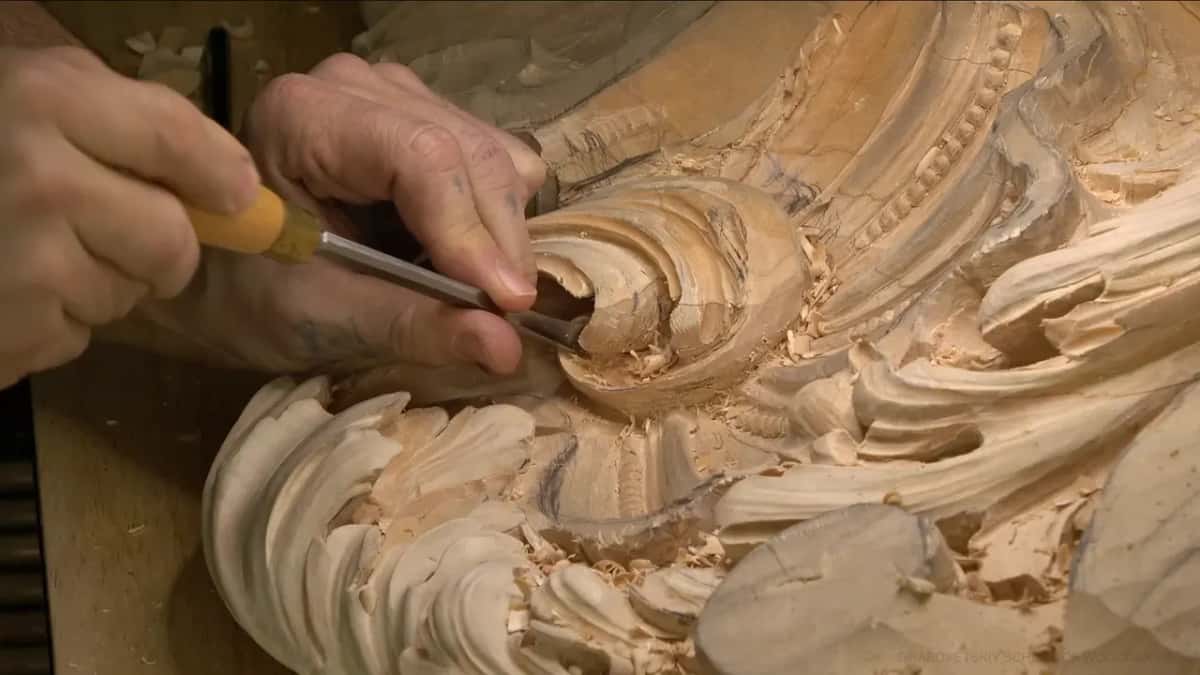
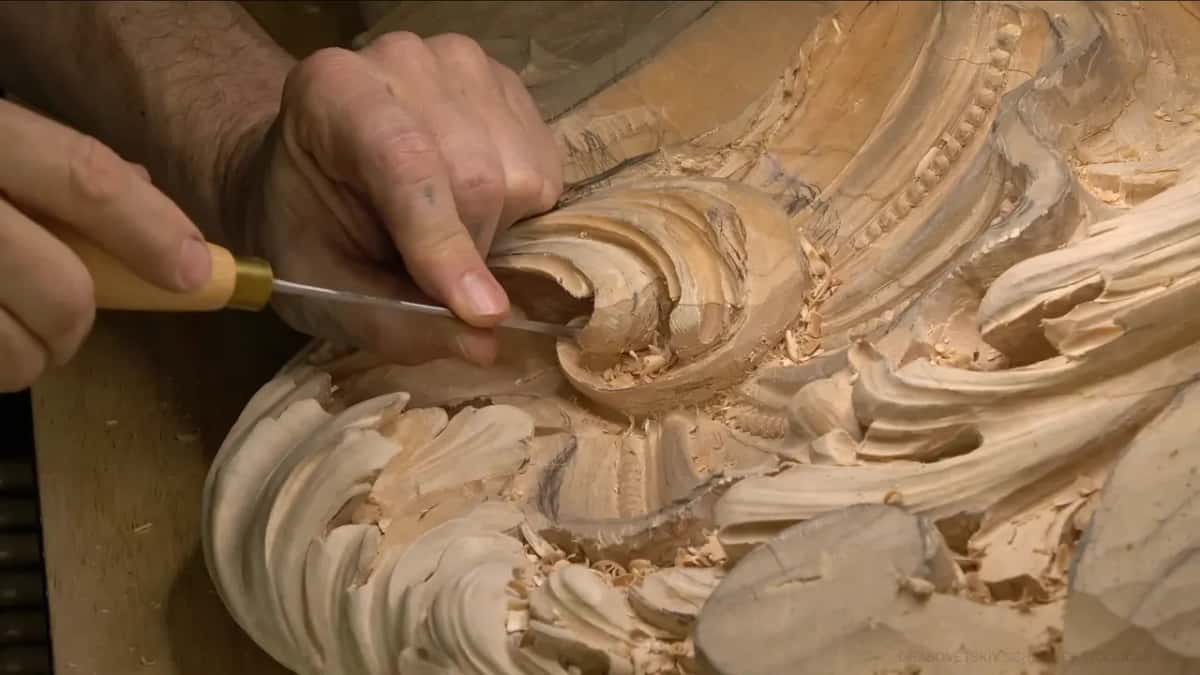
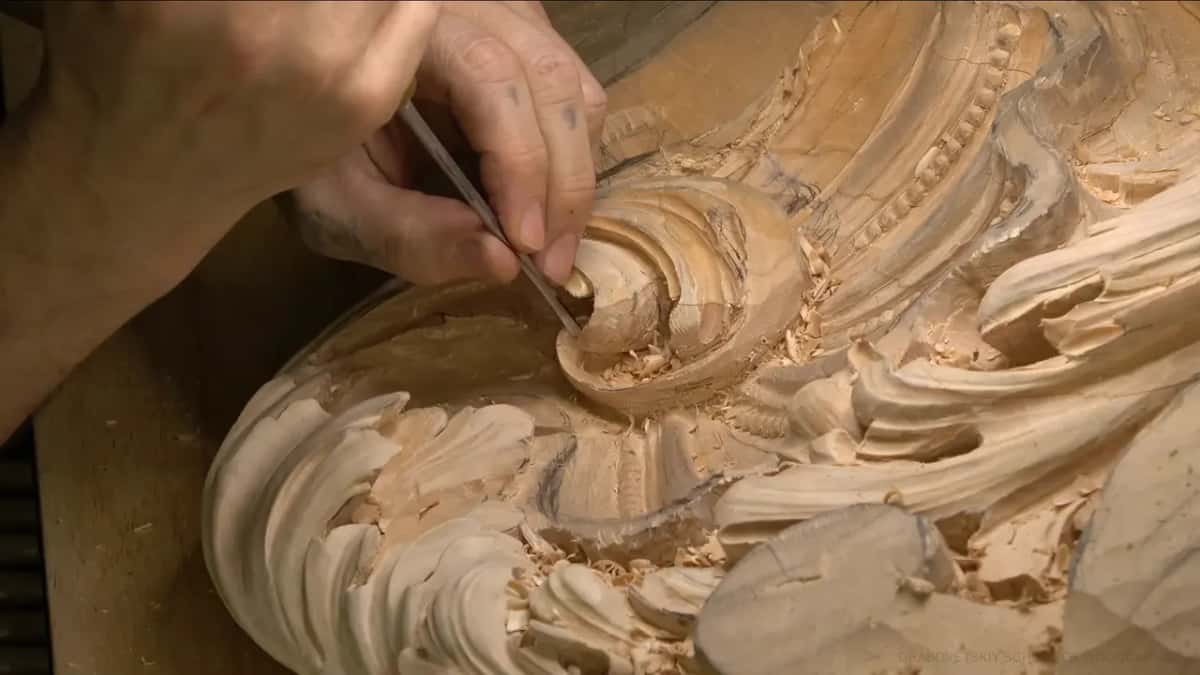
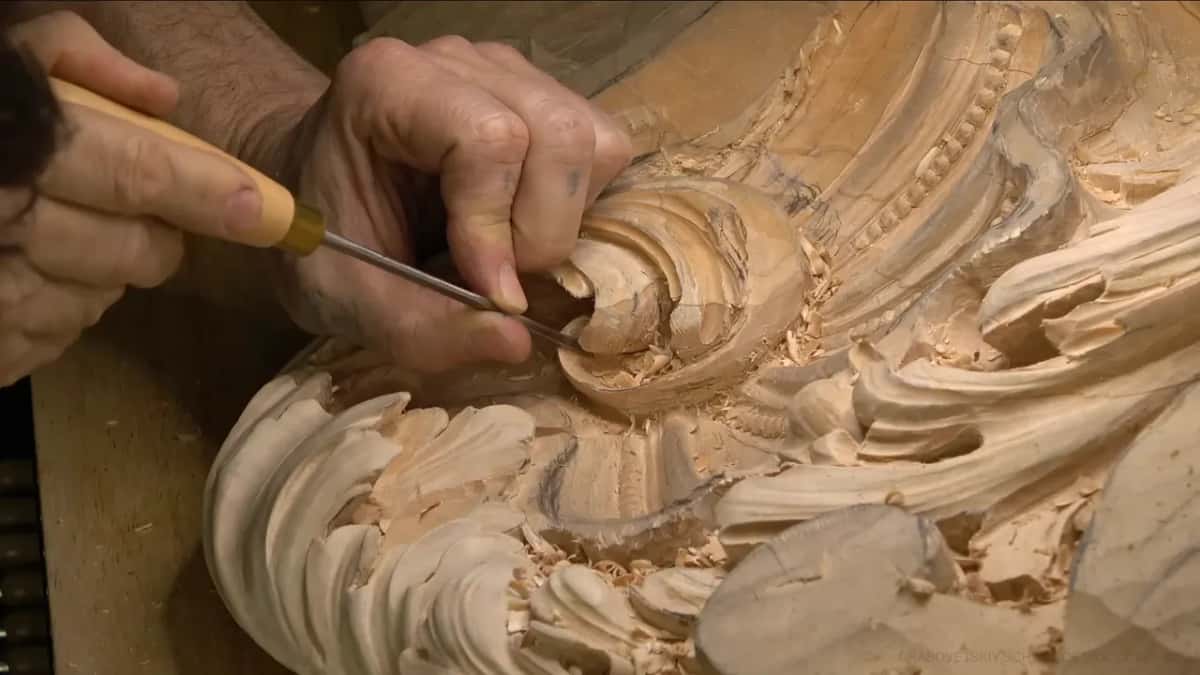
Quick answer: Cleaning inside an undercut is done with a small gouge and a careful hand. In Venice Room workshop 18, part 7, I took a number four, one-eighth of an inch, and later a number 11 only 2 millimeters wide, and I told you to be careful with the new edge.
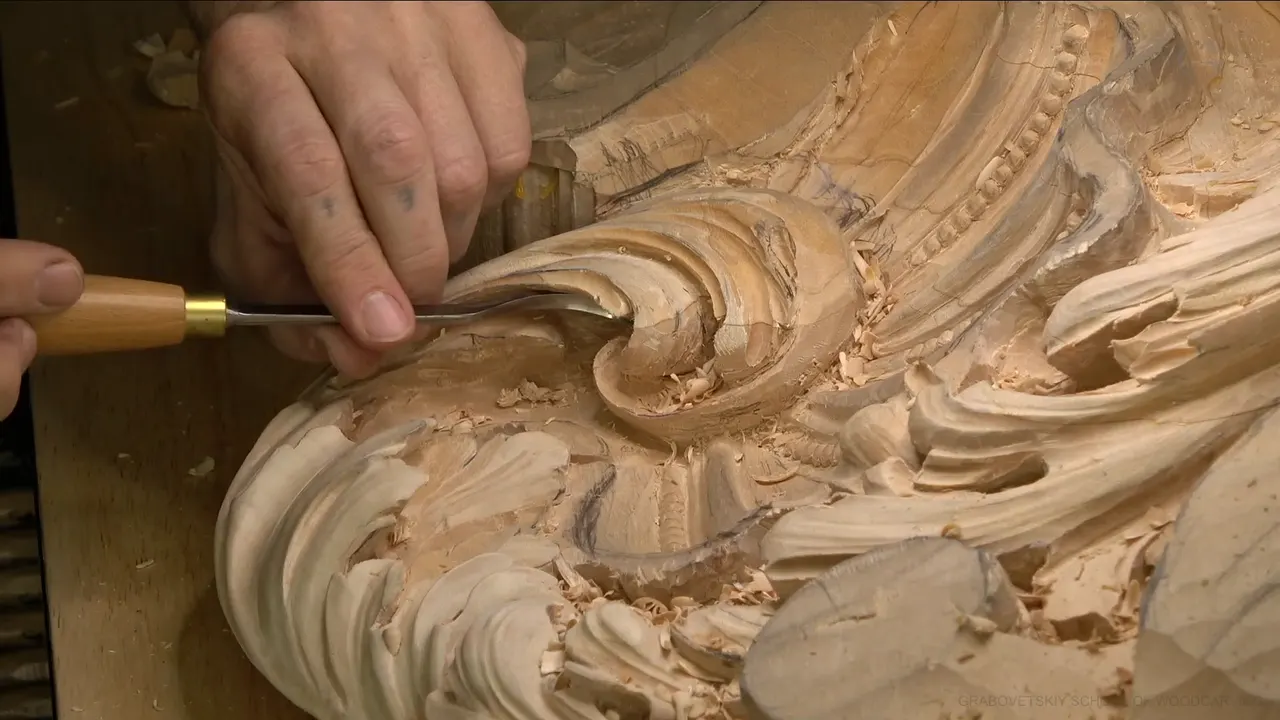
Cleaning the inside of an undercut is done with a small gouge and a careful hand, once the undercut already has a sharp edge to protect. I did it in part 7 of workshop 18. At 05:16 I said, "I don't want to destroy that sharp edge I just created."
The video is short, so I pulled in what I said about the same worry in other lessons of mine. Each one sits on a public lesson page, and I link it where I use it.
Ever pushed a tool into a hollow you cannot see? Did you worry the edge you made a minute ago would go? Would a smaller gouge feel safer in that spot? Then this page is for you, sitting at your bench.
Six lines on the clean-up
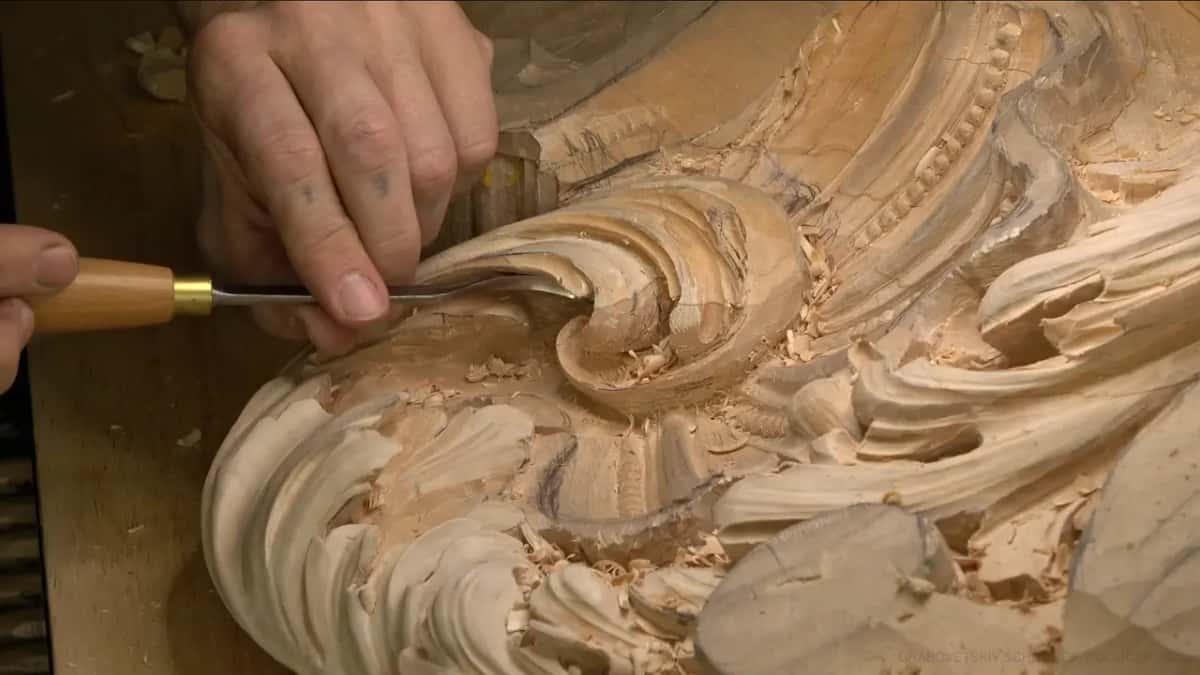
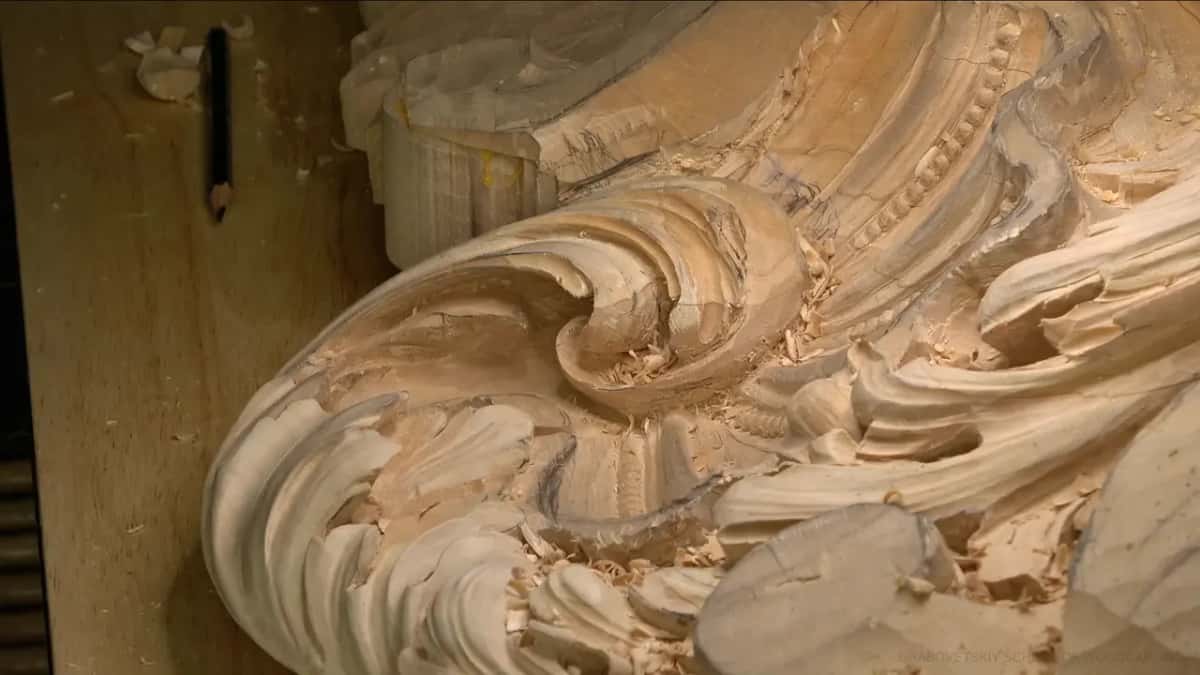
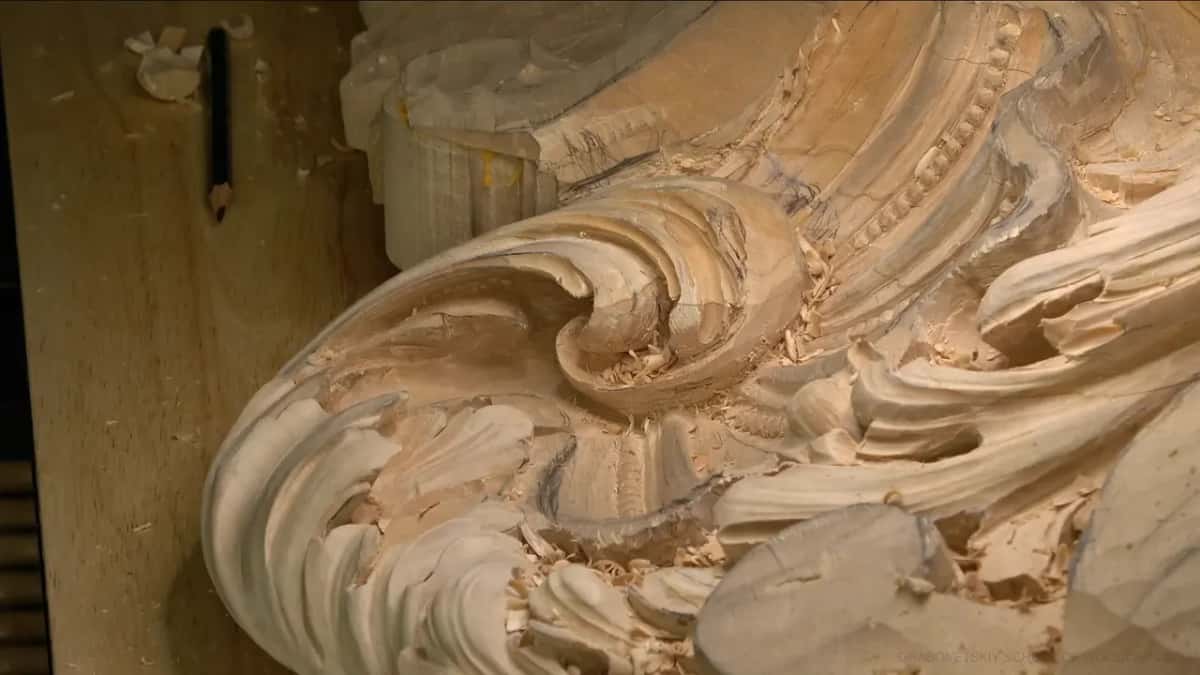
- Part 7 left the inside of the curl to be cleaned, and you cannot see it.
- The number four, about 3 millimeters, went in first.
- After it, a number 11 of 2 millimeters, about 0.08 in, took the last clean-up on the inside, and I handled it with real care.
- The transition came out clean.
- Other lessons show the same move.
- Furniture is different, I said, since a very sharp ridge is not the goal when a piece is used daily and can break.
What was I cleaning inside in part 7?
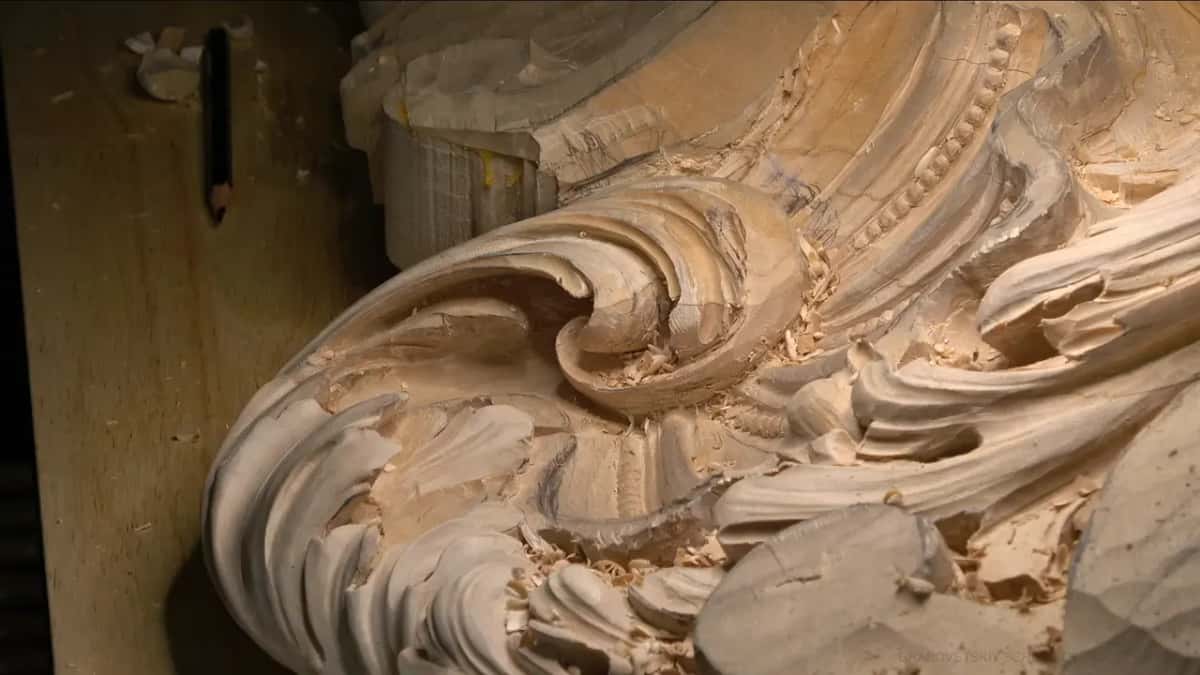
The part opens mid-work. I asked at 00:03 if I could move in a little bit, and by 00:16 I said I had it really sharp and nice, so I could clean a little. People wonder how in the world it is even possible to get in just like that, I said (00:33). It's possible, okay?
Next, something I want to keep exact. I could make an even deeper shadow inside if I wanted to, and I really don't have to, though I am able to. The reason was the back bend. Since it goes in like that, I can excavate a little bit inside and even undercut underneath. A back bend shorter than that one would let me go even more extreme (00:45 to 01:22).
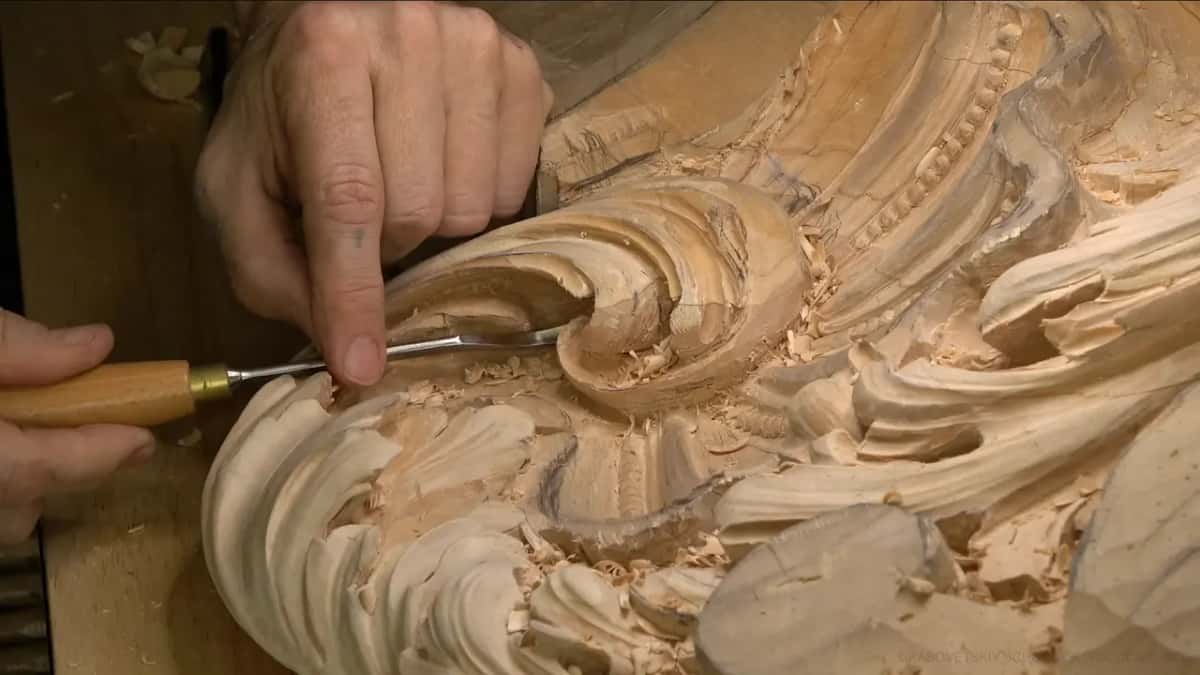
For now it looked really nice, I said, except I still had to clean inside, which again, you don't see (01:22 to 01:37). A little later I named a number seven and a locking feel. One side goes backward, and the other goes underneath of that locking. Gorgeous movement, I called it (01:37 to 02:09).
Closer to the finish line, I said at 02:25, I might make a picture of how it looks on the inside, because it is worth seeing. That was only a plan.
Why did I reach for a number four here?
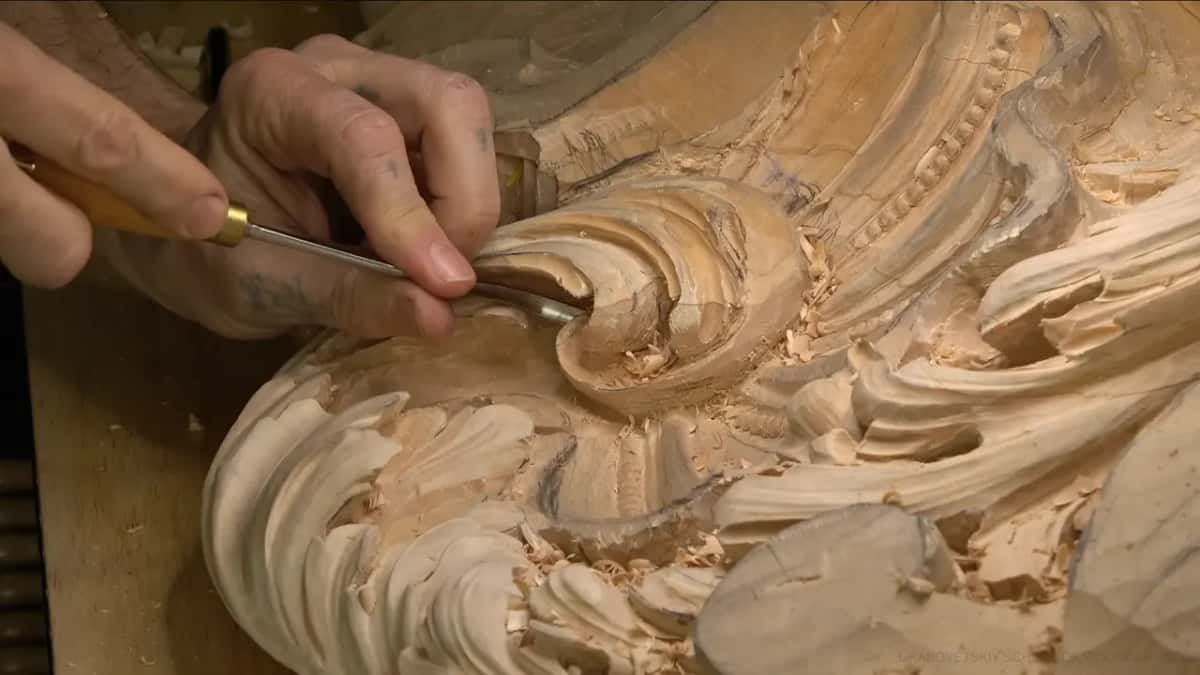
I needed to take out a bit more wood, but the tool in my hand was a little too big (02:44). Let me think, I said. Maybe a small one, like number four or so. One-eighth of an inch, I said, like 3 millimeters or so, and get that stuff finished. That is 3.2 mm, so my two figures sit close.
I named a second choice too. Number four or number seven would work also, but I did not think I needed a deeper excavation, and the number four was a good tool right there (03:21 to 03:30). Seconds later it was in the wood. Really nice and good, I said at 03:35. Goes in.
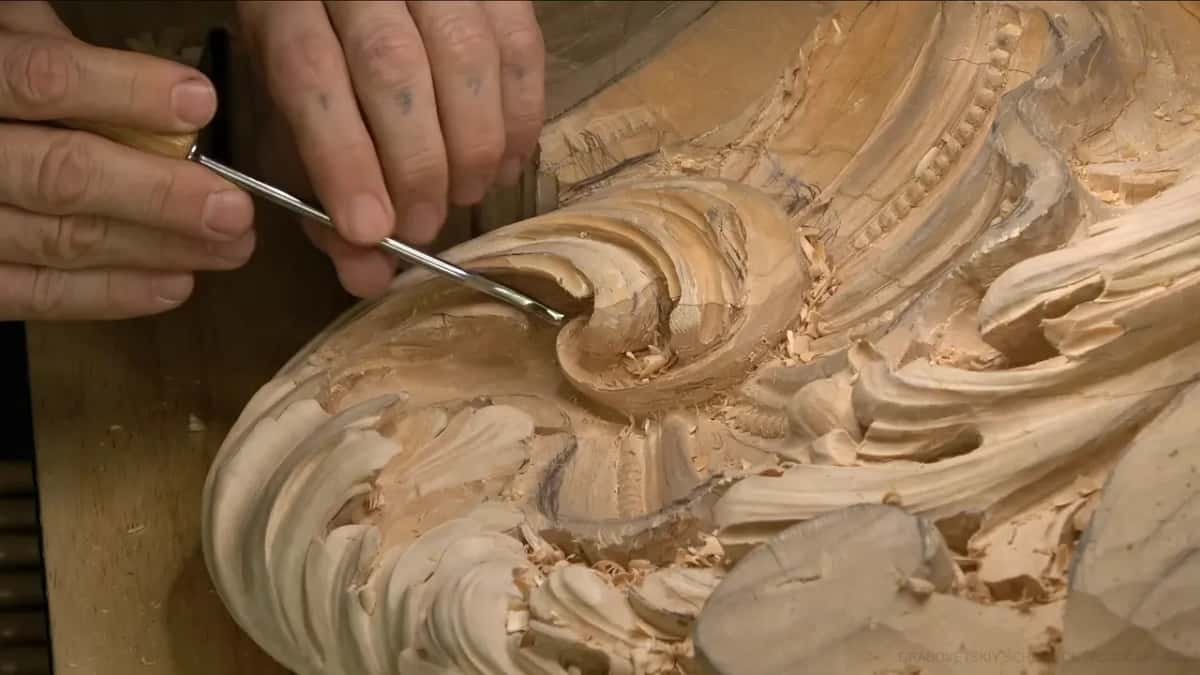
Then came a line I will give as I said it. I know you don't see it, and I asked you to take my word. It does look awesome (03:41 to 03:49). I also got in a little bit right there for a smoother pass underneath (03:58 to 04:08).
The deepest part could wait. More excavation on the inside would make an even deeper shadow, I said, and give me even more pop (04:23 to 04:34). Maybe I should, I said. But the inside came first (04:37 to 04:39).
Why finish with a number 11 at 2 millimeters?
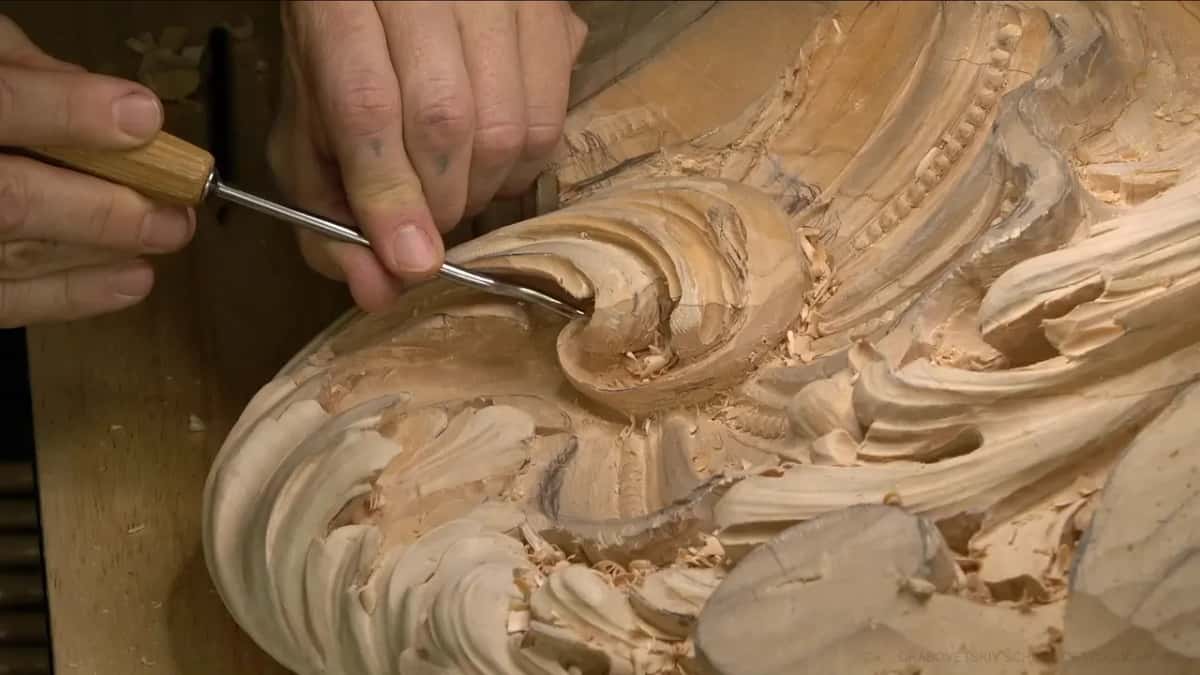
Number 11 again, I said at 04:44, and I said it twice. Probably an even smaller one, like 2 millimeters or so (04:53 to 05:02). In inches that is about 5/64, or 0.08. The only reason I gave was to clean a little better on the inside.
Then came the line this page is about. I had to be really careful now, I said, so the new edge would stay sharp (05:12 to 05:21). Nobody sees the inside, and I apologized for that.
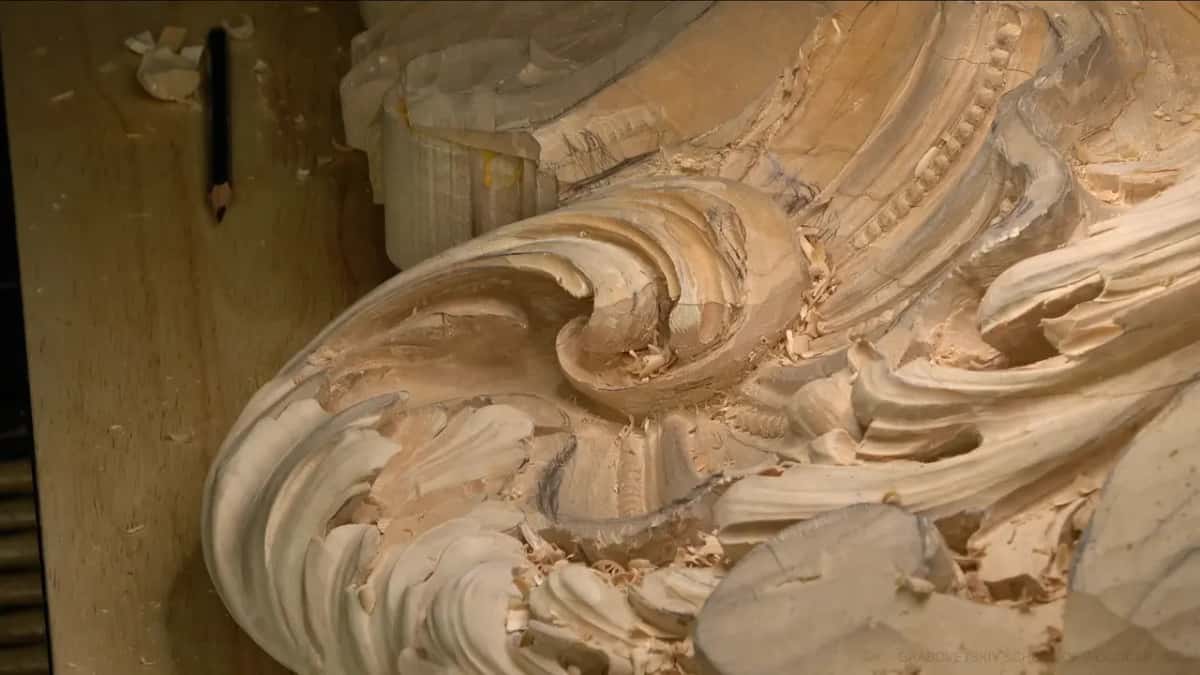
The tool did its job. The transition, I said, was really nice and clean, with the point going inside of this detail (05:43). My words give no count of passes.
Next, at 05:55, I said I could probably excavate a little more right there. Careful, though, because the part can end up too weak, which is always a possibility. I thought it would still give me a better look. A much deeper shadow, that is what it was going to be (06:01 to 06:26). From there the video turns to another problem, and I leave that out of this page.
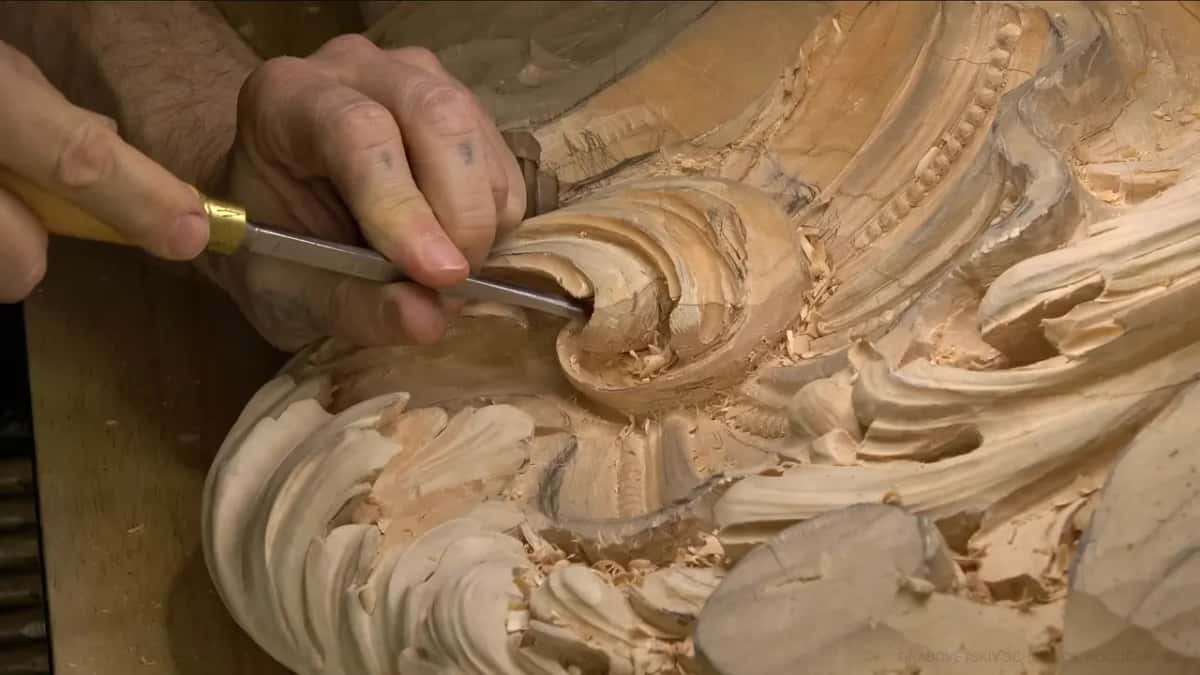
What did I do in workshop 67 when an edge nearly went?
I told a story like this earlier, in workshop 67, part 5. A leaf had to go underneath another one, and that would take careful undercutting, little by little (00:56 to 01:05). Then, at 01:18, came the plain version. "And I just destroyed the edge."
I took it back in the very next breath, and the tool changed. Actually, no, it was not that bad, I said, though I was scared for a moment. That tool was a touch too big, so I switched to 2 millimeters, number 11 (01:29 to 01:37). I added that care mattered a little more now (01:52). Going really deep was not needed either, since that area would not be visible at all (02:14 to 02:21).
How did I clean beside a future molding in workshop 122?
Back in workshop 122, part 1, a small shell area needed shaping. Two millimeters maybe, I said, in number 11, and a careful approach, because the edge of my future molding, the one that was going to go in, had to stay safe (05:50 to 06:11). A tricky area, I said, though not impossible (06:11 to 06:15).
I needed to switch, at 06:32, to a sixteenth of an inch, like millimeter and a half. A sixteenth of an inch is 1.6 mm, so the two sizes agree to rounding. Carefully, carefully, carefully, I said at 06:42, I have to work around.
Yes, it does take time (07:04). Then that size felt a touch too big, and I went to just one millimeter, which is 0.04 in, again in a number 11. That one is the shorter version, I said, a European version (07:12 to 07:31).
When do I go smaller instead of pushing on in the Furniture Panel?
The Furniture Panel course has several moments like it. Part 8 of workshop 21 has it. At 18:08 I said I was not forcing anything, and that I wanted to keep my edges. "So it's always better not to," I said. "Just turn to another tool, even smaller, like 1 millimeter" (18:16 to 18:30).
Number 11 at half a millimeter came next (18:39 to 18:42), to clean that out and make it nice and pronounced. Undercutting there was almost impossible, I said (19:09 to 19:14). To finish the clean-up I took an eighth of an inch (about 3 mm) and removed whatever I could catch, just the shaving. Then I left it for now like that (20:13 to 20:28).
The case in workshop 20, part 1, is shorter. At 18:43 I was not undercutting yet underneath those petals, I said, and I would do it later, not at that moment. After that, number 11 again, to clean that little bit. "I don't want to destroy my edge. That is why" (19:03 to 19:10).
Over in workshop 19, part 7, I listed more tools. I used the same number 11 as before, with a mallet, barely hitting (20:08 to 20:36). To clean after it, the flatter number three would be needed, I said, or just the grounding tool (20:41 to 20:46). At 21:21 I went back to the same number 11 and cleaned all that waste out (to 21:29).
Workshop 16 of that course, part 7, shows the same habit from the other side. I stopped short of the edge, and you know the reason why, I said (04:02 to 04:10). Then I took number 23, which gave me a perfect cut without digging underneath, and I could remove some of that material too (04:16, 05:02 to 05:10). The relief cuts after it needed care, because you really can overdo it (05:53 to 06:02).
Antique Rosette workshop 1 has the mallet. With it I found a lot more control, I said (12:22 to 12:27), and I did not want to get too close to my line, because I did not want to see any damage on the edge of it (12:32 to 12:42). I said I would place it sideways and work my way around (12:49 to 12:57).
One more line from workshop 20, part 11. Going deeper, I would first use 1 millimeter, I said, because I really wanted deep shadow (11:44 to 11:54). Better to take time and go underneath little by little, I said (12:16 to 12:21). A wood carving, I said, is all about the shadows, and I have said that many times (12:31 to 12:38). After that came a half a millimeter number 11 (0.02 in), an excavator, and deeper (12:38 to 12:43).
Is a sharper edge always the goal?
On furniture, I said in workshop 22, part 3, I can get a really sharp edge if I need to (06:51). I don't need to. In furniture carving you do not want too sharp ridges showing, since the piece is used daily and you can easily break it. Try not to do too sharp edges (06:53 to 07:11).
A little later I said I had made that mistake. Too close to the edge, I almost destroyed my ridge, which I shouldn't (07:27 to 07:40). That's okay, I said. It's not the end of the world. Again from this side, I recreated my lost ridge (08:06 to 08:23). Sometimes that stuff happens.
That was a ridge on furniture, not an undercut on this Venice panel, so the two cases are not the same job.
How did I finish a thin wall in the Hashemi course?
In Hashemi Flowers 47, part 4, I pointed at a wall of about 1/16 of an inch (1.6 mm) and said I did not like how it looked. I always try to bring a wall like that to a really fine sharp edge, from inside or from outside (02:58 to 03:27). I began from inside with a knife, carefully. Next I had to create even more undercut and bring it completely to the edge (03:36 to 04:05).
A bit later (05:13) I pointed at a wall of maybe about one millimeter (0.04 in) and said I did not like to see it. I used a number seven to make that wall disappear. I brought it to the complete sharp edge (05:13 to 05:34). I know it is almost impossible to see, I said, but I do have about a millimeter of wall right there.
Hashemi Flowers 9, part 5, has a shorter version. Probably a number nine, and carefully, I said. It was an interesting spot, and I had to control my tool, because if I hit, "I'm going to destroy my edge" (05:08 to 05:22).
The sizes I picked up, side by side
Five lessons are in the table. The right column says what each tool was for.
| Where I said it | What tool I picked up for the job | Why |
|---|---|---|
| This very video | Four first, then number 11 (2 mm) | Clean inside |
| Then workshop 67 | Number 11 (2 mm) after the scare | Smaller tool |
| Next, workshop 122 | 2 mm, 1.5 mm, then 1 mm | Molding edge |
| Furniture workshop 21 | One millimeter, then half that, number 11 | Smaller tool |
| Hashemi Flowers 47 | A knife inside first, then number seven | Thin wall |
What would you try at your own bench?
Is there a small hollow on your board that you can clean only by feel? Would a narrower gouge reach it without touching the edge you just made? Then do what I did. Name the smaller tool before you pick it up, and take it in small steps.
That clip is one part of the lesson. Workshop 18 holds the rest, and the course page is Advanced Carving: Venice Room, Part 2. I wrote about a very different small tool in workshop 14, and the other courses I quoted are Carving Furniture Panel and Carving Hashemi Flowers. The craft is wood carving, a branch of woodworking. A gouge belongs to the chisel family, and a mallet taps it along. A knife can clean a wall too. A relief is carved on a flat background and lives on shadow. The room is in the style of Venice, and my sizes are in millimeters and inches, from wood.
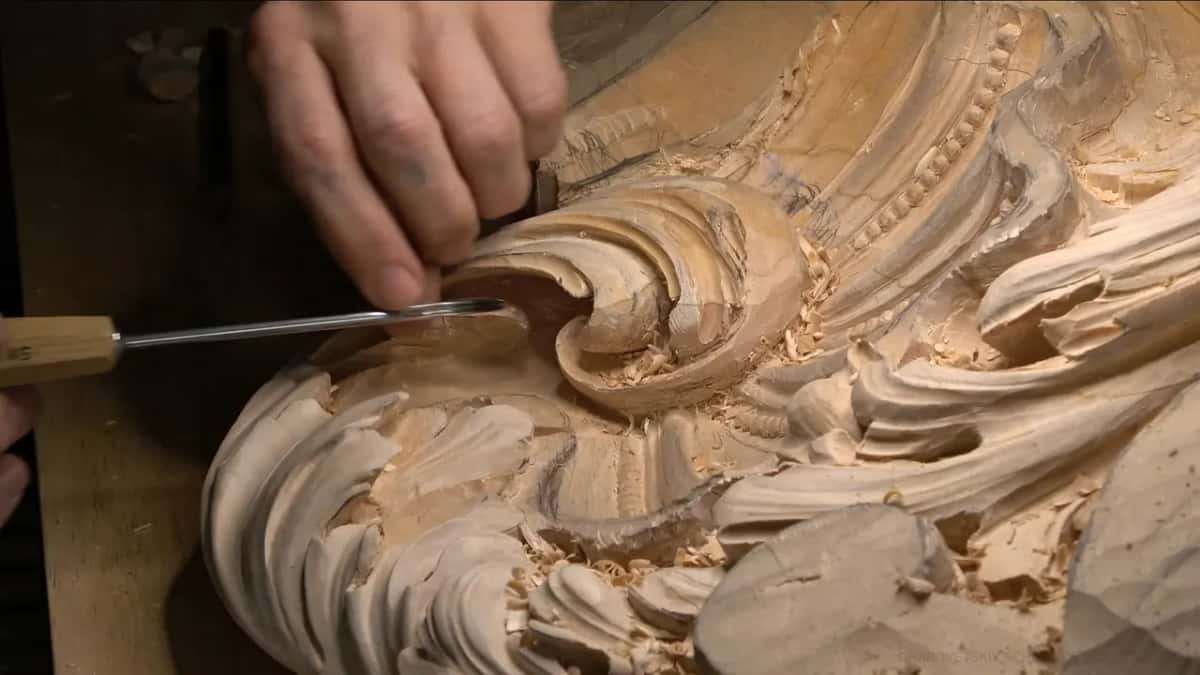
Which small hollow on your bench would you clean first?
How it's done
- Get the undercut sharp first. I moved in, and I said it was really sharp and nice, so the clean-up could start.
- Say the tool is too big. Slightly too big, I said, so I named maybe a number four, the small one.
- Hold the deeper shadow for later. I could excavate more inside for even more pop, but the inside came first.
- Go down to a number 11. I went back to a number 11, probably an even smaller one, like 2 millimeters.
- Mind the new edge. I said to go careful now, since that edge was new.
Frequently asked questions
How do you clean an undercut's inside without hurting the edge?
In that part I took a smaller gouge for the inside and told you to be really careful. The edge I had just created was sharp, and I wanted it to stay that way. That gouge was a number 11 of 2 millimeters, about 5/64 in.
Which gouge finishes a small undercut best?
Either one would work, I said. I took the number four, since I did not think I needed a deeper excavation there. A smaller number 11 followed, for the last clean-up.
What should you do when your tool is a little too big for the spot?
I pick a narrower tool. In workshop 67 I said the tool was too big, so I used 2 millimeters in number 11. In workshop 122 even the 1.5 mm size felt too big, and one millimeter, about 1/25 in, took over.
What to carve next