
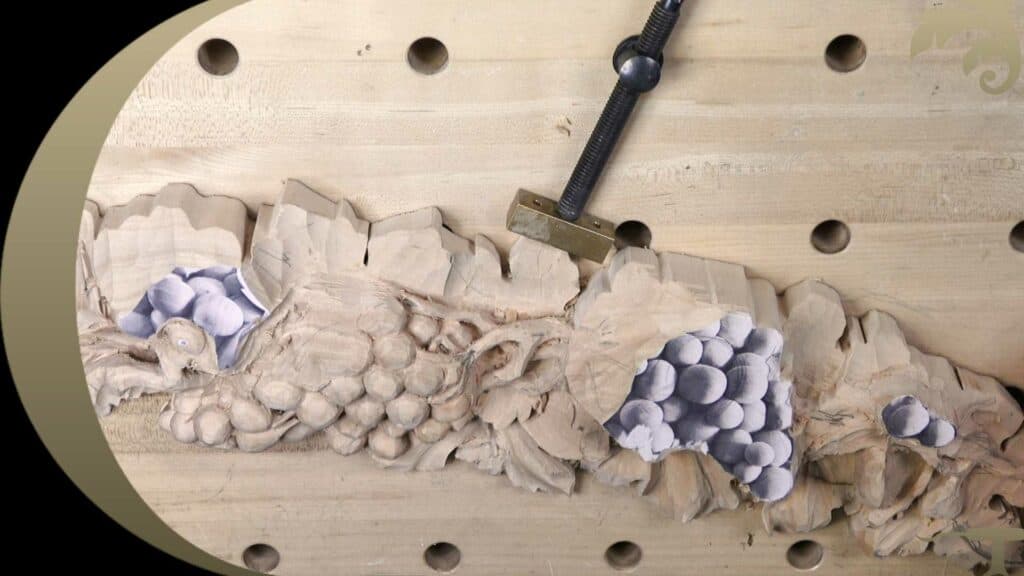
Alexander Grabovetskiy, woodcarver, School of Woodcarving · Published 2024
When should you clean up a wood carving?
Quick answer: Two separate jobs hide inside that question. A surface your tool can get back to later stays rough for now. Faces that close up as the wood beside them is shaped have to be carved clean while they are open, because once a neighbouring berry is round, that face is gone.
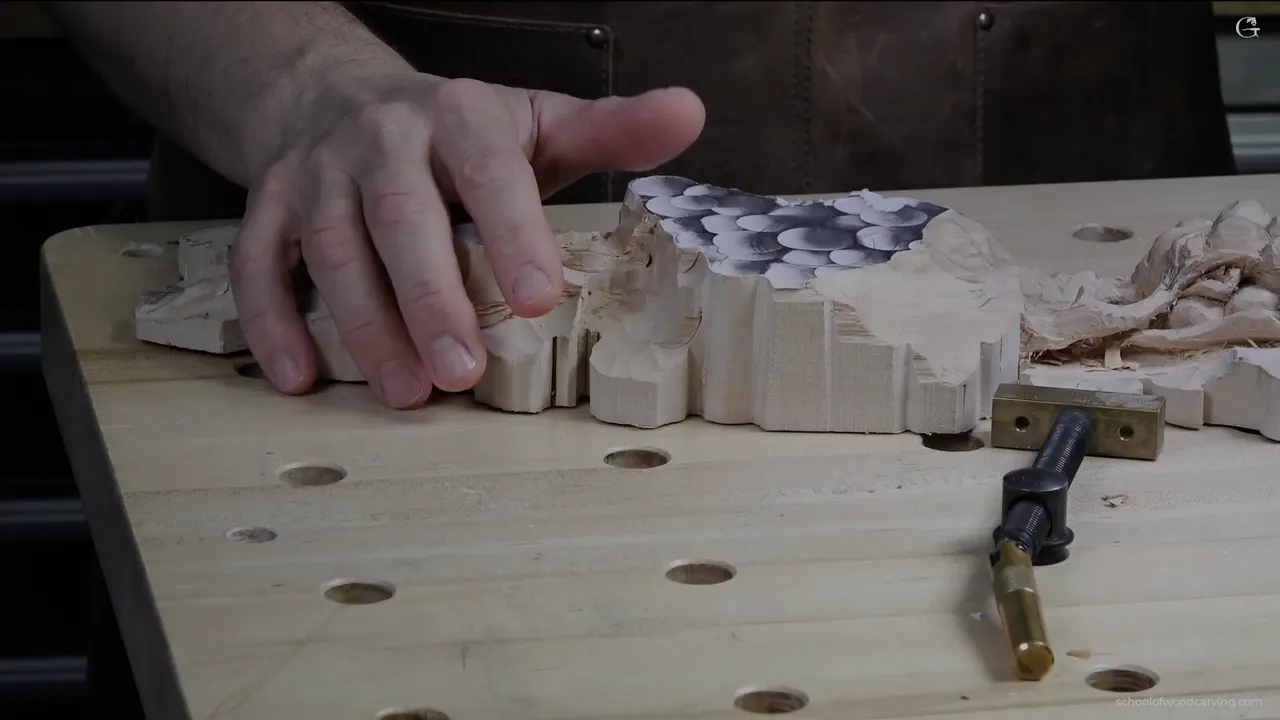
Cleaning up a carving is two jobs, not one, and the mistake is treating them the same. Anywhere your tool can get back to later, leave it rough and come back. Anywhere it cannot reach once the wood around it goes in, carve it clean now, because later means never.
The side of a grape is the second kind. Once its neighbour is carved, that face is gone to you.
Ask a room full of carvers when they tidy up their work and you get two camps, both certain. One group smooths every surface before moving on, then redoes the lot. The other leaves the whole panel alone, then finds half of it walled in. Both are following a rule instead of looking at the wood. So here is what I actually do on a panel, where the line falls, and the reason a carving you keep handling turns black on you.
The short version
- Rough first, and let it look terrible.
- Carve the faces that will be buried clean, right as you make them, because they close.
- Open ground stays rough.
- Your hands darken whatever they hold, which is why touching comes first and finishing comes last.
- A scrap of paper left on the high spot tells you where the top of the wood was.
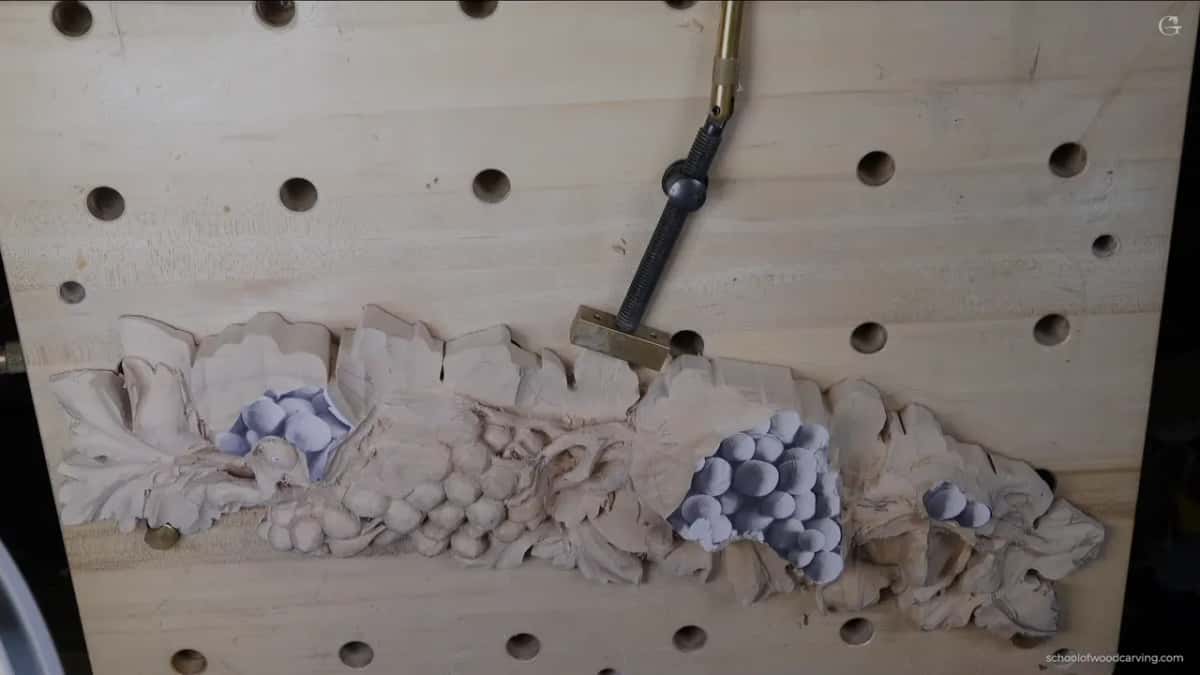
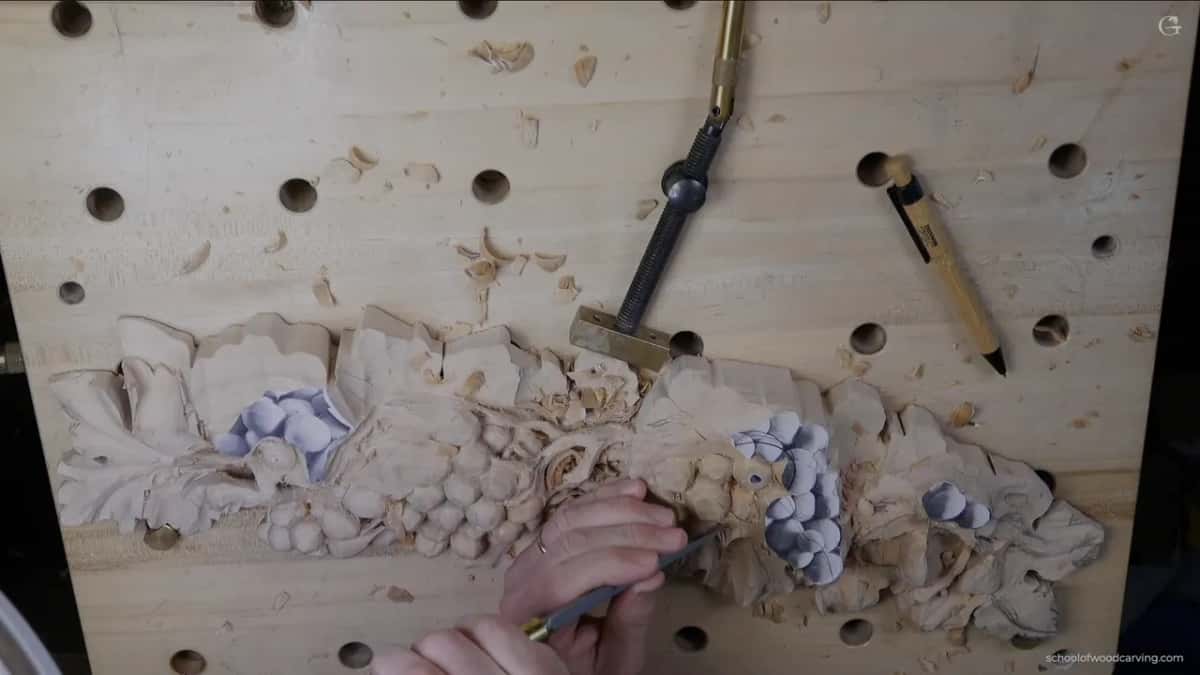
Why does a carving turn black under your hands?
Your own skin oil, and iron off the tools. Over days of handling, the surface picks up both, the wood takes on a grey cast in the hollows and a dull sheen on the high spots, and what you are looking at is a patina forming.
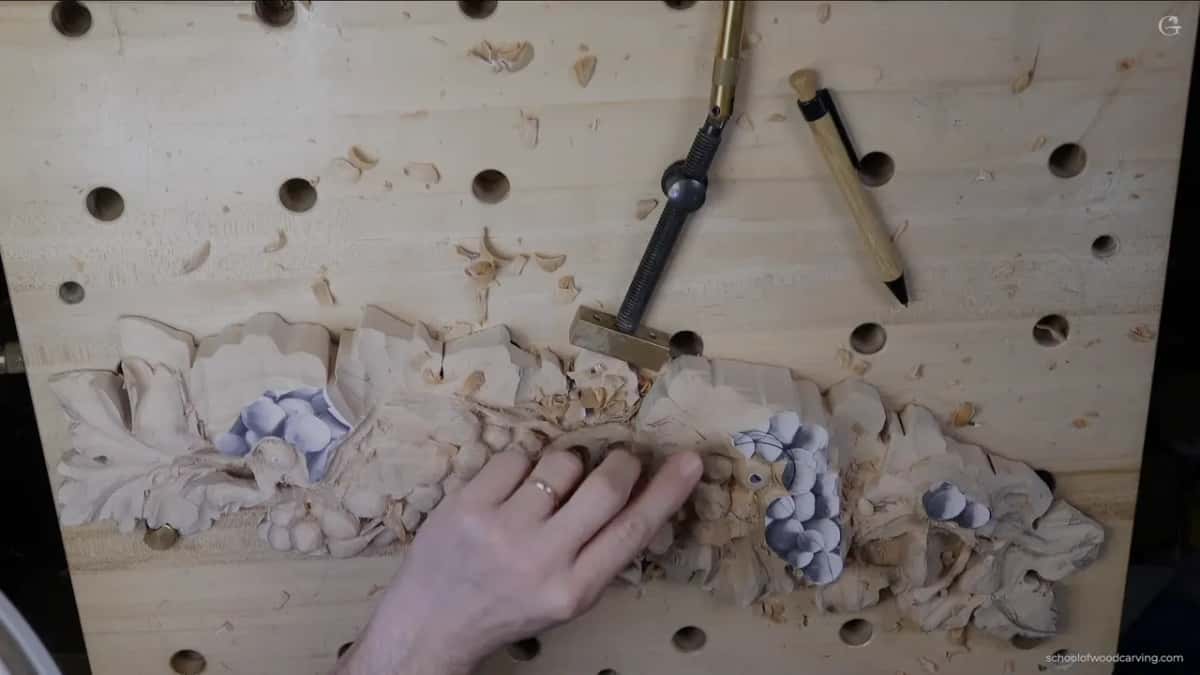
On an old piece that colour is worth money. A panel still on your bench, though, is just dirty, and worse if you have been eating, or oiling a stone, or sharpening. Every hour you spend holding the work adds a little more of it.
Which settles the question of timing. You are going to handle this panel for weeks. Any surface you bring to a finish in week one gets handled through weeks two, three and four, and by the end it needs doing again. So the finish pass goes last. One of the few genuine rules I keep.
Then why clean anything early?
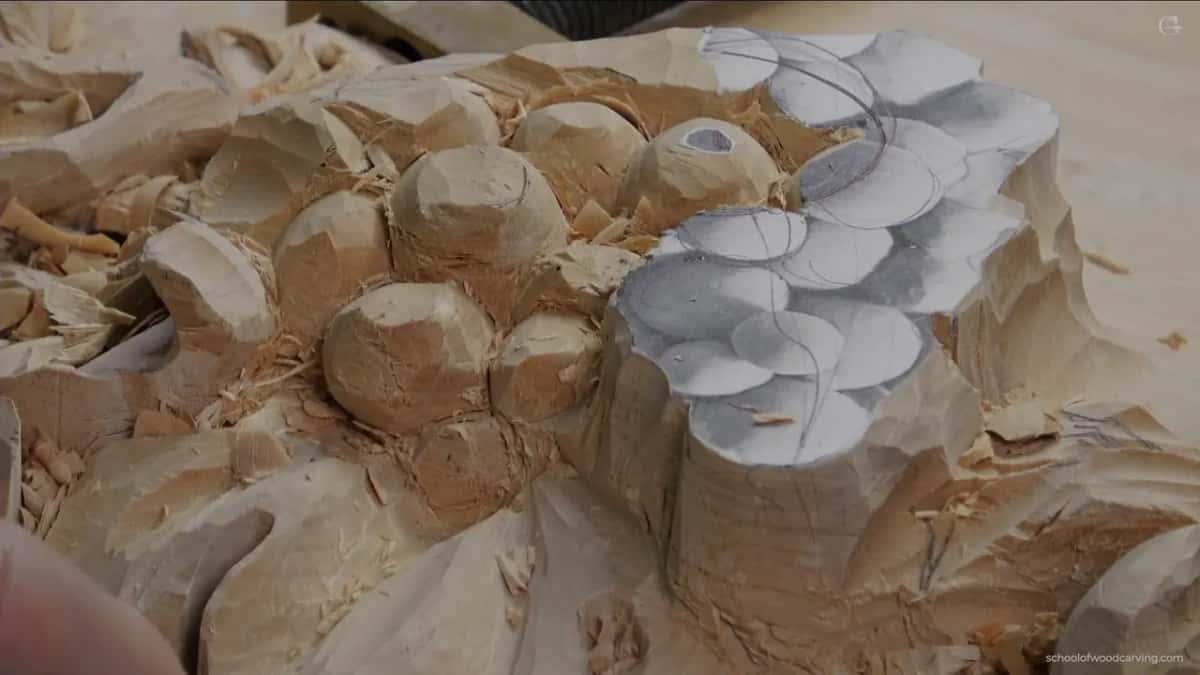
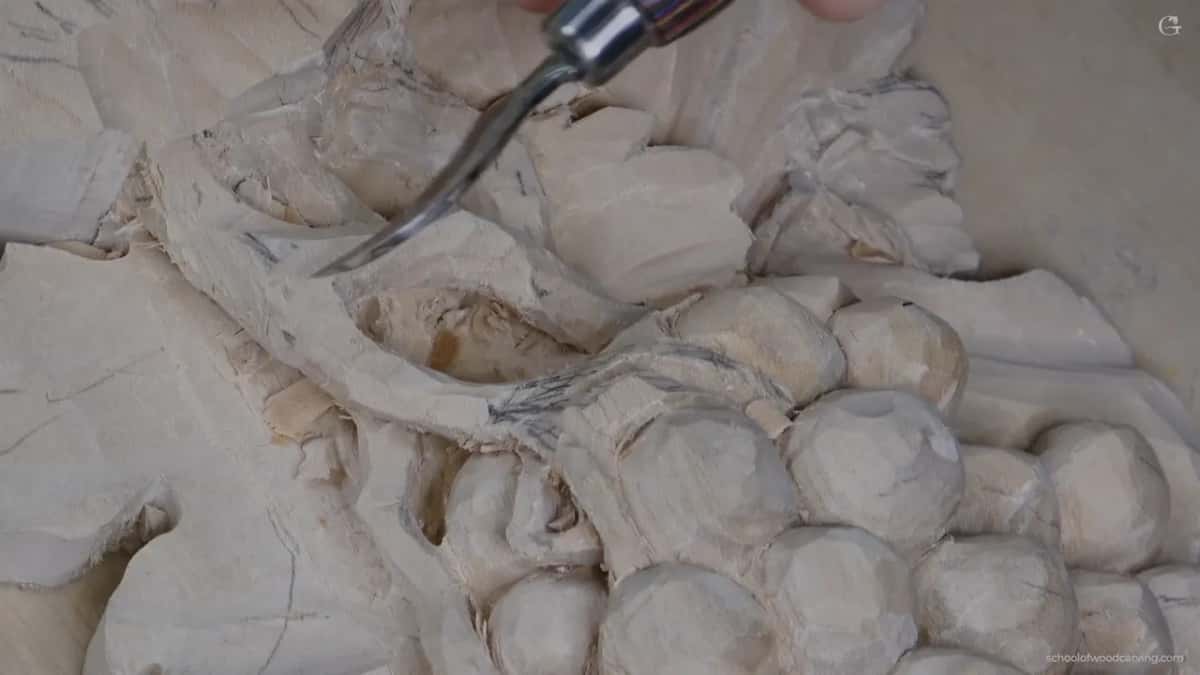
Reach decides it, and nothing else does. Carve two grapes side by side and the wood between them closes up as you shape the second one. The face of the first that looks into that gap was available for about ten minutes, and it is not available again.
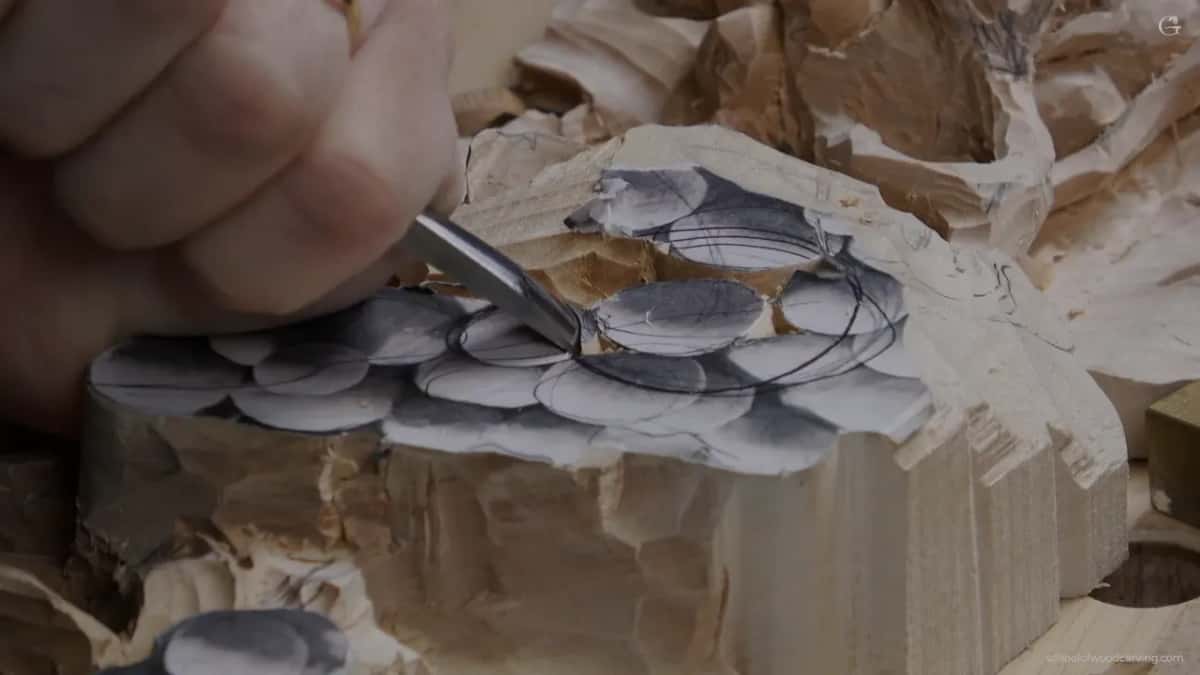
So while a face is still open, I carve it properly. Not sanded, not finished, but sliced clean with no torn fibre on it, so that when the gap narrows there is nothing in there I still owe. The mess on the open ground around it can wait. Blocking the whole bunch first is how you know which faces are about to close.
Where a pair of berries meet, aim for a triangle and avoid a square. A triangle has a way in for a knife point. Four grapes in a row leaves you a square with no way in, and cleaning it afterwards is genuinely hard. I still end up with one or two on every panel.
Everything looks terrible in week one
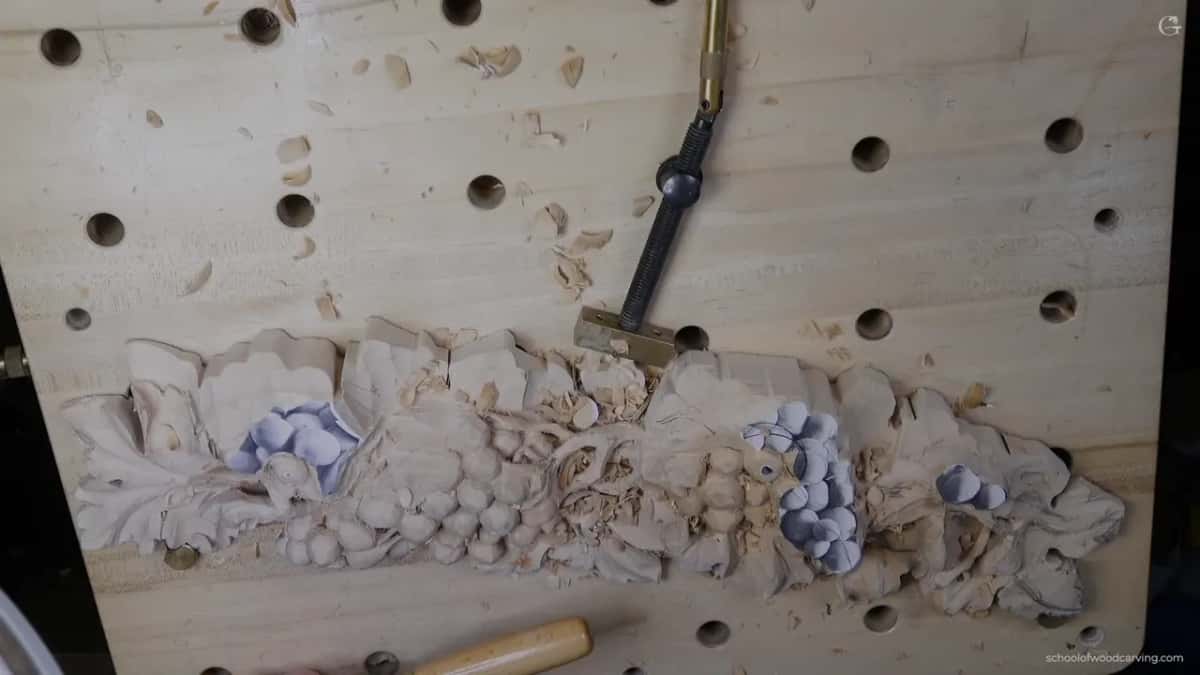
Because it is supposed to. Stage one settles two things only, where the peaks land and which way the design flows, and a panel at that point looks like somebody attacked a board with a gouge, which is what happened.
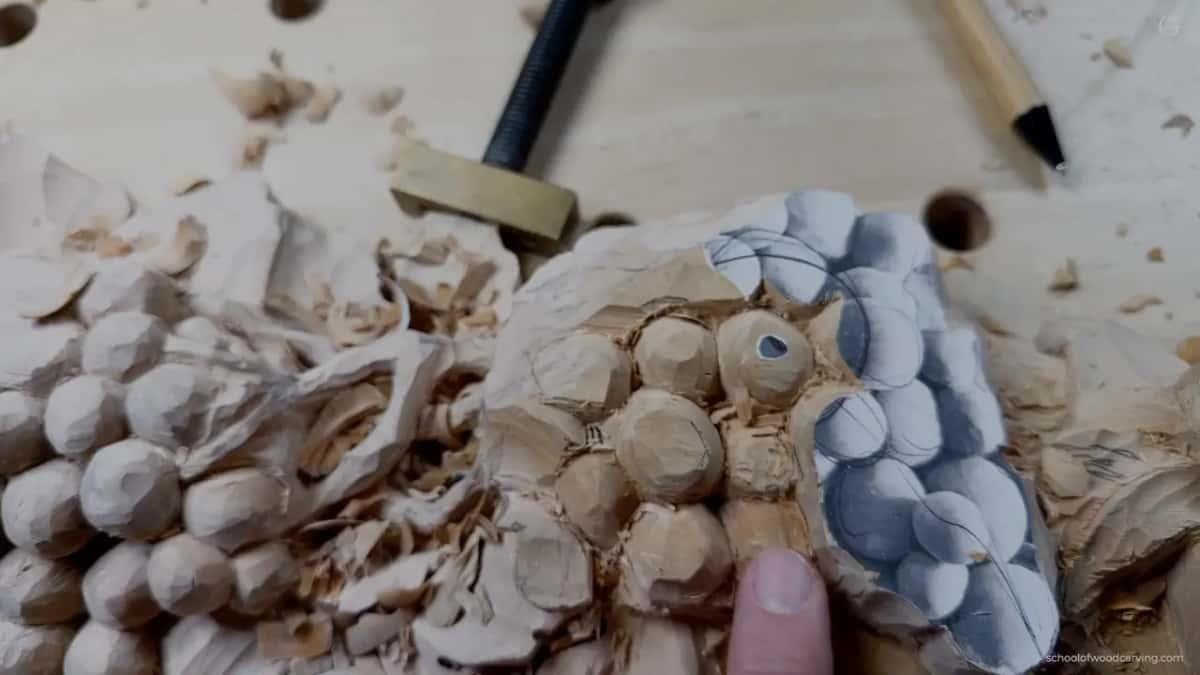
Think of a house. Stage one is the basement, stage two is framing, and the detail work is everything that happens after the roof is on. Nobody stands in a half framed house complaining that the trim looks rough. In carving, people do exactly that, and it is the single biggest problem I see in person, class after class after class.
| Stage | What it settles | How clean |
|---|---|---|
| Roughing | Tallest points, plus the flow of the design through its depth | Not at all |
| Framing | The real shape of every element and where each one sits in depth | Clean only the faces about to be buried |
| Detail | Separations, veins, undercuts, the things people photograph | Getting there |
| Finish | No new shapes at all, only the skin of the wood | Everything, one pass, last |
Which tools does roughing want?
Most of it falls to a number 9 at 20 millimetres, and bigger is better. If you own a 25 or a 30, that is the one. A big tool saves so much time at this stage that it is worth buying one just for the first week of a panel.
For the fruit itself, a number 5 at half an inch and a number 7 at fourteen millimetres. Those two do nearly the whole job. Blocking in a berry is not a subtle operation and it does not want subtle tools. The full kit is laid out in the tools course, brand by brand.
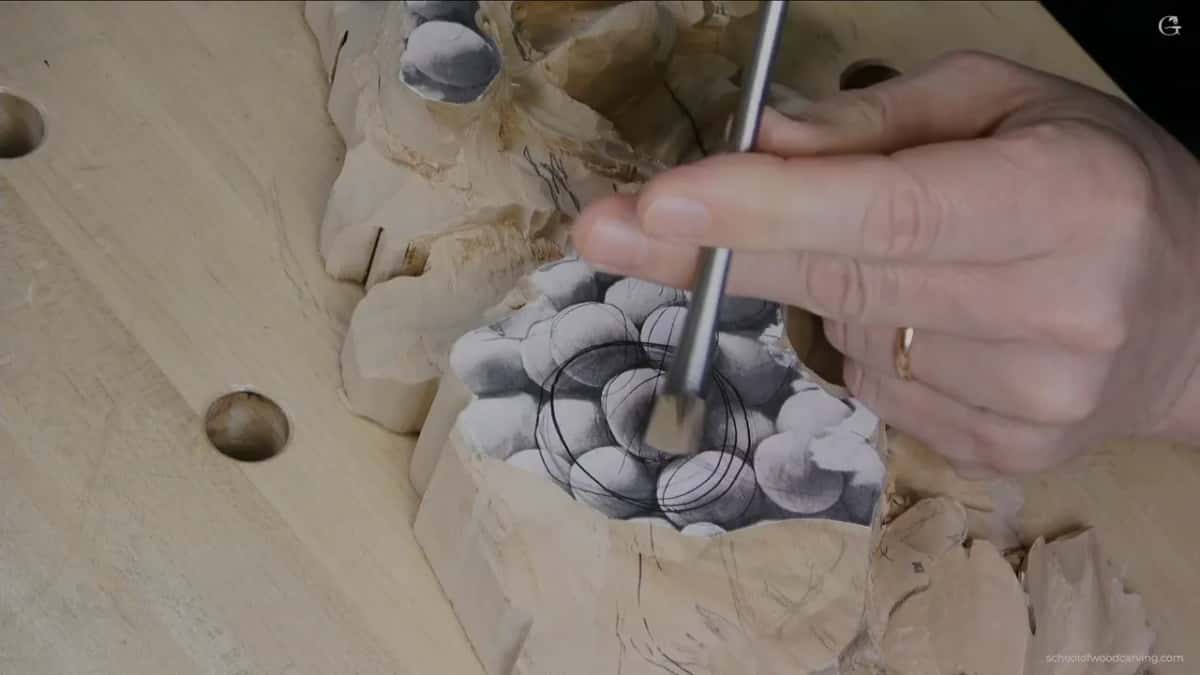
Never bring the tool in square to the surface, and least of all on grapes. Lay it over at about forty five, start the pass with the flute near eleven o clock and finish it around one, and the surface comes off clean enough that there is nothing left to tidy. Which brings the whole argument back round: most cleaning up is repair work for a pass that was driven instead of sliced.
What makes a face impossible to clean?
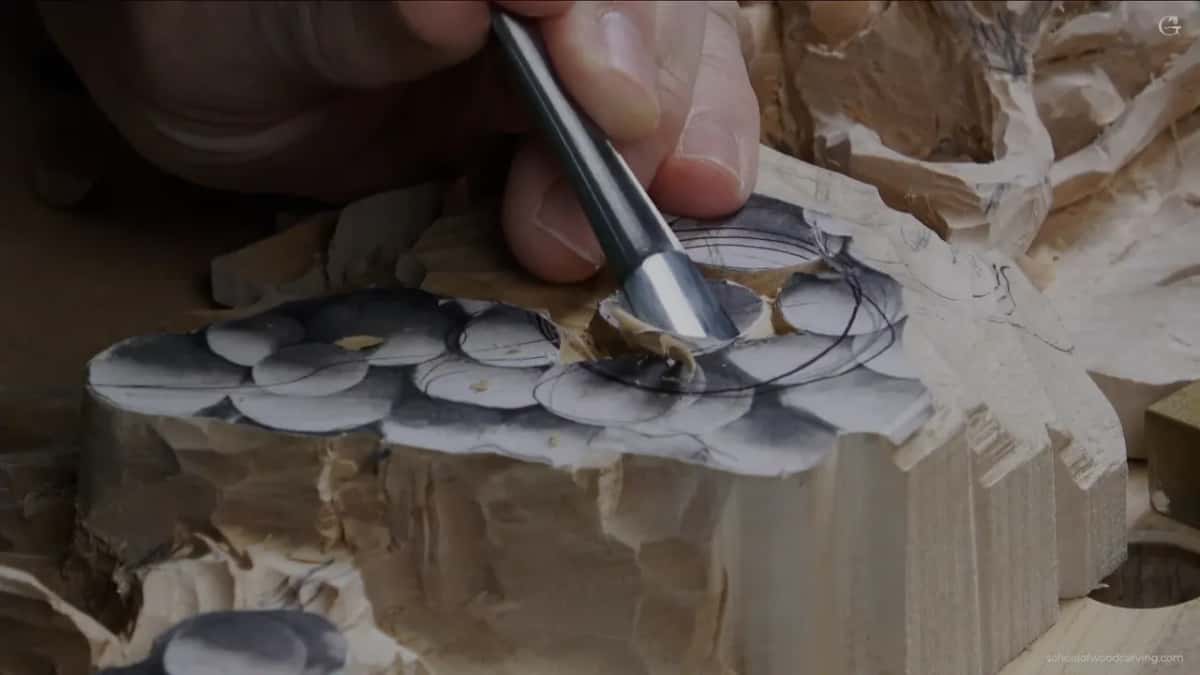
Outlining does it every time. Somebody looks at a berry, sees a circle, and drops the tool straight down around it like a pastry cutter. The wall that leaves is crushed rather than sliced, and no tool on earth gets in afterwards to fix it, because the berry itself is now in the way.
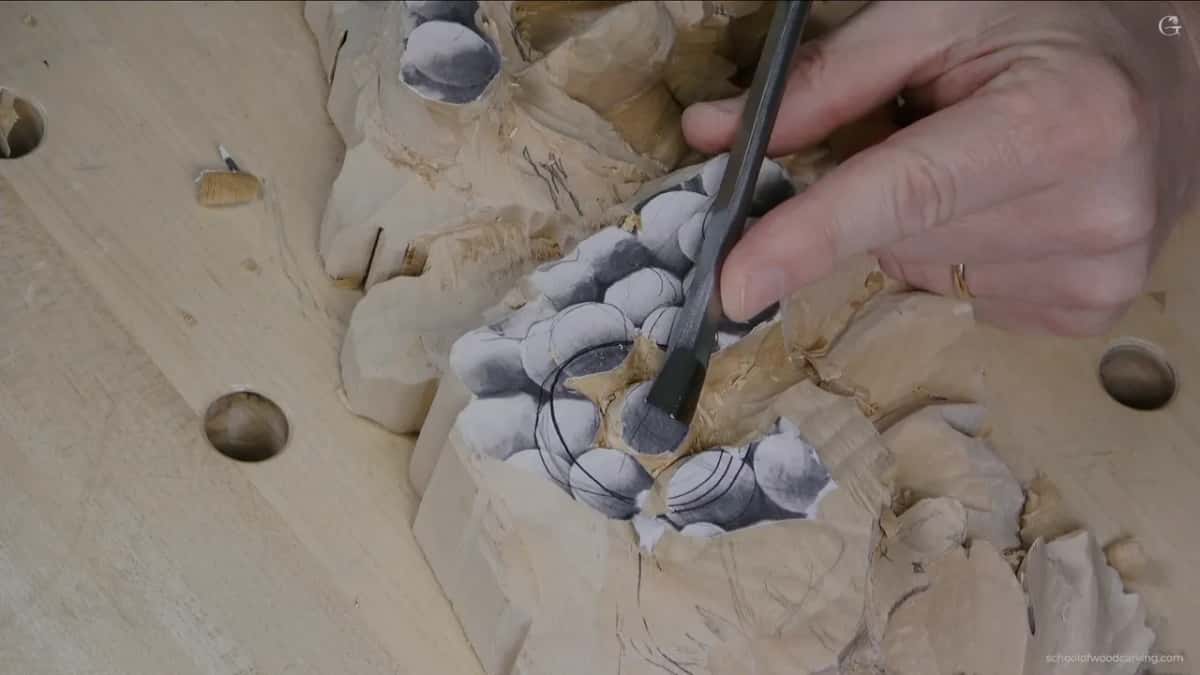
A grape is a sphere. You do not draw its outline, you carve its shape, working from the open ground inward until the curve arrives on its own. Once the triangles between berries are open, the rest is rounding, and the side comes out clean the first time. The techniques course goes through the same pass on simpler shapes.
A second habit is worth copying here. Block several berries at once rather than finishing one and moving on. Working across the whole bunch keeps the movement honest, and it also means you meet each closing gap while both of its faces are still reachable, instead of arriving at the second one too late.
What is the paper for?
A scrap of the original pattern, still glued to the highest berry in the bunch, and I leave it there for weeks.
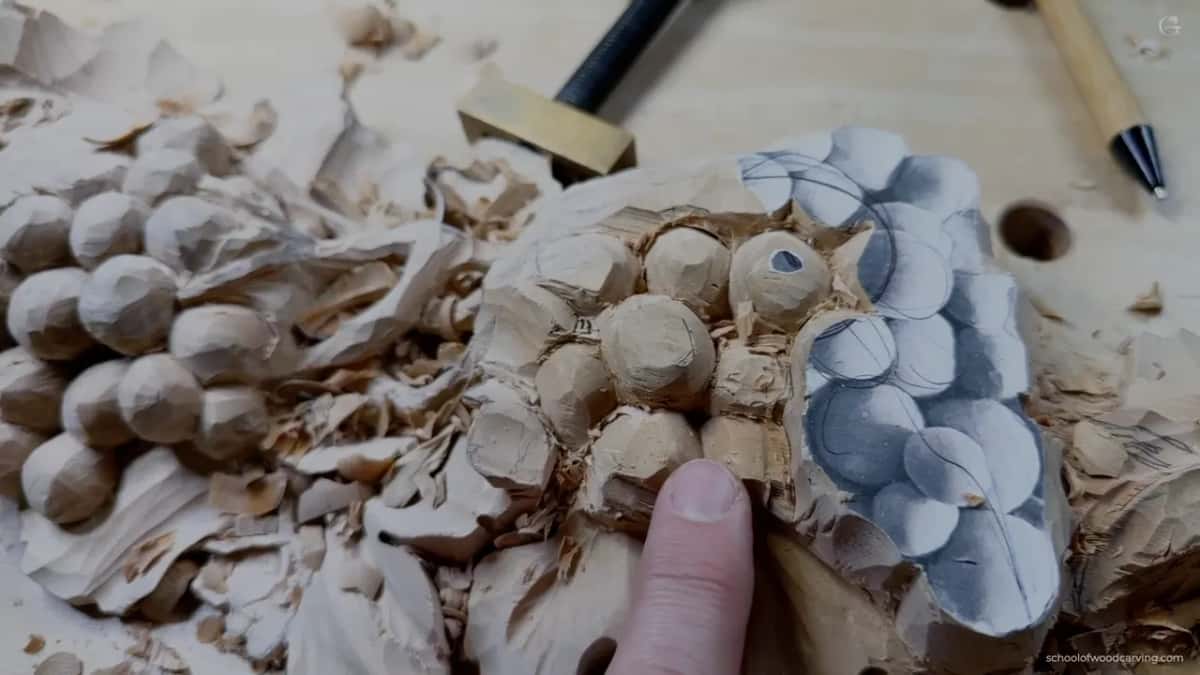
The paper is a height gauge. While that paper survives I know the peak has not dropped below where the board started, and everything else on the panel gets measured against it by eye. Lose that reference and the whole carving creeps downward half a millimetre at a time, which nobody notices until the piece looks flat and no single pass is to blame.
The berries around it then sit at deliberately different heights. One highest, two a little lower, the rest lower again. Put them all on one plane and you have a pattern of circles, not a bunch of fruit, and no amount of detail work afterwards will rescue it.
Is it cheating to change the design while you carve?
I change mine constantly. No finished drawing exists for this panel, because I decide on the bench where the next berry goes, and I only photograph it for a pattern once the carving is done.
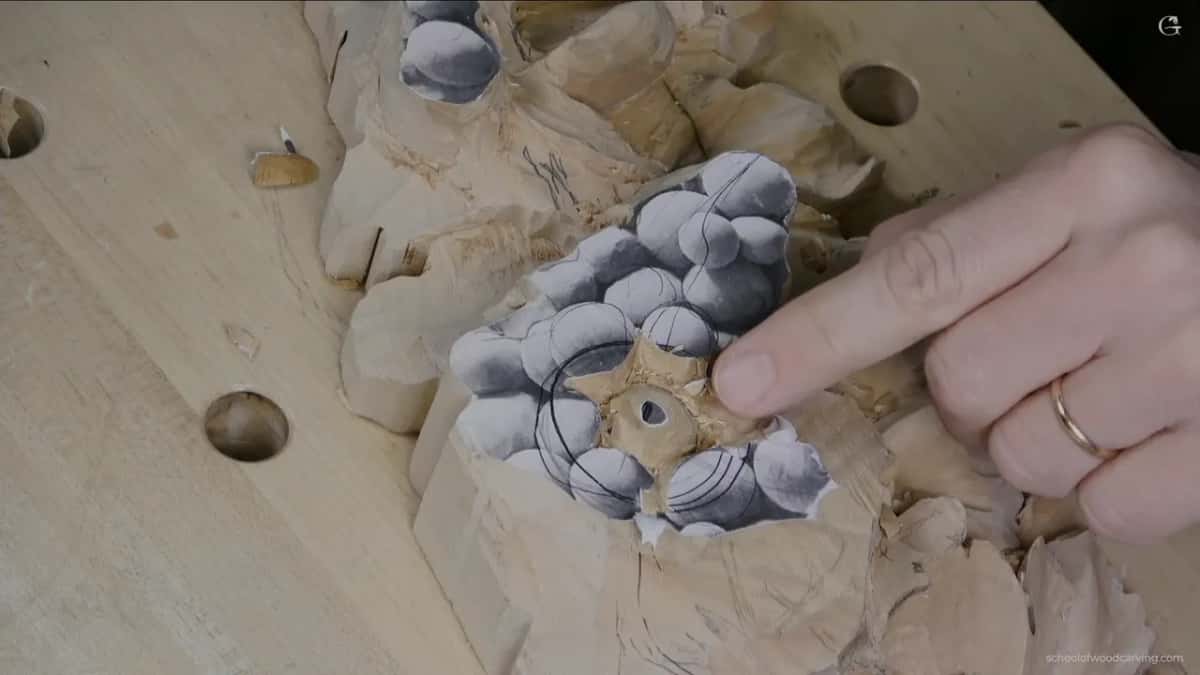
Which is another argument for leaving surfaces alone. A section you polished on Tuesday may be carved away on Thursday because the design moved. Carving leans more to stylising than to copying a real vine, and the stylising happens while the tool is in your hand. The rules behind those choices are in the design course, and I would rather you drew your own than traced mine.
One thing I will not change on the fly is the high spot. That gets chosen at the start, placed on a golden ratio along both diagonals of the board, and defended. Everything else negotiates around it.
How do you clean the places you cannot reach?
Mostly it comes down to a knife point. At a triangle between berries, the tip of a carving knife gets in and lifts the ragged fibre out of the corner. It does not need to be an expensive knife. Mine is a cheap one that happened to be lying on the bench.
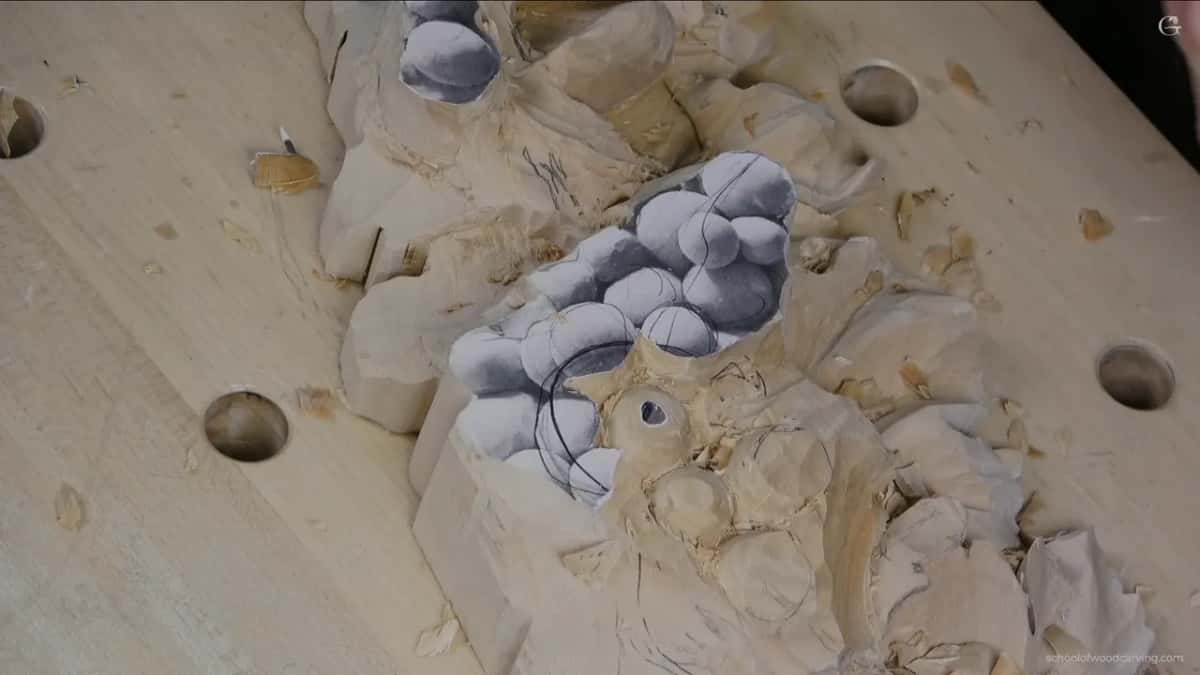
Sometimes the answer is a deep hollow instead. Where a gap is too tight to clean and too visible to ignore, I take a quarter inch number 9 and sink a short plunging pass into it, so the eye reads a dark shadow instead of a messy corner. Venetian work is full of that trick, and it is a real technique rather than a dodge.
Undercutting is its own trap here. A berry sitting on top of a leaf wants a little wood taken from under its edge so it reads as resting there. Take too much and it looks like it is floating, which is worse than leaving it stuck down, and the grip you hold the tool with decides how fine that call can be.
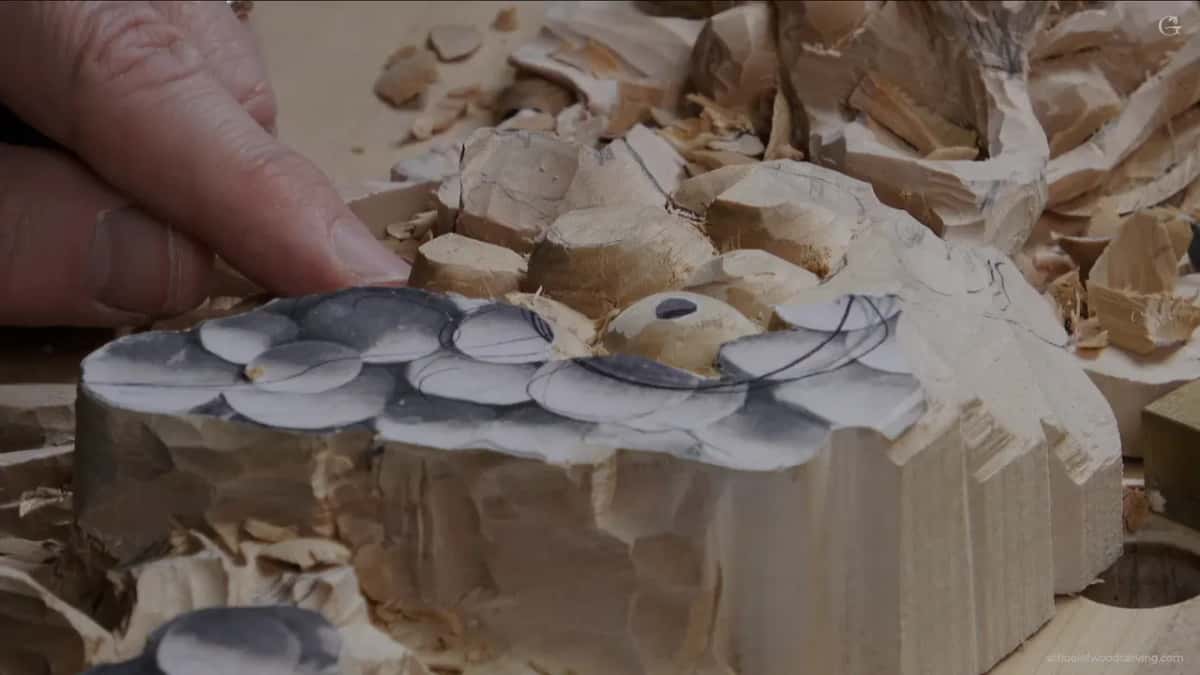
The rest waits. On the day the shaping is finished I go round the whole panel with a sharp number 3 and take one light pass off every surface I can see, and the grey comes away with the shaving. Three weeks of handling, gone in one afternoon, and that is exactly why I left it alone until now.
A confession about what the camera does to my hands
With a carving arm you turn the panel constantly, so every face comes round to meet the tool and your wrist never has to twist. Better that way. That is what I do when nobody is filming.
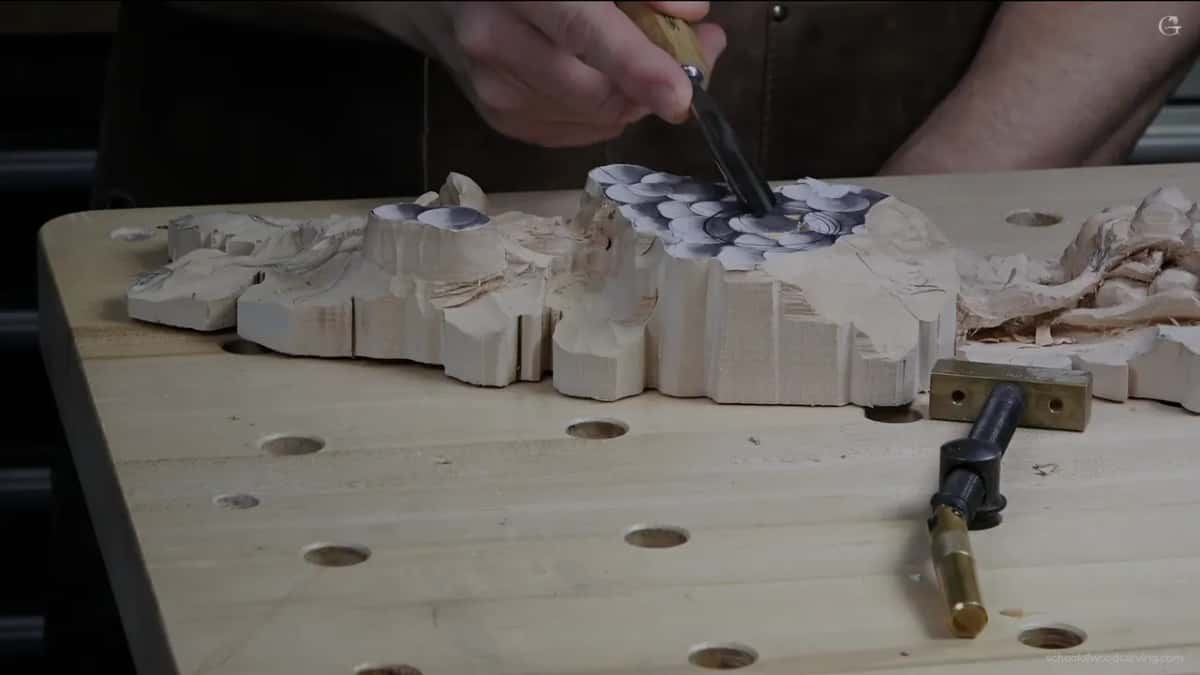
Filming changes that. Turn the work and it turns away from the lens, so you stop seeing anything, and I hold still instead. Some passes in these lessons are therefore taken at an angle I would never choose at my own bench. Rotate yours. You will reach faces I am reaching around, and reach is the whole subject here. More on holding and turning work sits in the lesson on the back of a panel.
How much material is too much?
Take too much off a berry while blocking and it stops reading as a grape. It turns into a small hard berry, and there is no way back from that.
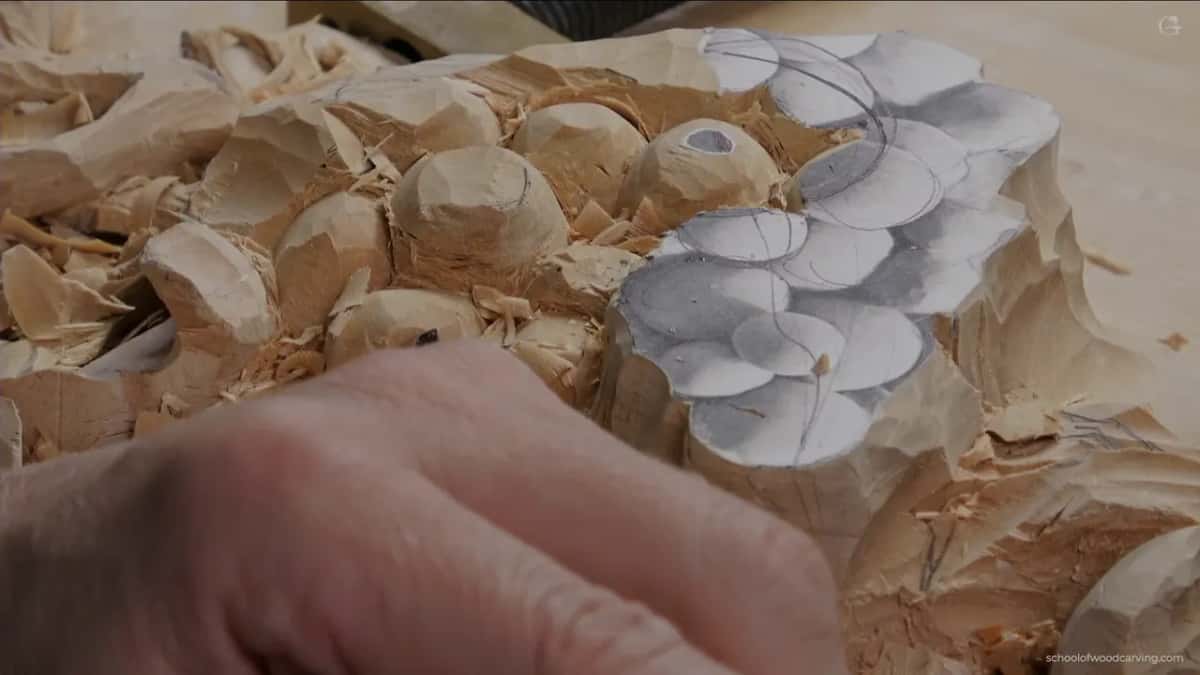
This is the other reason the rough stage stays rough. Wood you have not removed is wood you still have. Every pass you take early to make something look tidier is material you might want on Thursday, and the panel only gets smaller. Leave the mess and keep the wood.
The board for this one, if you want to follow along, is 24 inches by 6 by a full 2 thick, which is eight quarter stock. American basswood, the same timber Europe calls limewood and lindenwood. Nobody should call this a beginner project and I will not pretend otherwise, though I have never once talked somebody out of trying something above their level.
What about the piece that broke?
A small break sits on the left of this panel, and it did not happen at the bench. It happened in a checked bag, flying home from a class I taught at the Marc Adams School of Woodworking, handled by people with no reason to be gentle with a box.
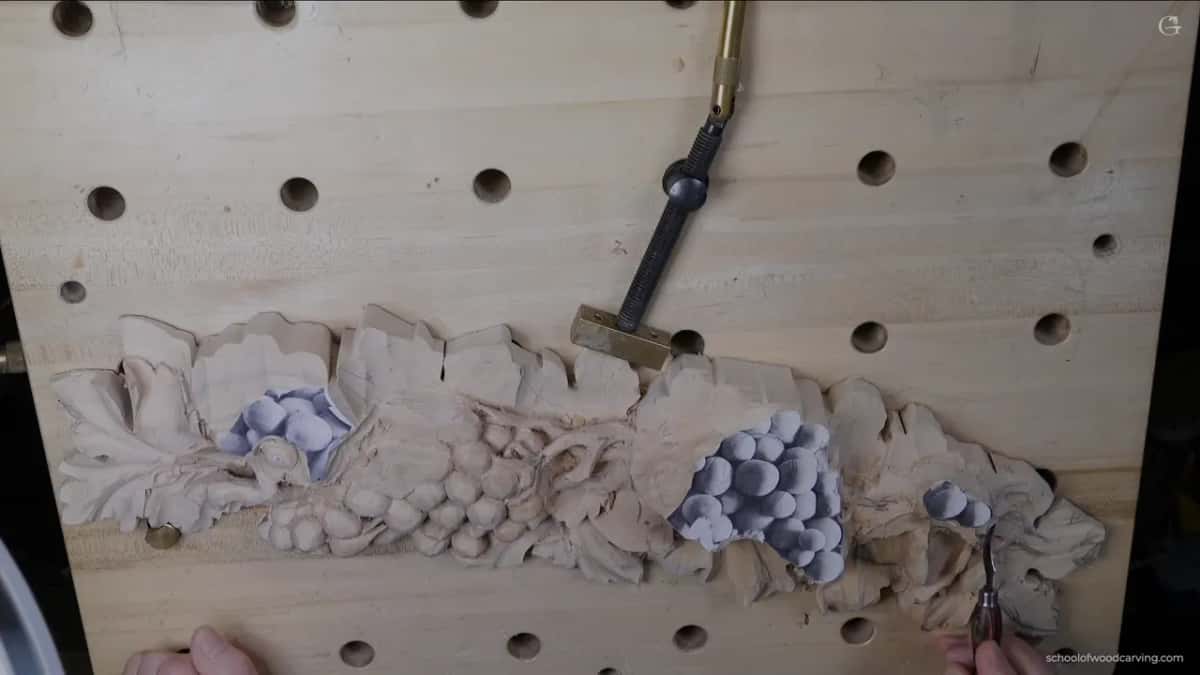
I left it. Partly because the panel was only ever going to be a teaching piece, and partly because a break is a design change rather than a disaster, which I have written about in a later lesson. Pierced relief work is fragile from the first day you open a hole in it.
Where to start if this is new
Start on a scrap. Cut a piece off the end of the board, block in four grapes, and get the triangles between them clean while you can still get at them. An afternoon on a scrap teaches you more about reach than a week of reading, and it costs a piece of wood nobody was going to miss.
Then bring that habit to the real board. The beginner course builds the slicing pass from nothing, sharpening is what makes a clean pass possible at all, and this whole vine runs fourteen lessons from a bare board to a finished panel inside the school.
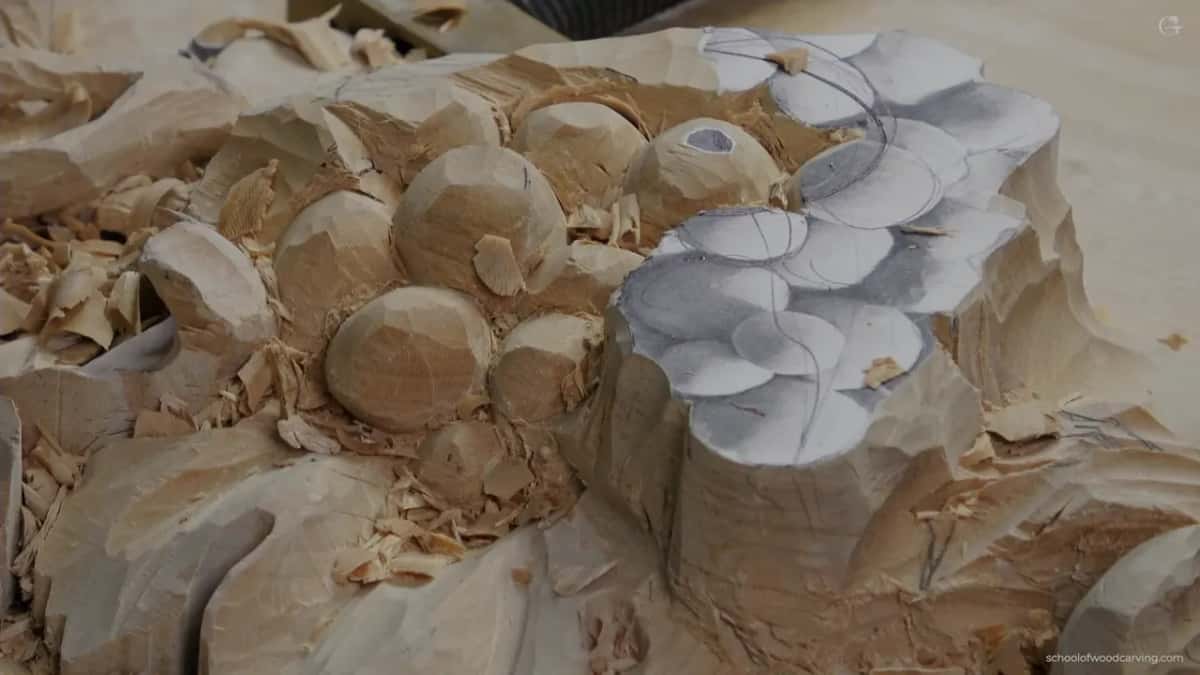
The piece on my bench has a paper scrap glued to the top berry, dust in every hollow, and grey fingerprints all over the leaves. It will be beautiful in about four weeks. Right now it looks like a mess, and I am fine with that.
How it's done
- Rough the whole panel before anything else. A number 9 at twenty millimetres or wider, settling where the peaks land and which way the design flows. Nothing at this stage is meant to look good, and it will not.
- Pick your high spot and protect it. Choose it on a golden ratio along both diagonals, then leave a scrap of the original pattern glued to it. While that paper survives, you know the top of the board is still the top.
- Block several berries at once. Working across a whole bunch rather than finishing one at a time keeps the movement honest and shows you which gaps are about to close.
- Carve the closing faces clean as you make them. Whenever a face will be buried by the next shape, slice it properly now. Sharp corners between berries want a triangle instead of a square, since a triangle still leaves a way in for a knife point.
- Leave the open ground rough. Chips, torn fibre and tool marks on ground you can still reach are not a problem yet. Every early pass spent tidying is wood you might want back on Thursday.
- Expect to change the design on the bench. Shapes move as the carving goes on, which is another reason a surface polished in week one may be carved away in week three.
- Finish the surface in one pass at the end. With the shaping done, take one light pass off every surface you can see, using a sharp number 3. Three weeks of grey lifts away in the shavings and the wood comes back.
Frequently asked questions
Why does the wood go grey while I work on it?
Skin oil, sharpening grit and iron off the tools, all worked in by handling. On antique work that colour is prized. On a piece still on the bench it is dirt, and a light pass removes it.
Should I sand a carving smooth?
I do not, and the surface off a sharp gouge is the reason. Sanding rounds over every crisp edge you carved and fills the hollows with dust that shows up later under finish.
What if a face has already closed up dirty?
A knife point into the corner is the usual rescue, and it works where the gap is a triangle. Where four berries meet and leave a square, sometimes the honest answer is a deep hollow that reads as shadow instead.
What to carve next