
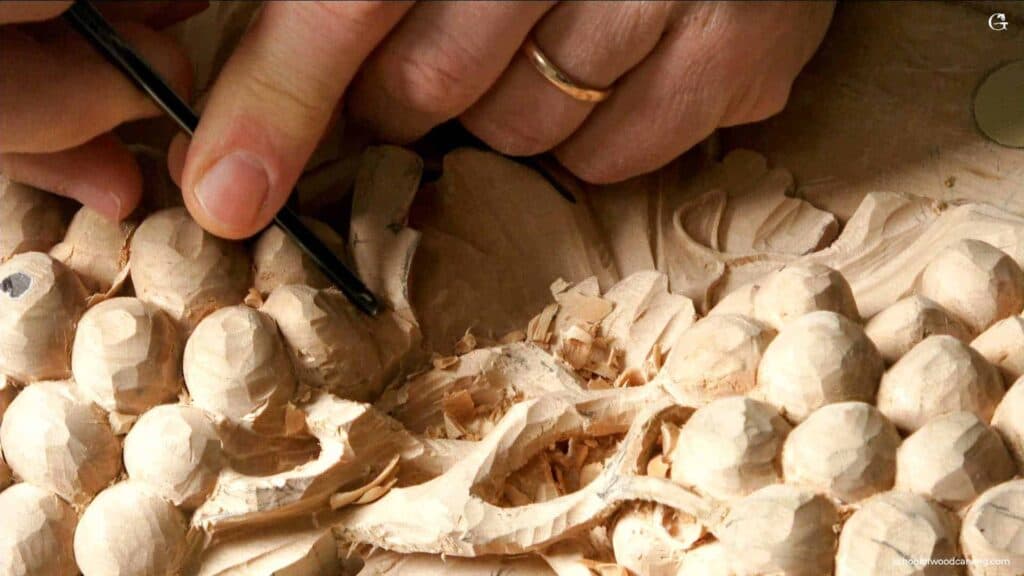
Alexander Grabovetskiy, woodcarver, School of Woodcarving · Published 2024
How thick should a carved branch be?
Quick answer: A carved branch in relief work stays under five millimetres at its widest, closer to three where it runs behind something. Where two branches cross, thin the secondary one so the pair reads about sixty to forty. A branch the same width along its whole length looks like a pipe, never like a vine.
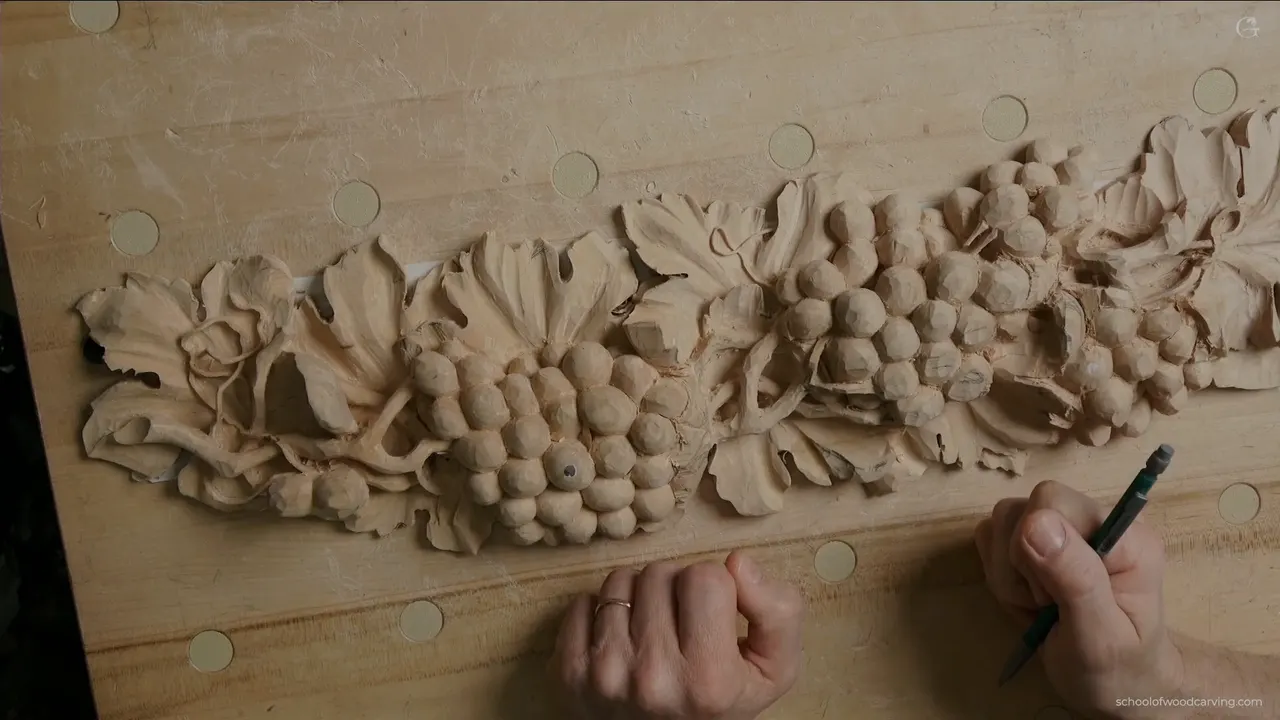
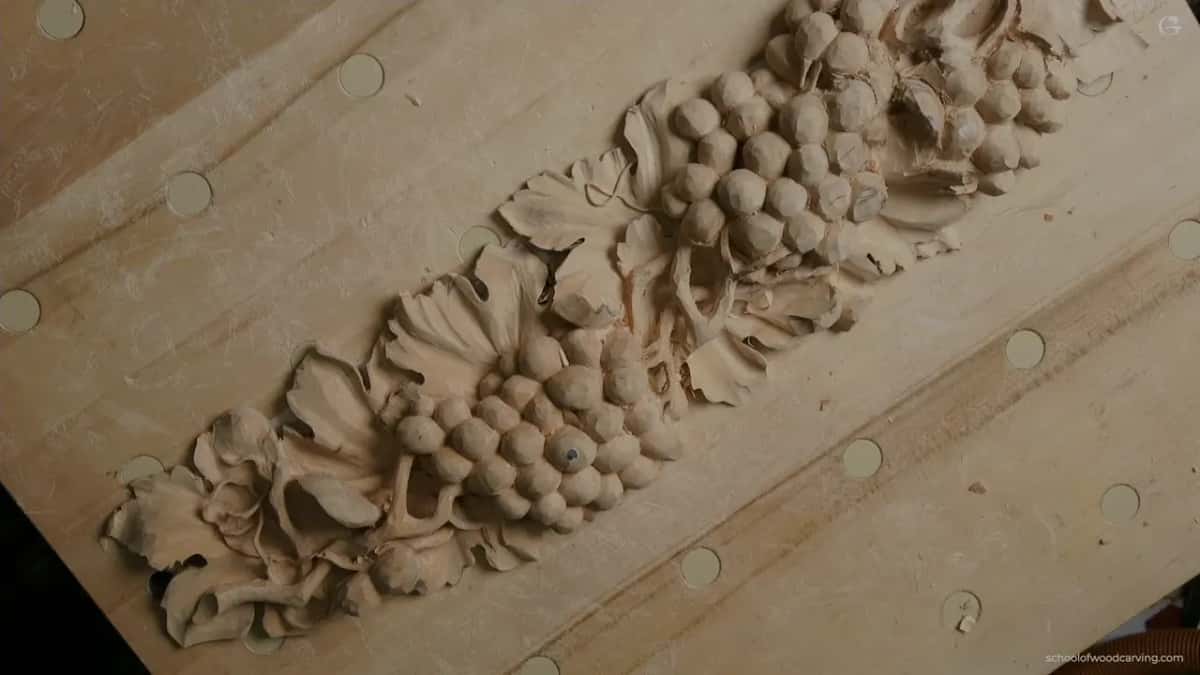
A carved branch that is the same width from end to end is a pipe, and your eye knows it before you do. Real ones taper. They thin where something passes over them, thicken where they take weight, and no two of them in a bunch measure the same. The widest branch on my board runs about five millimetres and the smallest is nearer three.
Look at a carving that almost works and the branches are usually the reason. The grapes are good. The leaves have movement. And the stems holding it all together sit there like lengths of dowel somebody laid across the board. I did that for years before anybody told me why. Nobody teaches thickness, because a drawing has no thickness, and by the time you notice the problem you have already carved the thing. So here are the numbers I actually work to, where they came from, and what to do when two branches meet and neither of them wants to give way.
What decides the width of every stem on a panel
- Five millimetres at the widest, the fattest thing on this whole vine.
- Down to three millimetres, an eighth, wherever a branch hides under fruit or behind a leaf.
- No two branches that cross should ever match. I aim for a split of roughly six to four.
- Put a bend in before you thin. Straight work turns into a rod no matter what else you do.
- Thin late. A slender branch carved on day one gets snapped off on day three.
- Cut the groove beside a branch with a tool wider than the branch itself. Backwards, and it works.
Why does a carved branch look like a pipe?
Uniform width is the whole problem. A machine can hold one thickness for a metre; a vine cannot. Go out and take hold of one. It swells at a joint, narrows between joints, and the piece that carried last year's fruit is heavier than the shoot beside it. The old Baroque carvers copied that habit exactly. None of that is decoration. All of it records what the plant was doing, and a viewer reads that without ever putting it into words.
The second cause is straightness. When I shape a branch I will not leave it running true, even over a short span. There has to be curvature in it or the thing dies on the board. A gentle arc costs nothing, takes one extra pass with a gouge, and it is the difference between a stem and a length of copper tube.
What is the maximum width for a branch?
My ceiling on a panel this size is five millimetres, near enough three sixteenths, applied to the fattest branch in the composition, the one everything else hangs from. Everything else steps down from there, the way it does on the last workshop of this course when the whole vine gets looked at together. Where a stem disappears under a grape I take it to about three millimetres, an eighth of an inch, because nobody sees the middle of it and the ends are what sell the illusion. Leave it fat and the fruit sits on a shelf.
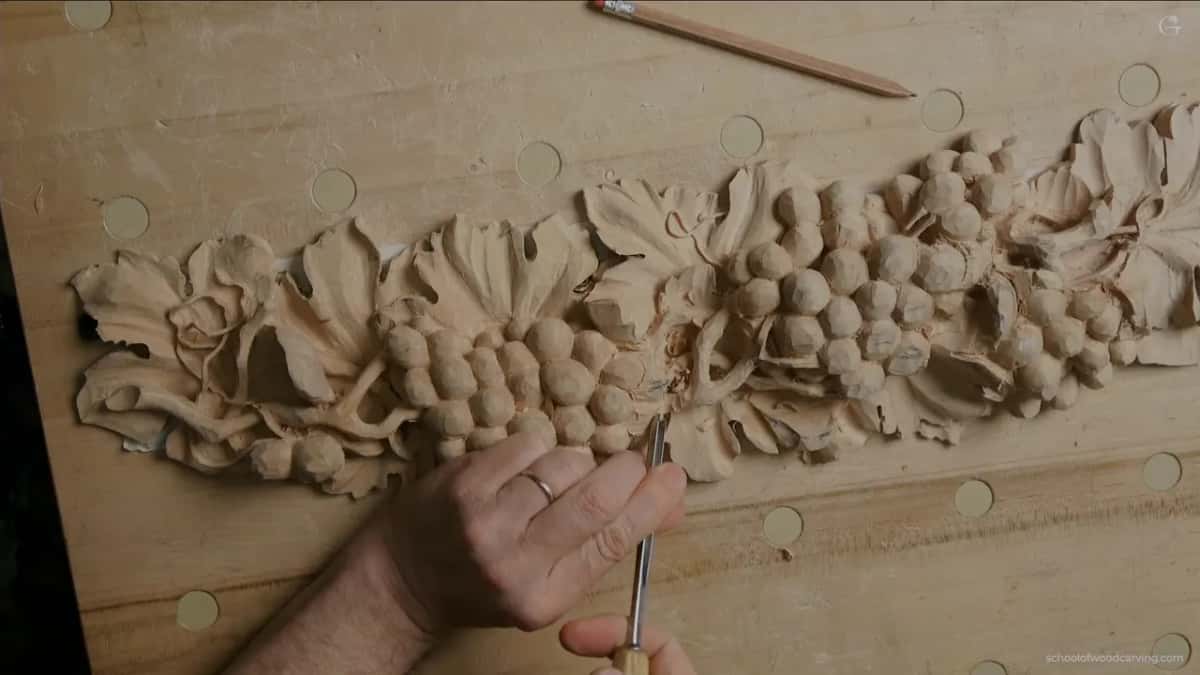
Scale that to your own work rather than copying the number, because a panel twice this size doubles the ceiling. What stays fixed is the relationship: the thickest branch, then a step down, then another step, and nothing in the piece matching anything else.
The tool I shape them with is an antique number 3, about eleven millimetres now. That is a little bigger than three eighths. It probably used to be a half inch, maybe twelve millimetres. I like that tool, it has a really good tooth, and I like the shape. The mallet lesson of this course covers the heavier cuts.
Which of two crossing branches should be thicker?
Whichever one you decided is the main branch, and you decide that before a single cut goes in. Here I had two candidates arriving from opposite sides. One had to pass over and the other had to die underneath, and picking wrong there is not a small mistake, because the whole knot reads as an accident afterwards.
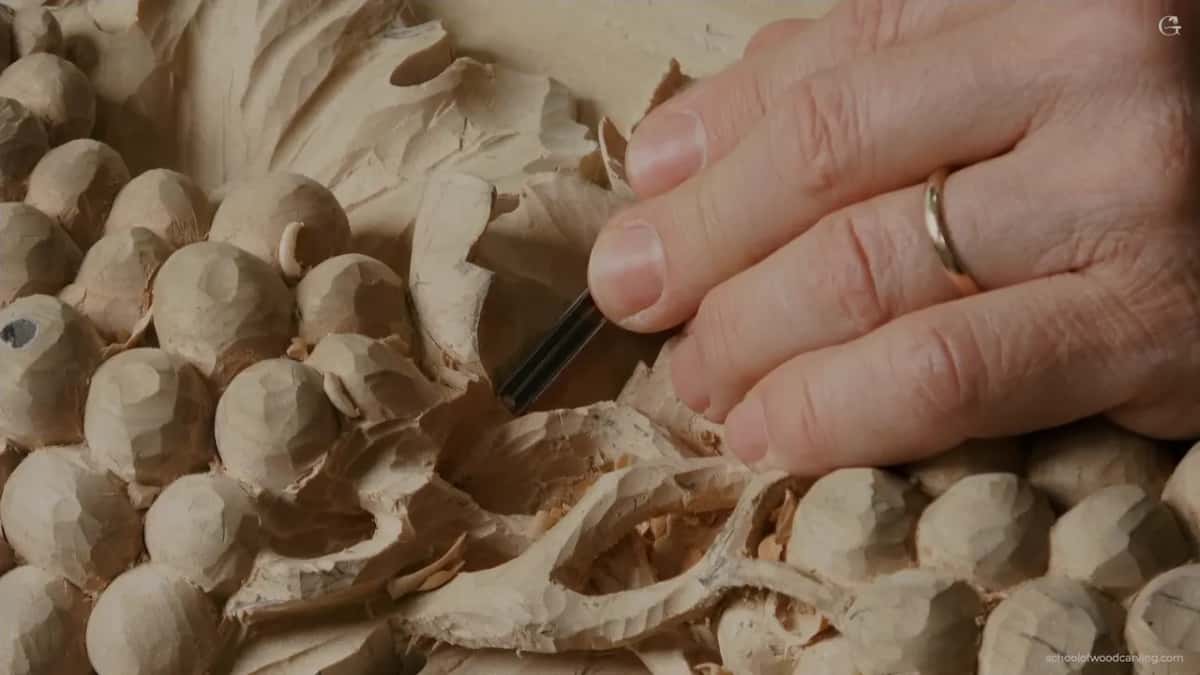
Once the main one is settled, thin the other. Sixty against forty is the proportion I use, or 62 and 38 if you want the exact figures. The same arithmetic governs where a lobe tip lands and how a composition divides, and it works here for the same reason: two things of equal weight fight, and two things at sixty forty settle into an order your eye accepts immediately. There is a whole course on this kind of proportion if you want the theory behind it.
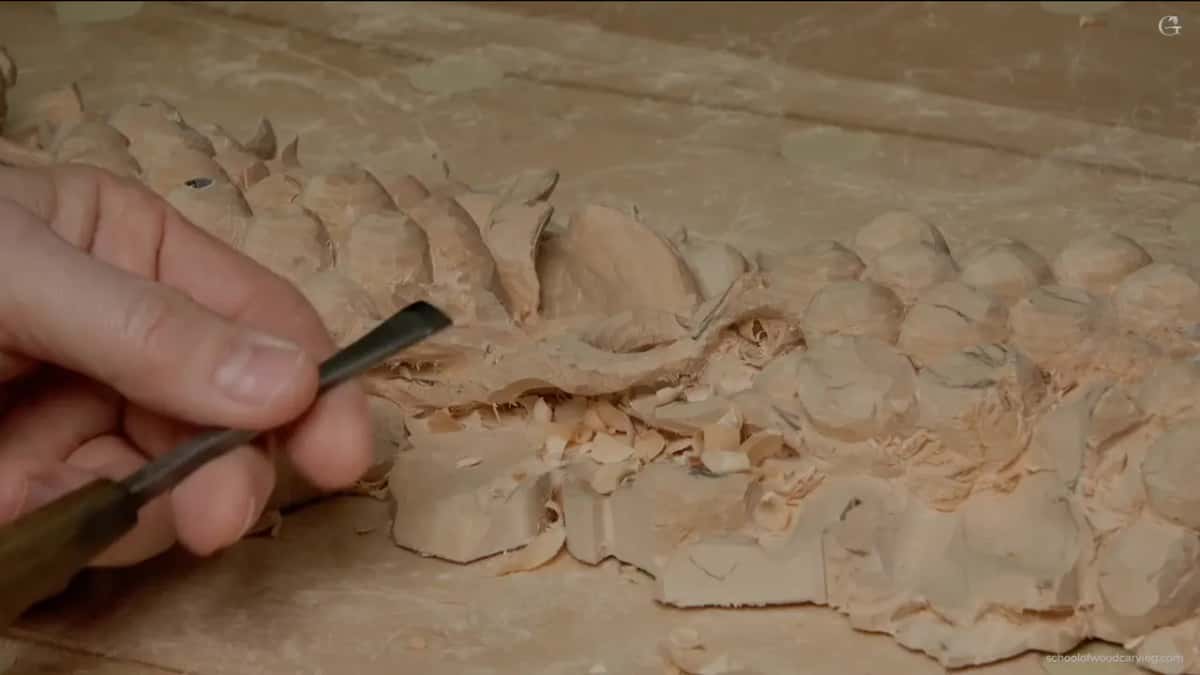
Something worth saying plainly: the thinner branch is not the less important one. Thinning it is what makes the other one readable. Take both to the same width and you have two rods crossing, which is exactly the look nobody wants and everybody carves.
How much does a branch have to be thinned at the end?
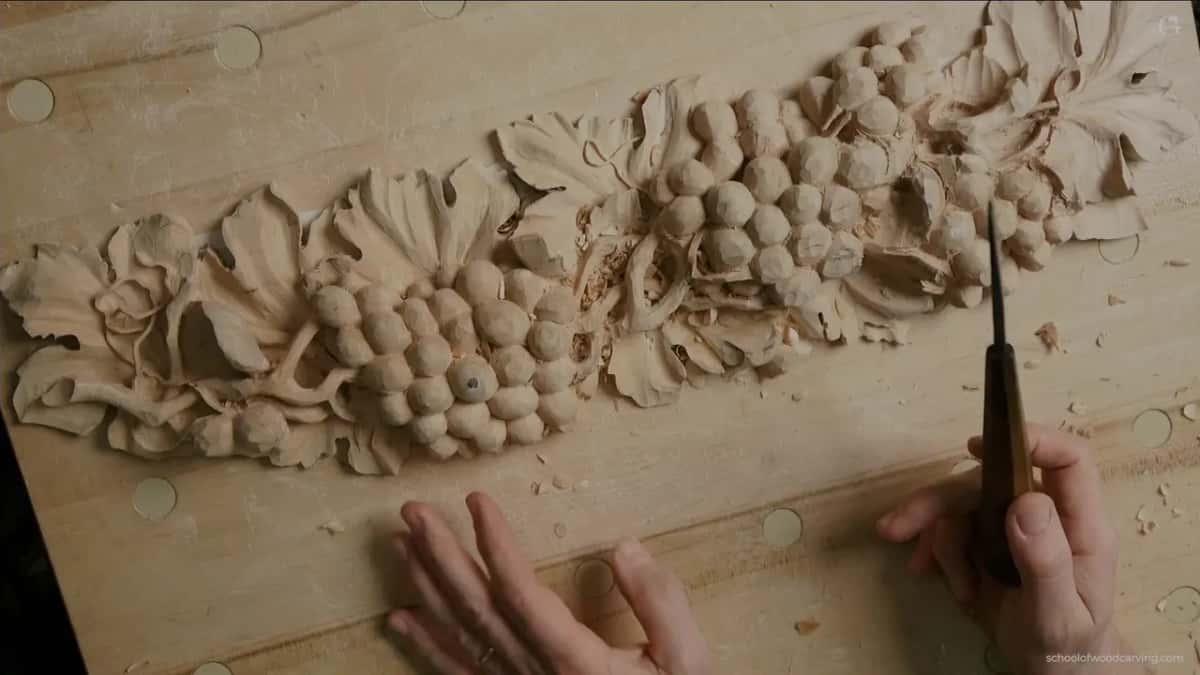
Enough that it stops before it stops. Every branch should taper away and die into something, under a leaf, behind a bunch, into the background. One that simply ends in mid air, still fat, looks broken. I ran one down past the fruit and let it vanish inside the bunch, and from above you cannot say exactly where it finished.
| The place | How thick it ends up being | Why that number |
|---|---|---|
| The main branch, the one everything hangs from | Five millimetres | Heaviest thing on the panel |
| A crossing branch | About three, putting the pair at 60 and 40 | Stops the two of them arguing |
| Under fruit | Three millimetres, and often less than that | Nobody ever sees it |
| A single stem | A sixteenth, roughly a millimetre and a half | Light underneath |
When should you thin a branch, and when should you wait?
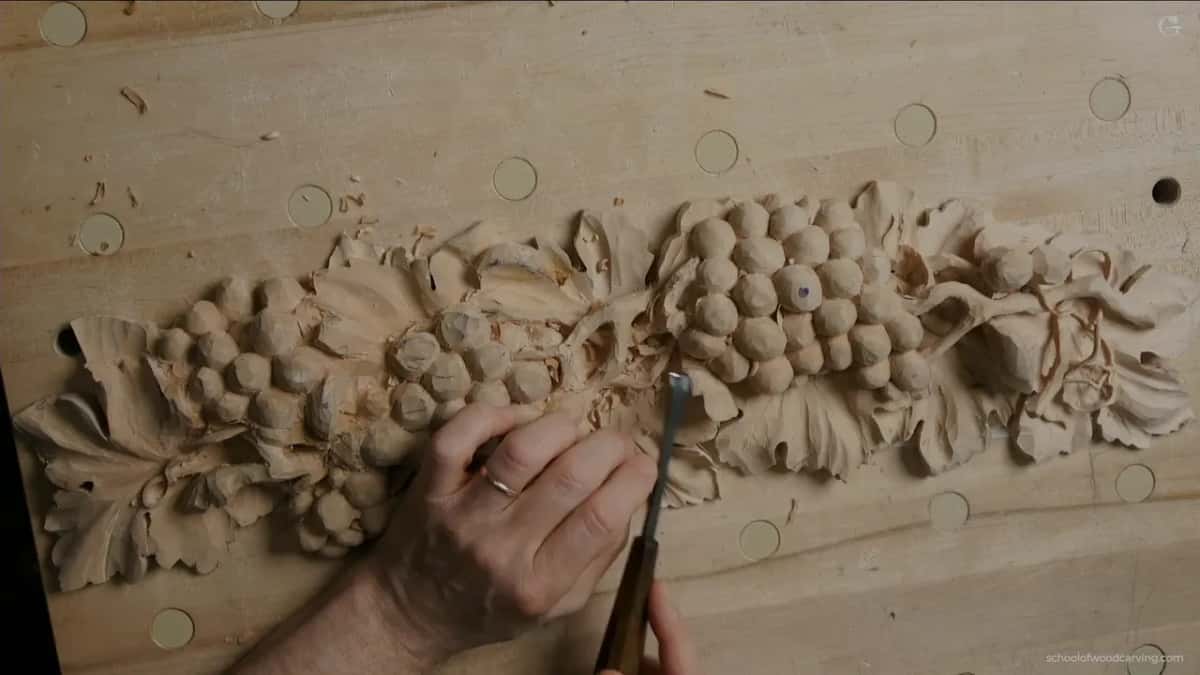
Wait longer than feels comfortable. I get a branch close to its final width during the blocking stage and then I stop, because thin work is fragile work and there are days of handling still ahead. I could see one branch heavier than I wanted, I knew exactly how much had to come off, and I left it alone until the piece was further along.
That patience buys you two things. The obvious one is that nothing snaps while you are clamping and turning the panel. The other is that you get to change your mind. Carved to final width on day one, a branch becomes a decision you cannot undo, and I have never worked on anything of size without wanting one movement slightly different by the end, which is exactly what happened in the tenth workshop.
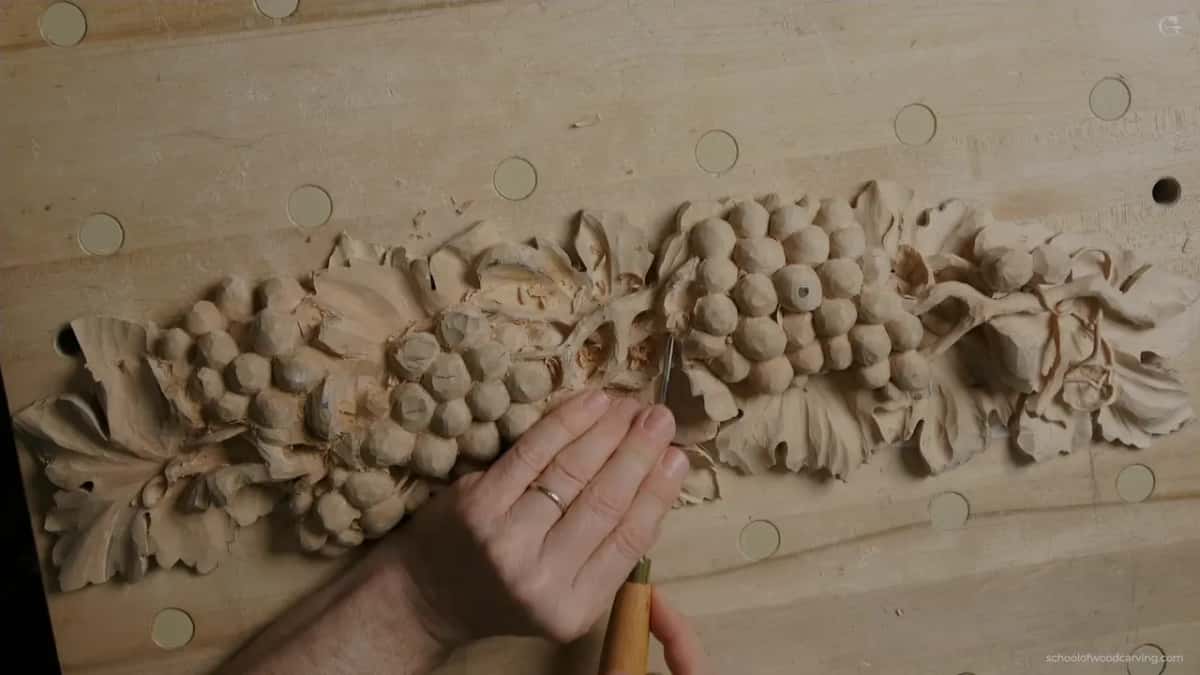
So the order is: outline, rough shape, curvature, then depth, then thickness, then details. Details last, always. You can see the same order running through this whole course, and it is not a preference, it is just what protects the work.
What do you do when a branch runs out of room?
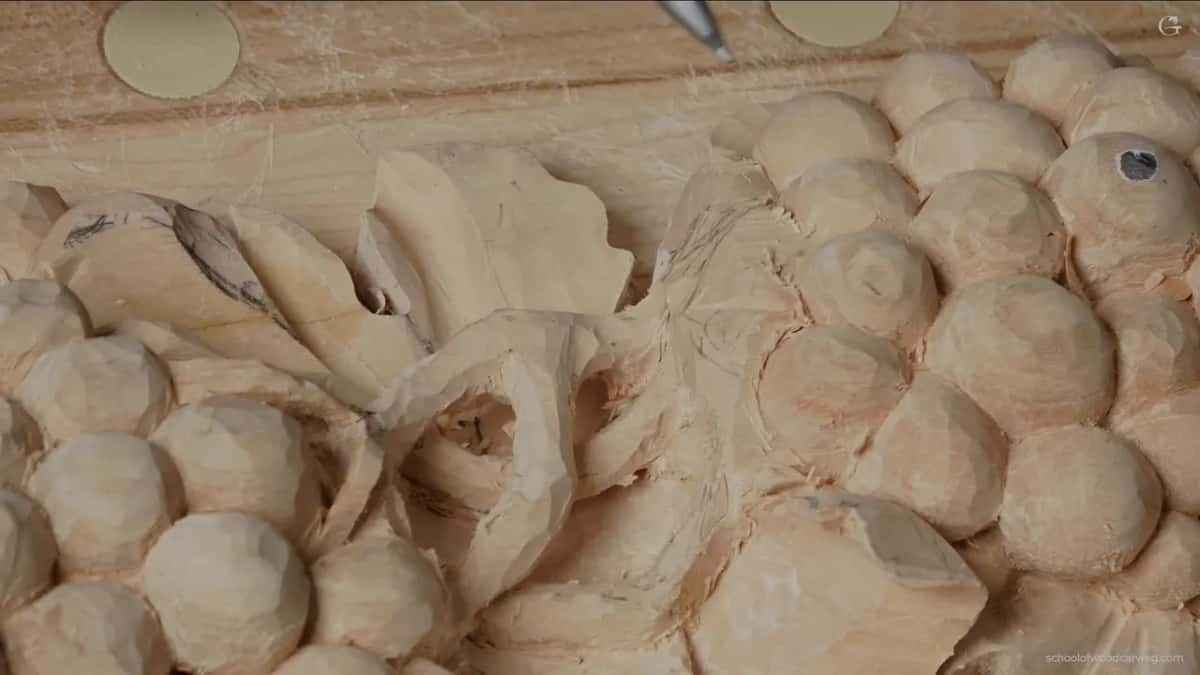
Raise it instead of sinking it. Partway through this cluster I found a branch with nowhere left to go. Below it sat a grape I had already cut, so I could not drop that side any further without wrecking the fruit, and the logic of the design wanted the branch to pass underneath.
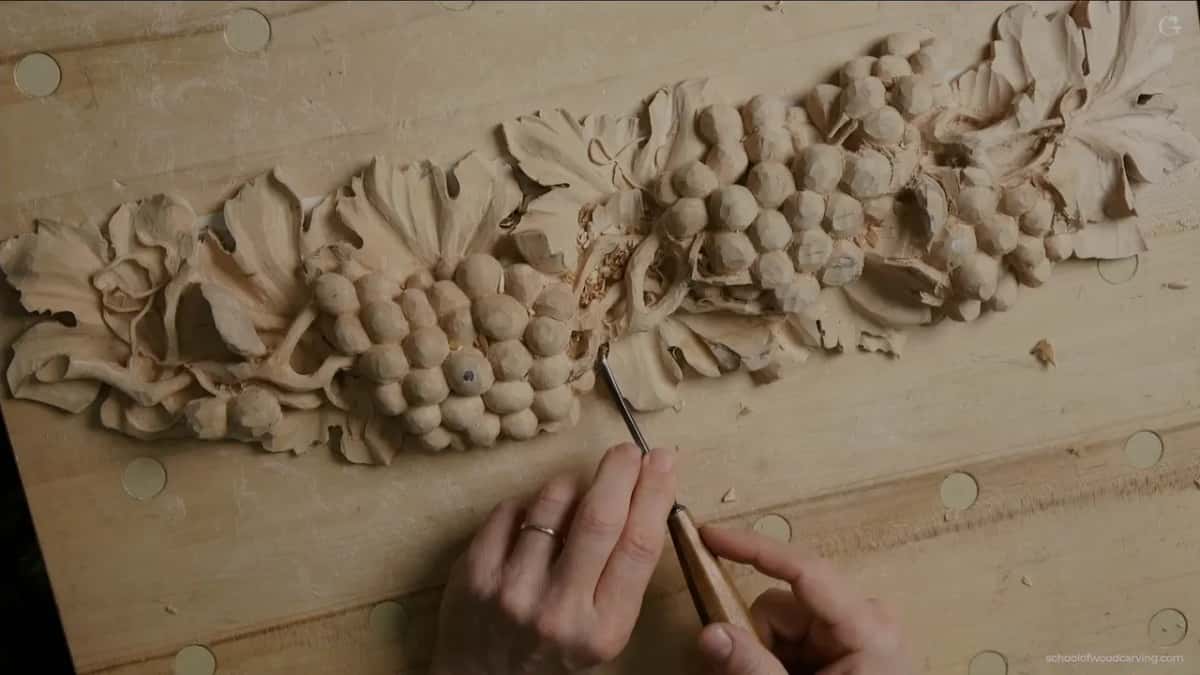
The answer was to send it over the top of the grape rather than under, which put the fruit off to one side and changed the story of that corner slightly. It cost me nothing. Nobody looking at the finished panel will know there was ever another plan, and I would not have thought of the arrangement if the wood had not forced it on me.
That happens on every relief of any size. You excavate somewhere early, and six workshops later that excavation is a wall you have to design around. Some of the best movements I have carved began as a problem I could not solve the way I first wanted to. Treat the limitation as information, not as a defeat, and the piece is usually better for it.
Which sweep is safest beside fragile grain?
A deeper one. Beside a thin stem with the grain running the wrong way, I will not take a number 3 in there. The sweep is so flat that its corners sit out wide, and those corners catch the weak fibres and lift them before the middle of the blade has done anything. What you get is a torn edge on work you cannot repair.
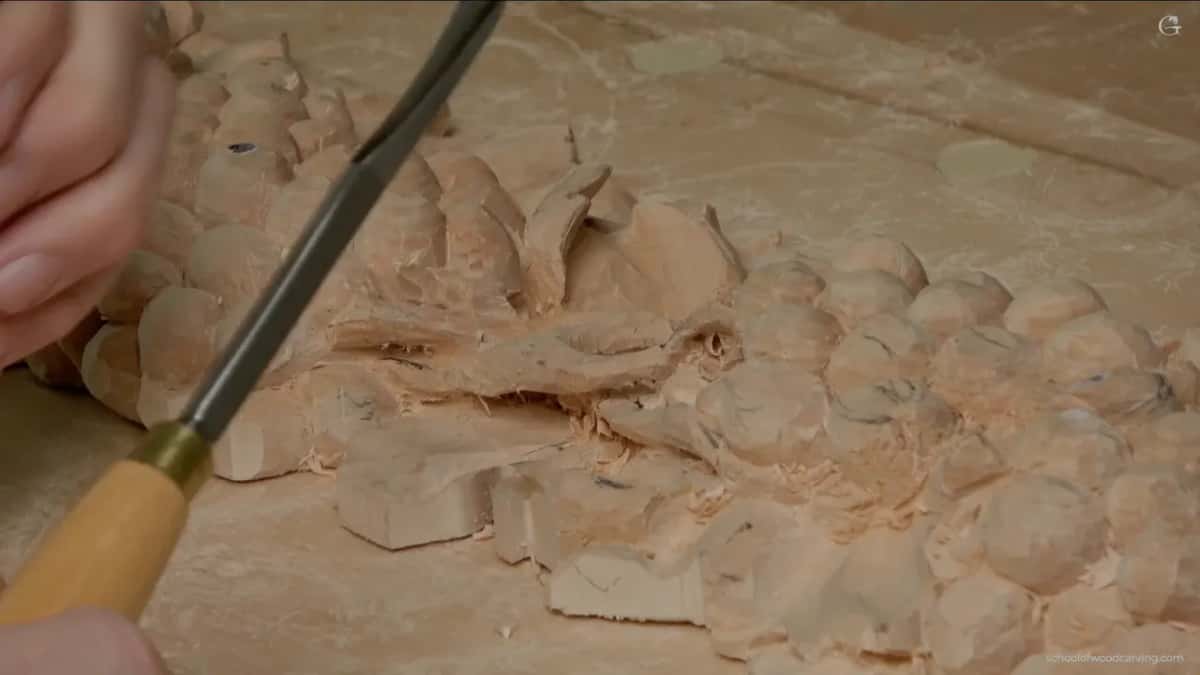
Reach for a number 5 at three or four millimetres instead, which does the same job with its corners up out of the wood. Sometimes I attack from above with it rather than along the surface, so the edge enters where the fibres are supported. Neither choice has anything to do with the shape I am cutting. What matters is which part of that steel will meet a weak spot.
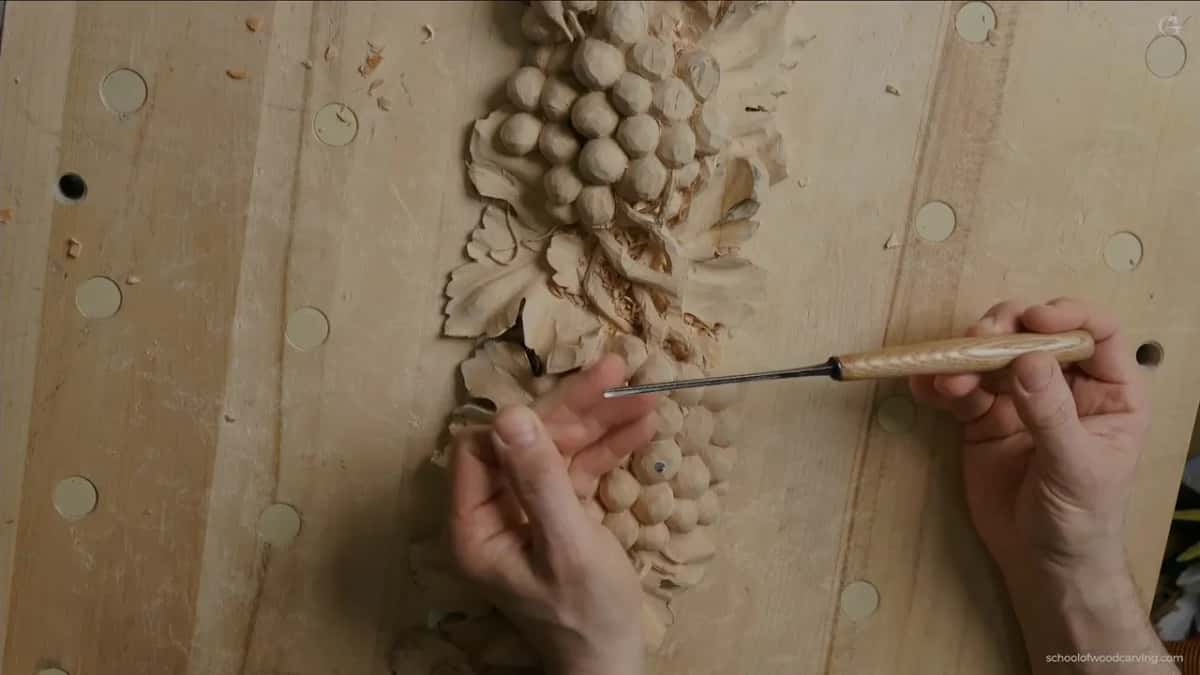
Match the sweep to the curve you are carving, always, and then check what the corners of that sweep are going to touch. Where the two demands disagree, the fragile spot wins, because a curve slightly off is a thing you can fix on the next pass and a lifted fibre is not. In the beginner course I work through the same decision on flat stock where there is nothing to lose.
Which tool cuts the outline of a branch?
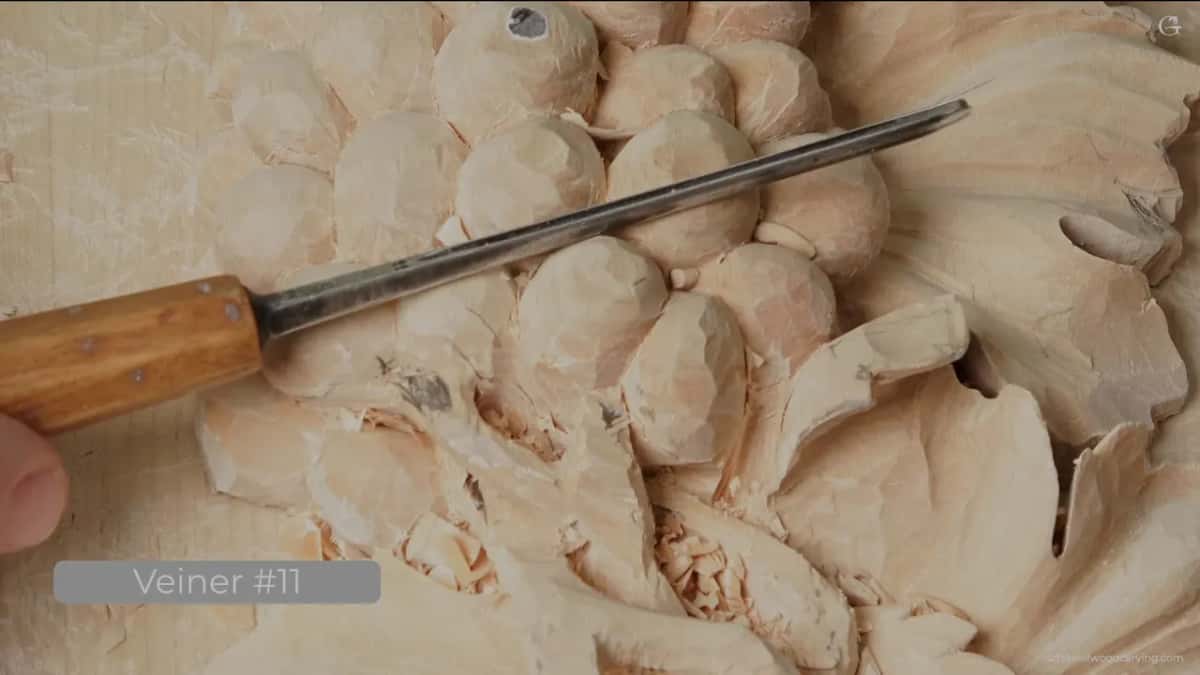
Most of it falls to a number 11 veiner at five millimetres. Down to four for the shaping, and 2.5 mm where the space gets tight. Under that I go to a millimetre, and for the very last clearing a half millimetre, which is a tool so small that people laugh when they first see it.
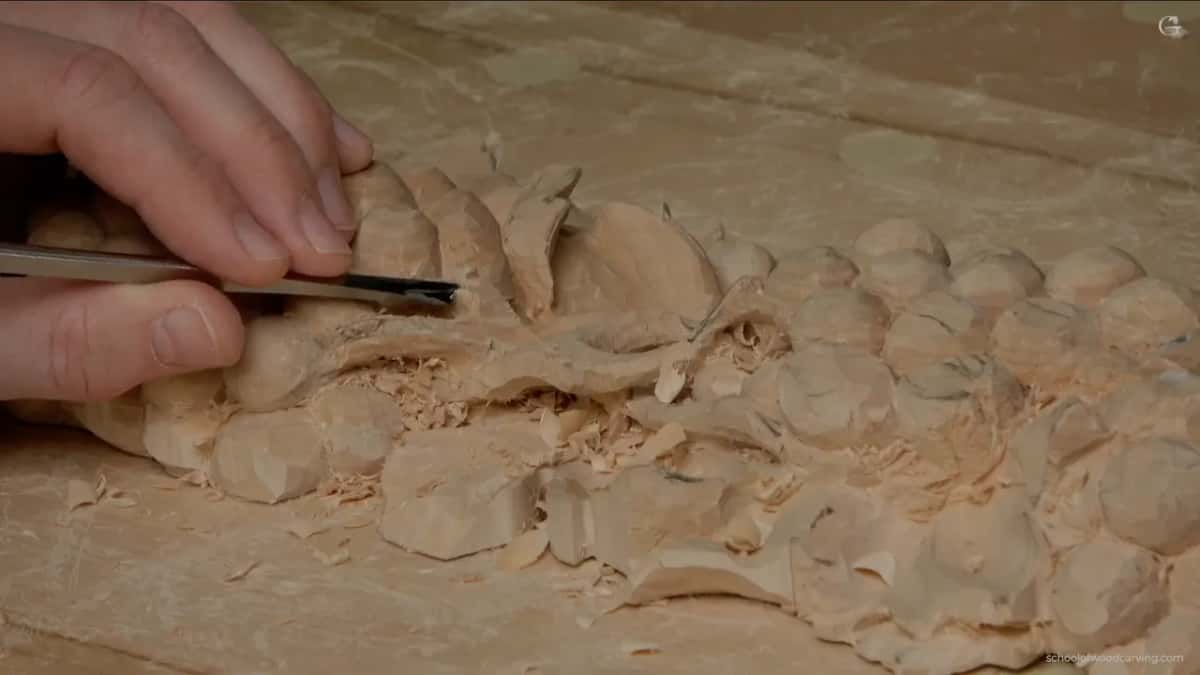
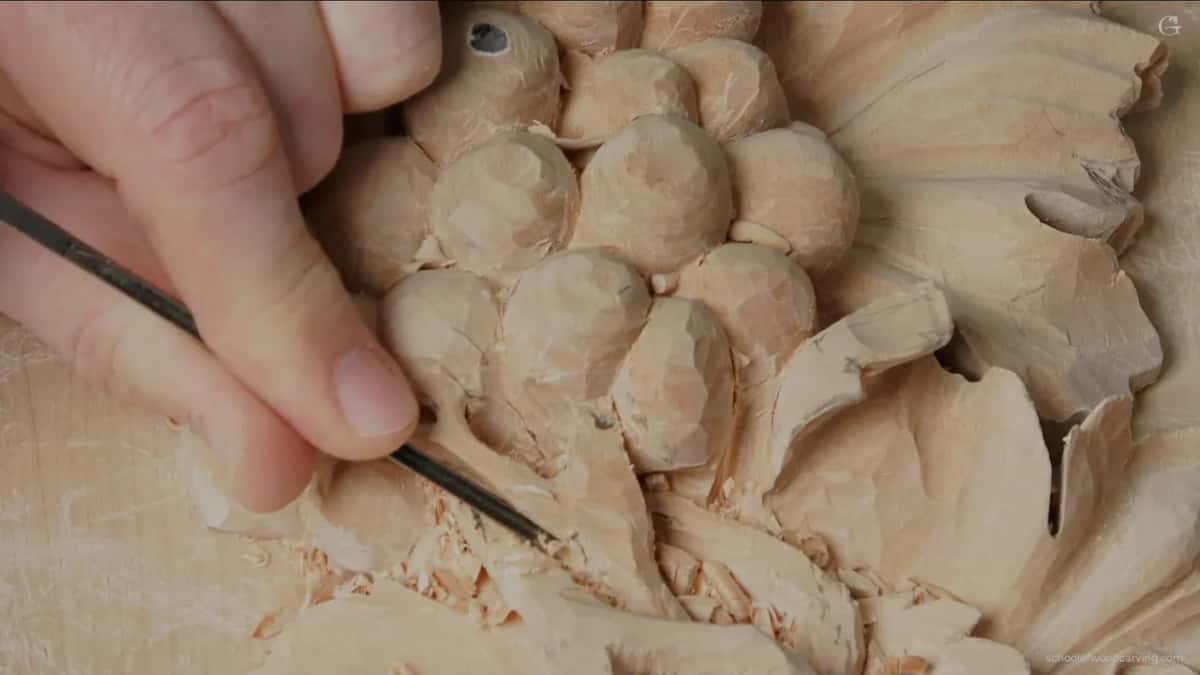
Here is the part that surprises people. When I outline a branch I deliberately reach for a wider tool than the shape itself needs, because the groove around it has to be wide enough to hold a shadow of its own. Use a half millimetre and you get a scratch. Use 2.5 and you get a dark line the eye reads from across a room. Nothing about the branch needs that width. The shadow does.
A skew chisel, a number 1, does the final tidying. It behaves almost exactly like a knife and it gets into the angle where branch meets grape better than anything else on my bench. The same tool does the corners of an acanthus. When a raised piece blocks the approach I switch to a back bent gouge, which vents its blade backward so the handle clears the work in front of it.
How do you get light underneath a branch?
Drill through it from both sides. Take a number 9 at three millimetres and drive it in like a bit, rotating a little each way, and a plug of basswood lifts out. Any close grained lime behaves the same. Meet the hole halfway from the other face and neither side blows out. Then open the sides toward that hole, and the branch stops being attached to the background at all.
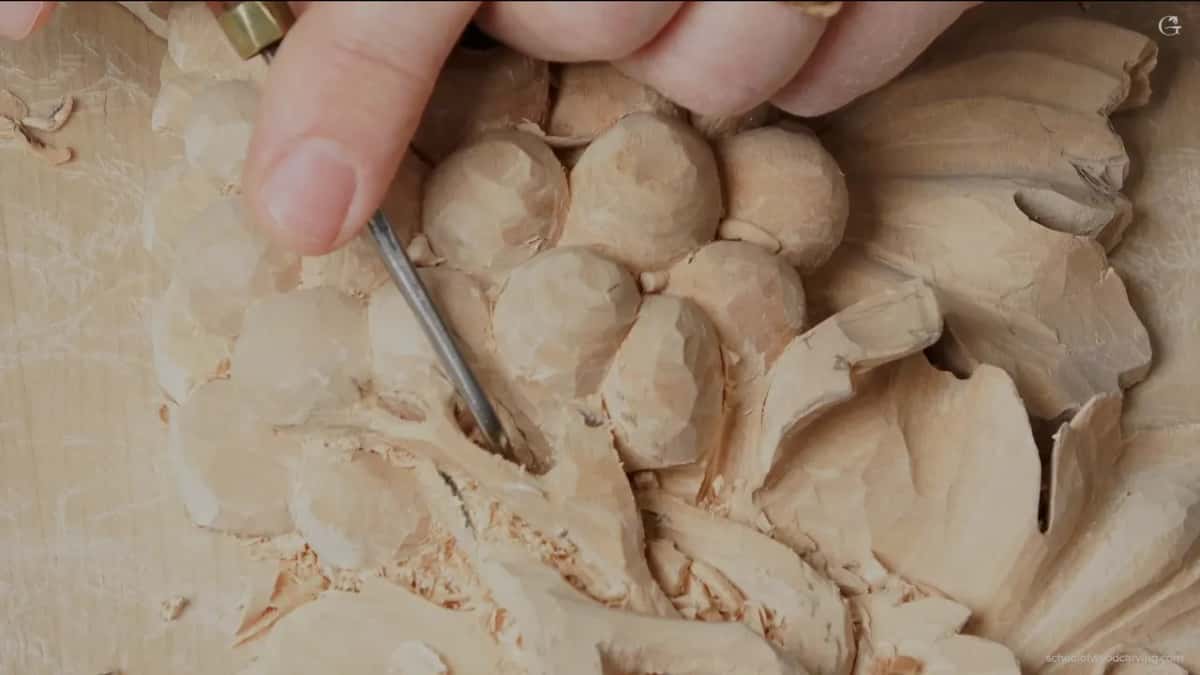
Thickness is what makes this possible or impossible. Leave a branch at eight millimetres and it has no hope of floating, because the opening under it would have to be so deep that you run out of material before you run out of patience. At five it works. At three it works better. The whole argument for keeping branches slim is that a slim one can be lifted off the board and a fat one cannot.
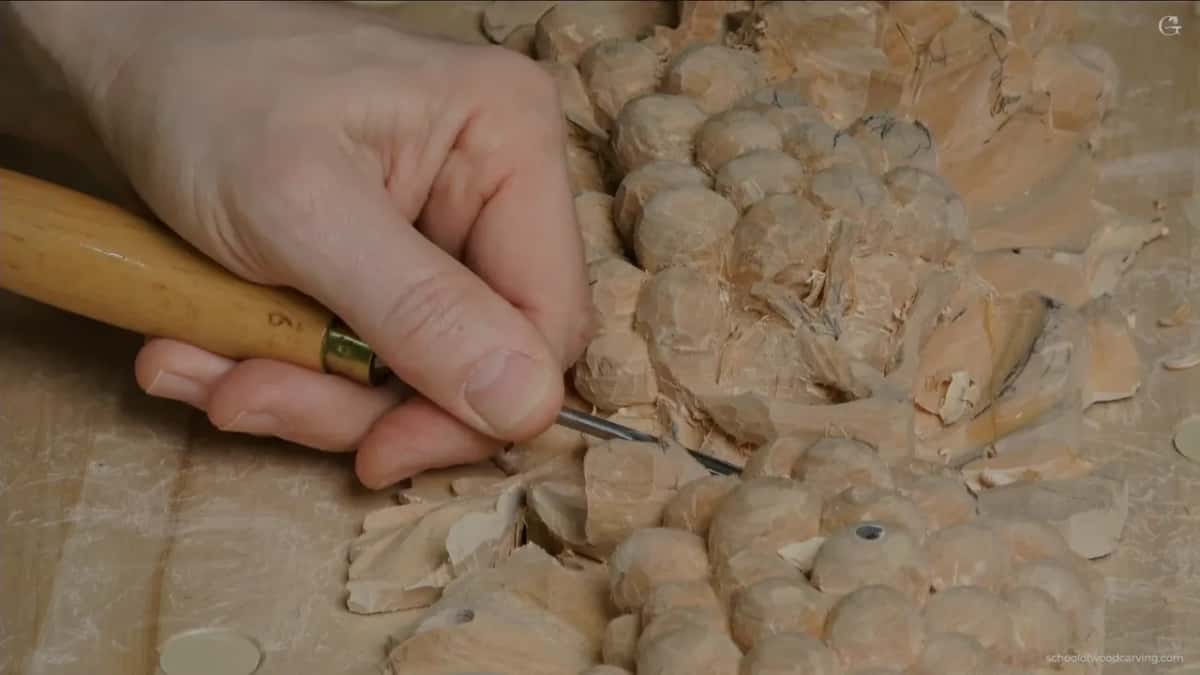
Want to carve a vine that lifts off the board like that? There are more than 3,000 lessons behind the door, and I teach these proportions in person at the classes in Georgia.
What sits on the bench for a job like this?
Veiners in six sizes, and I use every one of them. Five and four millimetres do the outline and the shaping, 2.5 handles separations, and two down to a half millimetre clears the last waste under a stem. Then a 3 for shaping, a 6 at twelve millimetres for taking bulk off a leaf, an 8 at ten for excavating, and a 9 at three for plugs.
Brands come up in the comments more than anything else, so, briefly. The Herring Brothers V tool at 35 degrees is equal to a Pfeil number 16 and I reach for it when a veiner would leave too round a bottom. The little one millimetre is Two Cherries. My half inch number 3 is older than any of them, stamped C. Maiers, and the steel is a pleasure. No ferrule on it at all, just a handle and the blade, which looks unfinished until you put it in wood. A tool collector who owns several traces the name to a C. Maier and Sons of Newark, New Jersey, listed in a 1928 catalogue and started in 1884, though whether these gouges ever came out of that shop is not settled. Old American steel either way. Buy one when a sale puts it in front of you. Some of the cheapest German steel on my bench carves perfectly well and cost a third of the rest. Buy the profile you need rather than the name, and put the money you save into sharpening instead. You can watch that same old number 3 carving separations in the final lesson here, forty years on and still holding an edge. A fuller tour of what each profile does sits in the tools course.
One last thing, and it has nothing to do with numbers. Do not copy my branches. Take the proportions, then put your own vine on the board, because the whole point of learning this is that you stop needing somebody else's drawing. Send me a picture when you have one. Every panel I have ever seen from a student has had at least one movement in it that I would never have thought of, and that is not politeness, that is just what happens when a person carves their own idea instead of tracing mine.
How it's done
- Decide the main branch before anything. Pick which one passes over and which dies underneath. Every width that follows depends on that one choice.
- Outline with a five millimetre veiner. Wide enough to leave a groove that will carry a shadow later on, which a narrow tool never does.
- Bend it before you thin it. Put a gentle arc into the run. Leave one true and it is a rod however well you shape the rest.
- Bring the main branch to five millimetres. Three sixteenths of an inch, the heaviest thing in the whole composition.
- Thin the second branch to around three. Roughly six to four stops the pair arguing. Equal widths just make two rods crossing each other, which is the look nobody wants.
- Taper each end into something. Run it under a leaf or into a bunch so it disappears instead of stopping fat in open ground.
- Leave the final thinning until late. Slender work breaks during handling. Get close, then wait until the panel needs no more turning.
Frequently asked questions
What width suits a stem between two grapes?
A sixteenth of an inch is where I stop, which is roughly a millimetre and a half. Thin enough that light passes underneath and the stem reads as separate from the ground. Much thinner and ordinary handling will finish it off for you.
Does branch thickness change with panel size?
Scale the numbers, keep the relationships. Double the panel and the widest branch doubles too. What never changes is that the main branch is the fattest thing there and everything else steps down from it.
Why not make two crossing branches the same width?
Equal weight makes them compete. Your eye cannot settle on which one is in front, so the crossing looks like a mistake rather than a plant growing over itself. Set them at 60 and 40 and it resolves instantly.
What to carve next