
Alexander Grabovetskiy, woodcarver, School of Woodcarving · Published 2025
How should you hold a gouge for fine detail work?
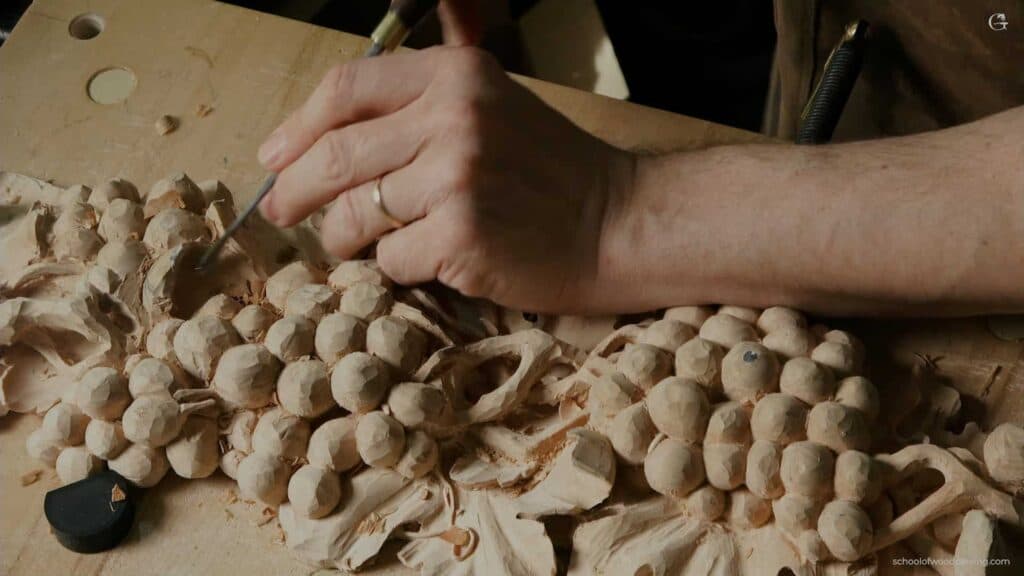
Quick answer: Holding a gouge for fine work means the tool rides on the middle finger with the index pressed on top, and the little one planted on the wood as a brace. The hand that would push becomes the hand that aims. Nothing gets cranked, and each pass stops where you meant it to.
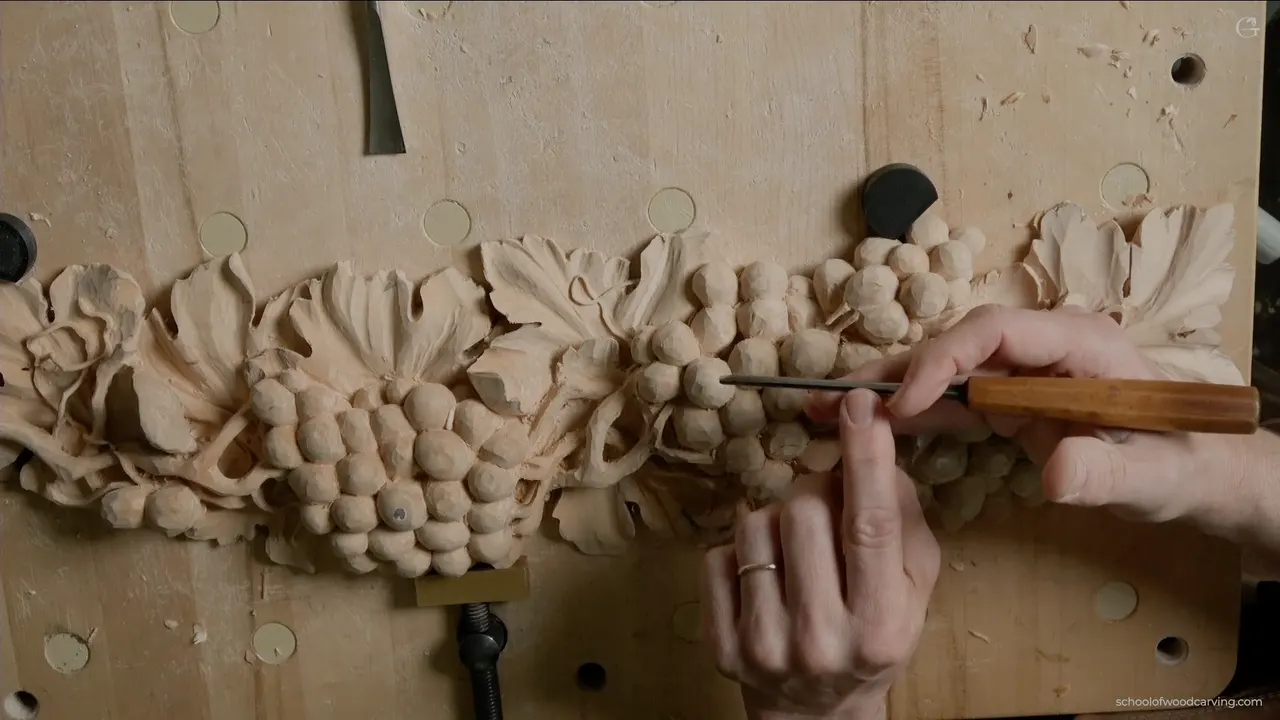
Watch a beginner carve a tiny stem and the tool travels twice as far as they wanted. The fix is not a steadier hand. Put the gouge on your middle finger, press the index down on top of it, and plant the little one on the wood as a brace. Now the pushing hand only aims, and the pass stops where you decided it would.
How many pieces have you ruined at the very last stage? Rarely while roughing out, when nothing much is at risk. Right at the end, on a detail two millimetres across, after three weeks of work. That is where carvings die. The cause is almost never the tool and almost never the wood. A grip built for shifting material gets used for a job that needs no material shifted at all. So here is how my hands actually sit when the tools get small, what the little finger is doing down there, and when I admit that I cannot see any more and reach for the magnifiers.
What changes when the tools get small
- The tool lies along the middle finger, never gripped inside a fist.
- Index finger bears down on the blade, and that is your depth control.
- Little finger on the wood.
- No cranking, ever. When a tool will not go, something is wrong and forcing it wrecks work you have already done.
- Hook each chip out as you finish a pass, because waste left behind blinds you for the next one.
- Magnifiers, at some point. Pride costs more than glasses do.
Why does a small pass run away from you?
Pushing is the reason. In roughing work your arm and shoulder supply the force, the tool goes where the force sends it, and stopping means stopping the whole arm, which takes longer than you think. Scale that down to a stem a sixteenth of an inch wide and the same habit puts the edge straight through the thing you were shaping.
At the detail stage almost no material needs to move. A pass might lift a shaving you can barely see. So the question stops being how to drive the tool and becomes how to place it, and placing is a finger job, not an arm job. Once that clicks, the tools you were frightened of become the easy ones.
Where does each finger go?
The blade lies across the middle finger of my guiding hand, running along it rather than gripped across it. My index finger comes over and bears down on it, as near the edge as I can get it without fouling the shaving. It does two jobs at once, stopping the tool lifting and telling me through the steel how hard the wood is fighting.
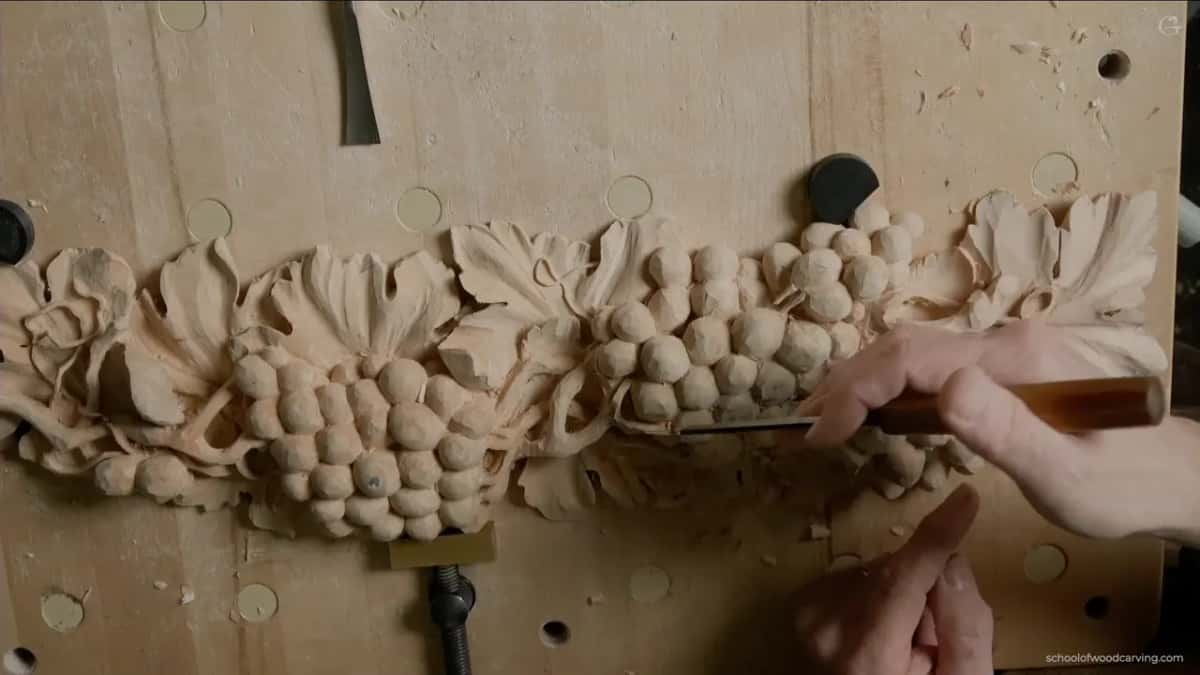
The thumb is barely involved. The other hand holds the handle and supplies direction, and that is all it supplies. On a pass two millimetres long the back hand moves almost imperceptibly while the front hand does the actual work of deciding where the steel is.
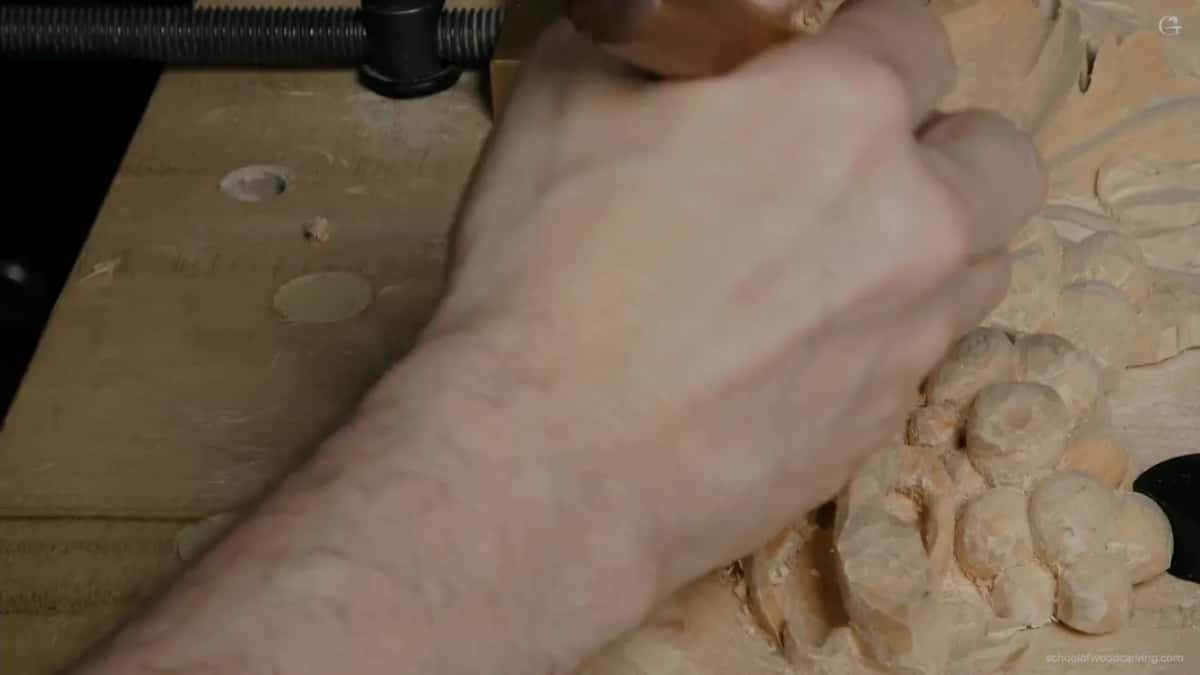
Sit at your bench and set that up now, with no wood in front of you. It feels wrong for about a day. Then it feels like the only sensible way to hold a small tool, and going back to a fist grip feels like trying to write with a broom. We build it from scratch in the beginner course.
Why the little finger?
The little one is the anchor, and the part nobody notices on video. I plant my little finger flat on the wood, usually somewhere already carved and finished, and every other movement in that hand turns around the contact point it makes.
| Which part | The job it is doing down there | What goes wrong |
|---|---|---|
| Middle finger | Carries the blade along its length | The tool rolls and the edge wanders off the line |
| The index, pressed down on top | Depth | Lifting |
| Little finger | Anchors on a surface already carved | Nothing fixed to pivot on, so the whole hand drifts |
| Back hand | Aim, and nothing besides that | Pushing starts again |
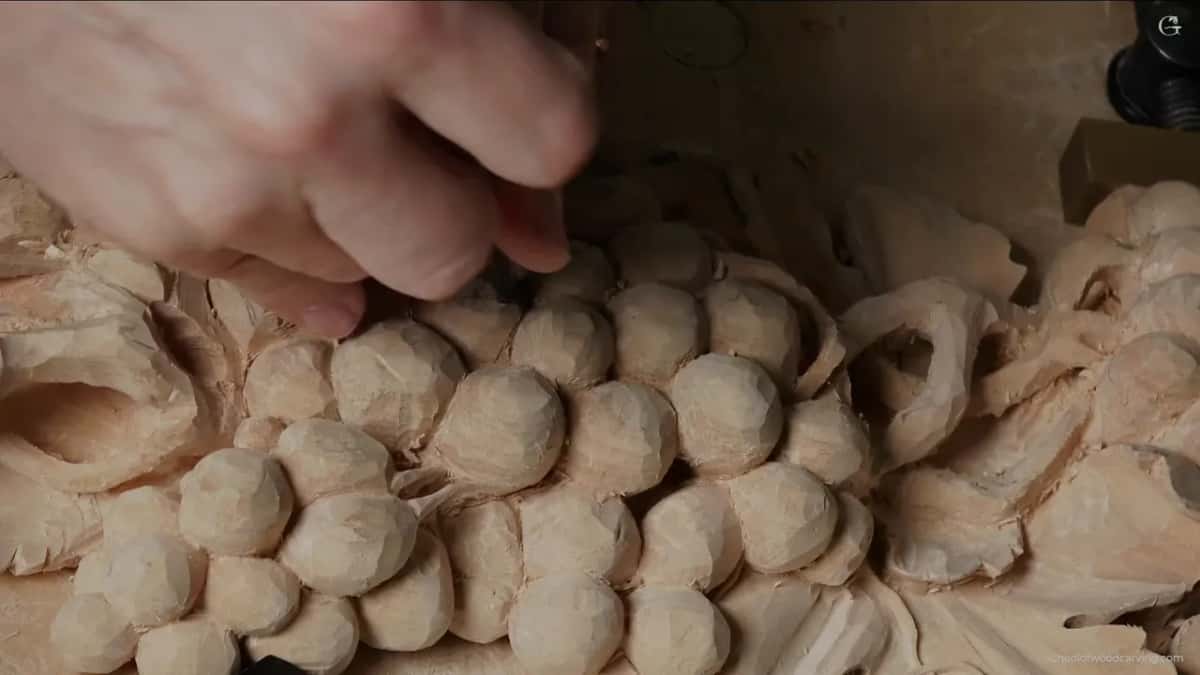
The little finger has a second use that matters more on fragile work. Landing it on firm carved ground rather than on the delicate element you are shaping means your hand never leans on the thing most likely to snap. I have written elsewhere in this course about a piece that broke off on camera, and that happened because I braced somewhere I should not have.
What does no cranking mean in practice?
It means that when the wood fights, you stop. I can feel the moment a small blade meets grain running the difficult way, and the temptation is always to lean a little harder and get through it. Lean, and the free standing stem you were undercutting snaps at its thinnest point.
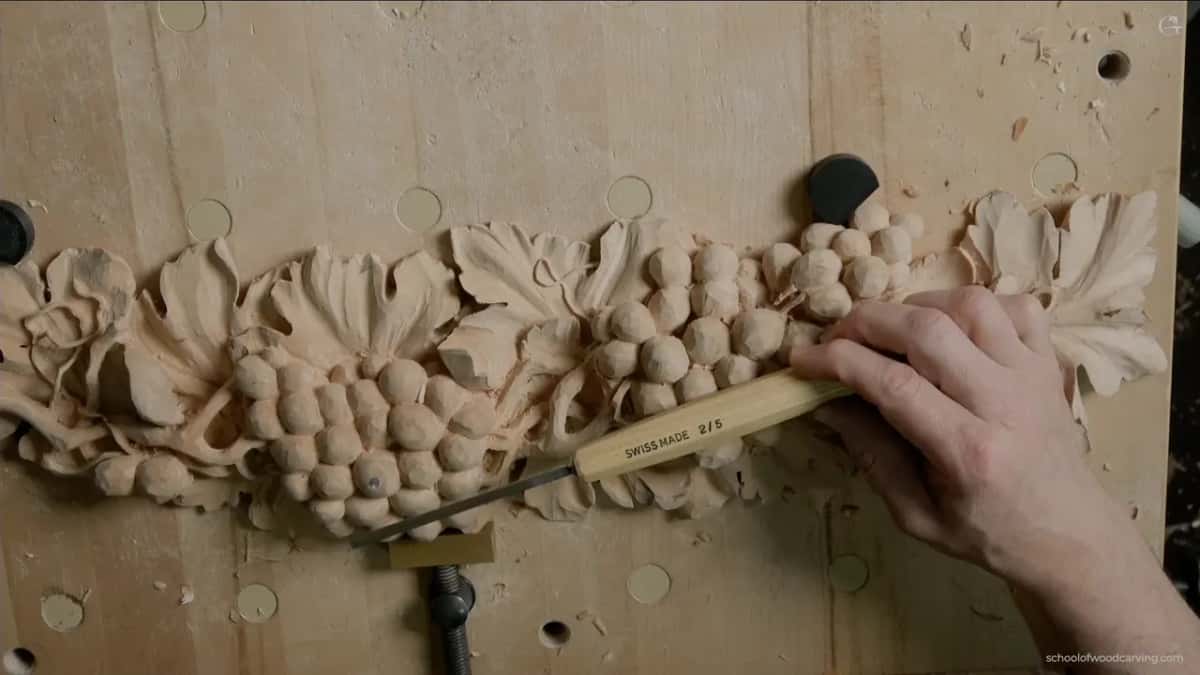
What you do instead is come at the same spot from the other direction. Rotate the panel, take the pass from the opposite side, and meet the first one in the middle. The gouge does the rest. It costs a few seconds. Forcing it costs whatever you had carved so far.
Sharpness is what makes that discipline possible, which is why I go on about it. A properly honed edge removes wood with the weight of the tool and nothing more. A dull one only works when you push, and pushing is the exact thing this grip exists to prevent. Ten minutes on a stone before the detail stage is not optional.
How small do the tools actually get?
Smaller than most people own. My detail work runs on a number 2 at two millimetres, a number 11 at one millimetre, and a half millimetre veiner that looks like a dental instrument. There is a dockyard number 9 about a millimetre across that reaches places nothing else will, and for a corner behind raised work a back bent tool earns its keep.
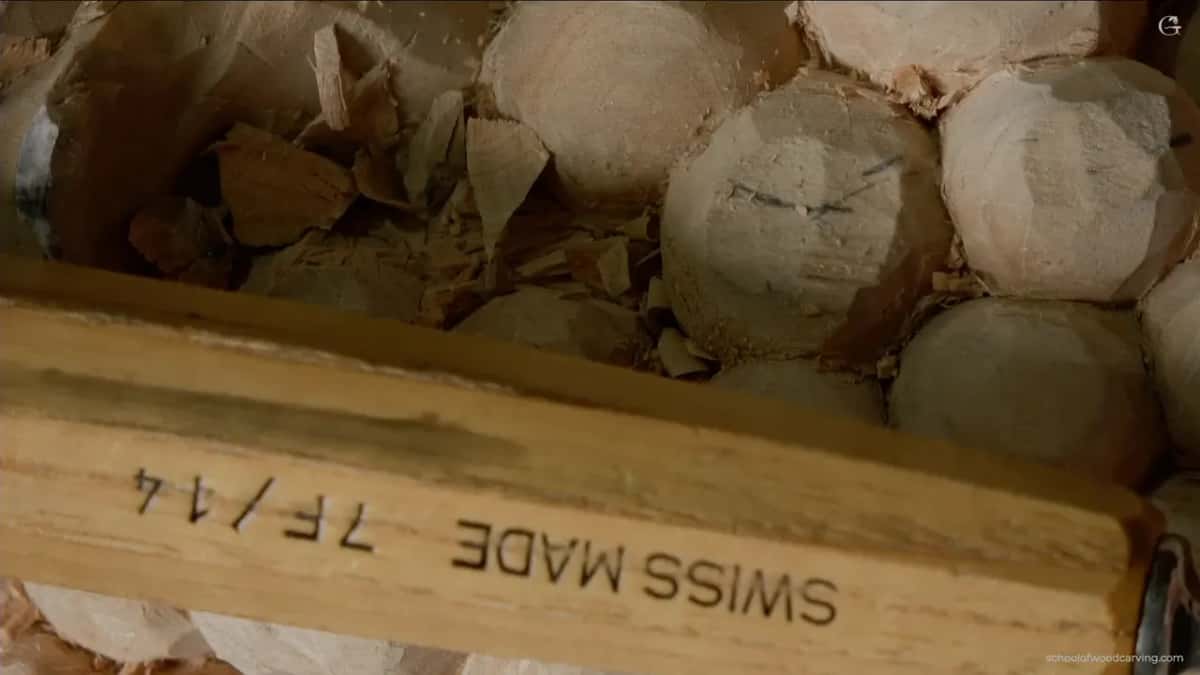
Go down in steps rather than jumping. I start a separation with whatever is the biggest tool that fits, because the groove it leaves is wide enough to hold a shadow, then switch smaller only when the space refuses the bigger one. Start with the half millimetre and you get a scratch that reads as nothing from two feet away.
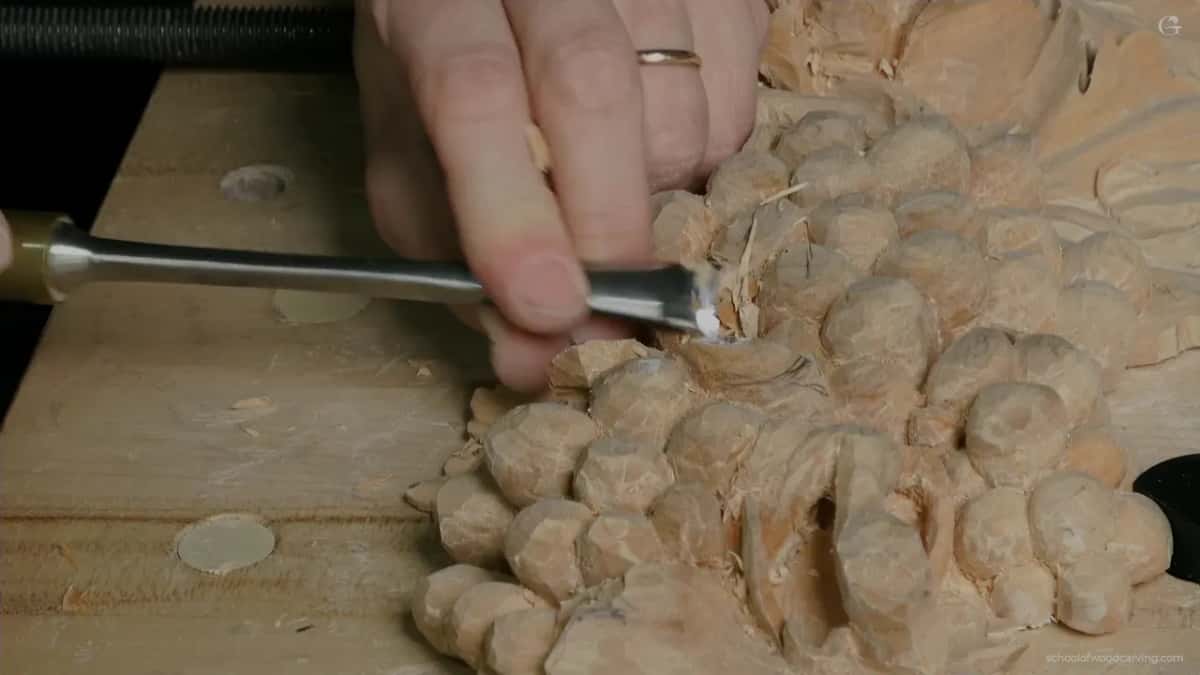
One honest gap in the list: for the very tightest spots the right tool is a tiny spoon gouge, and nobody sells them. Mine came from a maker who is no longer around. If you find one at a sale, buy it without asking the price, and in the meantime a straight veiner will do the same job with more patience.
What is carve and hook?
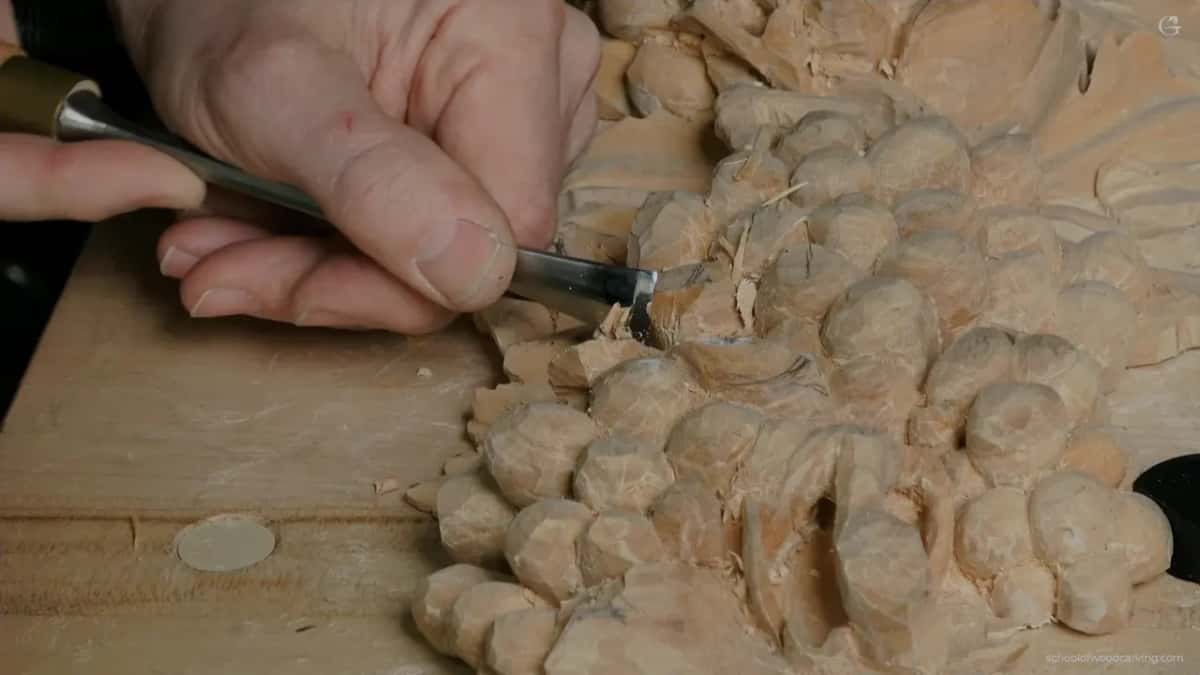
A habit I picked up without noticing and only spotted years later watching my own footage. Rather than lifting the tool away cleanly when a pass finishes, I give it a small pull that drags the chip out of the hollow with it. Carve, then hook. Cut, then pull, all the way along a separation.
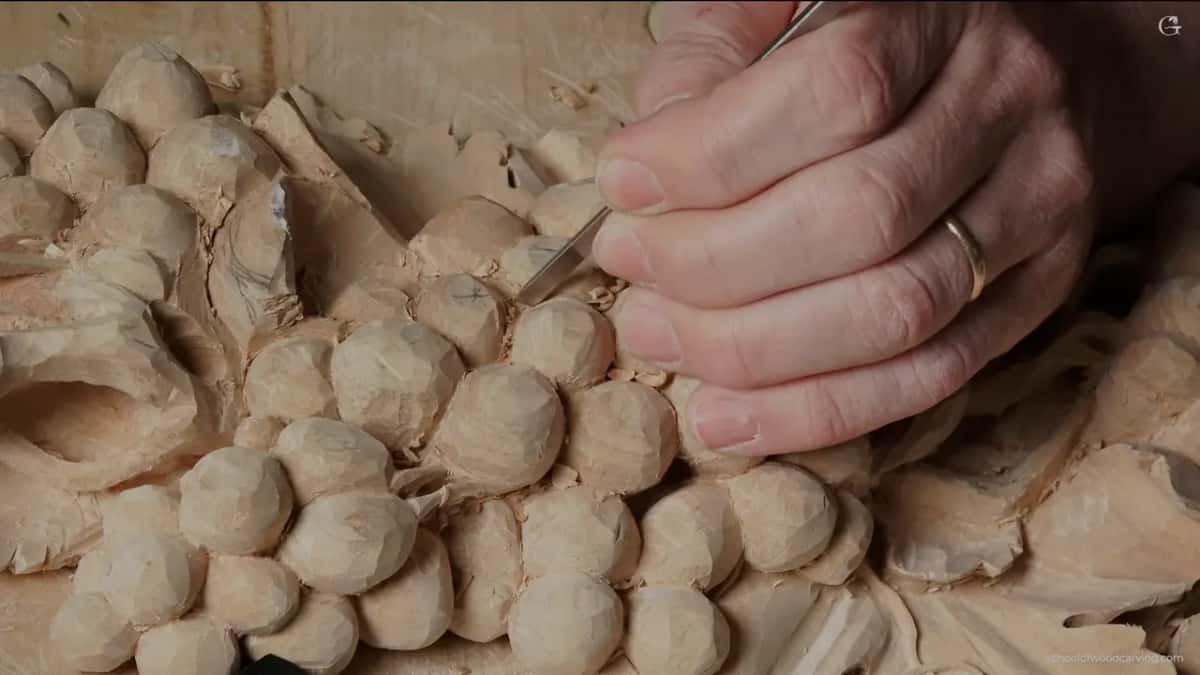
Visibility is the reason. Waste left inside a narrow separation hides the surface you are about to work on, and at this scale you cannot afford to be guessing. Hooking each chip as you go means the pocket stays clean and you can see what your last pass actually did rather than what you hoped it did.
It also tells you something. A chip that comes out whole and curled means the edge is slicing. One that crumbles means it is tearing, and that is your signal to go back to the strop before you do any more damage.
Should every grape in a bunch be the same size?
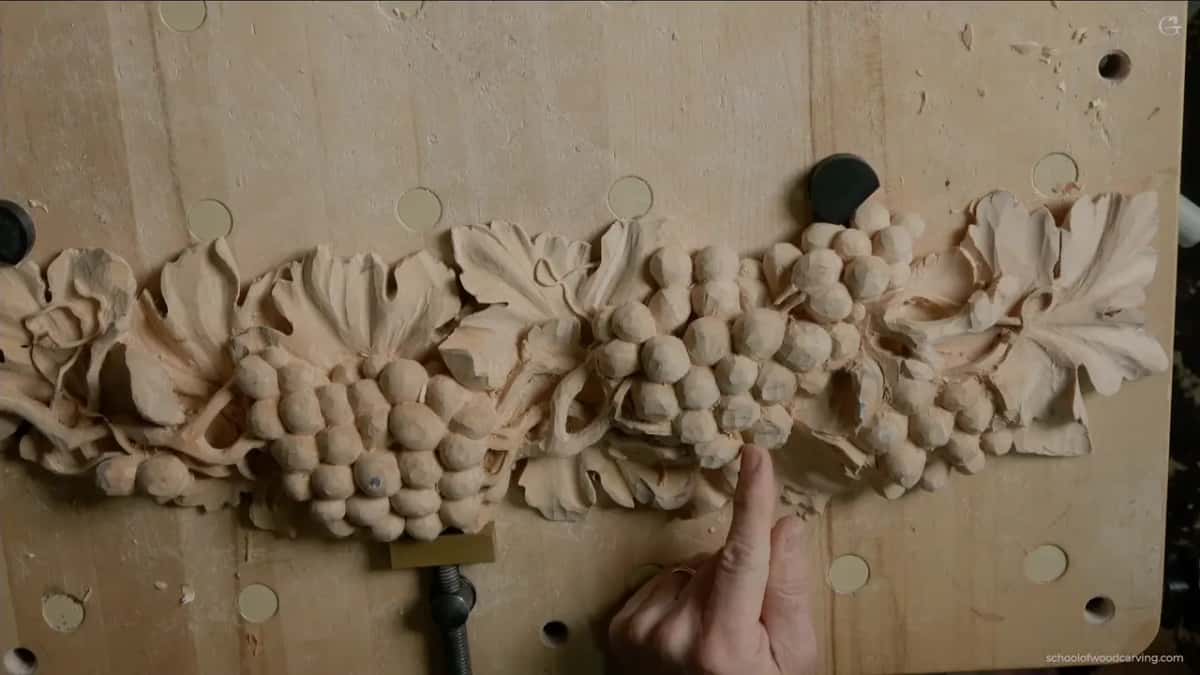
No, and the ones that are will flatten your whole cluster. Adding a stem here meant the grape beside it got smaller, which for a moment felt like a loss. Then I looked at it and realised the bunch had just become more convincing, because a real one has big fruit at the front and half hidden little ones crowded behind.
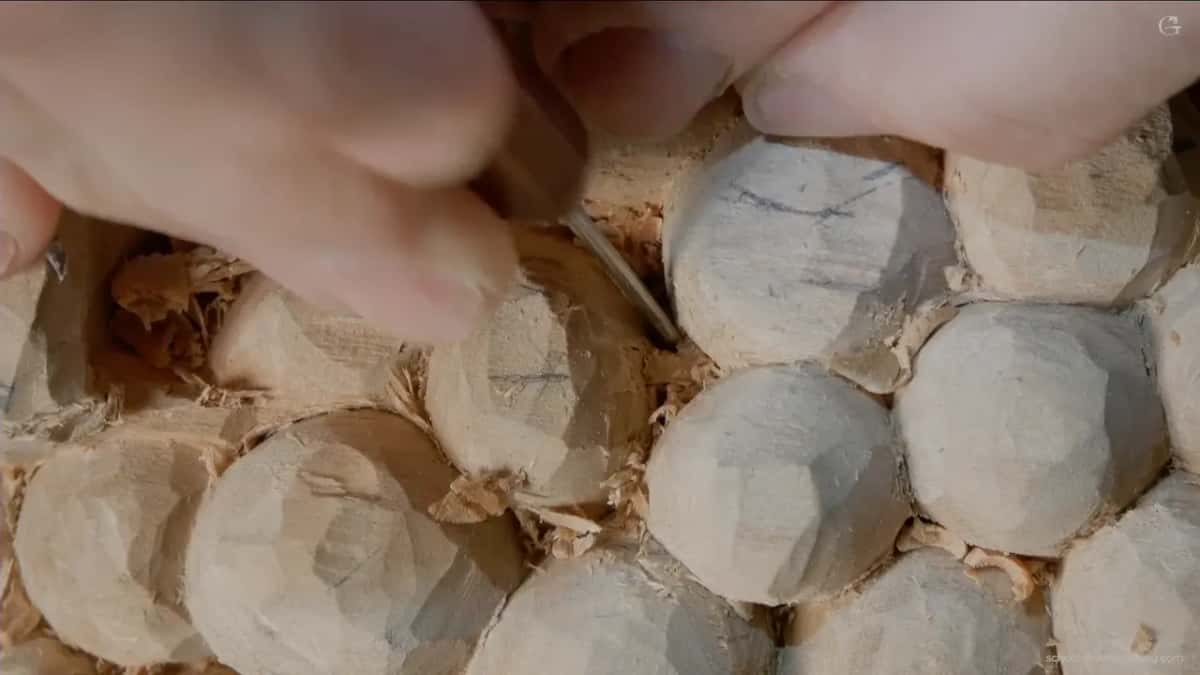
Uniformity is the enemy in every part of this. Same size grapes, same width branches, same depth shadows, and a panel starts reading as pattern instead of plant. Vary something in every group of three and the whole thing settles.
There is a second law working alongside it, and it is about the gaps rather than the shapes. Aim for the spaces between your grapes to be triangles rather than squares. Three sided gaps feel organic and keep the eye moving; four sided ones stop it dead, which is the same reason a right angle junction never belongs in carved foliage either. Watch the negative shapes as you place each berry and you get this for free.
When is it too early to go deeper?
When you cannot yet say what that section is going to be. Late in this workshop I had a spot I wanted to take down further, I could see the shadow it would throw, and I left it alone. The reason was simple: the area above it was still undecided, and depth you carve before a decision is depth you might need back.
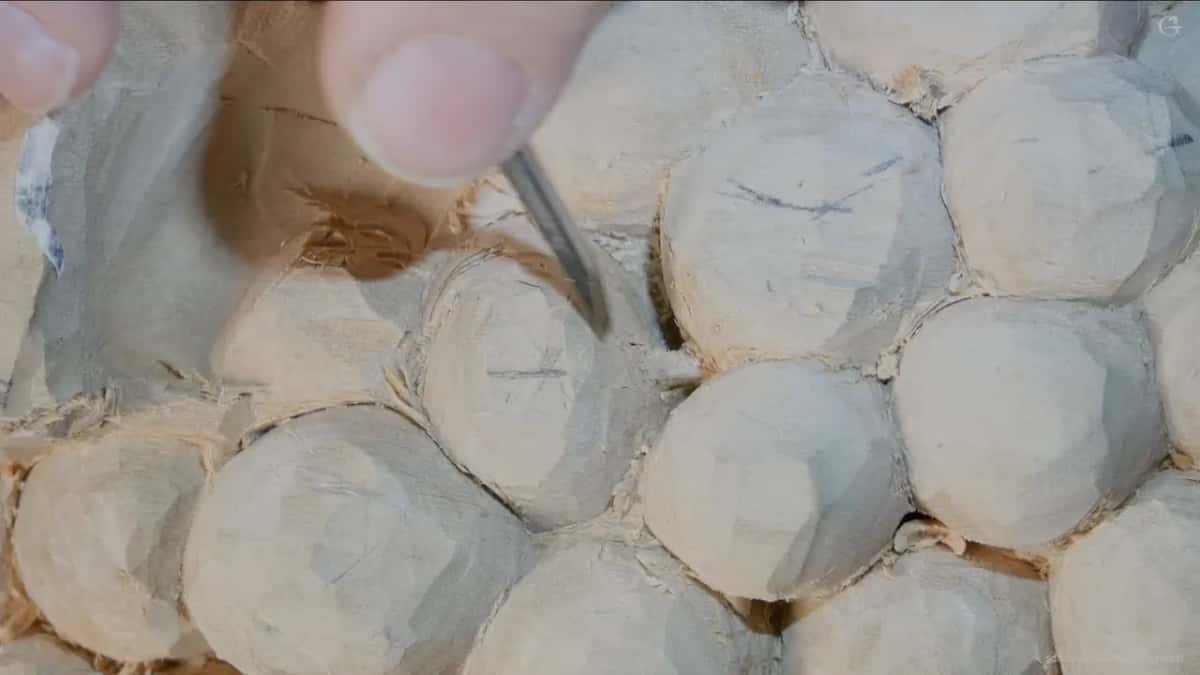
You cannot put wood back. That single sentence governs more of the order of operations in carving than any other. So the rule I work by is to keep every part of a panel at the shallowest depth that lets the next decision be made, and to take the final millimetres only when nothing upstream can change.
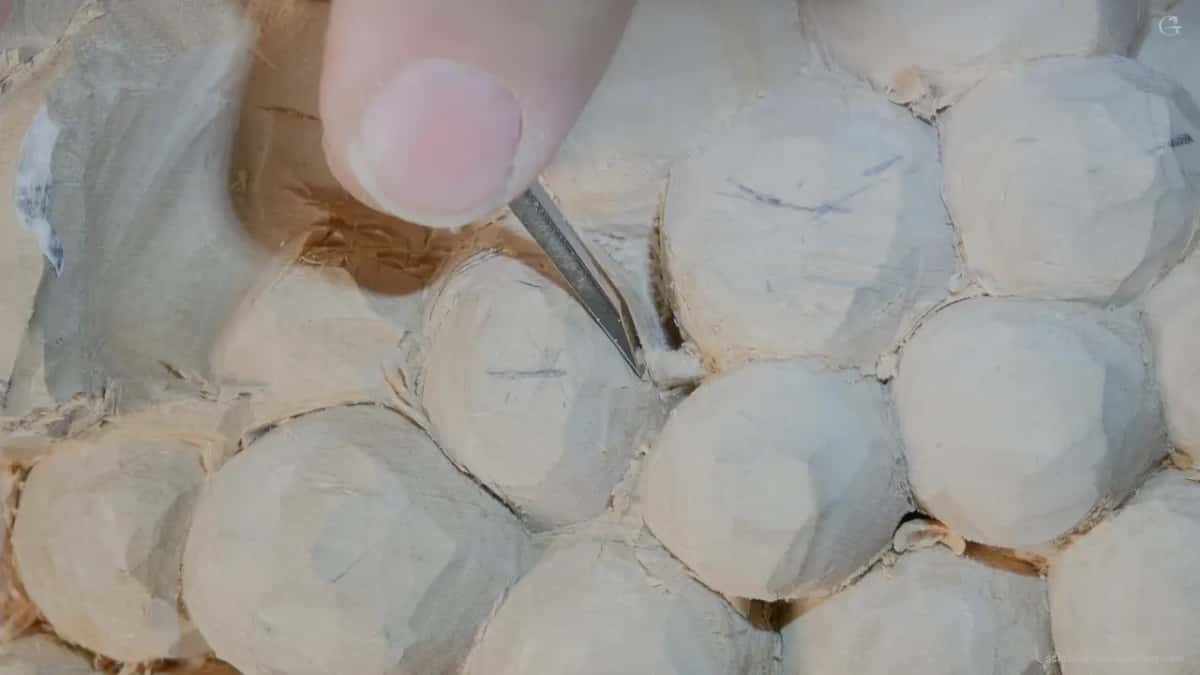
In the same spirit I left a section five millimetres thick that I fully intend to bring down to paper thin later. It looks heavy now. It will not look heavy when the piece is done, and in the meantime that extra material is insurance against every idea I have not had yet. You will find the same reasoning behind hollowing the back at the end rather than the beginning.
One more thing about depth, because it cost me an hour on this panel. I wanted a grape to read as having a full body rather than sitting flat against the ground, and that meant dropping the surface around it by ten millimetres, three eighths of an inch. Not two, not five. A shape only reads as round when the ground beside it falls far enough away, and every carved form in the round obeys the same arithmetic.
When do you admit you cannot see?
Earlier than I used to admit. I put magnifying glasses on for the smallest of this work, take them off for anything bigger, and there is no shame in either. My eyes are not what they were at thirty, and a detail I cannot see is a detail I am carving by hope.
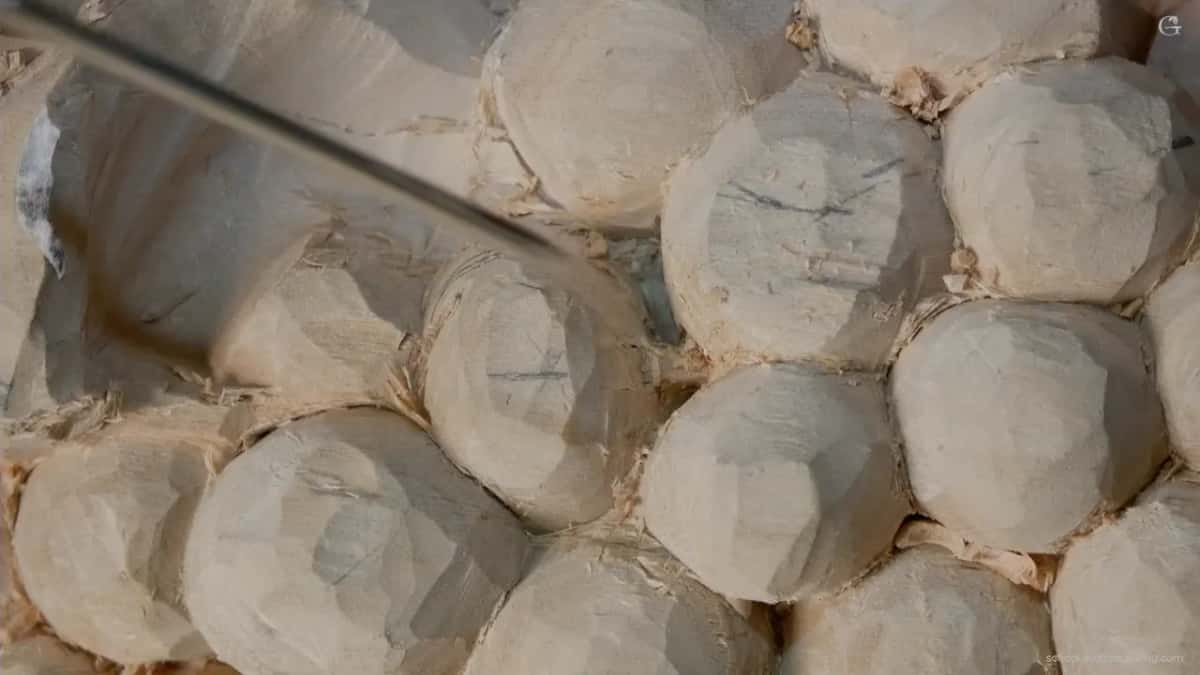
Light matters just as much. I bring extra lamps in close for the fine stage, at a low angle, because a raking light shows you a ridge that flat overhead light hides completely. Move a lamp around a piece you think is finished and you will find three things you missed. Raking light is a measuring instrument, not decoration.
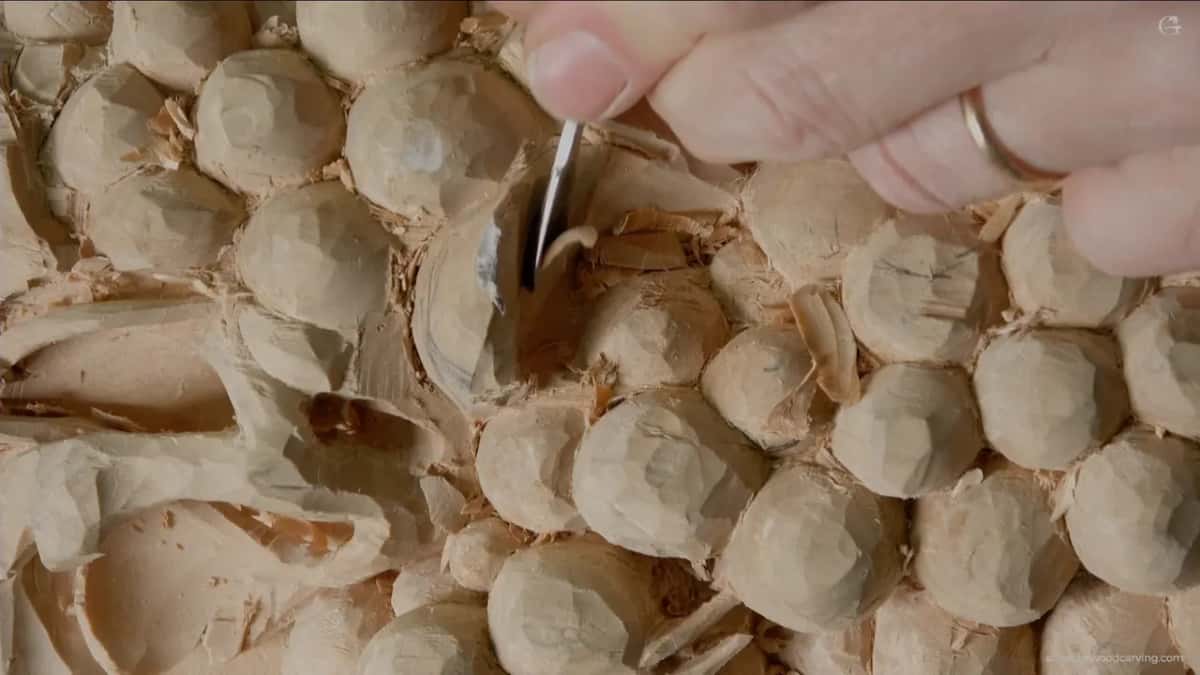
Ready to carve at this scale? There are more than 3,000 lessons behind the door, and I teach the small tools hand to hand at the classes in Georgia.
Does the grip change what you can carve?
It changes what you dare to carve, which comes to the same thing. Once small passes stop running away, you start putting in the things you used to avoid. A stem the width of a matchstick between two grapes. A chamfer where fruit meets its stalk. A separation going clean through a relief so daylight gets past, the sort of thing Grinling Gibbons filled whole rooms with.
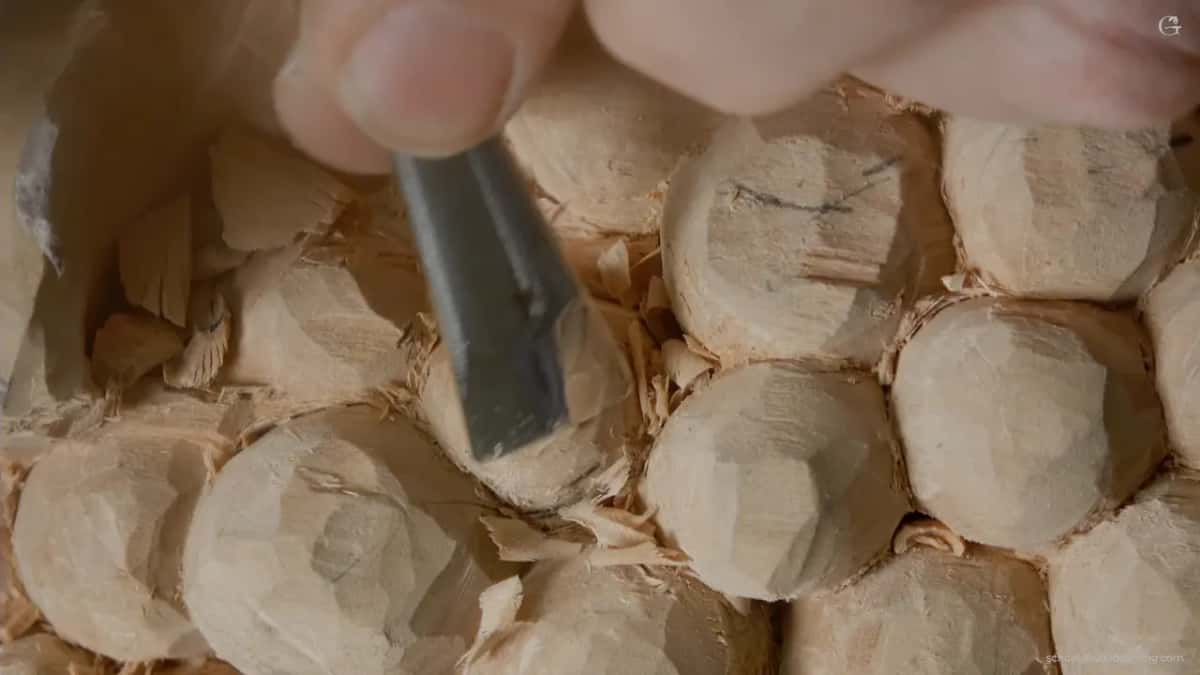
None of those are hard shapes. They are only hard to carve without control, and control is what the grip buys you, the same control that lets this whole vine hang together. The difference between a panel that looks competent and one that stops people in a hallway is usually a dozen details like that, each of them taking ten minutes and requiring a hand that does not slip. The proportions behind them come out of the design course.
Here is the last thing, and it took me a long time to believe. Fine work is slower than you want and it is supposed to be. I spend whole afternoons on a section the size of a postage stamp, and it is tedious and somewhat annoying and I would not trade it. Carve a stem a sixteenth of an inch thick, hold it up to a window, and see light come through a piece of basswood that was a plank last month. That feeling is why anybody does this.
How it's done
- Lay the blade along your middle finger. Running with the finger rather than gripped across it, so the steel cannot roll under load.
- Press your index finger on top. As close to the edge as the shaving allows. That finger sets depth and reads how hard the wood is fighting.
- Plant the little one on solid carved surface. Never on the fragile element itself. Every other movement of that hand pivots around the point it makes.
- Let the back hand aim. On a pass two millimetres long it barely moves at all. Push with that hand and the whole grip stops doing its job.
- Stop the moment the wood fights. Rotate the panel and come at that spot from the other side, then meet the first pass in the middle.
- Hook each chip out as you go. A small pull once the pass finishes drags the waste clear, so you can see what the tool actually did.
- Put the magnifiers on. A detail you cannot see is a detail carved by hope. Bring a lamp in low too, since raking light shows ridges that overhead light hides.
Frequently asked questions
Why does a small carving pass run away?
An arm supplies the force in roughing work, and an arm cannot stop quickly. At detail scale barely any material needs to move, so placing the edge matters more than driving it, and placing is a finger job.
What is the little finger actually doing?
Anchoring. It lands flat on a surface that is already carved and solid, and the rest of the hand pivots around that contact. It also keeps your weight off whichever element is most likely to snap.
How small do carving tools need to get?
My detail work runs on a number 2 at two millimetres, a veiner at one, and a half millimetre that looks like a dental instrument. Start with the biggest tool that fits and go down only when the space refuses it.
What to carve next