
Alexander Grabovetskiy, woodcarver, School of Woodcarving · Published 2024
Why does a mallet give you more control than your hand?
Quick answer: A mallet gives control because it takes your body out of the cut. Hand pressure needs bracing against something, and on a pierced panel that something is usually a carved edge. Each tap instead delivers a measured amount of movement straight down the tool, while the work itself carries nothing.
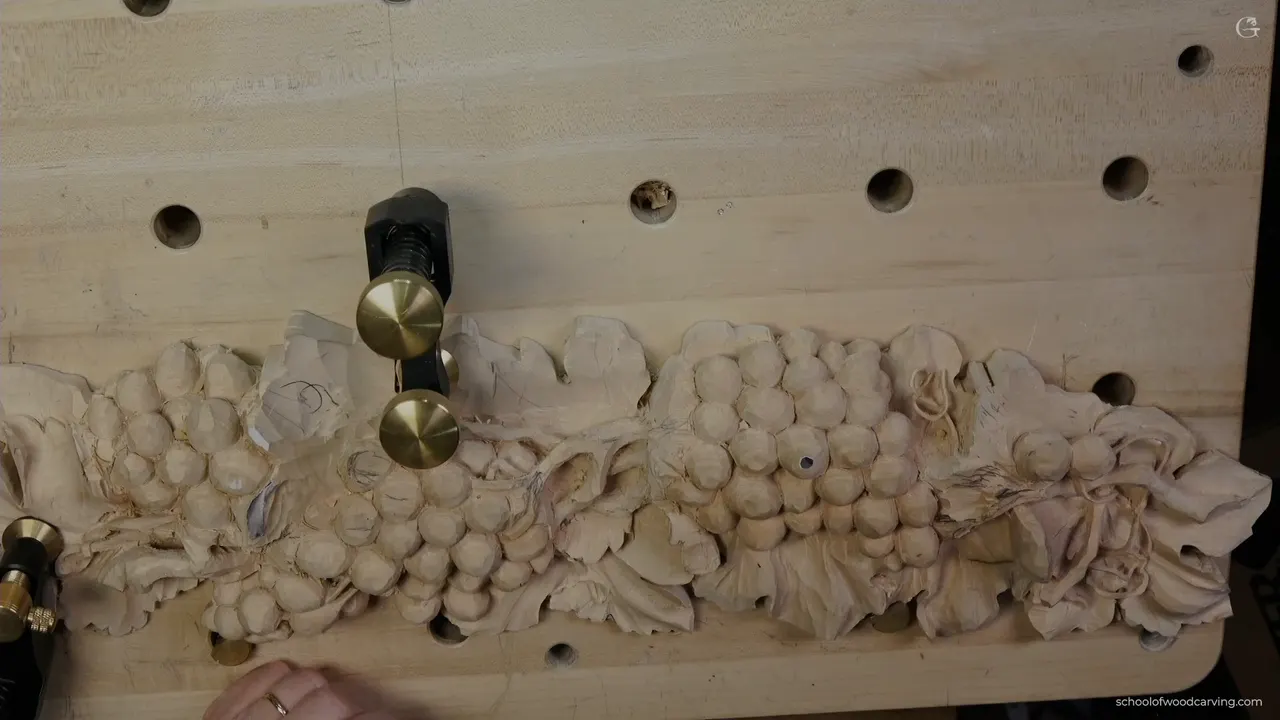
Using a mallet gives you control because it removes your body from the cut. Pushing with your shoulder means leaning on the work, and leaning on the work means the carving is taking your weight. Tap instead and the force arrives in measured amounts, straight down the tool, with nothing braced against the wood you are trying to keep.
Most people meet the mallet as a tool for heavy work. Big gouge, big lump of wood. Real enough as a use, and not the interesting one.
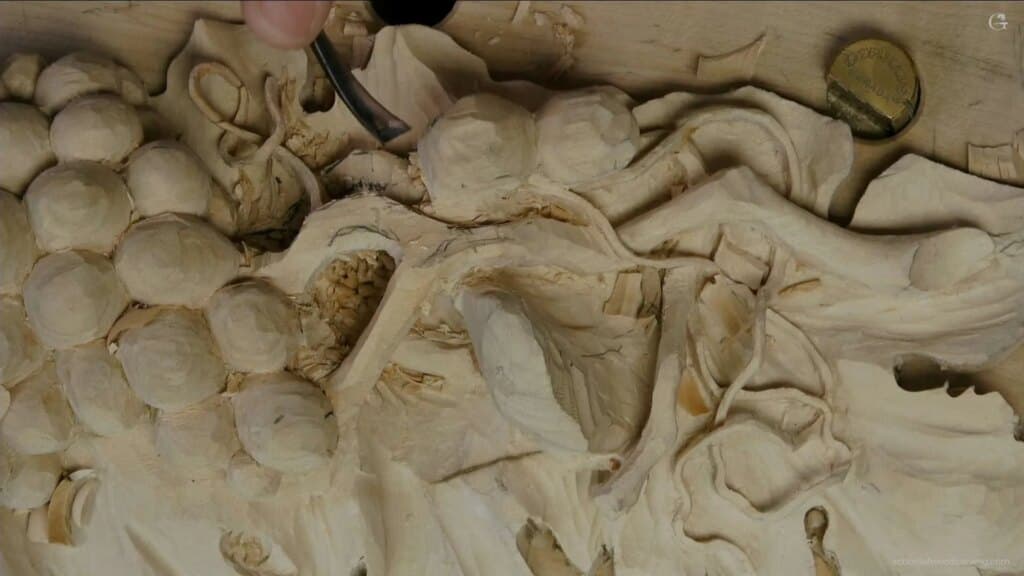
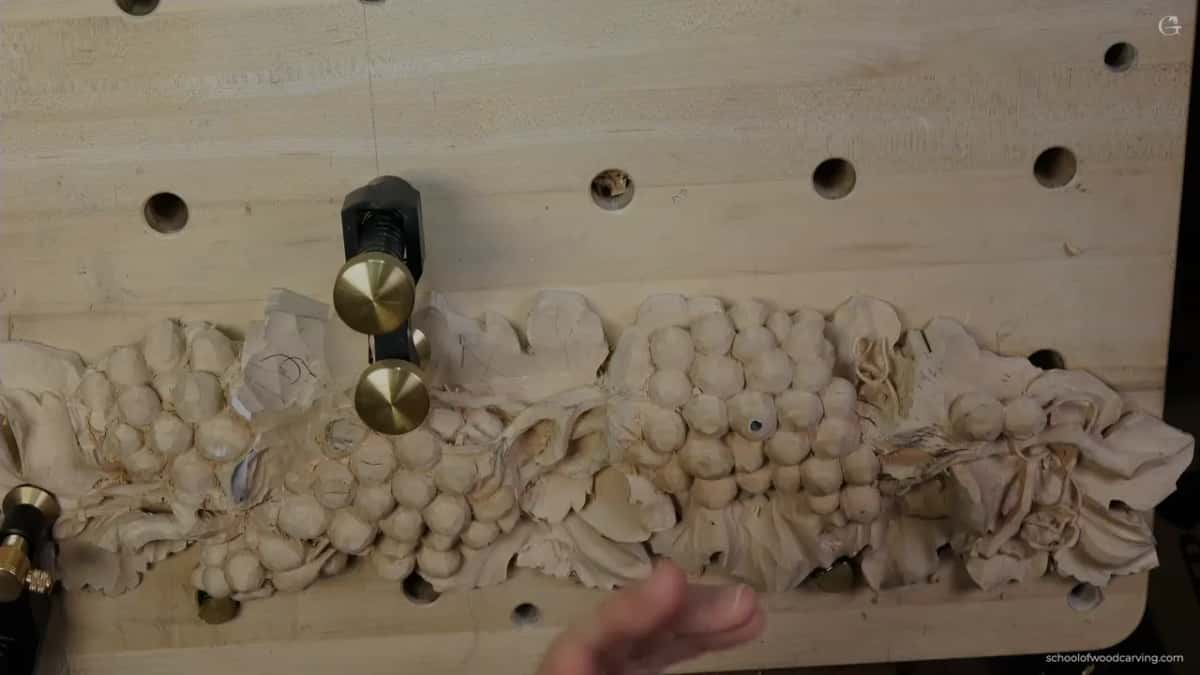
By this workshop my grape panel is a thicket of fragile strands, and I am reaching underneath a leaf with a veiner in an awkward spot where I cannot brace anything. That is exactly where the mallet comes out. Not because the cut needs power, but because I want the tool to move a known distance and stop.
Key takeaways
- Hand pressure needs bracing against something. A mallet does not.
- One tap delivers a measured amount of movement, so the cut stops where you meant it to.
- Use it in awkward positions, not just heavy ones.
- Back bend gouges reach under an overhang that a straight tool cannot even start.
- Widen an opening before going deeper, or you will be carving blind.
- If something must take the load, let it be your finger rather than the carving.
Why does pushing cost you control?
Force comes from somewhere, and arriving from your arm it must also be resisted somewhere. Your hand pushes forward, and something must push back. Usually the thing pushing back is the heel of the tool against a carved shape, or your knuckles braced on a leaf edge.
Look at what you are really doing in that moment. You have chosen a delicate part of your own carving as the anchor for the strongest force in the operation. It holds most of the time. When it does not, the piece that breaks is never the one you were watching.
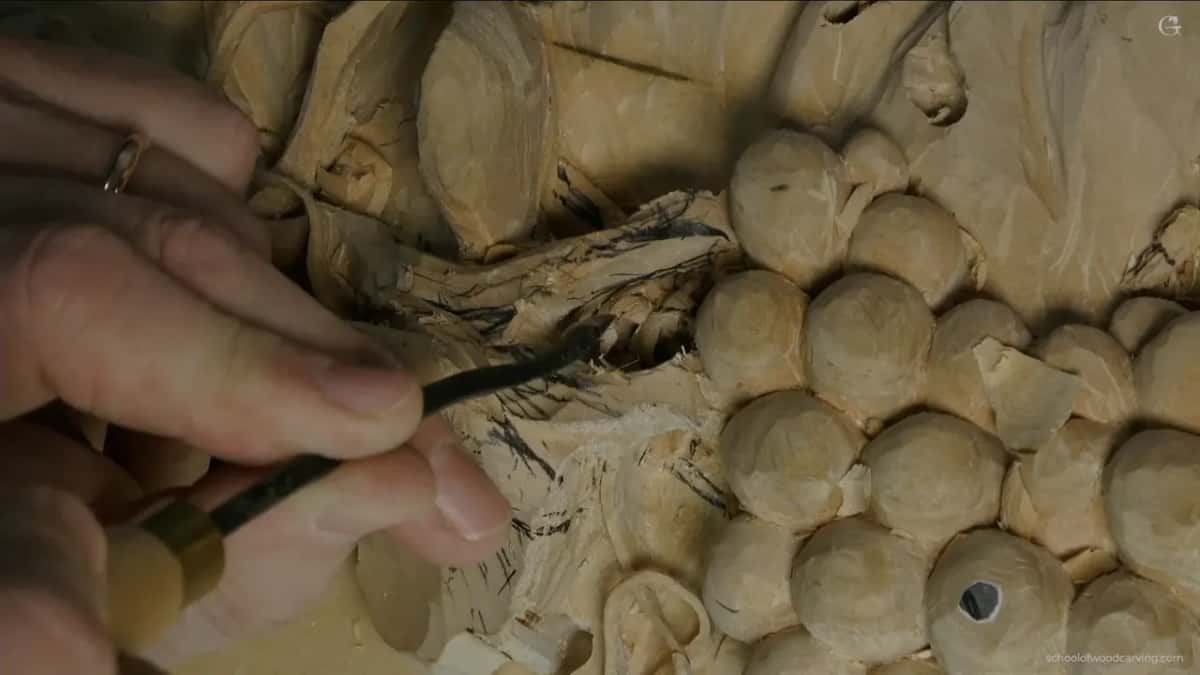
The mallet breaks that chain. The tool sits where you place it, the tap travels down its length, and your other hand is guiding rather than driving. The panel carries nothing at all. The whole argument sits there, and it took me years to say it as plainly as that.
A second benefit follows, and it is about quantity. A push is continuous, so the cut runs until something stops it, and that something is often further than you wanted. A tap is a discrete amount. Two taps go twice as far as one, and if two is too many you will know before the third.
When do you reach for it on delicate work?
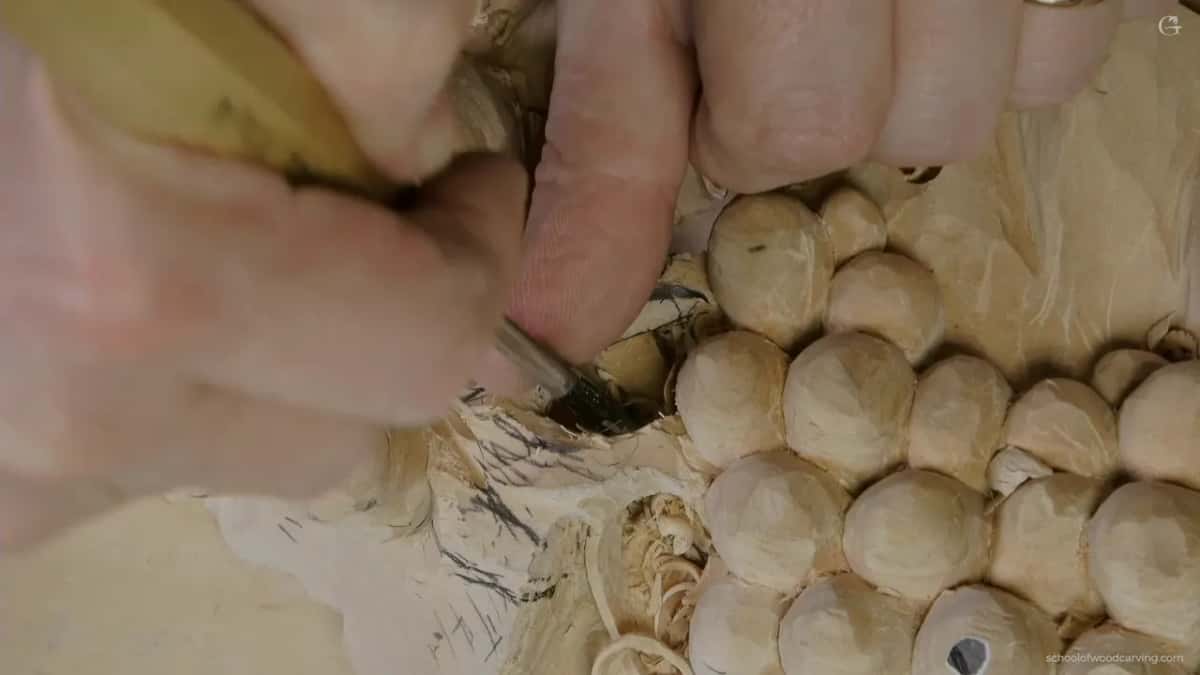
When the position is bad. Here I go in beneath a leaf with the flute turned round to about nine o'clock, a grip that hands me almost no leverage and no comfortable place to brace.
Without the mallet that cut has two outcomes. Either the tool does not shift at all, or I find something to lean on and make the pass dangerous. With it, the awkward grip stops mattering, because my hand only has to aim.
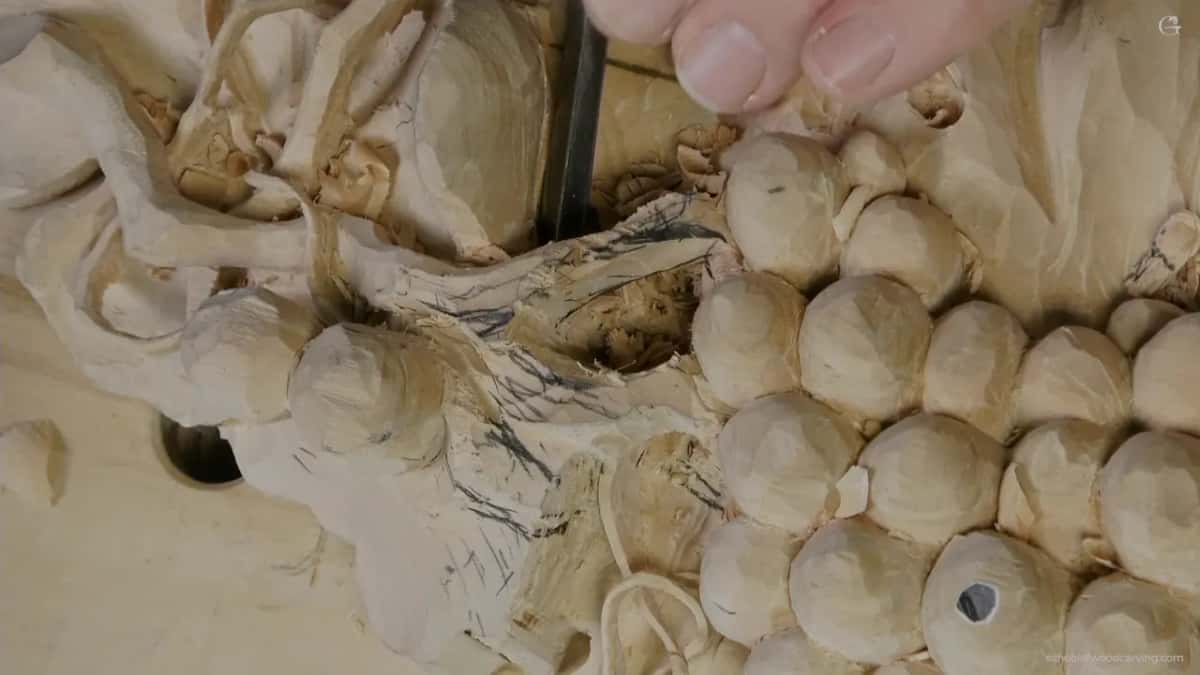
Depth control improves in the same situation for the same reason. Reaching into a hollow, you cannot see the edge and you certainly cannot feel where it will stop. Small taps let you creep, check, creep again. It turns a committed pass into a series of reversible ones, which on a piece three months in is worth a great deal.
Weight is a matter of preference and mine is modest. This is not framing timber, it is a veiner going a couple of millimetres into basswood, so a heavy mallet would defeat the purpose entirely. Carving is a craft of small forces far more often than it looks. What you want is enough mass to shift the steel and little enough to stop instantly.
What reaches beneath an overhang?
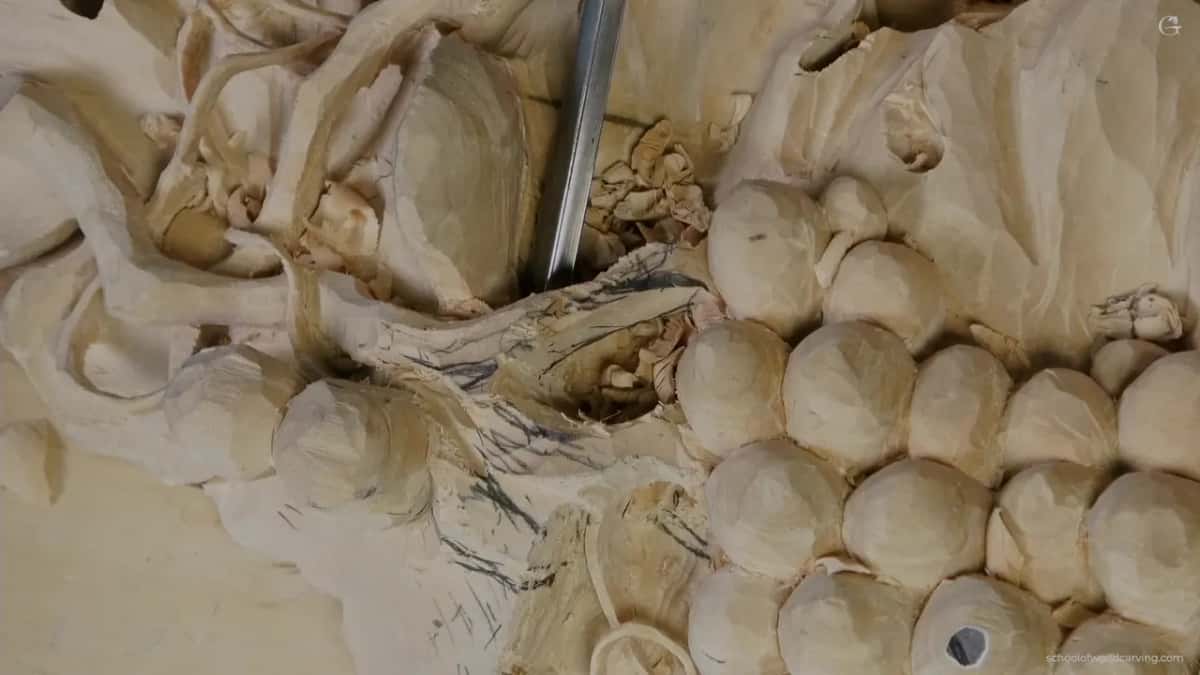
A back bend, which is a gouge whose blade bends backwards instead of forwards like a spoon. The edge arrives from below, so it works the underside of a shape while your hand stays out where it can actually grip.
I use two Henry Taylor back bends on this section. A number 7 around five millimetres for taking material out from below, and a quarter inch number 3 for rounding the vine underneath afterwards so it stops looking like a sawn edge.
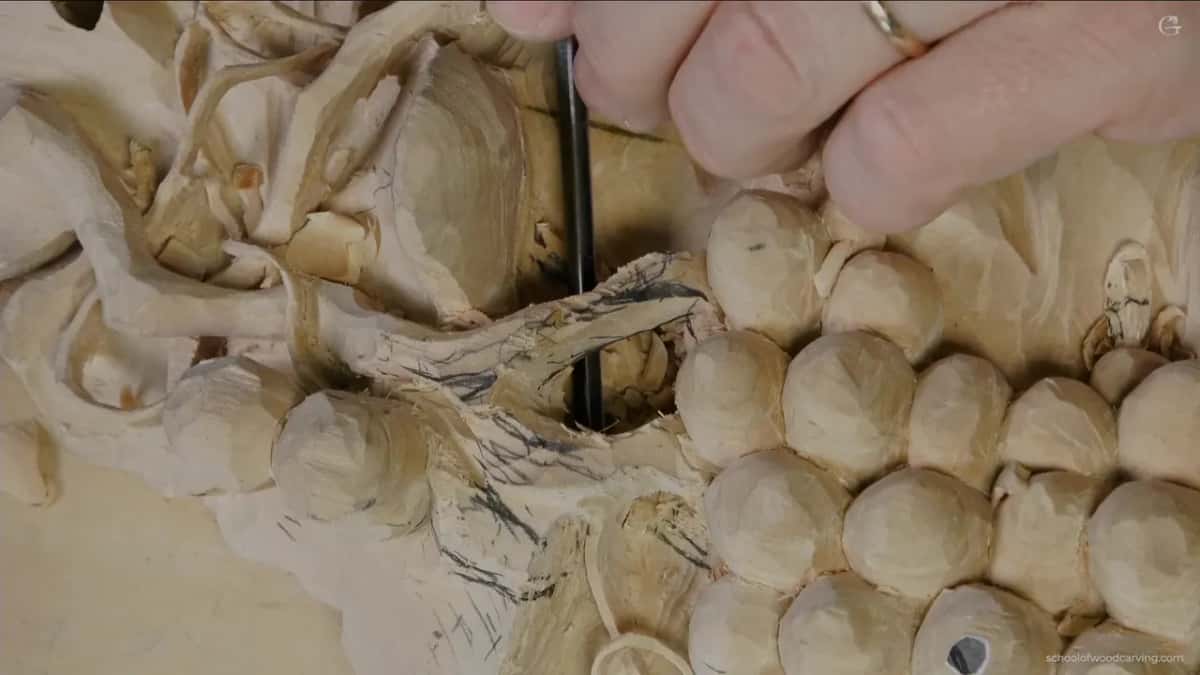
Without one you are stuck. A straight gouge coming at that shape reaches the outer lip and no further, since its handle fouls the carving long before the steel arrives at the shadowed part. You can sometimes cheat by turning a tool upside down, and I do, but a real back bend does the job without the improvisation.
| Situation | Tool | Why that tool and not another |
|---|---|---|
| Bulk waste below a ledge | the Henry Taylor number 7 back bend, about 5 mm | Carves from underneath while the handle stays clear of the work |
| Rounding the vine underneath | a number 3 bent back, quarter inch | Stops the edge reading as sawn |
| Drilling through | an eighth inch number 9 | Narrow enough to steer around whatever is in the way |
| Awkward reach in a bad position | 4 mm veiner, tapped | Control, which is the entire point of tapping rather than pushing |
| Opening a tight hollow | number 3, half an inch | Clears the mess so the shape inside finally becomes visible |
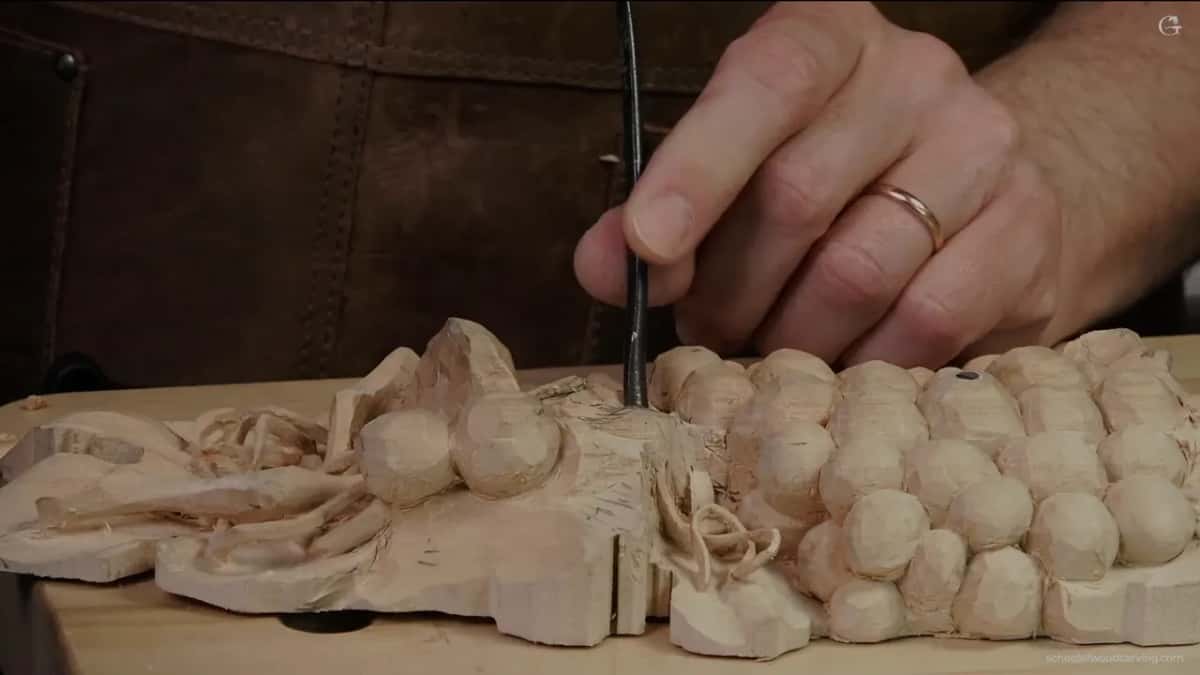
Sizes here are what happened to be within reach rather than a prescription. What is not negotiable is the edge, because every one of these cuts is happening near something I cannot afford to lose, and a dull gouge asks for exactly the pressure this whole page is arguing against. Sharpening comes first, always.
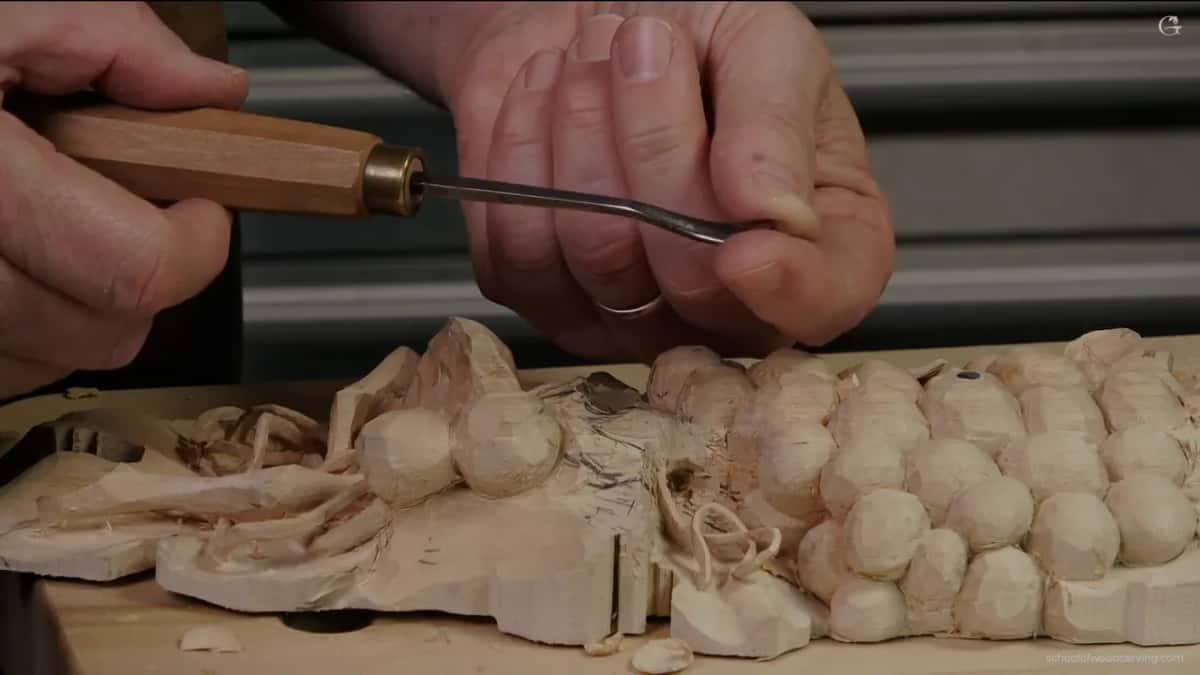
What does widening a hole buy you?
Sight and room, in that order. An opening the exact width of your blade gives the edge nowhere to travel sideways, which means no slicing motion, which means you are back to pushing.
My habit is to open the mouth of a passage to roughly a quarter of an inch before I try to take it further. Sometimes three eighths where there is material to spare. It feels like a detour and turns out to be the opposite, because every pass after it is faster and none of them is blind.
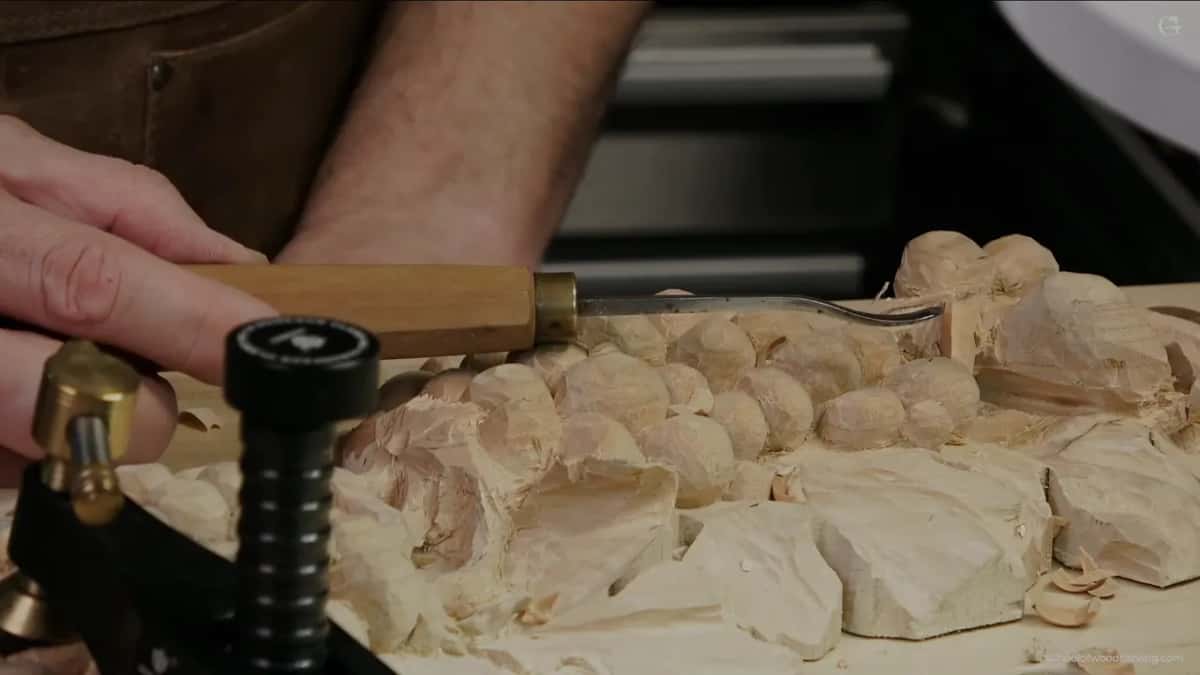
Seeing matters more than people credit. Half the mistakes on work like this come from carving a shape you are imagining rather than one you are looking at, and a wider opening turns an imagined shape into a visible one. I clear the chips out constantly for the same reason.
A limit exists, naturally. Widen past what the design wants and you have thinned the walls you were trying to keep, so I take the opening to the width the finished movement needs and no further. A quarter inch in most places on this vine, and three eighths at the widest.
What takes the load if the carving does not?
Your own finger. When a cut in a tight spot needs steadying, I place a fingertip against the work and lever gently on that rather than on a carved edge of the vine. My finger complains long before it breaks. A tendril will not say anything before it goes.
It sounds like a small thing. It is the difference between a controlled cut in a dangerous area and a gamble, and once you start noticing where the reaction force is going you cannot stop noticing it.
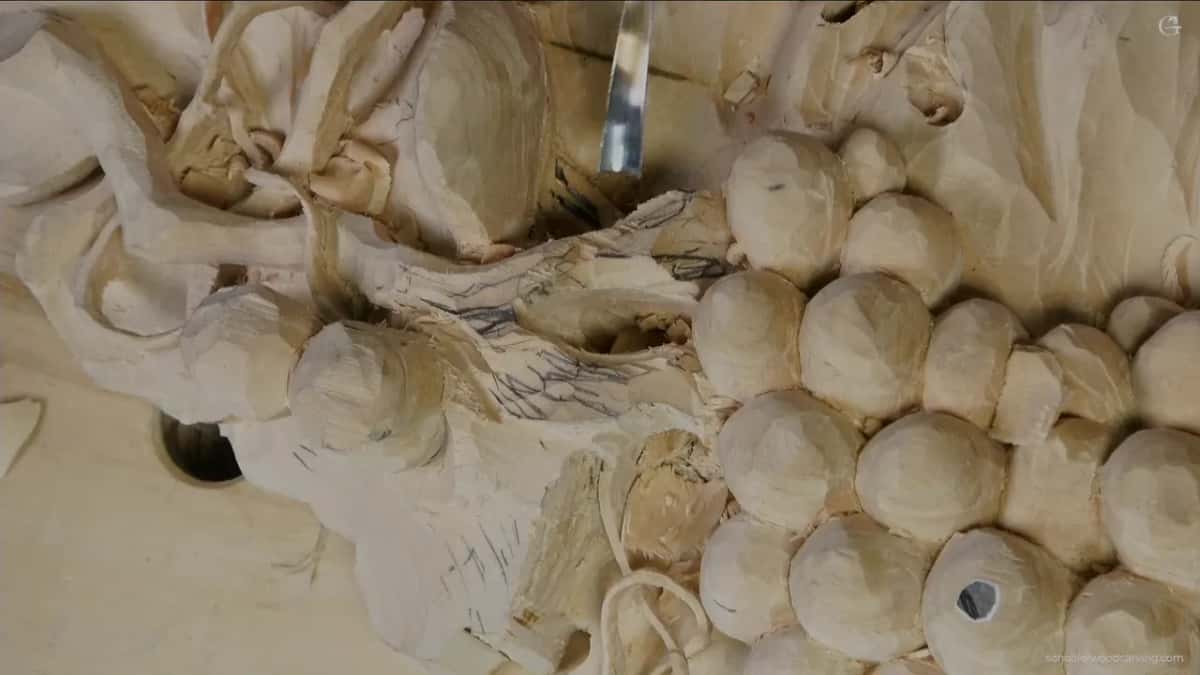
The same logic rules out downward pressure over anything hollow. Below the spot I am working there is often nothing but air and a thin wall, so pressing down transfers straight through to a part I cannot see. I keep the force along the tool rather than into the panel.
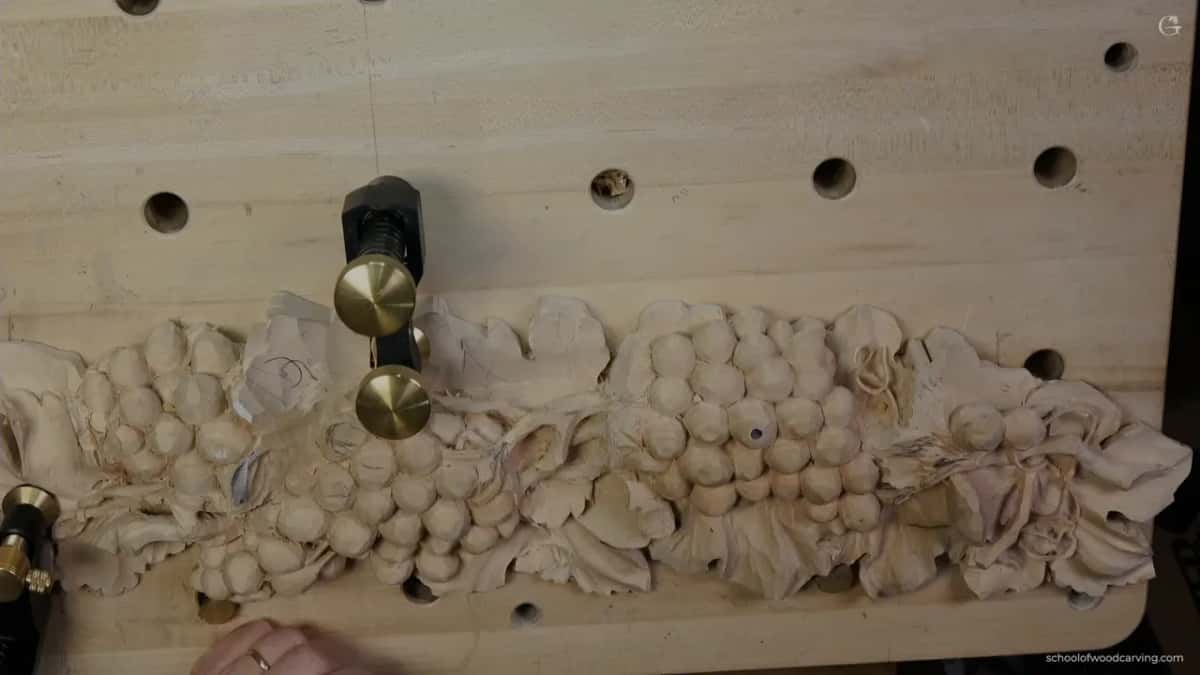
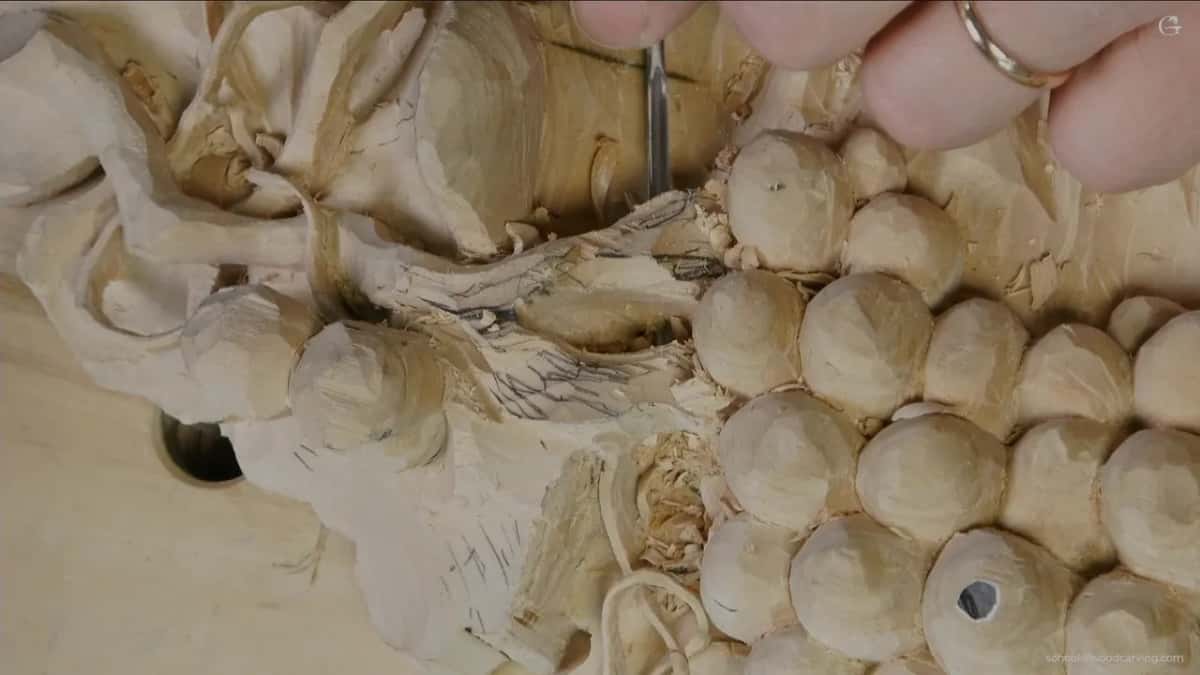
Clamping helps and I do not always get it right. The board shifted on me during this session and I had to stop and tighten it, which is a small indignity and a genuine hazard, because a piece that moves mid pass turns a measured cut into a random one.
Does this mean you should never push?
Of course not. Most of my carving is hand pressure and always has been, and a slicing pass driven by the arm is the normal way to move wood. The mallet is for the cuts where bracing would be the problem.
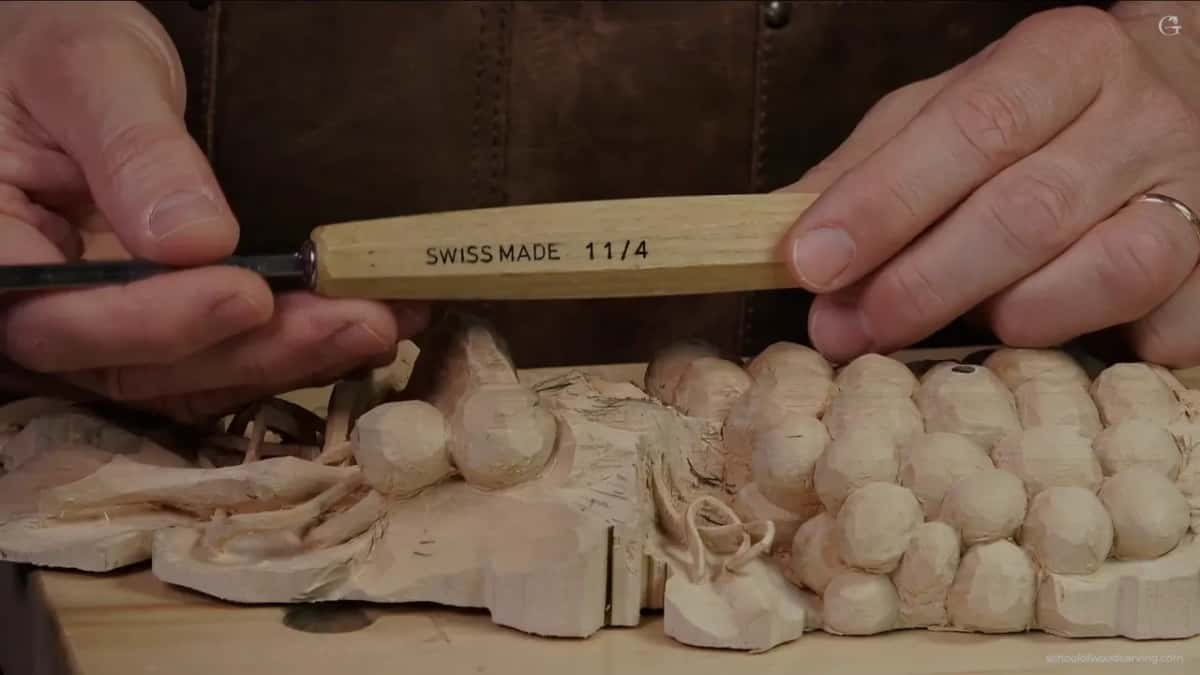
What I will argue against is the stabbing approach some carvers use to establish an outline, driving a flat tool straight down into the surface. It spreads the fibres sideways rather than severing them, and on work as fine as this that spreading shows up later as a crushed edge. I reach for a number 11 and outline with the veiner instead.
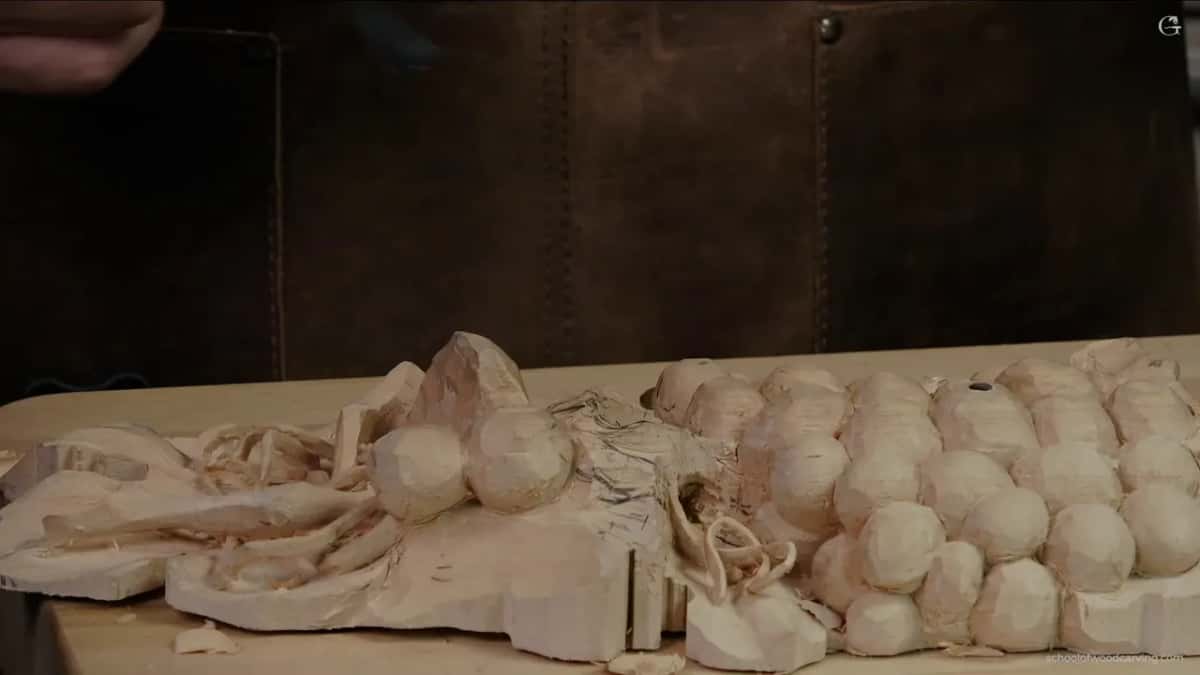
Everything has its place, and occasionally a straight down pass really is the right answer. What I am asking is that you know which one you chose and why, rather than defaulting to force just because the wood held firm the first time.
Honesty about the failures matters here too. I broke a section of this panel earlier in the project and glued a new piece in with hide glue, then recarved it. You can find the join if you know where to look. Hide glue is what I use for that, because it blends and behaves rather than fighting the repair. The third workshop is about avoiding the break in the first place.
What do you do with material you do not need?
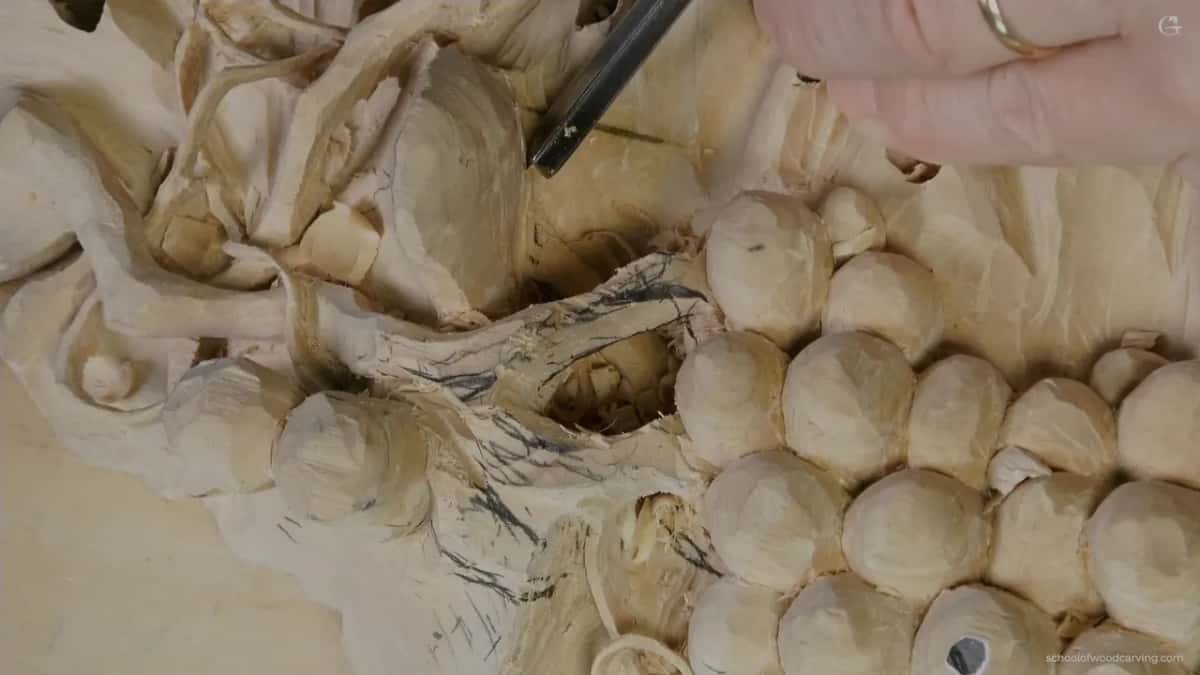
Spend it, or turn it into something. The board under this panel is close to two inches thick, and by now large areas are standing high for no reason except that nobody has got round to lowering them.
High for no reason is not neutral. Those areas flatten the piece, because depth only reads against something lower, and they also block access to everything behind them. So a good part of this session is simply removing mass that is in the way, using a big flat tool and taking a lot off at once.
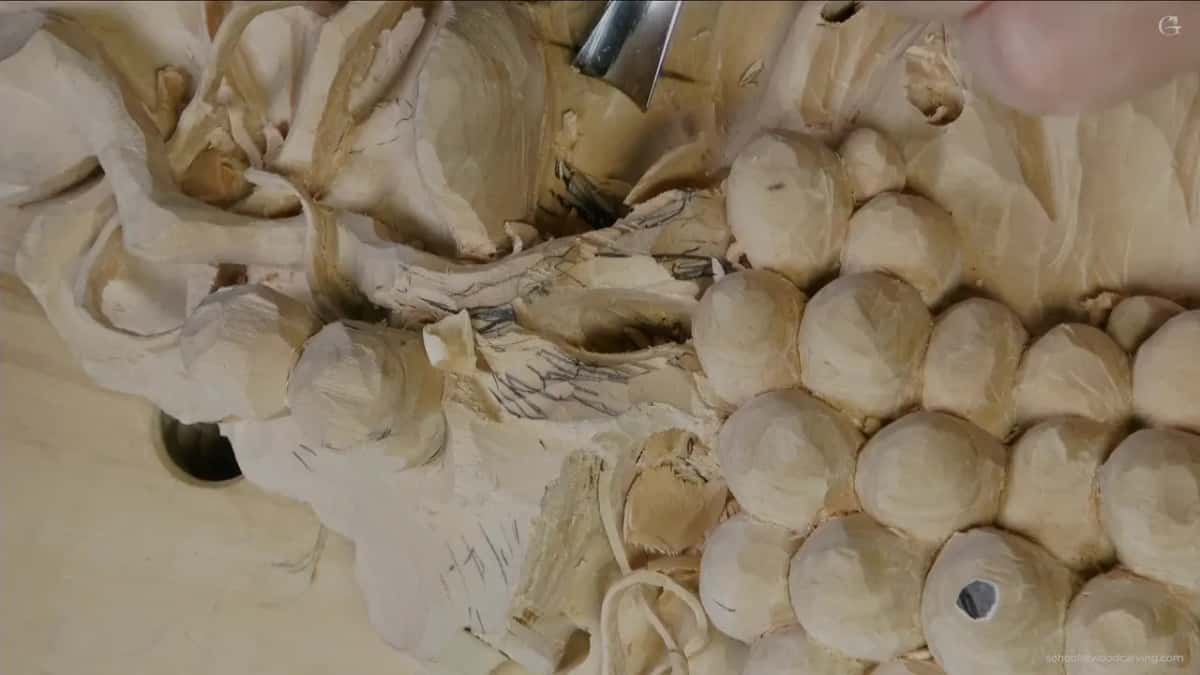
The better outcome is when spare material becomes a shape. Two grapes on this panel sat higher than they needed to, and rather than just dropping them I used the surplus to add another movement running out from beneath the big leaf. Nothing was planned. The wood was there, the composition had room, and now there is one more layer than the drawing ever had.
Thick stock buys exactly that, and it is the argument for paying for it. On an inch of basswood every decision is final because there is no surplus to play with. Two inches lets you change your mind late, which is when the good ideas usually arrive.
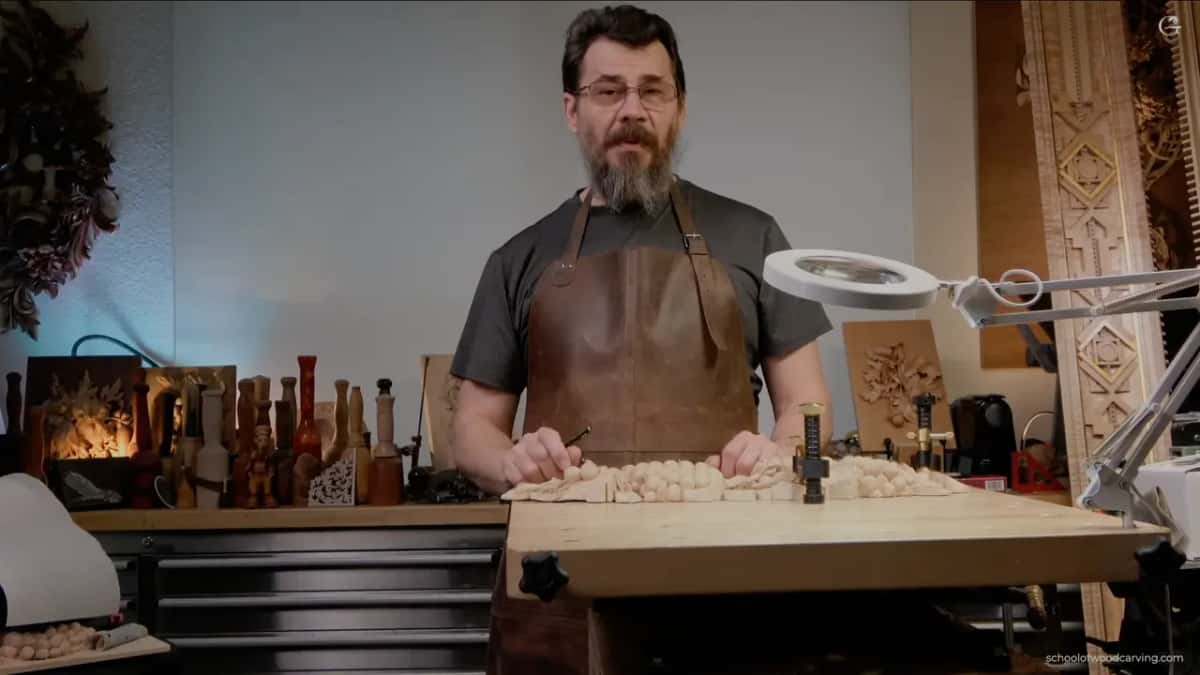
Slope rather than step, though, when you drop an area. A sudden change of level reads as a mistake, while a gradual fall reads as relief, and the same principle carries the eye through a Baroque panel from its highest point to its ground.
Where does this sit in the project?
Late, and that is worth noticing. None of these habits matters much while a panel is a solid block, which is why the mallet and the back bends only appear now, in the seventh workshop, with most of the wood already gone.
Carving gets more dangerous as it progresses, not less. The first passes are almost impossible to ruin, and by the time a piece is a lattice of strands every ordinary movement is a risk. Anyone who has looked closely at Gibbons has wondered how his survived the bench at all. Your technique has to change to match that, and most people carry their early habits straight into the fragile stage and wonder what went wrong.
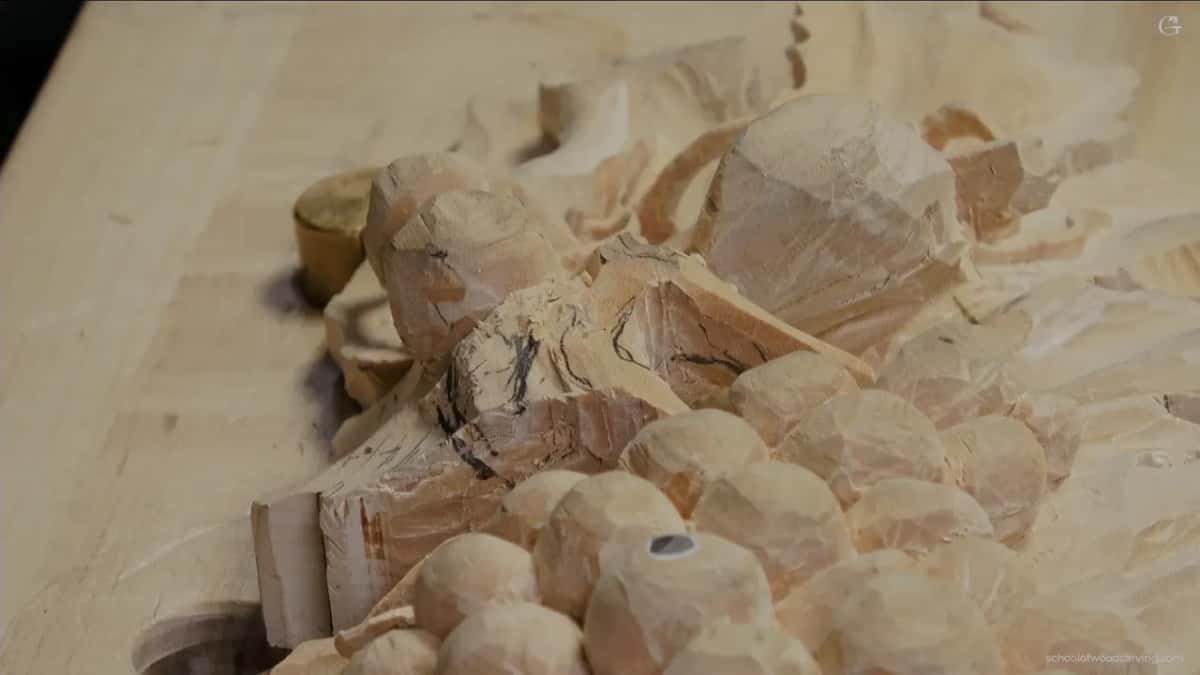
So treat this as the chapter where the work slows down on purpose. Smaller passes, better light, tools chosen for access rather than speed, and a mallet when the position is bad. Keeping the panel tied together matters as much as any single cut, and the leaves on the fifth workshop are where that started. The same discipline runs through the previous workshop and the whole of this course.
Try the mallet on something you do not mind losing first. Take an offcut, carve an overhang into it, then reach underneath twice, once by hand and once with taps. A Greek acanthus leaf gives you plenty of overhangs to practise on. The difference in how much the workpiece flexes will tell you more in five minutes than this page has in two thousand words.
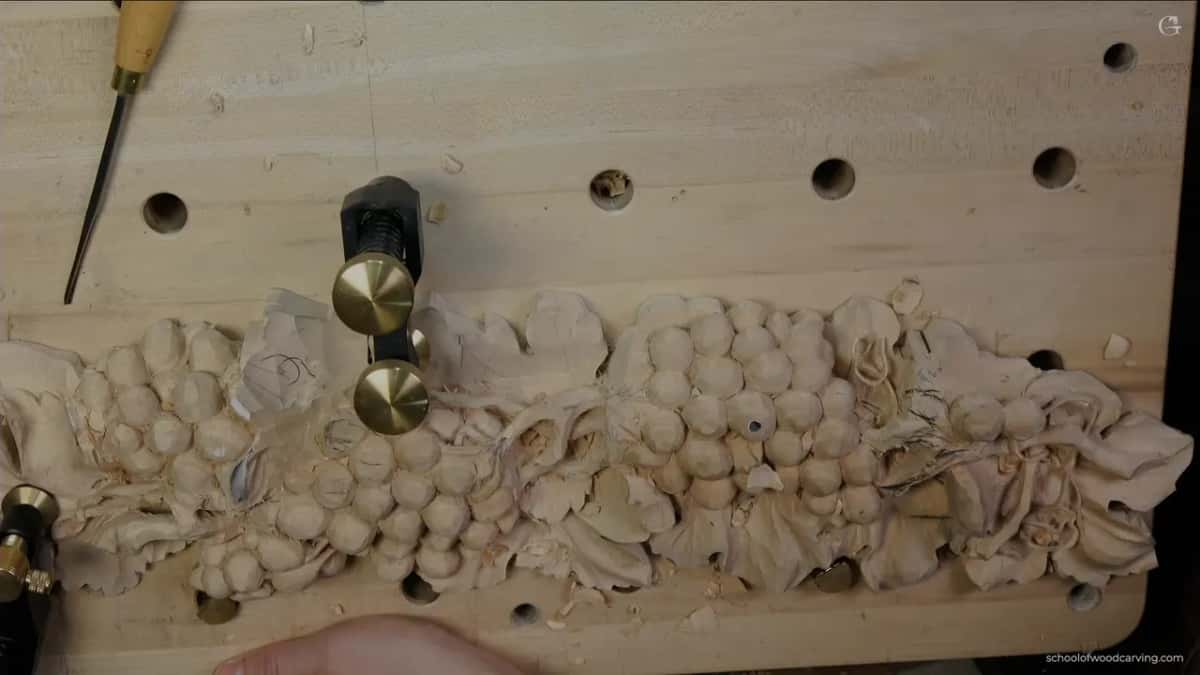
If you want to build up to this, an antique style rosette has overhangs without fragility, the tools course explains what a back bend is before you buy one, and the beginner course starts from a flat board. The design course covers why the vine goes where it goes, and the classes are where I can put the mallet in your hand myself.
How it's done
- Place the tool before you tap. Set the edge where you want it and check the angle, since a mallet removes your chance to steer part way through the pass.
- Keep the other hand for aiming. Guide the blade rather than driving it, so nothing you have already carved is being leaned on while the pass happens.
- Work in single taps. One tap, look, another if it needs one. Two go twice as far as one, and you will know before the third.
- Reach for a back bend under an overhang. Pick a blade bent backwards rather than forwards. It gets under a ledge without the handle fouling the carving.
- Widen before you deepen. Open the mouth of a passage to roughly a quarter of an inch first, so the edge has room to travel and the shape becomes something you can see rather than imagine.
- Brace on a finger, never on the work. Where a cut needs steadying, put a fingertip against the piece and lever gently on that instead of on a carved edge.
Frequently asked questions
Is a mallet only for heavy carving?
That is the usual assumption and it is wrong. On this panel I use one for the finest cuts of the whole project, because the position is awkward and my hand has nothing safe to push against.
What weight of mallet suits fine work?
A light one. This is a veiner going a couple of millimetres into basswood, so a heavy head would overrun the cut. Enough mass to move the tool and little enough to stop at once.
What is a back bend gouge?
A gouge with its blade bent backwards, the opposite of a spoon. The steel then reaches in from below while your fist still has room above the work, and that is the only way to touch the underside of a ledge.
What to carve next