
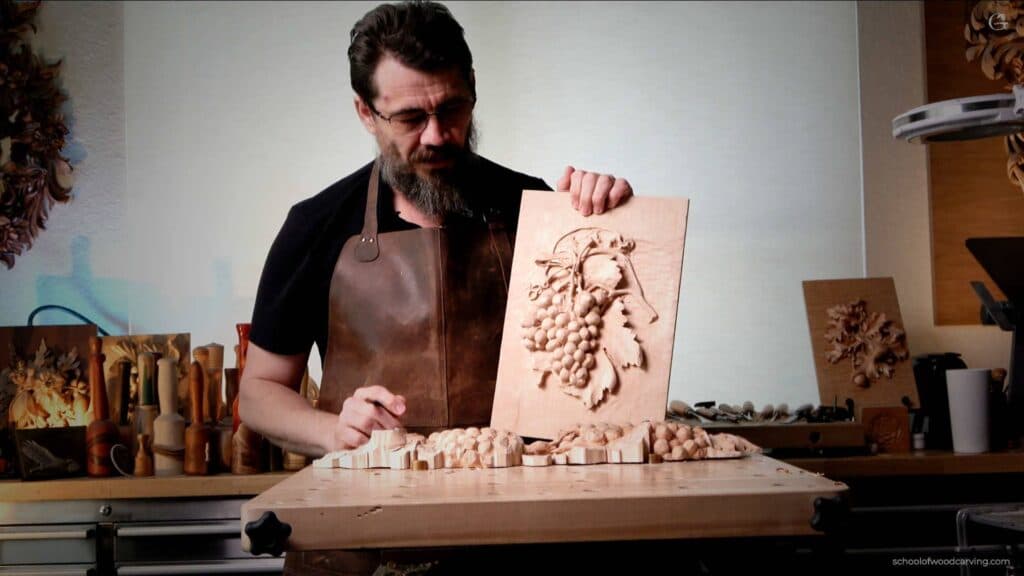
Alexander Grabovetskiy, woodcarver, School of Woodcarving · Published 2024
How do you carve a grape vine tendril that looks alive?
Quick answer: A carved tendril reads as living when no part of its line runs straight. The run waves left and right seen from above, and it rises and falls once you drop your eye to bench height. Clear six millimetres beside it before shaping, then undercut from both flanks until light passes behind the strand.
A carved tendril looks alive when nothing about it runs straight. The line waves as you look down on it, and it waves again in depth as you look down the length of it. Get both and the vine moves. Get only the first and you have drawn a wire and stuck it on a board.
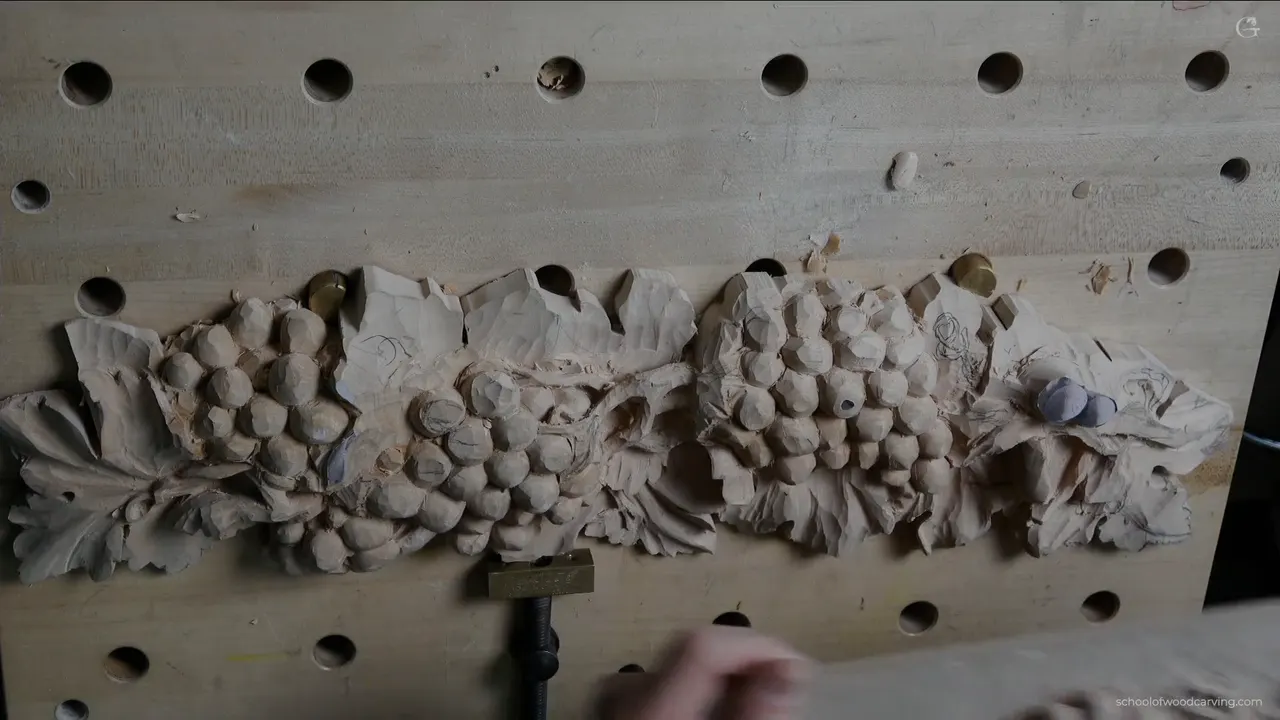
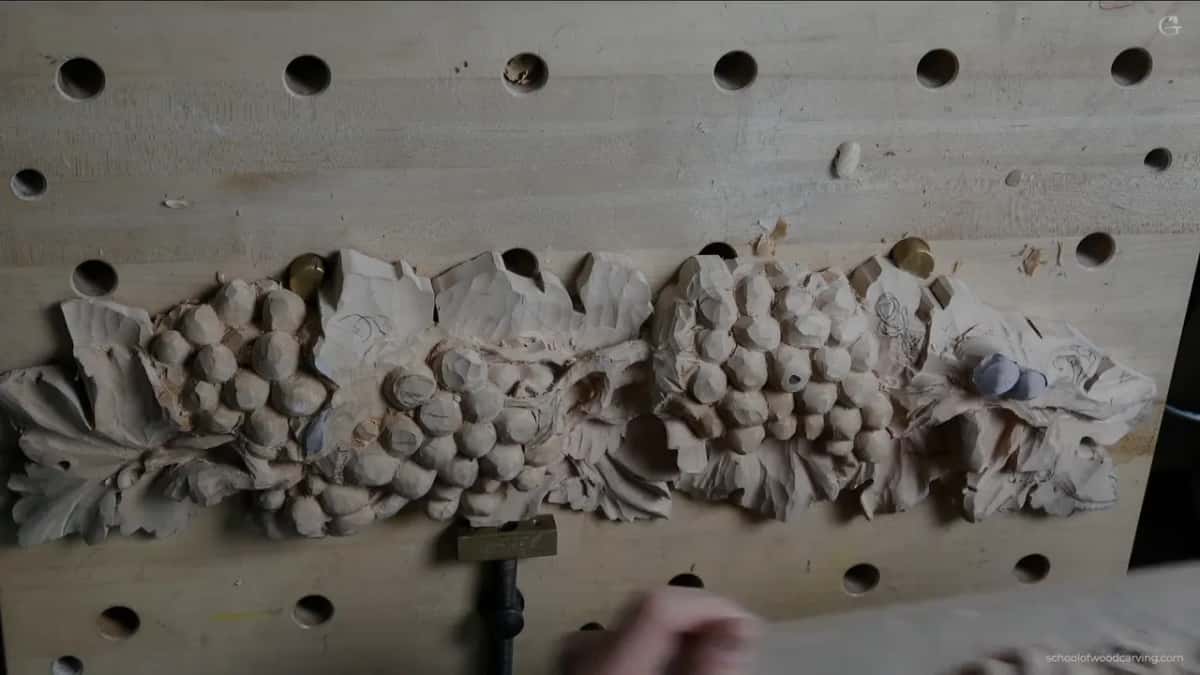
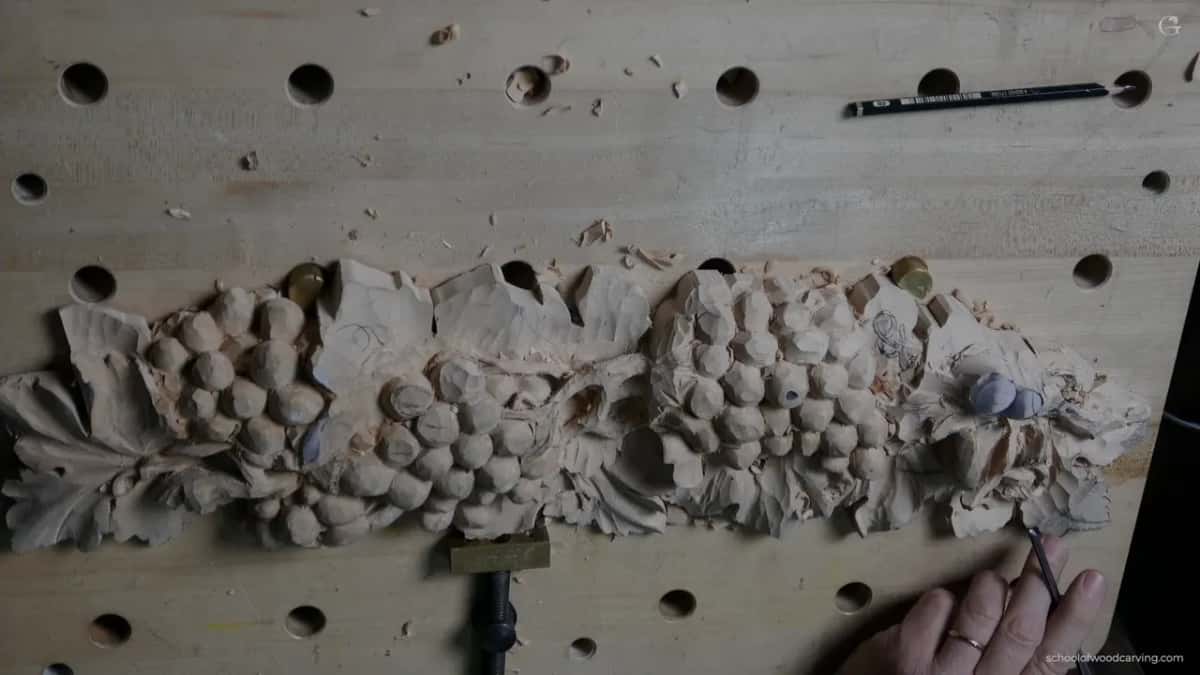
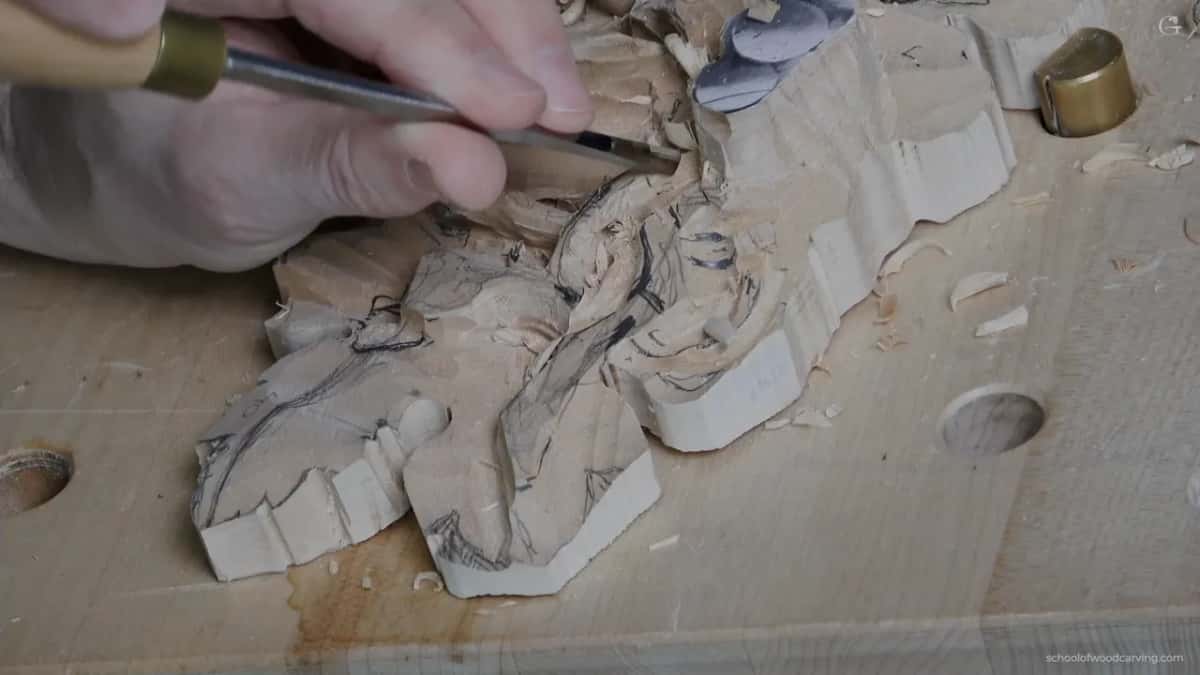
This is the workshop where my grape panel stops being fruit and starts being a vine. Off to the right of the second bunch there is a section I began in one of my in person classes years ago, all crossing and re-crossing movement on a stem of grapevine, and I have wanted to finish it ever since.
Hardest part of the grape onlay, and the part I enjoy most. Fragile, slow, and completely unforgiving of a lazy line. Carve the leaves and skip the knot work if you would rather, and that is a perfectly good panel too. I will not think less of it.
Key takeaways
- A straight run of vine reads as dead, so swing it.
- Wave it in depth as well, or the movement disappears from every angle except overhead.
- Clear six millimetres of waste beside a tendril before you shape it, so a blade can reach underneath later.
- Outline first, always, and with the smallest veiner you trust.
- Work down through your veiners as the shape thins, ending near a millimetre.
- A finished tendril here measures a sixteenth of an inch, and light passes right behind it.
What makes a carved tendril look dead?
Straightness kills it, every time. A real vine has no interest in geometry, so the moment your eye finds a section running true for an inch, the whole thing stops reading as something that grew and starts reading as something that was drawn with a ruler.
I catch myself doing it constantly. A line gets outlined, I step back, and there it is, a flat run of three quarters of an inch that my hand produced because a straight pass is easier than a curved one. Out it comes. I take a flat chisel, a number 1 with no sweep at all, and carve an arc into the offending stretch until the line has somewhere to go.
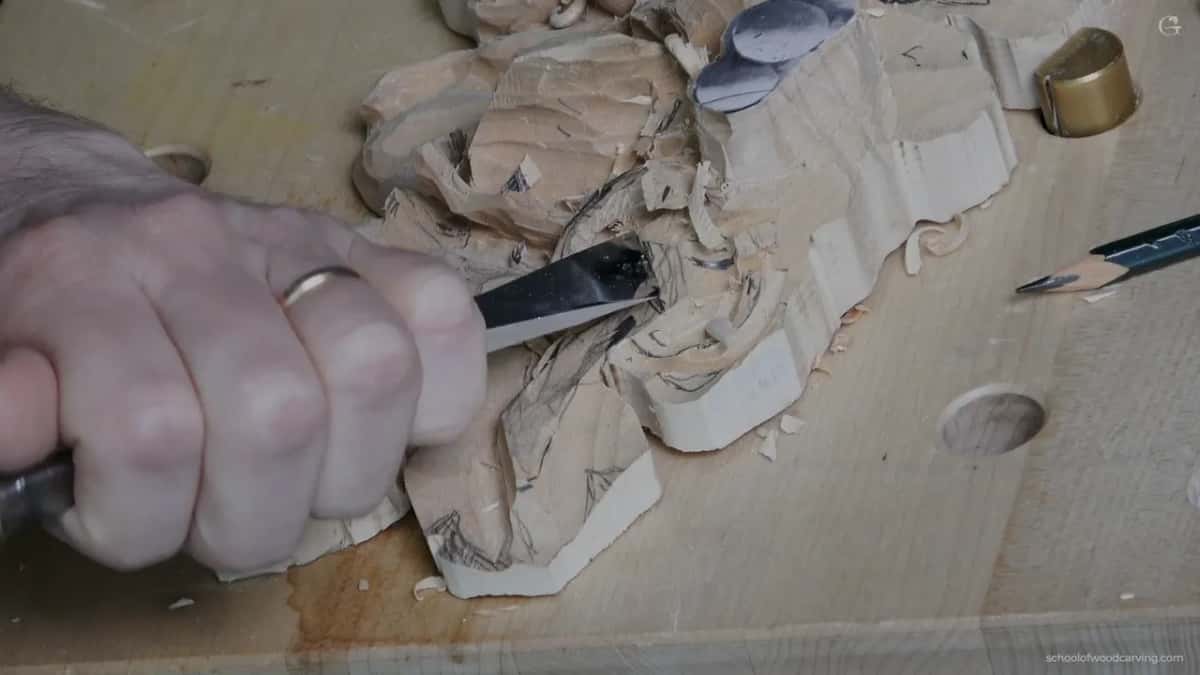
The fix is never subtle, either. When a passage bothers me I do not soften it, I replace it, and the new line usually swings further than feels comfortable at the time. Timid corrections leave you with a wobble rather than a movement, which somehow looks worse than the straight version you started with.
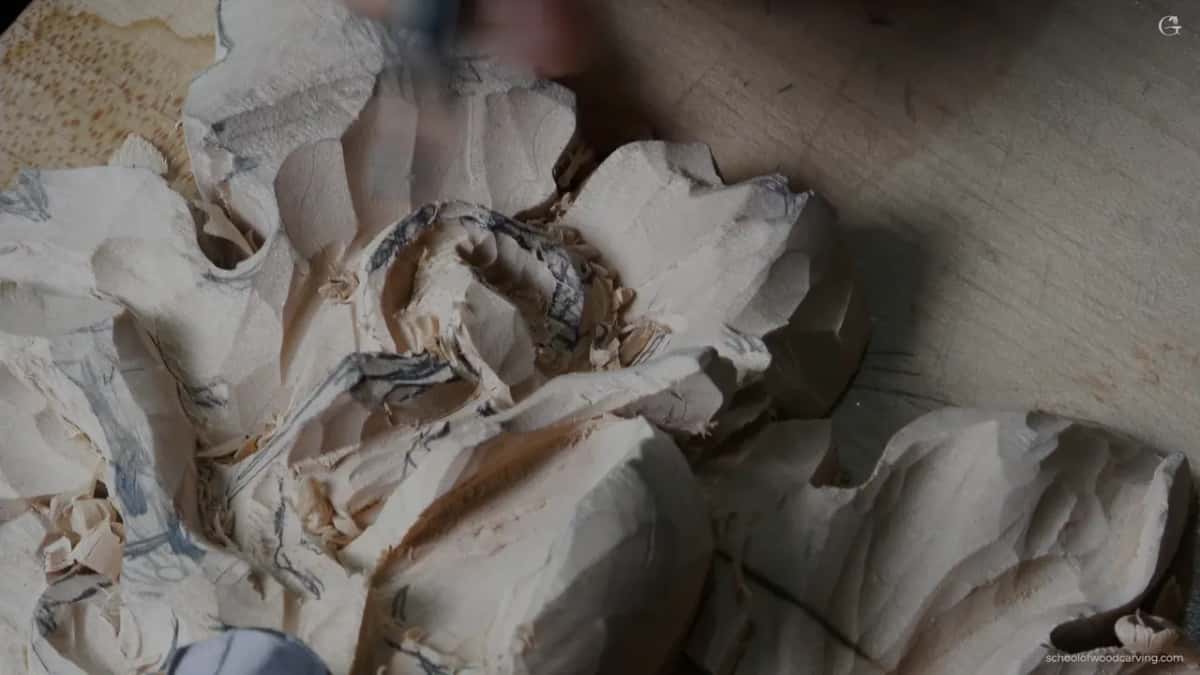
Watch what happens to shadow when you get it right. A waving line catches light along one flank and drops it along the other, so the vine reads as round even before you have rounded it. That play of light against dark is what relief work actually trades in, and you cannot fake it with colour afterwards.
Where does the waviness have to go?
In two places, and the second one is the one people miss. Looking straight down at the board you want the line to swing left and right. Crouched to bench height you want it to rise and fall as well, because a vine that waves only in plan is still a flat ribbon lying on a surface.
So I keep tipping the panel up. Every few passes the board comes off the flat and I squint down its length, which is the only way to see whether a run is actually climbing and dropping or merely pretending to. Overhead, the two look identical.
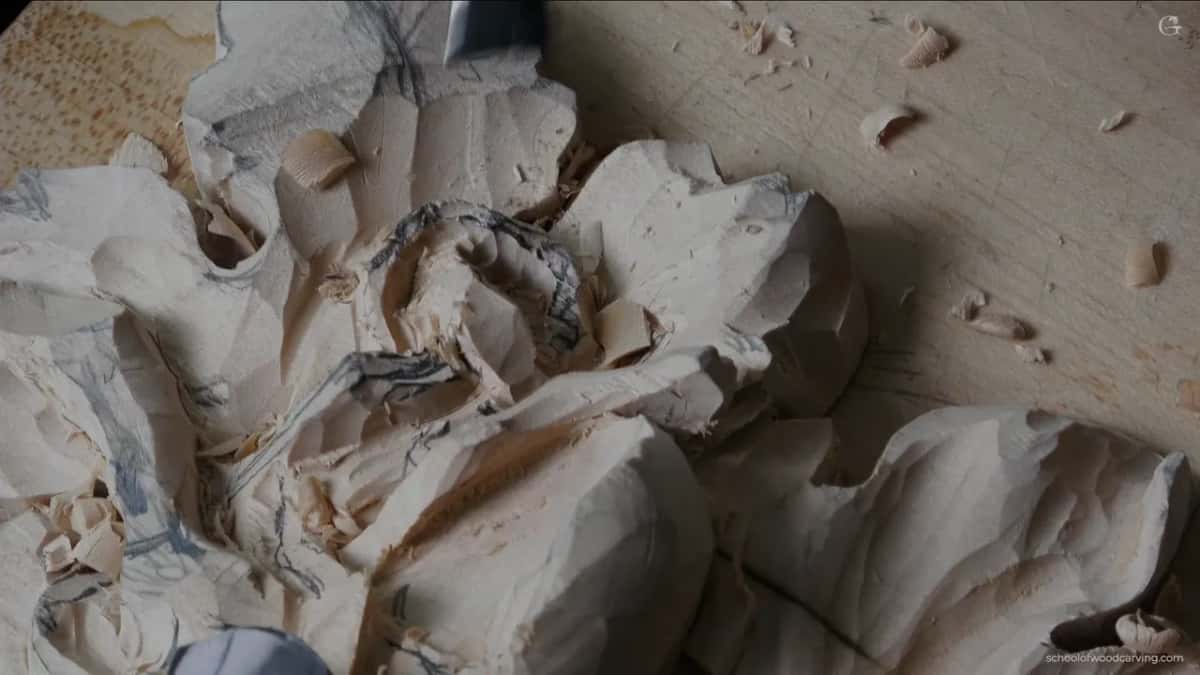
Depth waviness is also what lets one part of the vine pass over another convincingly. A run that stays at a constant height cannot go under anything, so every crossing becomes a collision. Once the line rises and falls of its own accord, the crossings arrange themselves, and you spend far less time inventing places for things to hide.
Real tendrils do this without being asked. They coil, they double back, they climb over whatever is nearest. Copying one exactly is not the goal, though, since carving in wood sits closer to interpretation, the same way a Baroque carver never copied an acanthus off a living plant.
How much room does a tendril need around it?
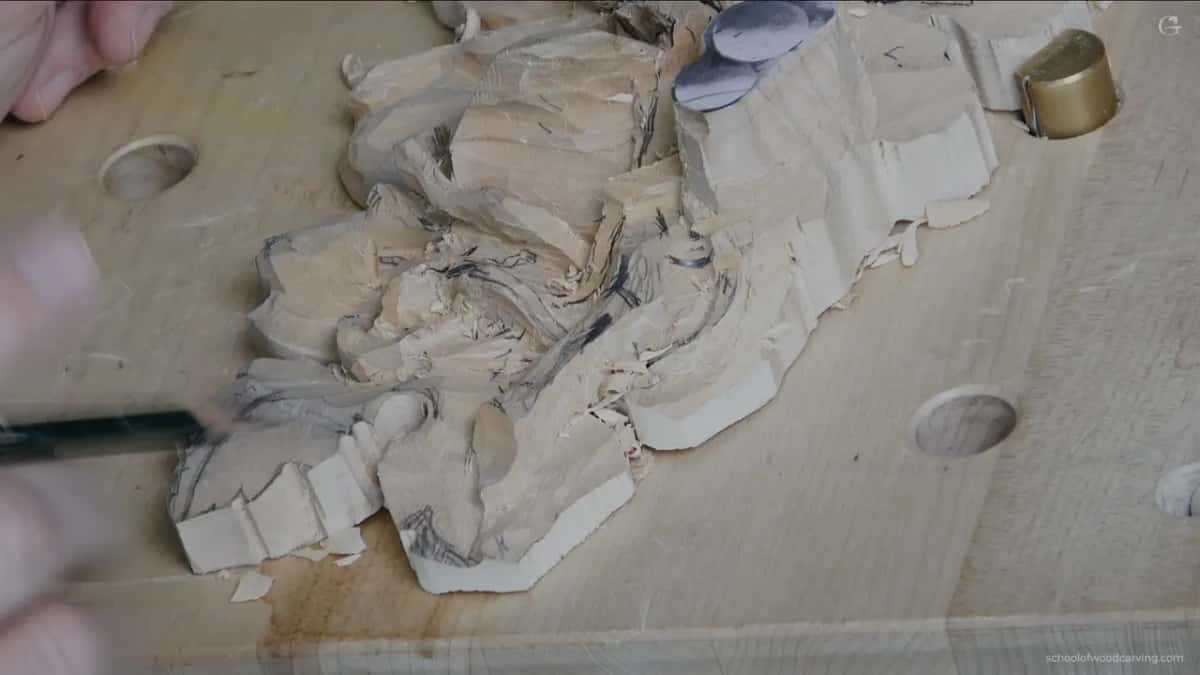
About a quarter of an inch, cleared before you shape anything. That space is not decoration. Without it, no blade will ever reach underneath the tendril to free it, and you end up trying to undercut a shape with nowhere to put the tool.
My first pass on this section went in with a fine veiner, outlining the run of the vine and taking the wood alongside down five or six millimetres. Wider than the finished tendril needs by a long way. That surplus is what I will be spending for the rest of the workshop.
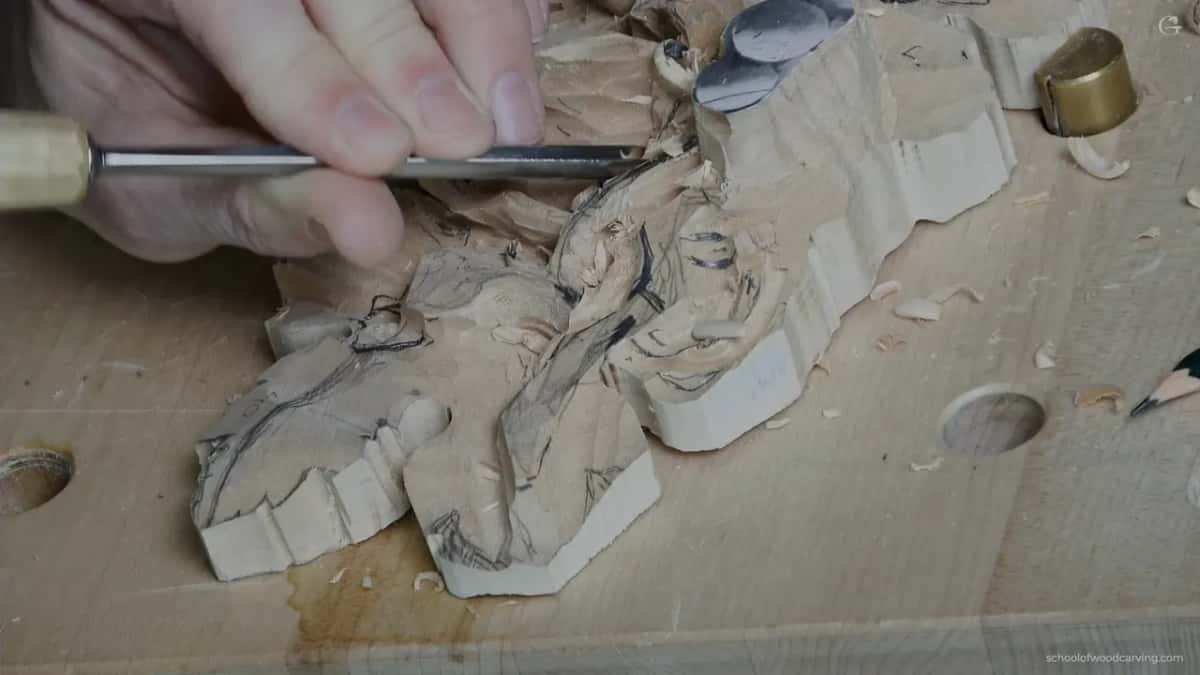
Depth beside it matters just as much. Where a strand has to float above another I go deeper still, eleven millimetres in places, because the thing passing underneath needs air above it or the crossing reads as a bump rather than a bridge.
| Stage | Veiner | What that size is doing |
|---|---|---|
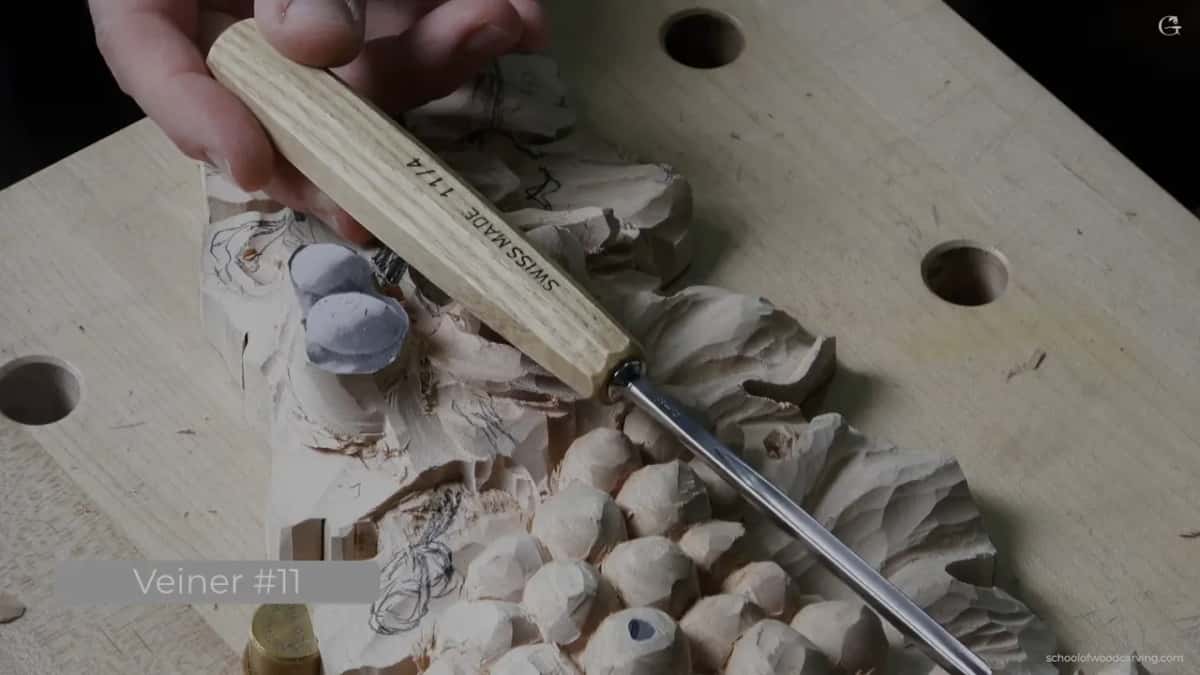
| First outline | four millimetres | Draws the run and clears a channel beside the line, about six wide |
| Shaping the crossings | two and a half | Starts the undercut on the supported side |
| Freeing the shape | two | Meets the pass coming the other way |
| Last of the waste | one | Goes where nothing wider fits, though it will snap if you lean on it |
| Blending | a small spoon gouge | Reaches around a curve that a straight blade cannot follow |
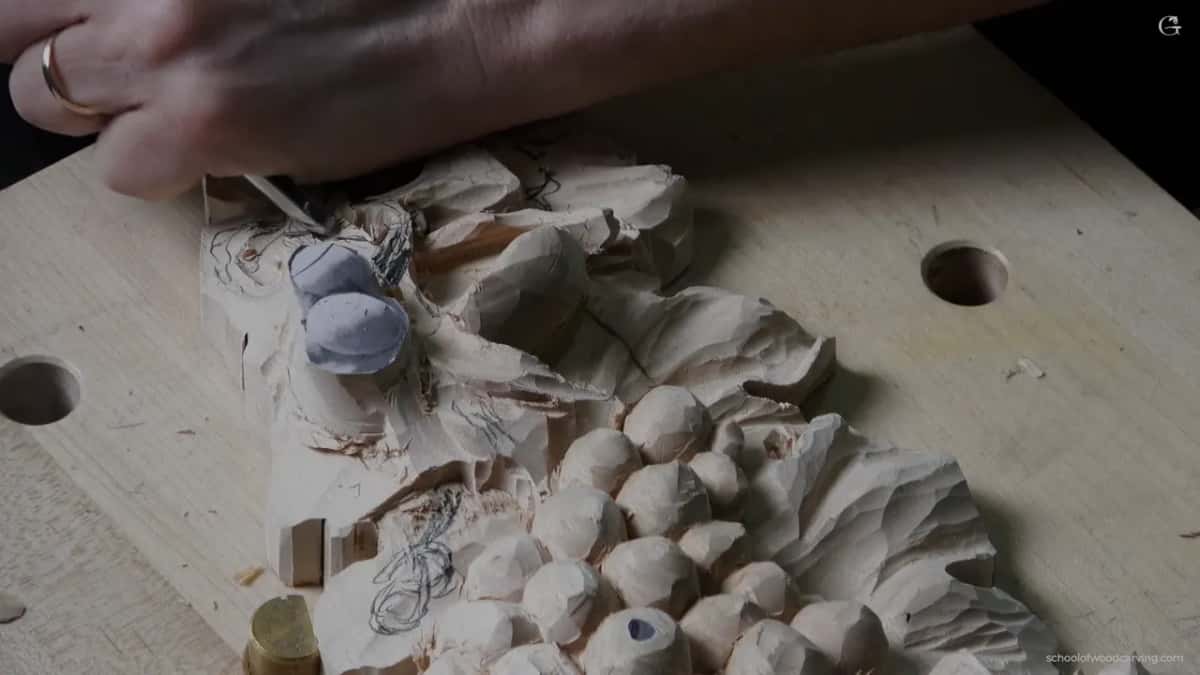
Sizes on the tools are not sacred. Four millimetres happened to be lying nearest my hand, and five or six would have done the same job. What matters is that each one is sharp, which is why sharpening comes before everything here, and why I keep a strop closer than any gouge on the bench.
How do you keep track of an over and under knot?
With a mark you cannot lose. Before the shapes get confusing I sink a plug cut with a number 9 at a quarter inch, straight down into the spot where the vine will disappear. From then on that hole tells me exactly where I am, no matter how much waste comes off around it.
You need it more than you expect. Halfway through a knot every surface looks like every other surface, the pencil lines are long gone, and I have watched good carvers lose ten minutes working out which strand they were on. A hole in the right place ends that argument.
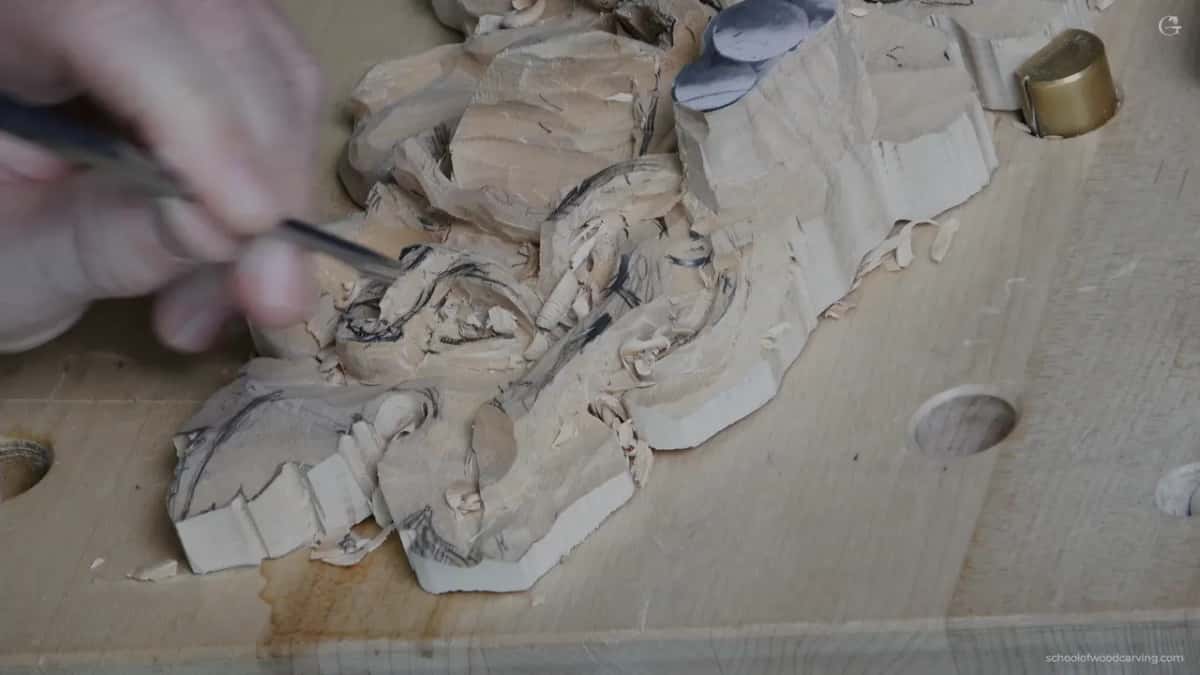
Beyond the marker, the trick is committing early to what goes over and what goes under. I decide, outline both, and then bury one of them properly rather than leaving the pair at the same height hoping it will resolve later. It never resolves later.
Multiple layers are fine and they are what makes this kind of work worth doing. On my panel one strand passes beneath a second, climbs over a third, and comes out under a leaf. Three levels in about two inches of board, the sort of thing Gibbons did constantly and everybody else avoids, and the reason Rococo ornament still stops people in a hallway.
Do you need to see the finished shape before you start?
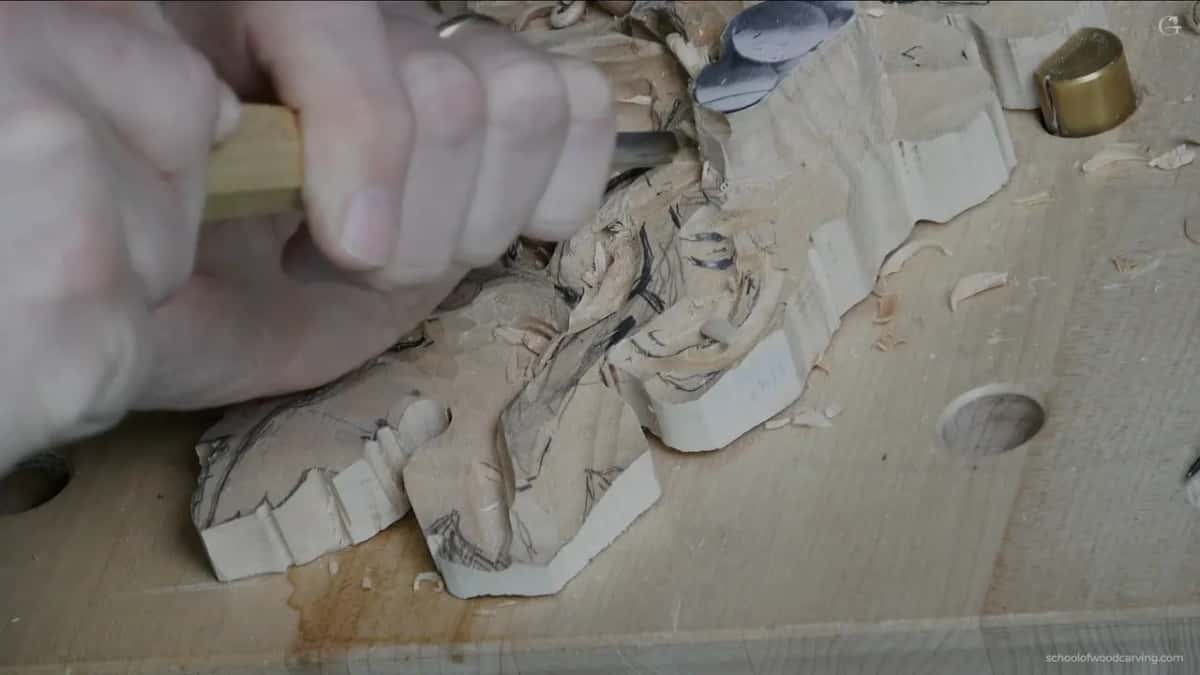
Absolutely not, and believing you do is what stops most people from ever attempting work like this. I did not know what this knot was going to look like when I made the first outlining pass. I worked it out with a gouge in my hand.
Patience is what I would name as the most important thing in carving, above talent and well above tools. Sometimes you cannot visualise a form, and the honest answer is to start carving anyway. The shape shows up. It arrives once there is enough carved around it to see it against.
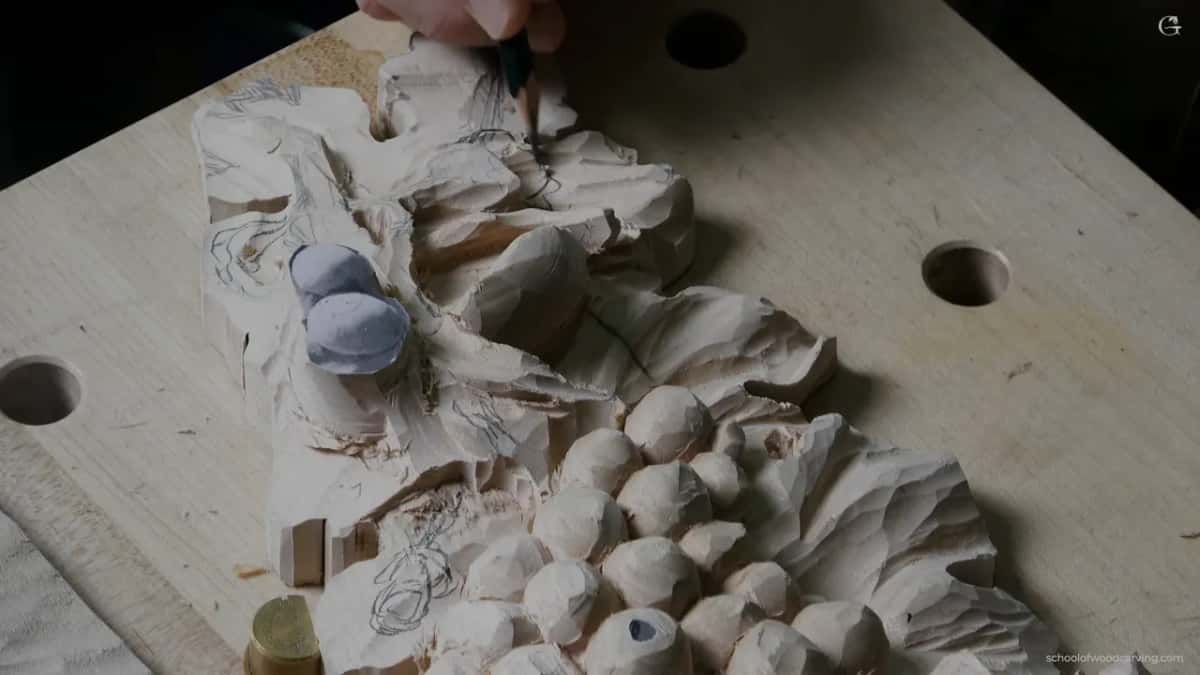
Modelling in clay first is a real option and some carvers swear by it. You build the form, then follow it exactly. For a piece like this I would rather not, because the freedom to change my mind at the bench is most of what makes the result mine, and it is the same reason I do not like replicating other people's work.
The one rule I hold myself to is that everything has to connect logically. A strand that appears from nowhere and vanishes into nothing will bother a viewer even if they cannot say why. Follow every run to somewhere it could plausibly have come from and you can improvise as freely as you like.
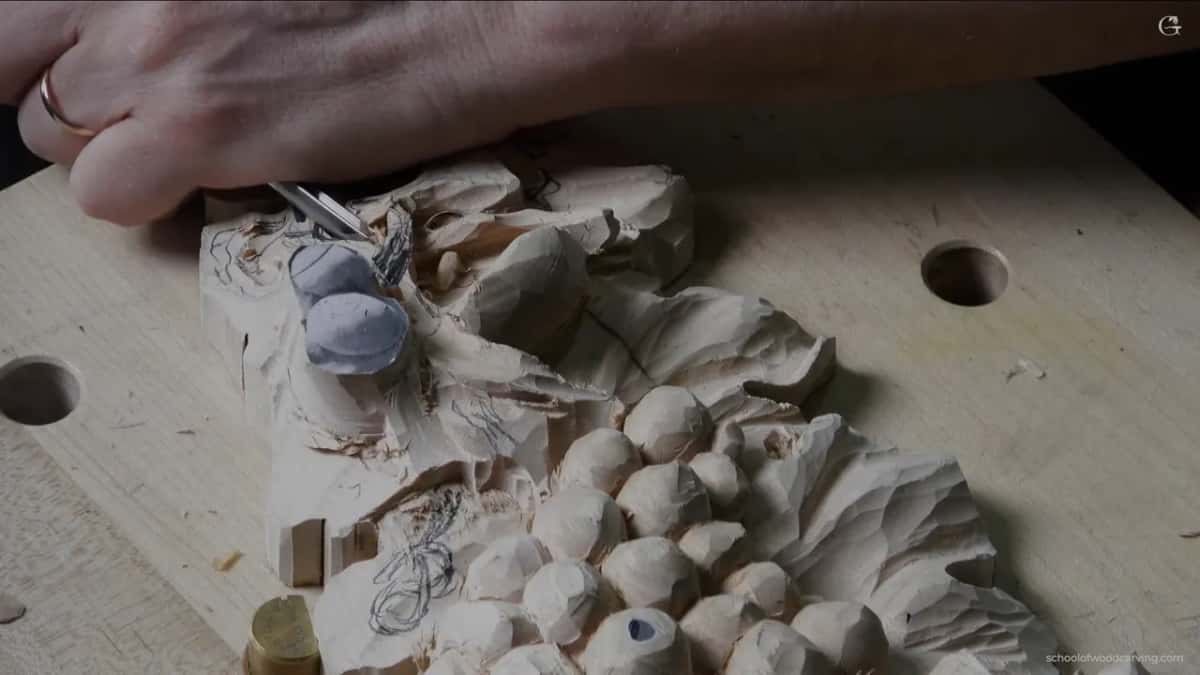
What do you do when you carve too deep?
Change the design. I went too far on this panel while excavating around a strand, found I had already undercut the area without meaning to, and there was no route back to the shape I had planned.
So the whole section came down and became a lower movement instead. It took a couple of minutes to decide and about ten to carve. Nobody looking at the finished panel will ever know, the part beginners find hardest to believe.
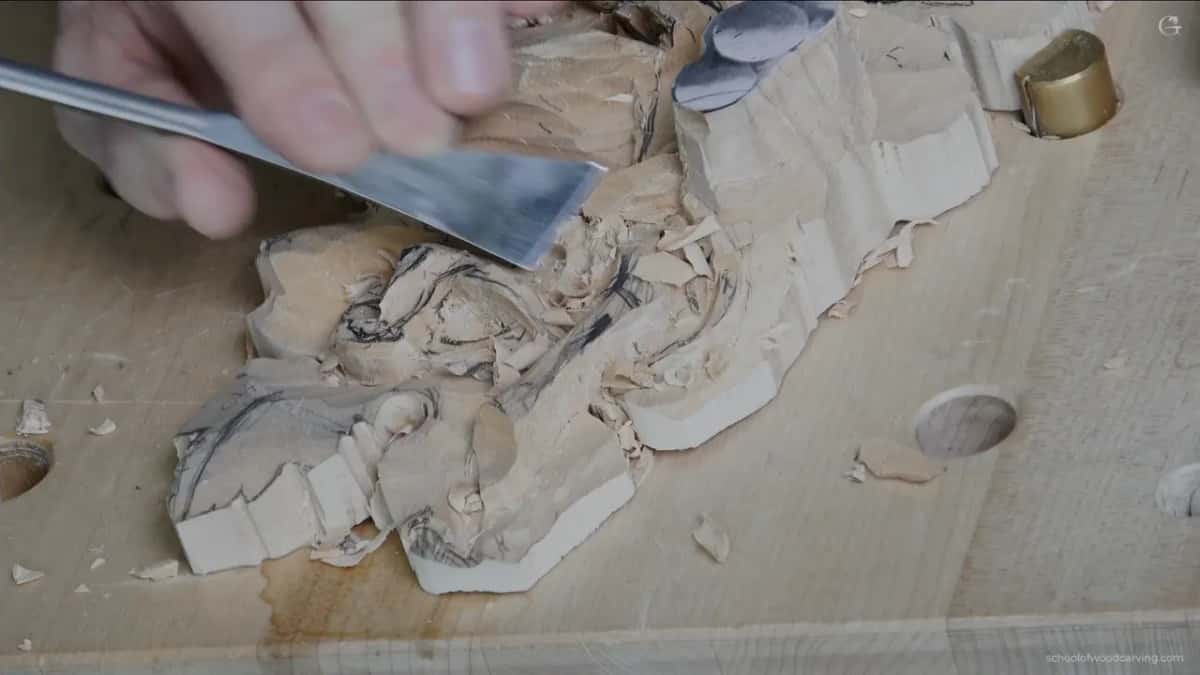
Wood is generous that way as long as you are willing to let go of the drawing. The alternative is gluing a patch in and carving it again, which is a legitimate repair and one I have done plenty of times, but a change of design is faster and usually produces something better than what you lost.
Mistakes cluster where the work is thinnest, so take small passes near anything fragile and stop when the tool starts to grab. When a spot feels weak under your finger, reach for a smaller blade rather than pressing harder with the one you are holding.
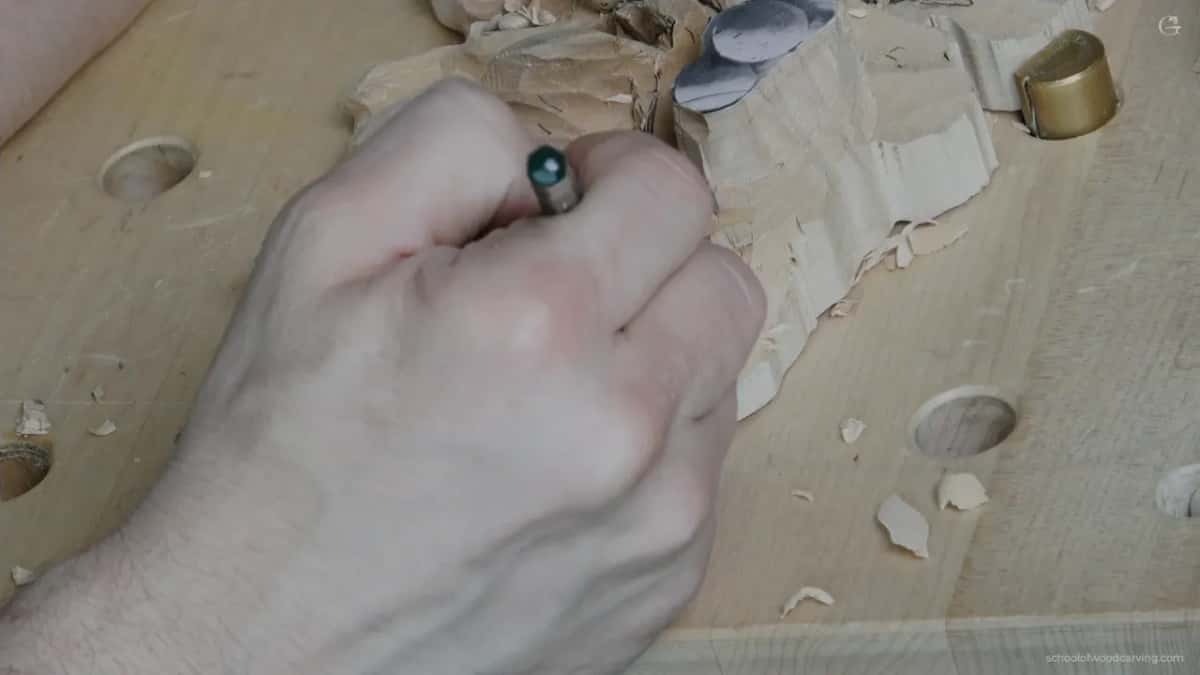
How thin can a tendril go?
A sixteenth of an inch on this panel, and some of the finest runs are nearer a millimetre and a half. At that width the wood has almost no strength left, so every pass from there on is tiny and the tool does the work rather than your arm.
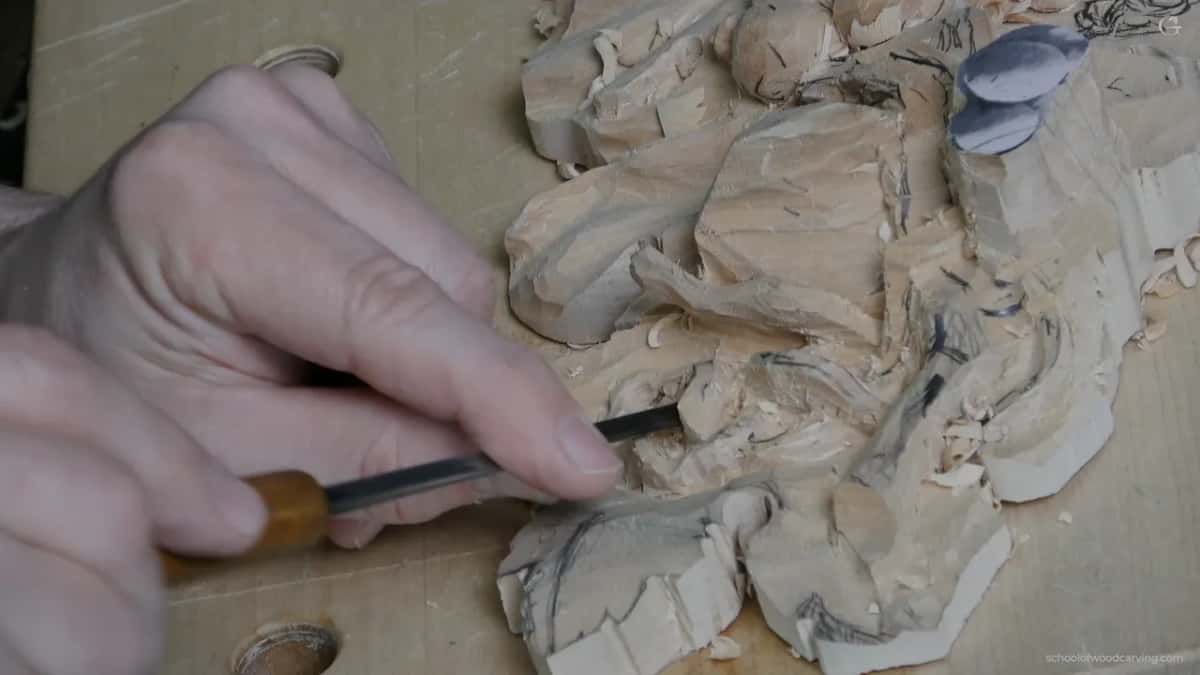
Getting there means undercutting until light comes through. I start on whichever flank the grain makes strongest, work in until I meet resistance, then come at the same spot from the far side and let the two passes join. Driving straight through from one direction will break it.
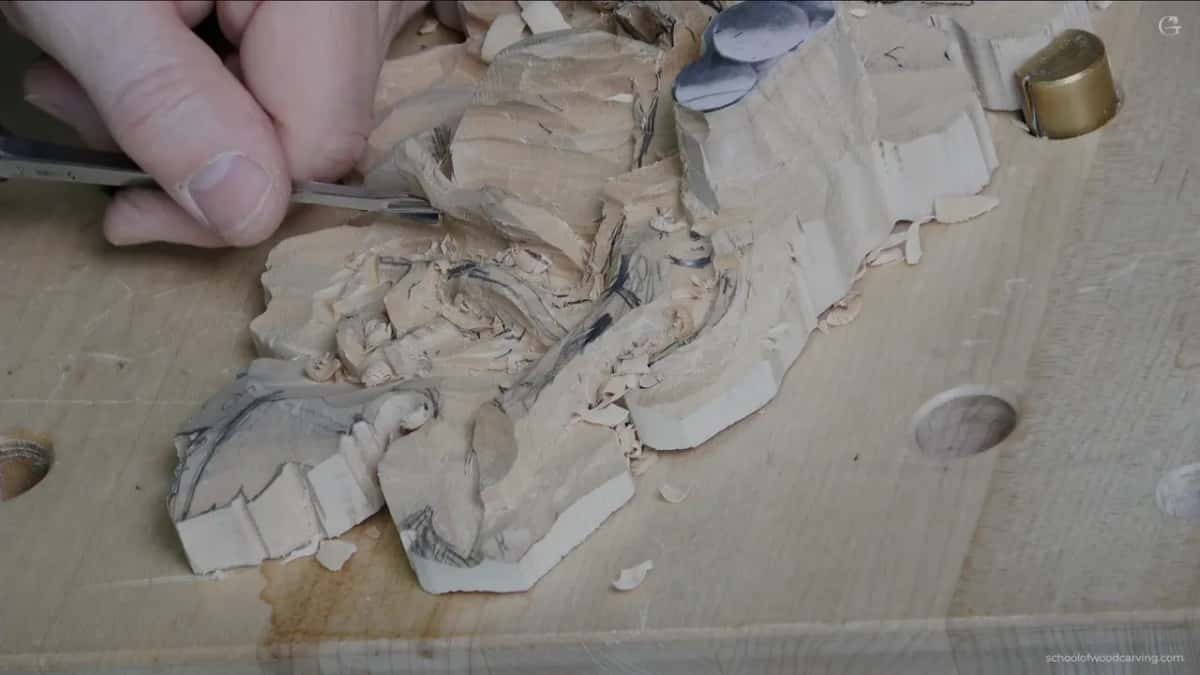
The test is simple enough. Slide the veiner in from one side and look for it appearing on the other, and when you can see steel through the gap the piece is properly free. Light does the rest, throwing a dark line behind the strand that makes it read as separate from the board even in flat room lighting.
Leave connecting points where the grain is short, though. Not everything wants to be free, and a strand that is fully released across a weak stretch is a strand that will break the first time somebody dusts it. Soft basswood forgives a lot, but not that. This kind of panel is art for a wall rather than trim for a cabinet door, and I would not put airborne work on furniture that people touch.
Which tools reach around a curl?
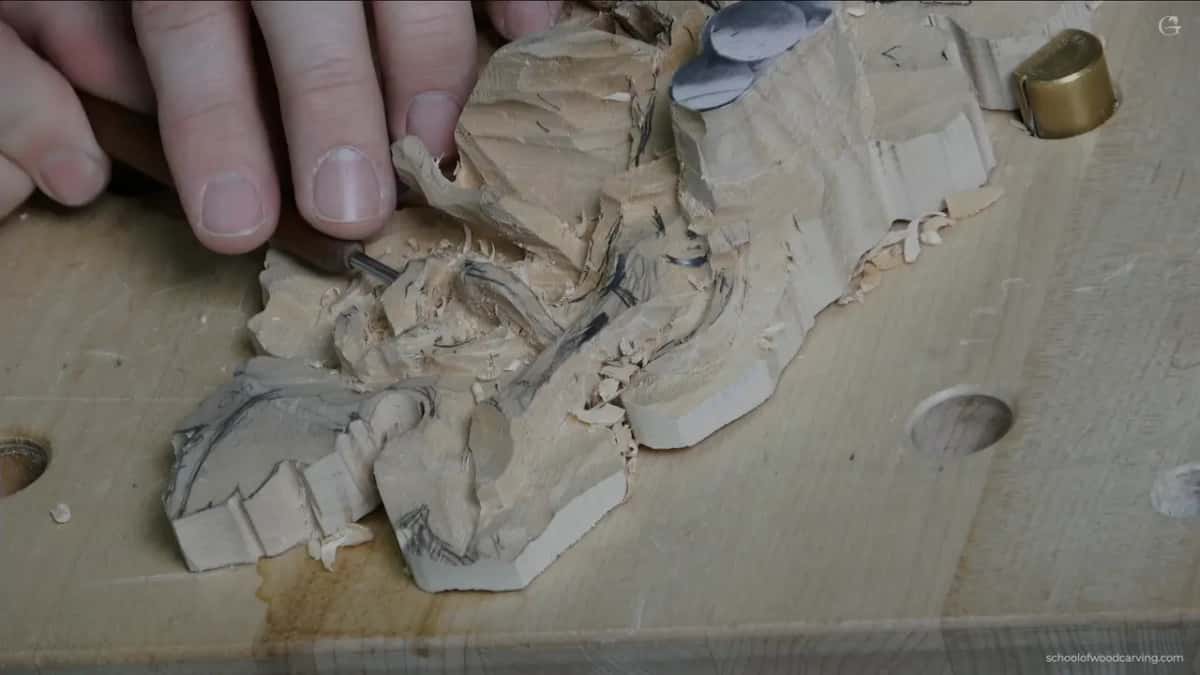
Bent ones. A straight blade can only travel in a straight line, so the moment a tendril curves back on itself there are hollows behind it that a normal gouge simply cannot enter, however sharp it is.
My answer is a spoon gouge, and my favourite on this panel is an antique by Herring Brothers, about seven millimetres wide and no sweep number stamped on it anywhere. The blade dips, so the edge arrives at the wood while the handle stays clear of everything I am trying not to break. Old tools like that turn up cheaply and they are often better steel than anything sold today.
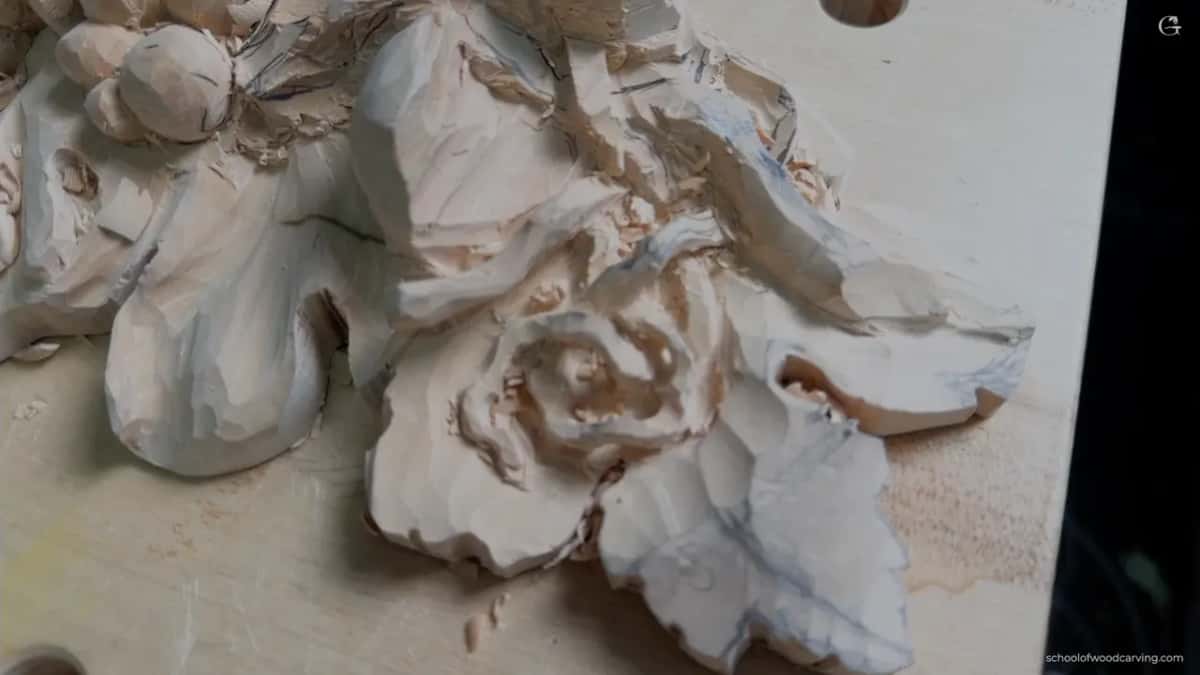
Small Dockyard gouges do the other half. They are made for miniature work, which means they fit inside spaces a normal tool cannot approach, and on tendril work you spend a surprising amount of time in exactly those spaces.
Turning a tool over is the trick nobody teaches. Flipping the flute face down turns the edge into a shallow scoop that blends a surface instead of digging into it, and with the flute rotated round to about ten o'clock the same tool will undercut a strand from beneath. One gouge, three jobs, depending purely on how you hold it.
Whatever you reach for, keep the passes short near grain that runs across the shape rather than along it. That is where the wood gives way without warning, and no tool on the bench will save a strand you have already over committed to. If you want to see where this vine ends up, the second workshop shows the bunches it grows out of.
Is this worth attempting on your own panel?
Yes, with a caveat. Tendrils are the slowest square inch of carving I know, and going in expecting speed will only make you rush the passes that must not be rushed.
Start smaller than a full vine if you have never done it. A single crossing on a scrap of basswood teaches most of the lesson in an evening, and you can throw it away afterwards without any regret at all. From there, a Venetian rosette or Corinthian acanthus will stretch the same skills across a bigger shape, and a Greek acanthus leaf teaches the movement without any of the fragility.
Two courses sit underneath all of it. Where these proportions come from is the design course, and what to buy before you buy the wrong thing is the tools course. If you are starting from nothing, the beginner course is the honest place to begin, and the previous workshop covers what holds a fragile shape up before you start removing its support.
One more thing about the in person side. I teach a handful of weeks a year in the United States, and a class gets you further in five days than a year of watching will, mostly because somebody is standing behind you saying stop before the tool does the damage. Details live on the classes page. Everything else, including all three thousand lessons, sits behind one door.
How it's done
- Draw the run and break every straight stretch. Pencil the vine onto the panel, then look for any passage travelling true for more than an inch and swing it before a tool touches it.
- Outline with the 4 mm veiner. Take a 4 mm number 11 along both sides of the line, clearing the wood alongside to about six millimetres.
- Sink a plug cut where the strand disappears. Drop a number 9 at a quarter inch straight into the spot a run vanishes beneath another, so you can still find it once the pencil is gone.
- Build the rise and fall. Tip the board and squint down its length, then deepen wherever one part must pass beneath another until the crossing has real air in it.
- Undercut from the strong flank first. Begin on whichever side the grain supports, work in until the tool meets resistance, then approach the same spot from the far side and let the two passes meet.
- Thin down through the veiners. Move from 2.5 mm to 2 mm to 1 mm as the strand narrows, finishing near one and a half millimetres, and leave connecting points anywhere the grain runs short.
Frequently asked questions
Why do carved vines look stiff?
The line was allowed to run straight somewhere. Your eye finds that stretch immediately and the whole vine stops looking grown. Replace the passage with a real arc rather than softening it, since a timid correction reads as a wobble.
How thin should a finished tendril be?
Roughly a millimetre and a half on a panel this size, with the finest runs thinner still. Leave the underside slightly thicker than the face and the strand stays stable while still looking delicate.
Can you undercut a tendril from one side only?
Driving through from one direction will break it. Start where the wood is strongest, stop when the tool meets resistance, then come back from the opposite side so the two passes meet in the middle.
What to carve next