
Alexander Grabovetskiy, woodcarver, School of Woodcarving · Published 2024
Can you use double-sided tape to hold a wood carving?
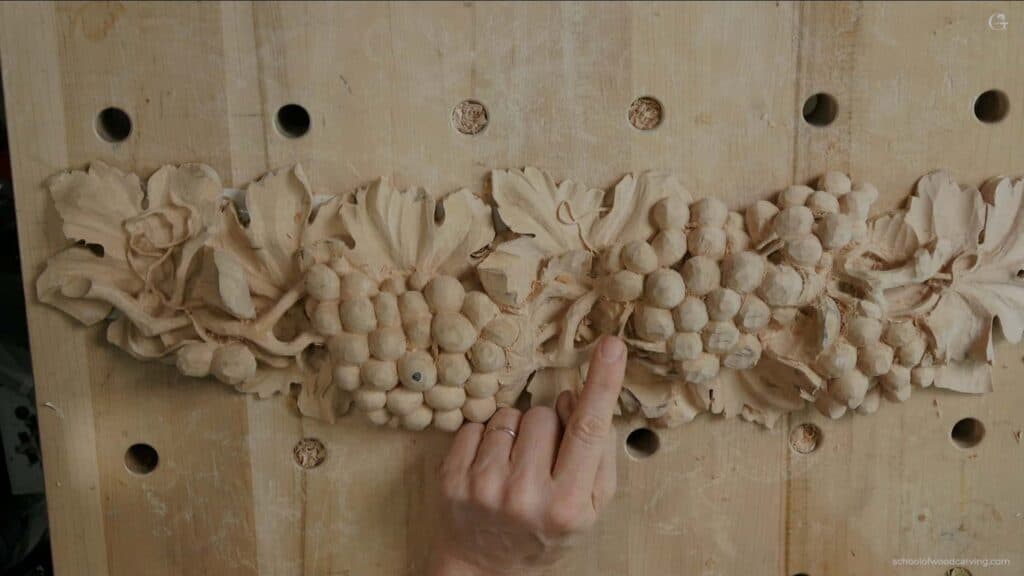
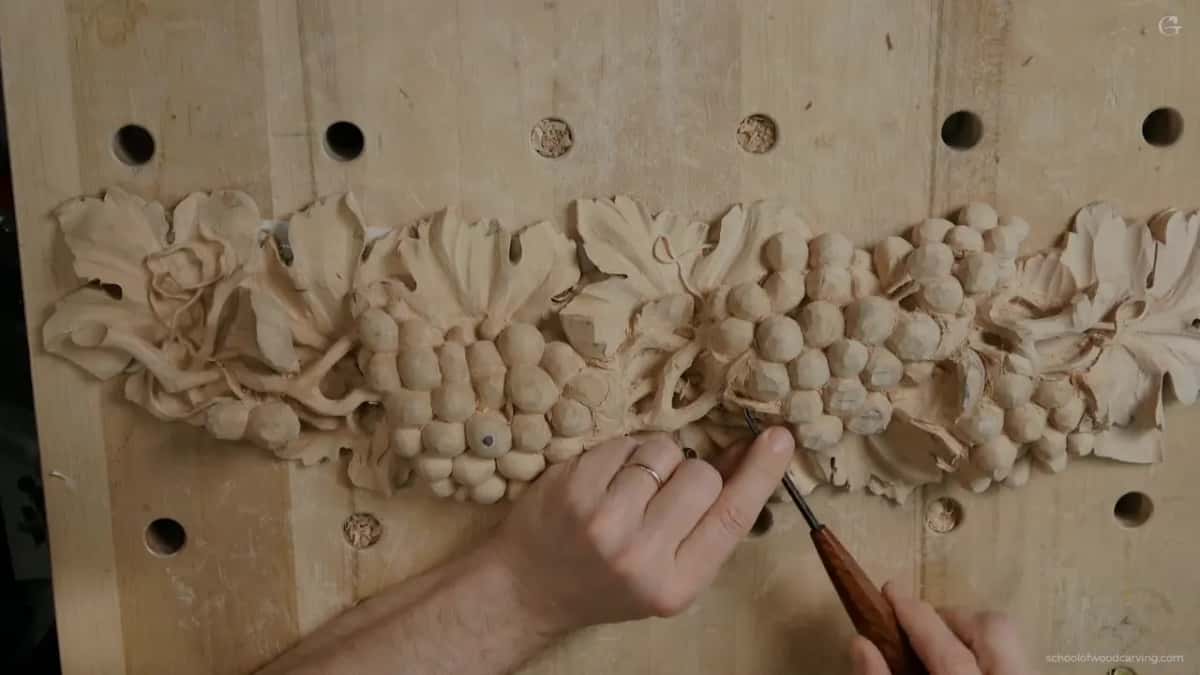
Quick answer: Taping a carving down is a good way to hold it when you will work on it for a long time. On my grape panel I used XFasten, a CNC tape. It holds strong enough, nothing sits in the way of your hands, and it comes off with every fragile part still in one piece.
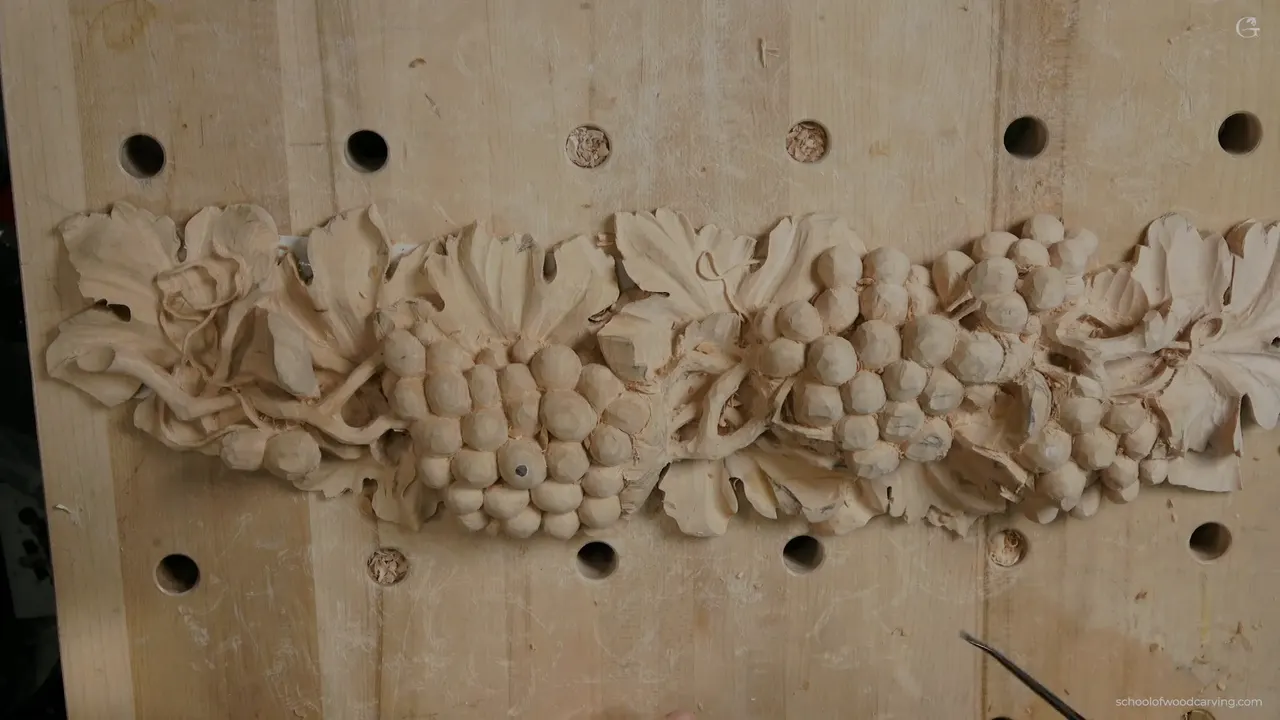
Double-sided tape is what held my grape panel to the bench in this lesson, a tape made for the CNC and not the carpet kind. It holds strong enough. It also comes off easy without breaking fragile parts, and the stems I carved next on this board were fragile.
Do you want both hands free while you carve? And would you like the board to stay right where you put it? Then try what I did on this panel and put the hold under the work, where your gouge never goes. You saw me use clamps in this course before, and they work, but they are not always convenient. When you finish this page you will know which tape I use, and when I would keep my money in my pocket.
What the tape did on this grape panel
- XFasten strips held the panel down.
- I'd skip carpet tape here, because delicate parts can break with it.
- It pays off on a long, complex project, and on a small piece finished in one day it costs too much to be wise.
- While it held, I carved one stem airborne.
- A different part broke when I worked it from an awkward direction, so the design changed but the idea stayed.
How do you hold wood while carving a long panel?
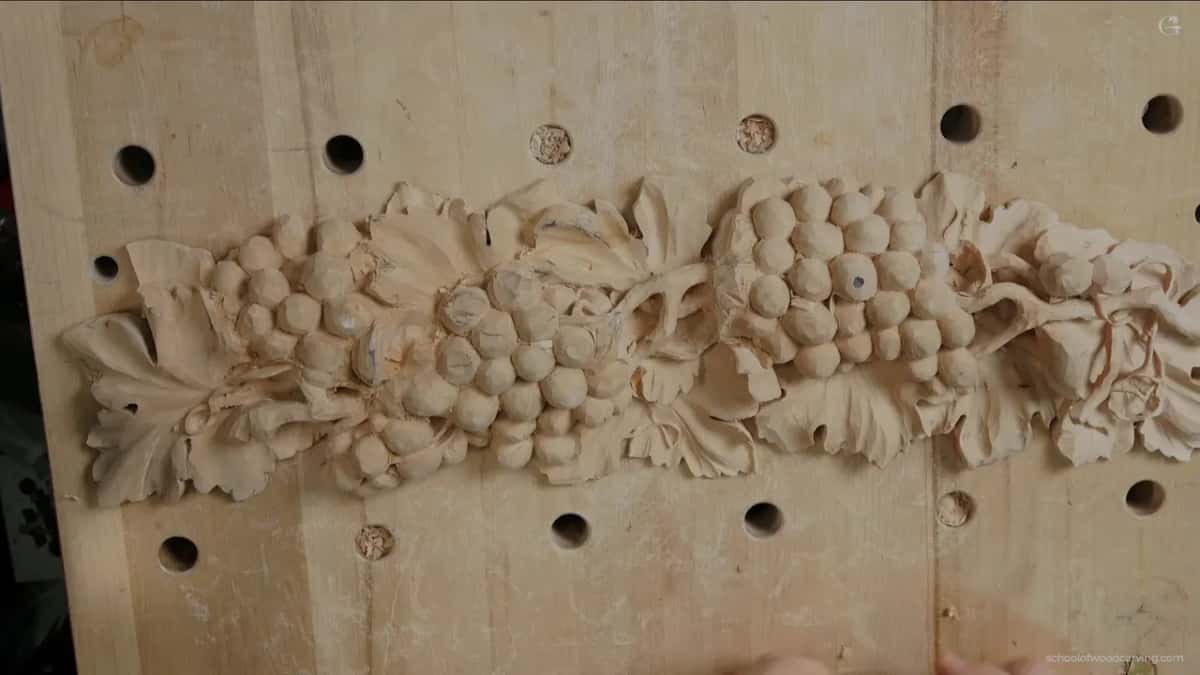
There are many ways to hold a piece to the bench. In lesson 9 I said I kind of like those clamps, and you can carve with clamps just like that. On this panel I wanted nothing in my way, so this time the tape went under the board.
Before any of that, my other job had to come off the bench. Those are shades for a pipe organ, all going to be gold leaf. The carving on them is a German Baroque acanthus, a little different in style, and work for a musical instrument has to be figured out to exact numbers. I put the shades away and said I hope they will be safe right there.
Which tape, and why not carpet tape?
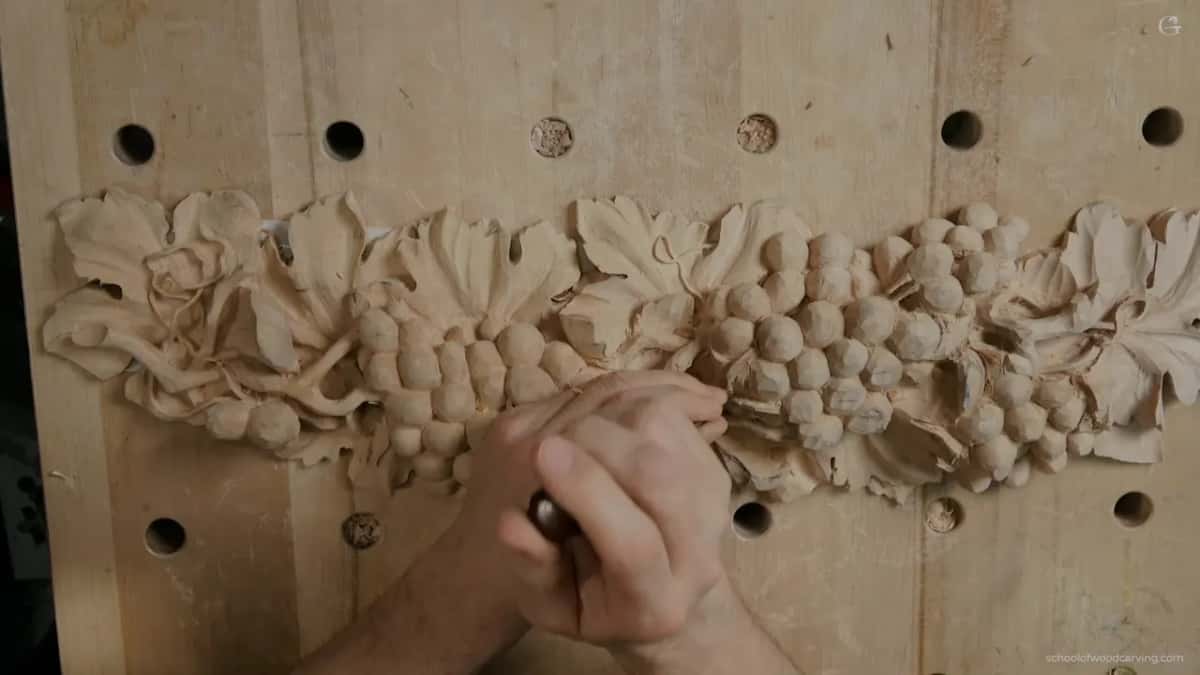
Any old tape will not do for this. A carpet tape, the kind that is sticky on both sides, is too heavy duty, and it can break things, most of all when you work on delicate parts.
What I use is XFasten. That is the brand, the tape is made for the CNC, and I find it really good. If you own a CNC, it works on the CNC too.
What I like about it, it is strong enough, but it is easy to take out without breaking fragile parts. A couple of strips went down and that was it, since you don't really need to do a lot.
Then I thought about where the board would be better for me, for what I was going to carve next, and I set that side right there. Kind of secured.
When is the tape worth the money?
On a long project. I'd recommend it if you plan to work for quite a long time on something complex, like this grape panel. For a small piece that will be done in one day, I don't think it is wise. You understand. It is expensive.
The tape came back in the next lesson. In lesson 11 XFasten was holding one piece in place, and I said I don't think I did a really good job of fastening it, but it's all right. I was kind of happy with the result.
Tape does not always win, either. In the first lesson of the Venice Room I was lining up a printed pattern, lines out of the 3D software I used, Rhino and also Blender, printed at a local FedEx office. Super glue dots did not stick right away, so I looked at tape. One was a green tape by Scotch, which I love. The other was a thin tape sticky on both sides, really thin, which I liked, but tricky to peel, so I said forget about it. The glue was holding after all, and the green one did the taping.
| Holding method | The gist of what I said on camera | Lesson or video |
|---|---|---|
| Hold down clamps | Fine to use, but not always convenient. | Lesson 10, at the start |
| Carpet tape | Too heavy duty, and you can break delicate parts with it. | Seconds later, same video |
| XFasten for the CNC | Strong enough, and it comes off leaving fragile parts whole. | Lessons 10 and 11 |
| A thin tape, sticky both sides | Really thin, which I liked, but tricky to peel, so I let it go. | Venice Room, lesson 1 |
| Green tape by Scotch | I love this tape, and it finished holding down the printed pattern. | The same Venice Room video |
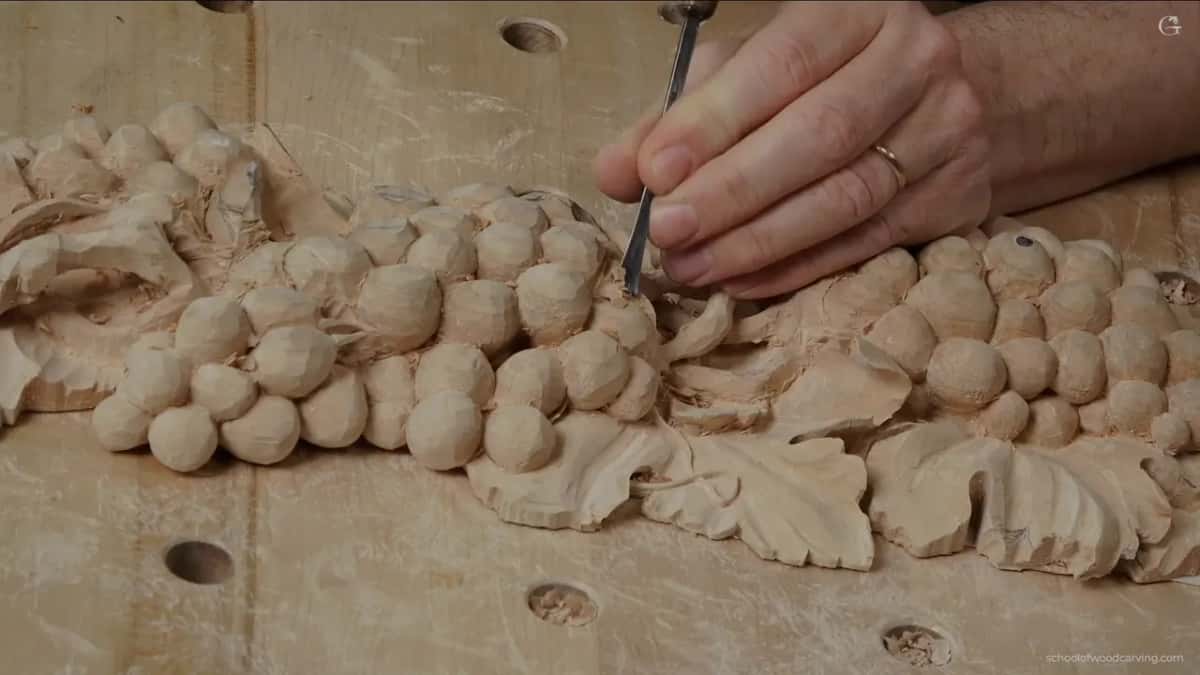
What did I carve while the panel was taped down?
The center of the piece. There are some complex movements there, and I still had to finish one leaf. You don't have to repeat my grape design exactly, by the way. Enjoy your own creativity.
Step one was to get rid of the mess, since some material was left there and a movement sits below it. I wanted to connect this section with that piece, so the movement goes under the grape you see.
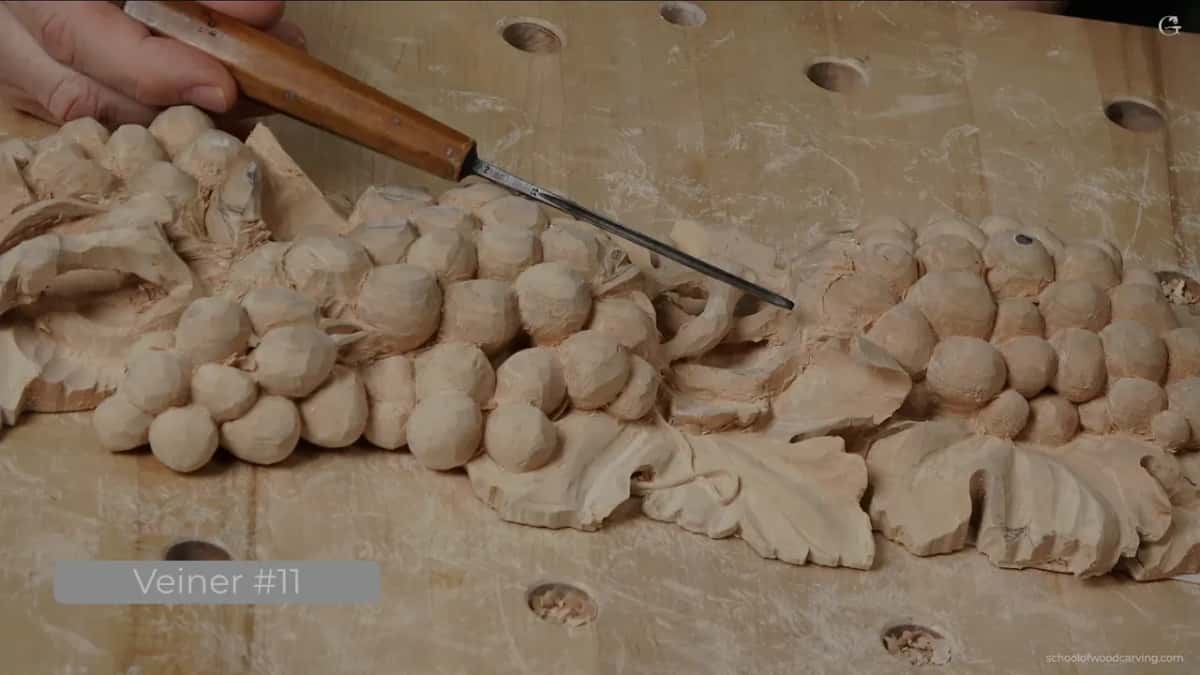
Tool number one was one of my favorites, a number 11 veiner, 2 mm (5/64 in) in this case. Like always, I only outlined first. I kept an eye on how it runs underneath, to be sure it connects, with no overcomplicated movement close to the grape I would carve there later.
I left about an eighth of an inch for now, around three millimeters, and I can always make it less, maybe two. Then I lowered that part, pretty low, with something flatter, a number 3 gouge of about a quarter inch, or 6 mm. I could stab in and make it narrower too, about 2 mm there.
How did the stem end up airborne?
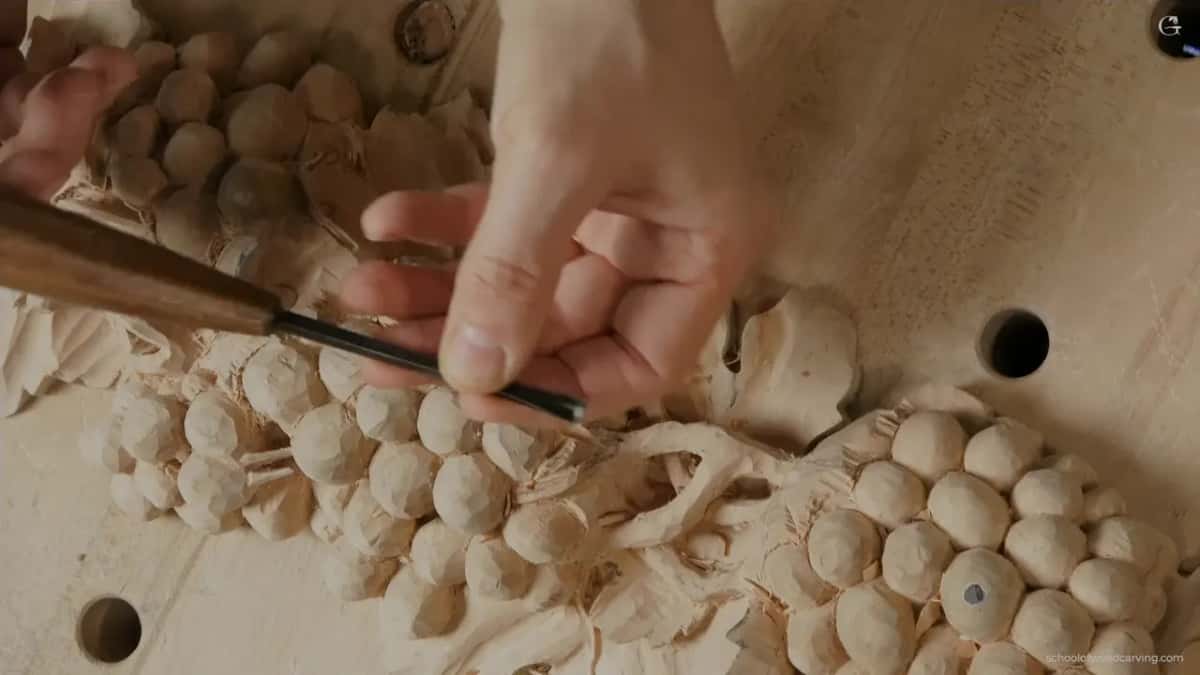
First it had to go down. I wanted the opening visible, so you can really see it, and I wanted this piece airborne. I took it down at least three sixteenths of an inch from the surface, about 5 mm, to give me room for the opening. I can't take too much, though, because I have a grape below.
The same tool goes right under it next. Tilt, twist, and start undercutting, but be careful. Oh, yes, it is fragile. I took a little out of that part, then out of this one, did the same on the other side, and you could see it already showing through. I've got my opening. I know it's not a big opening, but every little bit helps.
Again, this is not a necessary detail at all. People probably won't even notice it. It's just for you, and in this case for me. Next came a small number 3 spoon gouge, an eighth of an inch, to get under it and clean, though it could be a different tool.
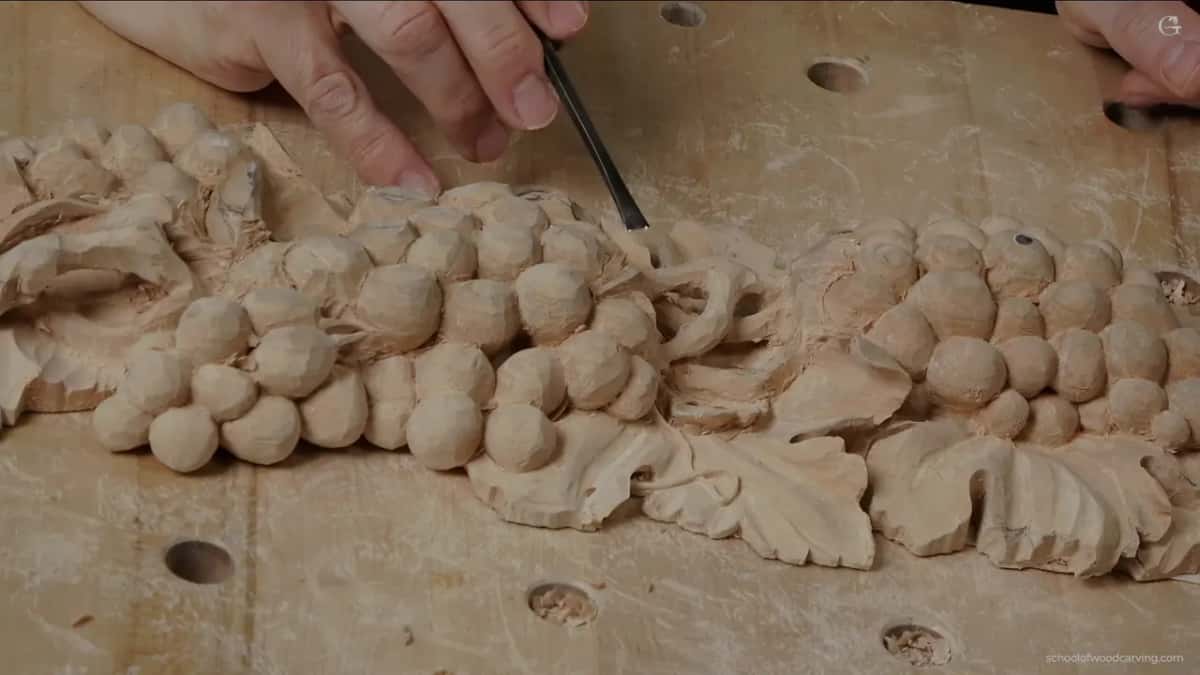
At the start of the next video I am slicing, not pushing. Watch the handle and see how much it moves, since that movement is what gives me the slicing motion. If you carved before, you know what I mean, and if you are new to all this, the beginner course is there for that.
The opening came out at about 1/16 of an inch, a millimeter and a half, maybe a little bigger, and I worked it from both sides. You don't have to do details like that. It's just me. I like them.
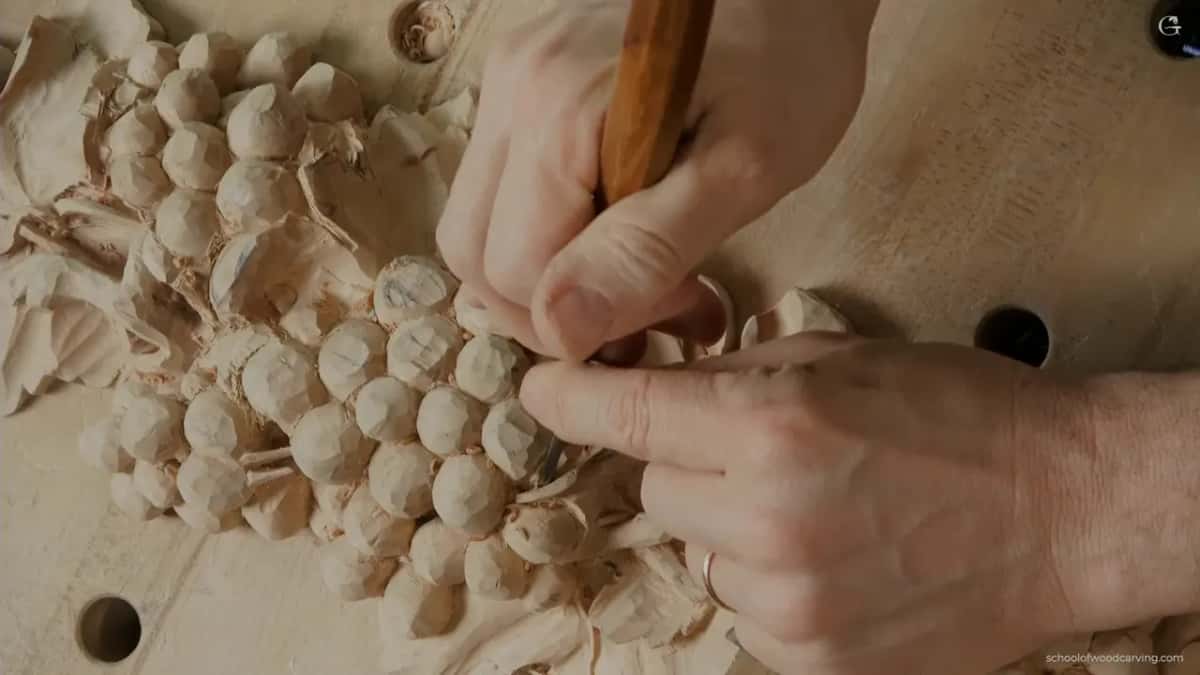
The vase with grape leaves had the same idea. With a half millimeter number 11, one of my go-to tools, I could make that part airborne if I wanted, just by carving from both sides. I wasn't sure I would, but I said it would be strong, because the grain direction runs that way.
On the chamomile rosette I leaned the other way. You could go extreme and make it completely airborne, which is absolutely fine, but I said probably not there, because of the way that piece will be used and installed. I didn't want to risk it.
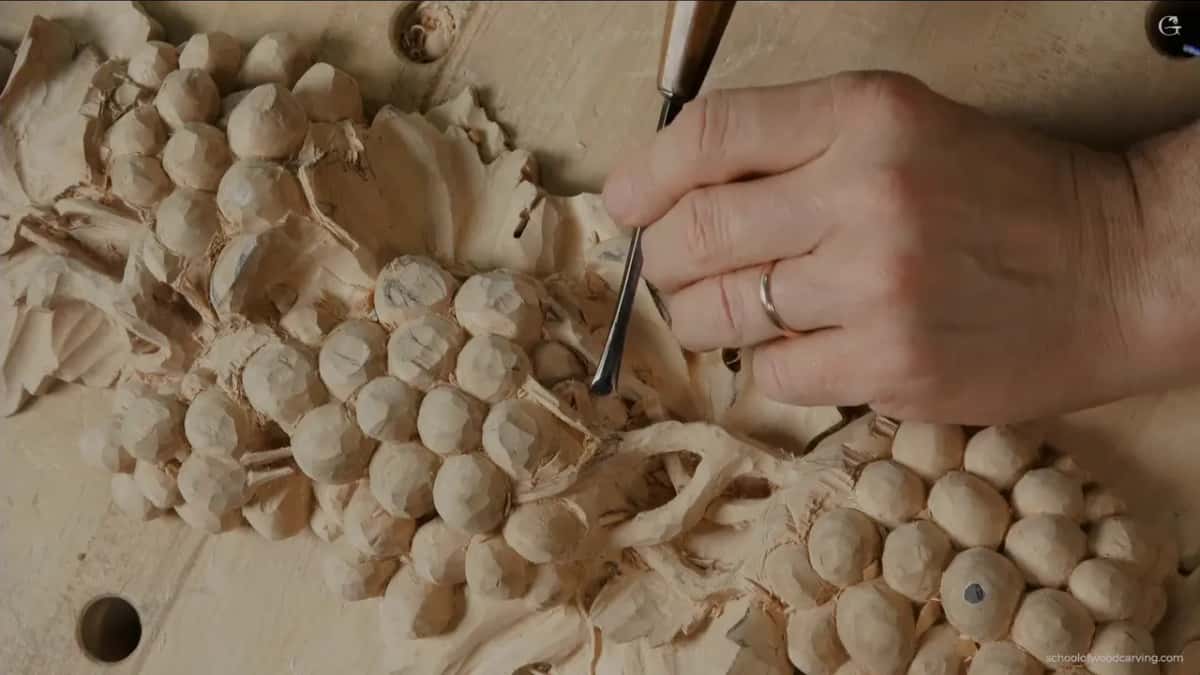
Why did a thin part break, and what changed?
I was undercutting from one side with the same 2 mm number 11, getting a deep shadow, and then I had to come from the other side. It was awkward for me to attack it from the wrong direction. See, it was moving. It was fragile. Then something snapped off my panel on camera, and I did not stop filming.
A number 11 of half a millimeter was in my hand when it went. Oops. That means a change of design. Mine went because I attacked from an awkward direction rather than turning the board, and I did it because I didn't want to move my bench just for the cameras. Working without the cameras, I would just rotate the piece and attack that way.
And that is absolutely fine. I am not going to tell anybody about it. Well, I told you, so now two of us know. My idea stays, and I still want to do the same thing, just with a change of design.
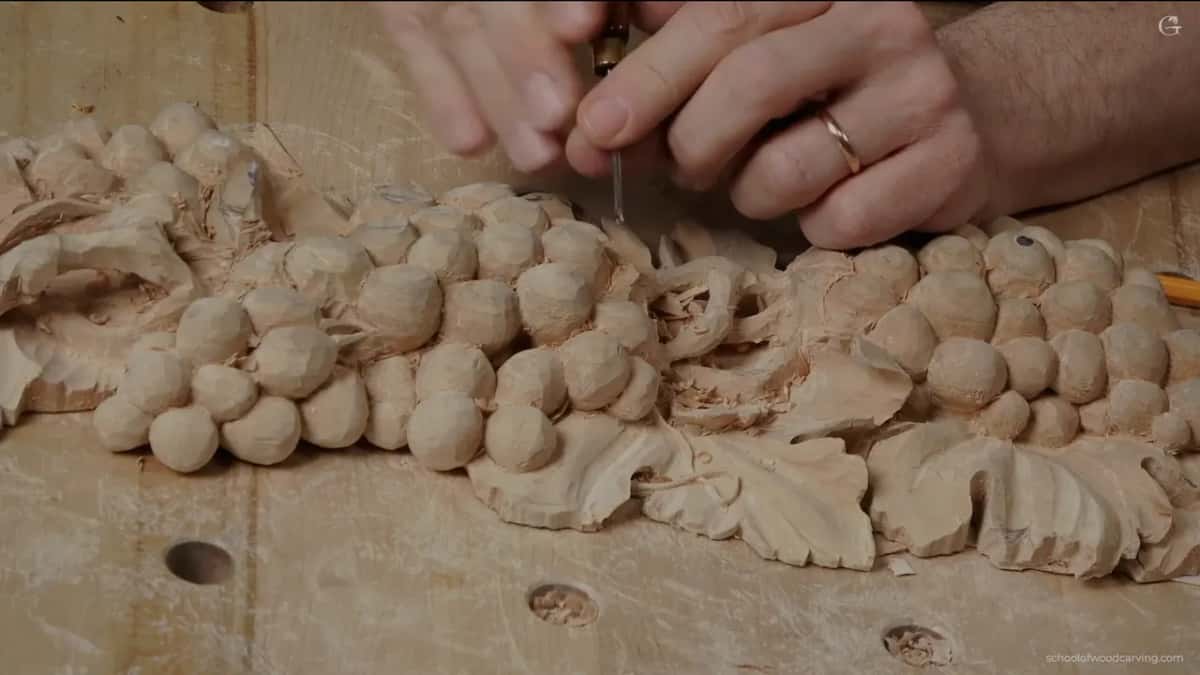
So I lowered that part slightly, and this part just goes a little deeper. It's not the end of the world. A proper airborne there was not possible now, but it's okay. With the same tiny number 11 again, the other side stayed at about 3 mm, or two.
Later, on another section, I came at it from two sides and rotated slightly, and I said I don't want to break it again. A number 11 of about 2.5 mm (3/32 in) came out first, then I thought smaller, maybe 2 mm. Once I was all the way through, that part was really fragile because of the grain direction.
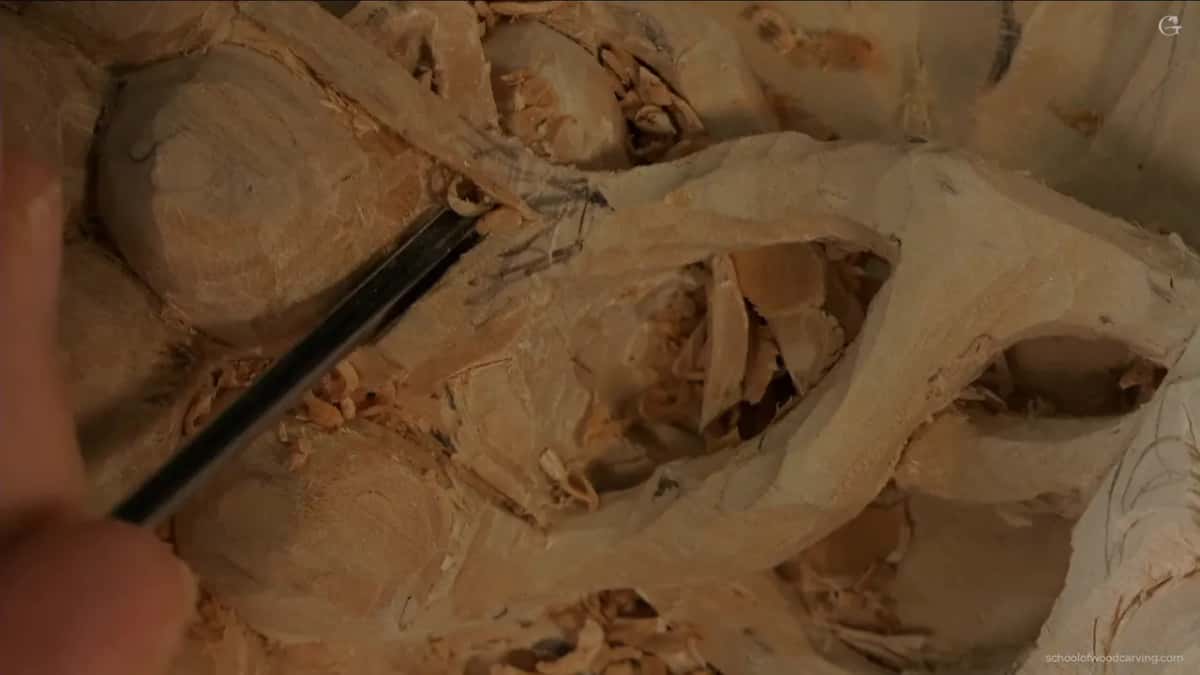
How much pressure can a fragile part take?
Zero. You can't push on any of the parts, and you cannot use any of them as leverage. What counts is how sharp your tool is. I have absolutely zero pressure on the tool, and you could probably hear it.
My passes were really small, tiny, short ones. I almost don't remove any material, but you can see how deep a shadow I'm creating, and that is what I'm after.
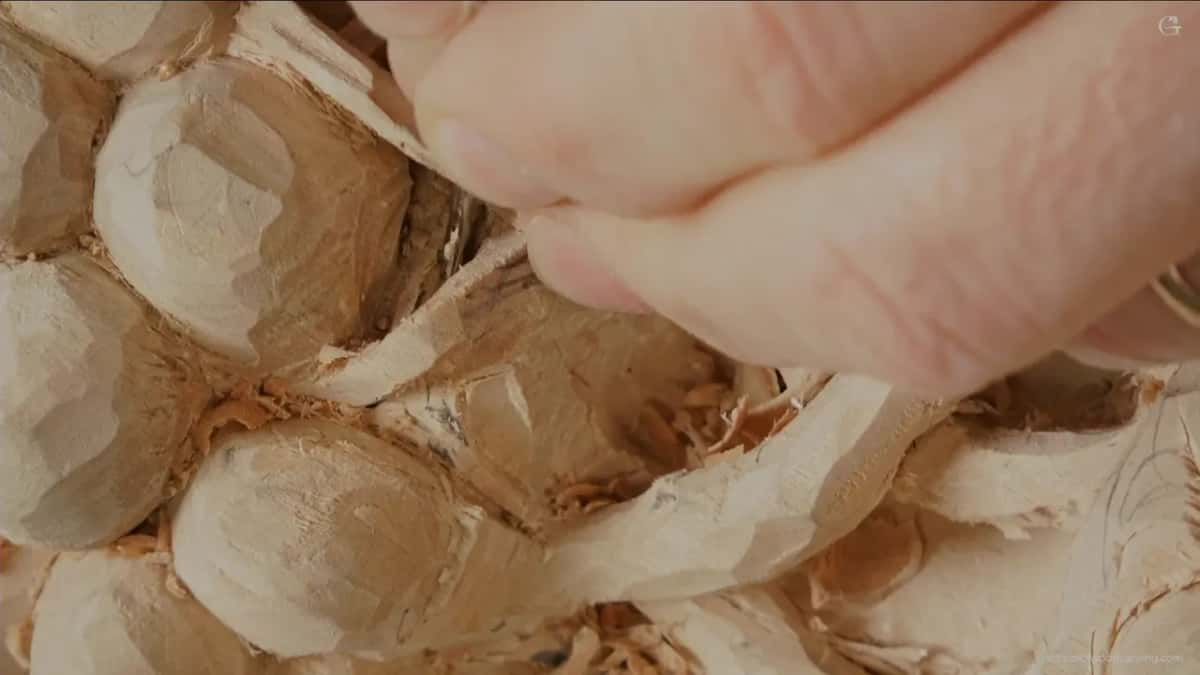
On one spot I used my finger as the leverage. I laid the tool right on my finger, so as not to crank on that part. That part was airborne and fragile. Here it was okay, because the grain runs long, but on another spot the grain runs the other way and it would be a big mistake. Super fragile. You can easily break it.
Really small passes, no pressure, just the sharpness of the tool, and that is really important.
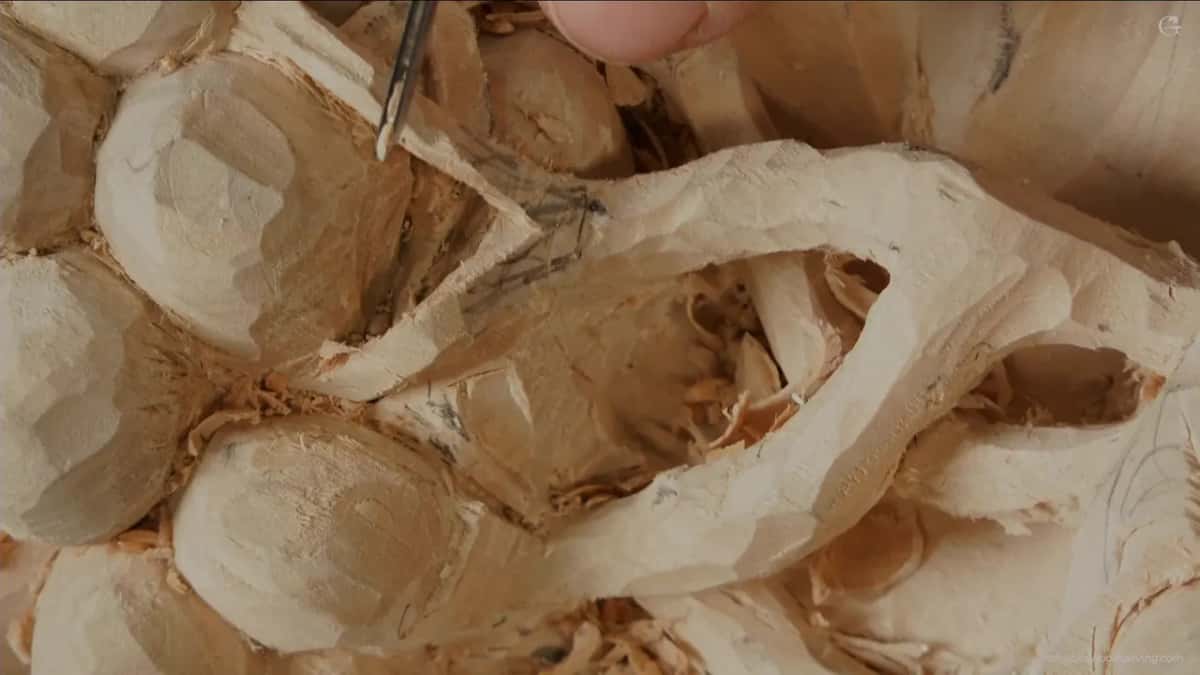
Will a stem this thin last?
All of this is for the sake of art. A carving like this is not a utensil you will use every day. It will be placed somewhere, hopefully where people won't touch it, and then it can last as long as you wish, hundreds of years. Especially if you put deep penetrating epoxy into those fragile parts. They get stabilized, and I guess they stay forever, because then it is plastic and epoxy.
The board itself is basswood, as always, which is lime wood if you are in Europe, as I said in lesson 1. Linden wood, the same thing.
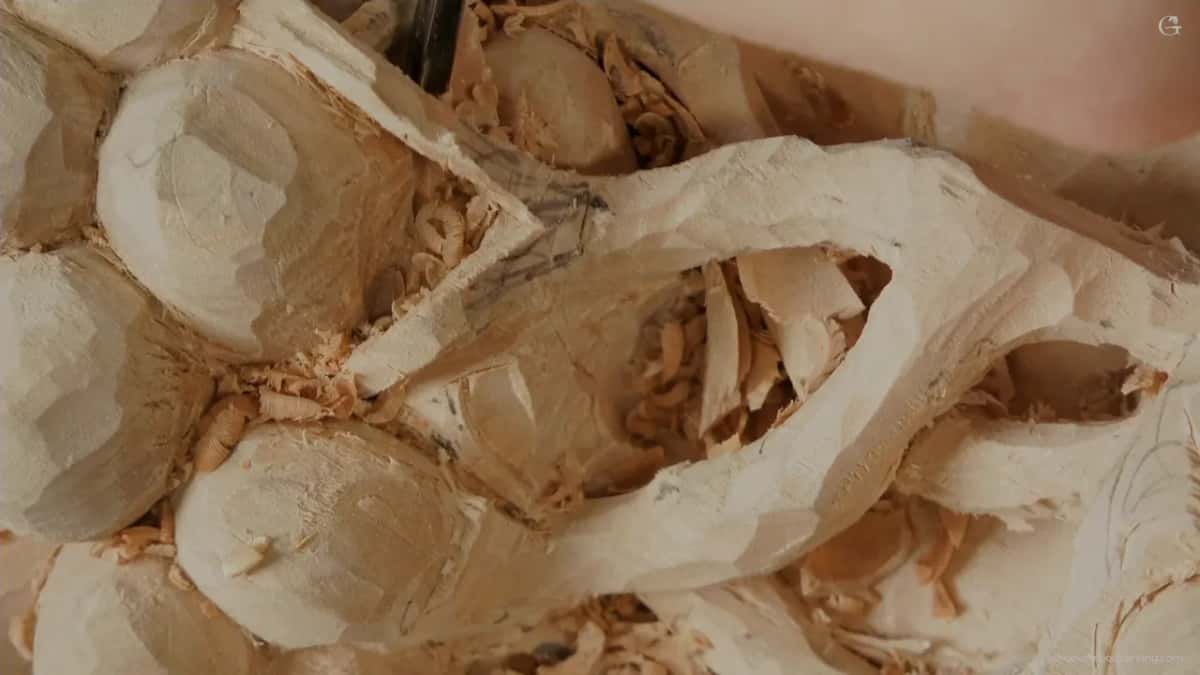
Why keep an eye on the grape next door?
A grape sits very close to this movement. This part I wanted a little wavy, since I don't like those straight lines, but I had to keep an eye on this grape. Go too far from it and I create the problem for myself. So I still had to use some logic about how to work around it.
There was some meat in this grape, so right there I could go a little deeper and maybe make the airborne effect on that side too. Another part needed to be lower, so I made it thinner, down to three millimeters or so, not too deep. Two parts on the same plane are not going to look nice.
Late in that video I gave the reason for twisting the movement up and down. It's how close that grape is. I don't want to deal later with a really deep excavation on the side of this grape.
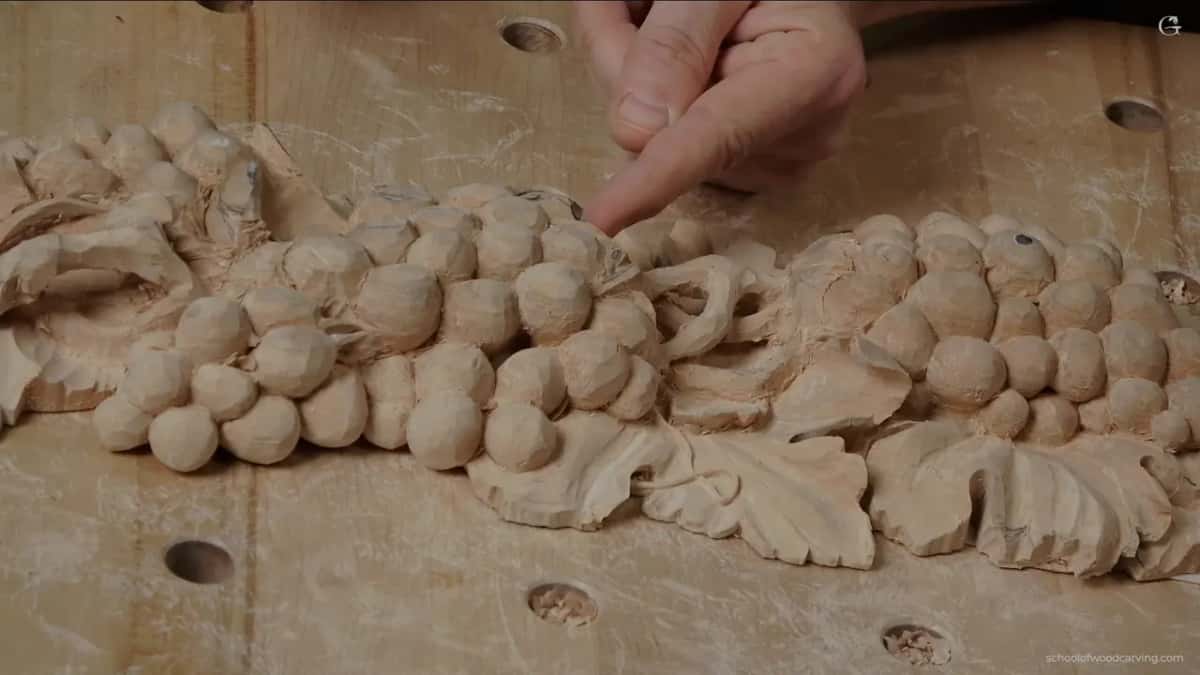
In the last video a number 3 spoon gouge went into the hole to clean a little above, and that excavation gives an even more dramatic effect, like a 3D effect. I noticed the movement goes right underneath, decided to go there, and it's the same long motion you see on the other side. With a small dockyard gouge I dug out the sides, careful not to go too deep. The grape below is kind of low, though, so that part could go airborne too.
Which tools were on the bench?
A spoon number 11 helps under the airborne parts, and I do have one, but if you don't, a straight tool does the same job.
For details I used a number 3 of 1/8 inch (3 mm) by Ashley Iles, from the Peter Benson collection, an excellent tool to get some of the details in. To step that part down I took a small double-sided skew chisel by Marples and Sons, also 1/8 inch. The Peter Benson number 3 could have done that, but just for the fun of it I used different tools.
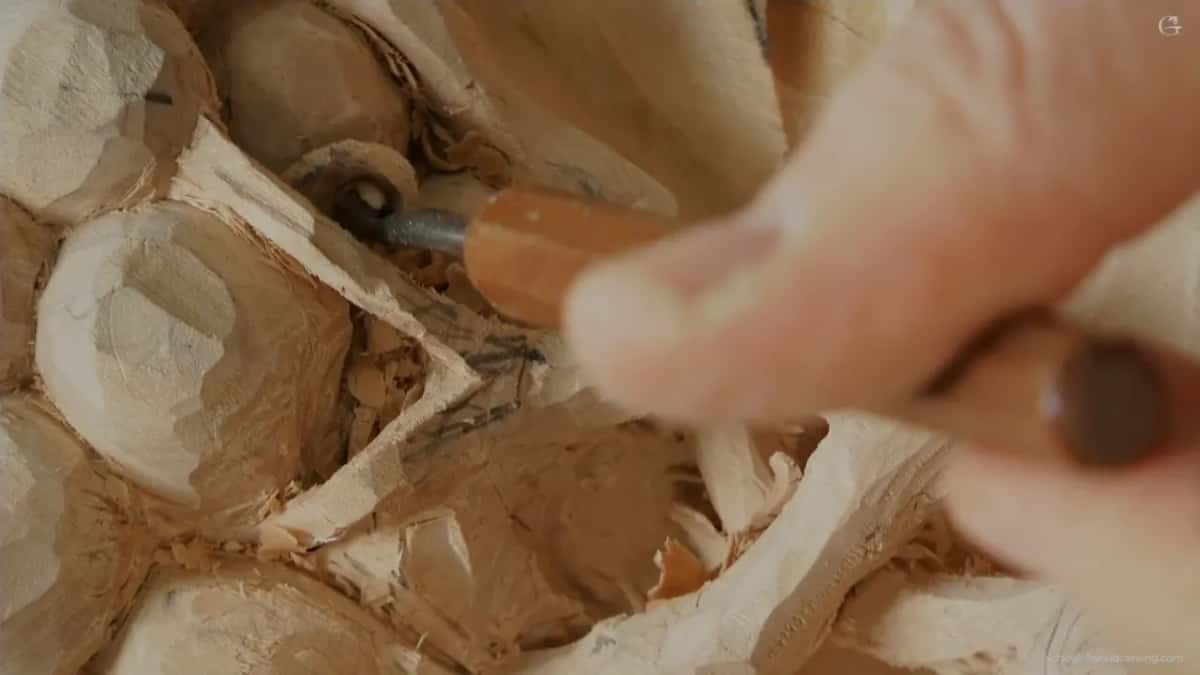
For the plug, late in the video, I tried a small dockyard gouge, then a smaller number 8 of maybe 1 mm (0.04 in). It has no marking, and it was safer to drill with. Usually I work an area like that with a magnifier glass and get really close, but the camera set up would not let me. I don't like a pencil either, because it is kind of hard to clean, and here I used one only for the demonstration.
Still deciding what to buy? My tools course starts with the ones to get first.
Want to see that movement go in under the grape, every pass of it? The whole lesson, all three videos, is waiting inside the school.
How it's done
- Pick a CNC tape. XFasten is the one on my bench. Leave carpet tape alone, it can break delicate parts.
- Lay a couple strips down. Between board and bench, that was all I used, and you don't need a lot.
- Set the board for the next job. Think about which section you will carve next, then place the board so that side sits right for you.
- Carve with nothing on top. No clamp is in the way of your hands. Push on no fragile part, and let a sharp edge do the work.
- Take the work off when you are done. Strong as it is, this tape lets go easy, and fragile parts come off the bench in one piece. That is why I use it on a panel like this.
Frequently asked questions
What kind of tape holds a carving without breaking it?
A CNC tape, the kind made for those machines. XFasten is the brand on my bench in this lesson, and I find it really good, strong enough to hold yet able to let go, so fragile parts survive. Carpet tape I would not use on delicate work. That stuff is heavy duty.
Is CNC tape worth the cost for a small carving?
Probably not. On a small piece you will finish in a day, I don't think it is wise, since that tape is expensive. Save it for a long, complex project, where your hands keep coming back to the same board.
Why not just use hold down clamps?
You can, and you saw me use clamps in this course before. They do get in the way sometimes, though. With tape under the board instead, nothing sits on top of the panel, so your hands and your gouges get the whole surface.
What to carve next