
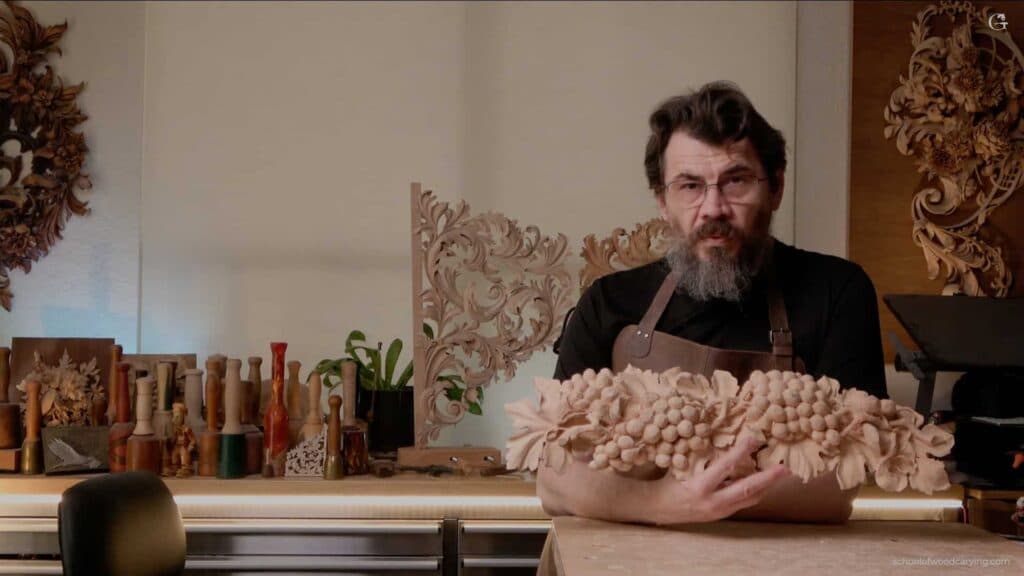
Alexander Grabovetskiy, woodcarver, School of Woodcarving · Published 2025
Why do you hollow out the back of a wood carving?
Quick answer: Hollowing out behind a carving is how you keep it from cracking. Wood is a bundle of tubes running lengthwise, and a thick panel moves with every change of season. Carve through those tubes from behind and much of that force has nowhere left to go. The piece also ends up far lighter.
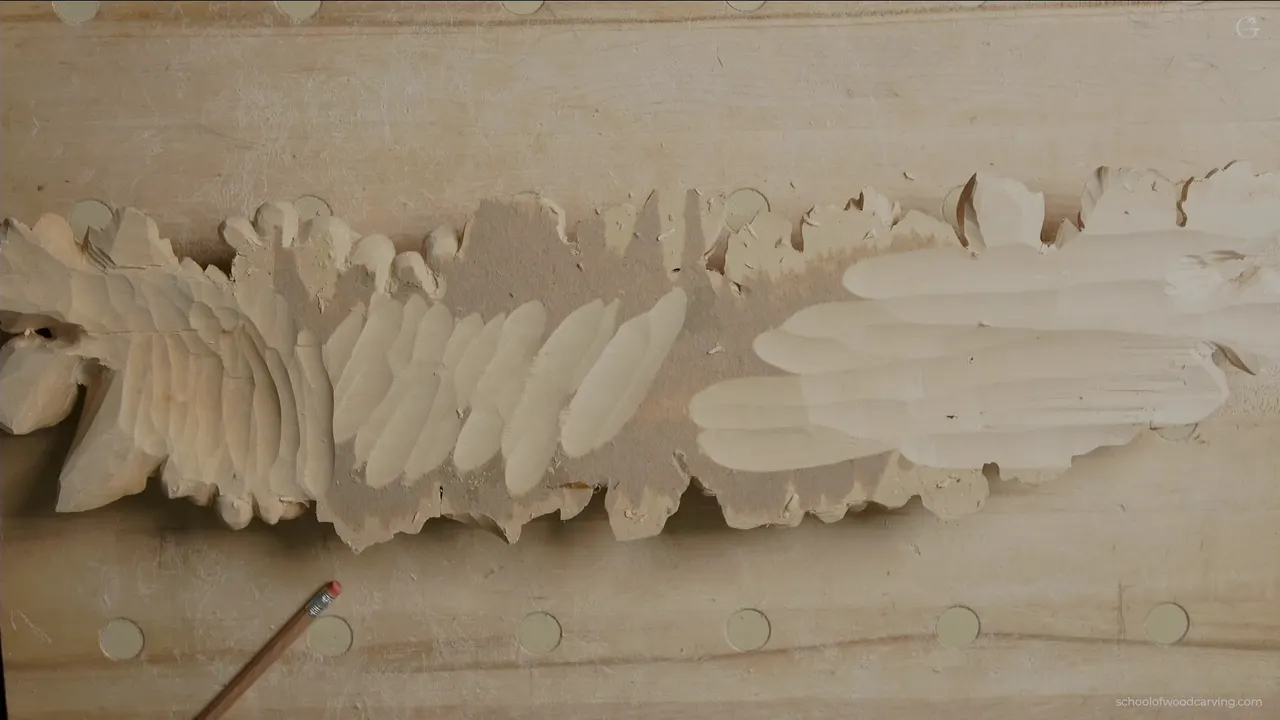
Every thick carving I have ever made would have split eventually if I left the back solid. Wood is a bundle of tubes running the length of the board, and a heavy panel pulls against itself with every change of season. Carve through those tubes from behind and most of that pull has nowhere left to go. You also end up holding something far lighter than it looks.
Here is a question worth sitting with. Have you seen an old carved panel with a crack running right through the ornament? Most of us have. Now think about how much work went into that piece before the crack arrived, and how little anybody could do about it afterwards. The fix costs an afternoon and it happens on a surface no viewer will ever look at. Today I want to show you exactly what comes out of a panel from behind, how much stays, and the one trick that lets you flip a finished carving over without breaking a single thing on the face.
What you get for the extra afternoon
- Fewer cracks, since severing the long fibres breaks up whatever drives seasonal movement.
- Weight, and a great deal of it.
- A quarter of an inch, six millimetres or so, is what stays under the carved face.
- Start behind every eye.
- Rough high spots on the face stay put. Those become legs the moment the piece goes face down.
- Never all the way through. I did it more than once and there is no repair.
Why does a carved panel crack?
Seasonal movement does it, and understanding why takes about a minute. Look closely at the end of any board and you are looking at the ends of countless small pipes. Bundled tubes are all grain ever was, each one having carried sap up a trunk, laid side by side along the board.
Those tubes take on moisture and give it up again, forever, depending on the humidity where the piece lives. As they do, they swell and shrink across their width far more than along their length. A thin board can move and get away with it. A thick one cannot, because the outside reaches equilibrium while the inside is still catching up, and the difference between the two is a force. Given enough time that force finds the weakest line in your ornament and opens it.
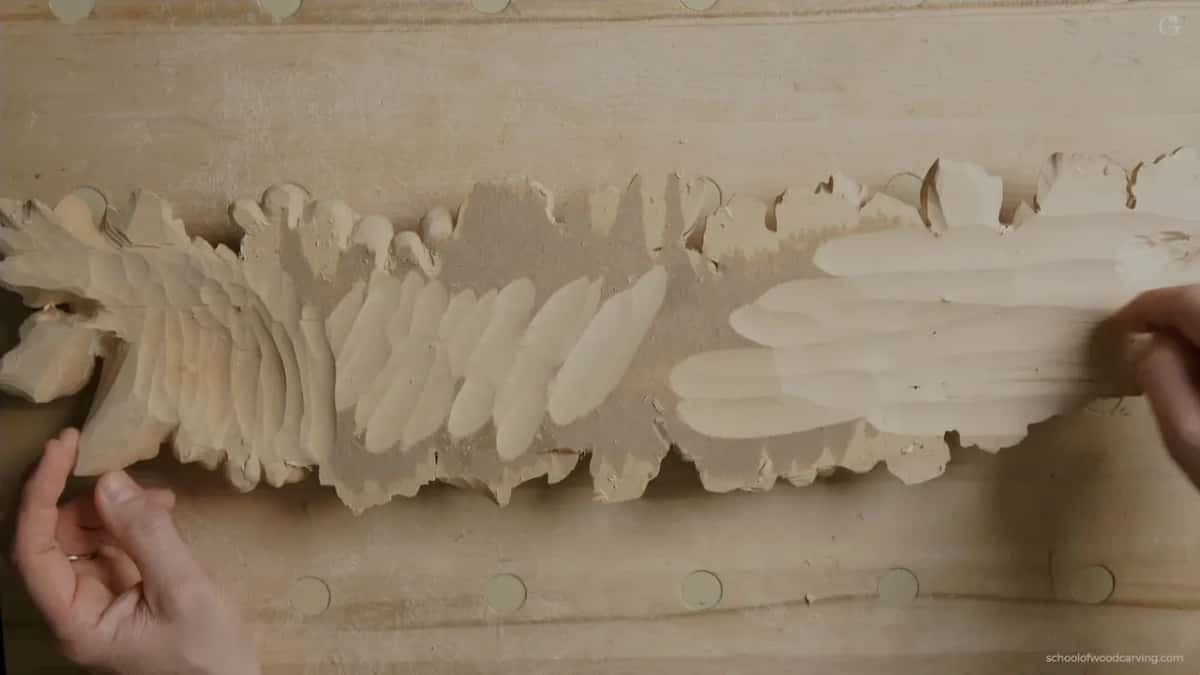
So my approach is simple. Break the continuity. Working the reverse means carving those pipes into short sections, and a short one cannot pull the way an unbroken length can. The same physics governs every species you might carve. I advocate taking out more rather than leaving more for exactly this reason, and it is the opposite of what most beginners assume, which is that a thick solid panel must be the strong one. Find any surviving Baroque carving of real size and check its reverse.
How much material do you leave?
About a quarter inch across the flat areas, and the same behind nearly all the ornament, which is six millimetres, and in a few places I let it run to five. Under the leaves, where a knife edge runs right out to the rim, the wall left behind can be as little as one sixty fourth, which is nothing at all. A leaf edge carries no load, so it can go that thin without argument.
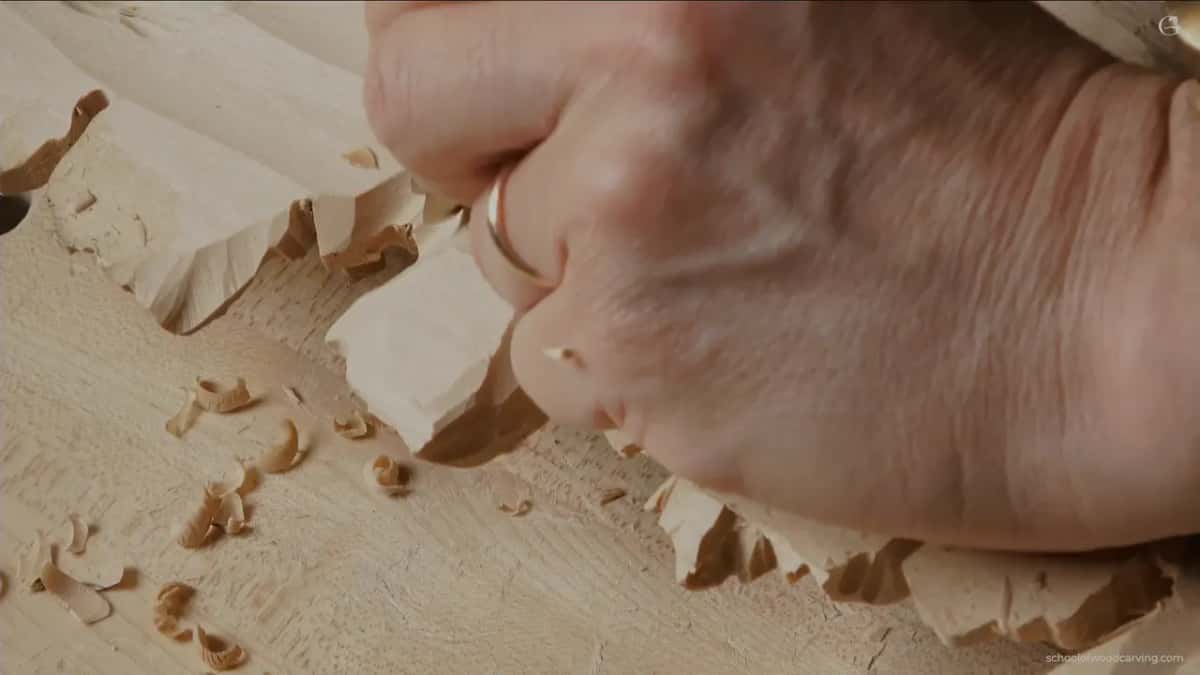
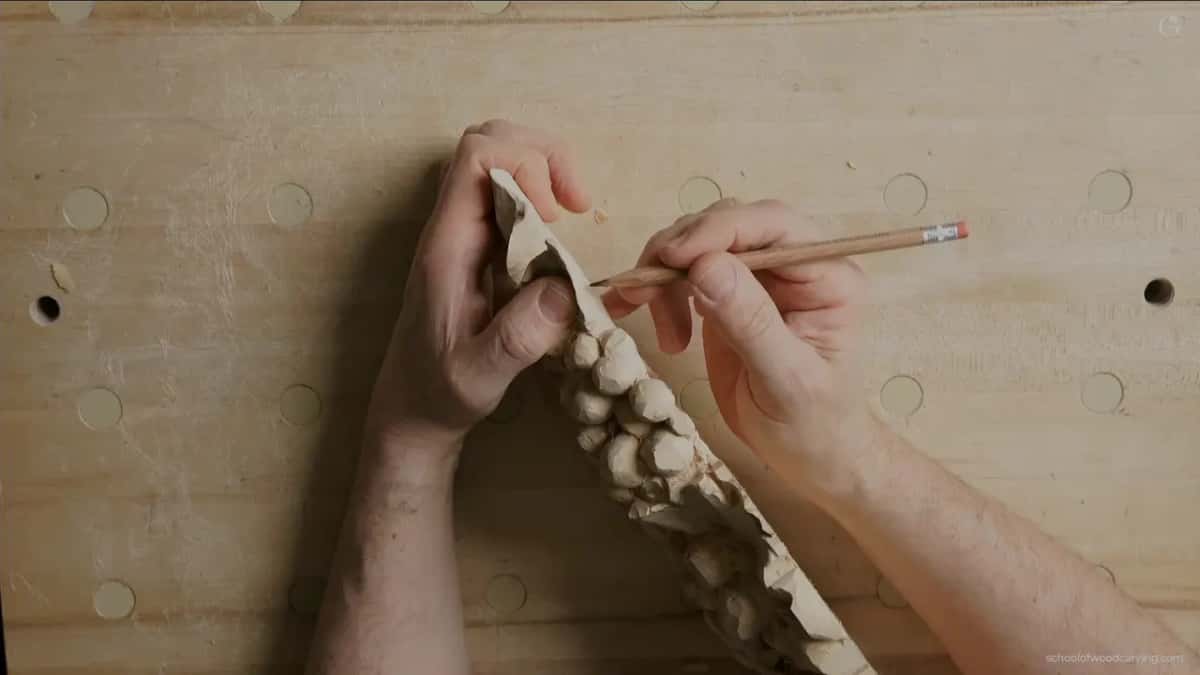
The danger is the other direction. Twice now I have gone straight through a panel, chasing a shadow from underneath without watching what was happening above, and there is no putting that back. So I check thickness constantly. A thumb and finger either side of the panel tells you more than any gauge, and you develop a feel for six millimetres surprisingly fast. We measure the same way when the branches get thinned.
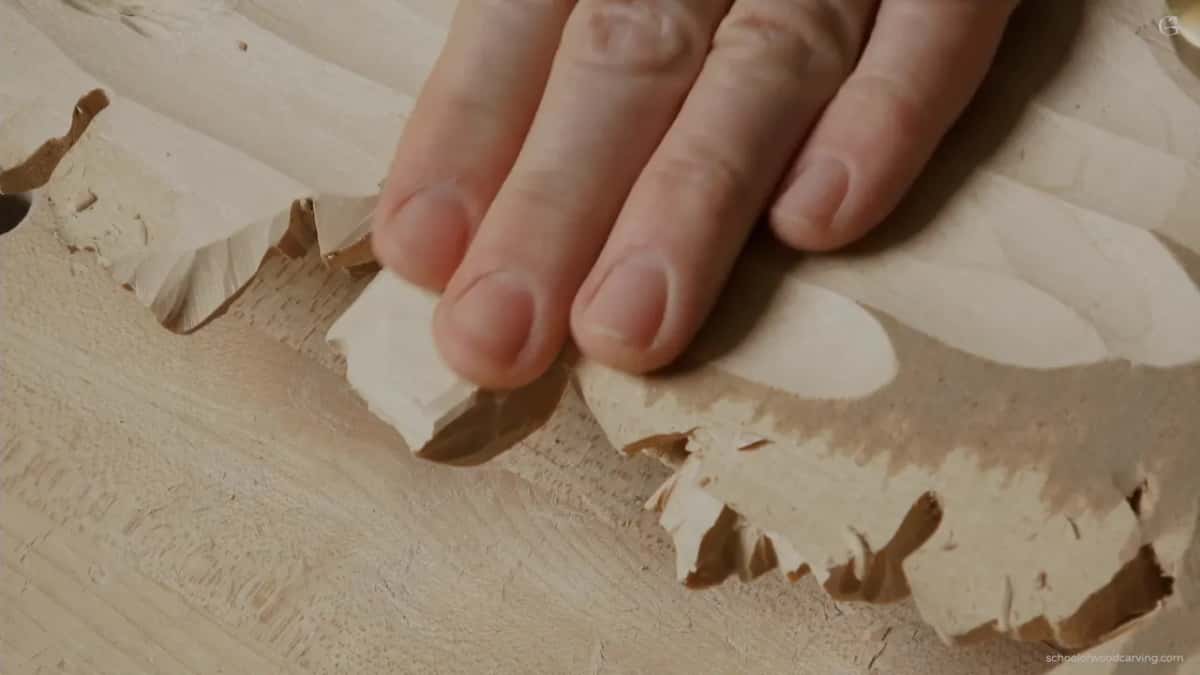
Keep both eyes working. Left eye on the reverse where the tool is, right eye on the face where any damage would appear. Absurd until you have done it for an hour, and then it becomes the only way you work.
Where on the back do you start?
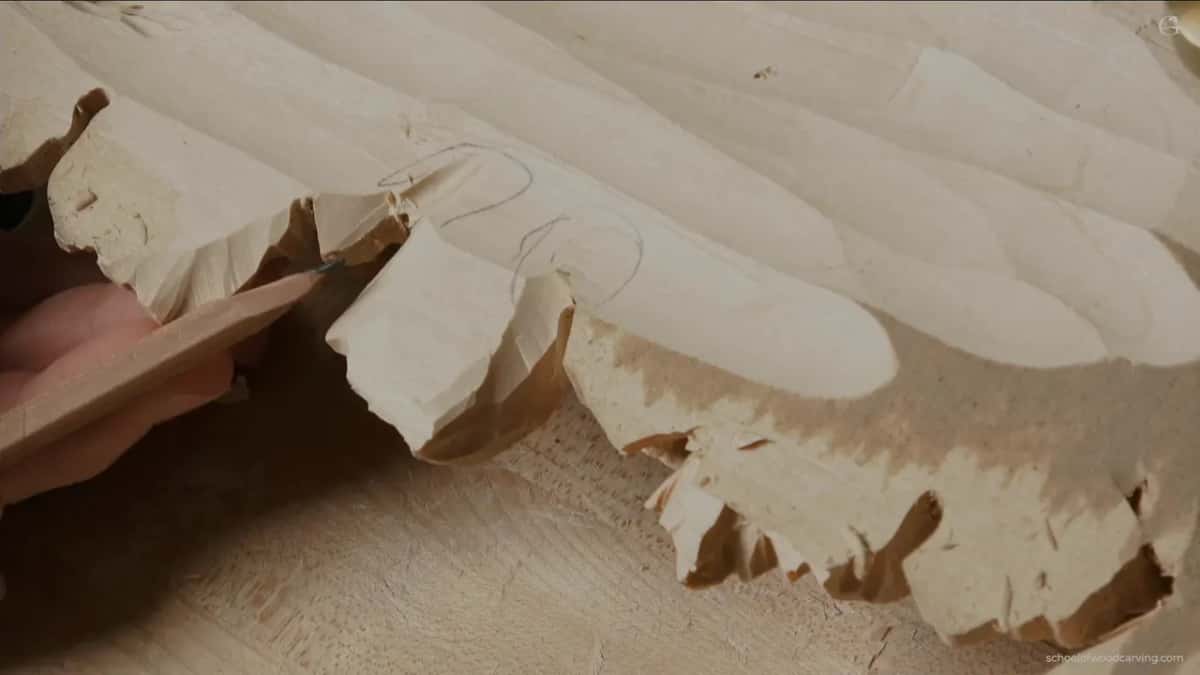
At the eyes. Wherever two elements cross on the face there is a small pointed shape, and directly behind every one of those is the deepest hollow I will carve. Crossings carry the deepest stack of material, which makes them the spots where movement finds the most to work with.
Step two is under the lifts, wherever a leaf or a branch stands proud of the ground. Step three is anywhere the board is simply thick, such as behind a heavy bunch of fruit. By the time all three are done, the panel is a field of craters and weighs about half what it did. The next workshop picks up from exactly that state.
| The place | How much of the wall survives there | Why hollow it |
|---|---|---|
| The wood behind an eye | Around a quarter inch, call it six millimetres of wall | The deepest stack |
| Under a lift | A sixty fourth at the border | Nothing there carries any load |
| Behind the heavy bunch of fruit up top | About five millimetres | Thickest part of the whole board and the heaviest |
| Under a high spot | Nothing, because that one is doing a job | It holds everything |
Why leave rough patches on a finished face?
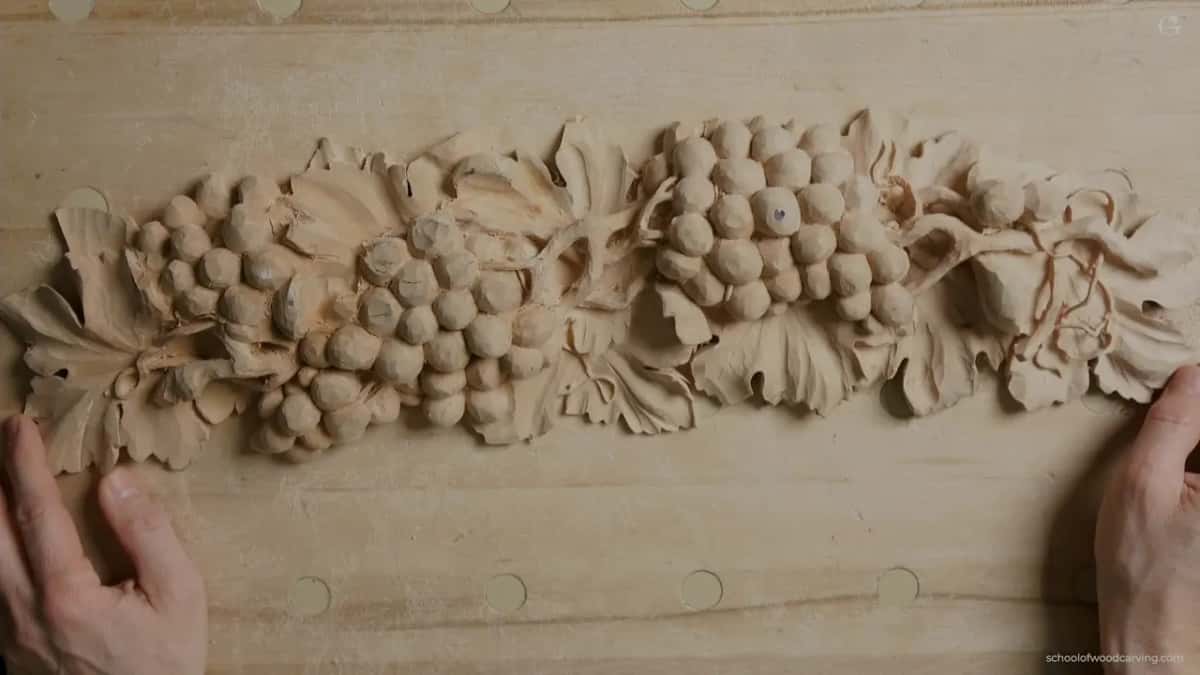
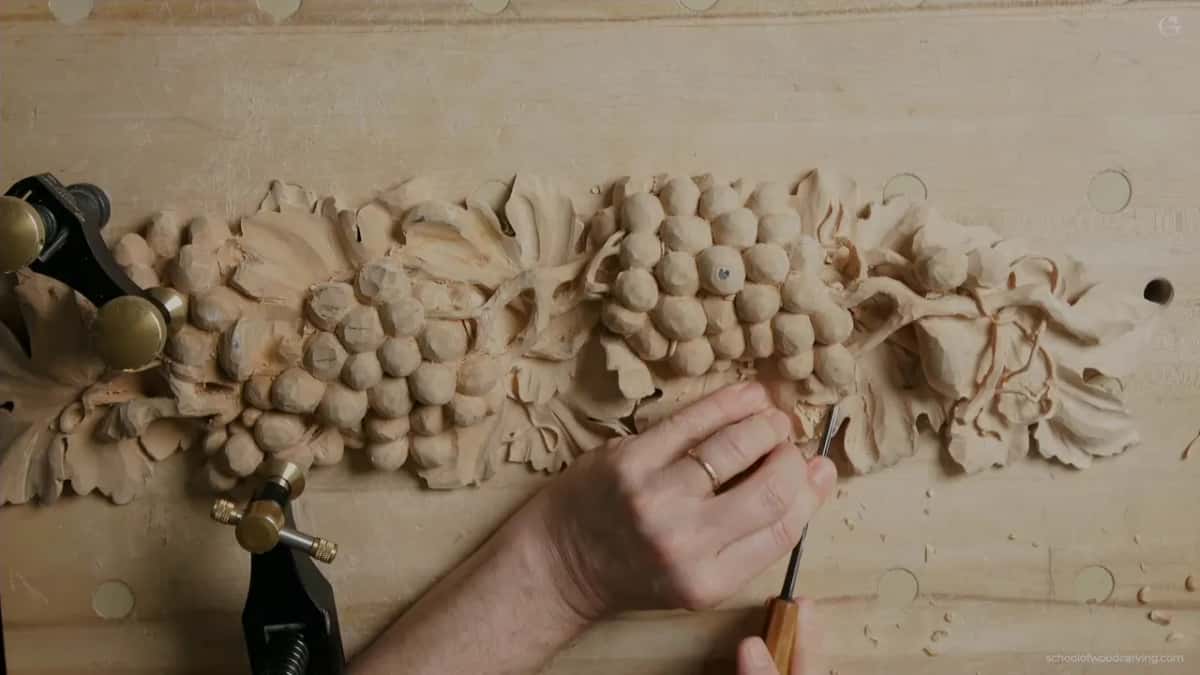
Every panel has to rest on something once it goes face down. Look at my board and you will spot two or three places with a scrap of the original paper still stuck to them, untouched by any tool. People ask why I did not clean those. The answer is that they are the only parts of the face flat enough and strong enough to take the weight of the whole piece, and the moment I carve them away, flipping the panel means laying fragile ornament down on a bench.
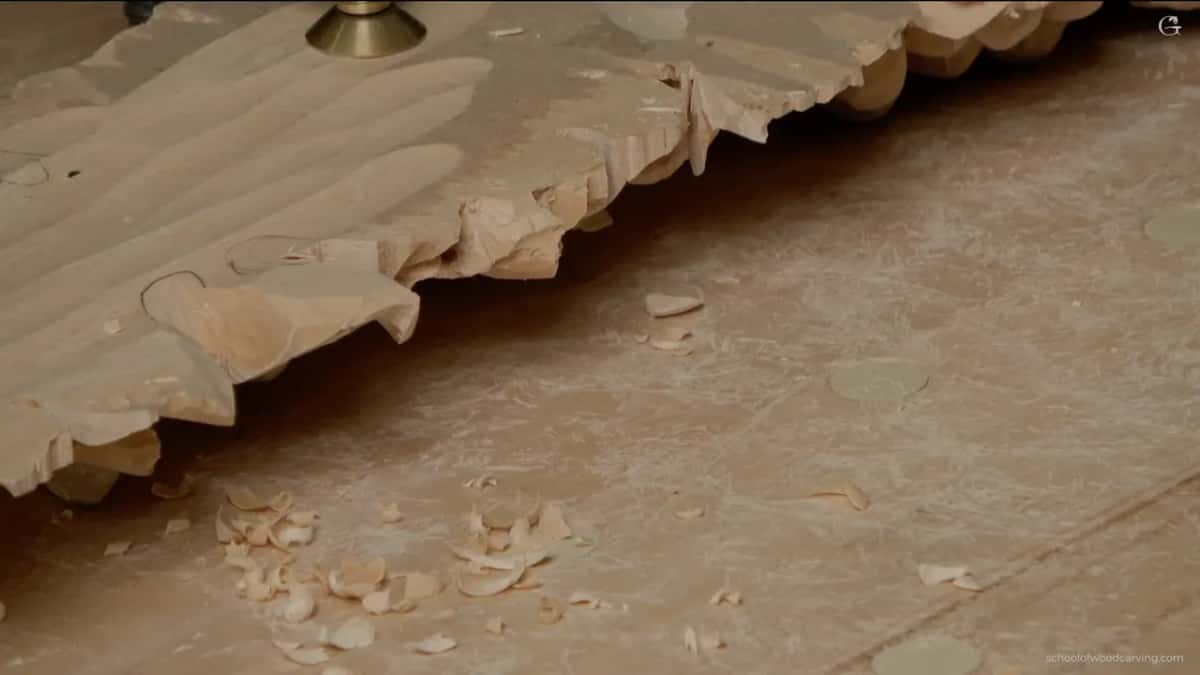
So they stay until the very end. Once the reverse is finished and the piece needs no more turning, they come off in ten minutes. Until then they are legs, and I would rather look at three ugly patches for a month than repair a snapped leaf.
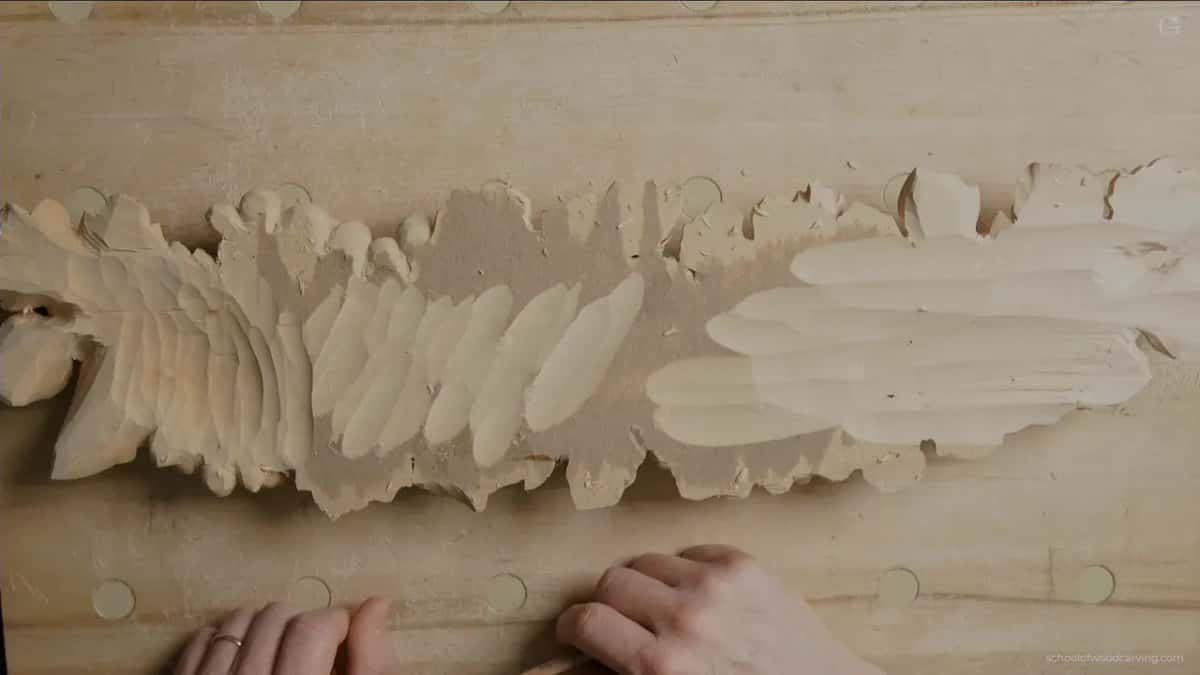
This is not a rule anybody taught me. I arrived at it after breaking things, which is how most of the useful habits in this course arrived. The same goes for the proportions in the design work.
How do you clamp a carving face down?
Hold downs through the bench dog holes, one at each end of the panel, and tight. With legs underneath there is nothing fragile taking the pressure, so you can snug them properly rather than nervously. One Veritas hold down was almost enough on my board, but it let the piece wiggle, so a second went on at the far end and the wiggle stopped.
The clamps themselves matter less than people hope. Mine are a mix, one Veritas from Canada and a couple from a cheap Chinese tool site whose name I have forgotten, and honestly I suspect the Veritas is made in the same country. They all hold. Buy the expensive one if you like how it works, not because it holds better. Other ways of fastening a panel turn up in the tools course.
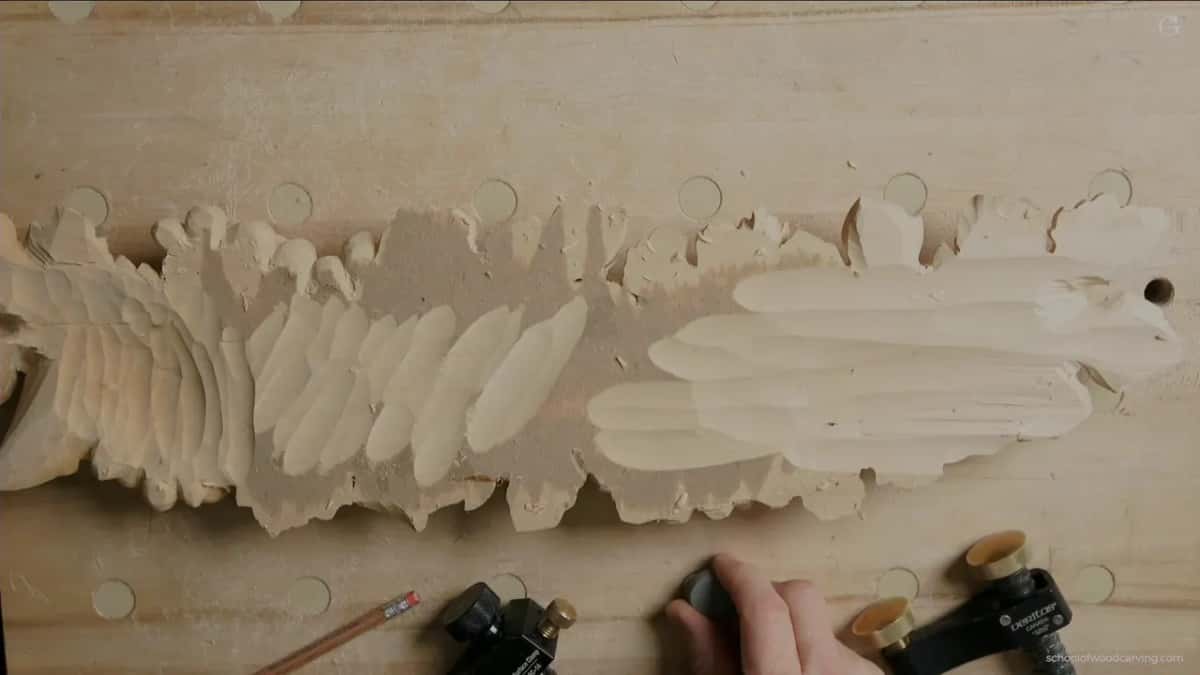
The dog holes have plugs in them as well. Someone made mine for me, a 3D print with one magnet inside and a metal washer, so each one pops in and pops out again. The back of my bench has the same little poppers. Spring plugs work too, and I keep a few of mine near the bench.
Is this the same as undercutting the front?
Two different jobs with two different reasons, and it matters that you keep them apart in your head. Undercutting the face is optical work. You carve in beneath an edge so light cannot reach the ground behind it, a dark line appears, and the eye reads that line as depth. It is rationed, because every extra millimetre of it costs hours and on gilded work the gold cannot reach in there anyway.
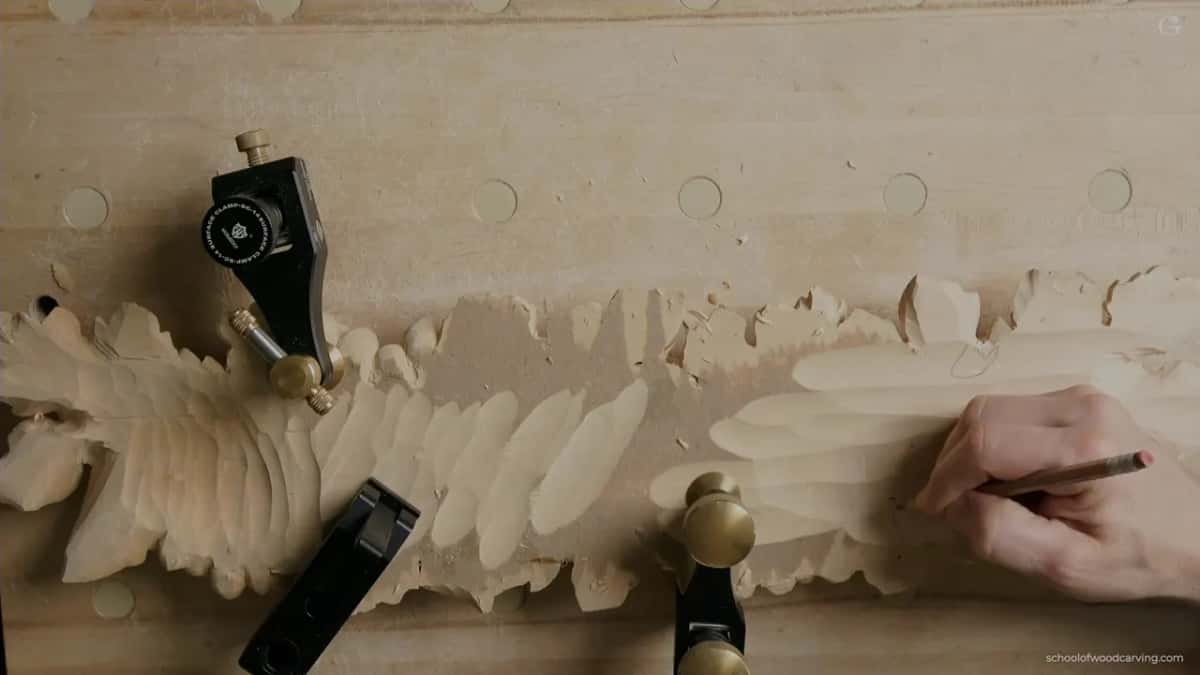
Back work is structural. Nobody sees it, nobody will ever photograph it, and the question is not how deep a shadow reads but how much of this board remains one continuous piece of pulling basswood. Here I want more rather than less, right up to the point where it gets thin enough to worry about.
The two meet in the middle on a really deep piece of foliage, which is a good feeling and slightly alarming the first time it happens. You are working from the back, you see daylight, and you realise your two hollows have found each other.
When in a project do you turn the panel over?
Late, and not before. The face has to be settled, every movement decided, all the depths established, and the ornament roughed out everywhere. If anything on the front might still change, turning the board over is premature, because hollowing behind a leaf you later decide to lower is wasted work.
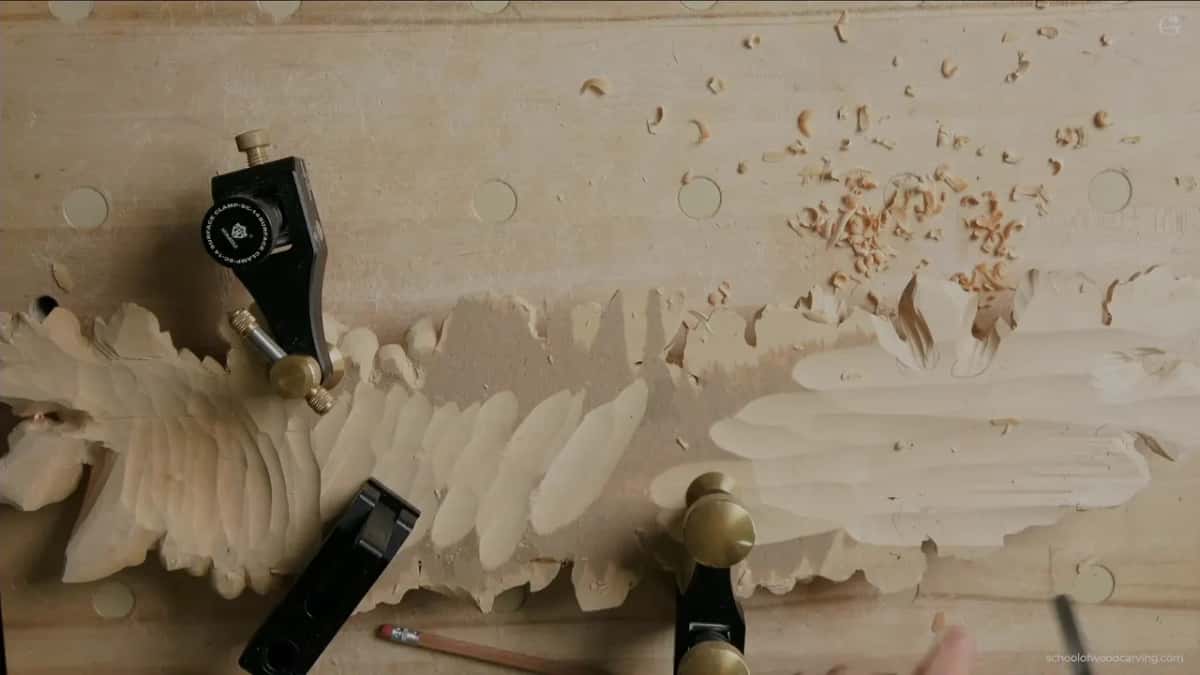
But do it before the final cleaning. That order matters and most people get it backwards. Flipping a panel, clamping it face down and working it from behind is rough handling, and whatever polish you put on the face beforehand will pick up marks. So: rough the face, empty the reverse, then clean everything, in that sequence. On plenty of panels I got impatient and finished the face first, and I paid for it every time.
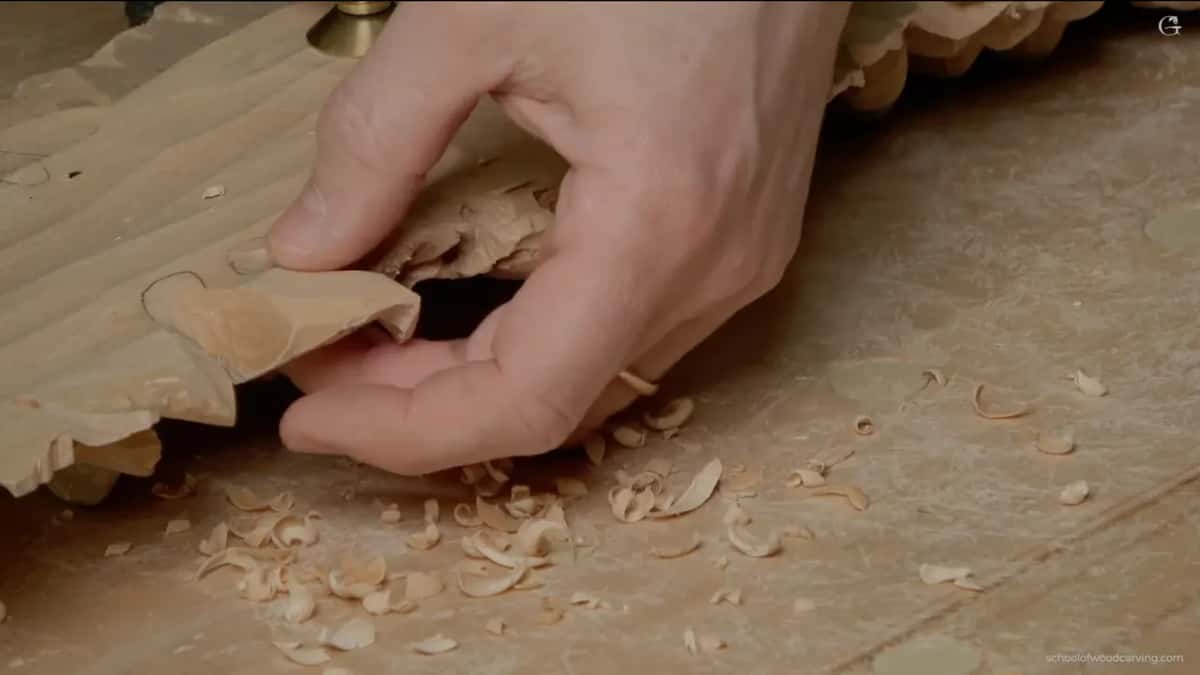
One more reason exists for leaving this until late. By then you know the piece. You can feel where it is heavy, you know which elements are fragile, and you have a picture in your head of what is on the other side of every cut. Start on day two and you are working blind in a way you do not have to be.
Does hollowing change anything besides cracking?
Weight, and weight changes what you can do with the piece. A solid panel this size is heavy enough that hanging it or gluing it onto a cabinet becomes a real engineering question. Hollowed, it is light enough that you stop thinking about it, and glue alone will hold it for a very long time. Most carved ornament reached the furniture it decorates exactly that way.
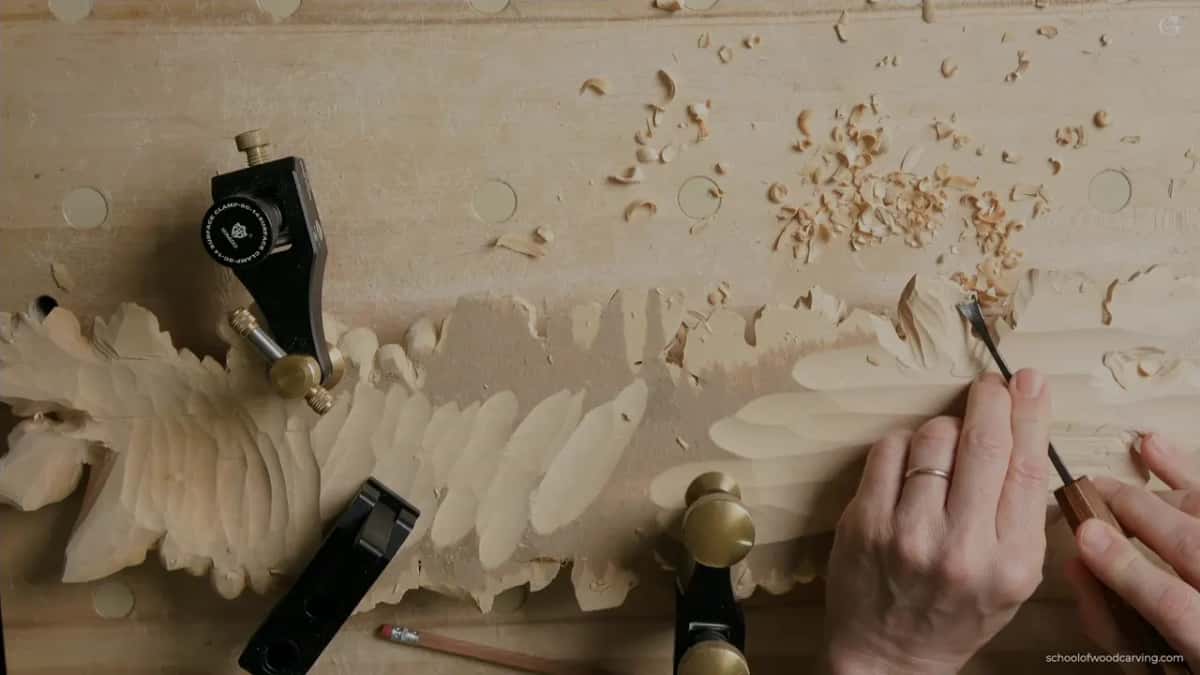
A second effect took me years to notice. Emptying the reverse lets you take the face deeper. Once you know there is air behind a leaf, you can undercut from the front until the edge is genuinely thin, and the two operations meet somewhere in the middle. That is the difference between a relief that looks heavy and one that looks like it grew there.
Want to carve at that depth yourself? More than 3,000 lessons sit behind the door, and I teach the same back work face to face at the classes in Georgia.
Which tools do the back work?
Most of the work falls to a number 11 veiner at six or seven millimetres, cutting channels from the inside outward. Widening those channels is a job for the number 7 at fourteen millimetres. For the very deepest pockets I use a spoon gouge, because a straight shank fouls on the wall of the hollow long before the edge reaches where it needs to be.
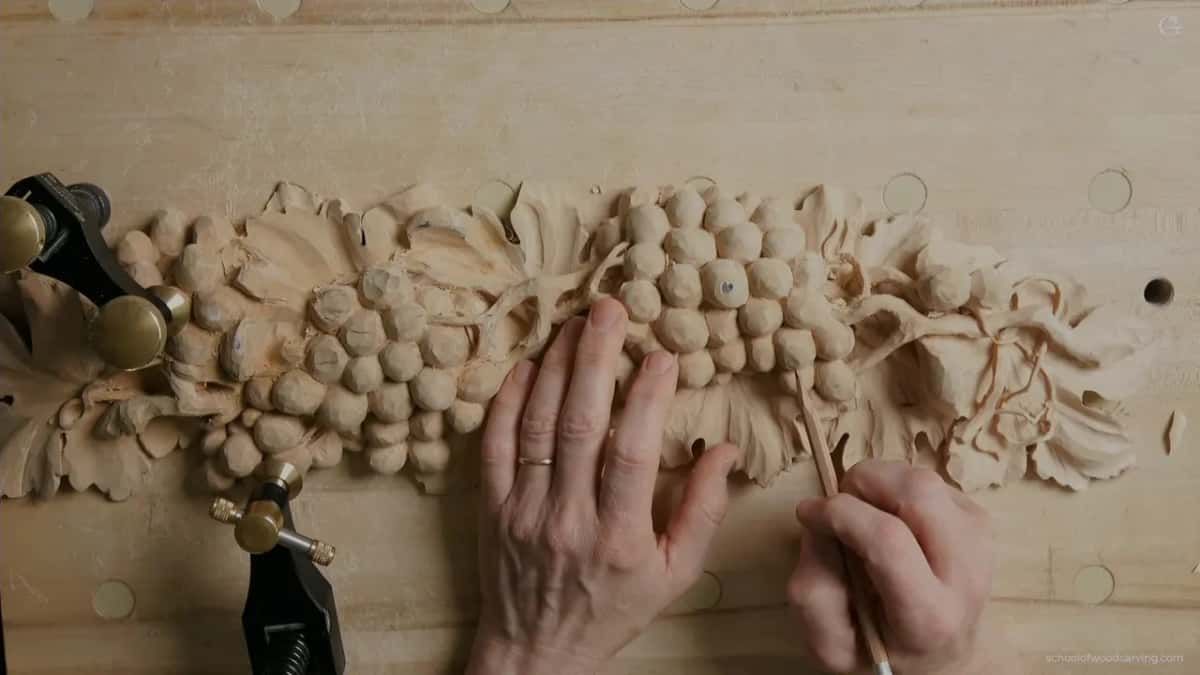
Sharpness decides how this goes. Down there you are working blind, often against the grain direction, and a dull edge in that situation tears rather than slices. My own strop is a piece of leather with a honing paste from England on it, and one warning about that compound: do not get it on your skin. See what it has done to my leather over the years, then decide how much you want it on your hands.
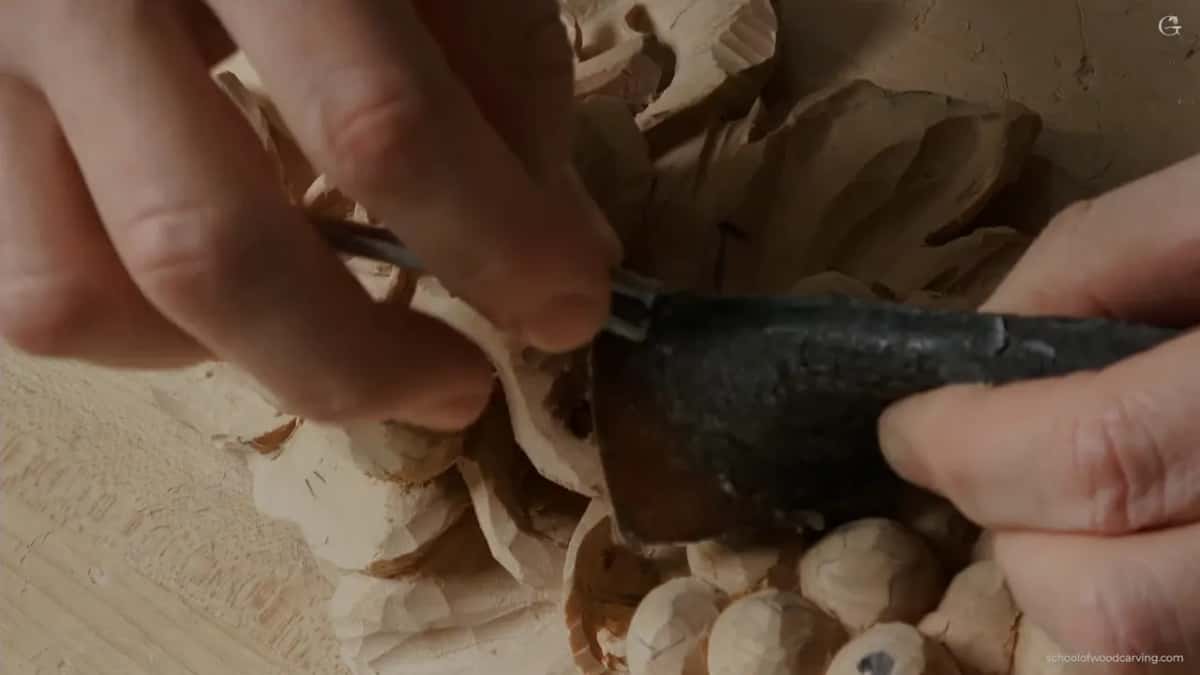
When I strop, the hollow face of the gouge gets worked before the bevel does. Doing it in that order controls which way the wire edge rolls, and I would rather it rolled toward the back of the tool than toward the front. Ten minutes on a strop before the reverse work begins and the difference is audible. You can hear a sharp gouge slicing inside a hollow you cannot see into, and that sound is how you know the surface behind your leaves is clean.
Nobody will ever see that surface. Carve it properly anyway. A hundred years from now somebody will take this panel off a wall, turn it over out of curiosity, and find out what kind of person made it. Grinling Gibbons knew that, and so did everybody who lasted. If you are only starting, begin here instead.
How it's done
- Wait until the face stops changing. Every movement settled and the ornament roughed out everywhere. Work behind something you later lower and the effort is simply thrown away.
- Keep two or three rough patches on the face. Those become legs. Without them a panel rests its ornament on the bench the moment you turn it face down.
- Clamp it face down through the dog holes. One hold down at each end, snug. The legs take the pressure so nothing fragile has to.
- Start behind every eye. Each crossing on the face has the most material stacked behind it, so that is where movement has the most to work with.
- Move on to the lifts and the thick ground. Anywhere a leaf stands proud, and behind a heavy bunch. Force gathers in those two places next, and both of them repay the effort.
- Leave about six millimetres of wall. Around a quarter inch under the carved face, and less at a leaf rim where nothing carries load.
- Check the face with your other hand. Thumb and finger either side of the panel while you work. Going all the way through cannot be repaired.
Frequently asked questions
How thick should the wall be after hollowing?
About a quarter of an inch, which comes to six millimetres or so. At a leaf rim, where nothing takes any load, a sixty fourth is perfectly fine. The danger always runs the other way, toward taking too much.
Will a hollowed panel be weaker?
Quite the opposite. Continuous long fibres generate the pull that opens cracks on a thick board, and severing them into short lengths removes most of that force. Plenty of material still remains to carry the ornament above it.
Is hollowing the back the same as undercutting?
Two different jobs. Undercutting the face is optical, carved so an edge throws a shadow, and it gets rationed. Reverse work is structural, nobody ever sees it, and there you want more taken out rather than less.
What to carve next