
Alexander Grabovetskiy, woodcarver, School of Woodcarving · Published 2025
What is a relief cut in wood carving?
Quick answer: Opening a shallow channel with a number 11 veiner, before any separation is carved, gives squeezed fibres an escape route. Thin carved edges break because a gouge shoves wood forward and it has nowhere to go. Cut the channel first and the same pass lands clean.
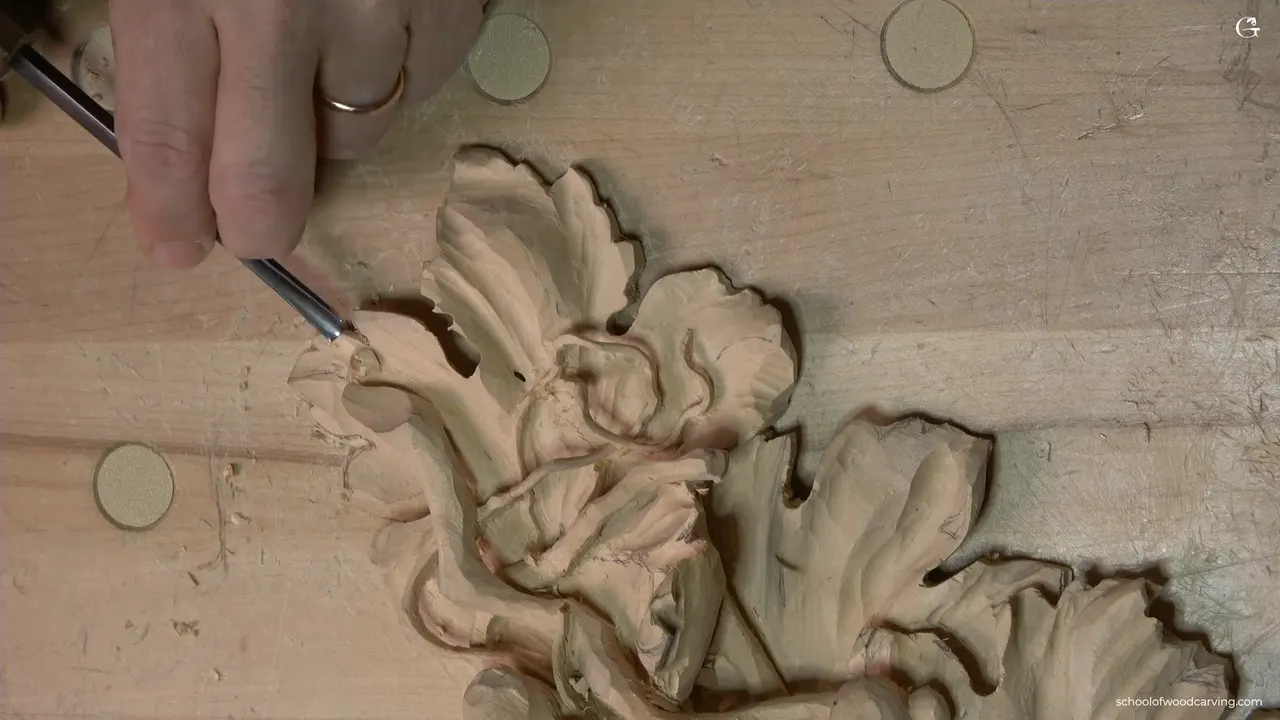
Carve a narrow groove with a veiner along the line where a separation is about to go, and the wood ahead of the blade suddenly has somewhere to move. Leave it out on a leaf edge three millimetres thick and the fibres squeeze until they let go. The edge comes away whole, and nobody decided that except the wood.
Nothing to do with relief carving, which is the whole craft. One small groove. Carving it costs you about four seconds of an afternoon, and it is the cheapest insurance in this trade.
Three weeks into a panel. Say a leaf edge you have brought down to three millimetres. You set a number three against your pencil line, lean on it, and hear a dry click that every carver knows and nobody likes. Now you own a design change instead of a carving. I did it more times than I want to write down, and the thing that stopped it was not a steadier hand or a better gouge. It was learning to carve a groove first and the separation second. Here is the groove, the tool that makes it, how thin the wood can safely get, and a small test you can run tonight on a scrap if you think I am making this up.
What the groove buys you
- An escape route.
- Clean walls on both sides of the separation, rather than the torn ones you get without it.
- Wood under two millimetres you can work without holding your breath.
- A shadow already started, since the groove carries one before you ever deepen it, which saves guessing later.
- Room to undercut afterwards.
Why does a separation break a thin edge?
Every gouge is a wedge with a sharpened front, and a wedge does two jobs at once. It severs the fibres it touches. It also shoves the ones it does not touch sideways and forward, ahead of the edge.
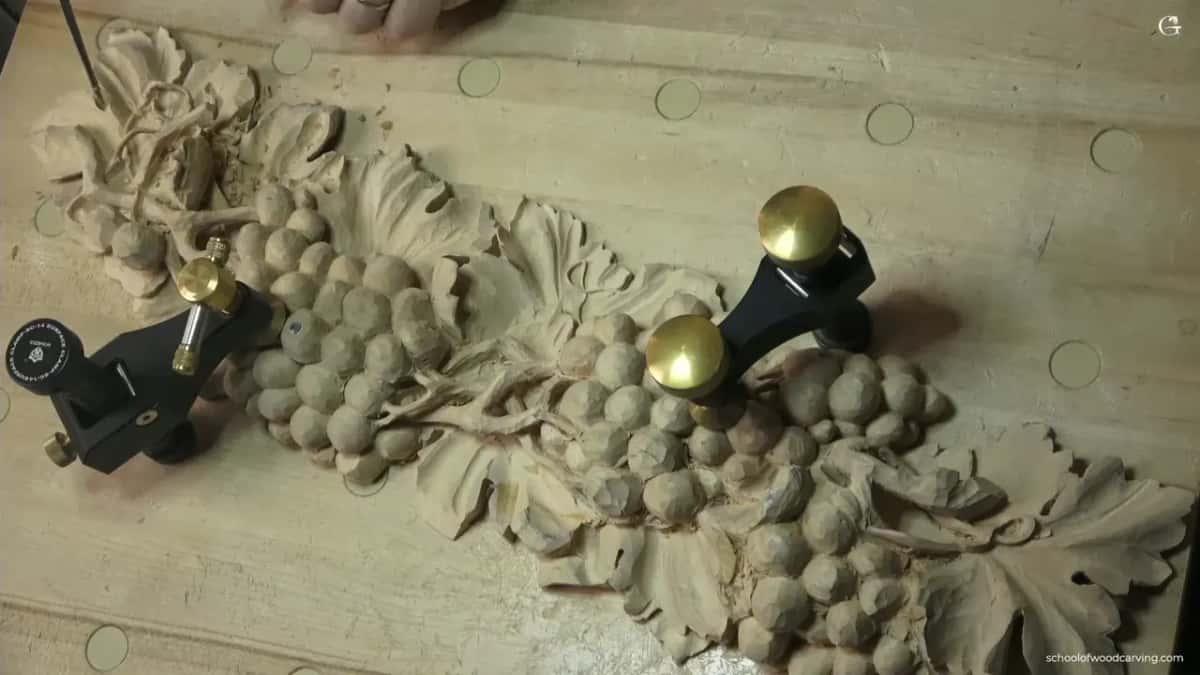
On a two inch block, that shoving goes nowhere you can see. Two solid inches of basswood sit behind the cut and soak it up without complaint. Bring the same edge down to three millimetres and the arithmetic flips. Now the wood ahead of your blade is a thin wall with air on the far side, and the only way it can relieve the pressure is to split along the grain and fall off.
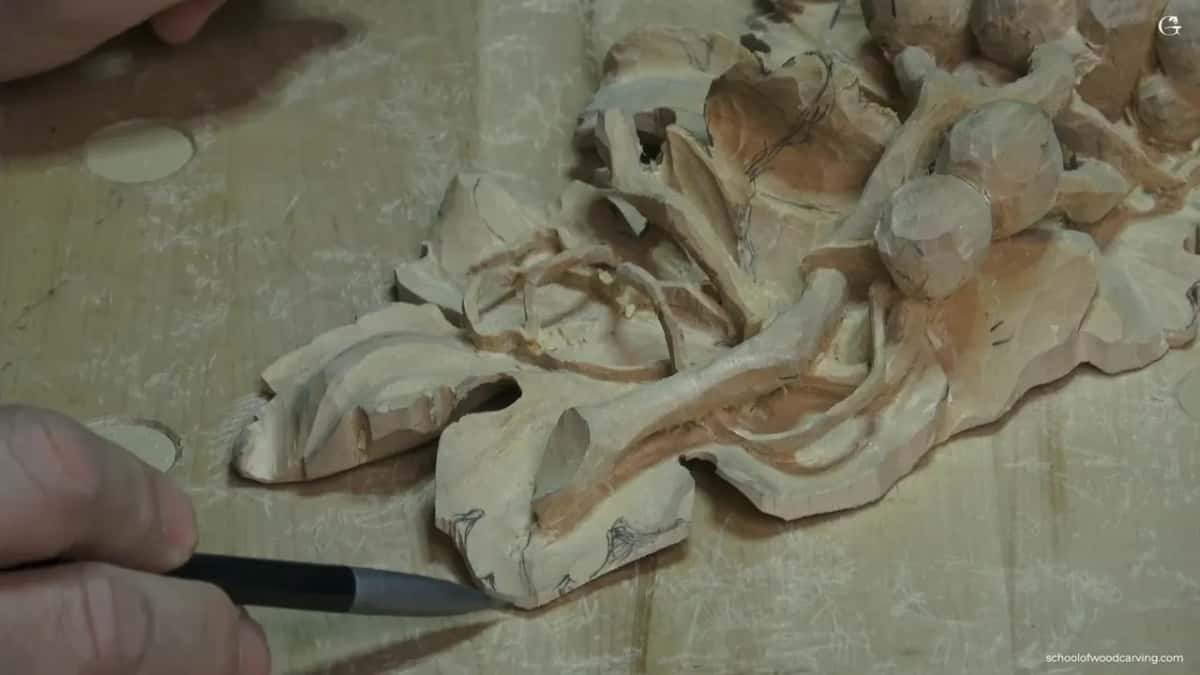
That is the whole mechanism. The groove gives the pressure an exit before you ever bring the separation tool near the line. The other half of this problem is worked through in the lesson on branch thickness, where the question is how much wood to leave rather than how to carve into what is left.
Which tool carves the groove?
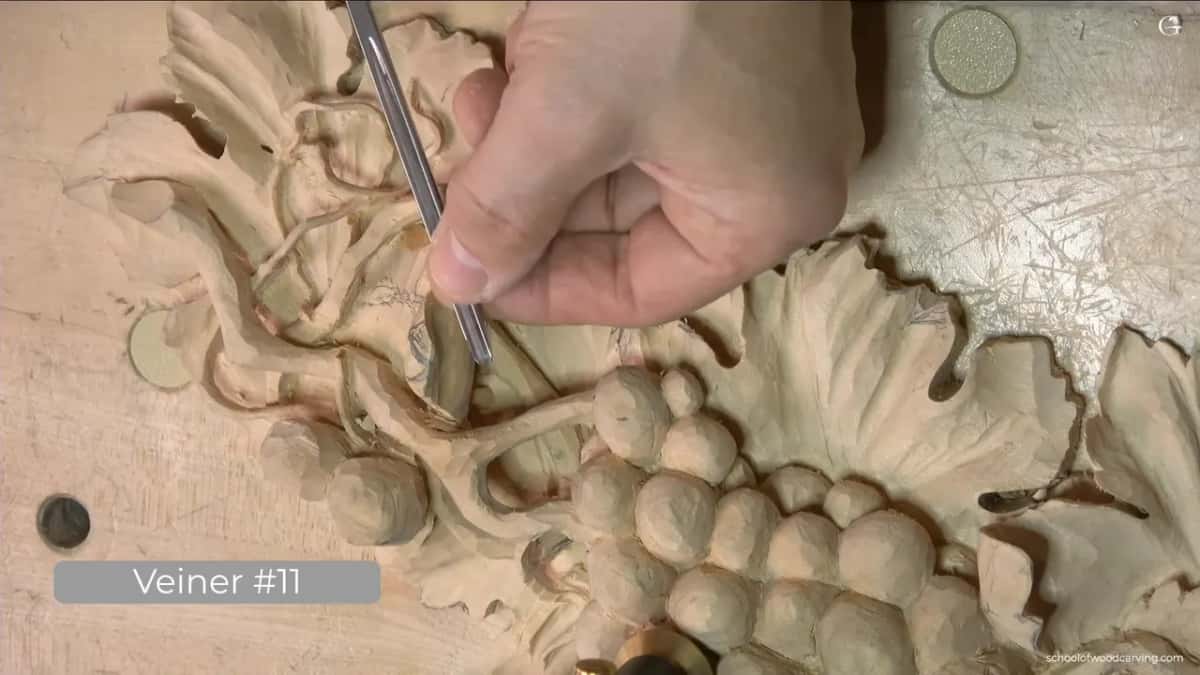
An 11, three millimetres across, and it is not a gouge at all. The 11 is a U in section. It lifts a narrow strip and leaves two vertical walls standing, which is exactly what you want here.
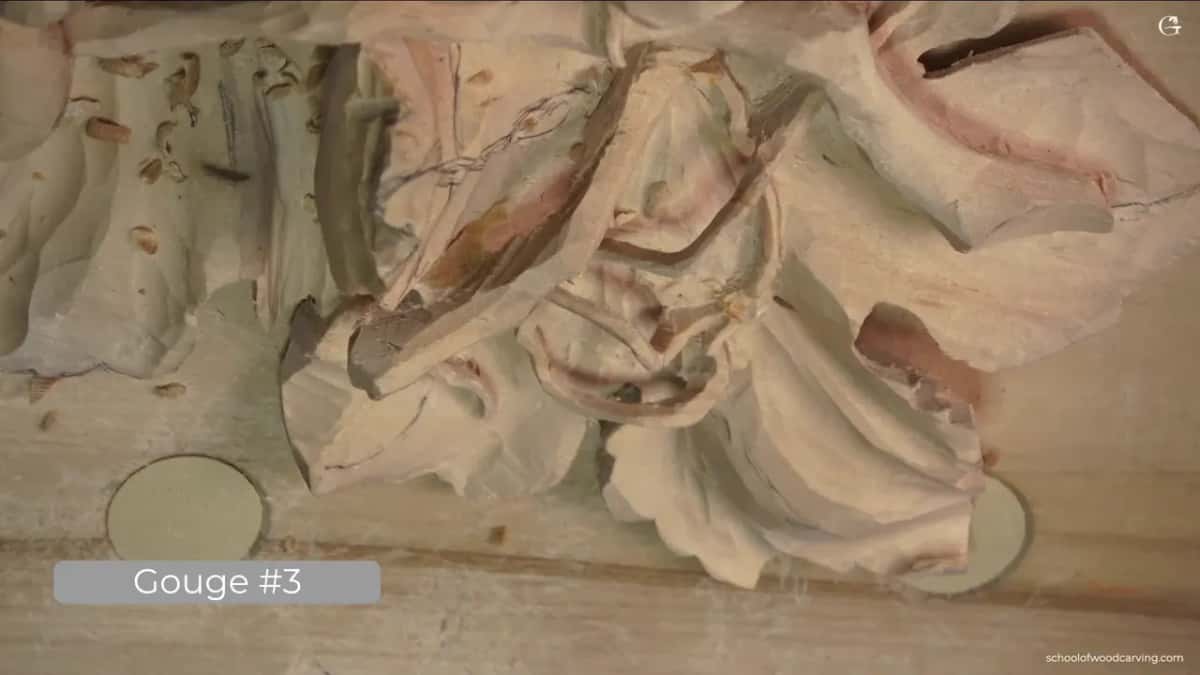
Where the space refuses that, drop to a two millimetre one and take smaller bites. I keep both on the bench during the detail stage of a grape onlay and reach for them constantly.
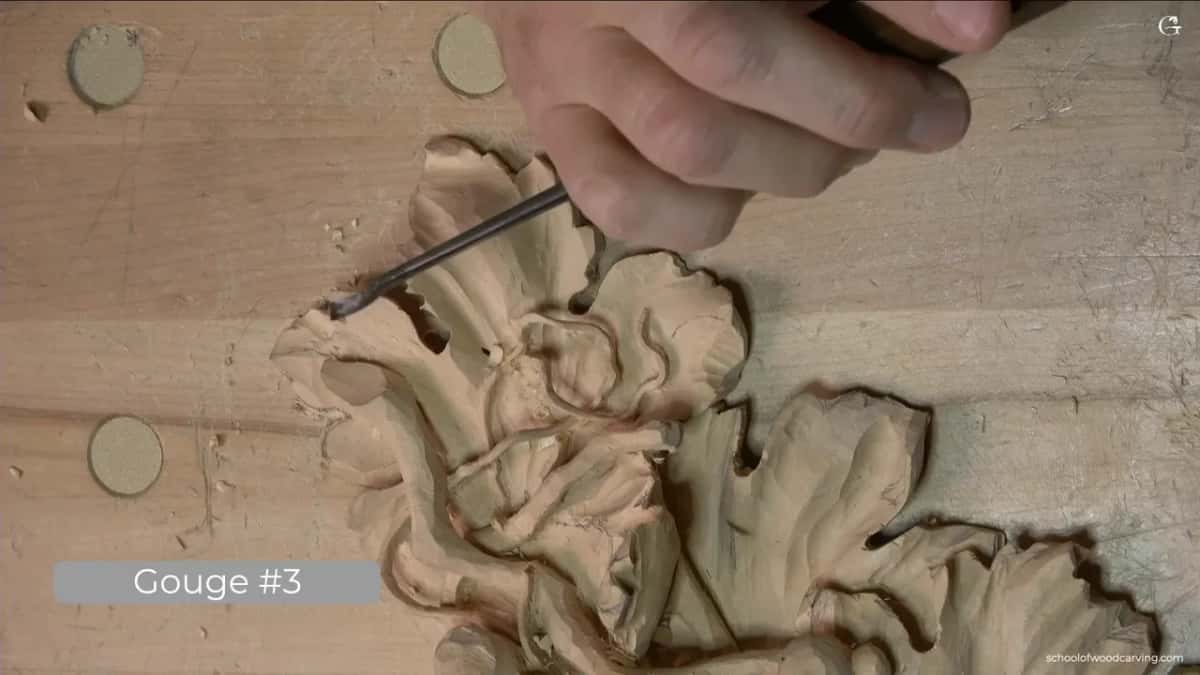
The separation itself then gets a number three. Mine is a quarter inch, six millimetres, an antique American gouge that came to me secondhand and holds an edge better than things I paid real money for. Five millimetres of number 7 does the shallow hollow that catches the movement. Three tools, and you can see all of them at work in the tools course.
| Tool | The job it does on a thin edge | Leave it out |
|---|---|---|
| The 3mm veiner | Opens the groove so pressure has an exit | The edge breaks off |
| A 2mm veiner | Same job where the first one will not fit | You force the bigger one and tear the wall of the separation you were about to carve |
| Number 3 at 6mm | Carves the separation down into the groove you opened | Ragged |
| That same number 3, flute down | Undercuts underneath, hollow rather than round, which is what throws the dark line | Flat and lifeless from two feet away |
| Number 7 | Shallow hollow for movement | The eye reads no curve at all |
How thin can the wood actually get?
My working floor across the body of a leaf is three millimetres, an eighth of an inch. Right at the rim, where a curl turns over and nothing much is asked of it, I will go to two, and in one or two spots on this panel the wood is nearer three thirty seconds.
The number that matters is not the one you remember carving. It is the one left after the undercut, and the undercut always takes more than you think. Below two millimetres the basswood stops behaving. Grain direction decides everything down there. Where the fibres run along the edge it holds fine. Where they run out across it, two millimetres is already a gamble, and that is the spot that breaks in six months when somebody dusts the mantel.
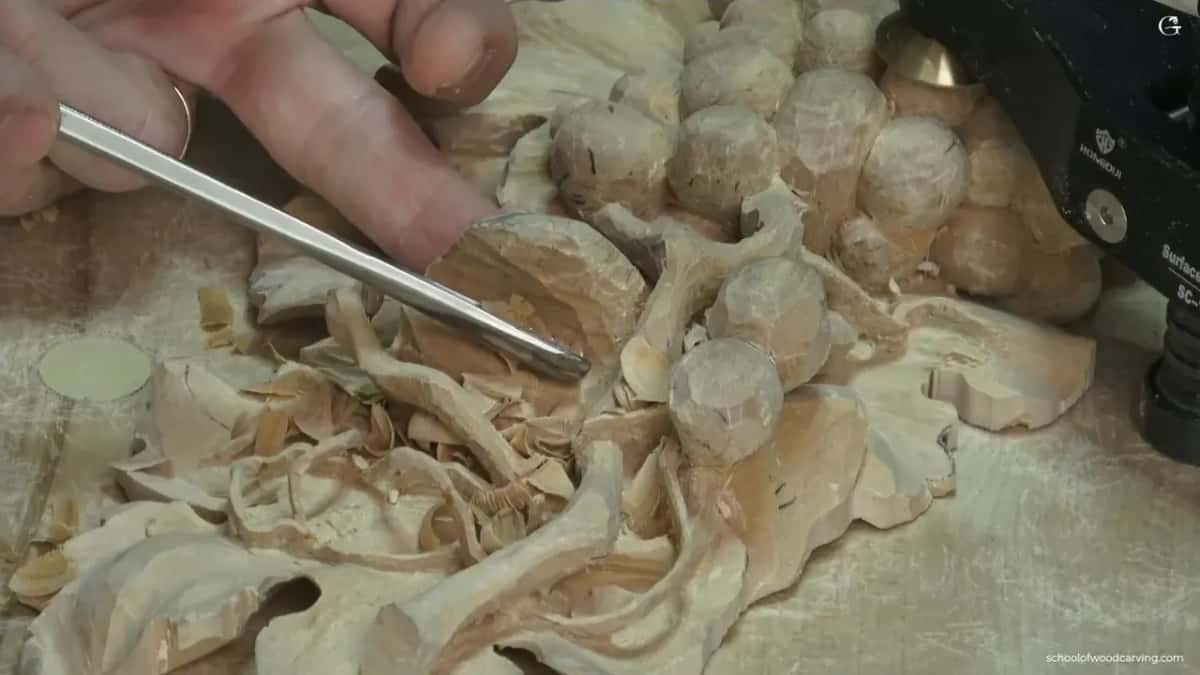
Check it side on, not from above. From above every leaf looks thick. Roll the panel ninety degrees, drop your eye to bench level, and you will see what you have really left. I do this every few minutes and I still surprise myself. One more habit worth stealing: hold the panel up and walk it around under the lamp. Overhead light flatters a leaf; the same leaf can look empty once the light comes in low, and the side is how it will hang on somebody's wall.
Do not take my word for it
Take a scrap of the same board. Carve a small leaf edge down to two or three millimetres, then run a separation into it with a flat gouge, straight in, no groove, the way it feels natural. Nine times out of ten the edge lifts and breaks. Now carve the identical thing on the other end of the scrap with a veiner groove first. The difference is not subtle and it is not an opinion.
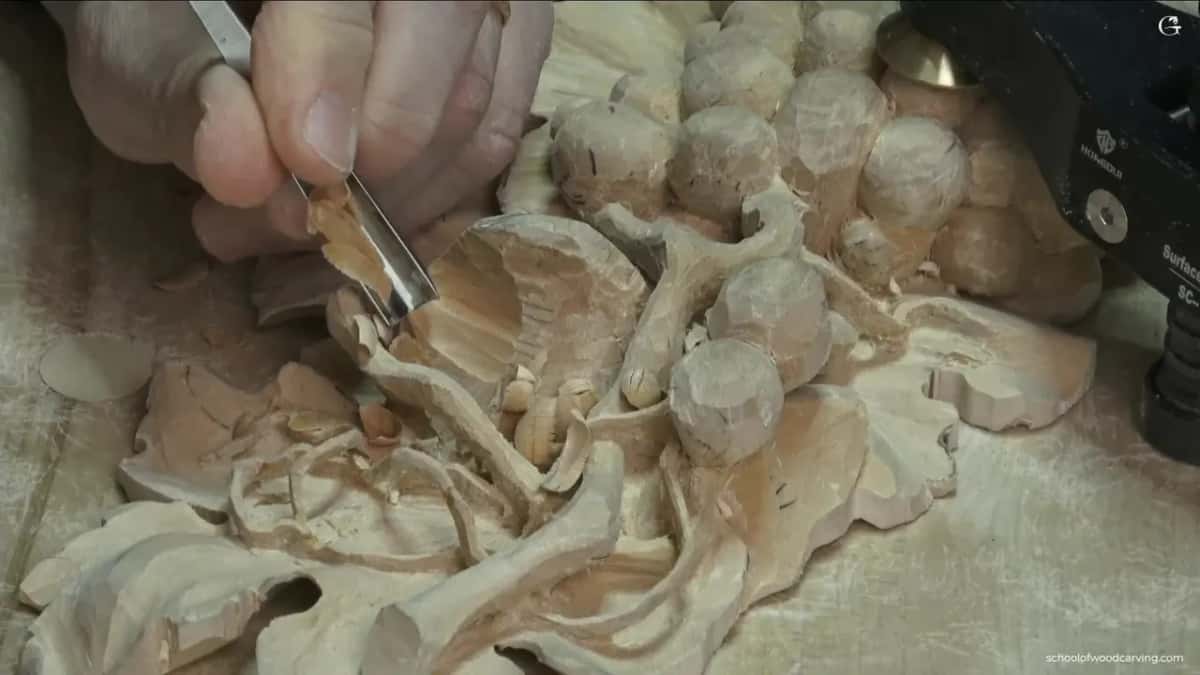
I teach it that way in person because arguing does not work and a broken scrap does. People who have never believed me about slicing turn into believers in about ninety seconds. If you want the whole method from the beginning rather than one technique out of the middle, the beginner course is where it starts.
Small bites, and never push
Even with the groove open, the veiner goes in small. I take a few millimetres at a time and rotate the tool through every one of them. The moment I stop rotating and start pushing, I am back to being a wedge with no escape route, and the groove I carved to save the edge will not save anything.
Resistance is information. When a carving tool starts to fight, the honest answers are a smaller tool or a different direction, never more shoulder. I come at the same spot from several angles and meet the passes in the middle, which also happens to leave a cleaner wall.
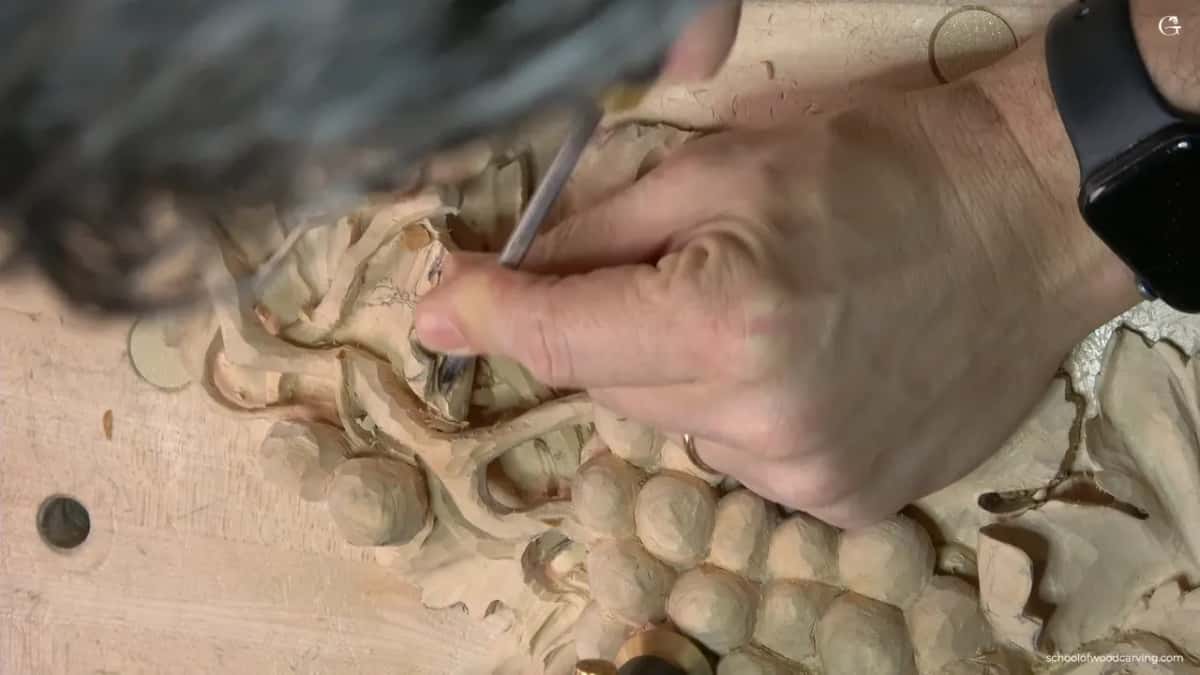
None of this works on a dull edge. A properly honed veiner takes the groove under the weight of the tool. A dull one only moves when you lean, and leaning is the exact thing this whole technique exists to avoid. Ten minutes on a stone before the detail stage is not optional.
The rocking cut
Inside the groove I use a movement that has no proper name, so years ago I started calling it a Piggly Wiggly cut and it stuck. The veiner goes in, and instead of driving it forward I rock it back and forth along its own axis while it travels.
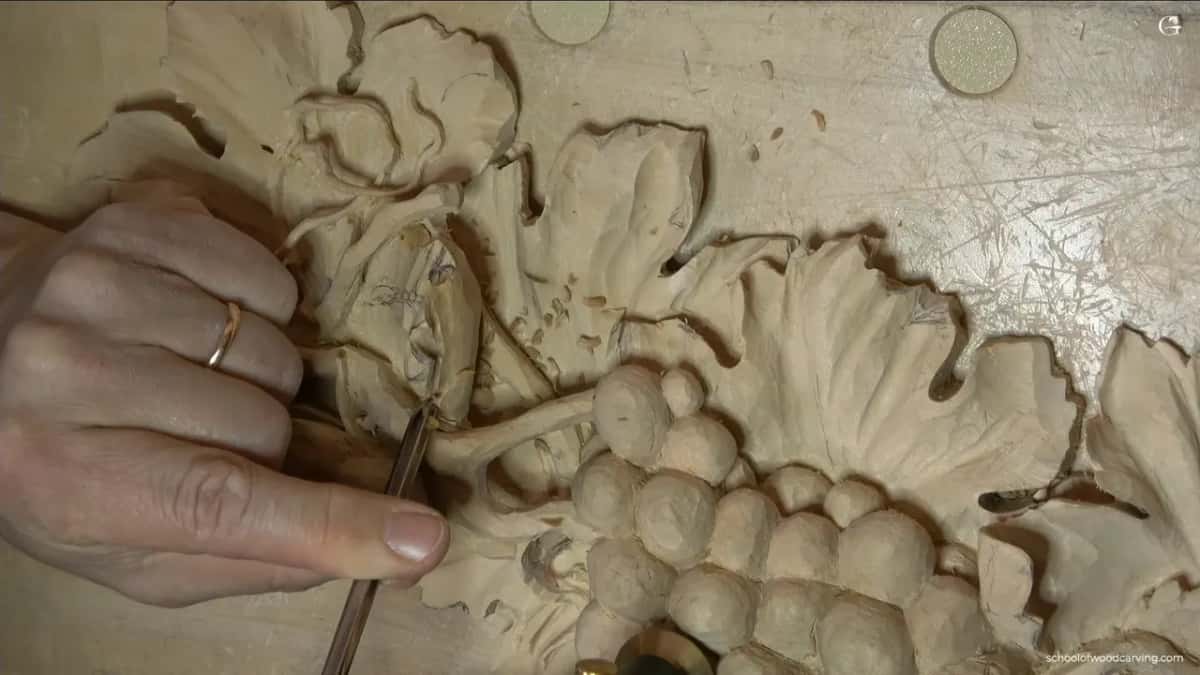
What that does is let the edge sever fibres from two directions on every pass. A veiner driven straight ahead has to break the fibres in front of it. Rocked, it slices them at an angle, and an angled pass through wood is always cleaner than a square one. The same principle runs through everything in the techniques course, and it is why I will not stop going on about slicing.
With the groove open, blend it. Take the wall down on both sides so the groove stops looking like a trench somebody dug and starts looking like the bottom of a fold. Two sharp banks left on a separation look like a saw mark under raking light.
Where does the shadow come from?
Flip the number three over. Flute down, pointing at six o clock, and take the wood out from underneath the element rather than beside it.
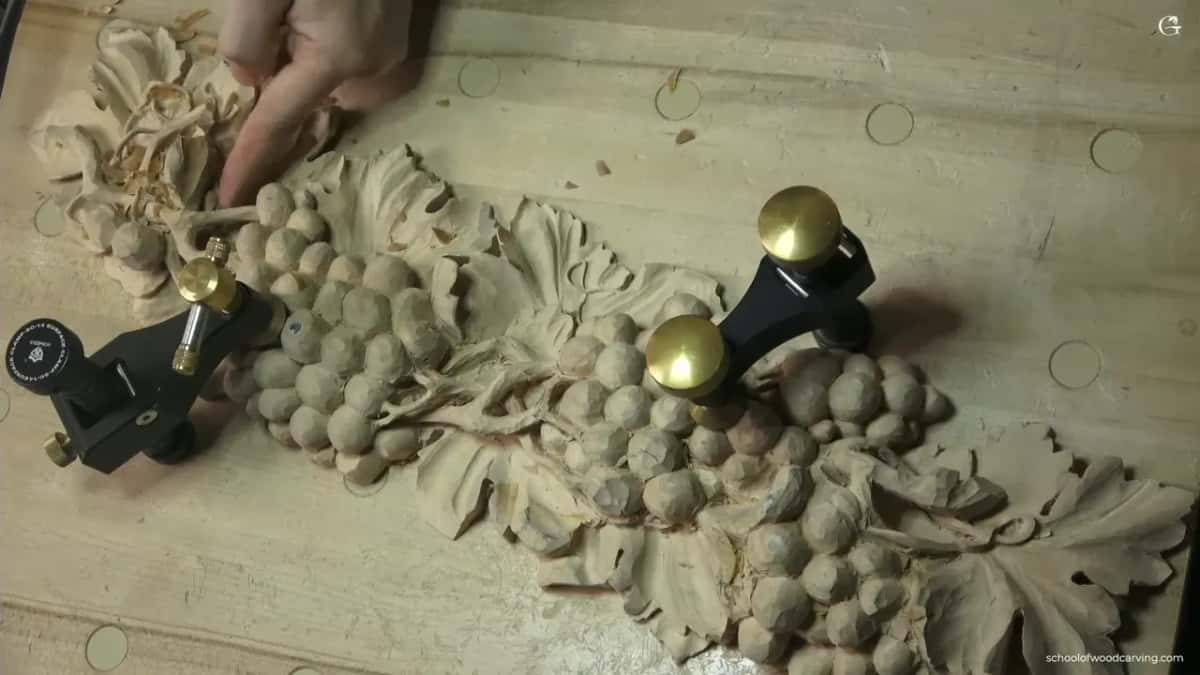
What you are after under there is a hollow, not a dome. A rounded underside bounces room light back at the viewer and the separation shows up as a scratch. A hollow underside keeps the light out, and the line goes properly dark. That dark line is the only reason any of this modelling shows up from across a room, and it is the same argument behind hollowing out the back of a panel, though that one is about cracking rather than light.
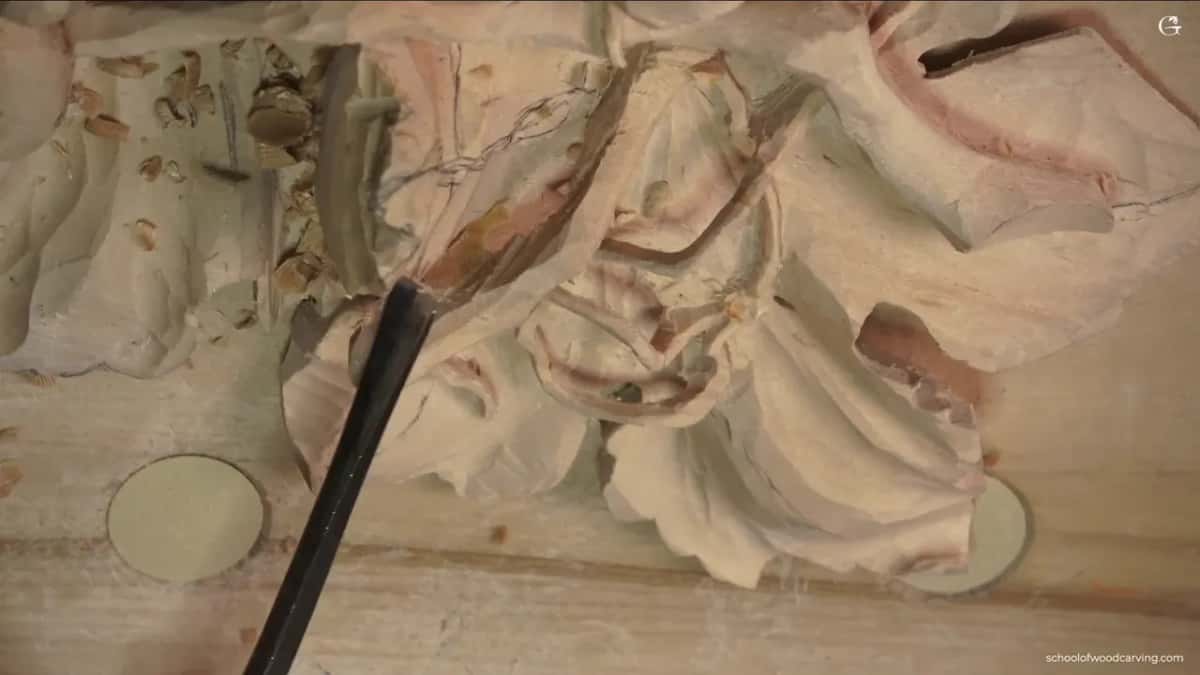
Go easy. Undercutting is addictive and every millimetre you take from underneath is a millimetre of strength gone. I stop when the shadow is there, and not one pass after it.
What about the subdivisions?
A leaf is not one shape with a groove around it. Once the main separations are in, the same veiner carves the smaller notches inside each lobe, and those get the same treatment at a smaller scale. Relief first, separation second, all the way down.
Three main separations on a leaf this size, deeper than the rest. Then micro separations between them, barely there. The lesson on lobes works through how they get placed, and the proportions come out of the design course rather than out of a real leaf.
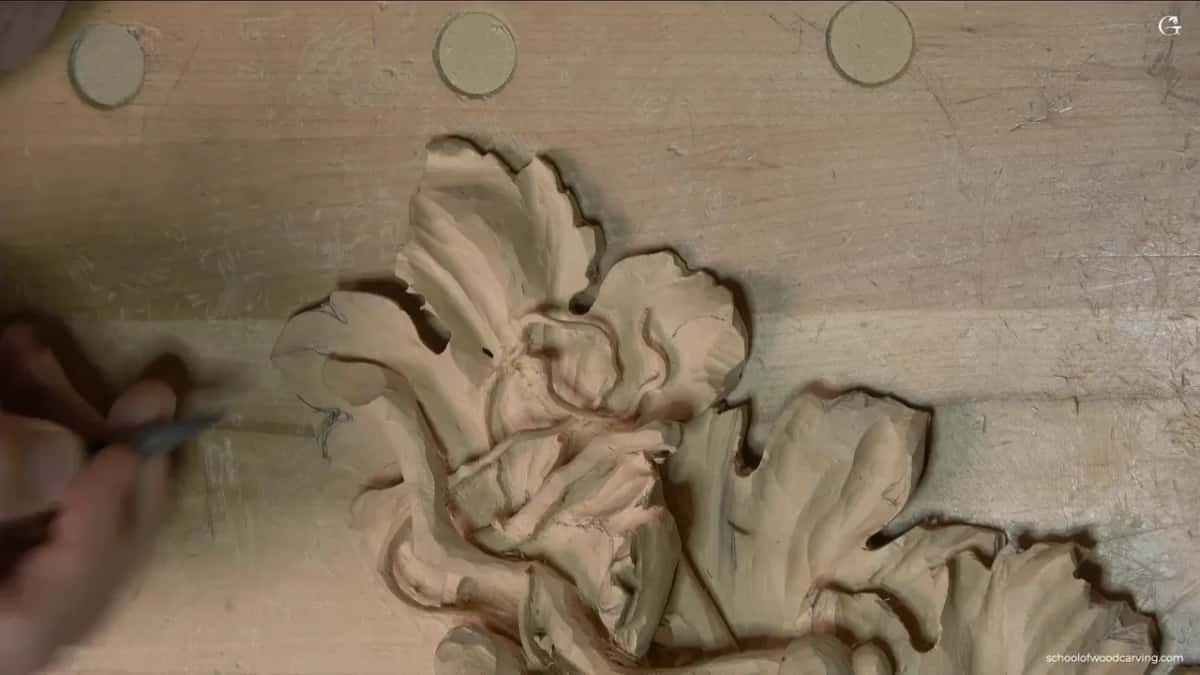
One thing I do here that looks like showing off and is not. The curl turns in on one side and out on the other, so the eye follows a letter S rather than a circle. It takes no extra time and it is the difference between a leaf that sits there and a leaf that moves.
When is a carving finished?
It is not. No end exists to what you could do to a panel like this, and I mean that literally. You can always add another subdivision, another notch, another half millimetre of undercut. At some point you abandon it, and abandoning is a skill.
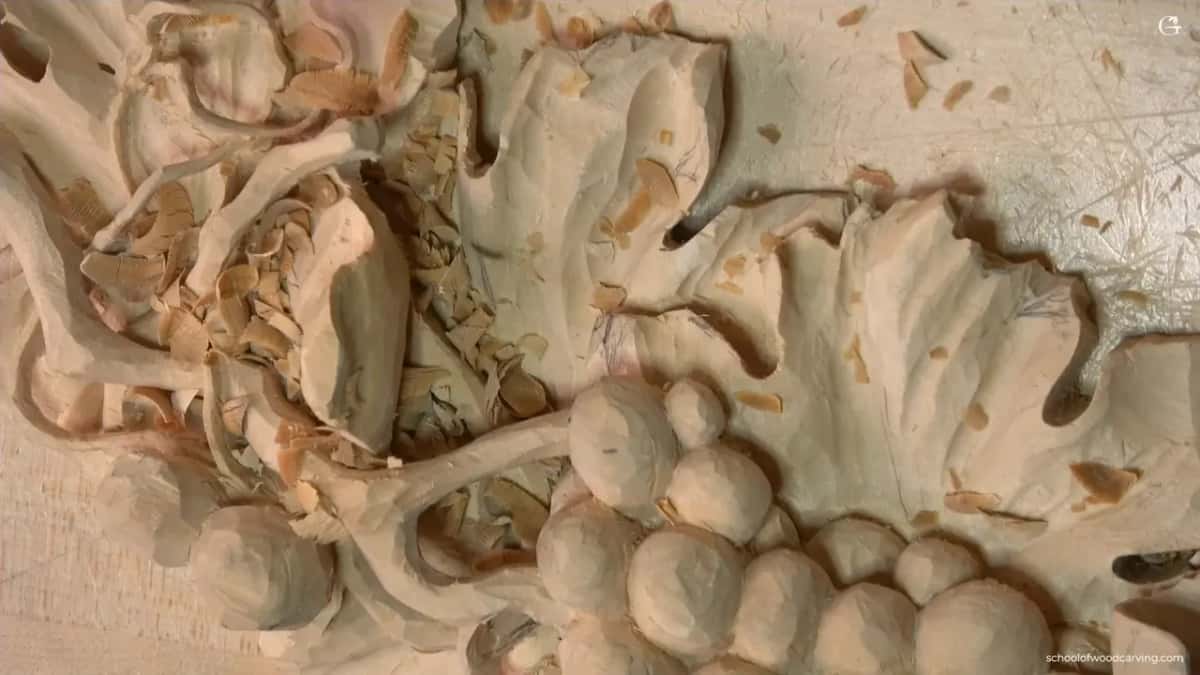
My own signal is the moment a pass stops improving the piece and starts only making it thinner. On this leaf that arrived with maybe two millimetres left at the edge and a shadow I was happy with. Another hour and it would have been more detailed and more fragile, and I would have traded something I wanted for something nobody would notice.
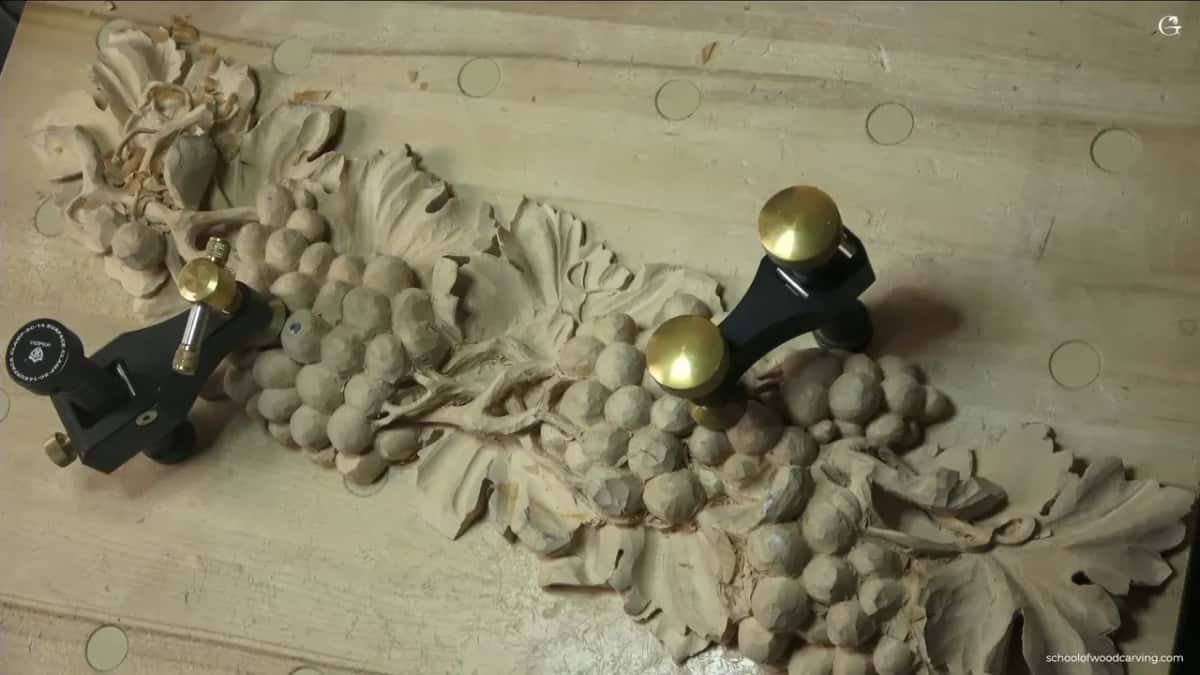
Where does a panel like this end up? A mantel. A kitchen hood. Above a door, if the house has that kind of bones. Grinling Gibbons filled entire rooms with work carved this way in limewood three hundred years ago, with no relief cut ever written down anywhere because every carver in the shop already knew.
The thing that actually breaks your work
Not the gouge. I have broken more carved pieces off this panel by setting it down wrong than by carving them badly. You finish a curl, you put the panel aside to work on something else, and you rest it on the one element sticking up the furthest.
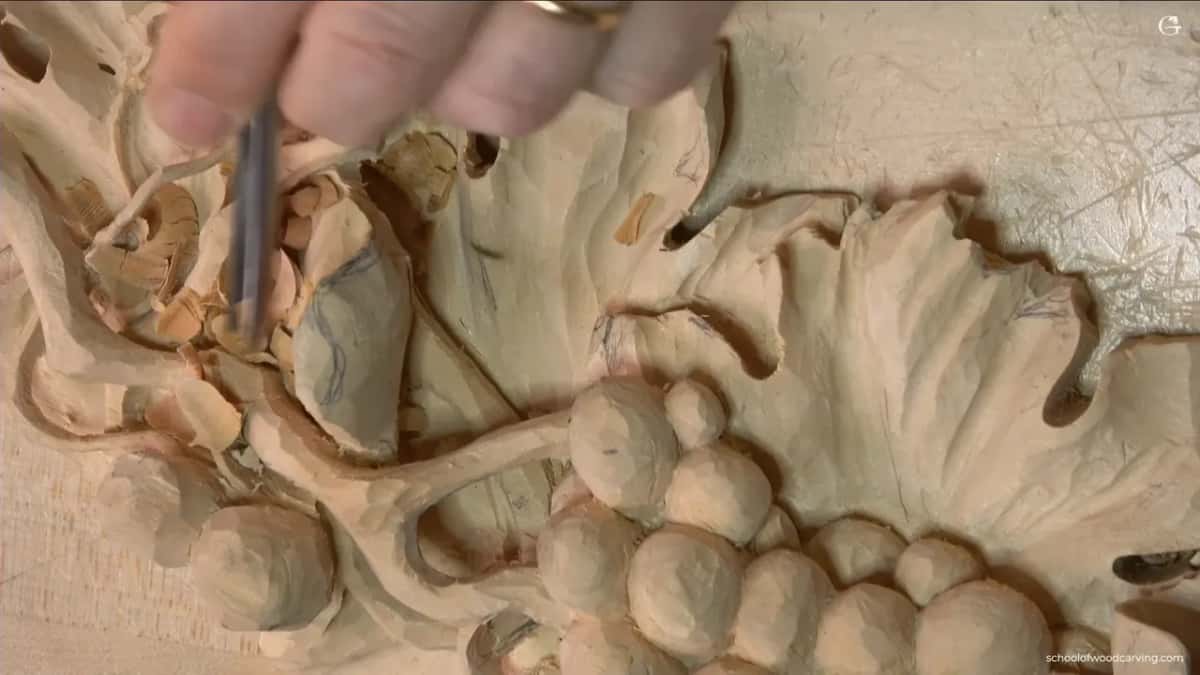
A small snapped stub on the left of this leaf got broken exactly that way, and another one that went in an airport, in a checked bag, handled by somebody with no reason to care. After a panel has pierced work standing proud of it, the piece is fragile every minute it is not in your hands. Think about where it lands before you let go of it.
Running the sequence back
Groove first with the veiner. Separation second. Undercut third, with the tool turned over and its flute at six. Then you stop.
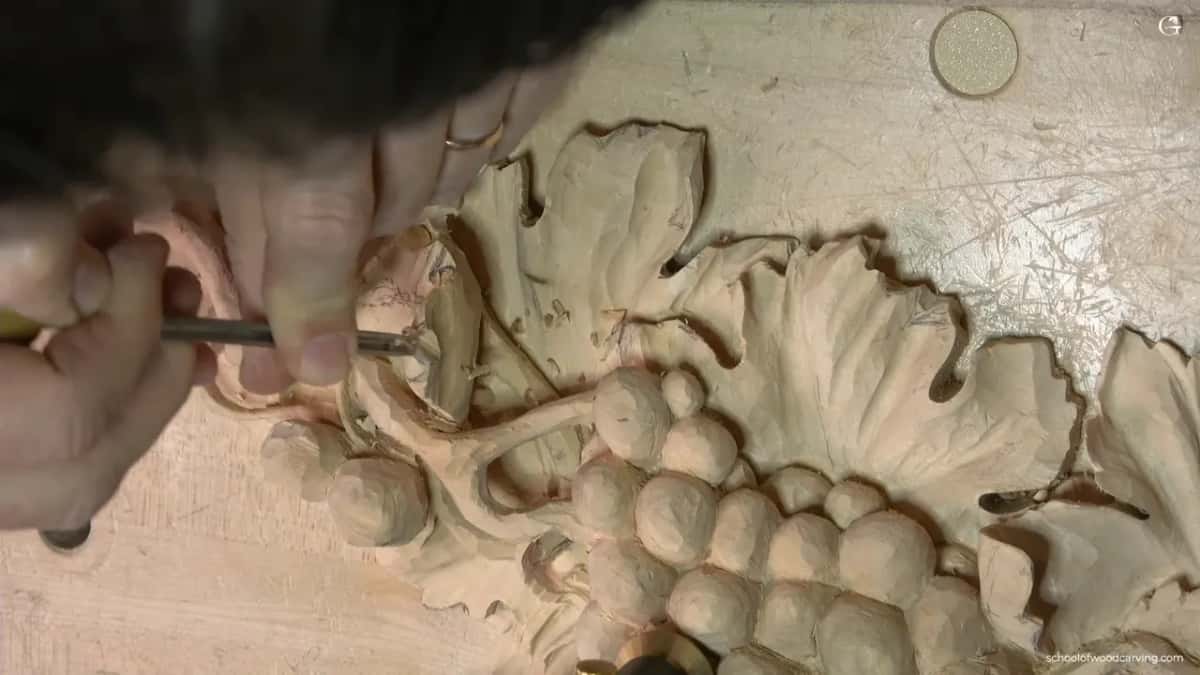
That sequence is four seconds longer than the wrong one and it is the reason my thin edges survive being carved, handled, posted and dusted. Learn it on a scrap, not on the leaf you have spent three weeks on. The scrap does not care and the leaf will never forgive you. Everything here is worked through at full speed with both hands in shot inside the school, and the rest of this vine is in the lesson before this one.
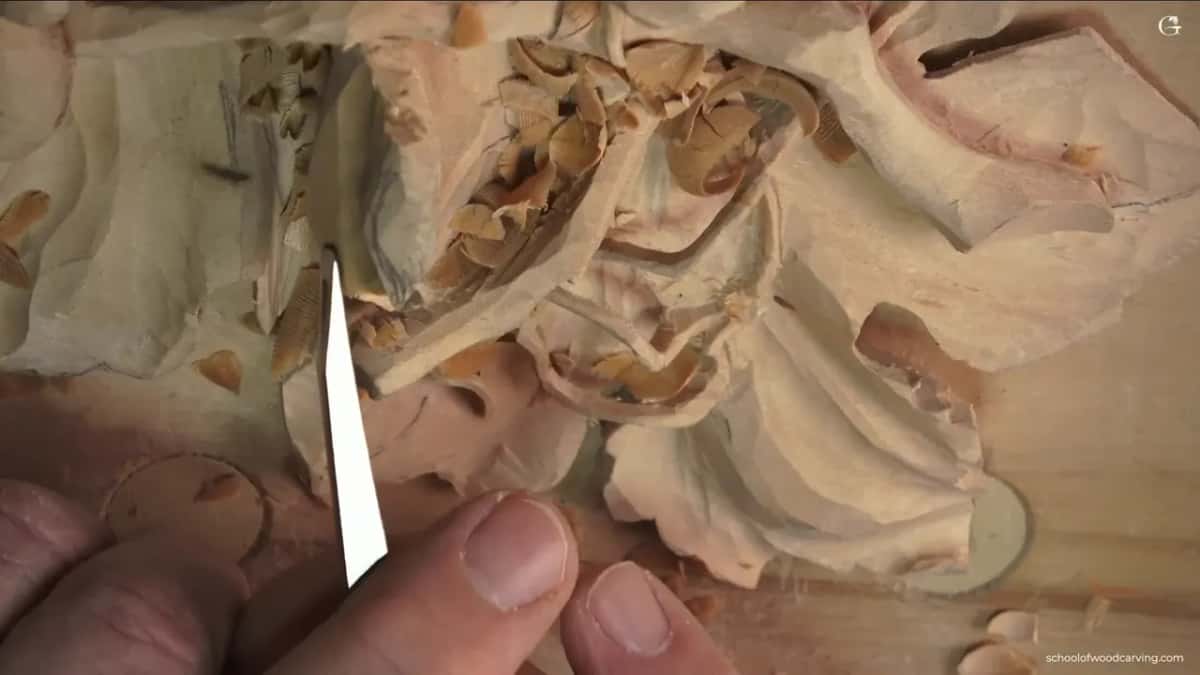
The blower on my bench is new, by the way. Rechargeable, and it clears dust out of a carved leaf better than the hair dryer I used for years, which had a habit of blowing chips into my face. It has nothing whatever to do with grooves or separations, and I like it a great deal.
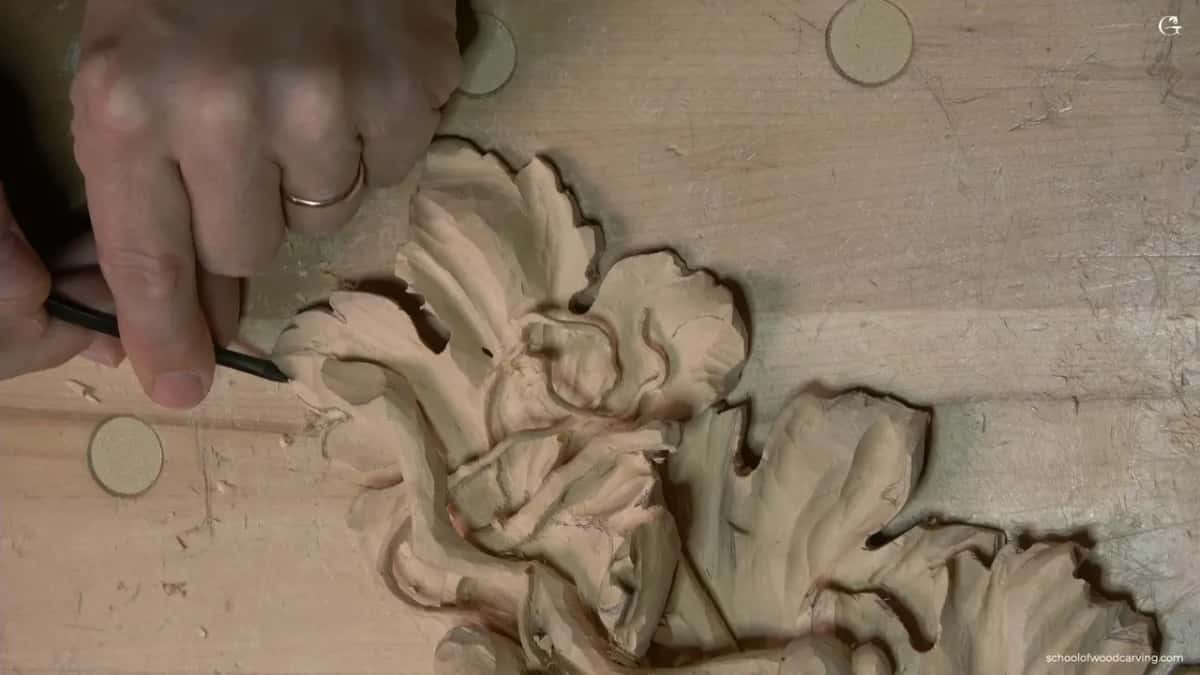
How it's done
- Look at the edge from the side first. Drop your eye to bench level and see how much wood is really there. Anything at or under three millimetres needs this treatment, and looking down from above you will always think there is more than there is.
- Draw the separation where you want it. Pencil on the leaf. Three main ones on a leaf this size, with the smaller notches between them coming later at the same scale.
- Open a groove with a number 11 veiner. Three millimetres wide, running along the line you drew. Drop to a two millimetre veiner wherever the bigger one will not fit.
- Rock the tool rather than driving it. Turn the veiner along its own axis as it travels so it slices the fibres at an angle. Straight ahead, it has to break them, and breaking is what takes your edge off.
- Blend both banks of the groove. Take the sharp walls down so the groove reads as the bottom of a fold rather than a trench. Raking light shows up an unblended one as a saw mark.
- Carve the separation into the groove. A number 3 at six millimetres, worked from several directions and met in the middle. Pressure now has the channel to escape into.
- Flip the gouge and hollow underneath. Flute down at six o clock, taking wood from under the element rather than beside it. Hollow, never domed, or light bounces back off it and the line shows up as a scratch.
- Stop while the wood is still strong. When the shadow is there, put the tool down. Every further pass buys detail nobody sees at the cost of strength everybody eventually finds.
Frequently asked questions
Is a relief cut the same thing as relief carving?
Two different things sharing a word. Relief carving is the whole discipline of shapes standing out from a background. The other is one narrow groove, carved to release pressure before a separation goes in.
What size veiner should I buy for this?
Three millimetres, an eighth of an inch, is the one that lives on my bench. A two millimetre veiner earns its place soon after, for notches the first will not enter.
My leaf edge broke anyway. What went wrong?
Usually the groove was too shallow, or the separation tool went in square instead of sliced, or the grain runs out across that edge and two millimetres was never going to hold. Check the grain direction before blaming the technique.
What to carve next