
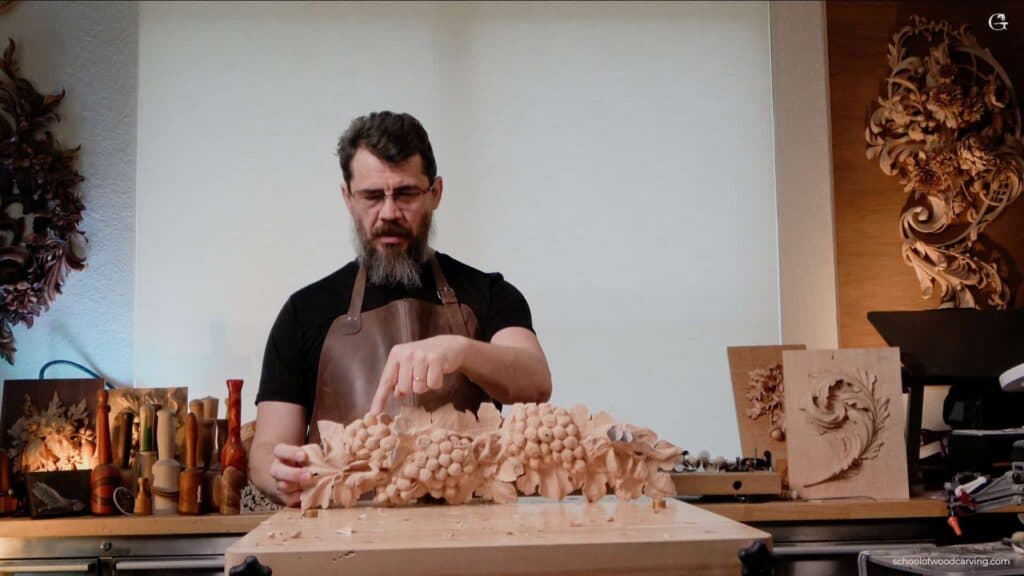
Alexander Grabovetskiy, woodcarver, School of Woodcarving · Published 2024
Why does a carving break when you carve the second side?
Quick answer: A carved shape can break on its second side when wood is already gone from the first. Dig straight in on the other side and you create too much stress, and the piece can break off. A shallow relieving channel, taken first, releases that stress before you carve beside it.
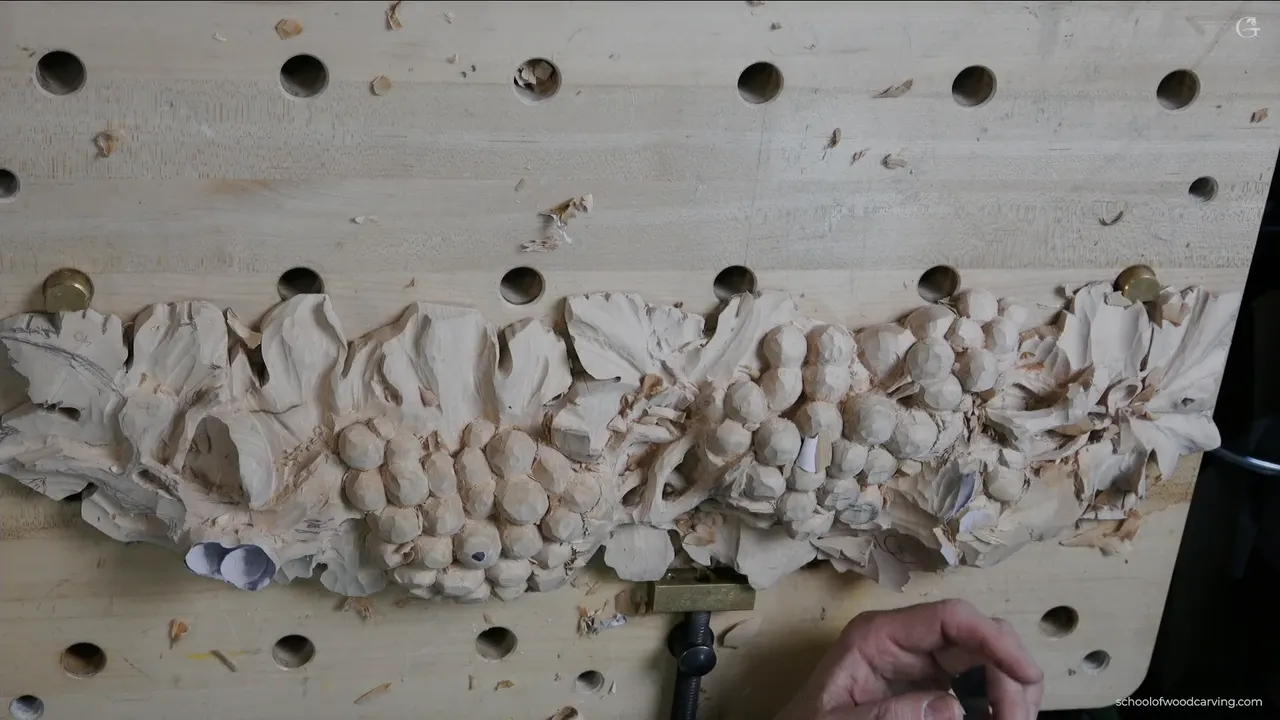
A carving can break on the second side when wood is already gone from the first. Dig in beside it and you put a lot of stress on what is left, which is how a piece breaks off. On this panel my answer was a shallow channel, taken first.
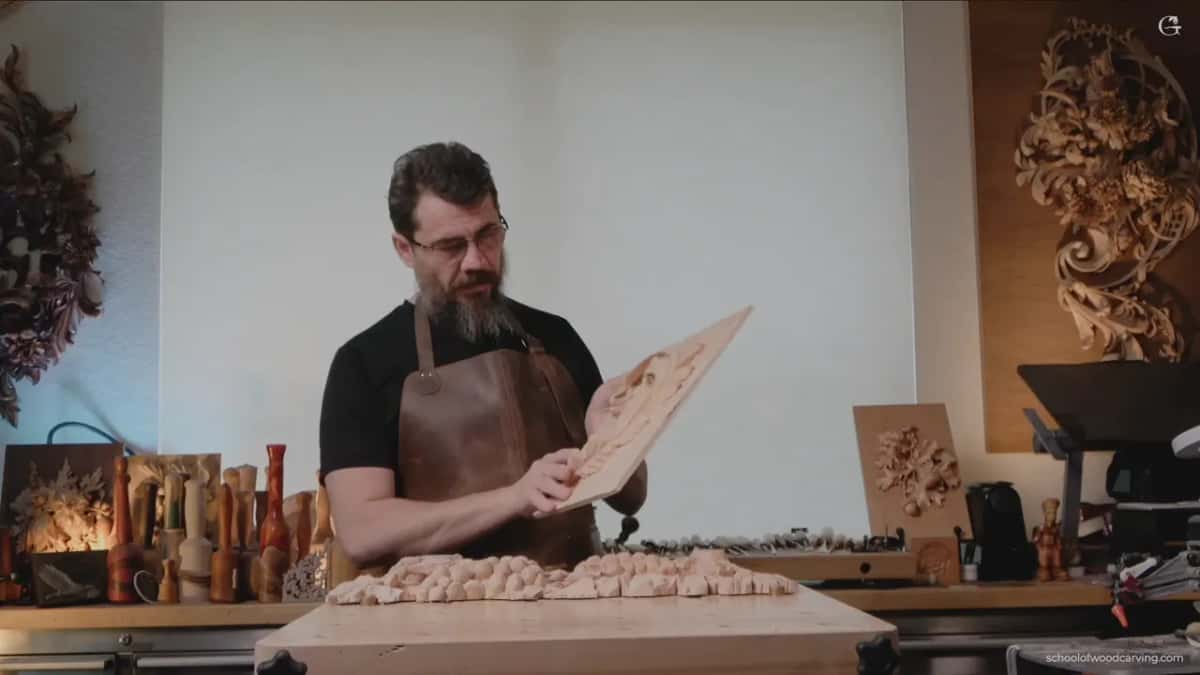
I came back to this panel straight from a week of teaching in Michigan, four and a half days of architectural carving.
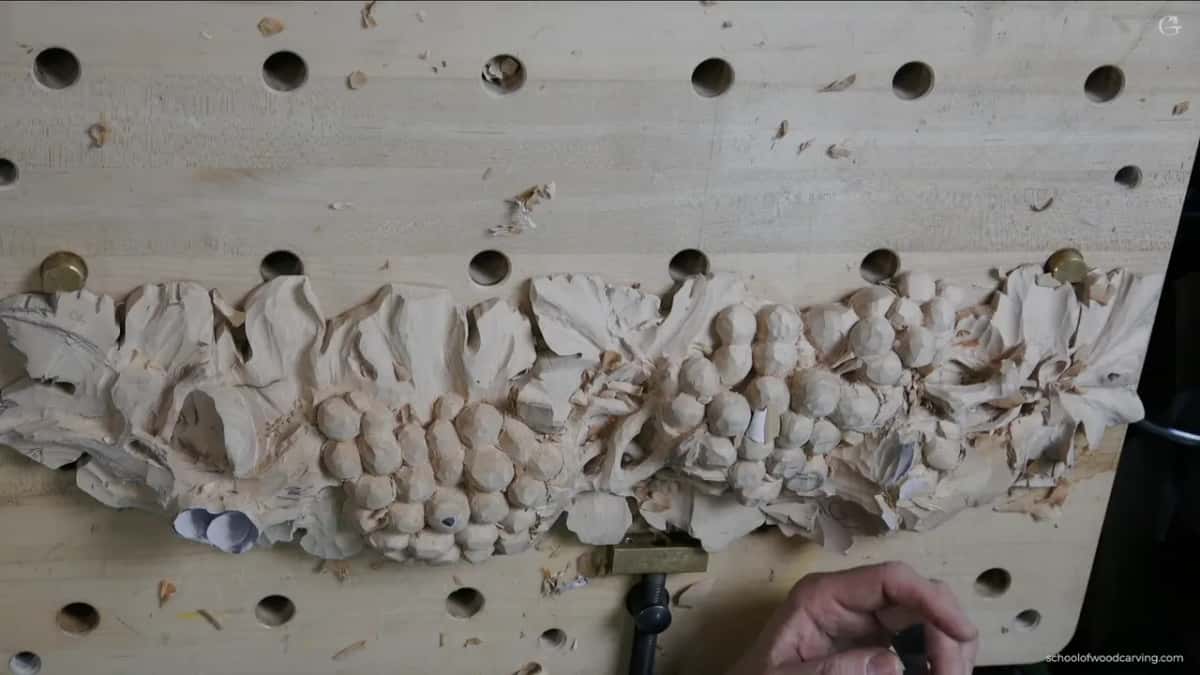
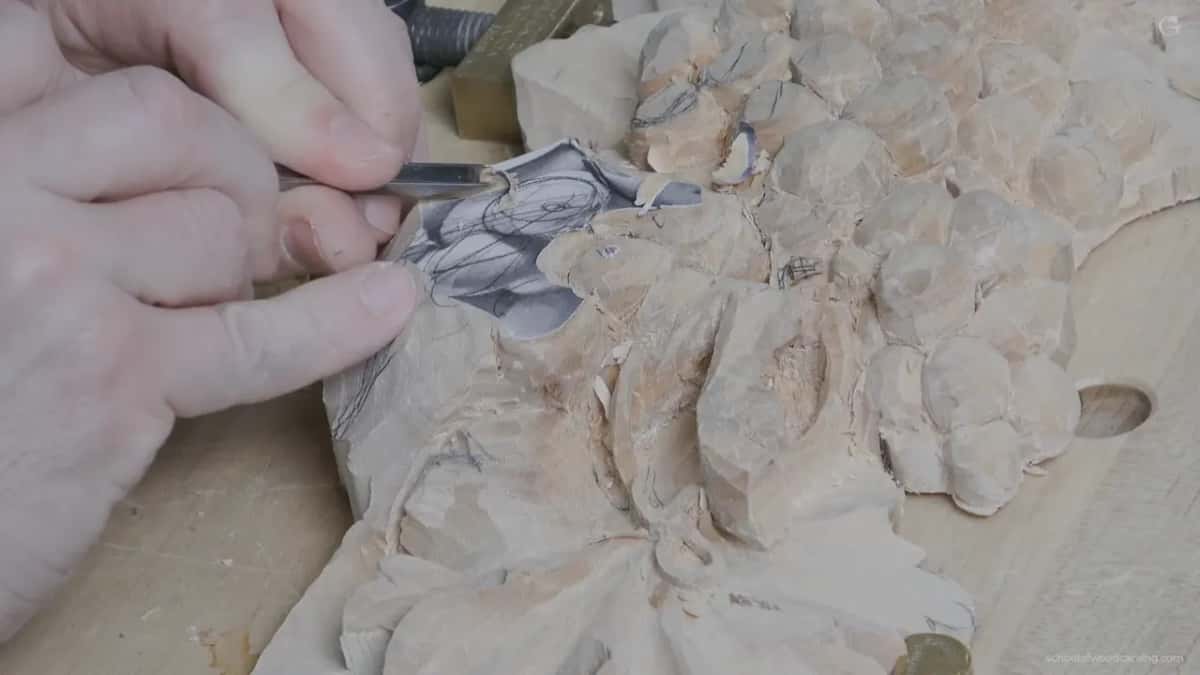
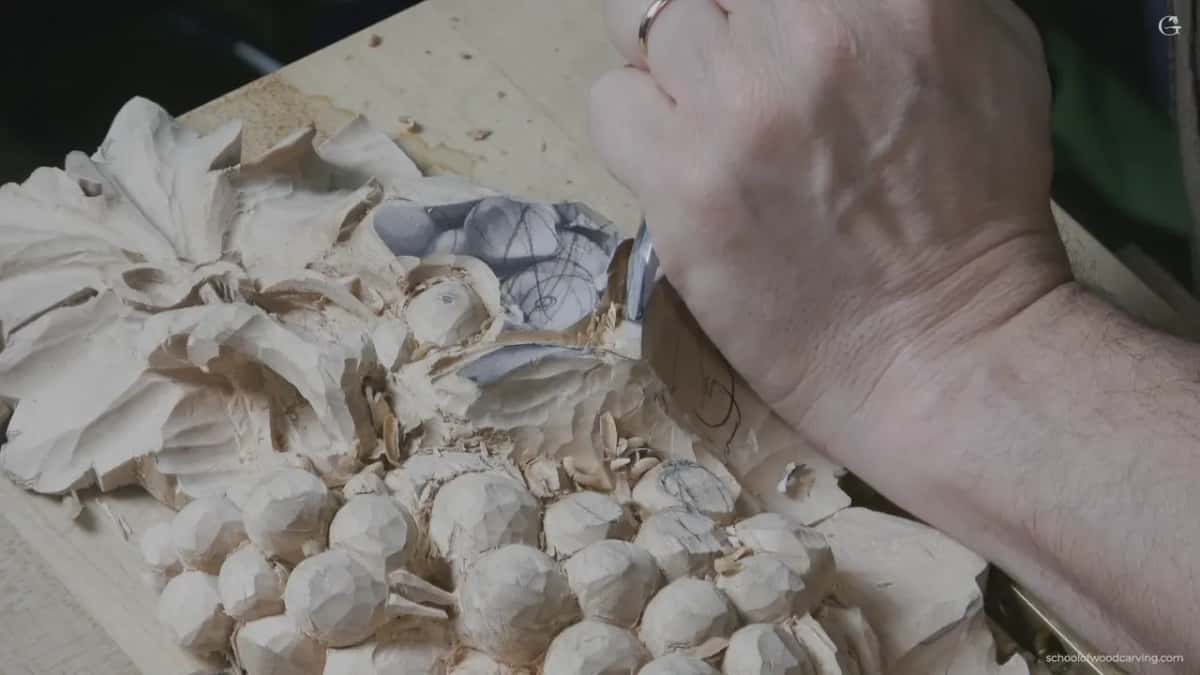
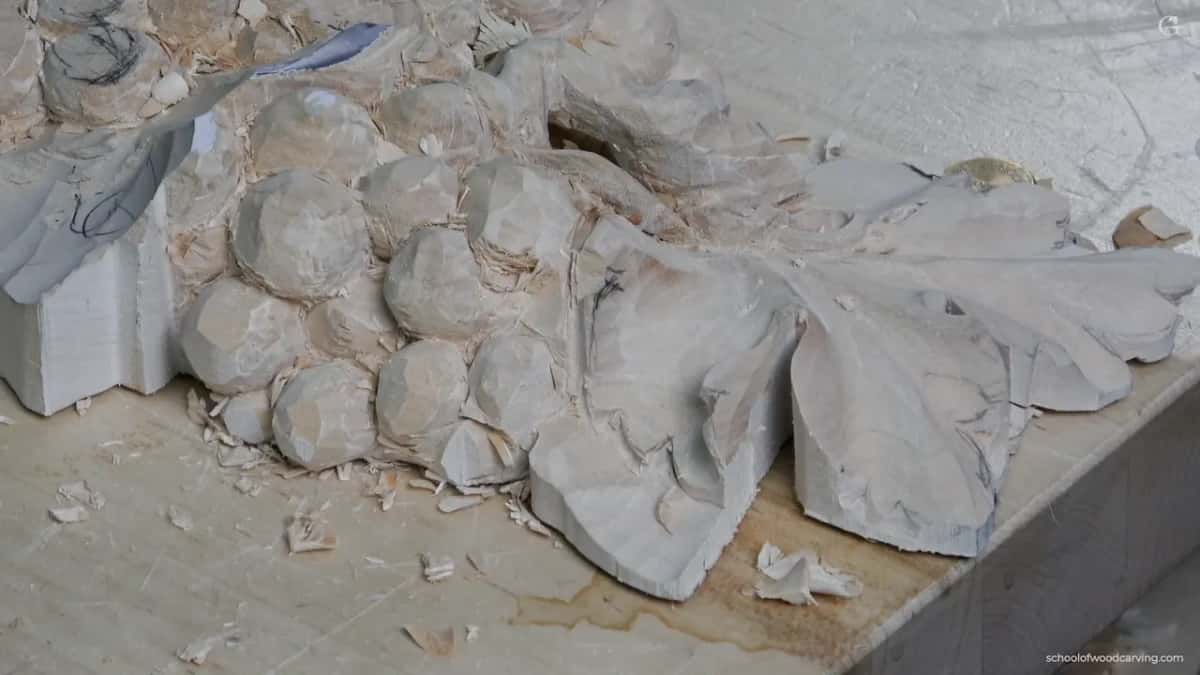
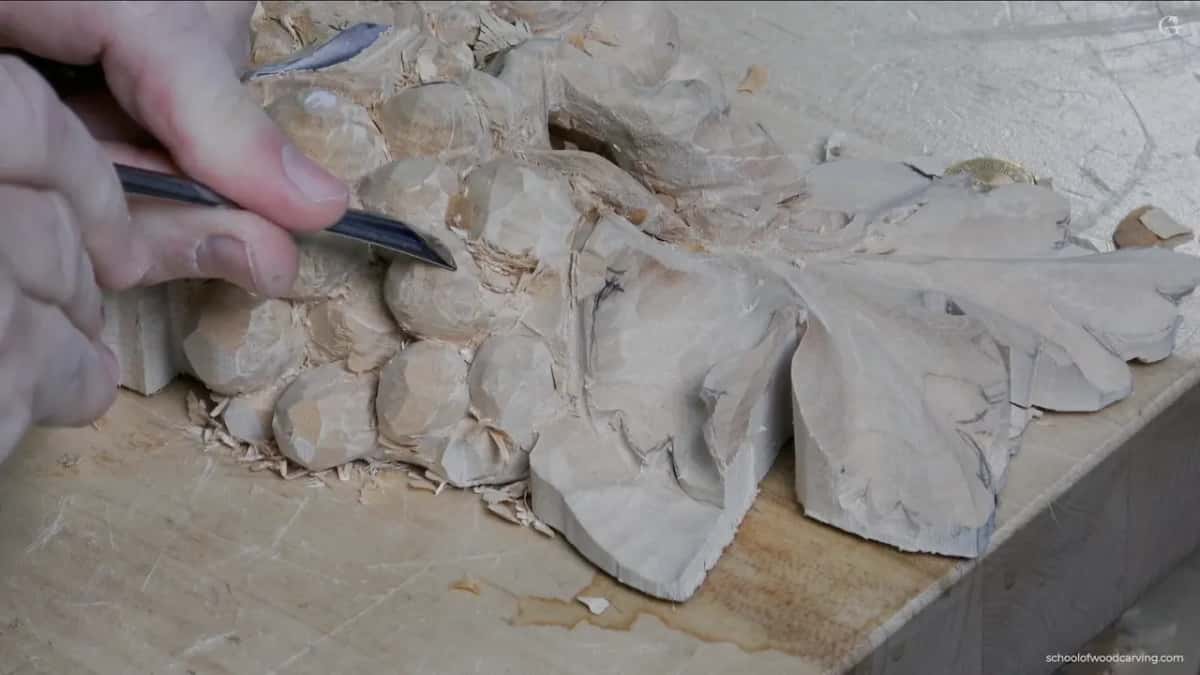
The third workshop of the grape onlay has a weak spot like that sitting right there on the board. A leaf running uphill, already excavated on one side, with a big berry that has to be outlined on the other. Dig straight in on that side and I can break the leaf off.
Key takeaways
- Once wood is gone from one side of a leaf, a deep dig on the other side can break it off.
- Release the stress first with a shallow channel, roughly four millimetres deep, taken along the outline of the leaf.
- A part that twists away from the grain gets short grain, and that spot is weak.
- Leave shapes bigger at first.
- Get into a junction from different positions and keep slicing, not pushing.
- Small tools reach tight spots, though one that is too small leaves stripes behind.
What actually holds a carved leaf up?
Wood is strong along the grain and much weaker across it. In lesson 12 I ask you to picture the grain as small pipes, like drinking straws, carrying all the juice.
A carved leaf with wood still on both sides has that wood for support, and when you take the stock off one flank, the support on that side is gone. Then the grain direction through what is left starts to matter a lot.
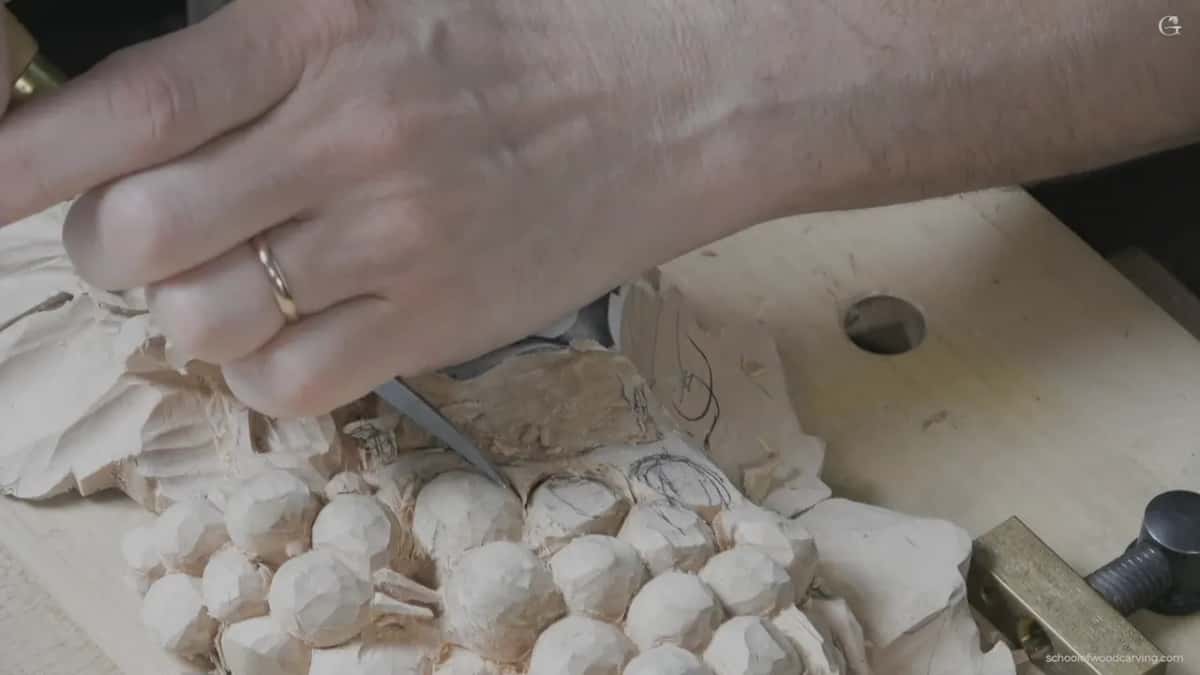
What makes this dangerous rather than merely delicate is short grain. When a curl twists, the fibres inside it stop running the length of the shape and start running across it, so you end up with a piece that is only a few fibres long in the direction that matters. In lesson 5 a tendril twists like that, and at a sixteenth of an inch wide, every pass I take there is a tiny one.
Wherever the carving turns across the grain, that is a weak spot, and you have to be mindful of it for the rest of the project.
What makes the second side the dangerous one?
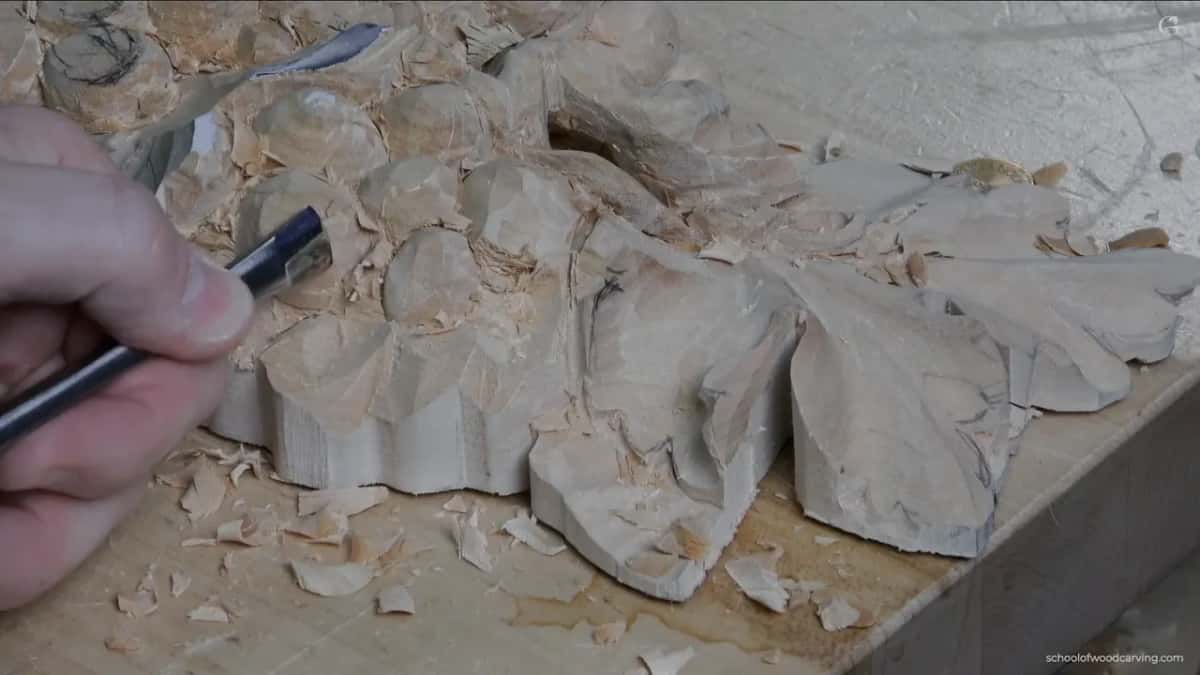
The second side breaks it because part of the material on the first side is already gone. On my leaf that meant digging straight down beside it would put far too much stress on it.
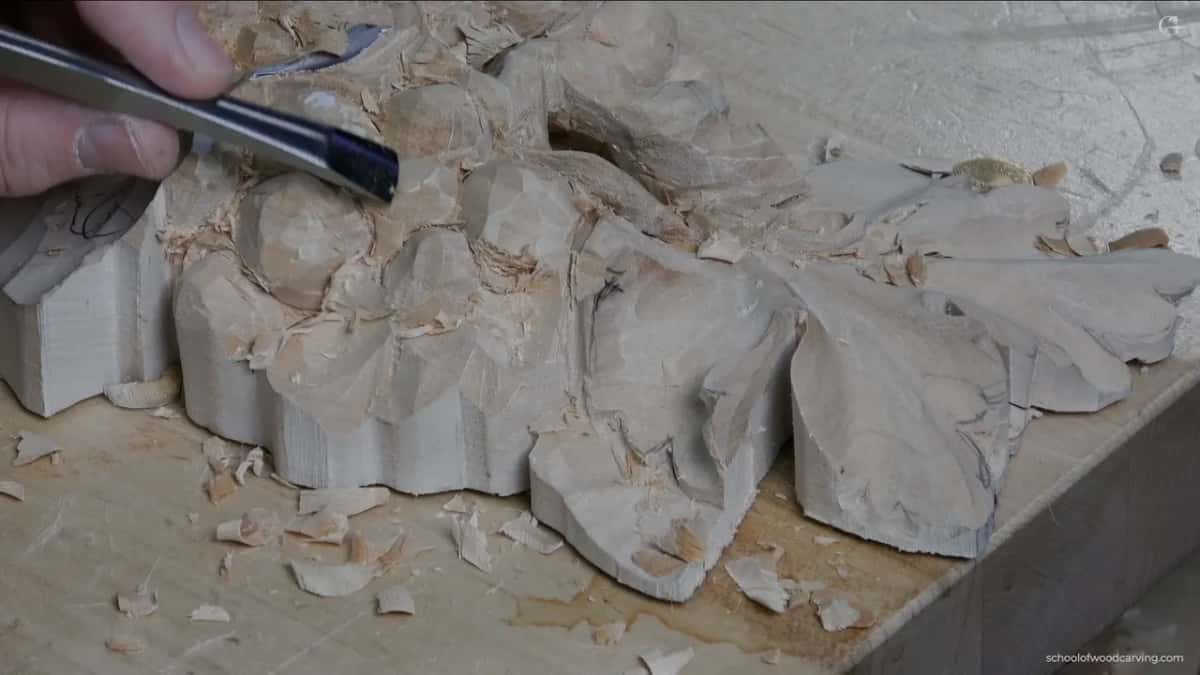
A gouge is still a wedge, whatever its sweep. Place it straight down and push, and it looks like carving, but you are digging the whole bevel into the fibres and making a lot of stress you don't need. On a leaf that has lost wood on one side, that stress is the danger. I would rather slice, so I don't have to fight it.
My own panel carries the evidence. In the next lesson I was taking a section down with a number 9, a quarter inch, and then came my oops. I messed up in a big way, and I saw why right away: I had already excavated too deep there, so it was undercut. So, change of design. I could have glued it, but I said I would lower the whole section instead, and that gave me a chance at a little more 3D and a nice twisting motion. Not a big deal, though, and sometimes it does happen. Nobody is going to know except you and me.
What is a relieving channel?
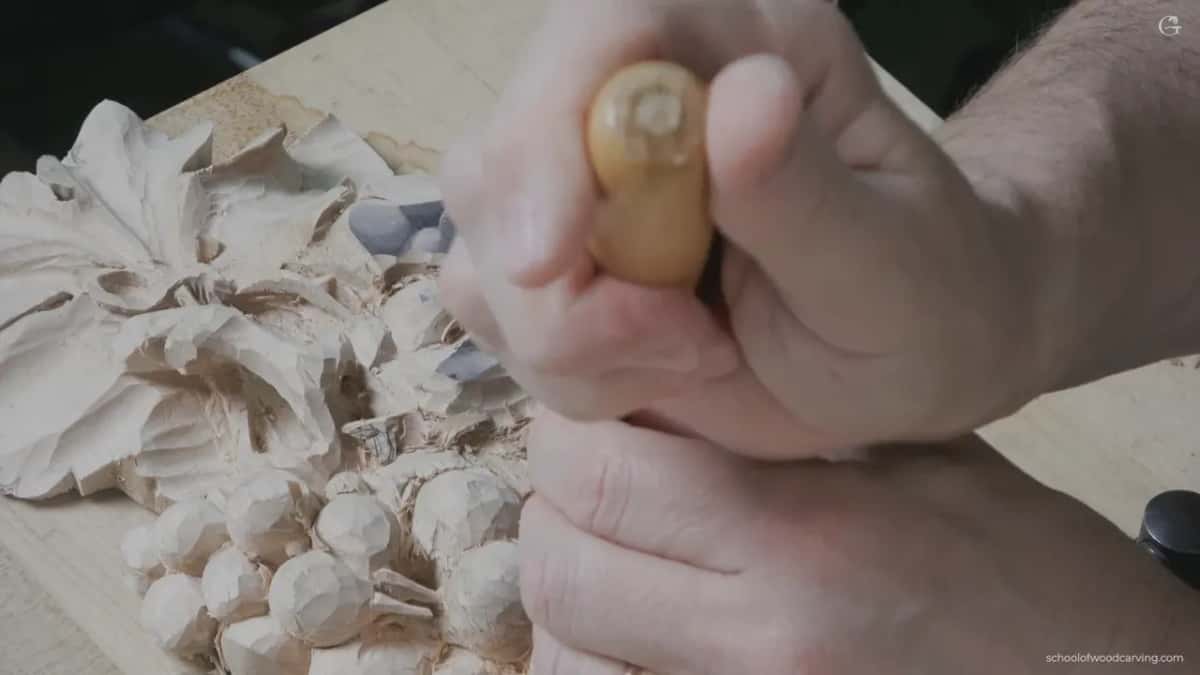
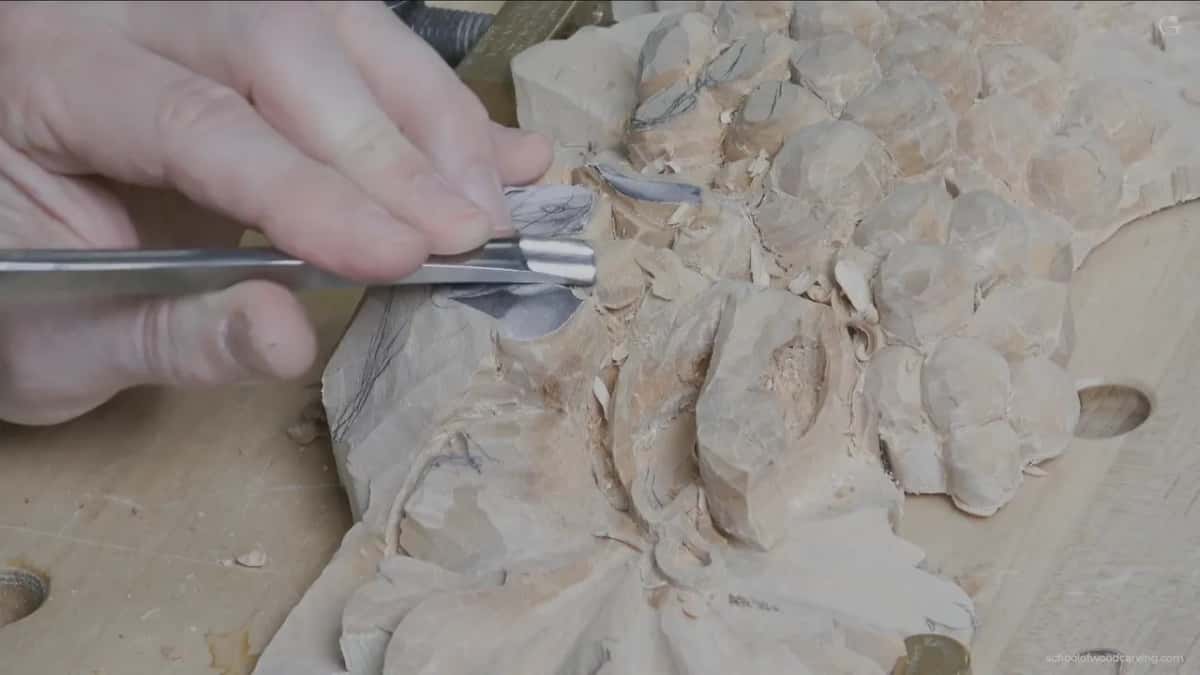
A relieving channel is a shallow groove taken along a fragile shape before you do any real carving near it. I first thought about a number 9 or so, then took a number 11 at 4 mm and ran it around the leaf as the leaf outline, about 4 mm deep. A little more than an eighth of an inch. That was me getting a little smarter, instead of digging right in.
That is all. The channel keeps the material for the future leaf, but part of the stress is already released. Then I go back to my number 5 and outline the big berry beside the leaf, and I don't have that stress anymore. I can carve this way, that way, easily.
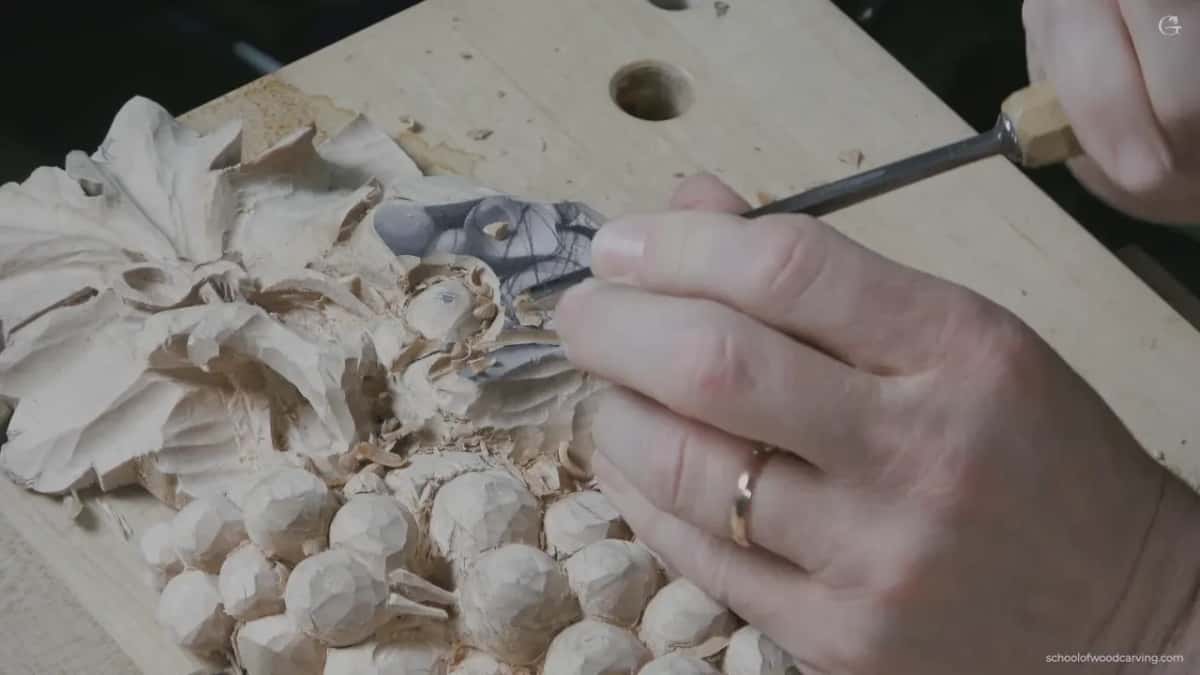
Depth is the part to get right, and shallow is the answer. I don't want it too deep. I want the leaf to survive to the end of the project, which means keeping its future thickness intact, so that shallow channel is all I need.
| Stage | Tool | What it buys you |
|---|---|---|
| Relieving channel | number 11, 4 mm wide, taken 4 mm down | Lets you carve the shape next to it without loading the fragile one |
| Outline afterwards | the half inch number 5 | Free movement in every direction |
| Tight junction | an 8 mm number 2 | Accuracy without stripes in the surface |
| The smallest holes | a Swiss made 5 mm | Reaches inside a hollow that a half inch tool cannot enter at all |
| Cleaning a corner | skew knife, point angled down | Opens the sharp inside angle where two shapes meet |
None of this is exotic. A veiner and a little patience is the whole method. If you have broken one already, it happens. Later on this same panel I broke a section, lost it, and had to glue in a new piece and carve it again. The floral and molding course is another piece carved to be glued onto a panel.
When should you leave the wood oversize?
Always, at the rough stage. A shape that comes out bigger than you intended is a shape you can still correct, and on this panel a grape that came out a little too big at the beginning was no problem. You can always chop a little more and clean it. Putting wood back takes glue.
People get excited and chop too much, too quick, and the grapes come out too small, a common mistake. Don't go straight down at 90 degrees, either. Keep an angle at the connection points, or you will not be able to clean underneath.
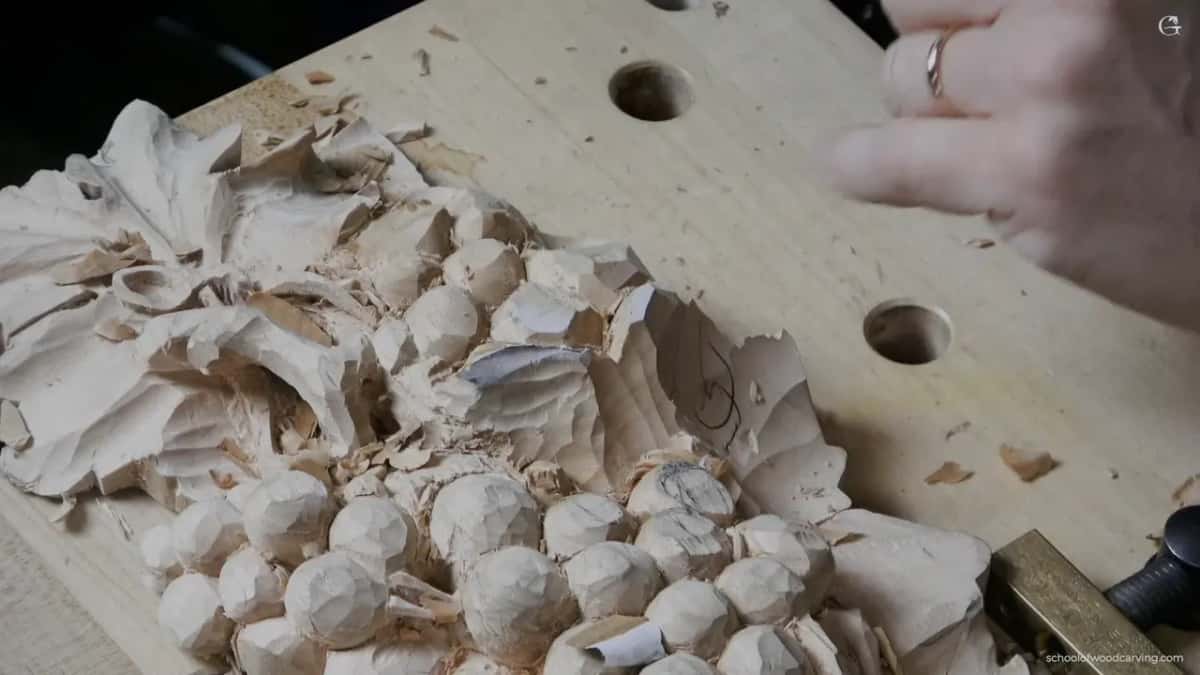
Oversize also helps with the stress problem, because extra material is extra support. In this lesson I keep some of the material for the movements that come later. There is no point carving what I don't have to carve, and I don't want to make that part too weak before the motion is set.
I don't want a grape too big, either. I take the wood down about an eighth inch at a time, and it is a good idea to look at the piece from different angles as you go.
Where does the wood tell you to put the next grape?
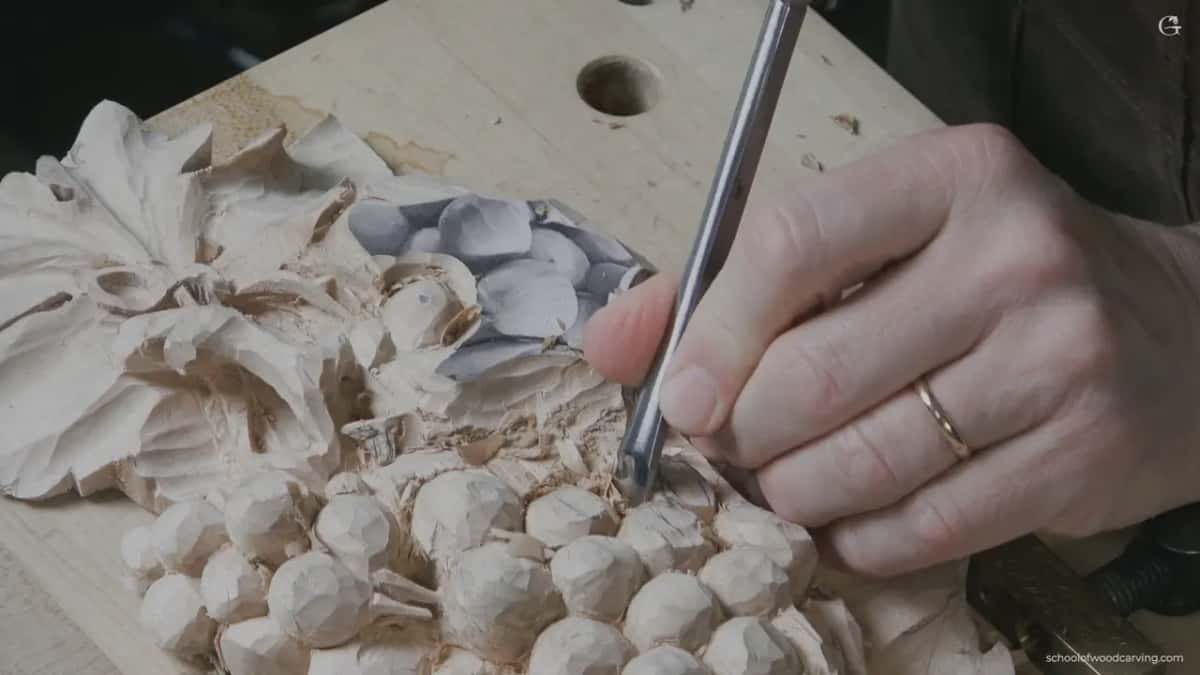
The wood tells you through the cuts already in it. On this bunch I made several deep passes to shape the mass, and the hollows those passes left behind decided where the next berries went. Not the drawing. The panel.
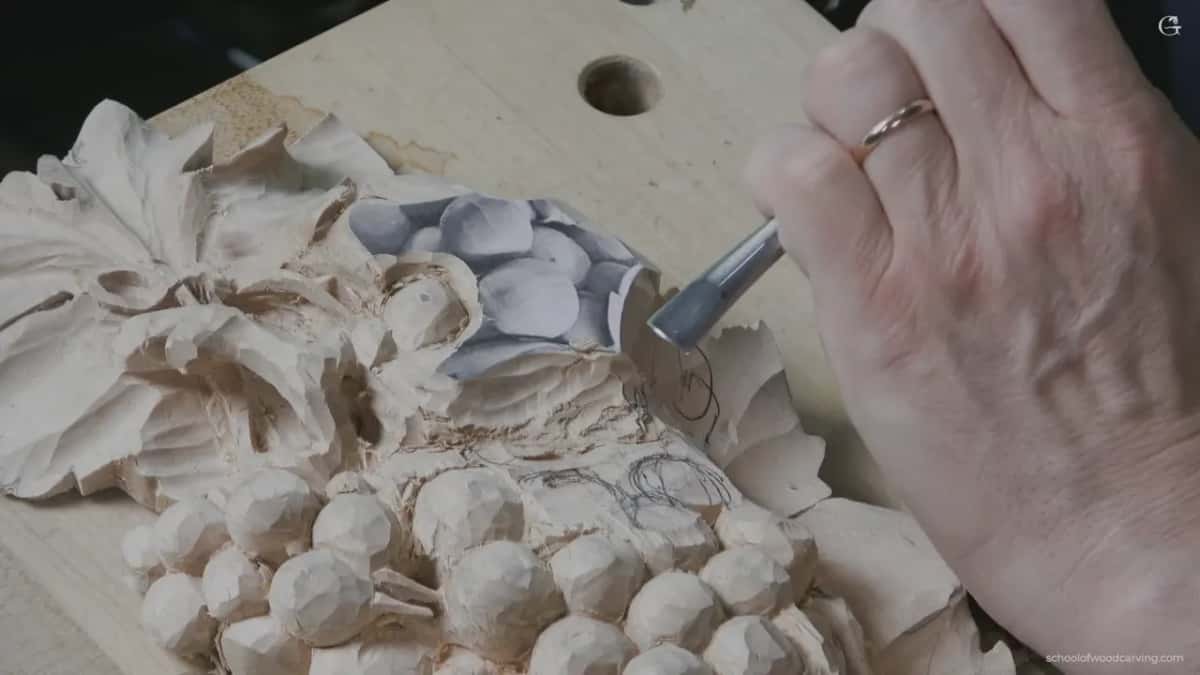
That sounds vague until you have done it. First I pick the highest grape in the bunch, here the biggest one, and the rest of it goes downhill, downhill, downhill. I leave a bit of the paper on top of it for now, so I can see it is the highest. Where I see a triangle between the outlines, I have space for another grape. Then I decide which one is higher and which one is lower, because I don't want a fish scale effect. Even a small grape stays full 3D.
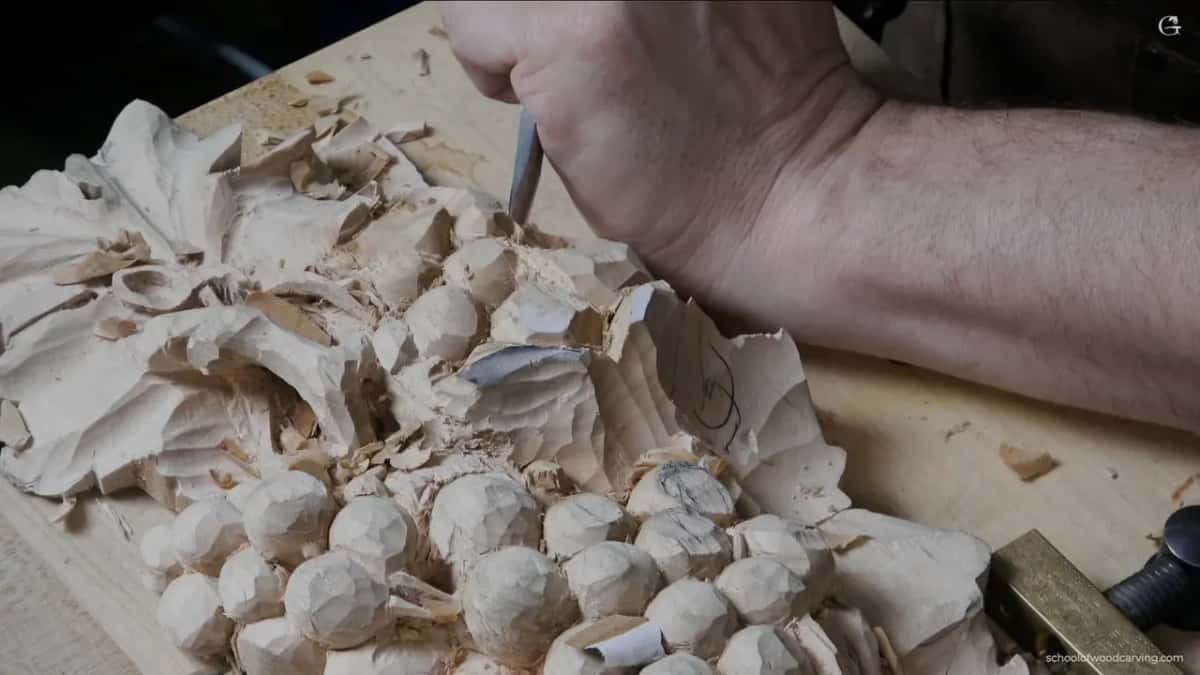
So I keep a pencil close by and change things as I go. If I see I still have the material, I put in one more small grape. Why not? The bunch that comes out at the end of the session is related to the pattern rather than identical to it, which is why I make the pattern for this project from a picture, after the form is done.
You cannot copy real fruit exactly, either. Look at grapes on a vine and you see voids underneath the bunch, and I doubt you have the tools to get right underneath that. Style bends the rules as well: in some Italian Florence style Baroque, the eye of a leaf goes concave instead of raised.
How do you spot a weak place before you carve it?
You read the grain, and then you read the shape against it. If a shape twists off the line of the grain, you have a weak part.
Start with the board. I am using basswood here, and on a plain piece the fibres run the length of it, so anything carved that same way has long grain underneath. Anything crossing it does not. A leaf tip pointing across the board is weaker than the same tip pointing along it. Along the grain has its own trap, too, because there you can catch the grain and break it.
Then look for the turns. Where a vine or a tendril twists, there is a stretch where the grain crosses the shape, and that stretch is short grain whether you planned it or not. Every pass there needs real care.
Defects deserve their own look. I saw a knot in this panel near the end of this lesson, and I left that area alone for now. Grain swirls around a knot and the density changes. The Wood Handbook explains the mechanics better than I can.
The final check is to watch it. If a thin part moves under the tool, it is weak, and everything you do near it from that point on happens with small passes and a sharp edge. The second workshop covers the stage before this one, and the fourth is where the really fragile work starts.
Which tools reach a tight junction safely?
Narrow ones, and not as narrow as you would guess. A number 2 at 8 mm gives me more accuracy here than a number 3, which has too much sweep. Where a hollow is too small even for that, I move to a Swiss made number 2 at 5 mm, which fits right inside the hole and cleans up the wall.
Going smaller than the job needs is its own mistake. A tiny gouge leaves a surface covered in narrow parallel tracks, a striped result I don't like. I use a smaller one only where the bigger tool cannot reach.
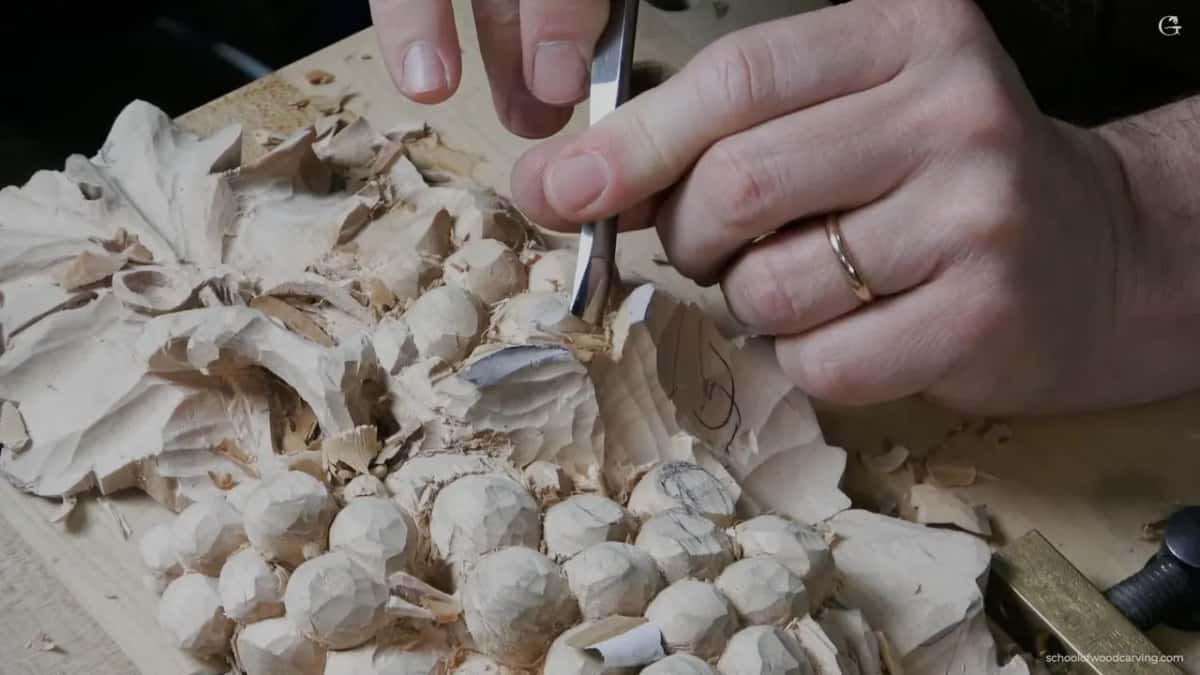
The knife earns its place in the corners. A skew knife with the point angled down opens the sharp inside angle where shapes meet, once a chisel or gouge has done the rest. That way I can get into those intersections.
Whatever the tool, attack a junction from several positions and angles. Here I can slice to the right or to the left, and it doesn't really matter, so I go whichever way feels more natural, in small slices, not one big push. Even on a tiny pass I am still slicing, and in slow motion you would see it. It gives me a much cleaner surface. Where I have to work against the grain, a sharp tool makes it no problem, which is why sharpening sits underneath everything on this site.
Does any of this apply outside a grape panel?
Most of it. While I was carving I said one rule out loud, to stop before your tool hits the grape next to it. Dig too deep and you damage the neighboring grape, and then you spend a lot more time cleaning up. That goes for pretty much any carving, and grapes are only one case. I have carved plenty of grapes, and they go on mantels, a kitchen hood, above the doors, or just on the wall as a piece of art.
Whatever you carve, stop before the edge hits the element beside it. A Greek acanthus tip, a pierced rosette petal, a run of grape leaves on a vase, the thin scrolls in a Gibbons drop, the tips of an acanthus ornament. Near the end of this course I take a relieving cut on a curl, too. I call it a relieving cut, a relief cut, because we need to relieve some of the stress. And I say that without it, a lot of times you just break the edges.
Refining has no natural end, by the way. I have carved for over forty years without once running out of things to adjust. Where the shapes go in the first place is a separate skill, and that is what the design course is for.
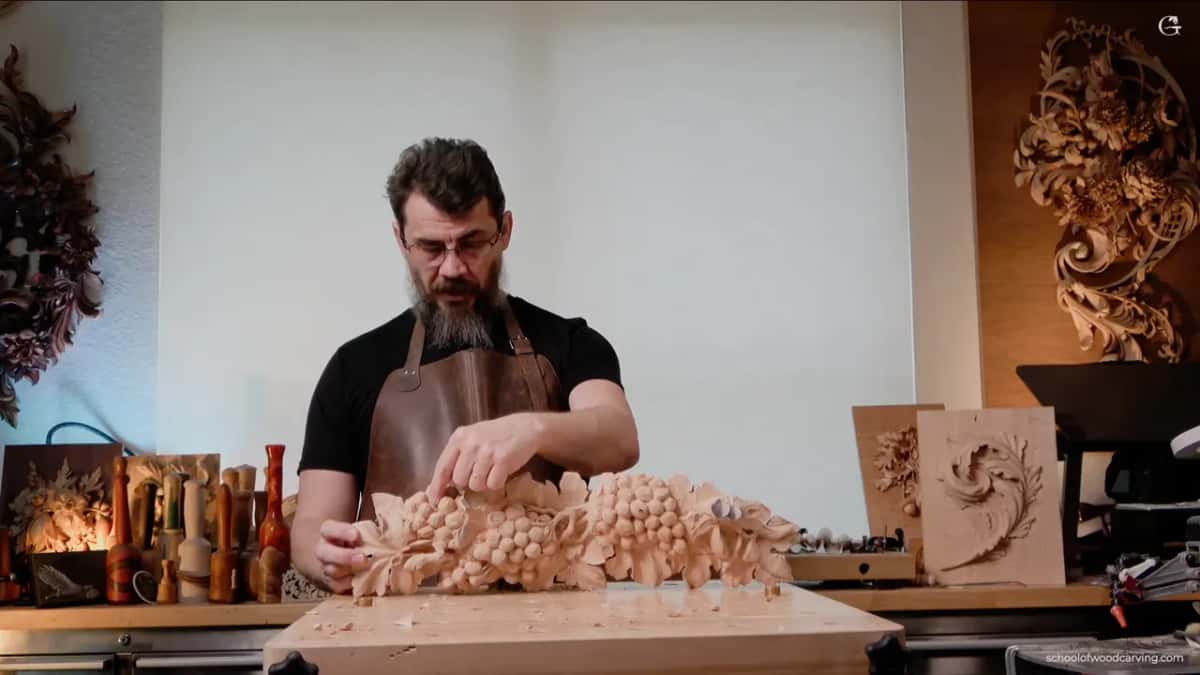
One last habit worth stealing. I do not do the final cleaning until the whole panel is finished, because my hands darken basswood as I work and every surface gets touched again anyway. Clean early and you will clean twice. If none of this is familiar yet, the beginner course starts further back, and the tools course will keep you from buying the wrong gouges.
How it's done
- Find the fragile element. Look for the spot where the shape twists across the grain. You have short grain there, a weak spot, so be mindful of it.
- Check what is still holding it. Before you dig on the second side, look at how much material you have already removed on the first.
- Take the relieving channel. Run a 4 mm number 11 along the outline of the leaf, around four millimetres down and no deeper, so the future leaf keeps its wood.
- Carve the neighbour freely. With the load released, outline the shape beside it using a half inch number 5, coming at it this way or that way, whichever feels natural.
- Keep everything oversize. Leave the grapes a little big at first, since you can always chop more and clean, and save some wood for the leaf movements that come later.
- Clean only at the end. Keep taking small slices, and do the final cleaning once, at the very end.
Frequently asked questions
How deep should a relieving channel be?
About four millimetres on this panel, and no deeper, since that wood is still the future leaf. It is all I need to let the stress go.
What is short grain?
Wood where the fibres cross a shape instead of running along it. It turns up where a part twists off the grain, like the tendril in lesson 5, and that area is weak, so every pass there stays tiny.
Can you carve around a knot?
In this lesson I saw one in the panel and left that area alone for now, to decide on later.
When do you reach for glue?
What to carve next