
Alexander Grabovetskiy, woodcarver, School of Woodcarving · Published 2024
How do you carve a grape leaf with lobes and subdivisions?
Quick answer: A carved grape leaf is built from divisions inside divisions, five lobes in the outline with two of them buried under the fruit. Each visible lobe then takes three big sections. Those get broken down again, and one twist goes in last so the leaf stops lying flat.
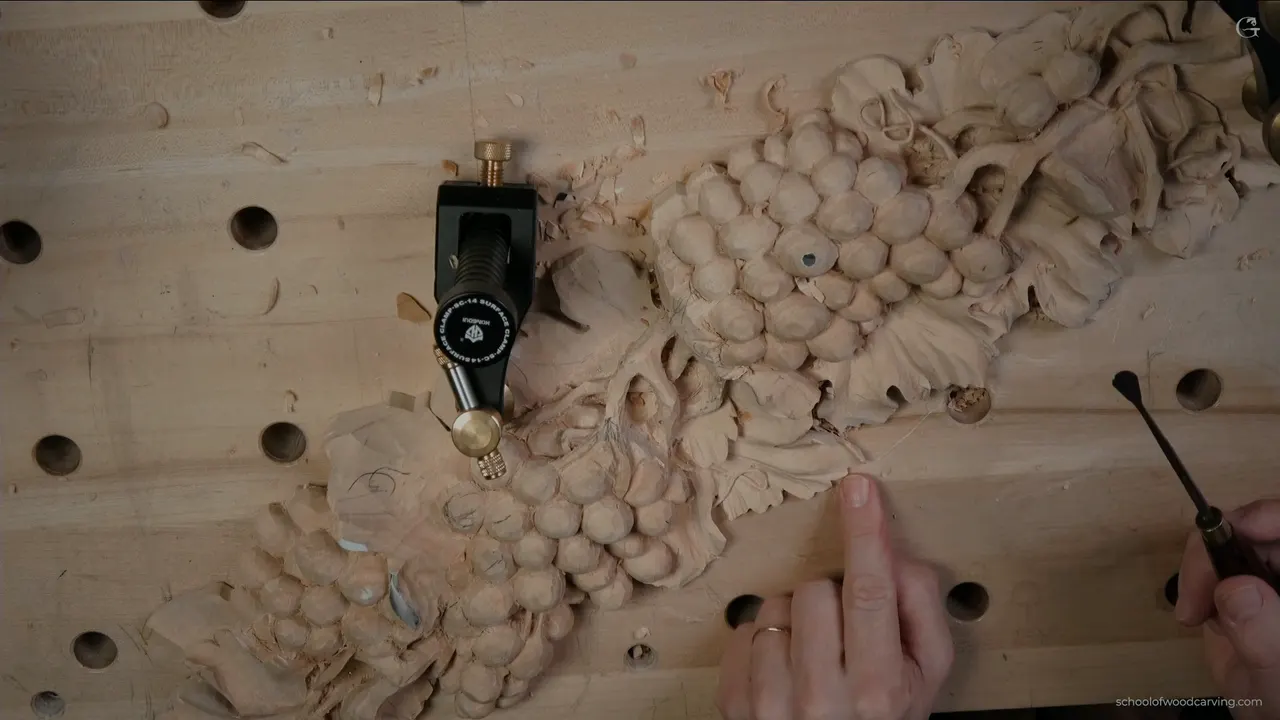
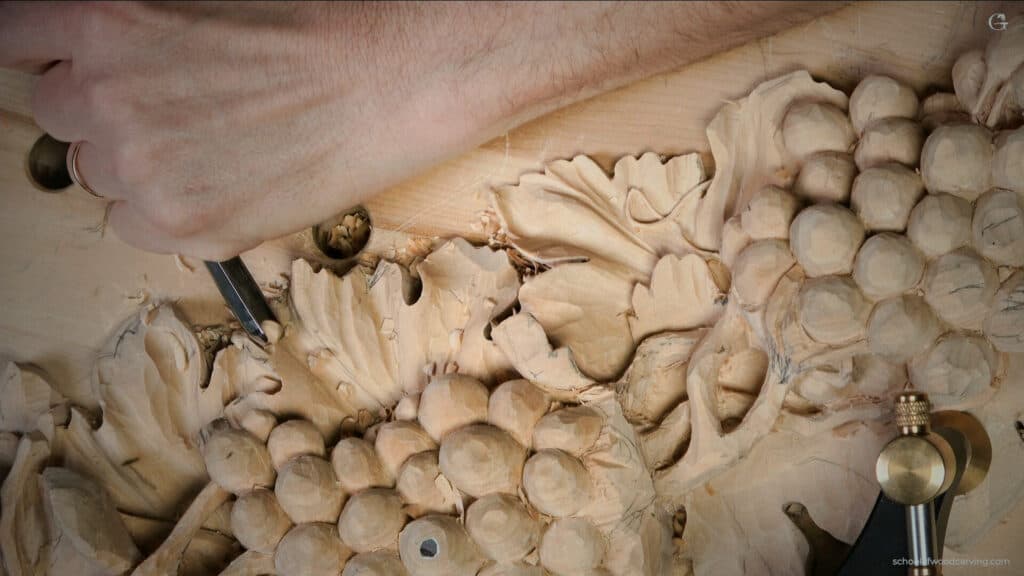
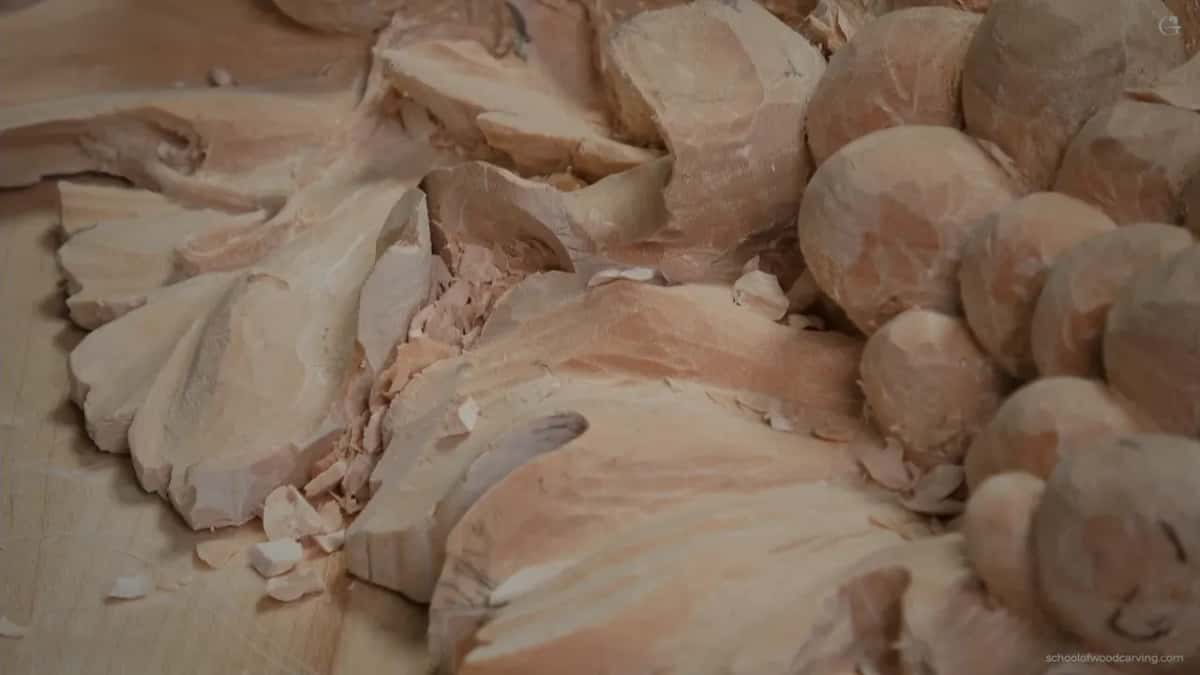
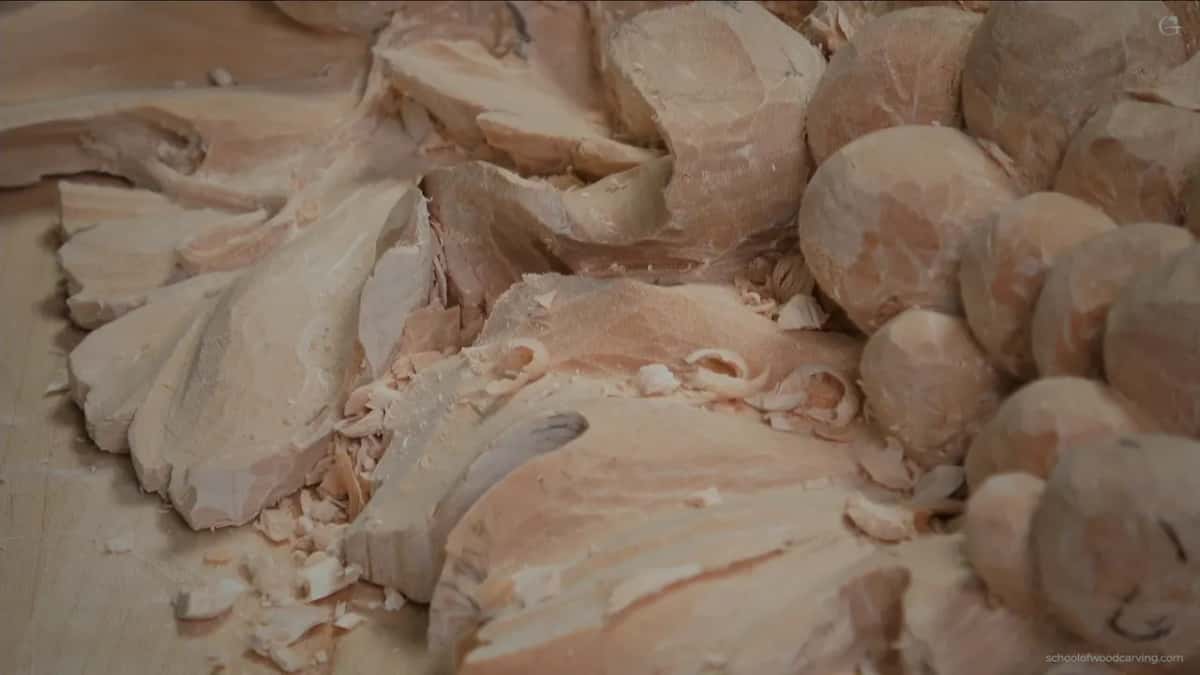
Carve the outline of a grape leaf, stop there, and all you have is a shape glued onto a board. The leaf arrives later, once you begin dividing it. Three lobes show on the panel in front of me and two sit hidden behind the fruit. Inside every lobe I mark three sections, split those again, and only then run a twist through the middle so nothing stays flat.
You carved a leaf and it came out like a pancake with lines scratched on top. Am I right? You rounded the edges over. You ran a veiner down the middle for the veins. And it still sits there flat, the way a sticker sits on a suitcase. This is not your gouge and it is not your hands. Nobody told you that a leaf is not one surface, and until somebody says it out loud, no amount of sharpening will fix the problem. So today I want to hand you three things. The divisions that make foliage look grown instead of drawn on a page. Next, the small eye shape that says where wood has to rise. And the twist that pulls stiffness out of a leaf somebody drew flat on paper.
What turns an outline into a leaf
- A grape leaf carries five lobes, and on a bunch like this one only three of them are visible.
- Each lobe you can see carries three main divisions, with smaller ones inside those.
- An eye left where one edge rides over another means a raised convex belongs beside it. Always.
- The twist goes in before the sections. Divide a flat surface and it stays a flat surface with grooves.
- Undercut deep, around 12 to 13 mm or half an inch on this panel, because the shadow is the third dimension.
- Leave the facets your gouge makes, then soften them with a knife instead of sandpaper.
Why does a carved leaf look like a pancake?
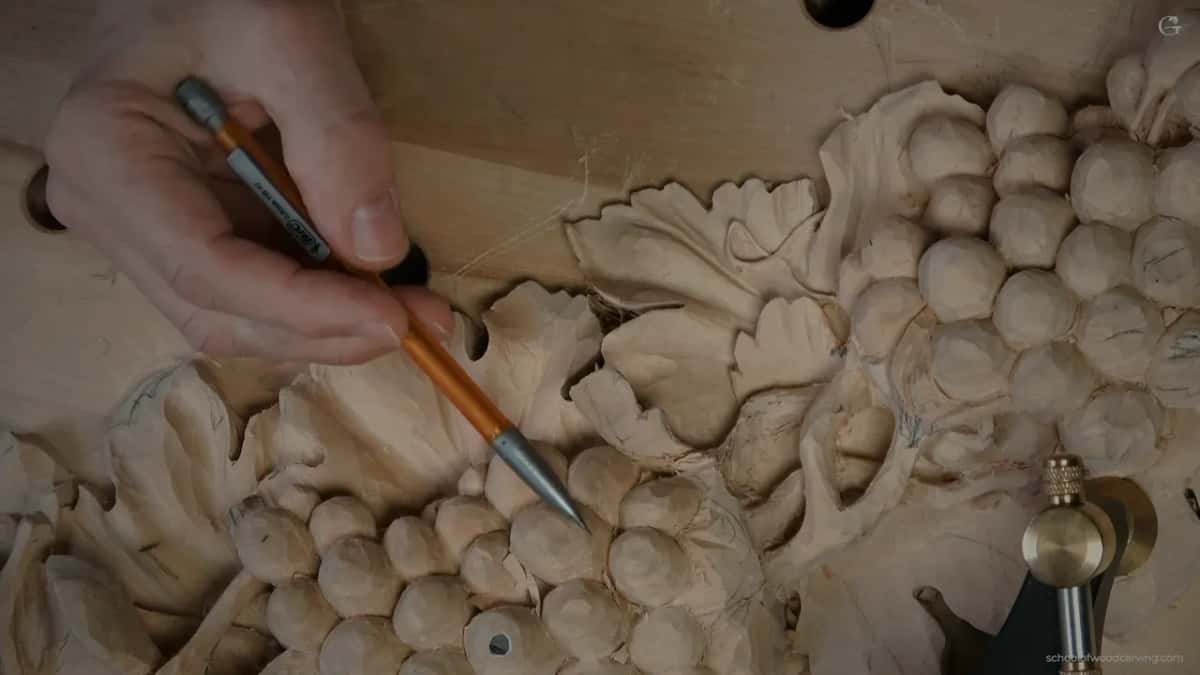
A flat leaf is a leaf that nobody divided. Your outline can be perfect, the veins can be neat and evenly spaced, and a viewer still reads one surface with decoration lying on it. Walk outside and study a real vine for two minutes. You will not find a single leaf hanging straight down like a sheet of paper. They turn. They fold back on themselves, they catch light along one half and go dark along the other, and some of them have been chewed by insects into shapes no draughtsman would invent. What we copy in wood is that behaviour, not the diagram of a leaf out of a book.
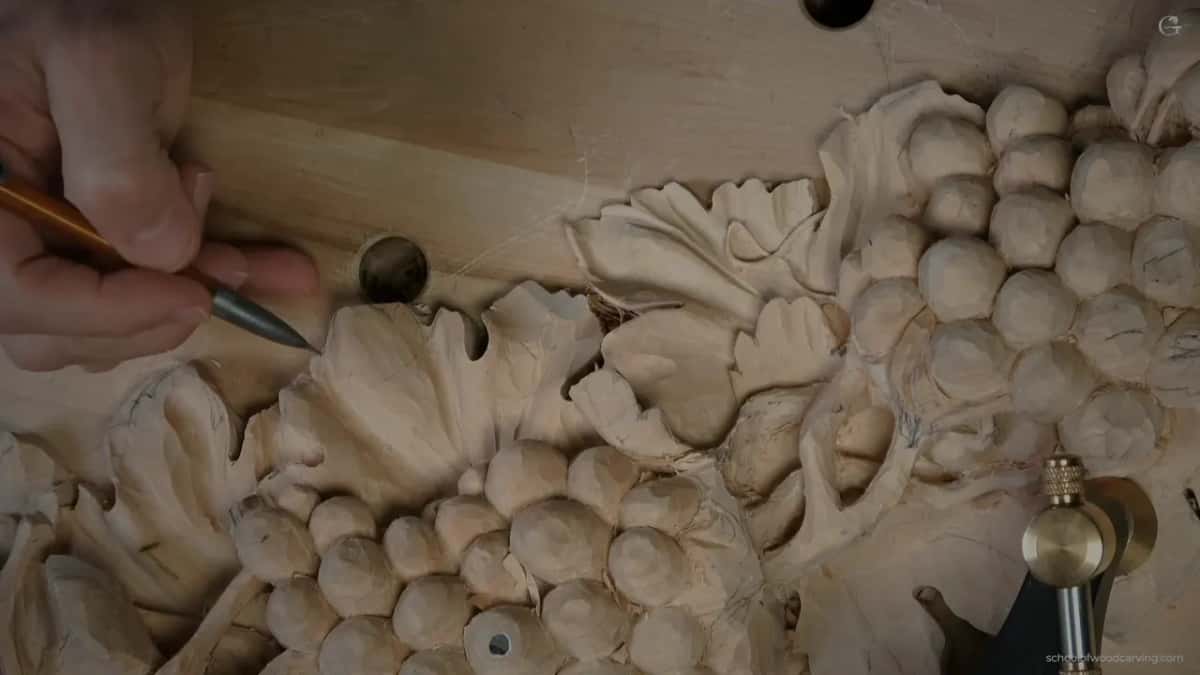
So the whole job today is division. I take a big shape and break it into lobes, each lobe into sections, each section into smaller pieces, down to a scale where a veiner two and a half millimetres across, close to a tenth of an inch, is the right width. By the time I stop, one leaf has become perhaps twenty small surfaces leaning in different directions. Every join between them is a place where light has to make a decision, and those decisions are what your eye reads as a living thing.
What does an eye on a leaf tell you to carve?
An eye is the small pointed shape left where two edges cross each other, and wherever one appears, the wood next to it has to rise into a convex. The rule holds on an acanthus leaf. It holds on a grape leaf. Parsley too, and a dozen other plants the old carvers borrowed. Look at classical foliage anywhere, on a church front or a chair back, and the pairing repeats. First the eye, then a swelling right beside it. The eye marks a spot where one form passes over another, and something there has to be on top. Grinling Gibbons did nothing else for forty years.
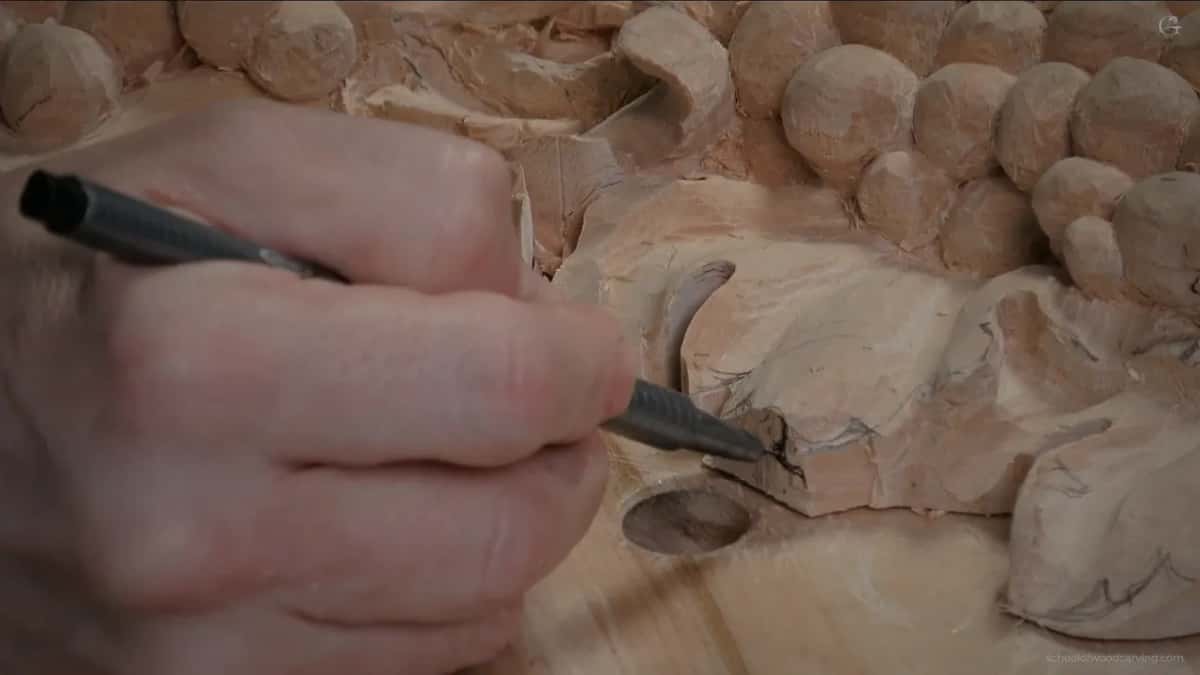
Let me repeat that, since it is worth more than any tool you will buy this year. If you see an eye, you must have a raised part. Every lobe on a grape leaf is supposed to carry some kind of convex inside it, even where the convex is so gentle that a photograph will not show it. Classical work insists on it, and classical work is right to insist. I simply refuse to stop where the old pattern books stop.
How many lobes does a grape leaf have?
Five is the number, and the count matters more than it sounds. On this grape onlay the leaf tucks under the bunch, so two lobes disappear behind the fruit and three remain in the light. Knowing the two are there changes how I carve the three. We set that bunch up back in the seventh workshop. Their edges have to run as though the missing pair continues underneath, and the moment that logic breaks, the leaf looks cut out of cardboard rather than growing from a stem.
Count the lobes on the drawing before your first pass. Then decide which ones the composition hides. On a design of your own, that decision is yours to make, and hiding a lobe is one of the cheapest ways to add depth to a crowded panel.
How far do you break a lobe down?
Three big sections per lobe, then three or more inside every one of them. A subdivision of a subdivision, and I will happily go one level further on a leaf this size. The simple road is available too. Mark your sections, remove the triangles between them with a veiner, call it finished, and it will look tidy. Tidy is not what we are after. I carved an antique style rosette that way once, years ago, and it looked like a stamping.
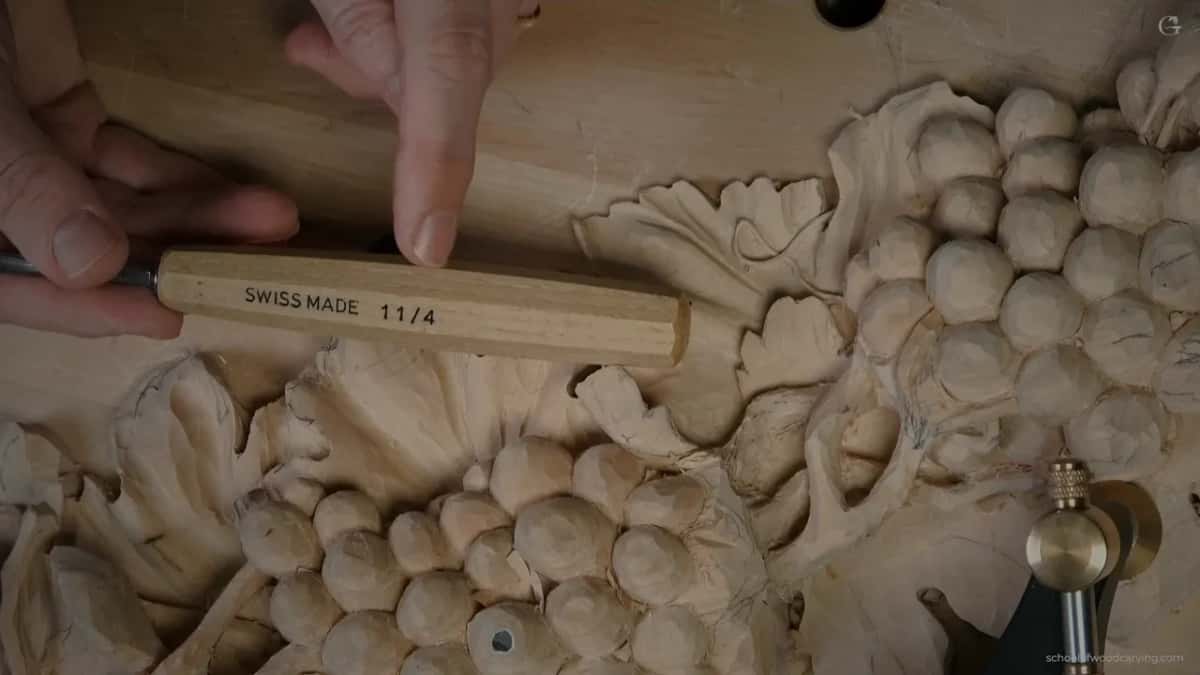
Here is the part students rush. The small sections are not decoration added at the end. They are the reason the big shape holds together, the same way a large building needs windows before your eye can tell how tall it is. I carve the main three using a 4 mm number 11 veiner, roughly five thirty seconds of an inch, and the smaller ones with that same profile ground narrower. Then I stand back, because there is always one more separation asking to be carved, and there is always a point past which the leaf turns into lace.
How do you put a twist into a leaf drawn flat?
You invent the twist out of nothing, and you invent it before you divide anything. I look at the lobe, see how much meat is standing there, and cut a hollow clean across it, a narrow eleven, one pass. The hollow starts nowhere in particular and blends out at both ends. Then a bigger veiner at 7 mm, a bit over a quarter inch, puts a wave alongside the first hollow so the surface rolls twice instead of once.
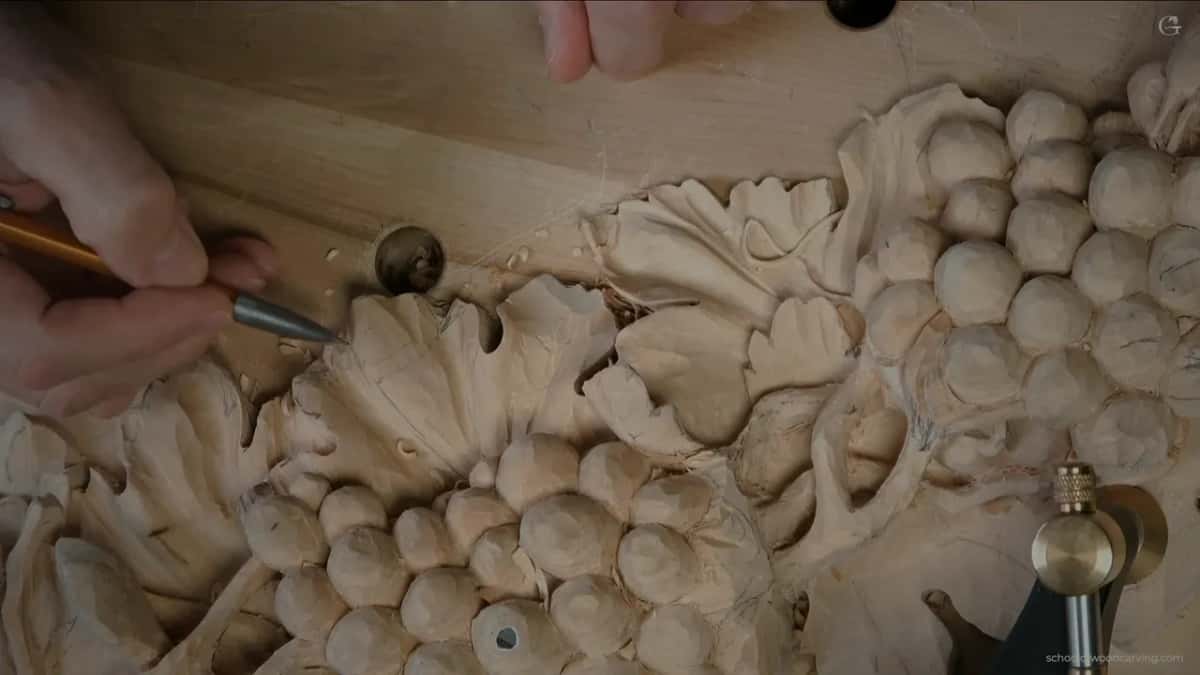
The twist does not run the length of the lobe. Run it the full length and you have made the mistake. It occupies a section, maybe a third of the lobe, and the rest of the surface just leans toward it. Anything longer reads as a groove, and a groove is a scar, not a movement.
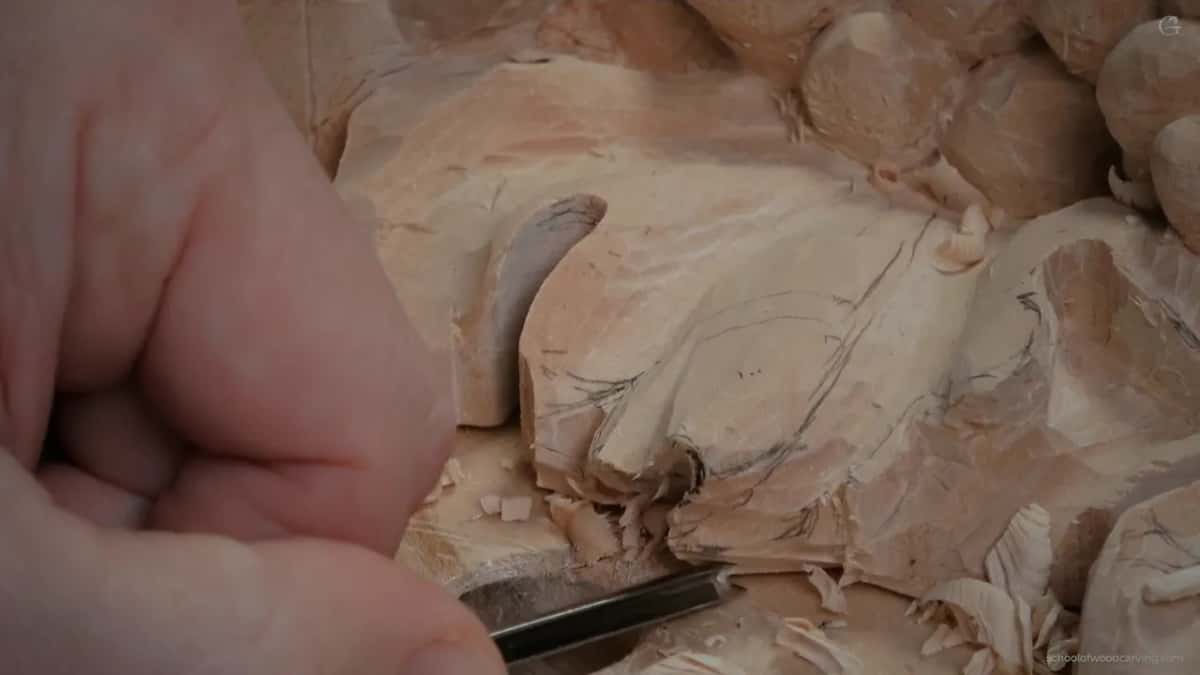
Where does the lobe point end up? I use 60 and 40 to place it, the same proportion as the golden ratio, 62 against 38 if you want to be exact about it. Measure from the leaf centre buried under the grapes, out along the lobe, and the tip lands where that split falls rather than in the middle. Repeat it lobe by lobe and a rhythm appears that nobody can name and everybody feels. Our whole design course is built on that kind of arithmetic.
Which gouges actually do this work?
Fewer than you would guess. One veiner in three sizes carries most of the leaf, a flat gouge blends what the veiner leaves, and a knife finishes. Here is the bench as it stood during this workshop.
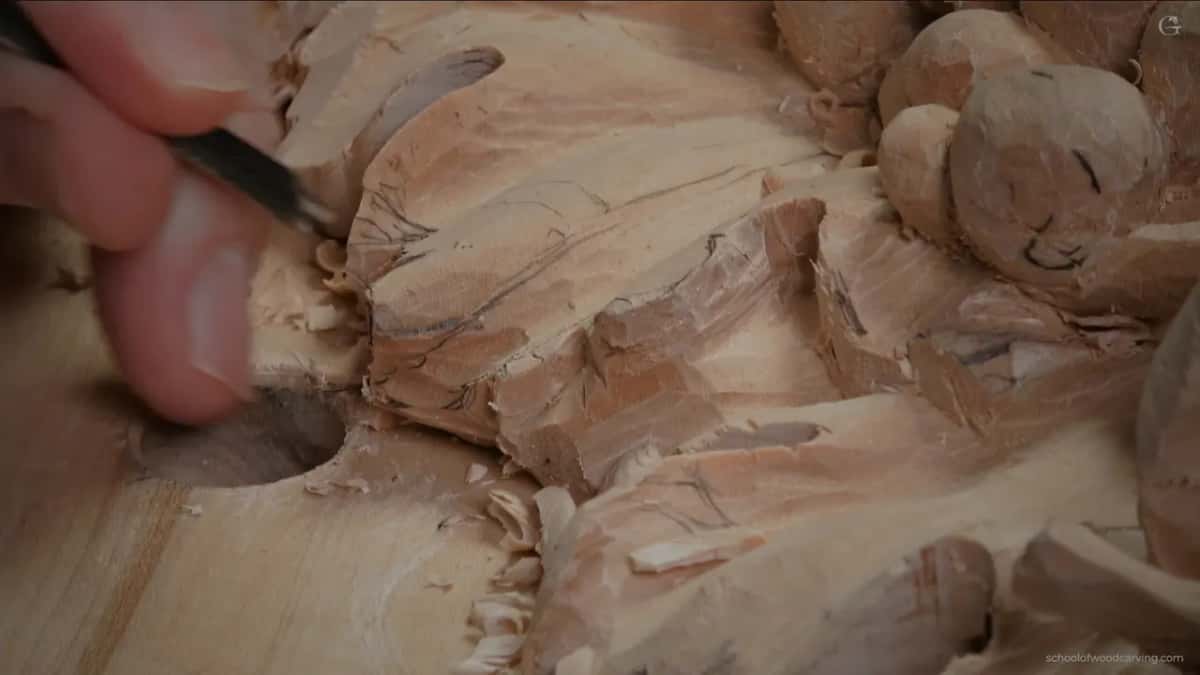
| The tool I reached for | Its job | Where it does its work on this leaf |
|---|---|---|
| Four millimetre veiner | Opens each lobe into three main sections | All over |
| The same veiner at seven millimetres | Rolling waves | Beside the first hollow, so the surface rolls twice |
| Tiny veiner | Small separations, and the long undercut after that | Under every finished edge |
| A number 9 gouge at three millimetres | Lifts plugs out | Where shadow has to read deepest |
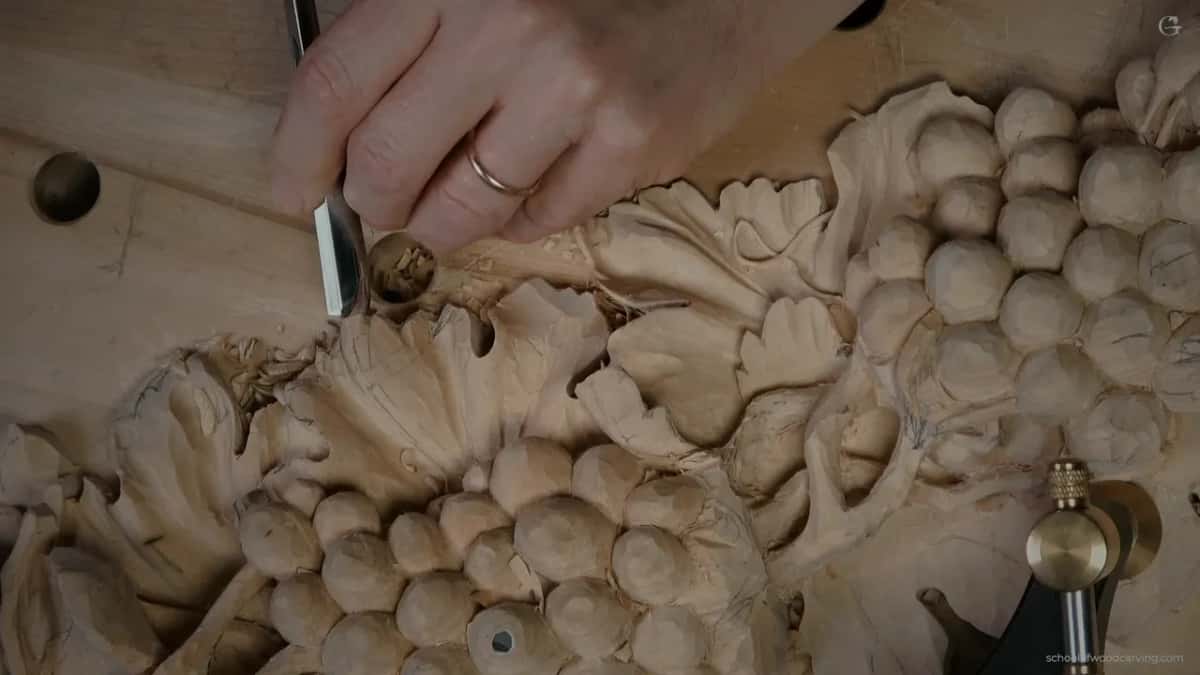
Nothing exotic there. If you carry a set from the tools course you already own every profile on that list, and a number 8 will stand in for the 9 without complaint. Sharpness decides more than sweep number does. A dull 11 tears a groove; the same tool honed properly leaves a wall that shines, and the difference costs you ten minutes on a stone. Anyone who has never held a gouge should start with the beginner course instead of this one.
How deep should you undercut a leaf edge?
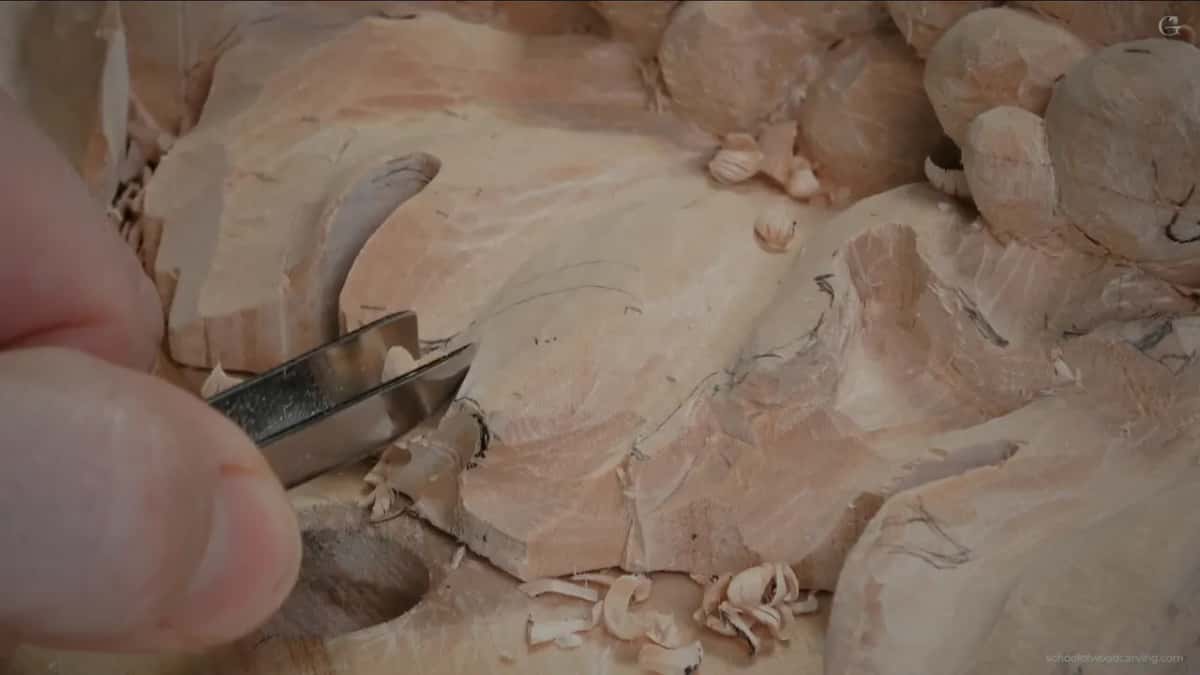
Deeper than feels sensible. On the lip I worked in this workshop I went in roughly 13 mm, a shade over half an inch, with the tool at three o'clock and the material coming out one millimetre per pass. The lip left standing is around 2 mm thick, a hair over a sixteenth of an inch. From straight above you cannot see any of that. From the side the leaf lifts clean off the background and casts a shadow you could draw with a pencil.
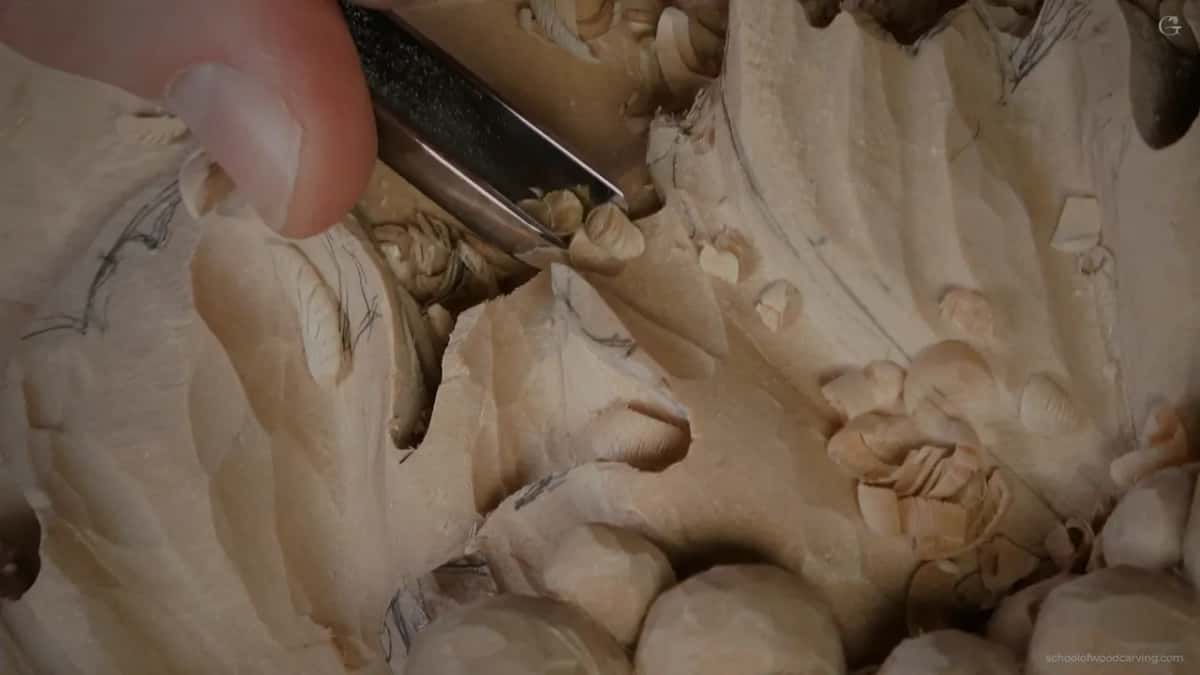
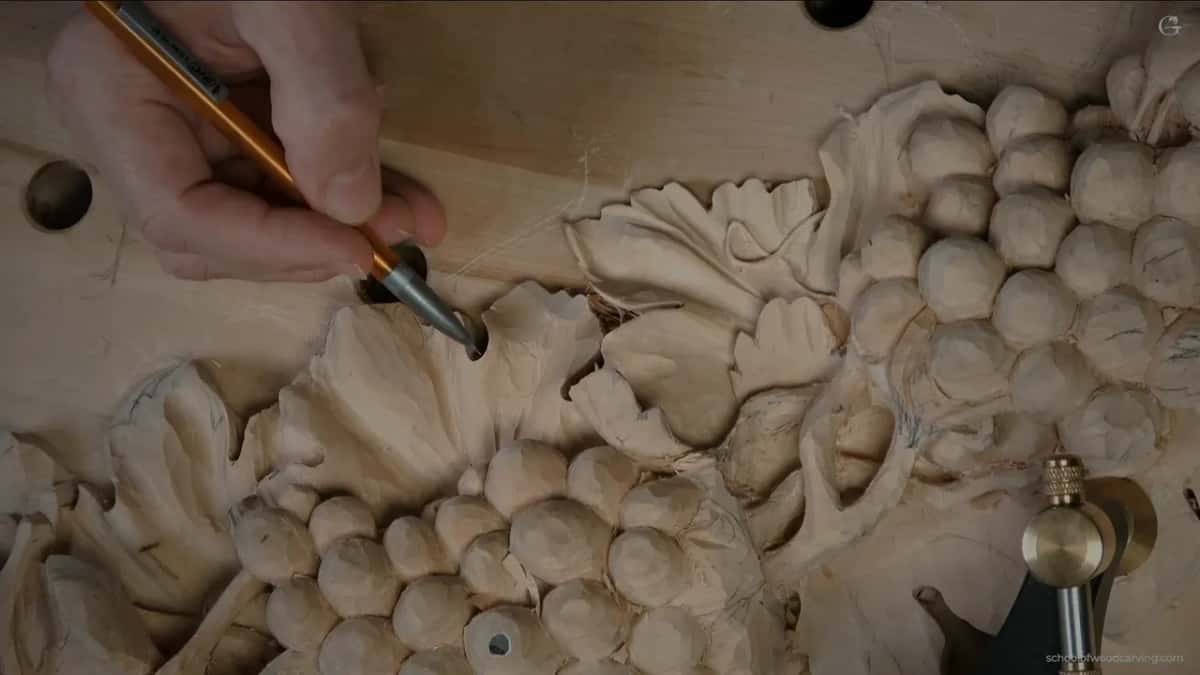
The first pass of the shadow work is a plug cut. The pocket starts with a number 9 at 3 mm, driven in like a drill, rotated a little right and a little left until a plug of basswood falls out. Any close grained lime behaves the same way. That pocket gives the veiner somewhere to run into, so the long undercut has an exit instead of a dead end. Then I chase it using a number 5 turned upside down, exaggerating the hollow, and I stop worrying about how the surface looks while I do it. At that stage you are hunting the shadow, nothing else.
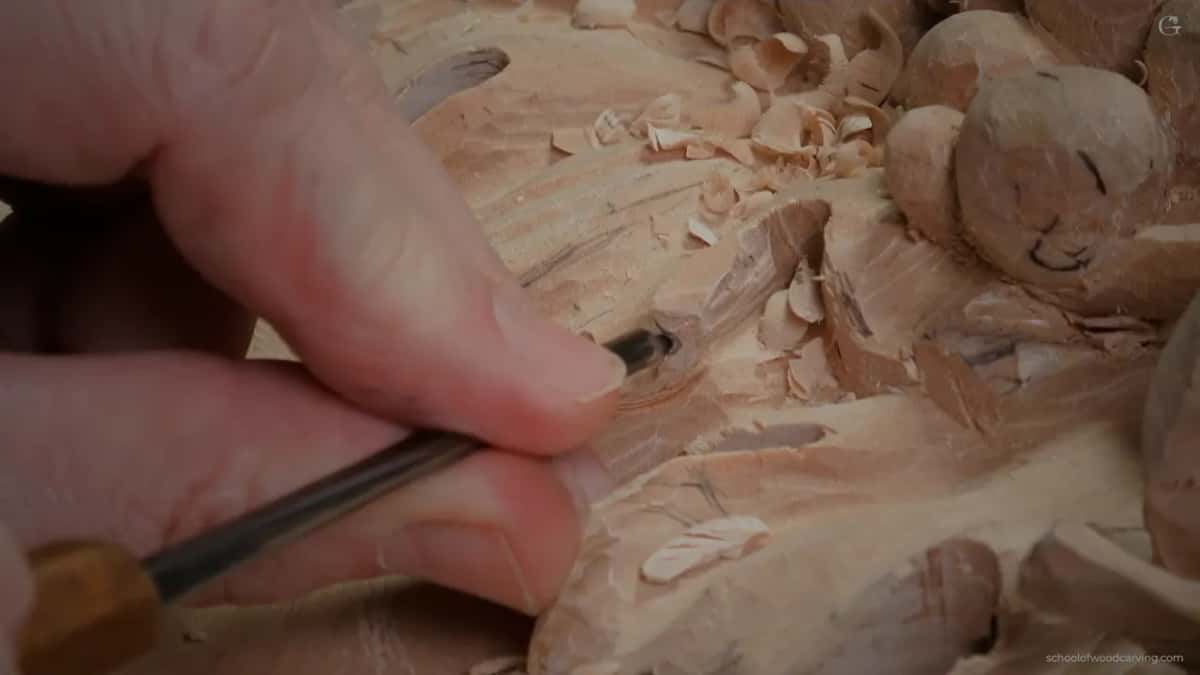
One warning about grain. Going along it with an aggressive pass will break the lip, and it breaks without warning. Small cuts, a millimetre at a time, and come at the same spot from the back side wherever you can reach it. A gouge snapped under an overhang is a bad afternoon.
What do you do with the ridges the gouge leaves?
Keep them. I hunt for those facets on purpose, because a surface made of flats catches light in a way a rounded one never will, and the old Baroque carvers built whole altars on that play of dark and light. What I do not want is a ridge with a hard edge standing up like a fence. So I take a carving knife, any carving knife, and scrape across the facets lightly, going somewhat with the grain, just enough to take the corner off without touching the shine. Watch the surface as you do it. It goes softer in front of your eyes, and nobody reaches for sandpaper.
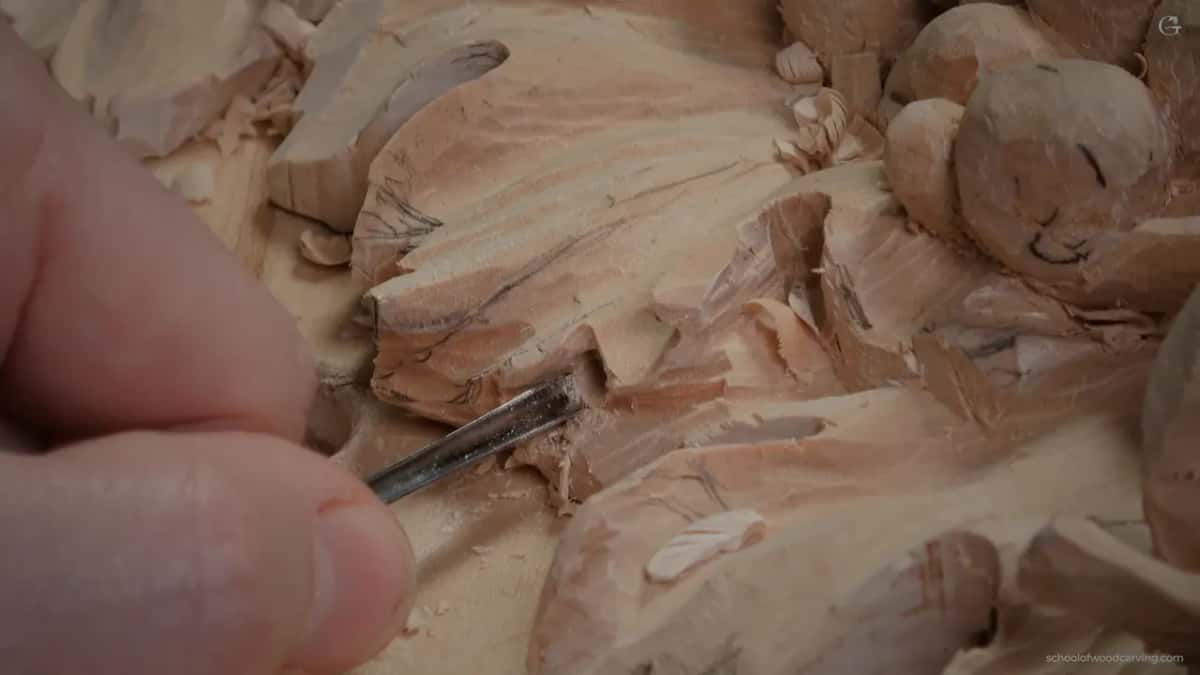
Scraped against sanded is the whole difference. Sandpaper rounds everything equally and kills the light. A knife takes the sharpness off a facet and leaves the facet.
When should you stop dividing a leaf?
Stop while the leaf still has flesh in it. Every separation you carve removes wood, and a lobe cut four levels deep starts to feel fragile under your thumb. I would not put every last notch in on the day you rough the shape, because the piece has to survive being handled, clamped and turned over a dozen more times before it is finished.
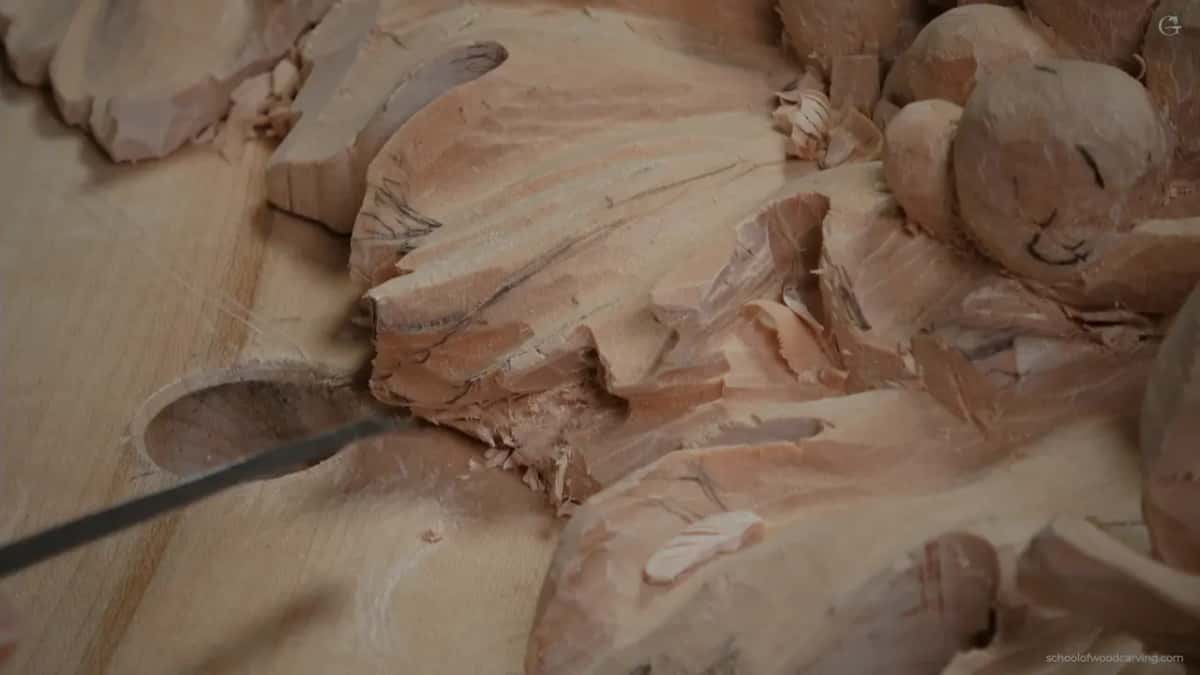
My own limit is roughly this. Three big divisions, three inside each of them, plus a couple of extra notches where a shape is asking for one. Past that the leaf begins to look like lace and the relief loses its weight. A grape leaf can take more separations than an acanthus can, which is one of the things that makes grapes forgiving to learn on, and you will feel where the limit sits long before you can explain it. Worth saying plainly to anyone starting out: part of this is arithmetic and part of it is taste. Taste comes out of hours at a bench, never out of reading.
Ready to put a gouge in your hand? There are more than 3,000 lessons behind the door, this course among them, and I teach the same divisions in person at the classes in Georgia.
A last word about ambition. I carve these separations because they please me, not because a client asked. Most people who walk past the finished piece will never count how many times a lobe was divided. You will. And in the workshop after this one, when the whole vine starts reading as a single movement, those small divisions are quietly holding it together. Send me a photograph of what you come up with. Do not copy my leaf exactly. Be crazy about it, express yourself, and let me see where your own ornament ends up.
How it's done
- Count the lobes before the first pass. Find all five on your drawing, then decide which two the composition will hide behind fruit or a neighbour.
- Mark three sections in every visible lobe. Divide each lobe by eye into thirds, and split those thirds again once the shape gives you room.
- Put the twist in before you divide. Carve a hollow clean across the middle of a lobe with the narrow veiner, then blend both ends away into the surface.
- Set the lobe tip at sixty against forty. Measure outward from the hidden leaf centre and land the point where that split falls rather than halfway along.
- Sink a plug cut where shadow has to be deepest. Drive a number 9 at three millimetres in like a drill, rotating a little each way, and a plug lifts straight out.
- Undercut deeper than feels sensible. Work at a millimetre per pass with the narrow veiner until the lip left standing measures about 2 mm.
- Scrape the facets with a knife. Pass lightly across the ridges, going somewhat with the grain, so the corners soften while the shine stays.
Frequently asked questions
How many lobes should a carved grape leaf have?
Five is the botanical count and carving follows it. On a crowded panel two of those five usually vanish behind fruit or a neighbouring leaf, which leaves three in the light. Carve the visible three as though the missing pair carried on underneath.
Does every lobe really need a convex inside it?
Classical foliage says it does, and my bench agrees. Anywhere one edge rides over another you get a small pointed eye, and the wood beside that eye has to swell. Skip the swelling and the crossing stops working, whatever else you get right.
What size veiner suits the small separations?
Two and a half millimetres, close to a tenth of an inch, handles almost all of them. Three millimetres works just as well, and four is too wide once you are inside a section. Sharpness matters far more here than exact width.
What to carve next