
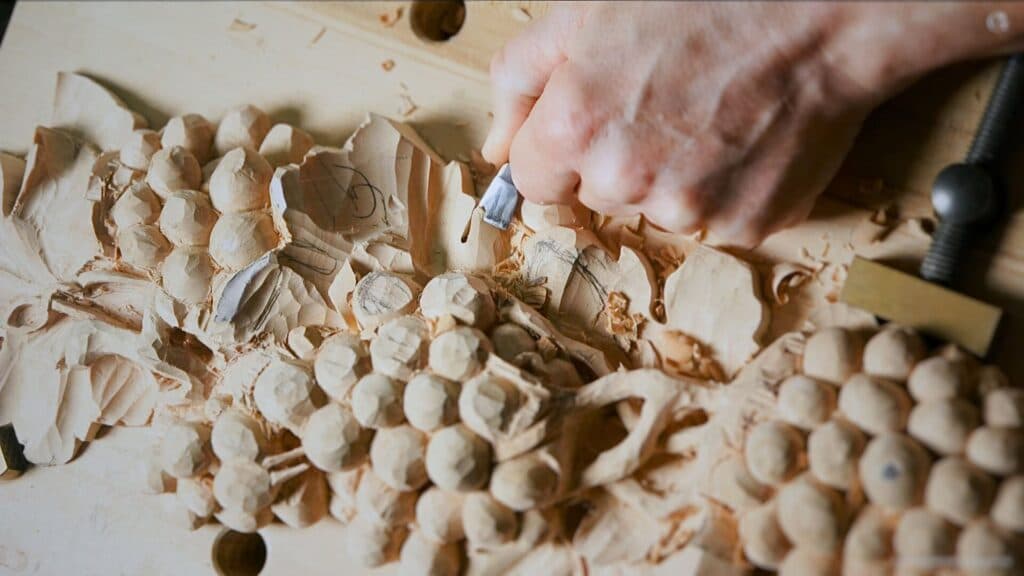
Alexander Grabovetskiy, woodcarver, School of Woodcarving · Published 2024
What is spooning in wood carving?
Quick answer: Spooning is a scooped hollow left in a carved surface when the handle starts high at the edge of a pass and then drops as the tool travels. The edge dives in, rises on its way out, and the result looks like the bowl of a spoon instead of a leaf that grew.
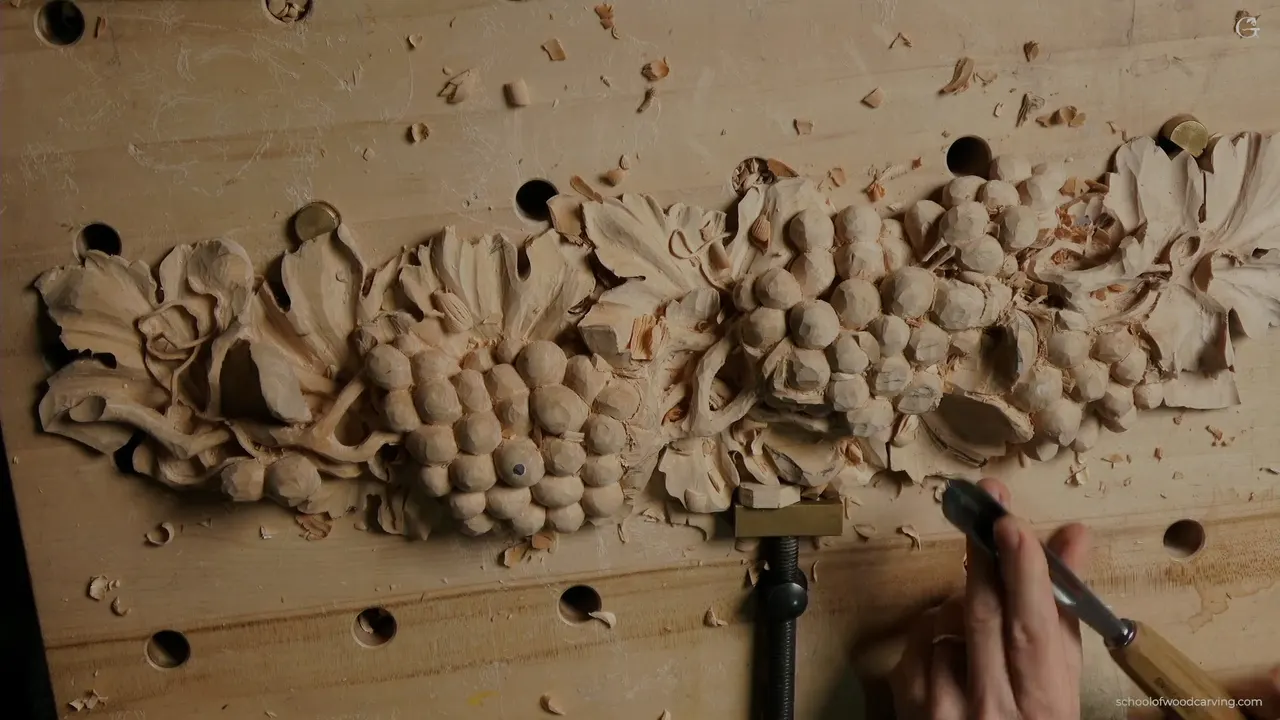
A spooned pass is a dished one, and it happens because the tool did exactly what your hand told it to do. You lift the handle high, set the edge in at the border of a shape, then lower the handle as you push. The blade dives and climbs again inside one movement. What you are left with is the bowl of a spoon, and nothing in a plant has ever grown that shape.
Have you ever finished a leaf, stepped back, and felt that something was off without being able to name it? The shape was right. The shadows were there. And the whole thing still had a scooped, machined look, as though it had been pressed out rather than carved. I have watched students chase that feeling for weeks. The cause is usually one habit in the wrist, and it has a name in my shop.
What a spooned surface costs you
- A hollow where the form should swell, so the leaf loses the convex it needs.
- Both ends of the pass left standing proud, which reads as a scoop from any angle.
- Shadow falling in the wrong place, since the deepest point now sits halfway along instead of at an edge.
- A surface that looks machined. Nothing in a plant is dished like that.
- Wasted depth. You have removed wood you will want later, and wood does not come back.
What is spooning in wood carving?
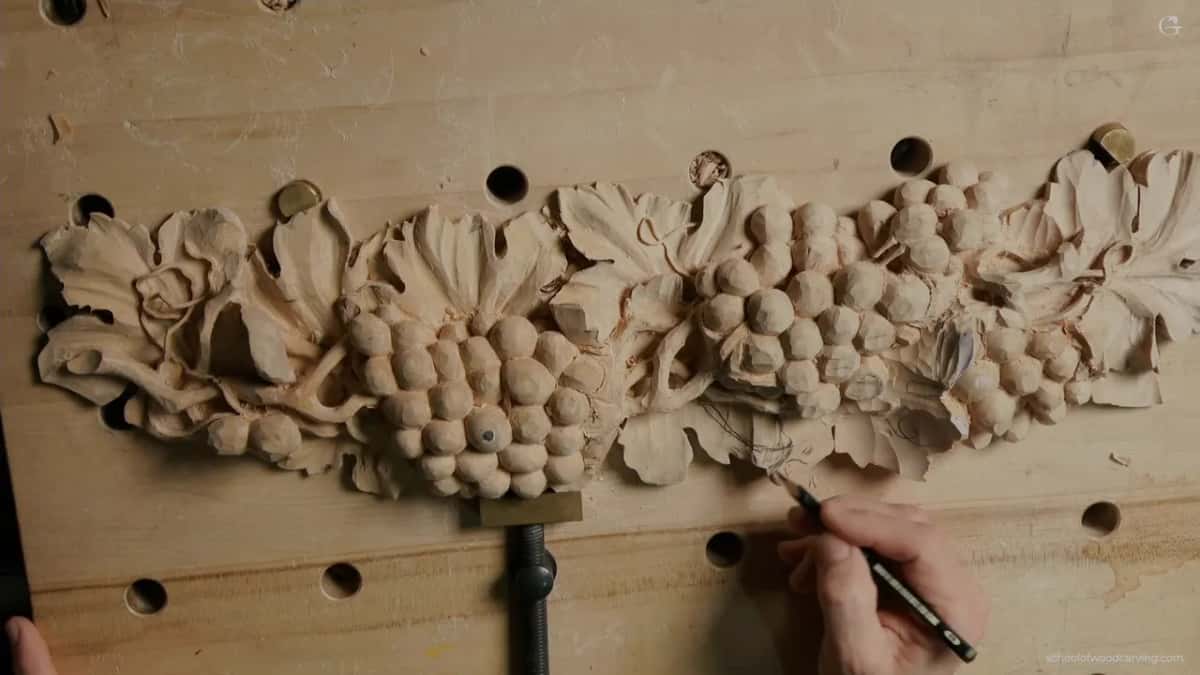
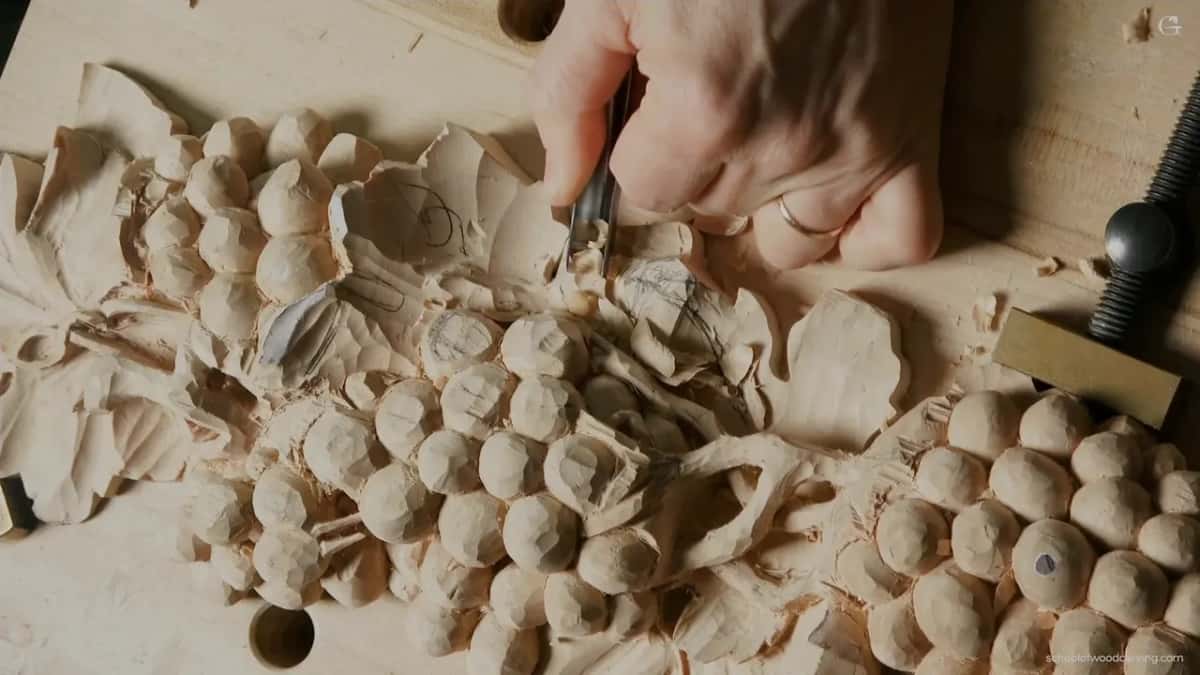
Spooning happens when your handle changes height during a single pass. Start at the edge of a shape with the handle raised, push forward, and the natural thing your arm wants to do is lower that handle as the tool moves. Your blade goes deep at the start, then climbs back out toward the end. One pass, one scoop, and a form that should have been a gentle rise is now a trough.
I do not like it. That is a matter of my opinion, and I will say so honestly rather than dress it up as a law. But look at a real vine leaf and tell me where you see a dish shape in it. You will not. A plant swells, folds and leans over on itself. Scooping is not something a plant does. Go and look at a carved acanthus from any good century and you will find the same thing.
How do you keep a pass from spooning?
Hold the handle at one height for the length of the pass. Your elbow travels, your wrist rolls if the shape asks for a roll, but the handle itself holds its height. When a surface genuinely needs to get deeper, come back and take a second pass instead of steering into it during the first.
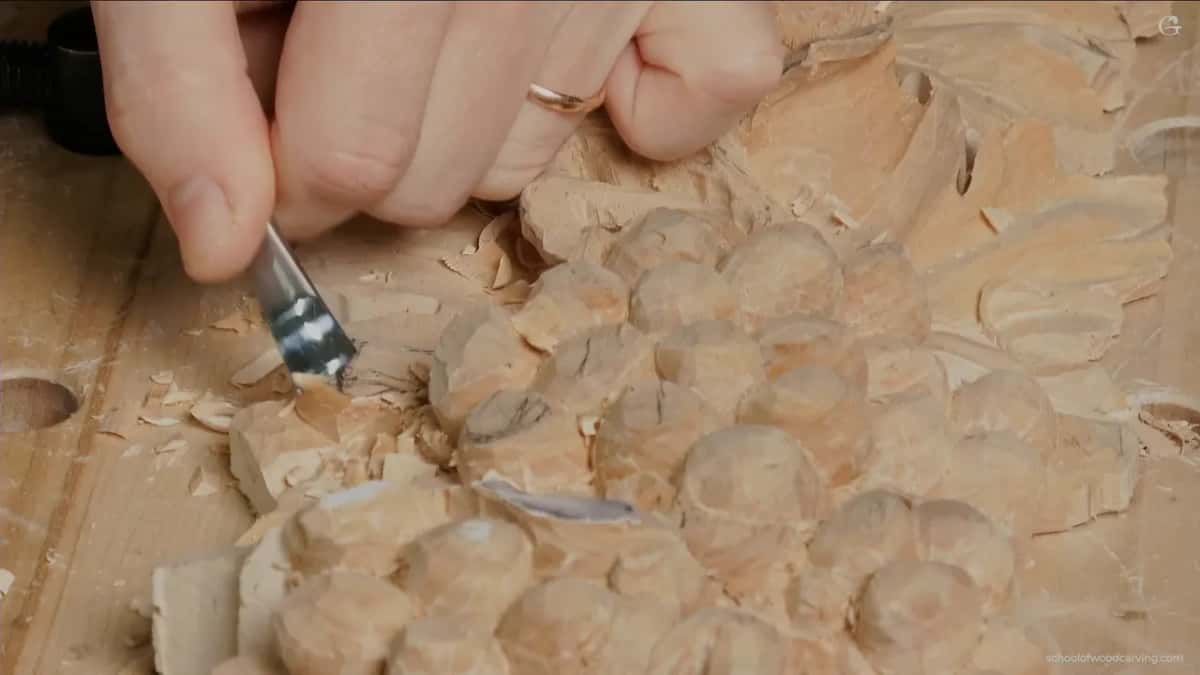
The other half of the answer is the tool you reach for. Something wide and nearly flat, a 3 or a 5, will ride across a form and leave it convex. A deep gouge wants to dig, so it argues with you all the way. On the bulge in the middle of this leaf I used a number 3 at about half an inch, 12 mm, held upside down so the curve of the blade rode the curve of the wood. Sometimes upside down will not work and you simply flip it back to the normal position and shave. Both are correct.
What angle should you present a gouge at?
Forty five degrees to the way the tool is travelling, not ninety. Most people I watch hold the blade square across the pass, perpendicular, pushing the full width of the edge into the fibres at once. It works. It also crushes. Lay that same tool over to roughly 45 and only a small part of the edge is working at any moment, and the fibres part in front of the corner rather than being shoved under the steel.
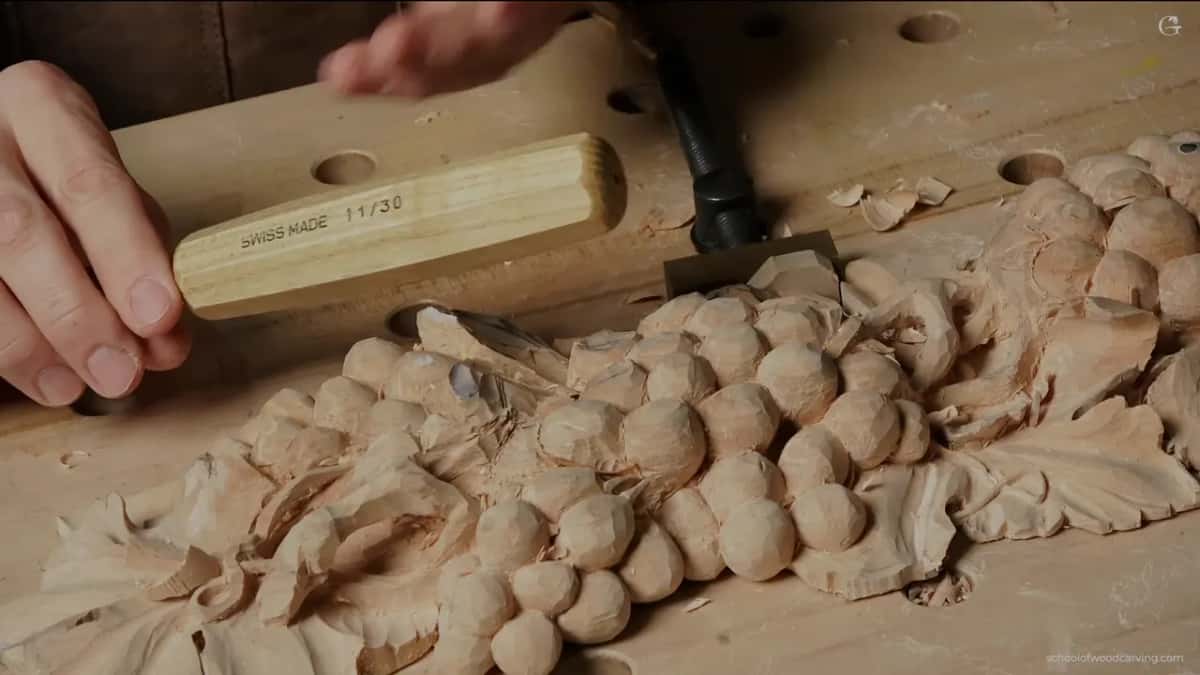
The difference shows up as colour. A square pass leaves a face that looks slightly grey and rough. The angled pass leaves one that shines, and you can see it across the room. The fibres are being parted rather than crushed, which is all a carved surface really is. Same tool, same sharpness, same wood, different presentation. Try it on a piece of scrap right now and you will believe it faster than you will believe me.
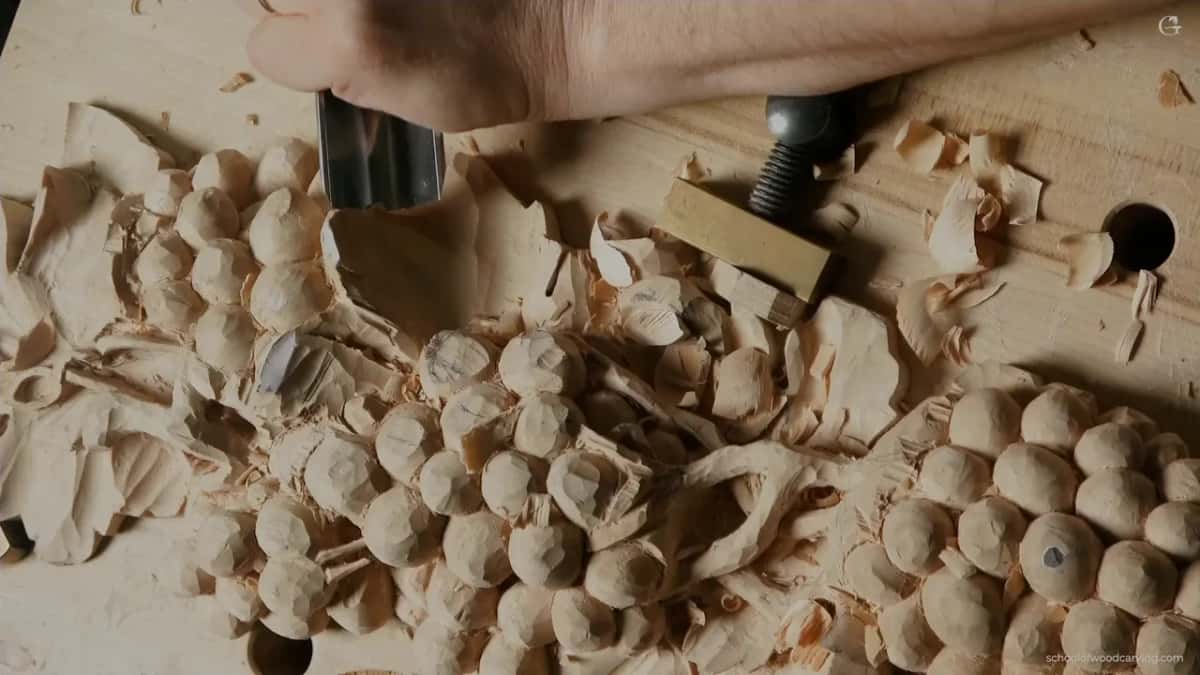
| How the tool arrives | Its effect | Where that turns out to be right |
|---|---|---|
| Square across | Whole width of the edge bites | Grey and torn |
| Leaned across the travel line | Corner leads | Any surface a person will actually look at |
| Handle held level | Depth stays constant the whole way | Convex forms |
| A handle that drops mid pass | Dives, then climbs | Nowhere, and that is exactly the point of this |
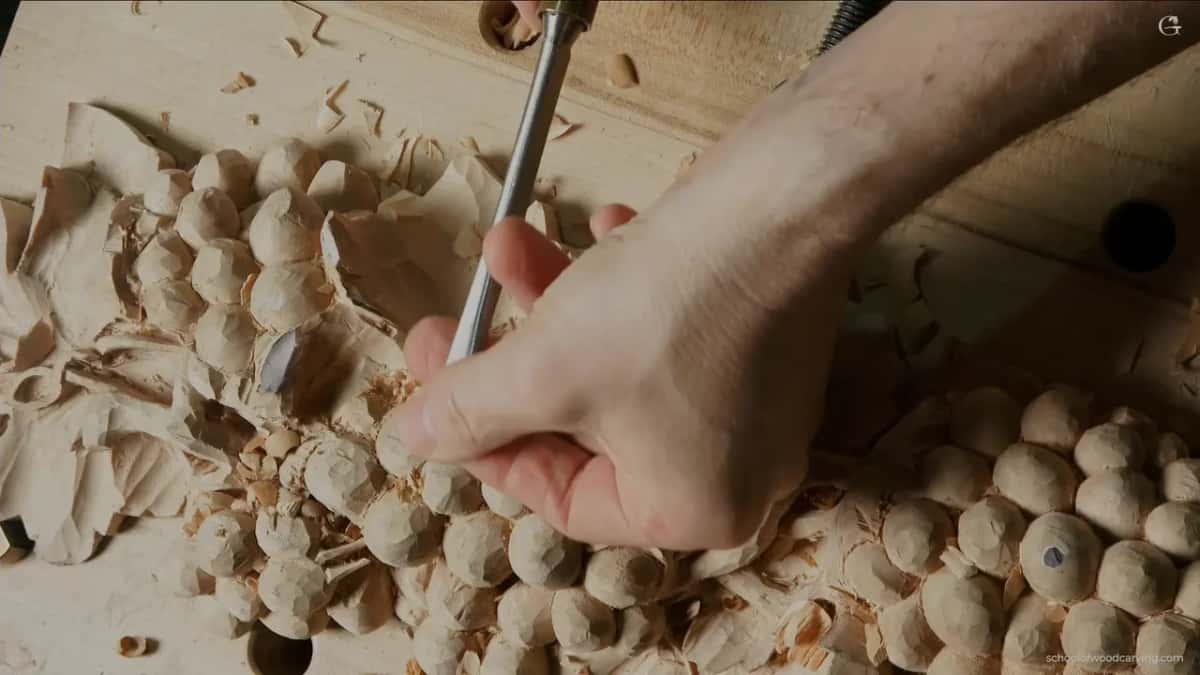
Practise that lean until it stops being a decision. That is the honest instruction. You will not get it in an afternoon, and for the first week your hand will keep squaring up on its own, and then one day you will notice the shine arriving without being asked for. The same habit carries into every other kind of work, which is why it turns up early in the beginner course.
Which way should a leaf flip, up or down?
Ask where the light is. In almost every room and on almost every wall, light arrives from above, so a lip that turns upward throws its shadow down onto the surface behind it and the shadow reads deep. Turn the same lip downward and light washes straight into it. Same movement carved, nothing gained.
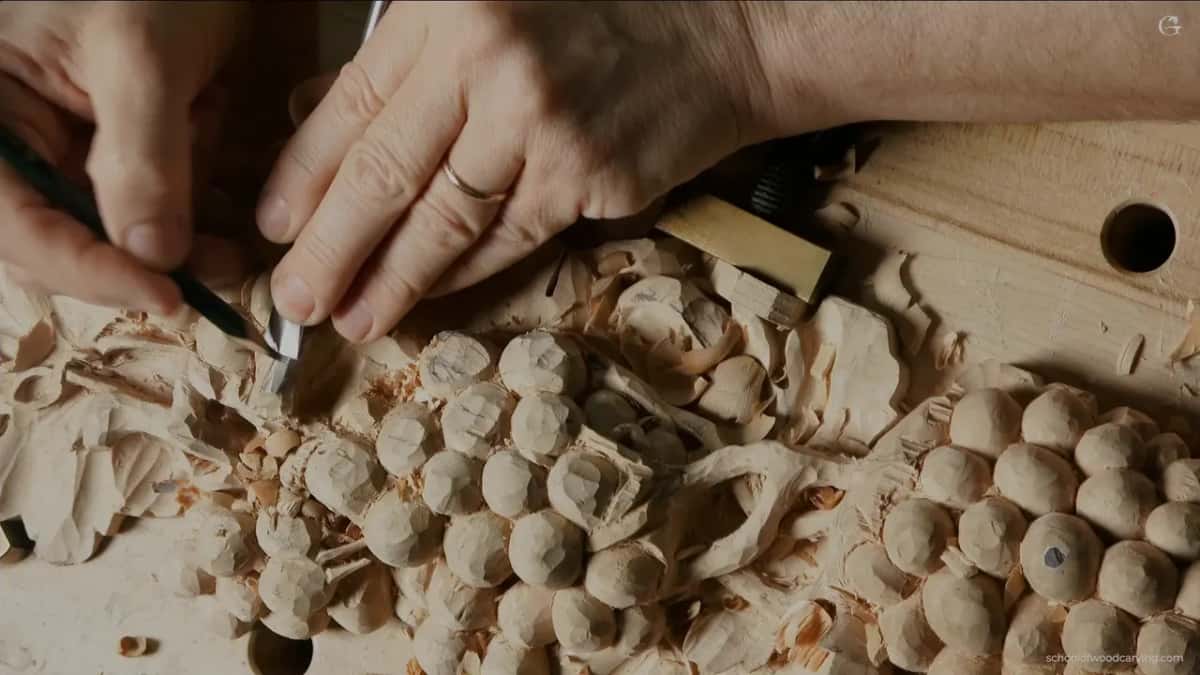
On this leaf I could have flipped either way. I chose uphill for exactly that reason, and the shadow underneath came out strong enough to see from across the shop. Then I dropped one side of the convex slightly, which is a cheap trick worth knowing: a surface that leans loses light along one half, and half a form in shade looks twice as deep as a form evenly lit.
Alexander, how deep is deep enough? Sixteen millimetres under that lip, five eighths of an inch, and I could have gone further. How far you go is yours to decide. Deeper is more dramatic every single time, right up to the moment the piece becomes too fragile to handle, and that moment arrives sooner than beginners expect.
Where does the swelling in a leaf come from?
Every leaf carries a swelling through its centre, and a flat leaf with grooves in it is the commonest thing I see from students. Find the centre line first. On a lobe that curves, the centre is not in the middle: measure 60 against 40 from one end and put it there, the same proportion that runs through all of the design work on this panel.
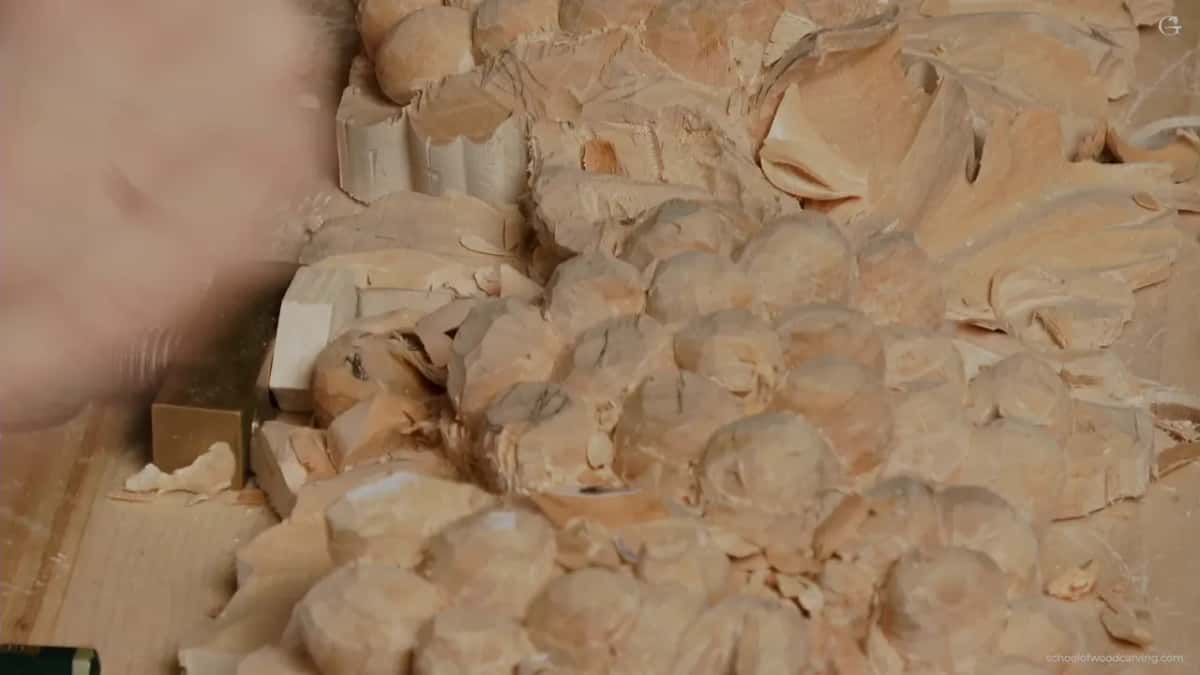
Then excavate along both flanks of that line and leave the ridge standing. An 18 mm veiner, close to three quarters of an inch, clears the bulk in two or three passes. The corner gets blended away afterwards with a 3. Keep the handle level, lean the tool over, and the swelling appears without you ever carving the swelling itself. You carve the two hollows. What stands between them is your swelling, and your tool never touched it.
When should you carve the separations in?
After the movement is settled and not one minute before. I keep saying this to students and they keep dividing first, because dividing is the fun part and the shaping is where the doubt lives. Get the flow right, get the bulge right, look at it from three angles, and only then start putting separations in.
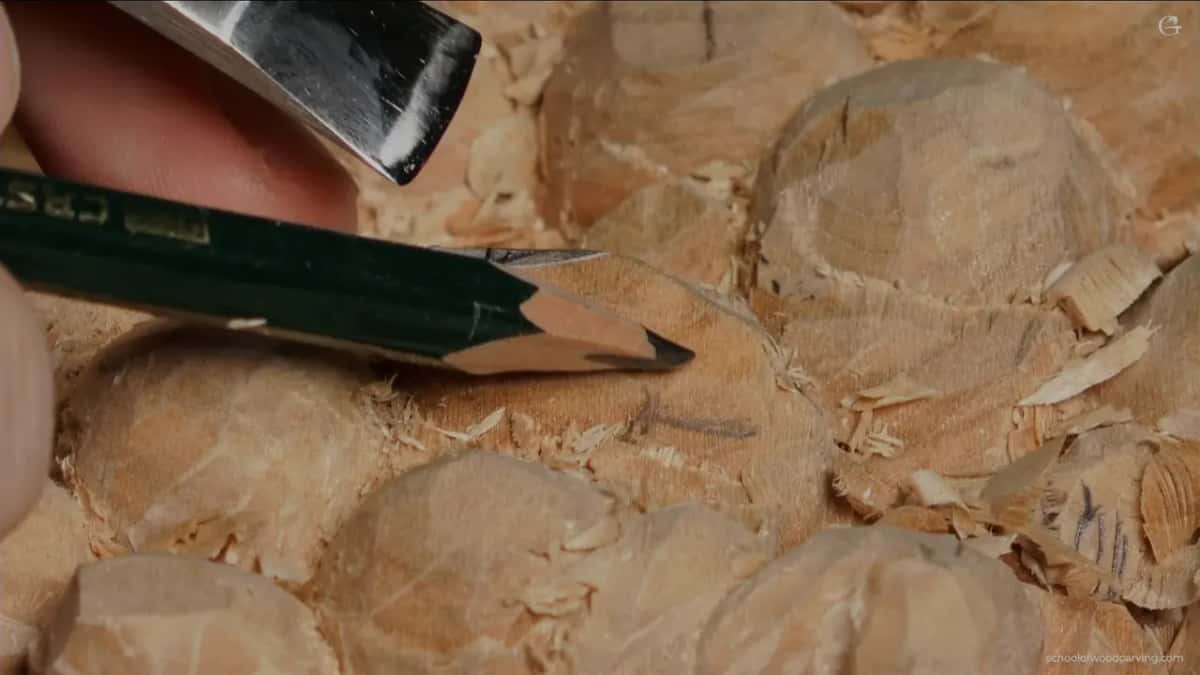
The order matters because a separation is permanent. Carve one into a surface you later decide to drop by 3 mm and you have to carve it again, deeper, and it loses its crispness every time you go back. So: movement, bulge, then the three main lobes marked out, then the notches inside them. I work the notches using a 10 mm eleven rolled over sideways, come back the other way, and the shape starts telling me where the next one wants to go.
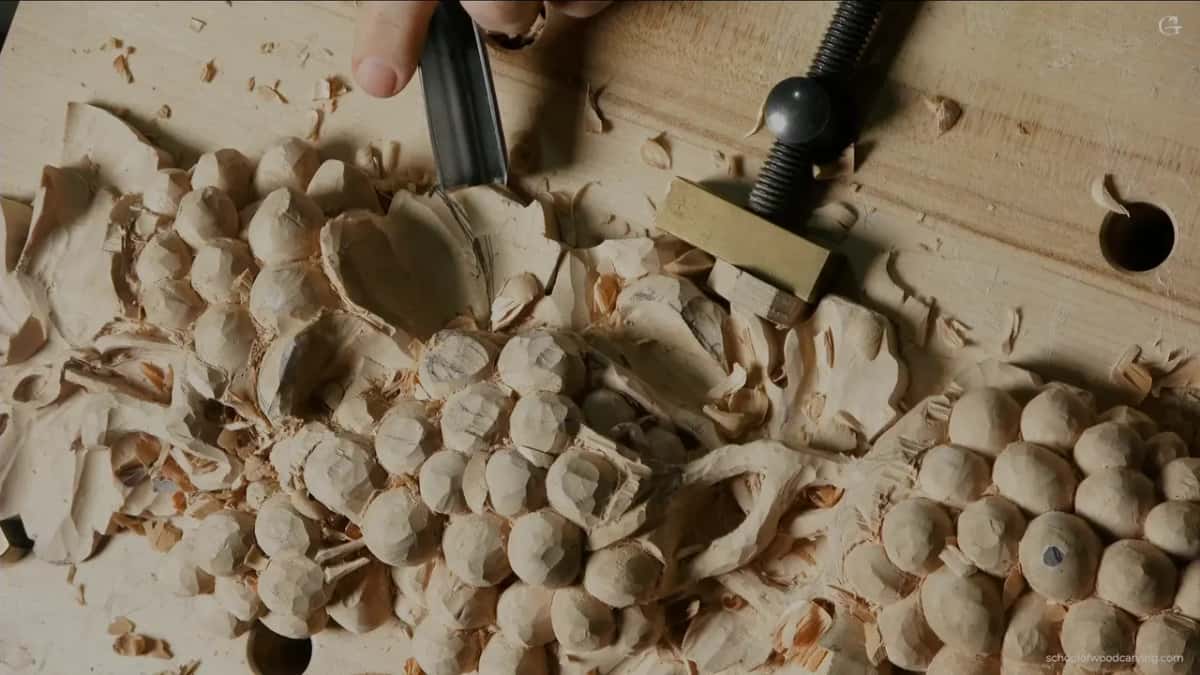
Do not do all of them in one sitting. The piece turns fragile, and you still have days of handling ahead. I leave half the small separations until the very end of a panel, which is advice I ignore myself about a third of the time, usually when something is asking to be carved and I cannot resist it.
Do pencil marks help or hurt?
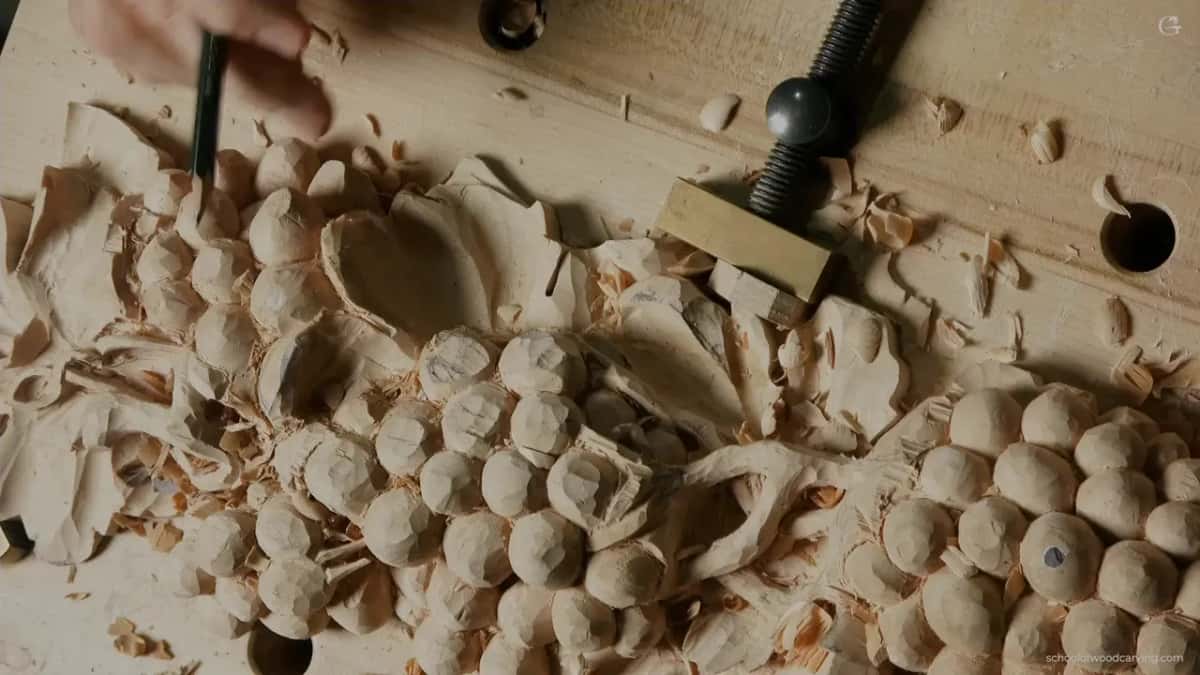
Fewer marks, cleaner work. I draw on the wood in these videos so you can follow what I am doing, and honestly I would not draw half of it if the camera were switched off. Graphite is hard to clean out of a carved surface. It sits in the bottom of every veiner line and it smears into the open grain when your thumb passes over it.
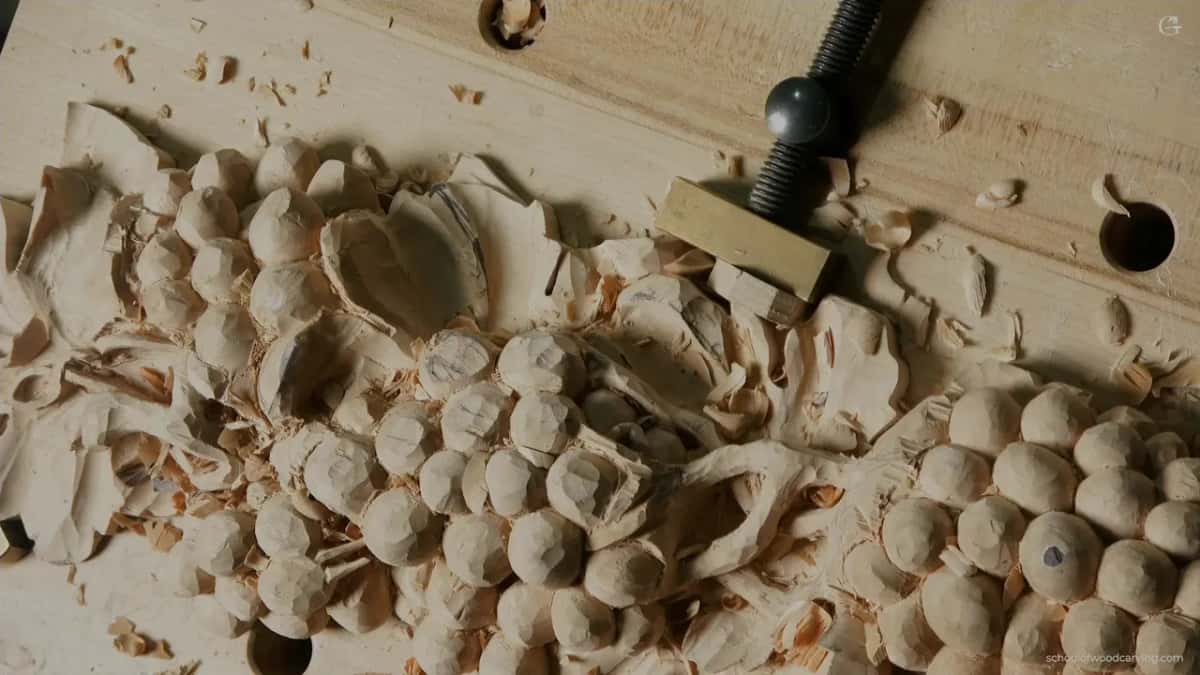
There is a deeper reason too. A pencil line commits you before you have seen the wood answer back. Carve the first hollow, look at what the light does, and the next decision is easier than any line you could have drawn twenty minutes earlier. The panel talks. Marking it up in advance is a way of not listening.
Keep the pencil for the big structure. The centre line of a leaf, the two main movements on a panel like this, the place where a lobe tip is going to land. Everything smaller than that can be found with the tool.
What finishes an undercut edge?
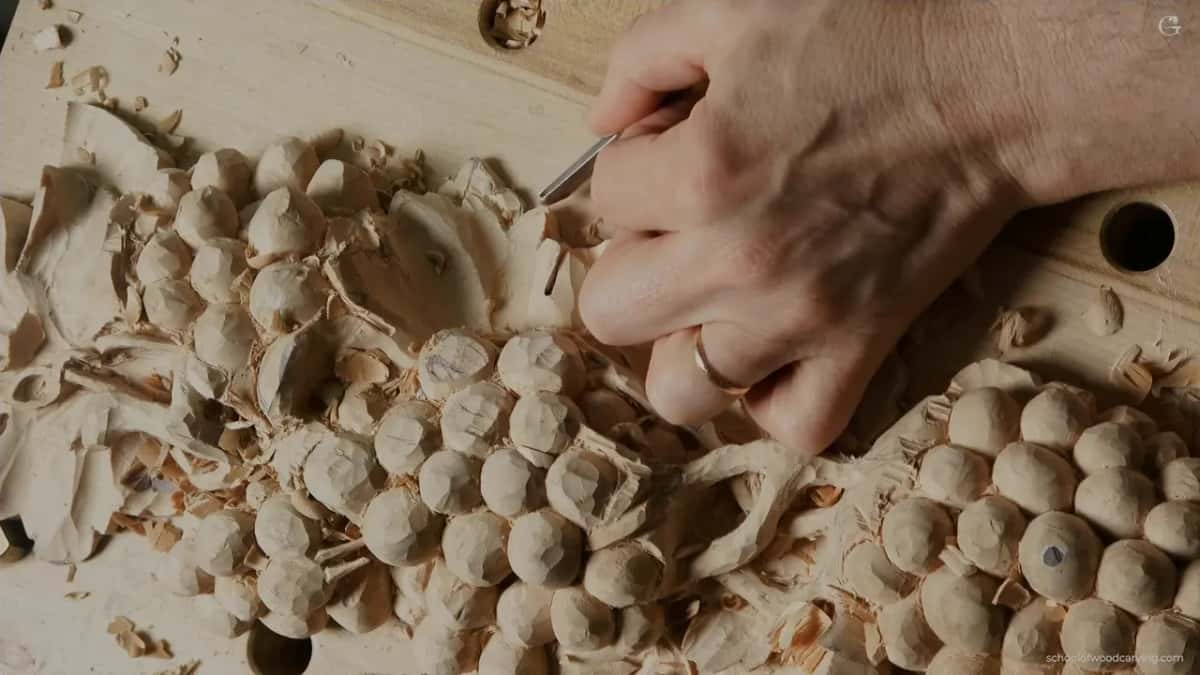
Take it to a knife edge and then clean behind it. A small number 3 held upside down runs along the underside and thins the lip, and I work right out to the border so the edge finishes sharp rather than rounded. What that buys you is a hard line of shadow instead of a soft grey one.
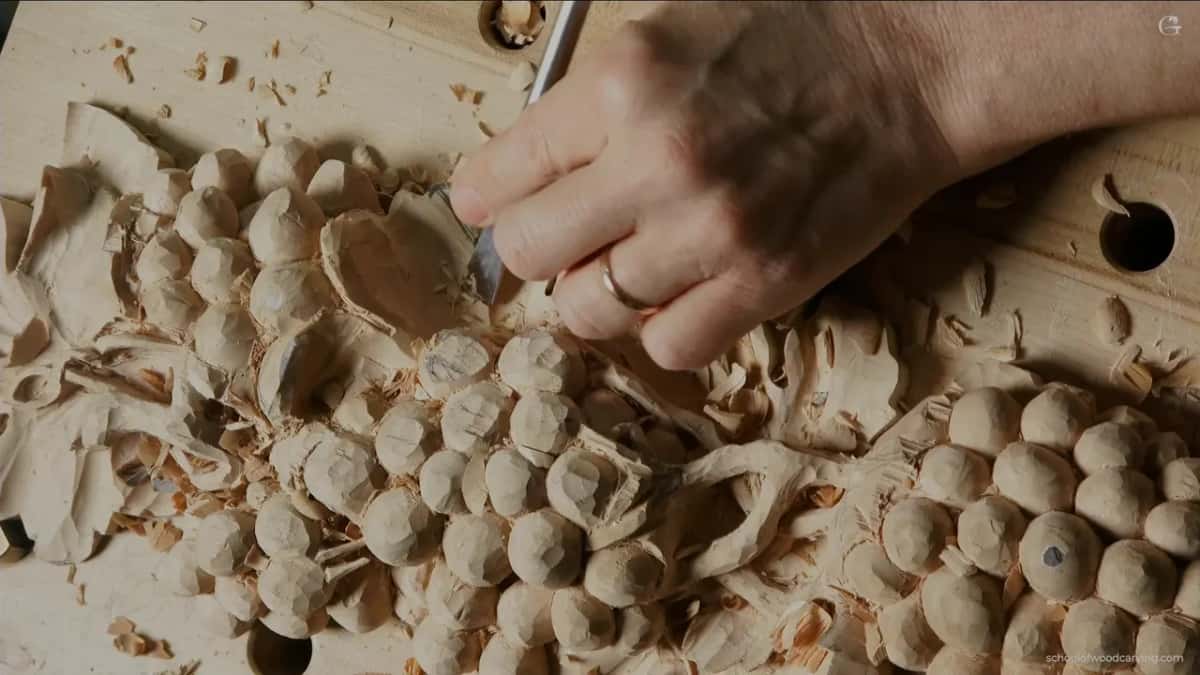
Behind the lip there is always a mess, and a half millimetre number 11 hooks it out. Tiny tool, tiny cuts, no pressure at all. On a fragile lip you cannot lean on anything, so the sharpness of the edge does the whole job while your hand only aims it. Learn this and you will stop breaking work at the last step, which is where most of it gets broken. It is the same discipline I go through in the workshop before this one, where the leaves get their divisions.
Why bother, when the outline already looks right?
We are painting with shadow. That sentence is the closest thing I have to a philosophy of this craft, and I mean it literally: you are an artist whose media are shadow and light, and the wood is only the thing that holds them still. An outline is a drawing. A carved surface that turns, swells, dives and catches a hard edge of light is a piece of relief that will still be worth looking at in three hundred years.
Go and stand in front of a Baroque altar if you ever get the chance, or look closely at what Grinling Gibbons left in the English churches. None of it is spooned. Every surface either rises cleanly or falls cleanly, and the ones that fall are throwing shadow on purpose.
Want to carve that way yourself? There are more than 3,000 lessons on the other side of the door, and I teach the same hand positions face to face at the classes here in Georgia.
What tools were actually on the bench?
Hardly any. A basic set covers every profile I picked up, and none of it is rare. Outlining falls to the 4 mm eleven, the profile I reach for more than any other on this whole course. The same profile at 10 mm and 18 mm does the excavating, and there is a monster at 30 mm, an inch and three sixteenths, that I bring out when a long sweep needs to stay smooth from end to end. Big tools give a cleaner run, though they demand a sharper edge than the small ones do, because there is more steel in contact and more of it to drag.
For the blending it was a number 3 by Ashley Iles, five eighths of an inch, and I will say something about that steel. People in England can dig iron out of their own dirt, throw it in a stove, and produce tools like this. They are blessed and I do not think they know it. That gouge has been on my bench for years and it still takes an edge in a few strokes on a stone.
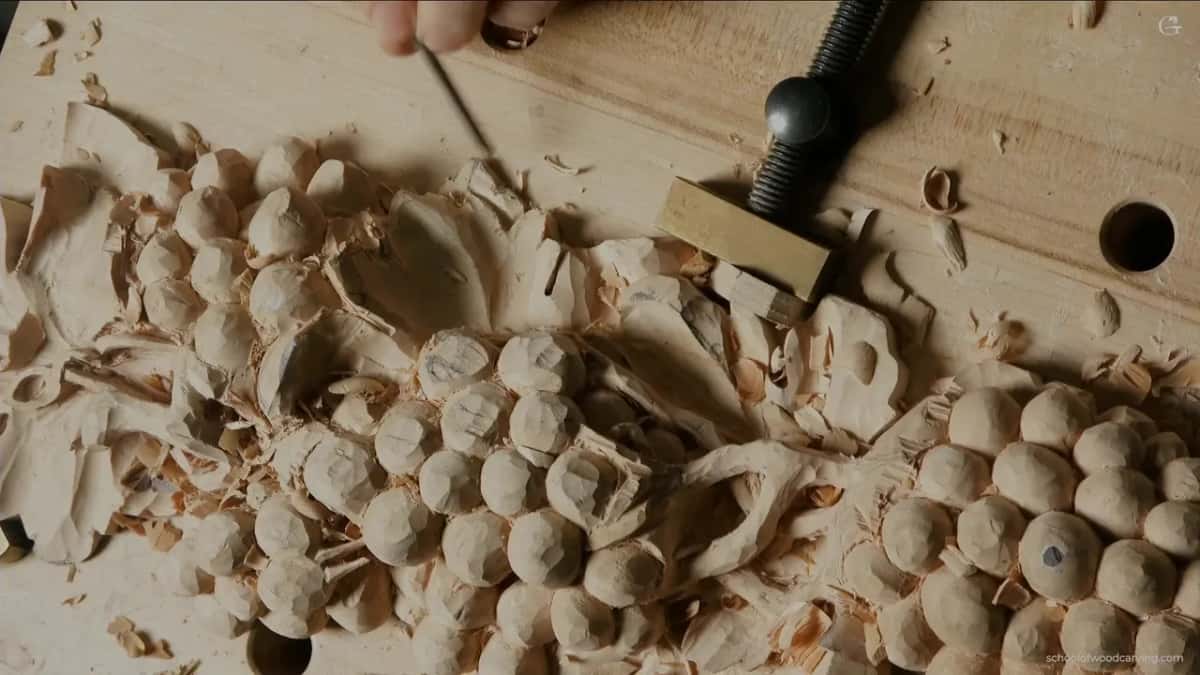
The basswood helps too. It takes a 45 degree pass and gives back a shine that harder timber will fight you for. If you are learning these hand positions, learn them on lime. Learn them on oak and you will blame yourself for what the wood is doing.
One more thing before you go back to the bench. Watch your own handle, not the edge. Steel buried in wood tells you nothing, while the handle tells you everything about what is happening down there, and a handle that sinks during a pass is a leaf about to be spooned. That habit alone will change your surfaces this month.
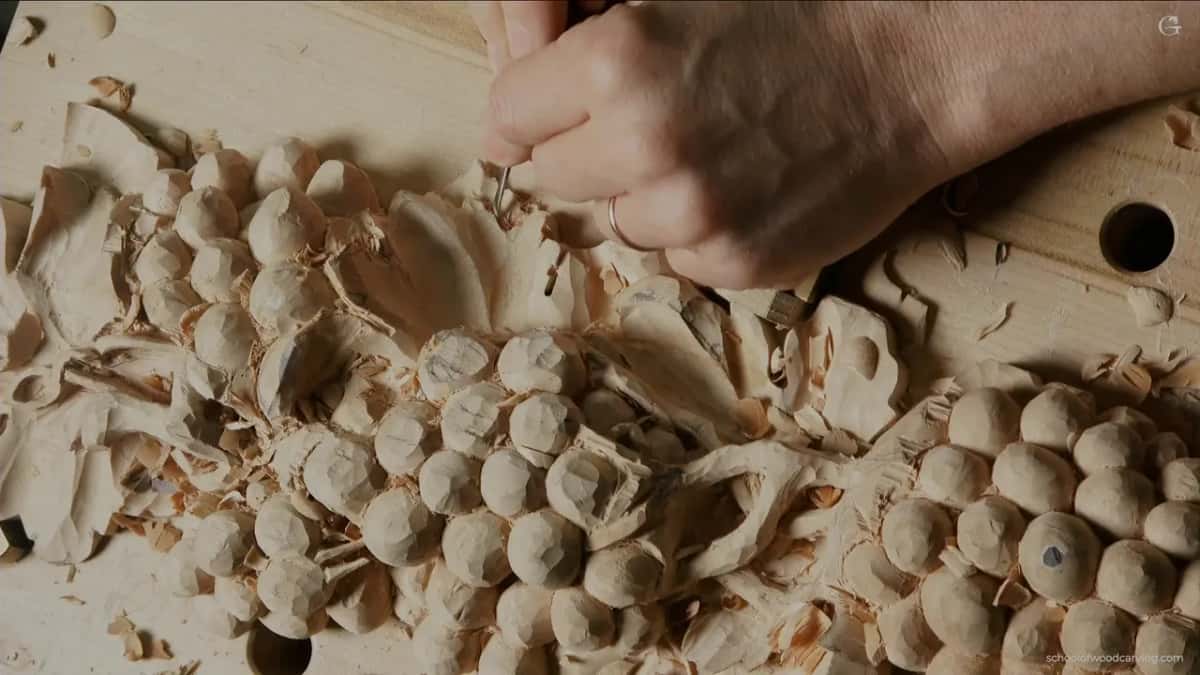
How it's done
- Set the handle height before the edge touches wood. Decide how deep this pass has to go, put the handle where that depth needs it, and look before you push.
- Hold that height the whole way through. Let the elbow travel and the wrist roll, but keep the back of the tool at one level until the pass ends.
- Lay the blade across the line of travel. Angle it against the way you are travelling so a corner leads and only a small part of the edge is ever working.
- Pick a flatter sweep for a swelling. Something wide, a 3 or a 5, rides over a convex where a deep sweep keeps trying to bury itself instead.
- Come back for a second pass instead of steering deeper. When a surface needs more depth, remove it again on another run. Never chase it inside one movement.
- Hollow both sides and leave the middle. Carve away both flanks of the centre line with a wide veiner so the swelling appears without being carved at all.
- Watch the handle instead of the edge. Steel buried in wood shows you nothing, while the handle shows exactly what the blade is doing underneath.
Frequently asked questions
Why is a spooned surface a problem if the shape is right?
Light falls wrong on it. The deepest point ends up halfway along instead of at an edge, so shadow gathers where a plant would be swelling out. A viewer cannot name what is off, and they still read the surface as machined.
Does spooning happen more with a deep gouge?
Deep sweeps make it easier to do by accident. Anything like a 9 or a veiner wants to bury itself, so any drop of the handle digs in immediately. Flatter irons ride over the form and forgive a wobble that a deep one punishes.
What angle should a gouge meet the wood at?
Forty five against the push line suits almost everything on a panel. Square across is fine for roughing, where speed matters more than finish. Leaned over, only a corner of the edge works at once and the surface comes off bright.
What to carve next