
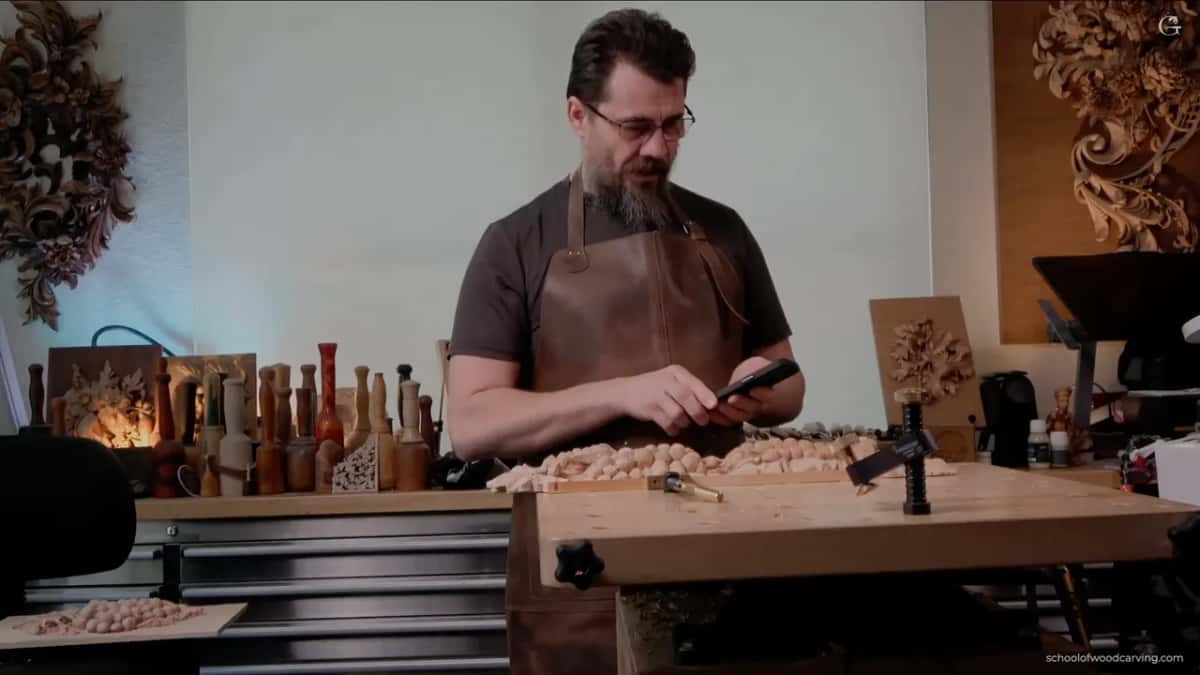
Alexander Grabovetskiy, woodcarver, School of Woodcarving · Published 2024
Why carve pierced work from the solid instead of gluing it on?
Quick answer: Pierced vine work is carved from one board because the strand joins the panel in half a dozen places along its run. Those junctions have no seam, the fibres travel straight through them, and the whole piece then moves together with the seasons. A glued addition manages none of that.
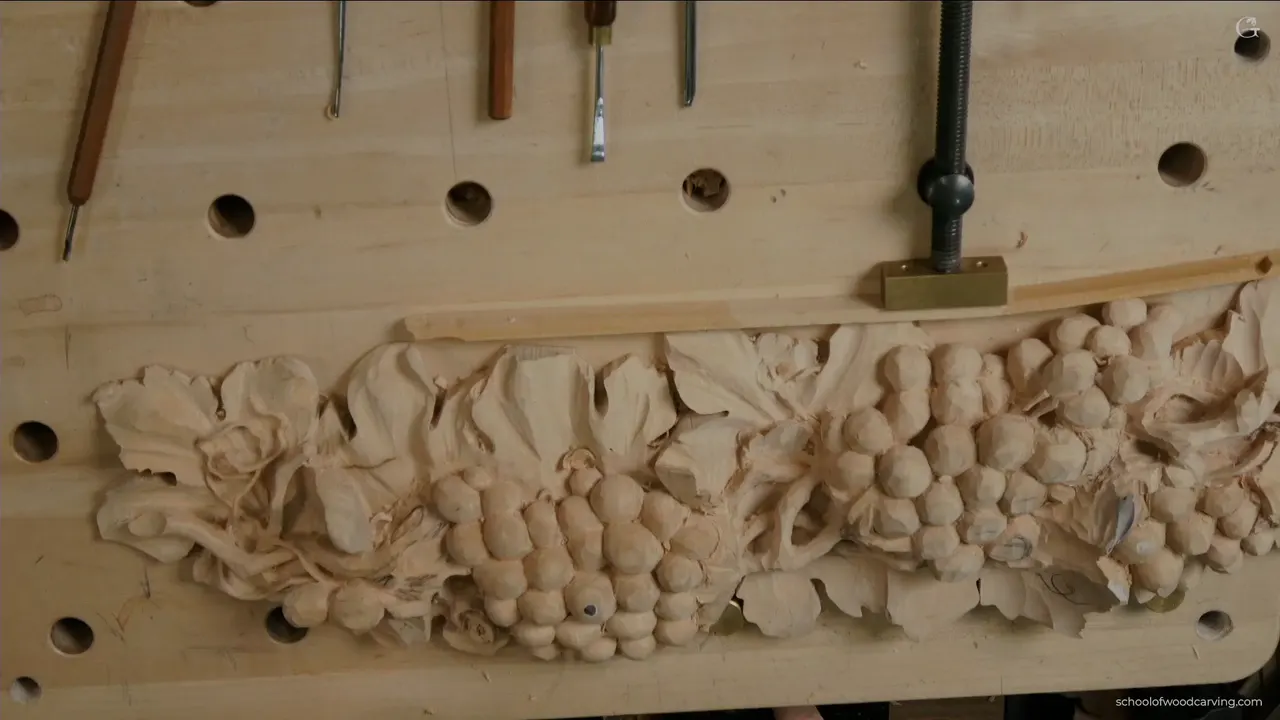
Because the strand is attached in several places at once, and no glue joint can do that. A carved vine that passes under one leaf, over a second and back beneath a third is holding hands with the panel at four or five points. Make it separately and there is nowhere to put those joins.
People ask me this constantly, and it is a fair question. Carving a free floating strand out of a solid board is slow, it is nerve wracking, and the obvious shortcut is to carve the thing flat on a bench where you can hold it properly, then glue it on afterwards.
I understand the appeal. Watch what actually happens on my panel in this workshop, though, and you will see why the shortcut does not exist here. The movement I am freeing starts underneath a leaf, climbs, crosses its own line, and lands back under the fruit. It touches the carving in multiple spots along the way, and every one of those spots is wood that was never separate in the first place.
Key takeaways
- Pierced work stays joined to the panel in more than one place. Those junctions are why it cannot be made separately.
- Stop roughing three millimetres clear of the outline, and only then start creeping toward the line itself.
- Leave enough wall that you can slide a finger right under the carving.
- Where you can only reach from one side, drill a little, widen the opening, then drill again.
- Wiggle the tool when you cannot push it. Never use the carving as a lever.
- Final width is one sixteenth, reached by going closer and closer rather than in one pass.
What does attached actually mean here?
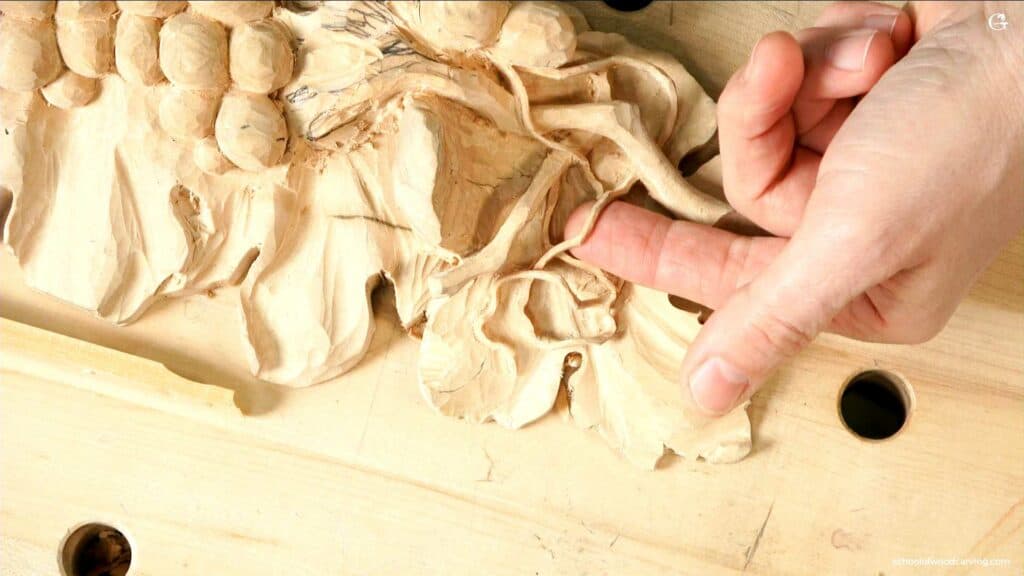
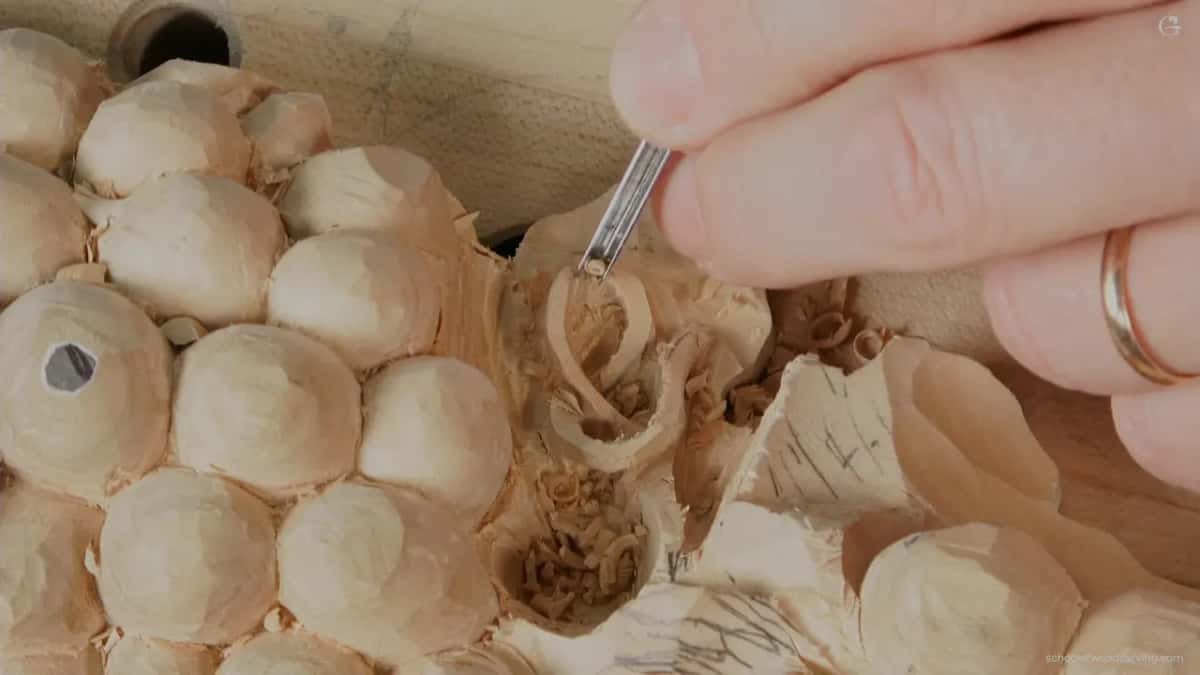
It means the strand grows out of the panel rather than sitting on it. Along the run I am working, the vine meets the leaf beneath it in half a dozen separate places, and at each one the fibres travel straight from the leaf into the strand without interruption.
That continuity is doing structural work. A strand that fine has almost no strength of its own, and what keeps it alive is that every so often it is anchored into something thicker. Take the anchors away and you have a piece of thread waiting for the first person who dusts the panel.
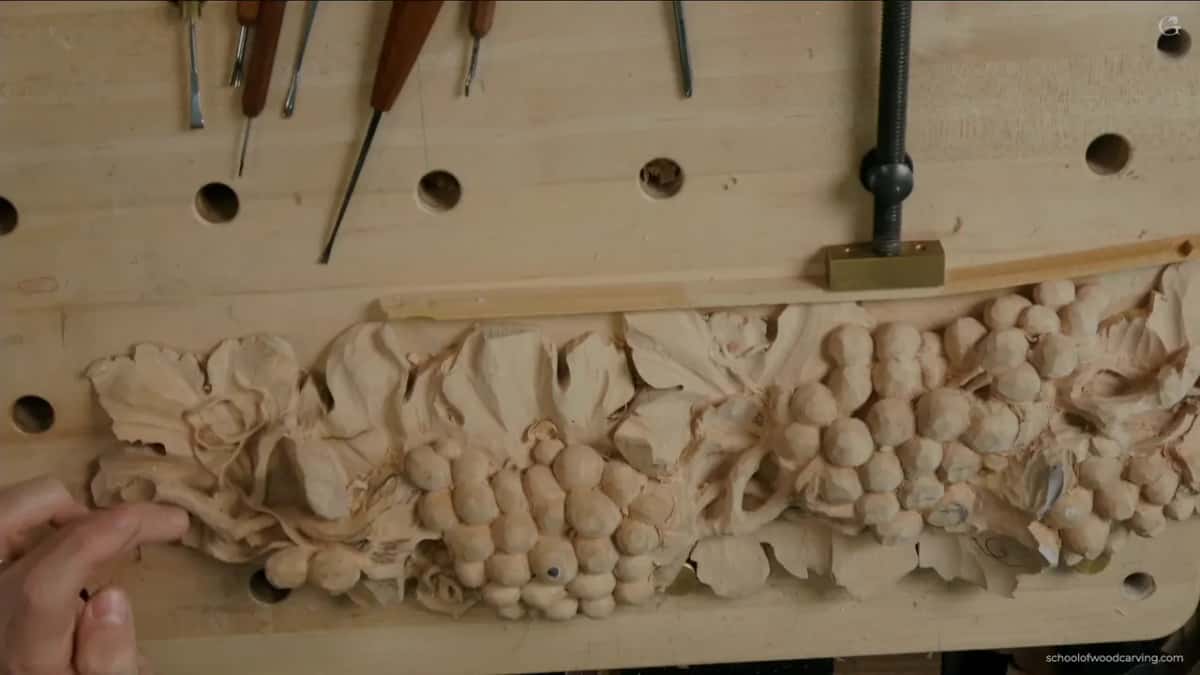
The same continuity does visual work too, which matters more than people expect. The strand emerges from under a leaf with no seam, no line and no change of surface. Your eye reads one continuous object. Carving that looks grown is separated from carving that looks assembled by exactly this, and it happens for free when the wood was never parted.
Not everything has to be free, either. I deliberately leave connecting points rather than releasing the whole run, because floating every inch of it would be showing off at the cost of strength. Some spots stay joined to the leaf on purpose.
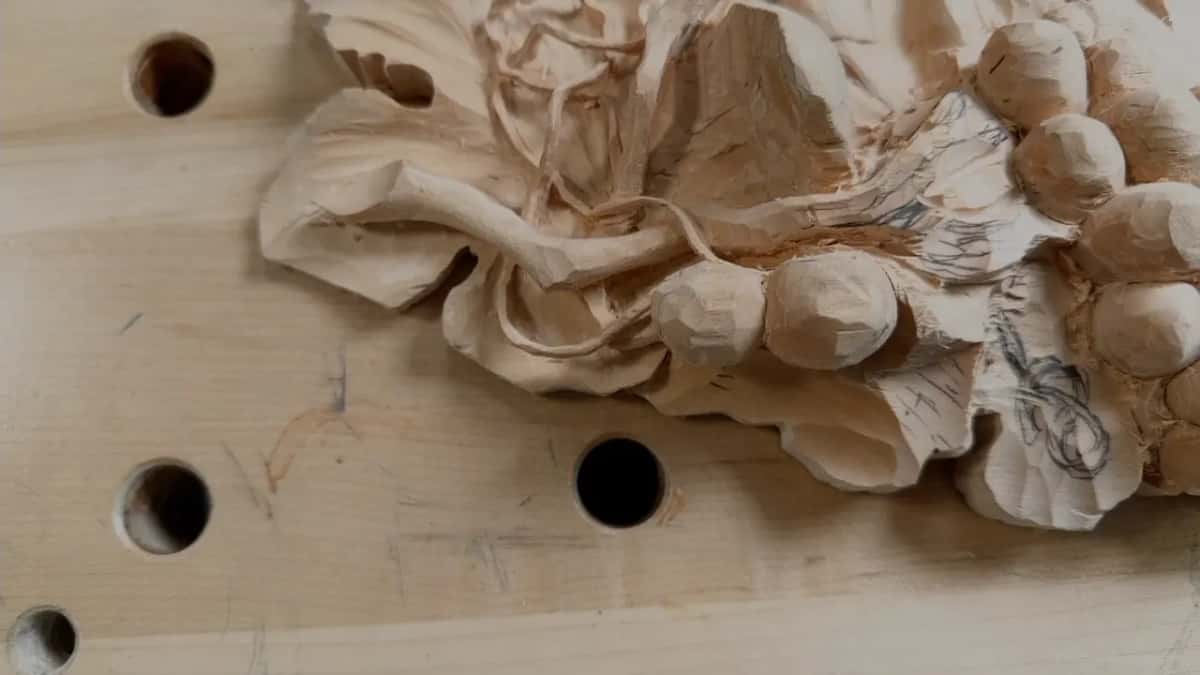
Could you not just carve it separately?
On a simple ornament, certainly, and plenty of good work is made that way. A single scroll applied to a flat ground is a perfectly honest piece of carving and far easier to produce well.
This geometry rules it out. My strand does not sit on top of the panel, it weaves through it, passing beneath one shape and above another within the same two inches. Gluing that in would need joints in mid air, at angles, on surfaces facing away from you, and you would be gluing a sliver of end grain onto a curve. That joint does not exist.
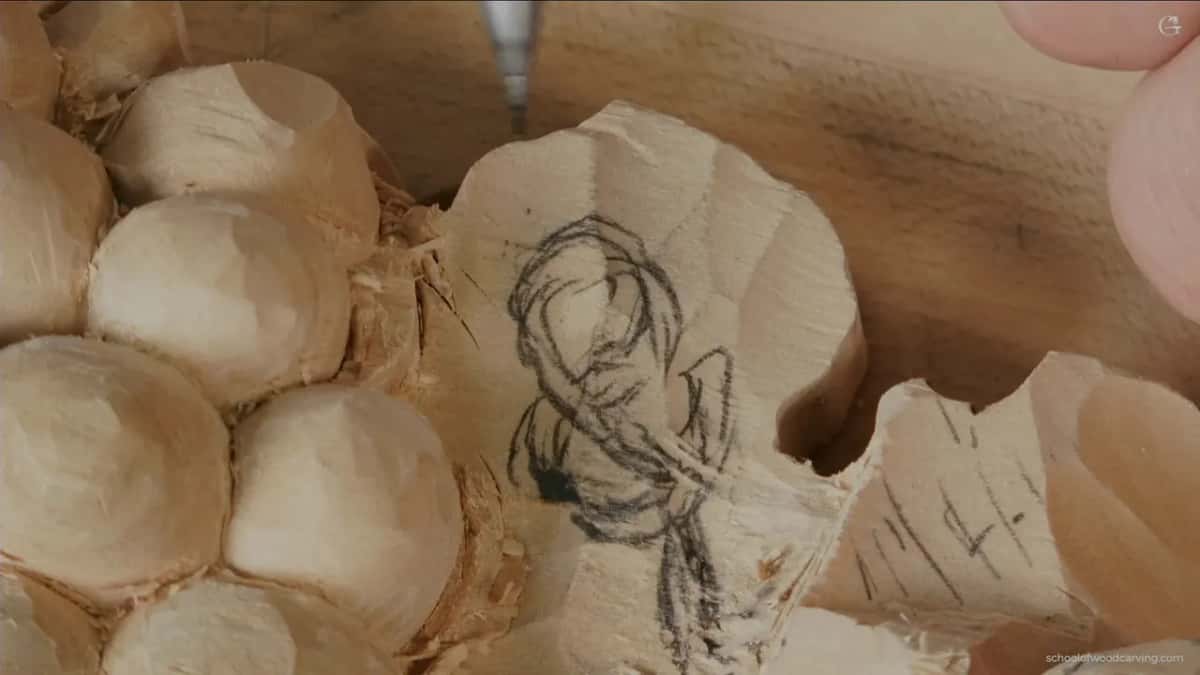
A quieter reason sits behind it as well. Wood moves with the seasons, and a glued addition moves on its own schedule while the panel it sits on moves on another. Carved from one board, everything expands and contracts together, since the grain runs through the whole piece uninterrupted, which is one of the older arguments in woodworking and it has not stopped being true.
None of this is an argument against glue. When a piece breaks during carving, and pieces do break, gluing it back and recarving the join is exactly right. Repair and construction are different questions, and I have done plenty of the former on this very panel. The third workshop covers why things break in the first place.
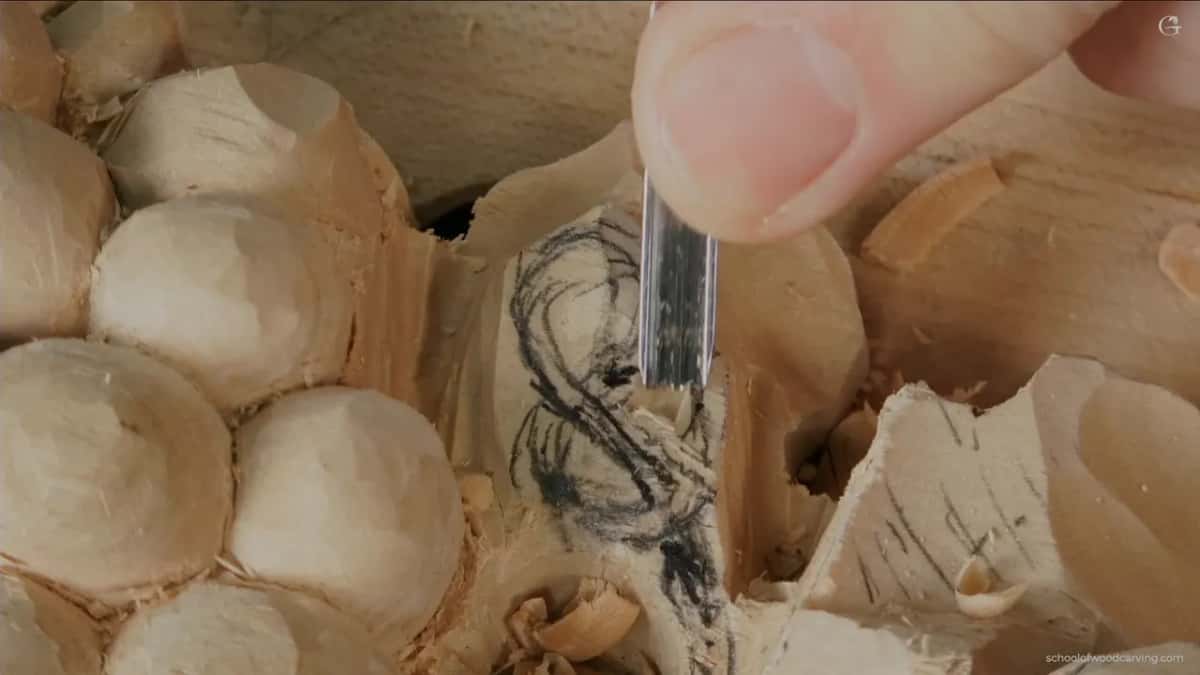
How much wood do you take, and when?
Roughly, then carefully, and the boundary between the two sits around three millimetres. I chop the bulk of the waste away with a 10 mm number 11 and deliberately stop an eighth of an inch short of my outline, because the first tool is fast and fast tools overshoot.
Then I come back and work that last sliver with something small, a two millimetre veiner or a number 7 at three, walking around the shape rather than driving at it. Same outline, completely different level of care, and the split is what keeps the whole operation from taking all afternoon.
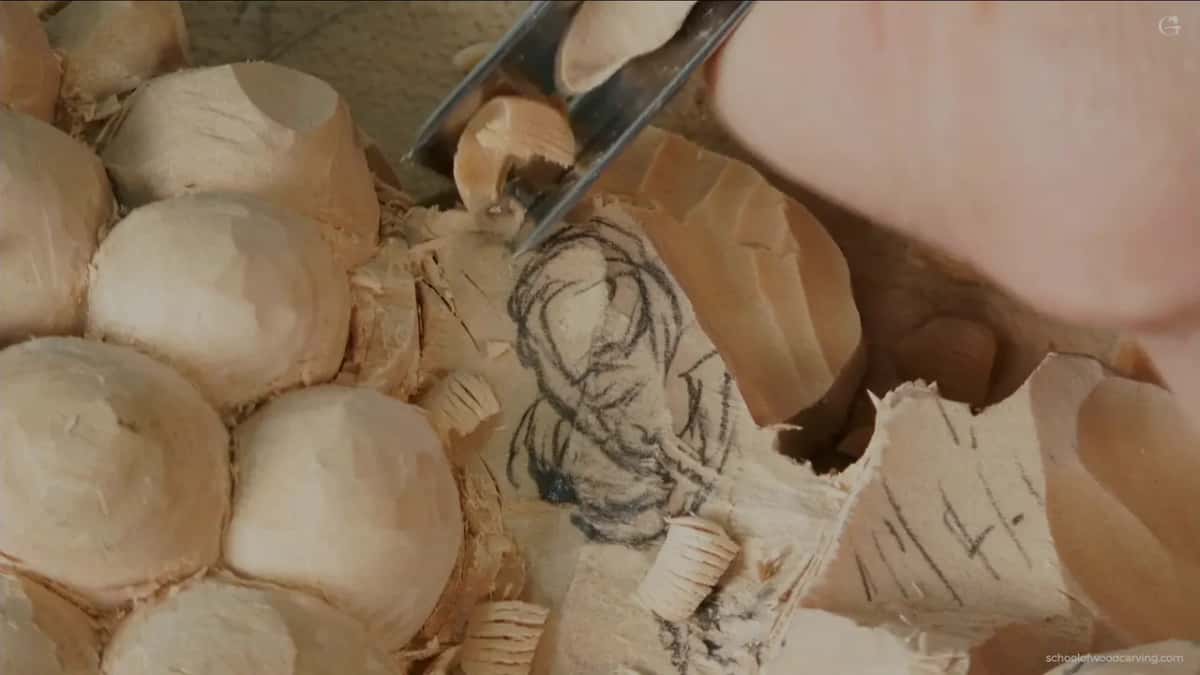
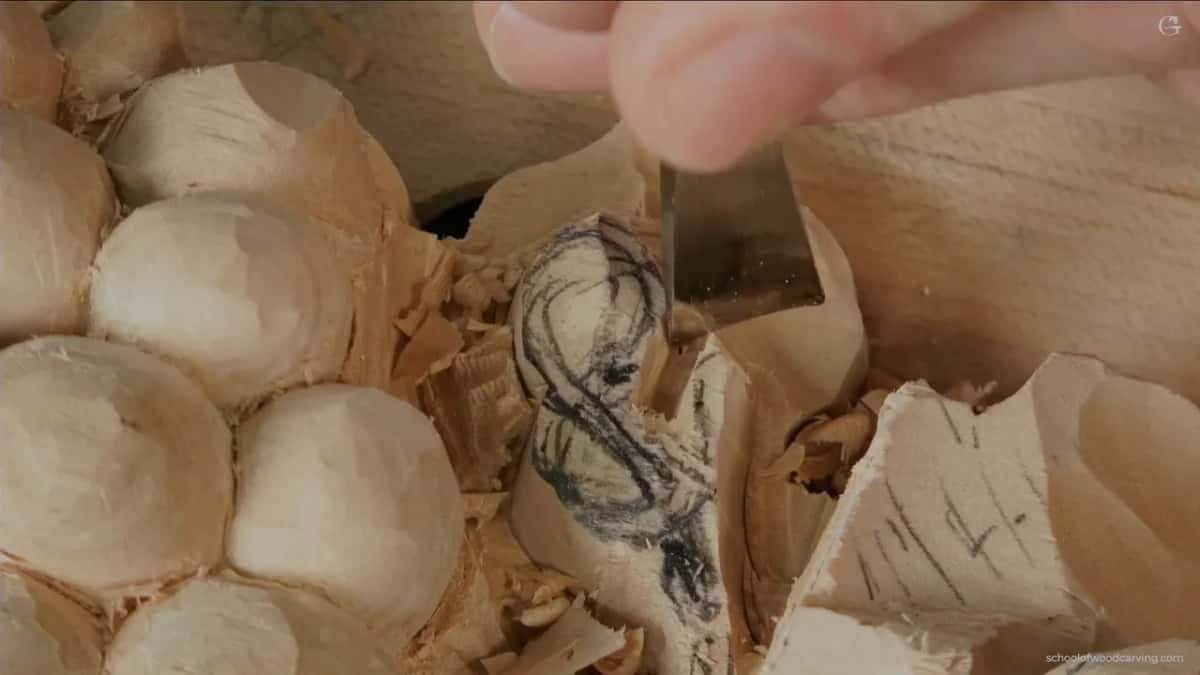
Depth gets a target too. About three eighths of an inch of wall stays standing, and the test I use is whether I can get a finger underneath the carving. That sounds crude and it is the most reliable check I know for whether something is genuinely three dimensional or just deeply outlined.
| Step | Tool | How far the pass goes |
|---|---|---|
| Bulk waste | the 10 mm number 11 | Three millimetres short of the line, no closer |
| Plug cut | a number 9, also 10 mm | Same depth on both sides of the strand |
| Creeping in | a 2 mm veiner | Right at the outline and no further |
| Straight down at the line | number 4 | Around three wide, still twice the finished size |
| Freeing it | Dockyard gouges around a millimetre | Through, then thinner by degrees |
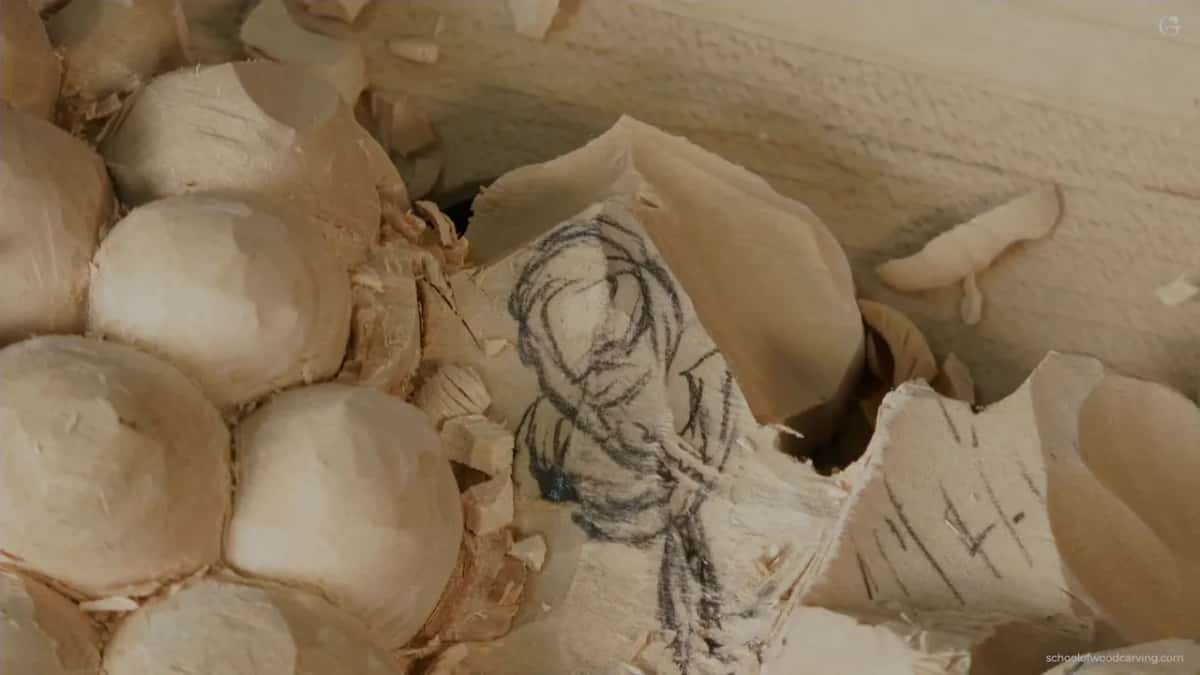
A plug cut is the one piece of jargon worth learning here. You stand the tool straight down on the surface and drill, so a core of waste lifts out instead of a shaving. That is the opposite of everything else I do, and in a confined spot nothing else gets in. Elsewhere on this panel I use the same move purely as a marker, which the tendril workshop shows. The whole run of them starts back at the course itself.
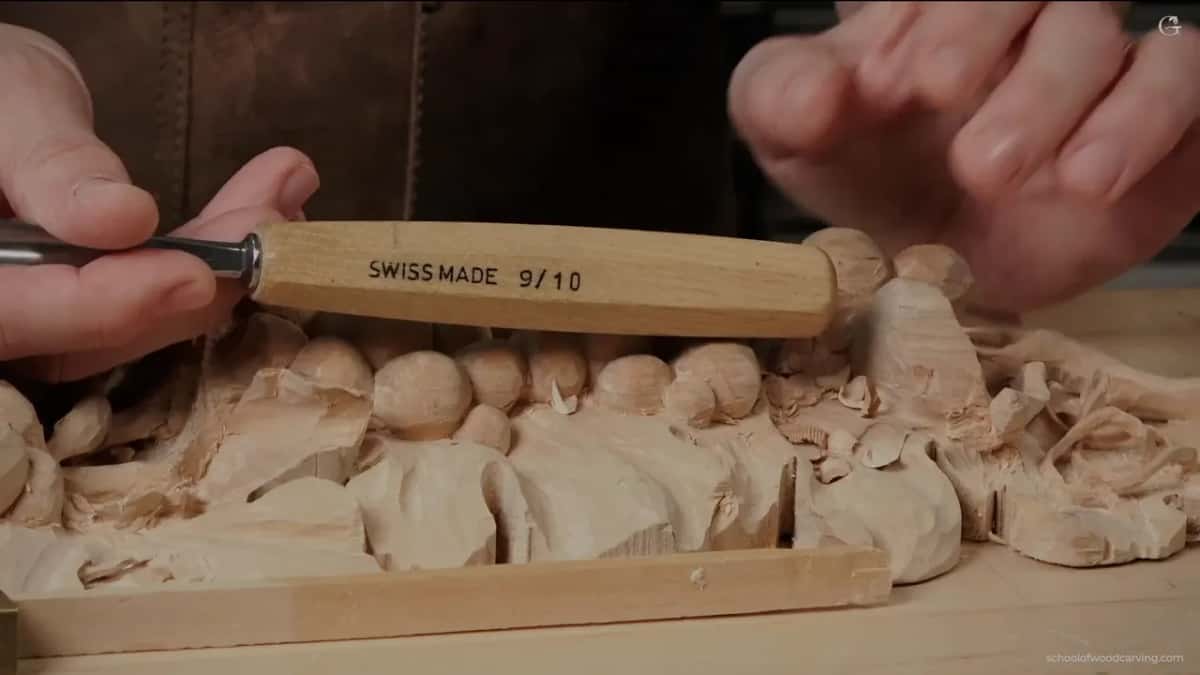
How do you free a shape you can only reach from one side?
In stages, and the trick is widening before deepening. Most of this panel lets me come at a junction from both flanks, which is always easier. One spot here does not, because a bunch of grapes sits directly in the path.
So the sequence becomes drill, clean, widen, drill again. I take the small gouge in as far as it will comfortably go, stop, clean back to my own cut so there is room for the blade to move, open the mouth of the hole a little wider, and then carry on deeper. A few rounds of that and the tool comes out the other side.
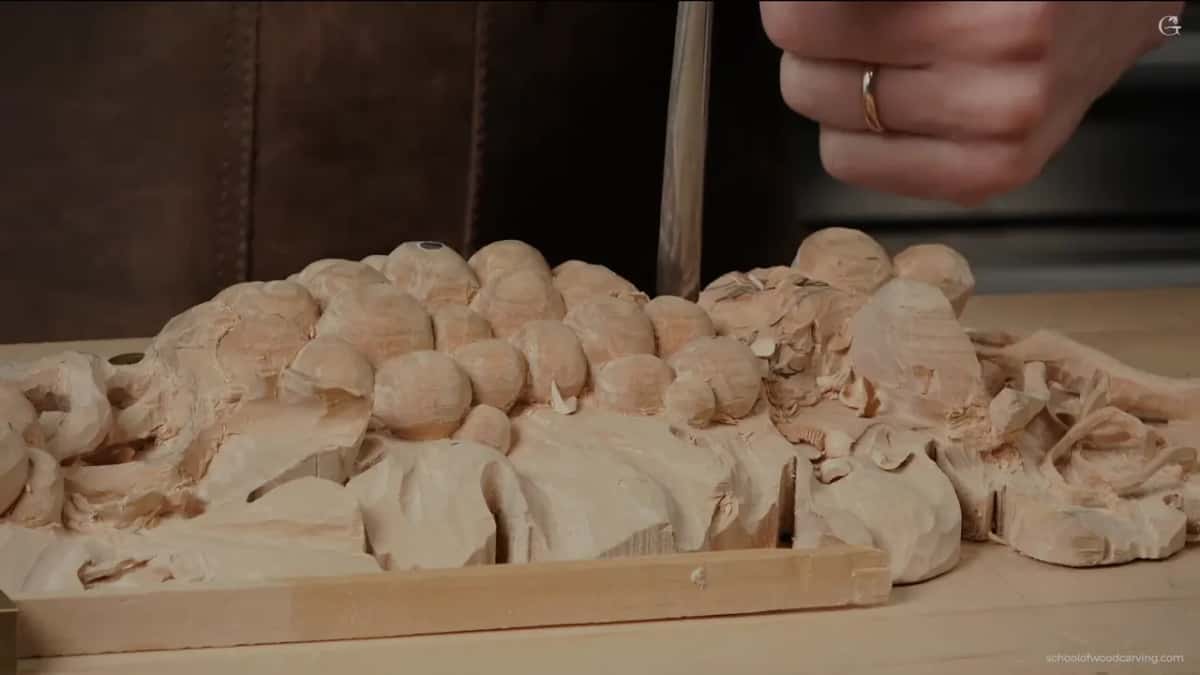
Wiggling replaces pushing entirely down there. There is no way to make a normal slicing pass inside a hole you can barely see, so the tool goes in and rocks while it travels, working the waste loose rather than carving it off. It looks unglamorous. Nothing else works down there.
The moment you see light through the gap, stop and look. The whole point of the operation sits right there, and going further before checking what the far side looks like is how strands get thinner in the wrong place.
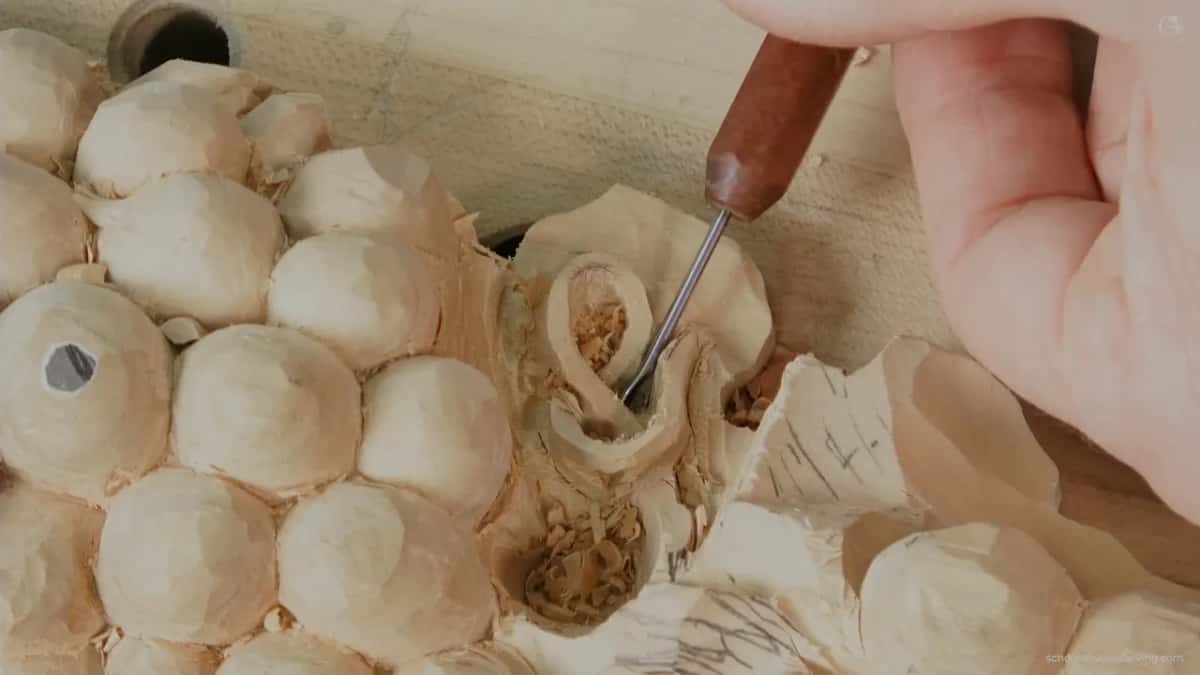
What stops you breaking it while you work?
Three habits, and not one of them has anything to do with skill. First, never let the carving take the load. Resting the heel of your tool on a nearby shape and levering against it is horribly tempting, and that shape is thinner than it looks.
Second, no pressure. If a pass needs force, the edge is dull or the tool is wrong, and pushing harder on either of those is how you end up gluing. Sharpen and let the steel do the work, which on a strand this size means stropping far more often than feels reasonable.
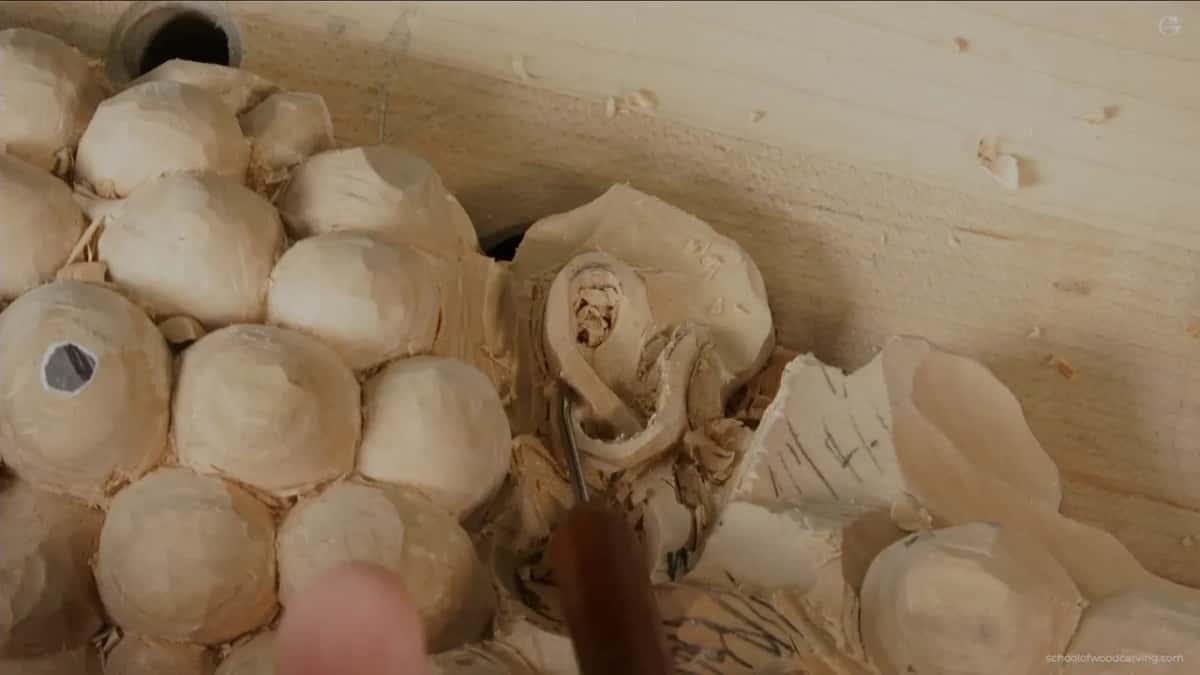
Third, small tools in weak places. When a spot feels fragile under a finger, the answer is a narrower blade instead of a gentler grip on a wide one, because the wide tool is still wedging fibres apart across its whole width whatever your hand is doing. Sharpening and the tools course both sit underneath this more than any technique does.
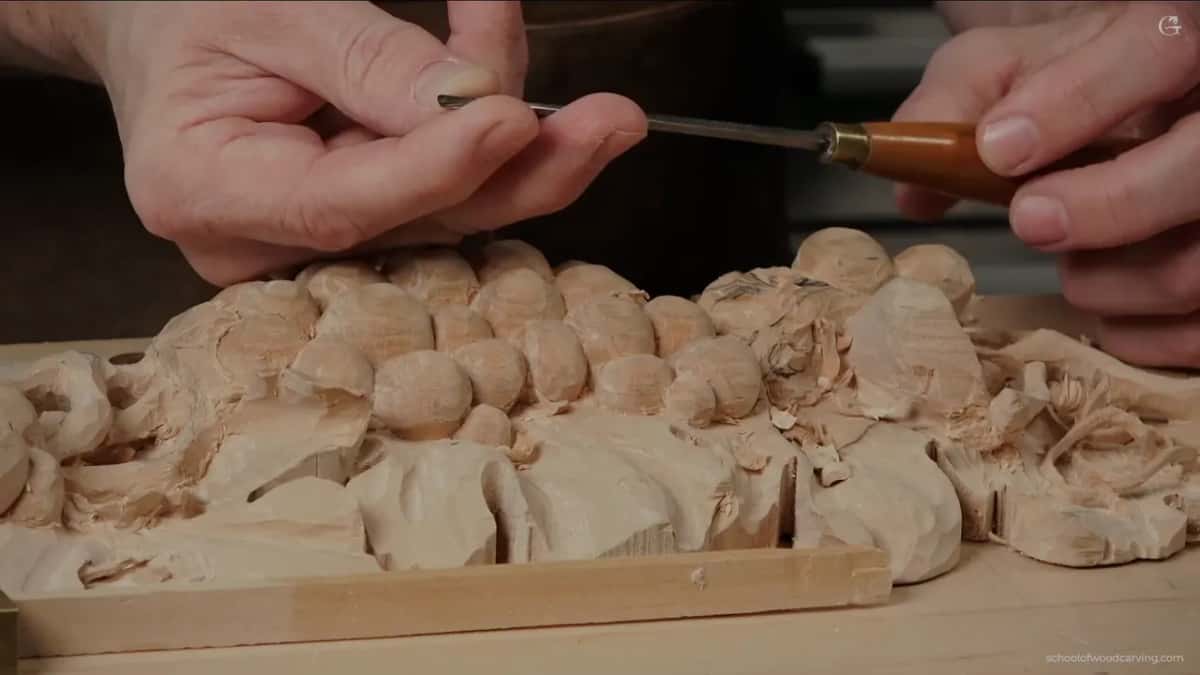
My own favourites for this work are unremarkable. A number 11 is on the bench more than anything else, and beside it sit a few small gouges made for miniature work, an antique two millimetre, and a tiny spoon that reaches around curves nothing straight can follow. A modern Swiss veiner does the same job if you would rather buy new. Old tools, mostly. The steel in them is often better than what is sold now, which is why I keep an eye on old Sheffield names when they turn up cheap.
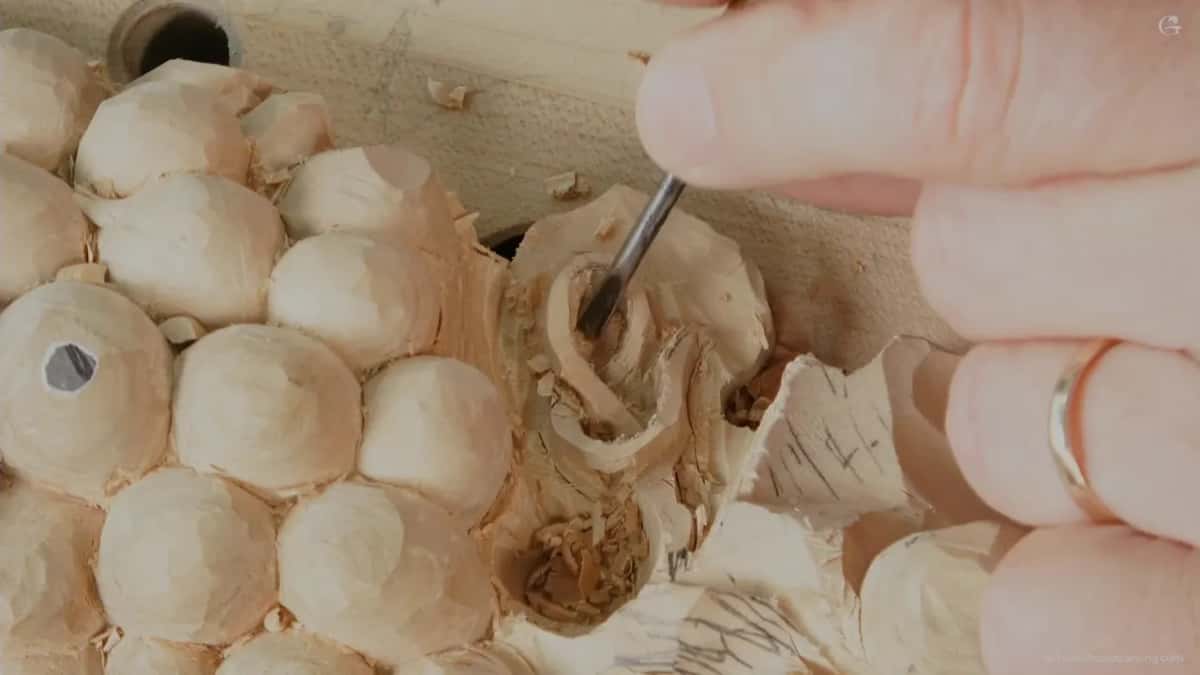
How thin, and how do you know when to stop?
A sixteenth of an inch, and you arrive there by degrees rather than deciding it. I go around the whole run taking the smallest possible pass, then around again, then again, until it looks right from every side.
Thickness is not uniform either. The underside of a strand stays slightly fatter than its face, so it reads as fine from the front while keeping something to hold itself up with. Nobody sees the back of a vine on a wall.
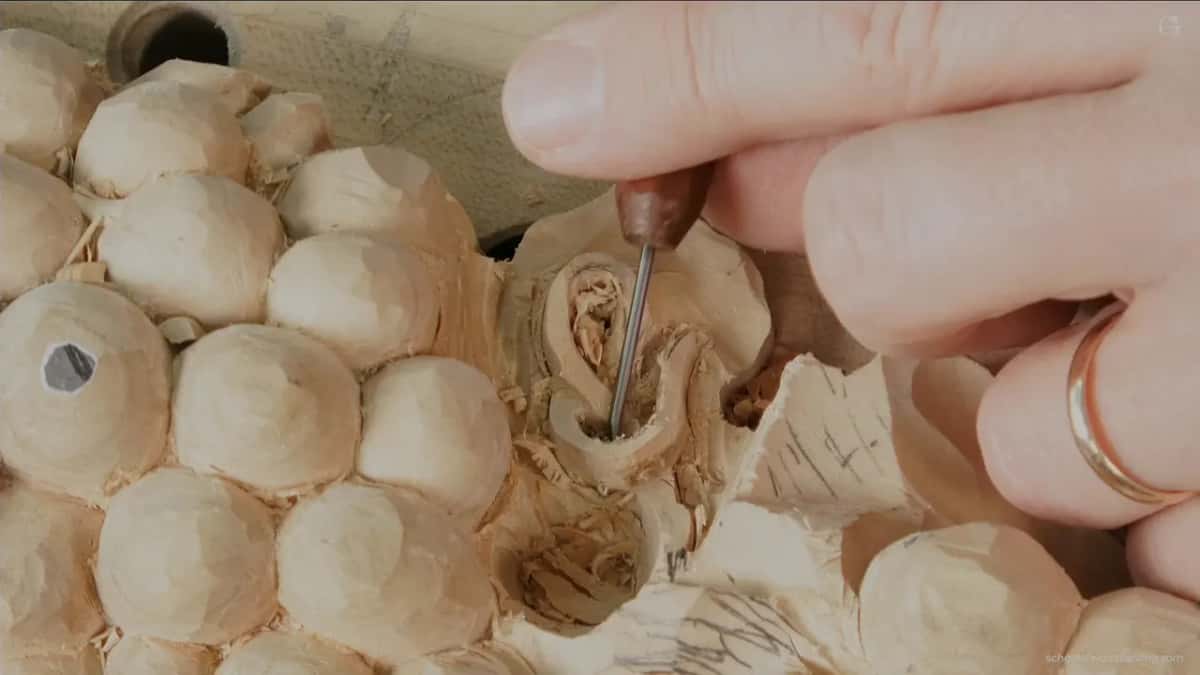
Checking is the part people skip. I turn the board constantly at this stage, looking along the run rather than down at it, because a strand that looks even from above is often lumpy in profile. Where it does not flow, I drop one side a fraction and look again.
Stop when the shadow behind it is continuous. That dark line is the entire reason for the work, and once it runs the full length of the strand without a break, more thinning buys you nothing except risk.
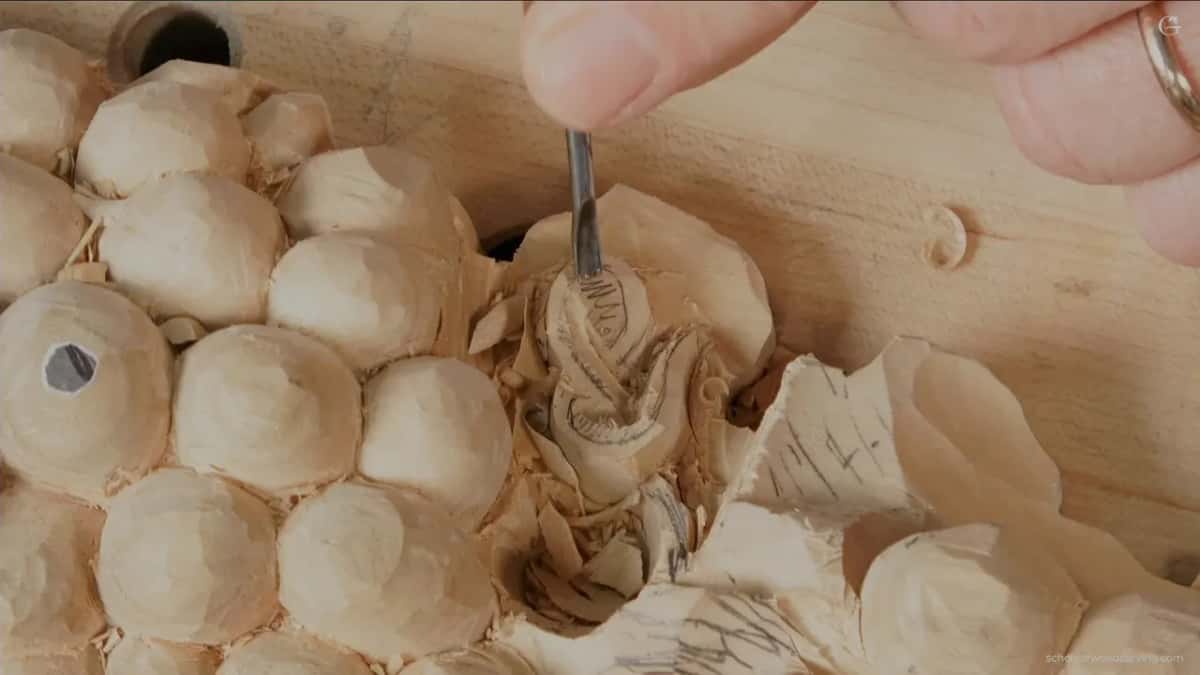
How much movement is too much?
The limit is the moment a viewer stops seeing the leaf. All this weaving exists to serve the fruit and the foliage, and a vine so busy that it steals attention has failed at the only job it had.
I ask myself one question when I step back from a section like this. Can you still read the leaf, and can you still read the bunch? Yes on this panel, so the extra movement stays. Had the answer been no, the honest response would have been to simplify it rather than admire the difficulty.
That judgement is mine and I say so out loud, because taste is where reasonable carvers disagree. Some would call this section overworked. What I would defend is the principle underneath it, which is that ornament has a hierarchy, and anything decorative that outshouts the subject has inverted it.
Look at how the great work handles it. In a Gibbons drop there is an enormous amount of undercut detail behind the main forms, and you barely notice any of it at first glance. The complexity is in service. Your eye takes the pears and the roses, then finds the rest on the second look, and that ordering is deliberate rather than accidental.
Real vines help me stay honest here. On an actual grapevine the tendrils really do wander everywhere, so there is precedent for plenty of movement. What nature does not do is arrange them into a pattern that competes with the fruit, and that is the difference between busy and chaotic.
Is this beginner work?
No, and I would rather say so plainly than pretend otherwise. Pierced strand work on a high relief panel is advanced carving, the failure mode is losing an hour of work in a second, and nobody should feel bad about leaving it out.
The panel looks good without it. Carve the leaves and the fruit, keep the vine attached along its whole length, and you have a handsome piece of relief carving that will outlive everyone reading this. The floral and molding course is the same skill without the piercing. The airborne work is an extra level rather than a requirement.
Even so, challenge yourself somewhere. You do not find out what your hands can do by staying inside what they already manage, and a scrap of basswood costs almost nothing. Free one small crossing on an offcut and you will know within an evening whether you want the whole vine. Use proper carving stock for the test, since construction lumber will lie to you about how the wood behaves.
Come and do it beside me if you can. The in person classes get you through the scary part in a morning rather than a winter. If you want a gentler run at the same ideas, a Venetian rosette has crossings without the fragility, a Greek acanthus leaf teaches the modelling, and the beginner course starts from a flat board and one gouge. Where the proportions come from is the design course.
How it's done
- Draw the run and commit to the crossings. Decide now which strand passes over and which goes under, then mark it, because half way through a knot every surface looks like every other surface.
- Rough out to three millimetres short. Chop the bulk away with a number 11 at 10 mm and stop three millimetres clear of the line, since fast tools overshoot.
- Plug cut both flanks to one depth. Stand the gouge upright and drill the waste out as a core on each side, so the strand ends up sitting at a single level.
- Creep in with a two millimetre veiner. Walk around the shape taking that last three millimetres off, rather than driving at the line with anything wide.
- Free it, widening as you go. Where only one flank can be reached, drill a little, clean back to your own cut, open the mouth wider, then carry on deeper.
- Thin by degrees and leave anchors. Go round again and again until it reads at a bare sixteenth, keeping every spot where the run joins a leaf.
Frequently asked questions
Can you glue a carved strand onto a panel instead?
On a simple applied scroll, yes, and plenty of honest work is made that way. It fails here because my strand weaves under one shape and over another, so the joints would have to sit in mid air on surfaces facing away from you.
What thickness of wall should stay under the carving?
Three eighths of an inch is what I aim for on this panel, and the test is whether a finger fits underneath. If it does, the shape is genuinely three dimensional rather than deeply outlined.
What is a plug cut?
Standing the tool upright on the surface and drilling, so a core of waste lifts out instead of being sliced off. It is the opposite of everything else I do, and in a tight spot nothing else gets in.
What to carve next