
Alexander Grabovetskiy, woodcarver, School of Woodcarving · Published 2017
Can you still use a cutting board once you have carved it?
Quick answer: A carved cutting board is a two sided object. One face keeps the carving and never meets a kitchen knife, while the other stays flat for food. Decorative boards are common in European kitchens, and plenty of carvers use neither face for food, because the board ends up on a wall instead.
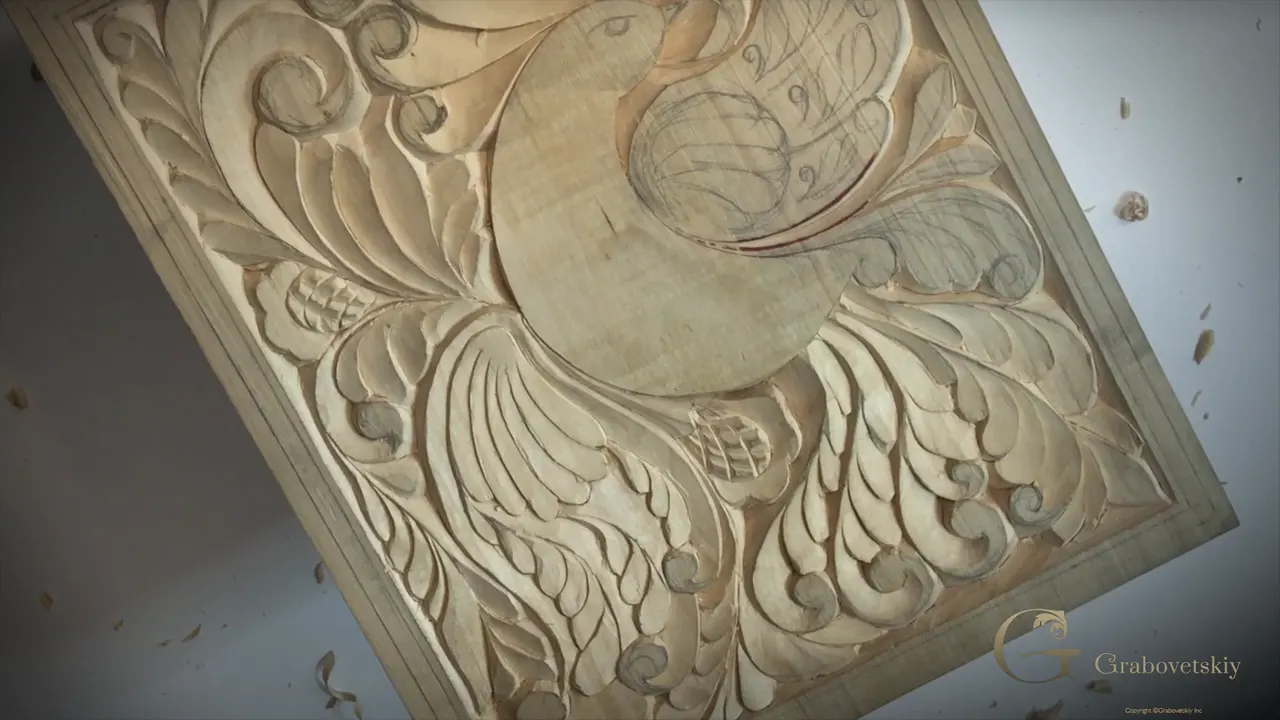
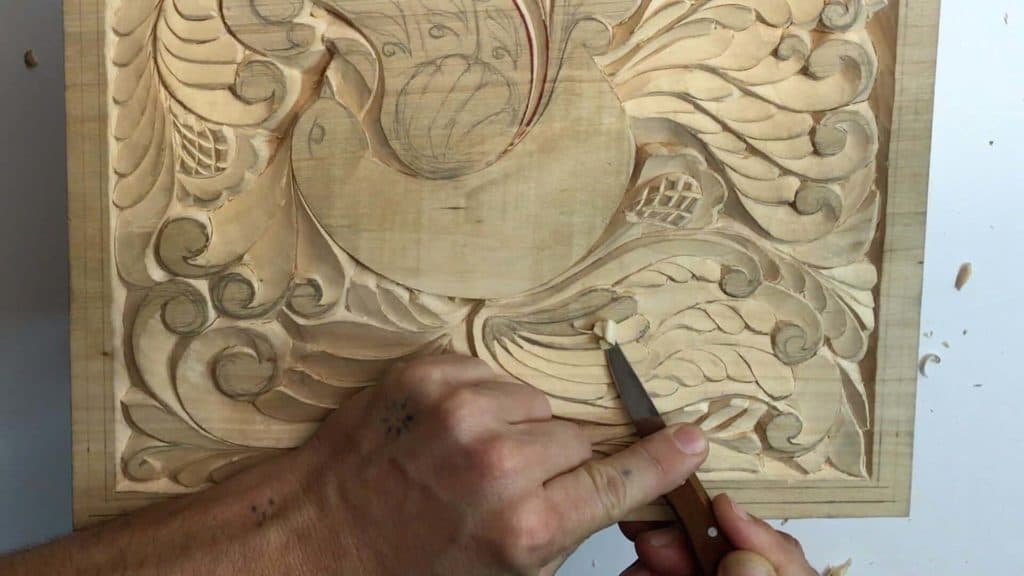
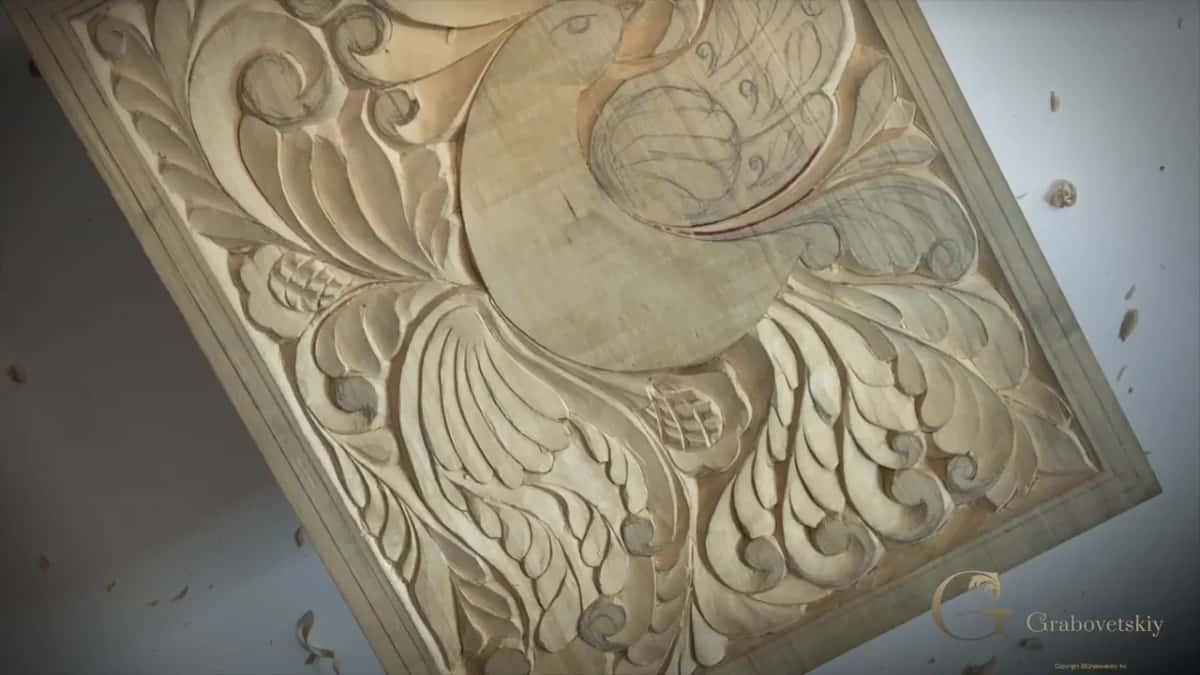
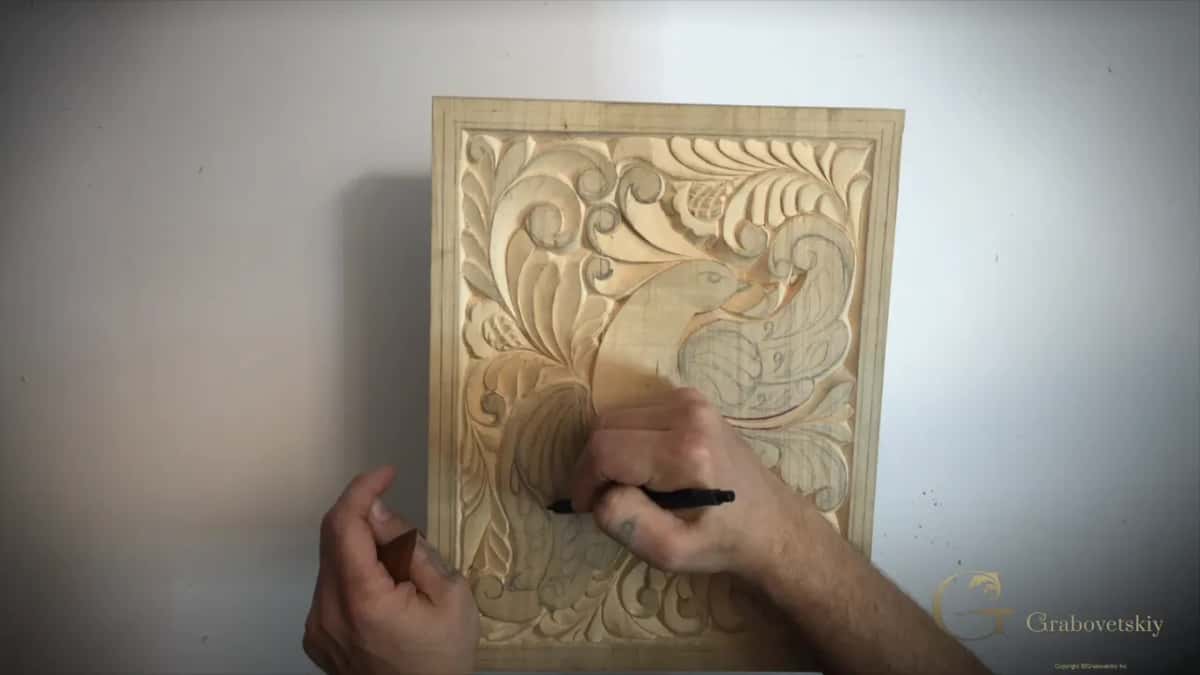
Every cutting board has two faces, and only one of them gets carved. Somebody on Reddit looked at this bird and asked me what the point of a carved board is if you cannot use it. Fair question, and one I have been asked in person too, usually by somebody holding a board and looking doubtful about it. You turn the board over. The plain face takes the food, the carved face takes the light.
Have you ever kept a piece of wood that was too good to put a knife on? Do you own something handmade that never gets used and never gets thrown away either? Then you already understand what this board is for.
Decorative boards are ordinary in European kitchens, and many of my students never cook on theirs at all. It leans on a shelf where the light catches it. Some people frame it properly. Mine is thick because I like the weight of it in my hands, though yours does not have to be anything of the kind. Workshop 13 starts the wings, and shallow work is where beginners quietly get into trouble.
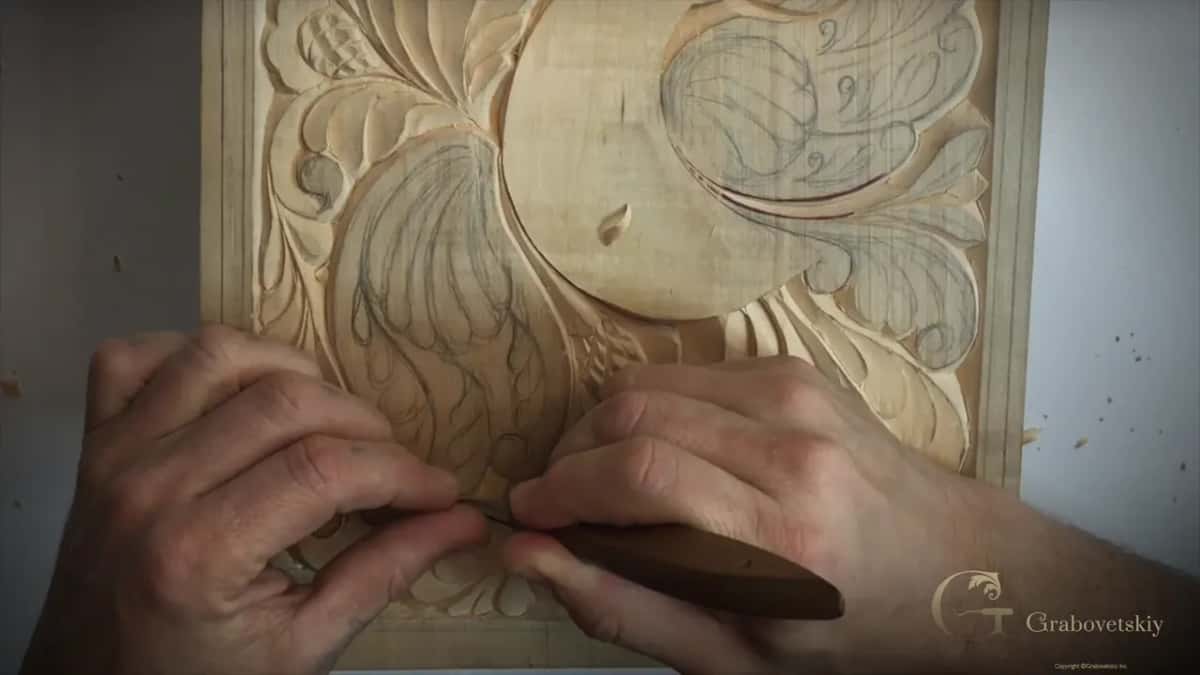
What the wings change about your hands
- Bevels go low. You cannot dig deep in these shapes without breaking something.
- Three millimeters, an eighth of an inch, is the floor of your deepest wing pass. Less is normal.
- Near end grain a sixteenth is the ceiling, and often I take less than that.
- Shadow does the work here, never depth on its own.
- Two roads exist. Travel the whole outline in one go, or lift each waste triangle out first.
- Long passes read cleaner than short ones, so travel as far as your hand allows.
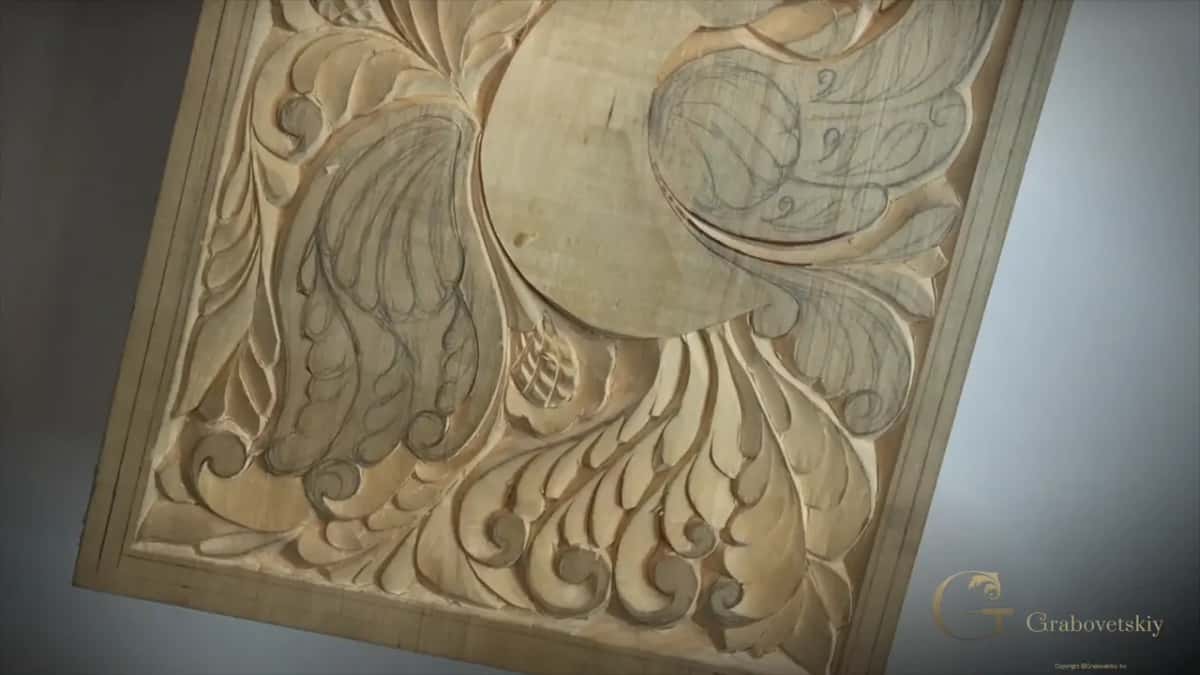
Can you cook on a board once it is carved?
Use the other face. Boards have two sides, which is exactly why a carved one still works in a kitchen, and the arrangement is old, one decorative face and one working face. My great grandfather worked mahogany in the Chippendale style, so wood was in the family long before it was in me.
My honest guess is that yours will never see an onion. Students finish this bird and the board stops being a cutting board in their heads. It turns into a panel that happens to be board shaped, and that is a fine outcome. Frame it if you want to, and nobody will think less of the work for hanging where a board would have been scratched. Ornament has hung on walls far longer than it has sat in kitchens.
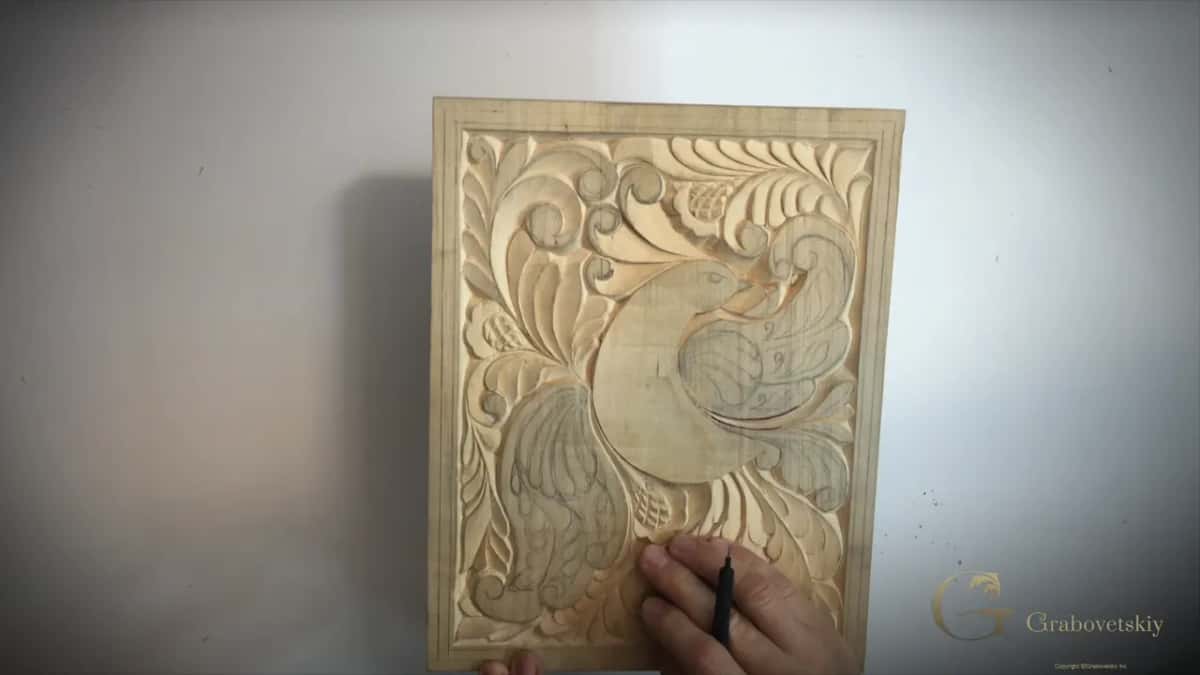
One practical note about the wood, since people ask. Thickness is taste rather than rule. A thicker board feels better in my hands and takes a deeper shadow at the edges, and a thinner one carves exactly the same. Mild basswood behaves well either way, and so does butternut if you can find a clean board of it.
How shallow can carving go and still look carved?
Shallower than anybody believes. On these wings my deepest place sits near 3 mm, and in several spots I never pass a sixteenth of an inch. From two feet away the wing still reads as a solid three dimensional shape.
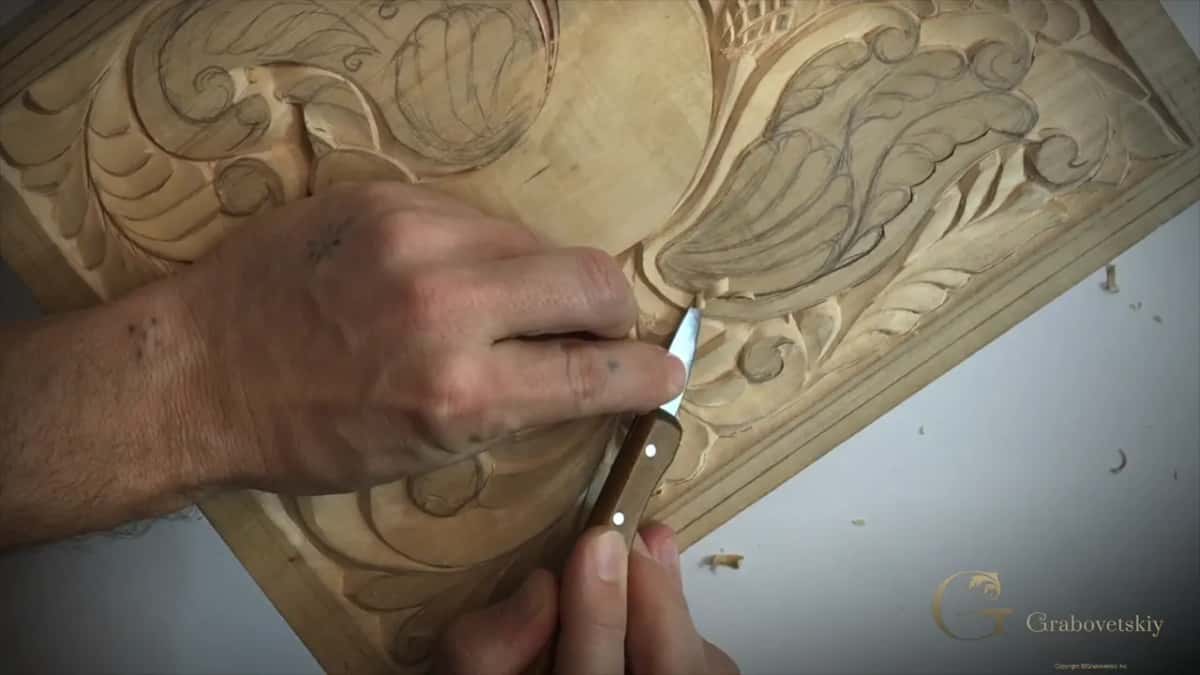
Shadow is doing that, not depth. A clean wall throws a hard line of shade whatever its height, so the eye reads a step rather than a measurement. Once you understand this you stop digging, which matters enormously on a wing, where the wood between two lines is thin and impatient.
The same rule governs a relief panel three feet across. Depth buys you nothing past the point where the shadow reads. Everything after that is wood you removed for no reason and strength you gave away.
What are the two ways to carve a shape like this?
Straight through, or triangle by triangle. My own hands travel right around a detail without stopping, because forty years of doing it has made that the comfortable road. Beginners often cannot, and there is nothing wrong with the other way.
| What you compare | Right around in a single travel | Triangle first | Which one will suit your hands today |
|---|---|---|---|
| How it feels | one long movement, never stopping anywhere | short, safe | practice against a first winter at the bench |
| Risk on a wing | one slip travels the entire length | damage stays local | thin wood forgives the second road |
| Speed of work | quicker once your hand knows it | slower | nobody in this shop is timing you |
| The finished line | reads as a single continuous gesture | wants blending | both roads arrive at one wing |
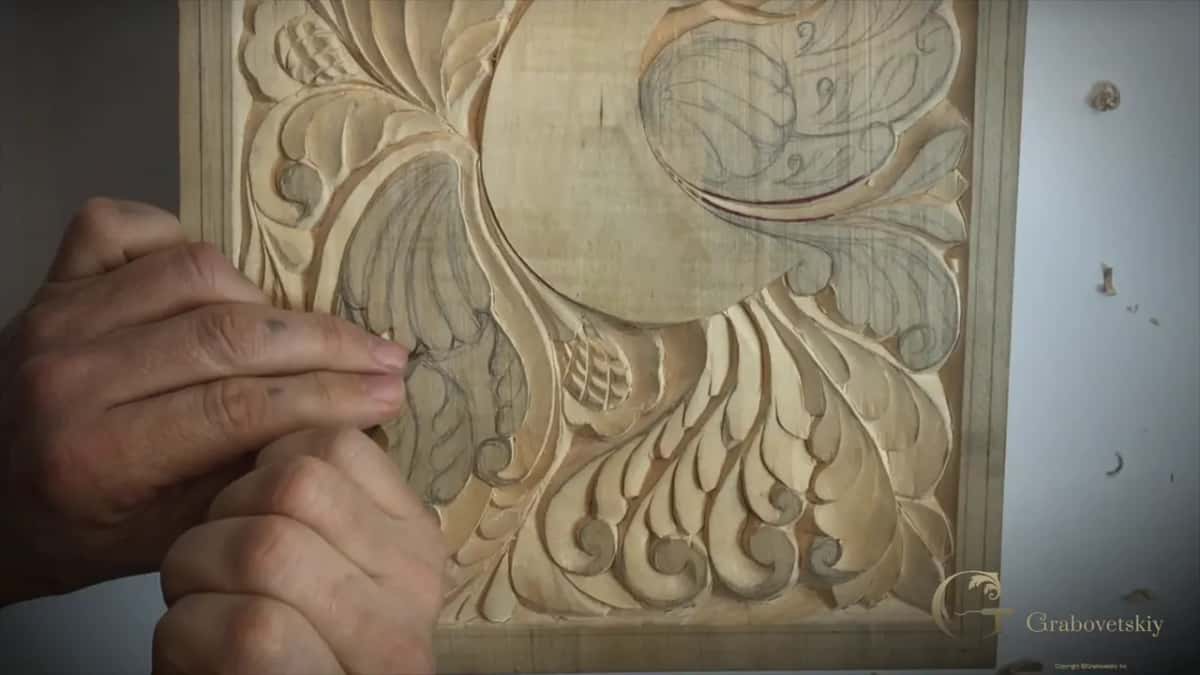
Here is the triangle road in practice. Inside the shape you will see small waste triangles sitting between your lines. Take each one with a pass down either side, lift it out, and move along to the next. Triangle to triangle right around the shape, then come back and refine that whole outline into one flowing line.
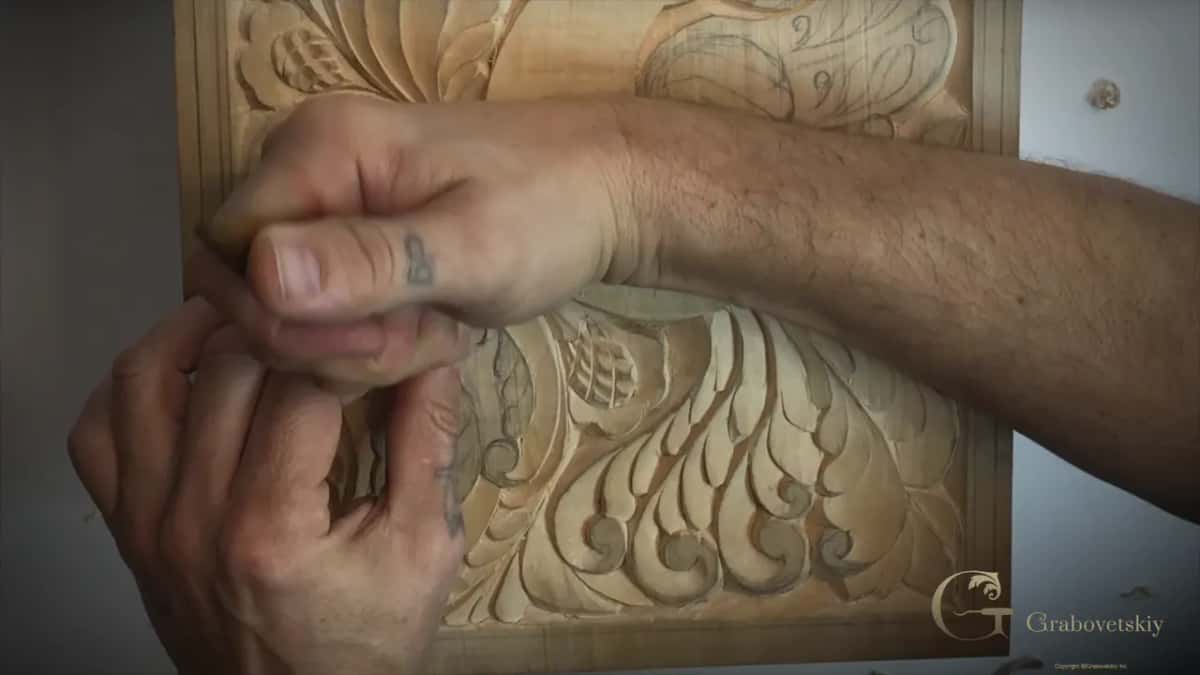
Either road ends at the same wing. My road is faster, yours is safer while your hands are learning, and after a few hundred of these your hands will quietly stop asking which one to use. That is how every skill in this beginner course arrives, and none of it comes from reading.
Where do you set the deepest place?
First, before any shaping. On each part of the wing I establish one spot that will sit lowest in that area, take it down to the depth I have chosen, and then bring every other pass toward it. That spot becomes a destination, and carving without one is how a wing ends up with four different floors in it.
Setting it early also protects the thin wood. Once your deepest spot exists, everything else becomes a gentle climb toward the surface, which means your blade is always travelling uphill out of waste rather than hunting for a bottom. On a shape this shallow that difference decides whether a wall survives.
Why is one side of a detail steeper than the other?
A shape that leans reads as round. Inside these wing details I run a higher bevel on one side and a very low one on the other, so the surface between them tips rather than sitting flat, and your eye fills in a curved form that was never actually carved.
That asymmetry is most of what makes shallow ornament look three dimensional. Two equal walls give you a trench. One steep wall and one long shallow slope give you a fold of something growing, which is the whole vocabulary of acanthus and every leaf that came after it.
Choose which side gets which before you start a detail, and keep that choice consistent along a whole line of them. Alternating steep and shallow at random looks restless, and a viewer feels it without knowing why, in the same way that a crooked picture frame nags at a room.
Which way does the grain want to be carved?
Downhill from the high point, always. Picture a brush loaded with paint. You know instinctively which way that brush should travel across a surface so the bristles lie down instead of splaying, and wood grain asks for exactly the same reading.
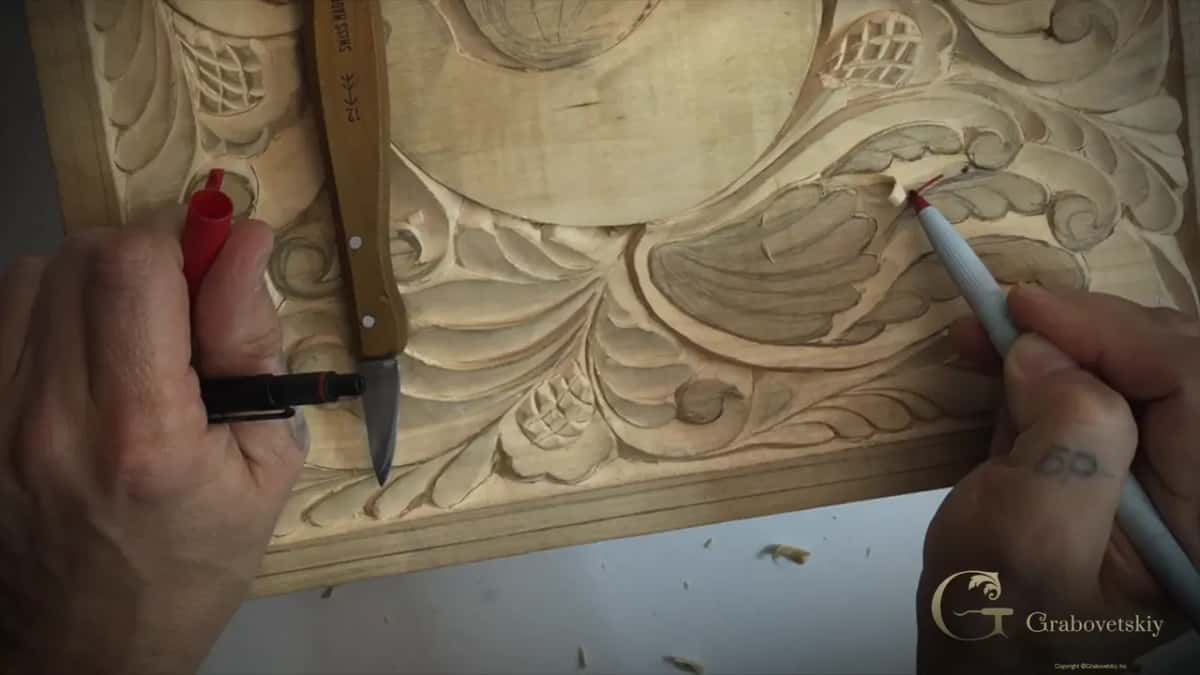
Look for the high side of the fibers in the area you are about to carve. Mark it if that helps, and I do mark it, with a marker, because a pencil line disappears under wood dust. Your passes then run downhill away from that mark in both directions. Ignore it and the blade will lift fibers instead of slicing them, and no amount of sharpening rescues an uphill pass.
Grain also changes direction mid shape, which means you carve toward a meeting place from either side and blend where they arrive. Workshop 12 pulled that apart on the tail curls, where the reversals are sharper than anything on a wing.
How do you hold a knife for a shallow pass?
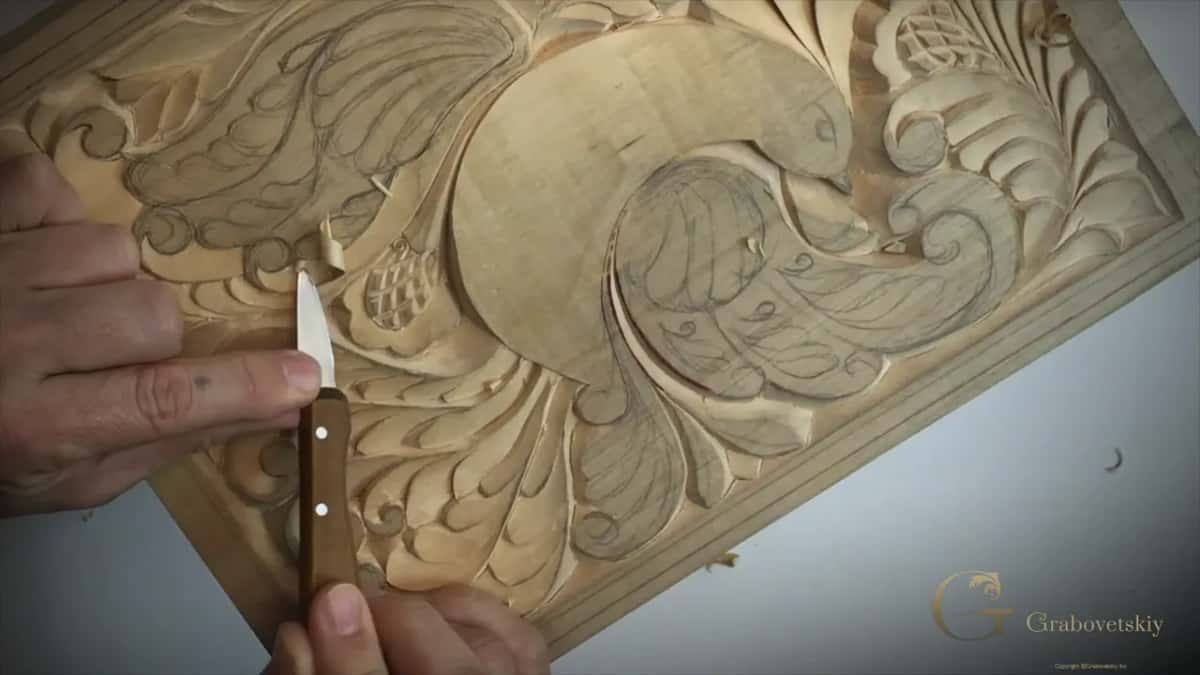
Underneath, with two fingers steering. My palm goes below the blade, two fingers guide where the edge travels, and one finger does nothing except stop me pushing too hard. Control comes from that last finger. Pressure is the enemy on a wing, not sharpness.
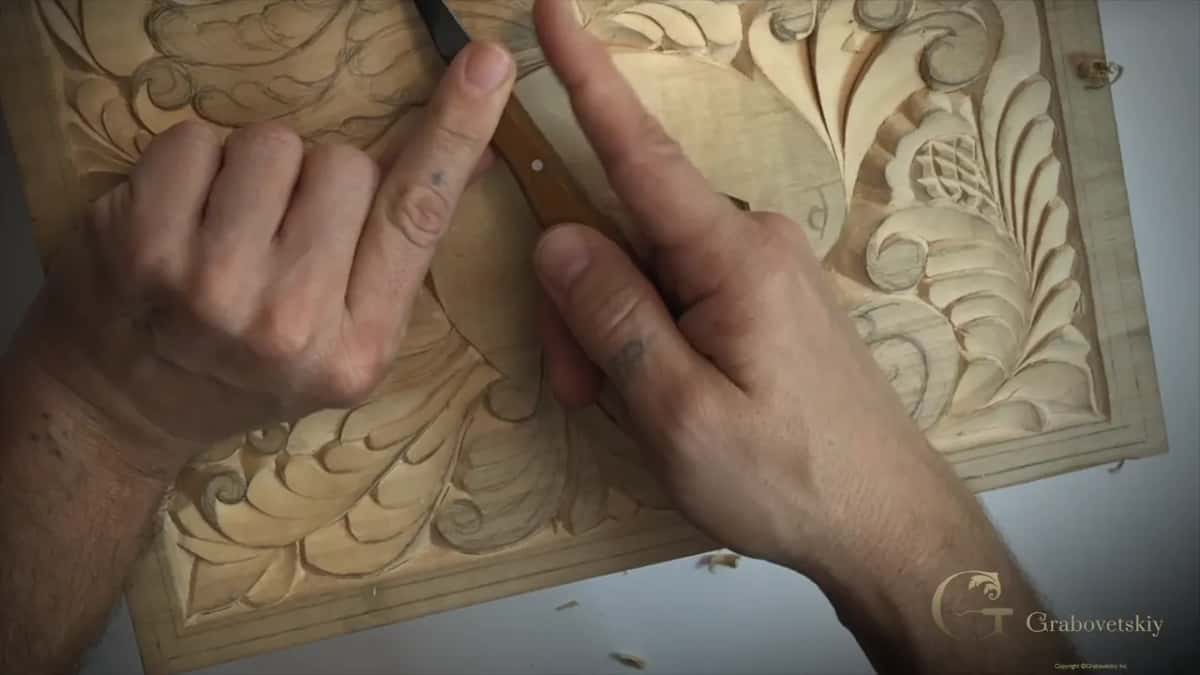
Watch the wood near the outside edge while you work. You can see it lifting before it breaks, a faint raising along the line that tells you the wall has had enough. Stop there and come at the same line from the other direction. Workshop 7 covers the grips one at a time, and a knife you can steer with two fingers is a knife that has been stropped recently.
A sharp enough blade reaches the edge of a detail in one go. Even then the result is not as clean as coming at it from both sides, so I do it the slow way and so should you.
Why do faults appear only after you stop carving?
Distance and light, mostly. While I am editing these videos on a large screen I see ridges and flat spots that hid from me while I worked, and I make a list of repairs from my own footage. Nobody sees their own work properly from eight inches off the surface.
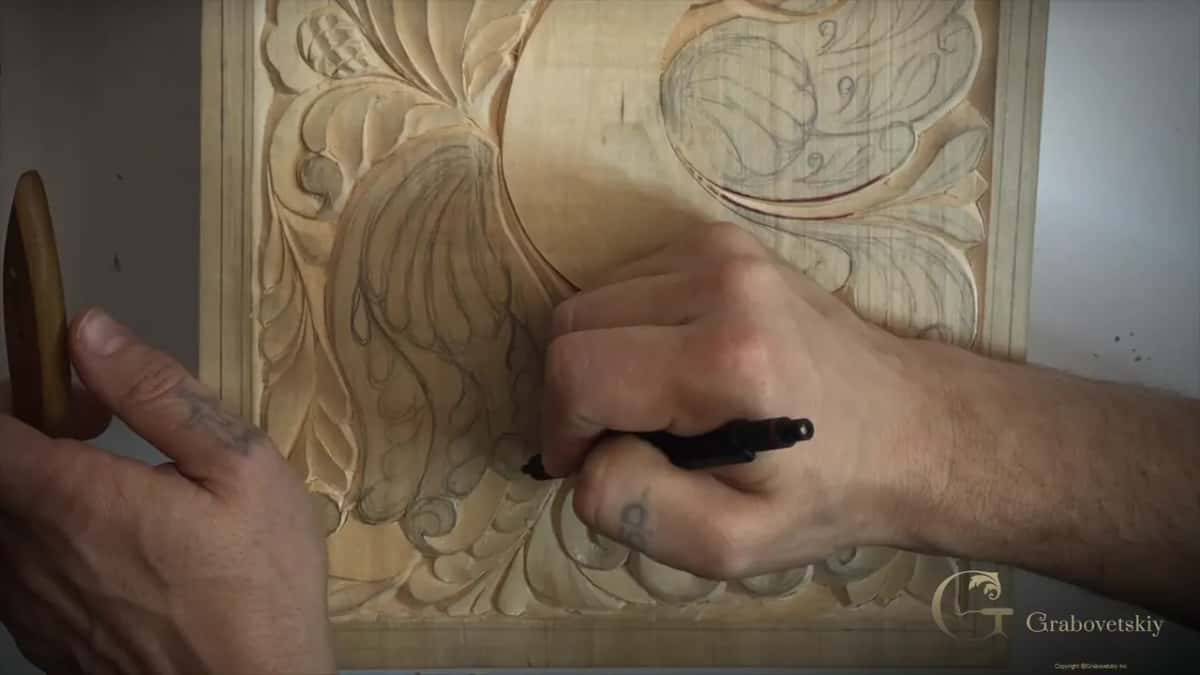
Photograph yours with a phone, which is the cheapest big screen you own. Tilt the panel, move the lamp, look at the picture rather than the wood, and faults arrive immediately. Then mark them and carry on, rather than fixing each one the moment you spot it. A session spent chasing single faults never finishes a wing, and the faults you chase early often disappear under the passes that come later anyway.
I will admit the other reason faults happen. Talking while I carve costs me accuracy. I used to carve in silence and listen to something, and now I teach through the work, which means small mistakes land in the wood that would never land in a quiet shop. You will see one in this session, and I left it in. Editing it out would teach you that carving happens without mistakes, which is a lie, and the repair is more useful to watch than the clean pass would have been.
What finishes a shallow wing?
A scraper, a knife, and nothing else. Pencil marks that survive the carving get scraped away at the end, which leaves the surface crisp instead of clouded. No abrasive touches this board at any stage, at any stage of the work, pencil or blade.
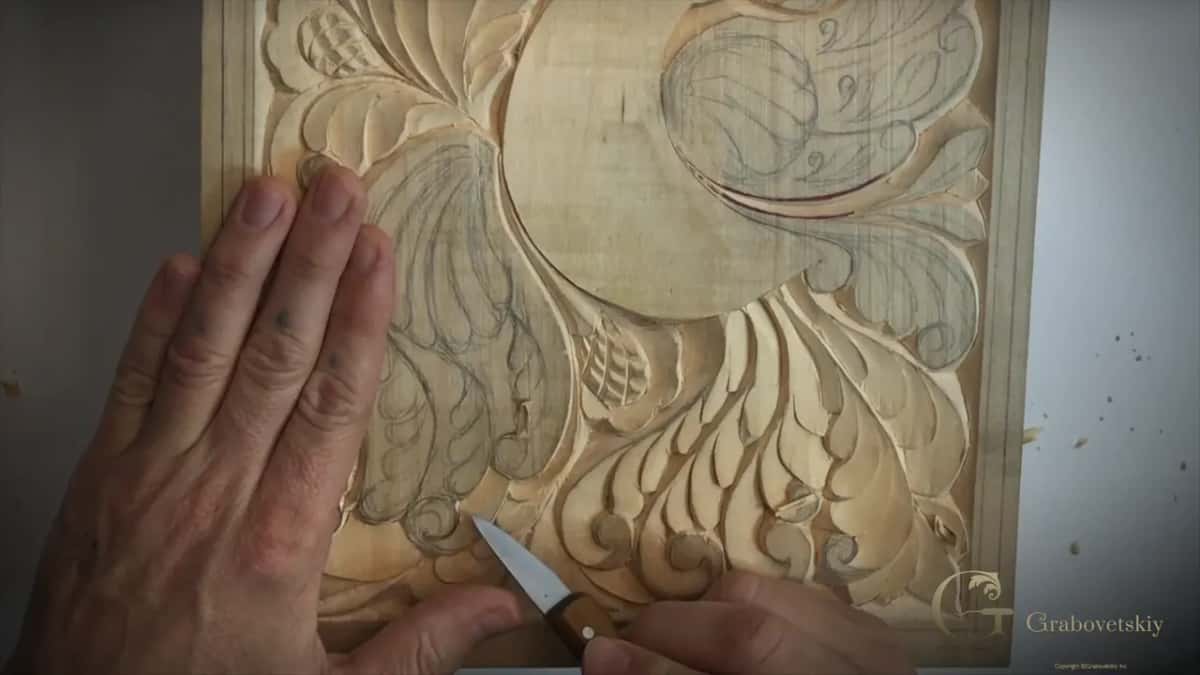
Sanding would press the fibers flat, and the first coat of a water based finish lifts them all again, which on a complicated surface means sanding a second time and a third. Workshop 8 goes through that argument properly, and Workshop 10 shows what carvers reached for before sandpaper existed at all.
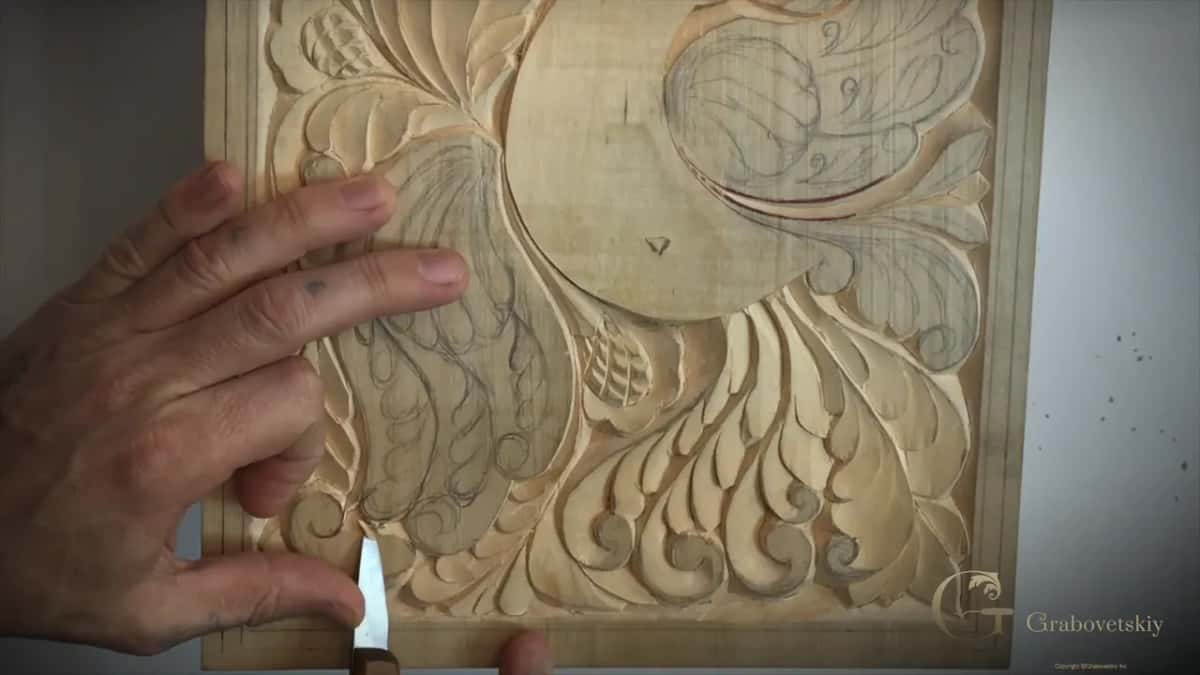
Tool marks left where they fell are the point. A surface that still carries them looks like a hand made it, because a hand did, and that difference is visible across a room to people who could not tell you what they are seeing. Half of the design course is about exactly that kind of invisible reading.
What holds the whole wing together?
A second line inside the outline. Every detail on this panel carries an outer line and another one running inside it, and that inner line has to connect to the main flow of the design rather than wander off. There may well be a technical term for it. Nobody ever taught me one.
Long passes hold it together too. Travel as far as your hand can go in one movement and the line reads clean, while four short nervous passes leave four small kinks that catch the light. Begin at nothing, rise gradually into your deepest sixteenth, and let the pass disappear again where it started.
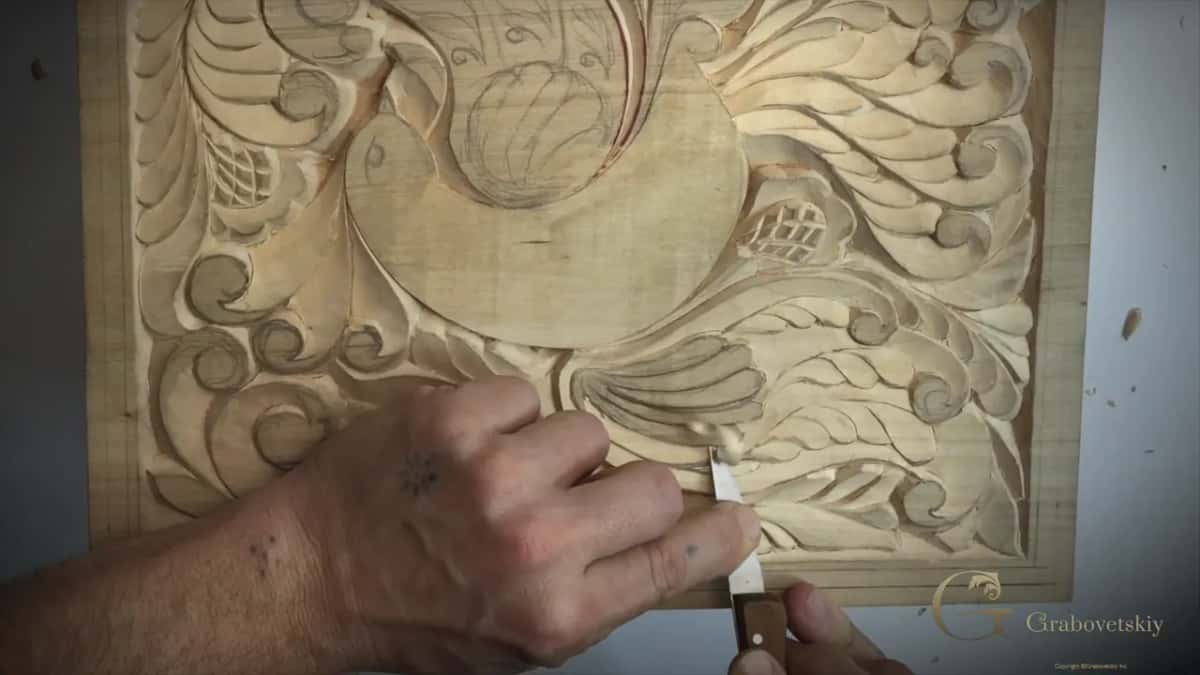
That disappearing pass is the hardest thing in this session, and also the most useful. Ornament made of shapes that begin and end abruptly looks stamped on. Ornament whose lines fade in and out looks grown, and every volute on a serious carved panel behaves that way.
Next session takes the second wing, with a knife and nothing else, and answers the question I get every month about why one blade is enough. Workshop 14 is that conversation. If your edge will not hold through a session of this, the sharpening course comes before anything else, and the tools course explains what the rest of the rack is for.
You have a board with two faces, an eighth of an inch to play with, and a wing that will look flat until the light hits it properly. The rest of this bird is waiting, along with three thousand other lessons. Shall we carve?
How it's done
- Redraw before you carve. Go back over the wing details with a pencil. A quick first drawing never survives a second look, and pencil is cheaper to change than wood.
- Pick the deepest place. Choose one spot in each area that will sit lowest, 3 mm at most, and take it down to that before shaping anything around it.
- Lift the corner triangles. Pass either side of each small triangle of waste between your lines, then take it out. Repeat around the whole shape if one long pass feels unsafe.
- Read the fibers first. Mark the side where the fibers ride high, then travel downhill away from that mark in both directions. Uphill passes lift wood rather than slicing it.
- Keep the bevels uneven. Run one wall steep and the opposite slope long and shallow. That difference is what tips a flat surface into something the eye reads as round.
- Scrape the pencil away. Take any surviving graphite off with a scraper once the carving is done. Nothing abrasive goes near the surface at any point.
Frequently asked questions
Is a carved cutting board still food safe?
Keep the food on the plain face and the question never arises. Boards carry two sides for exactly this reason, one for work and one for looking at. Most carvers hang the finished panel up and keep a separate board for onions.
How deep should carving on a wing be?
Three millimeters marks the deepest place on a wing. A sixteenth of an inch is plenty near end grain, and less than that does no harm. Shadow makes a shape read as raised, so extra depth buys nothing and costs strength.
Should I carve around a shape in one pass?
Either road works. Travelling right around a detail in one movement gives the cleanest line and wants a practised hand. Lifting each waste triangle separately and blending afterwards is slower, safer on thin wood, and kinder to a beginner.
What to carve next